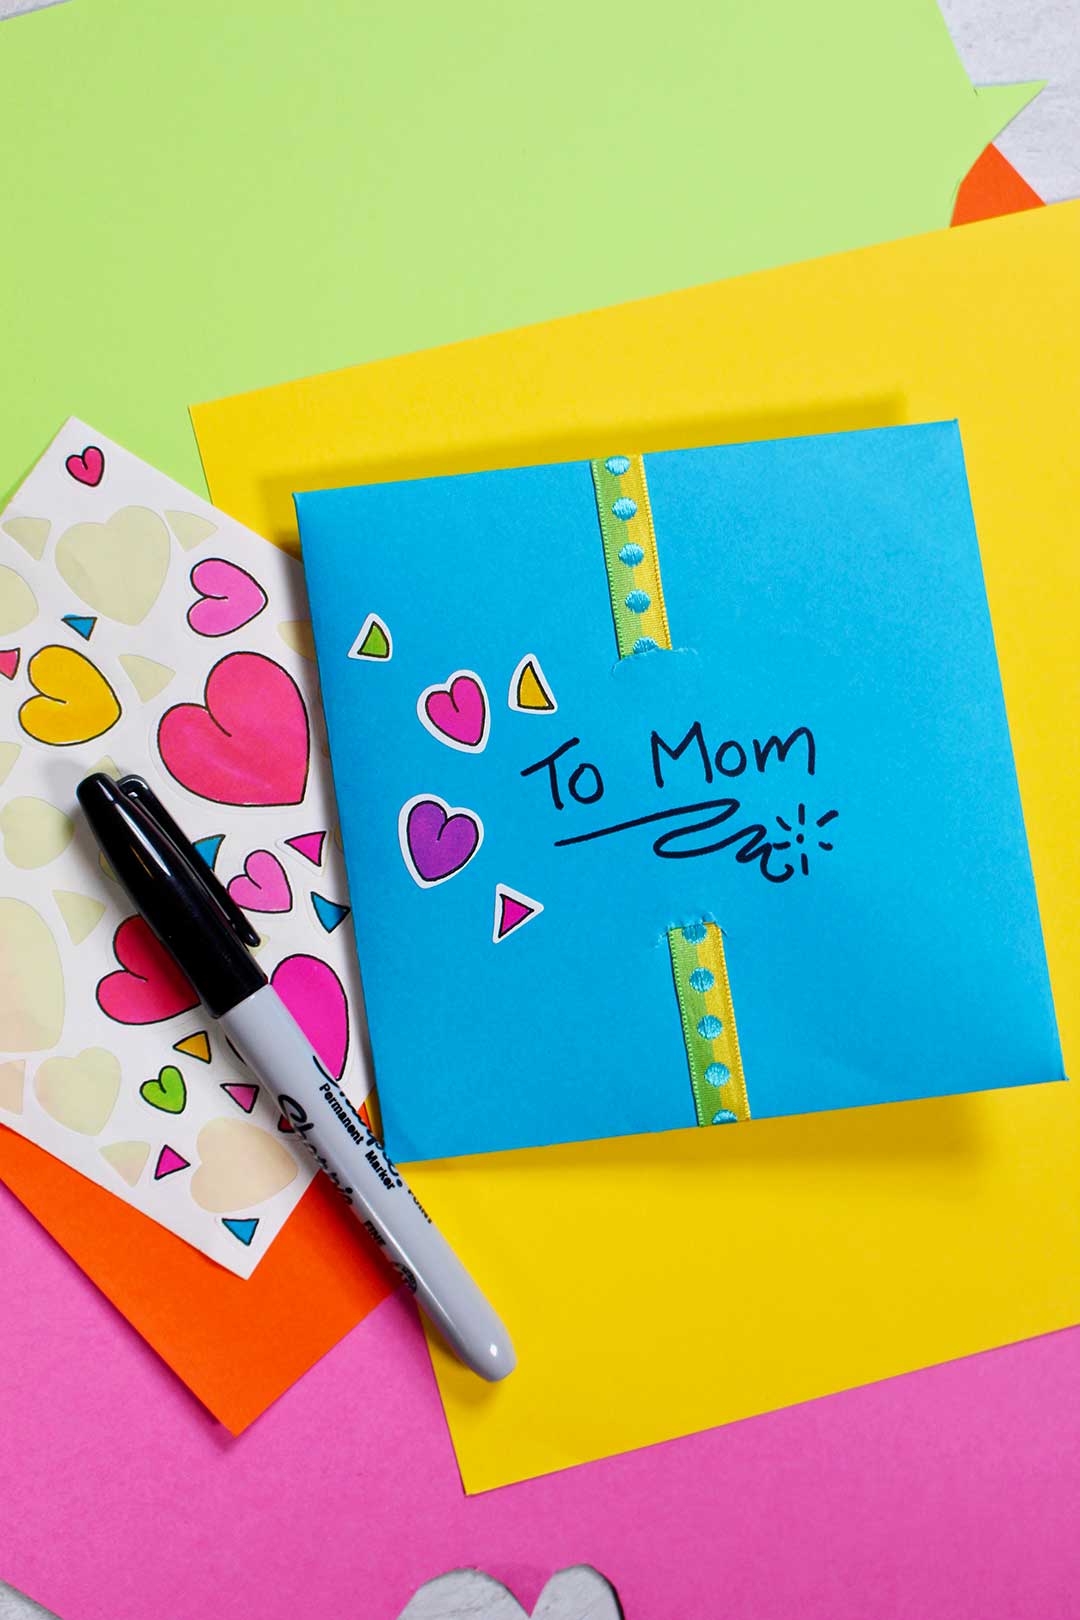
What to do for Mother's Day
Mothers always love a homemade card or gift. Are you or someone you know pondering what to do for Mom? How about a twist on a Mother’s Day card this year? Help the grands Create a Mother’s Day Card Mobile. So fun!
Create a Mother's Day Card Mobile
Moms are known for having 20 irons in the fire at a time. A card that is a mobile can help express appreciation for a person that is multi-faceted. You can choose a series of small objects and paper shapes to hang from the card to express these many dimensions of the person you love. There are ideas below.
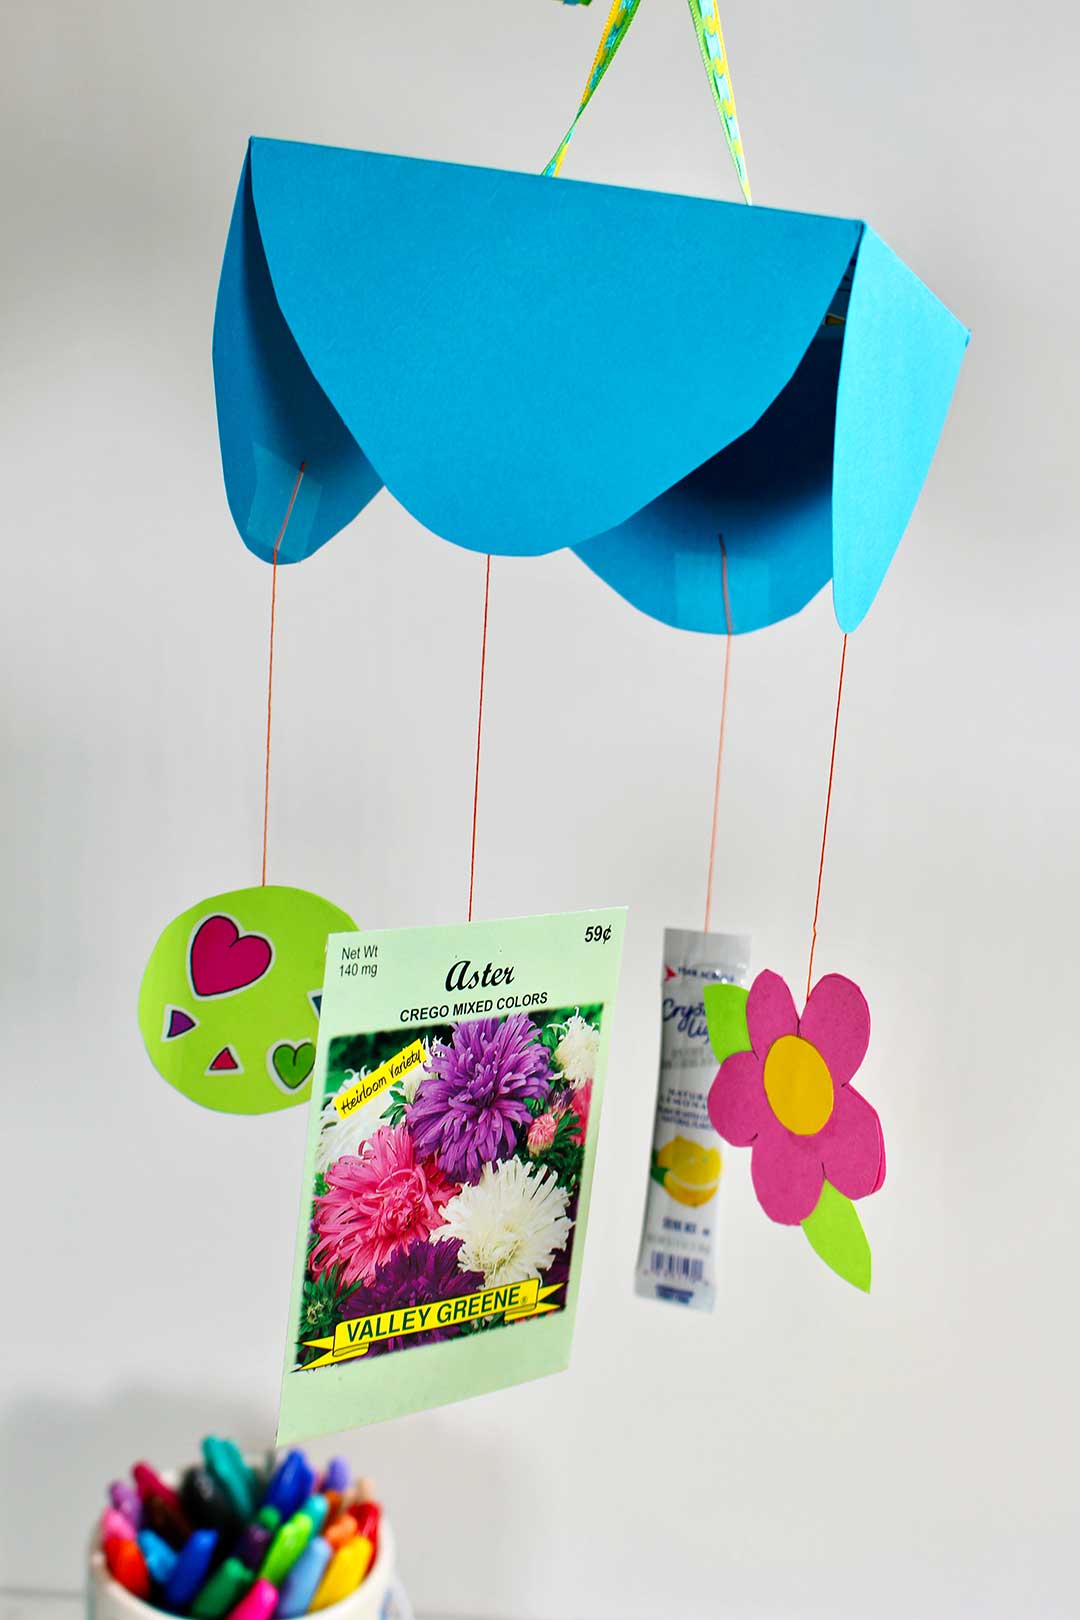
Multi-dimensional card for a multi-dimensional Mom
Mobiles are so much fun to make. There is no limit to the creative ways you could create a Mother’s Day card mobile.
This Create a Mother's Day Card Mobile example has four items hung on one level. This is great for the littles as it is easy to balance. But you could hang a series of items from the card and hang more than one item per string, one below the other. This would take more patience and work to get the mobile to balance when hung up. That would be great for an older grand that is up for the challenge.
First let’s make the Mother’s Day Card
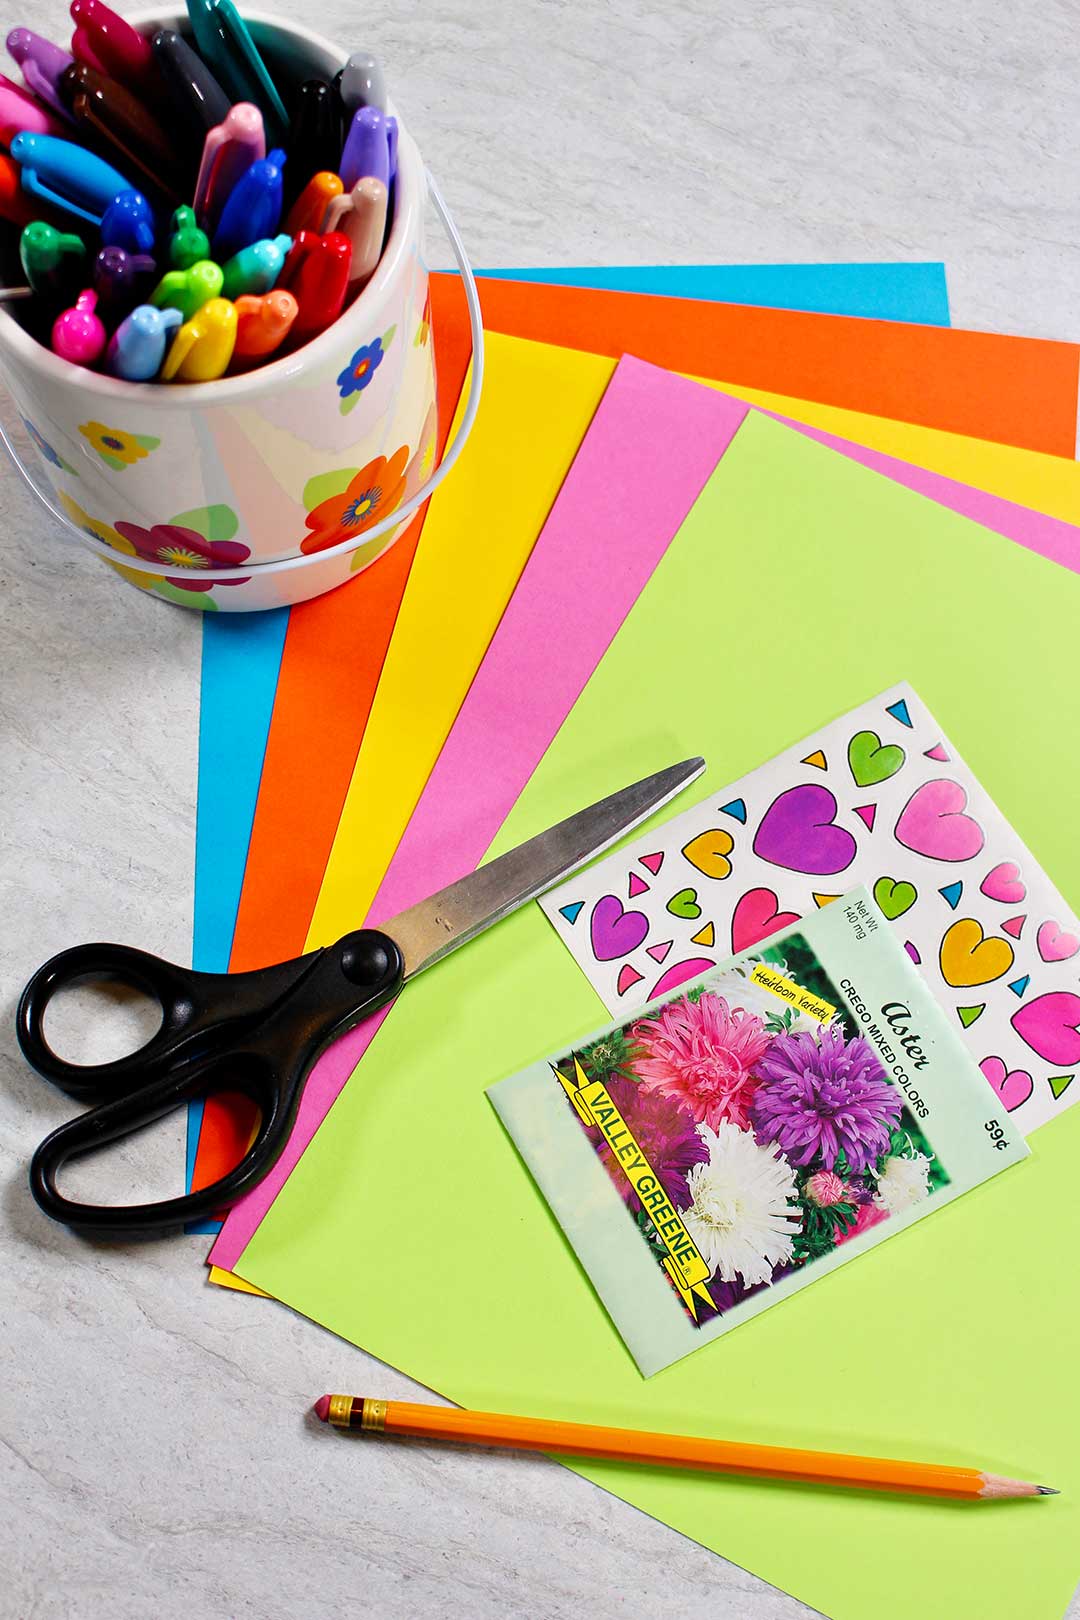
Choose a few colors of card stock for your card. I gravitate to the bright colors but pastel colors would be so lovely. Card stock in the 8.5x11 inch size can be purchased by the packet in a variety of colors- bright or pastel. Then you have your color selection right there and it leaves a stash to have on hand for the next project. You gotta’ love having a “stash” of craft supplies, right?
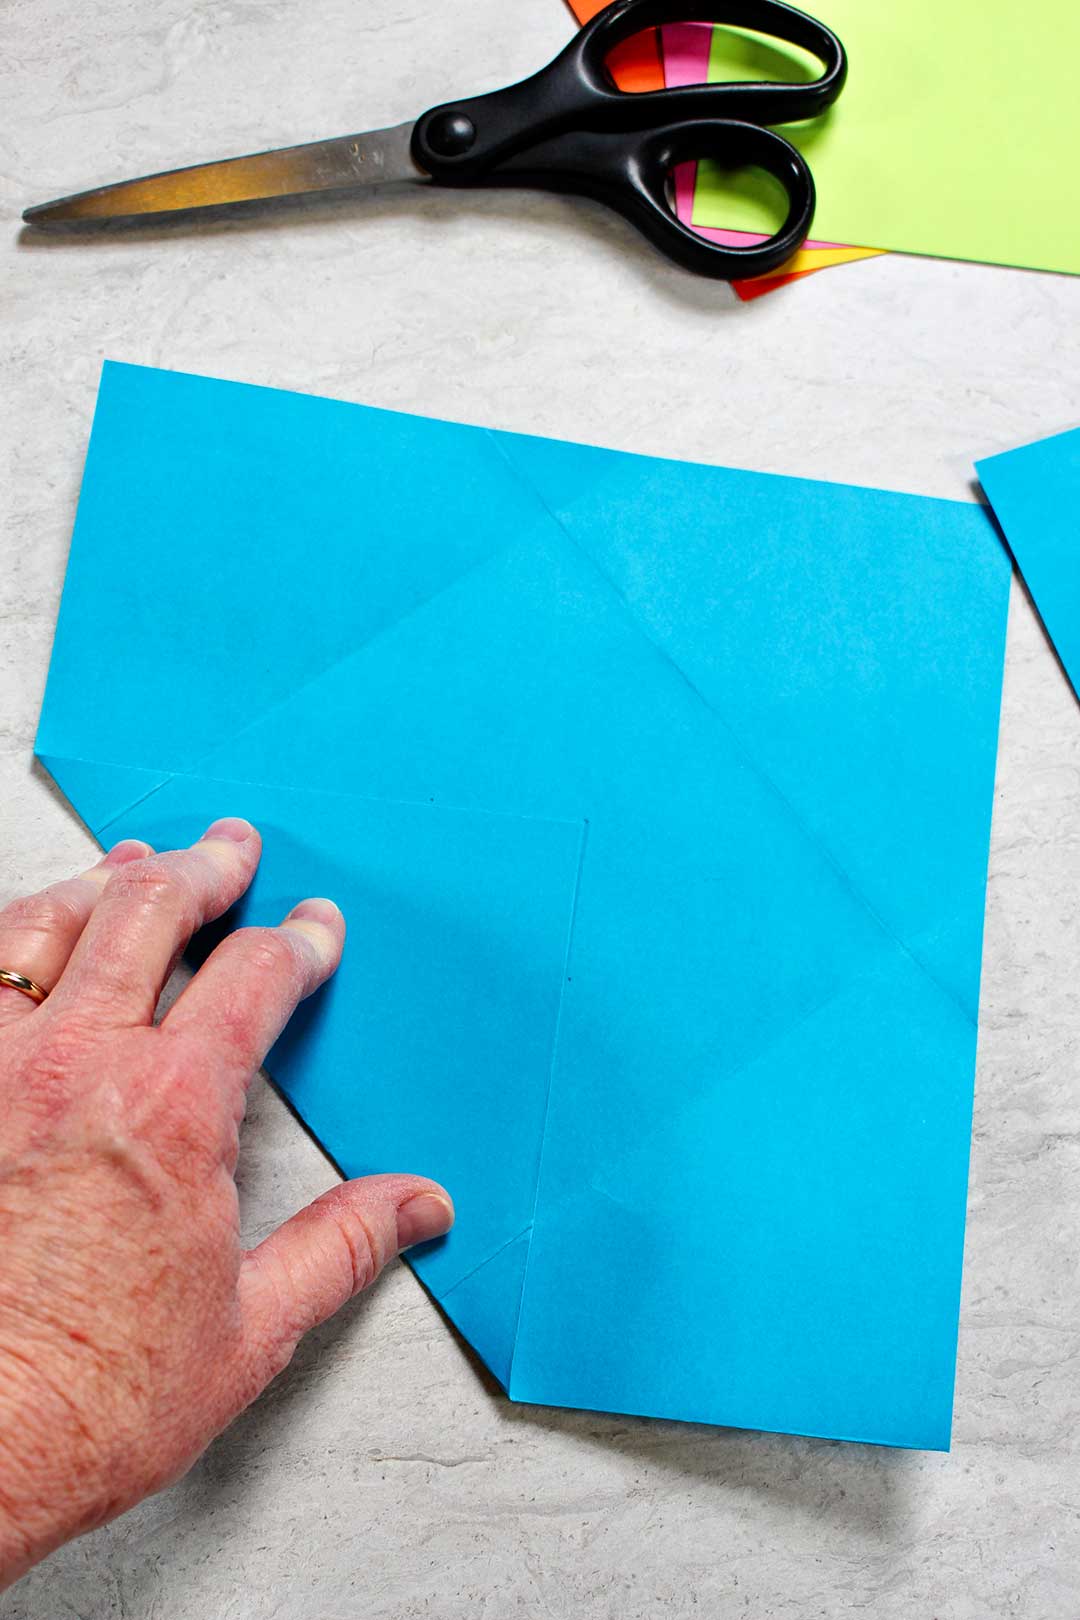
Fold the card to make its' own envelope
Cut off 2.5 inches from one piece of card stock leaving an 8.5x8.5 inch square. This cut off end could be trimmed to make a really cute book mark later, just saying!
Place a ruler from one corner to the opposite corner of the square, diagonally, and mark the 5 and 7 inch points with dots. Do the same thing the other direction on the square.
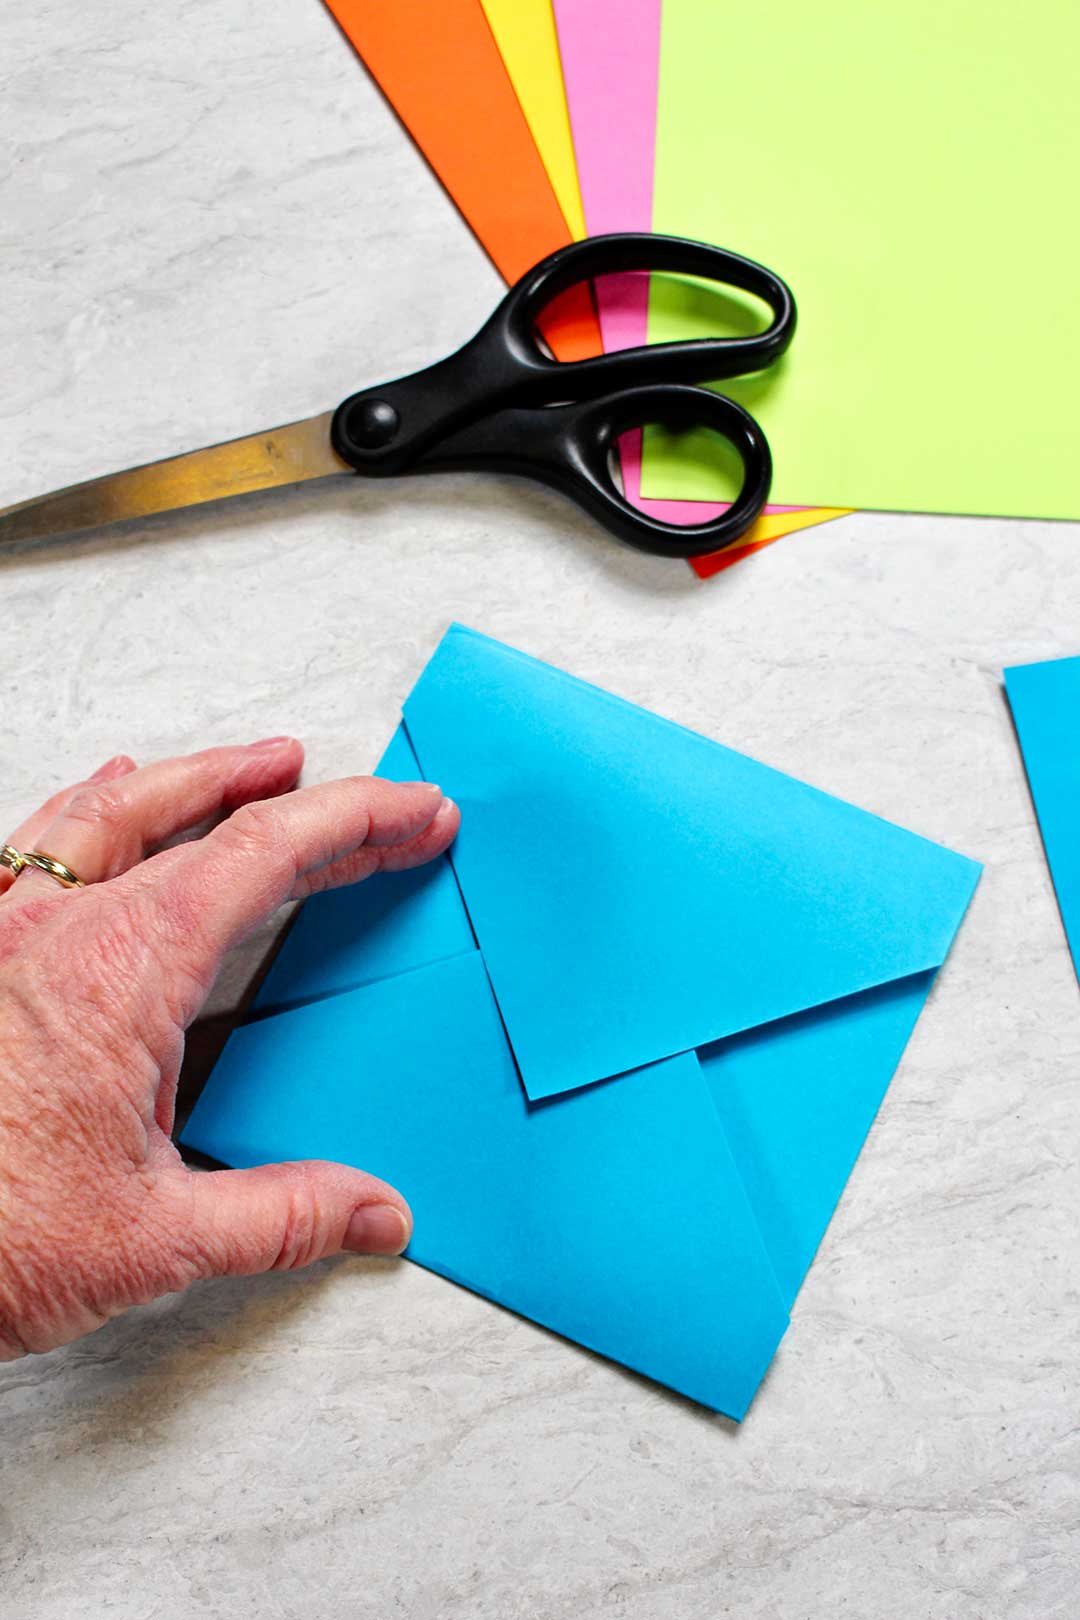
Fold each flap, one at a time, over to the furthest dot on its’ diagonal. Crease each fold well. The card will fold up like an envelope when we are done.
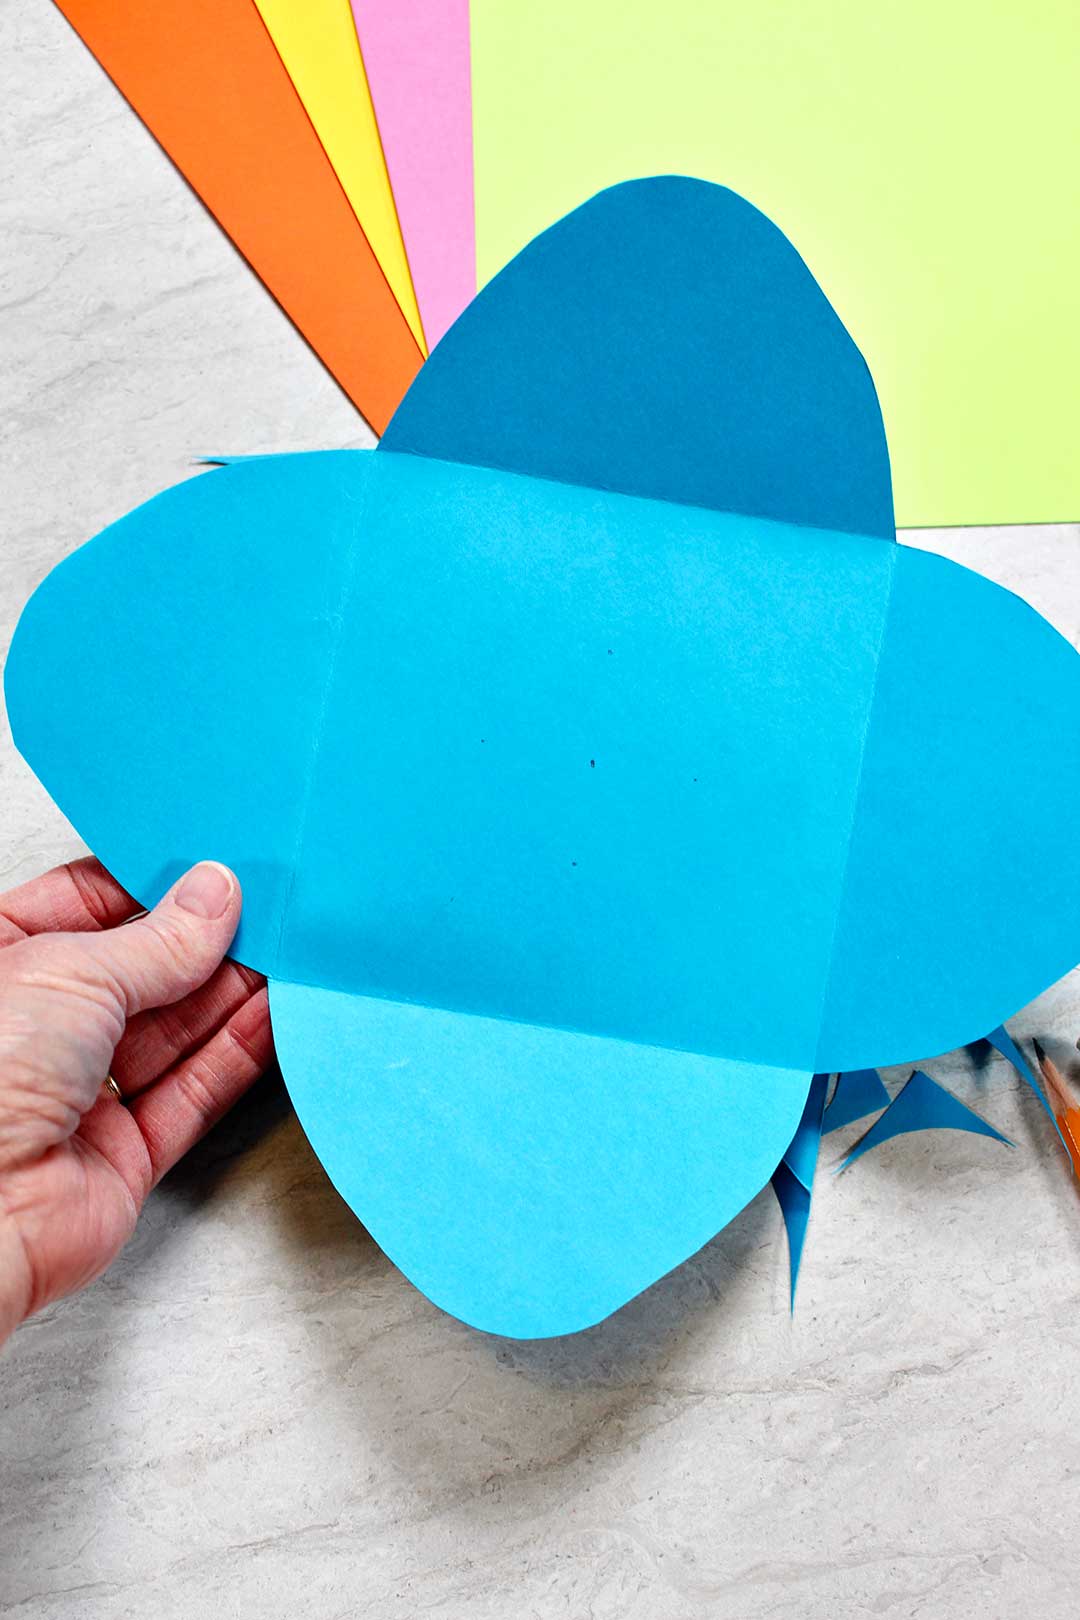
Open the card up flat. Cut the small triangle off each side by cutting a bit off each flap and into the point of the small triangle as shown.
Then round the tip of each flap off as shown.
Add a ribbon tie
Choose the two dots on one diagonal and cut a small slit about ¼ in long perpendicular to the diagonal.
Pull a piece of ribbon through these slits. Pull the ribbon from the back of the card, up to the center of the card, and then down through the other slit. These will be used later to tie the card shut as well as to hang the card up as a mobile.
Make fun shapes to hang
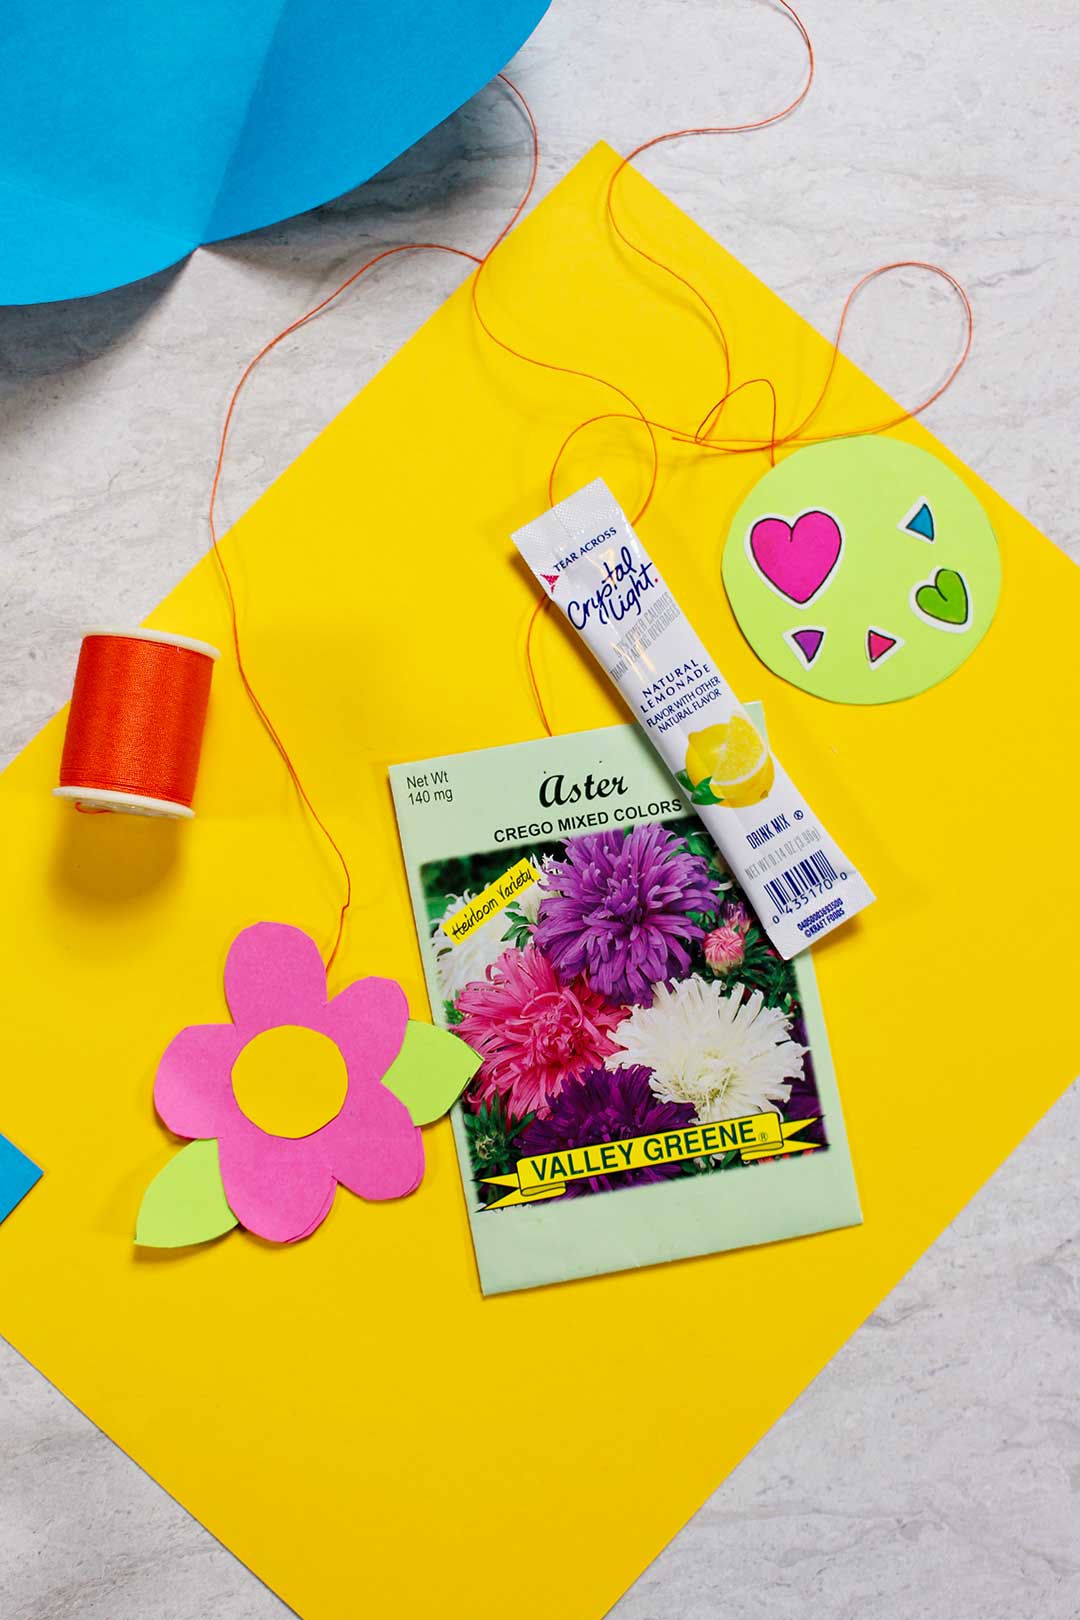
Make some fun paper shapes to hang from the mobile. Cut two of each shape so that you can glue them together after taping a six inch piece of thread onto the back of one of them. Then they will look nice from both sides as they twirl. I show a flower and a circle but use your imagination- heart, diamond, etc.
Decorate the shapes or write messages on them.
Hang the items on the card...balance...balance
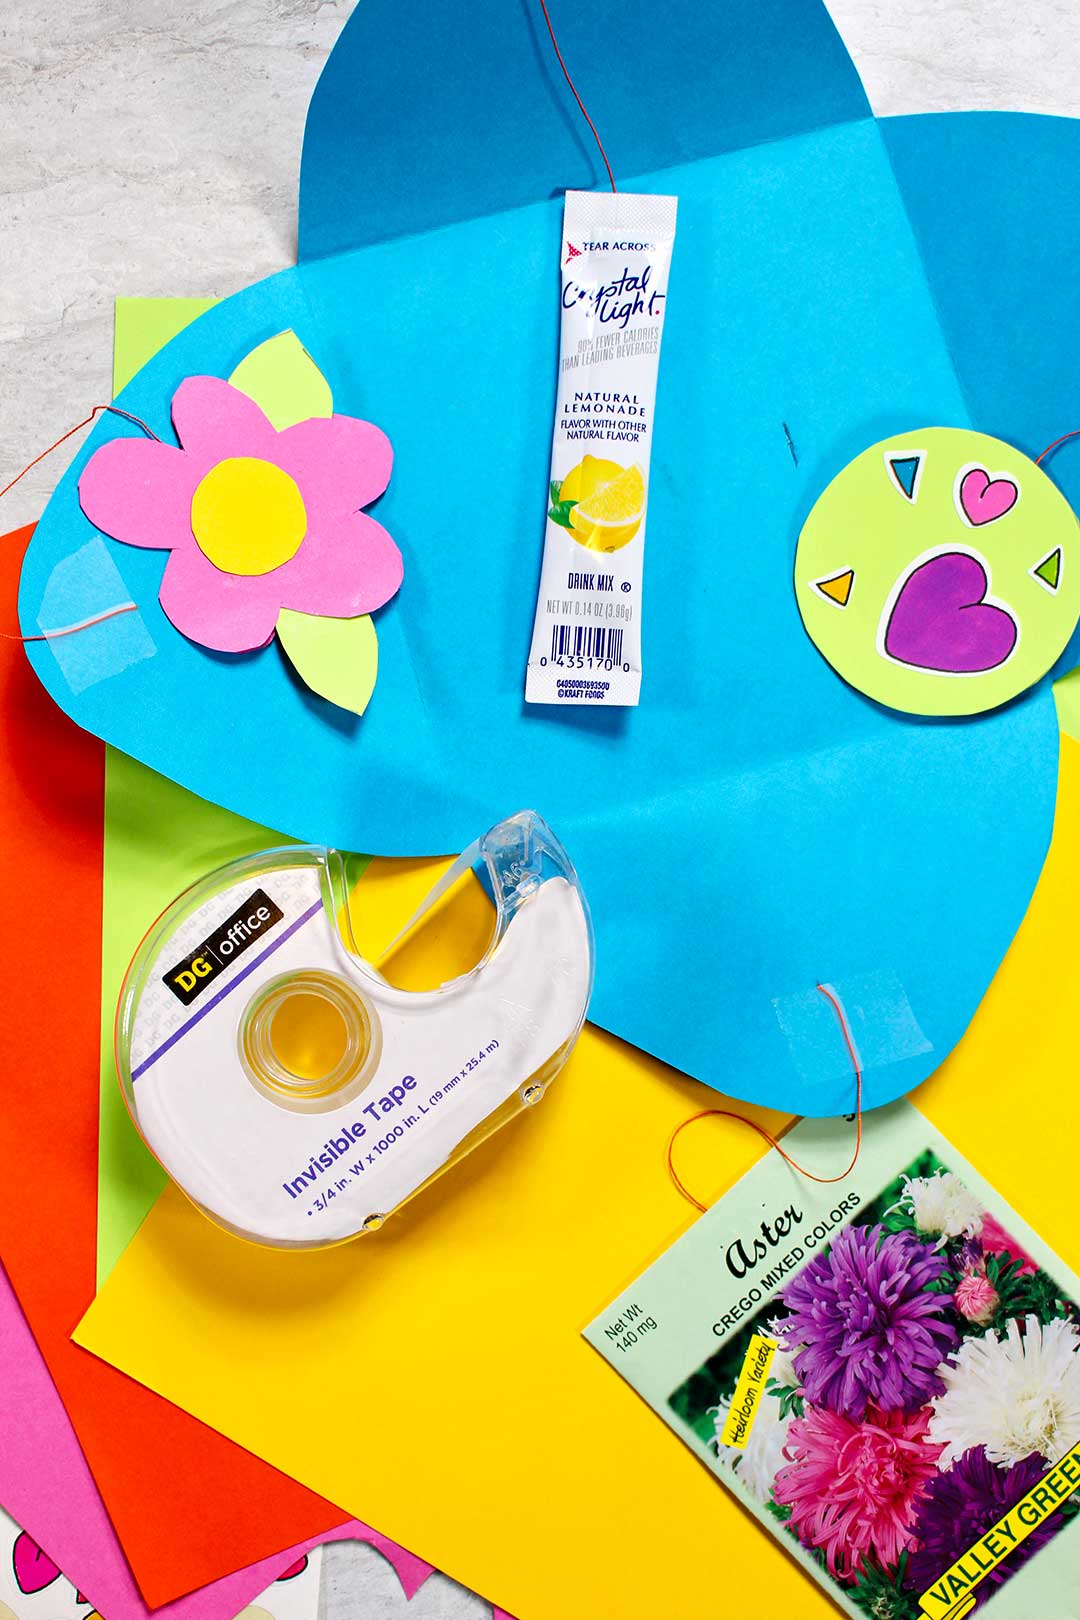
Cut pieces of thread about six inches long and tape one end to each item you want to hang from the mobile.
To get the mobile to balance, tie the ribbon that's on the back of the card so you can hang it up.
Start taping the other end of the thread of each small item to the card on the inside of each flap that hangs down. Chose items equal in weight to be opposite of each other on the card.
Keep adding items to hang on the card until it balances well and you have hung all your little items. All these items will fold inside the card later so don’t get TOO many!
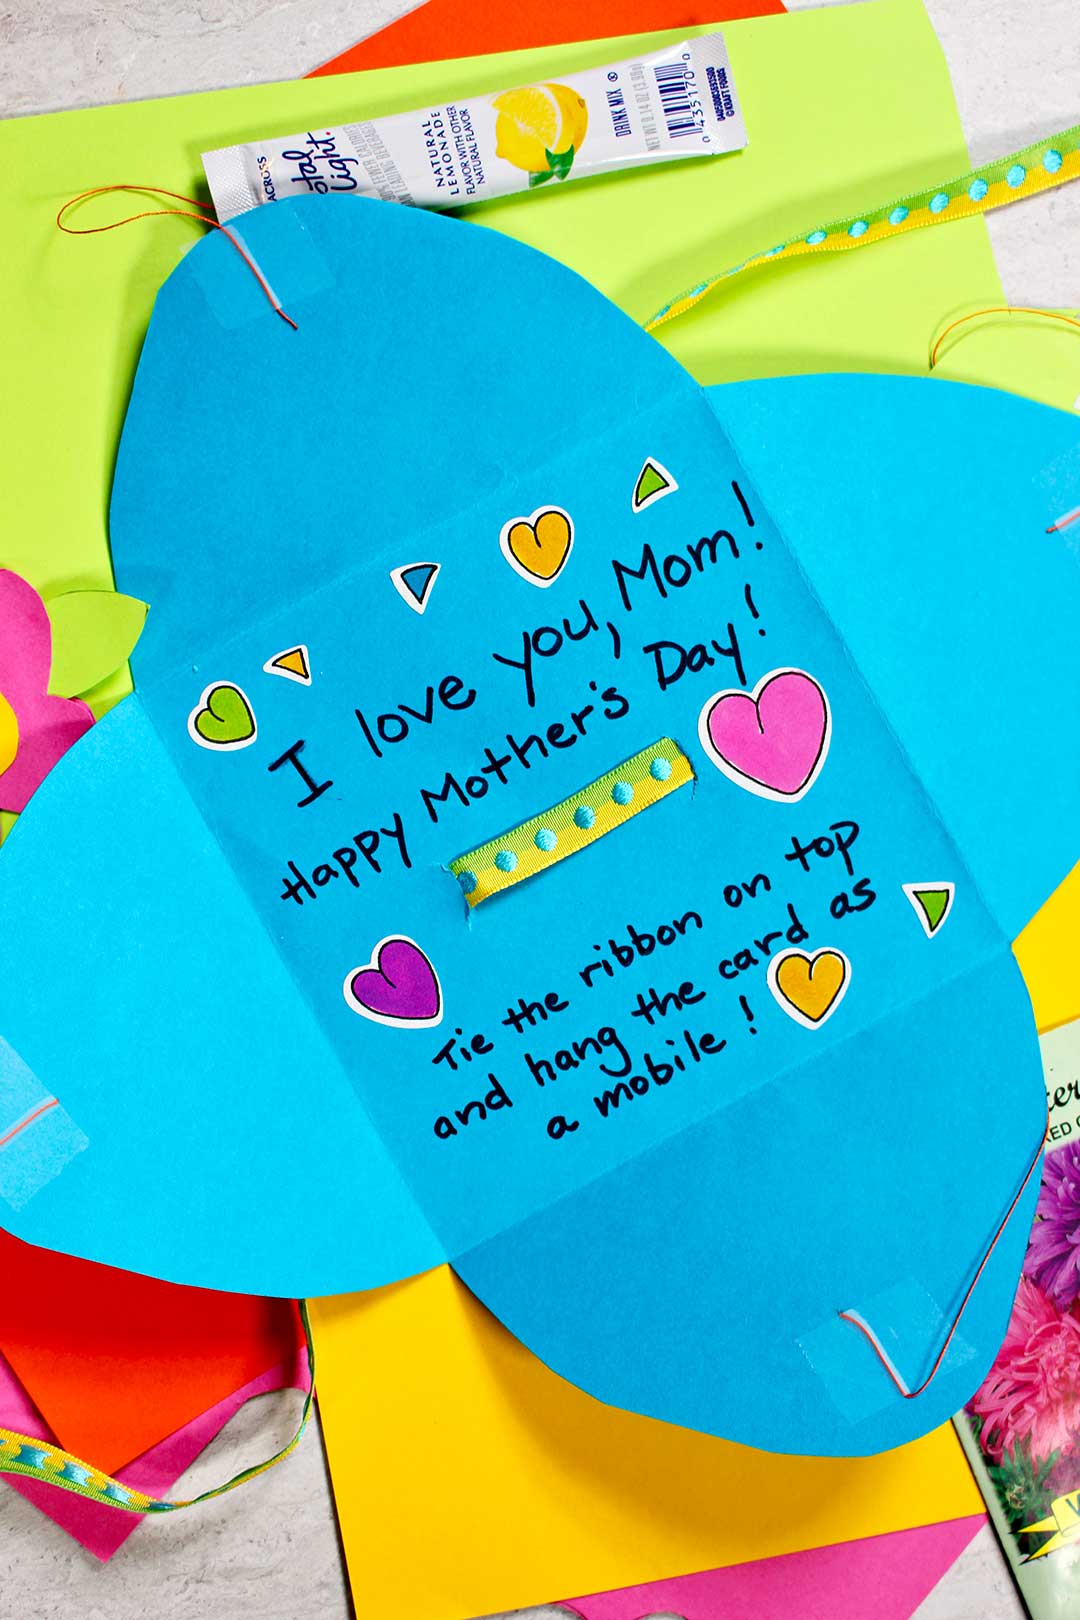
SO many options...to fit your one of a kind Mom
I did create a mother’s day card mobile with only four objects hanging down, one from each card flap. There are so many things that could be added to make your card colorful, cute and personal.
Ideas: Seed packet, Bookmark, Buttons tied on the strings, Gift cards, Money, Coupon to do a task for mom (like clean out the car for example), Tea items- tea bags, small spoon, Hobby items- must be small and flat, Car air freshener, Book mark, Pictures- of the child, family, Tickets- to a movie or event, Magazine subscription, Recipe card, Small saying, poem or meme, Product sample, Small refrigerator magnet, Jewelry item, etc.
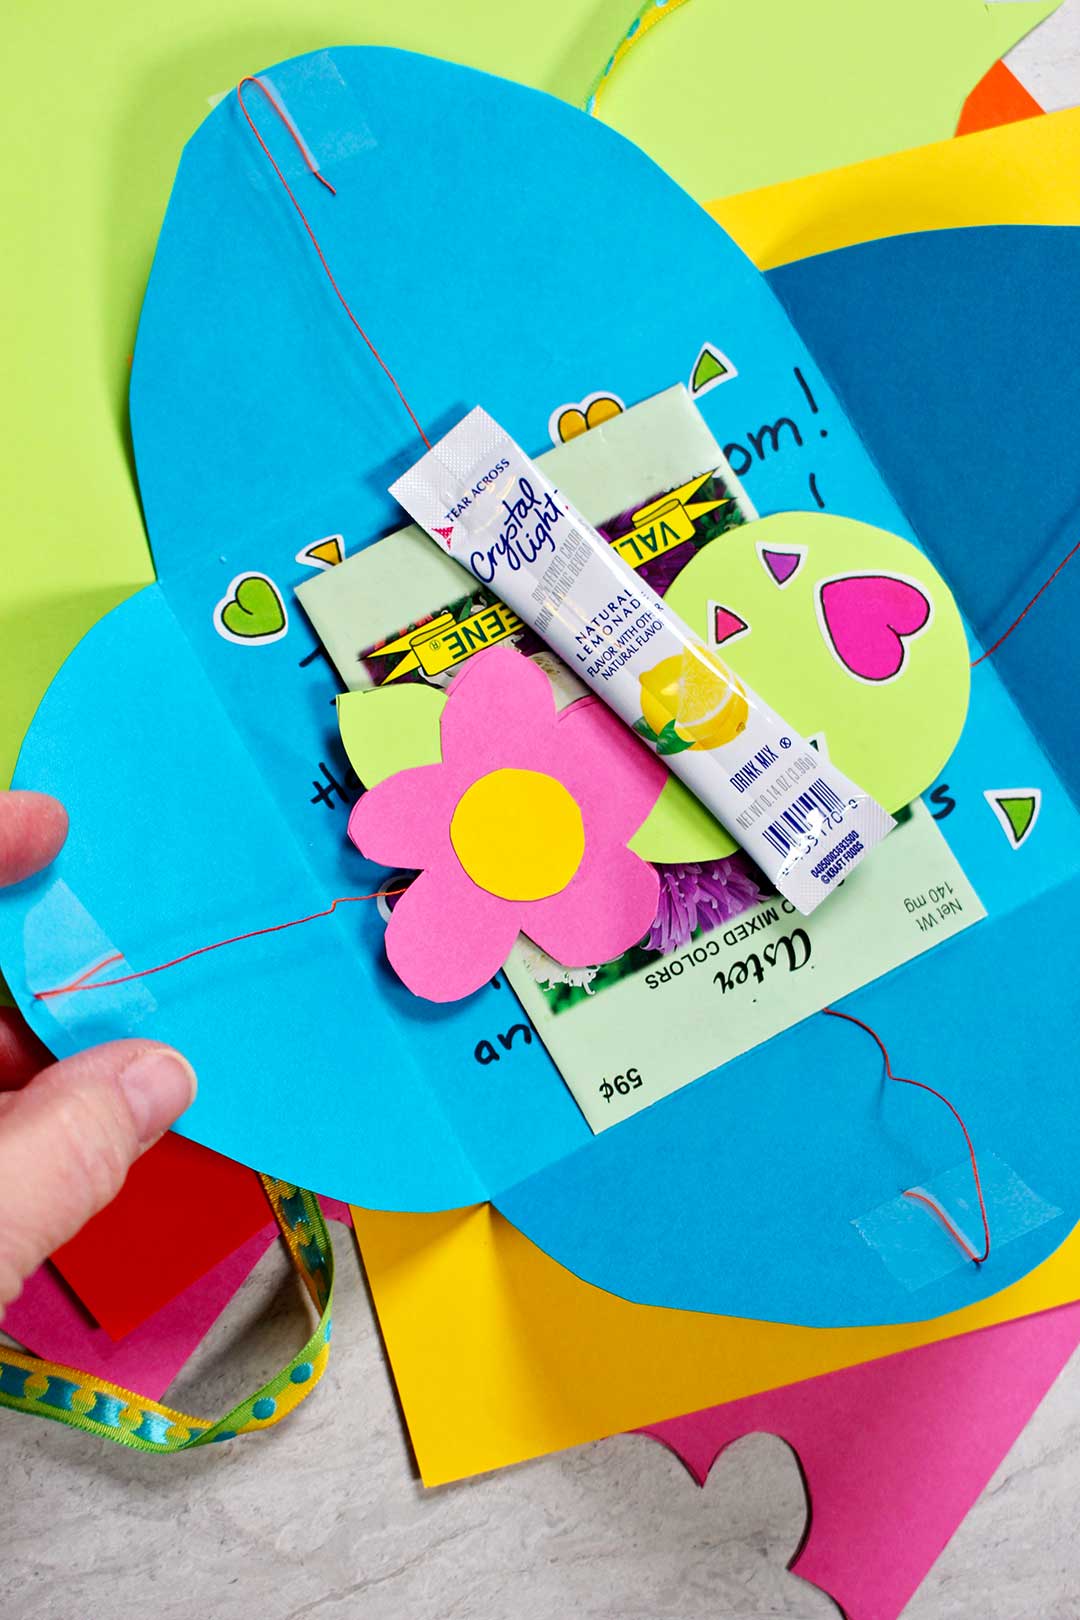
Even more personal with a message inside-
When you are happy with the mobile, take it down and untie the ribbon.
Write your message inside the card then gently lay the mobile items inside the card (don’t tangle the strings).
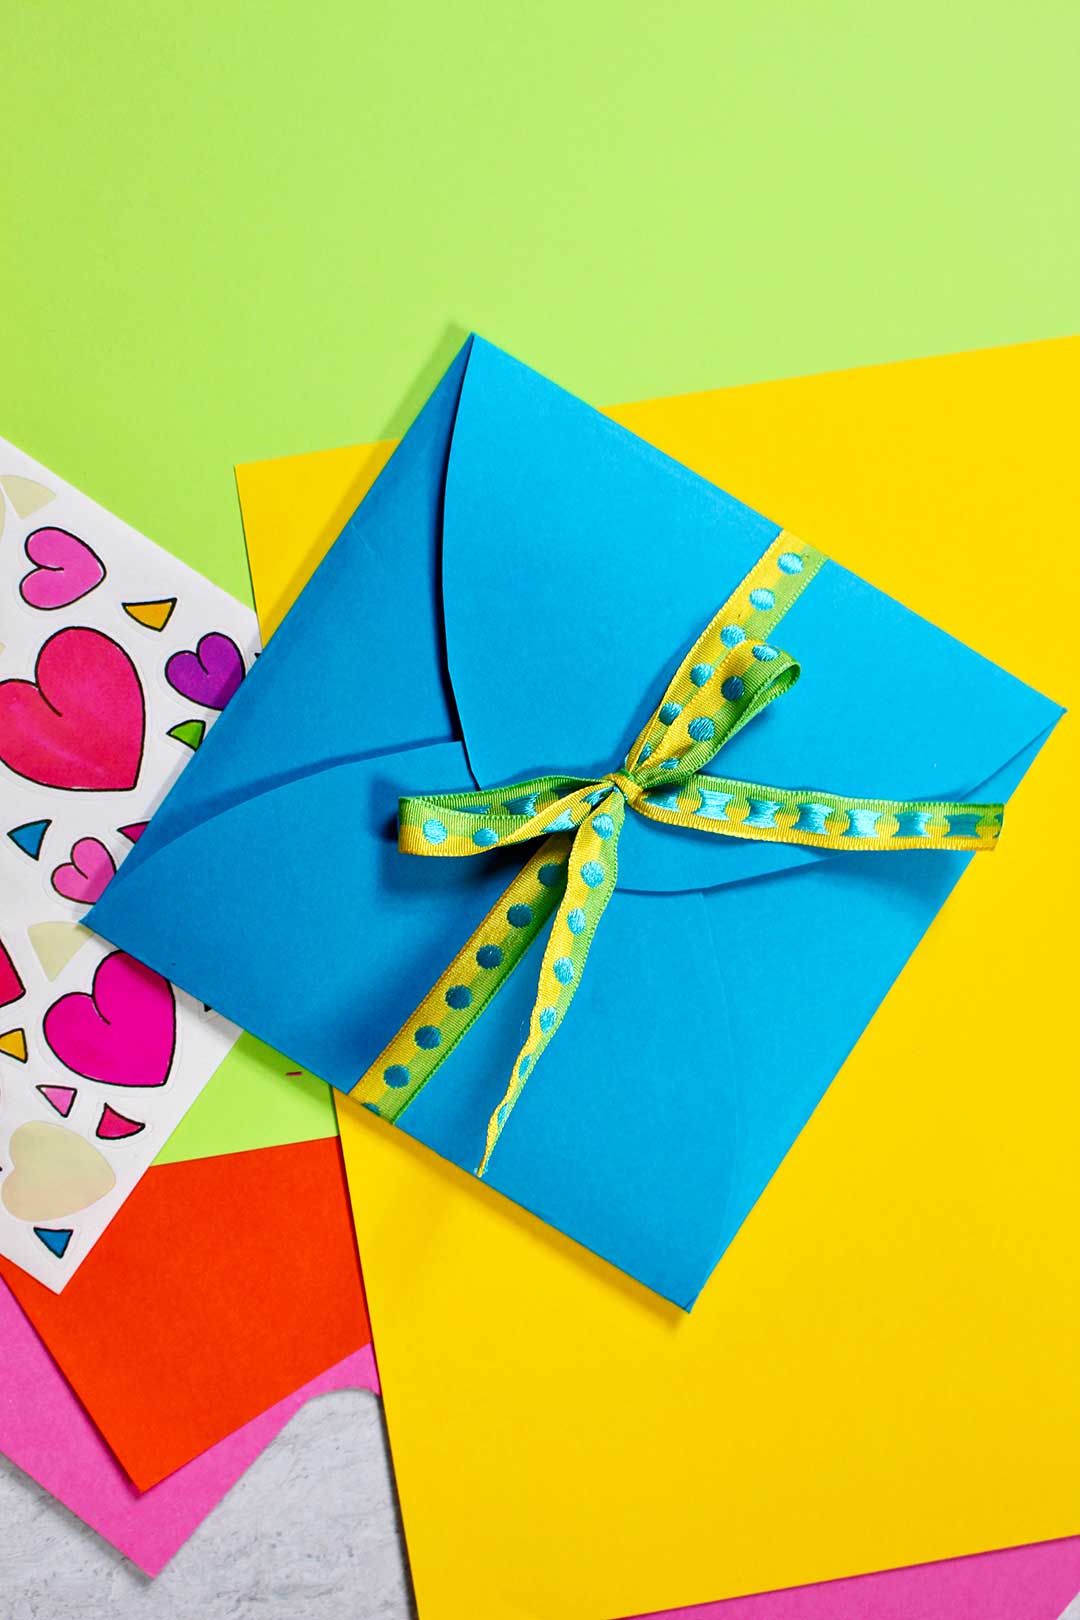
Tie it up with the ribbon
Close the flaps and use the ribbon from the back to tie the card shut.
Address your card to that wonderful mom of yours and tuck it away until Mother’s Day. Don’t forget to add the instructions to tie the ribbon and hang the card as a mobile. That is the coolest part of the whole deal and you don’t want mom to miss it!
I’m pretty excited to see what you come up with. You and your grands are so creative!
Here is a cute pop up card for Mom if you need another idea.

More Mother's Day ideas coming soon!!
There will be more Mother’s Day ideas for you in the next couple weeks so stay tuned! Hint- next week will be a personalized gift for mom and the next week a special food treat to make for a Mother's Day dessert or tea party.
DIY Ideas for Your Own Homemade Cards
Want some more inspiration for homemade messages? Check out more fun tutorials for DIY cards and envelopes:
- Handmade Envelopes: 3 Ways to Make a Paper Envelope
- Pressed flower card
- DIY pop up card
- How to Make Fabric Envelopes
- Cheerful Spring Tri-Fold Card
- Valentine's Day Candy Bar Card
- Awesome Origami T-Shirt Card
ENJOY!
If you try this craft, let me know! Go ahead and leave a comment, rate it, and tag a photo with #WelcometoNanas wherever you post.
Come join the fun at Welcome to Nana's!

Supplies to Create a Mother’s Day Card Mobile
- Card stock in several colors, 8.5x11 inch in size
- Ribbon- about 2 feet long
- Thread or dental floss
- Several small items to hang from the mobile (small, flat)- ideas listed above
- Scissors, tape, pencil, ruler
- Markers, stickers, etc to decorate



Leave a Reply