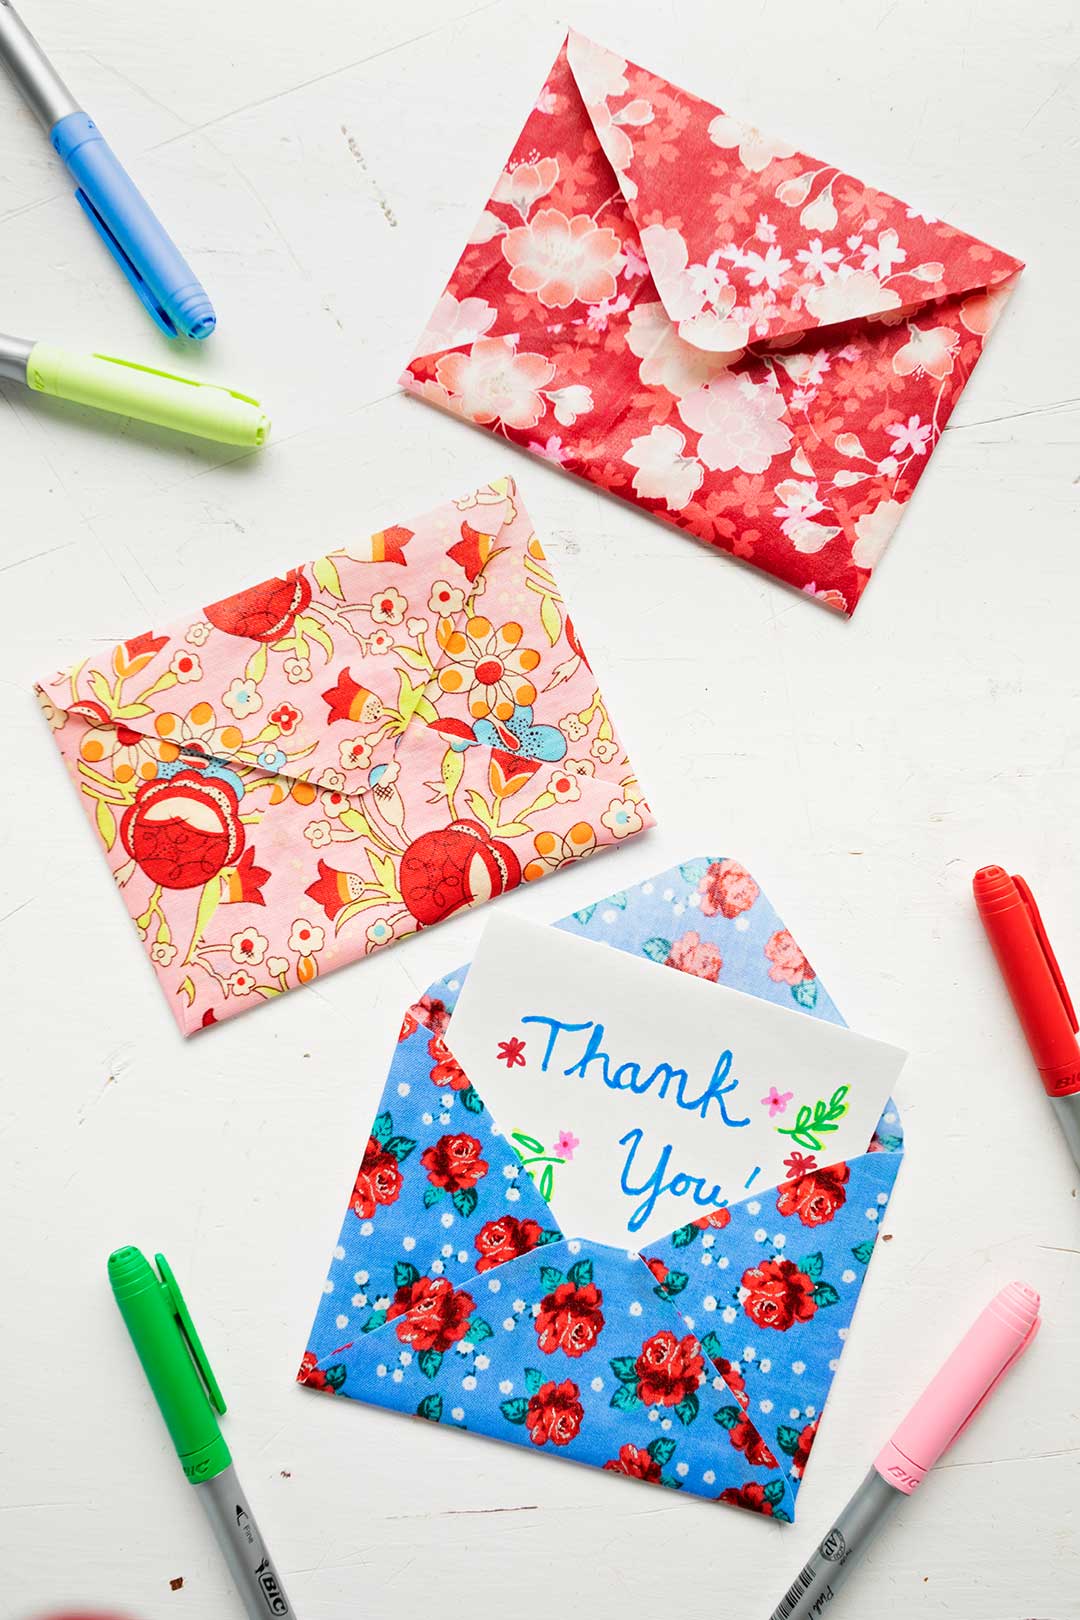
Fabric envelope
This tutorial on How to Make Fabric Envelopes is a Nana’s favorite, for sure. I have so many scraps of fabric that work perfectly for this craft. I’ll bet you do too! Let's recycle a few.
Want a way to give your card that extra “wow” factor? Give this Fabric Envelopes craft a try, then we will BOTH be hooked!
Fabric Envelope Tutorial Video
Here is a video if you prefer to watch how to make fabric envelopes. What do you think?

DIY fabric envelope
A Fabric Envelope is a perfect option for that card that you have made (especially if it is an odd size), or a card that has lost its envelope. It's a fun twist on making an envelope out of paper!
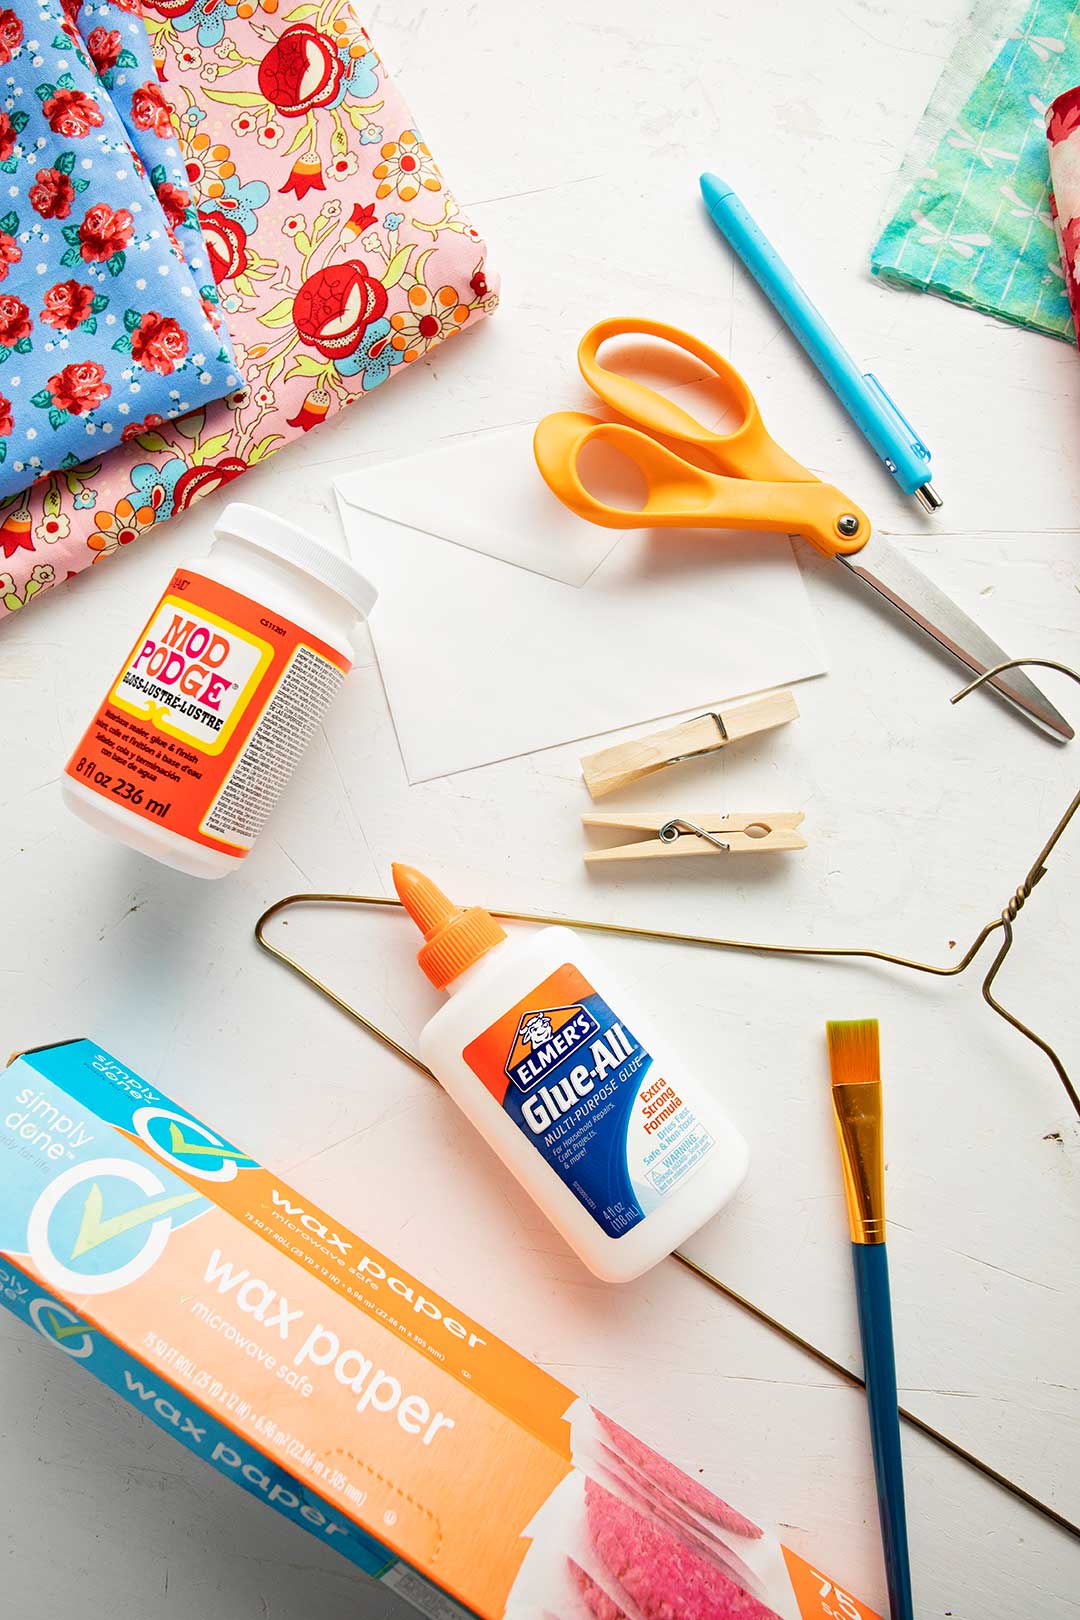
Go get your fabric scraps and some Mod Podge out and let’s get started. If you've got extra fabric scraps when you're done, try decoupaging flower pots with some of the same materials!
Free fabric envelope pattern
I have made a free pattern (template) for you to use for an A2 sized card with is 4.37x5.75 inches in size. The A2 envelope fits my favorite size of card to make. That card is ½ of an 8.5x11 inch piece of paper or card stock cut in half and folded- so easy. Here is a link to the template for making a fabric envelope.
Pattern to make an envelope
Want a different sized envelope?
You can open the flaps of an existing envelope (so it is out flat) and use that for a pattern.
Do you also see how you could enlarge this template to fit any sized card? You could use paper as well as fabric to make your own envelope.
You can do it!!
There are so many possibilities here. That’s one of my favorite things about this craft.
How do I make an envelope out of fabric?
I’m excited just getting to write about this. Bear with me while I have a crafting joy moment. OK, I’m back with you. Ha!
Print out the How to Make Fabric Envelopes Free Template.
Lay out your fabric, see that it is large enough for the pattern to fit and cut the fabric into an appropriate size, big enough for pattern to fit.
Note: You are NOT cutting out the envelope yet, that comes later.

Prepare your fabric
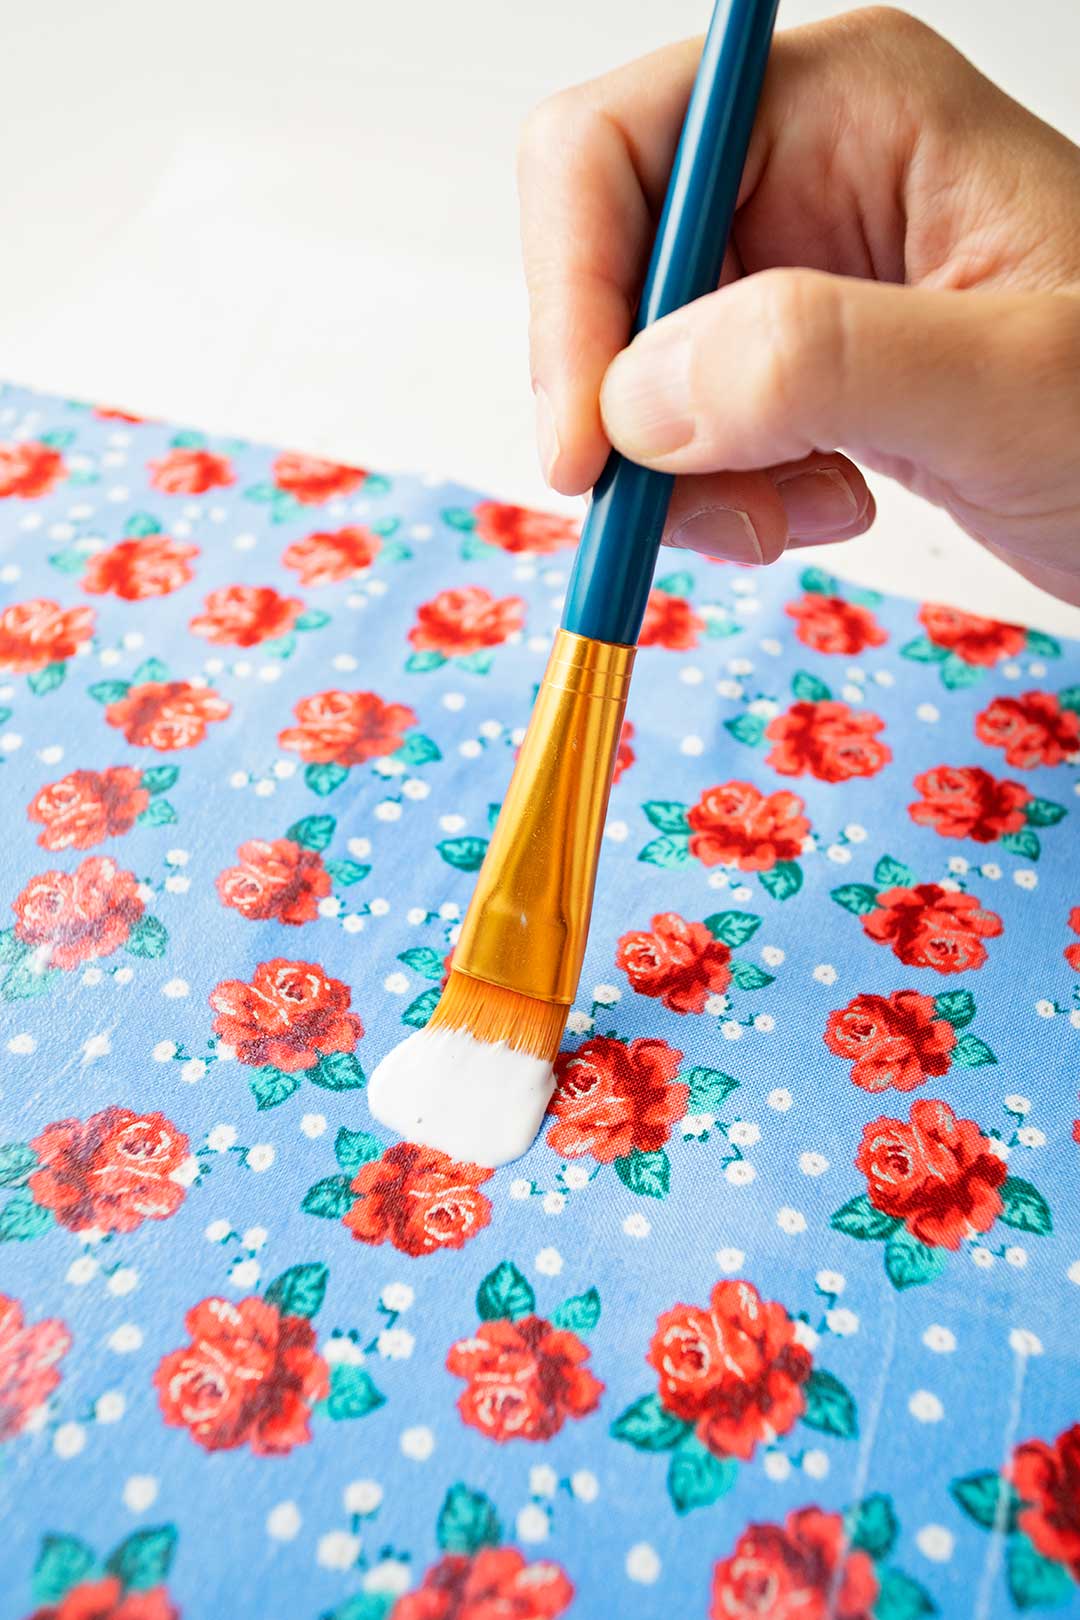
Place wax paper on your work surface. Lay the fabric out on the wax paper.
Use a flat paint brush and Mod Podge the entire surface of the fabric.
Flip the fabric over and Mod Podge the entire surface of the other side of the fabric.
Let this dry by hanging the fabric up with clips on a hanger or with a skirt hanger (that has clips).
Note- I used wooden clothes pins and a hanger and it glued the clips shut, breaking some of the clips. I will try it with the skirt hanger next time.
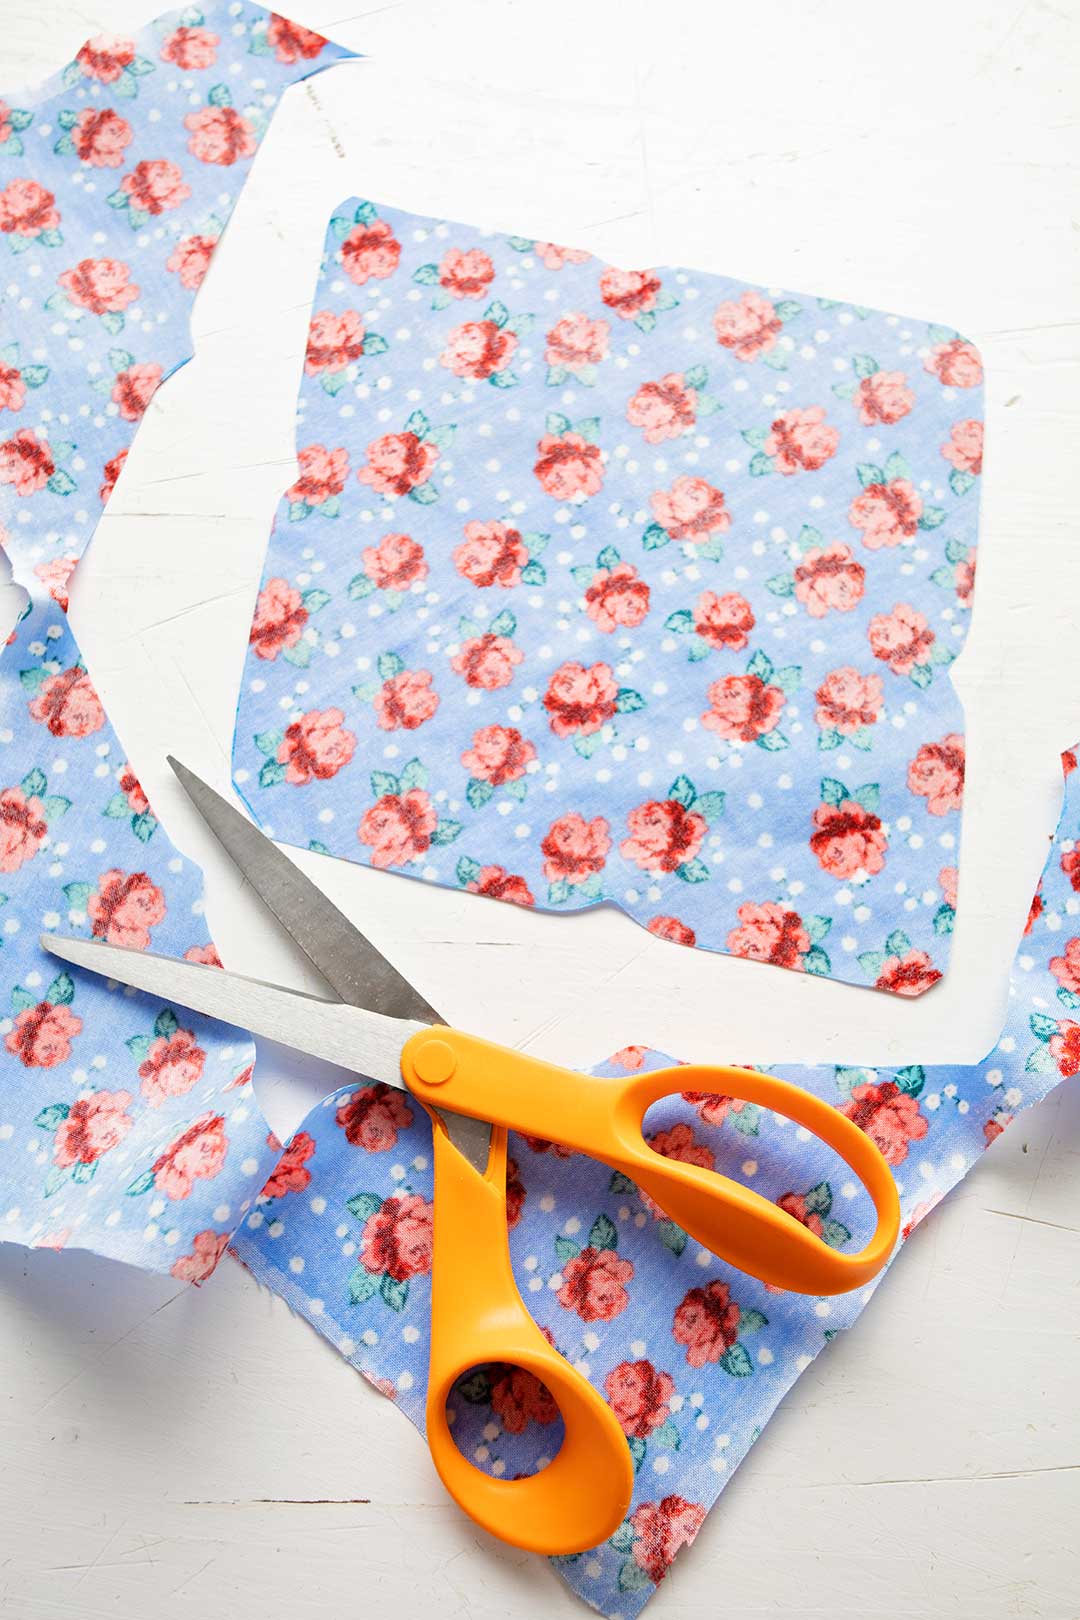
Cut out the envelope
Cut out the envelope pattern on the solid black outside line.
When the fabric is dry, lay it on the work surface (print side down) and draw around the paper envelope pattern.
Cut out the drawn shape.
Fold the envelope-
Cut a piece of wax paper in the shape of the finished envelope size (the center rectangle size when the flaps are folded in, shown on the pattern).
Place the wax paper rectangle in the center of the fabric shape (wrong side of fabric) as shown on the pattern. Fold the stiff fabric flaps in on the dotted lines, over the waxed paper rectangle. Unfold again.
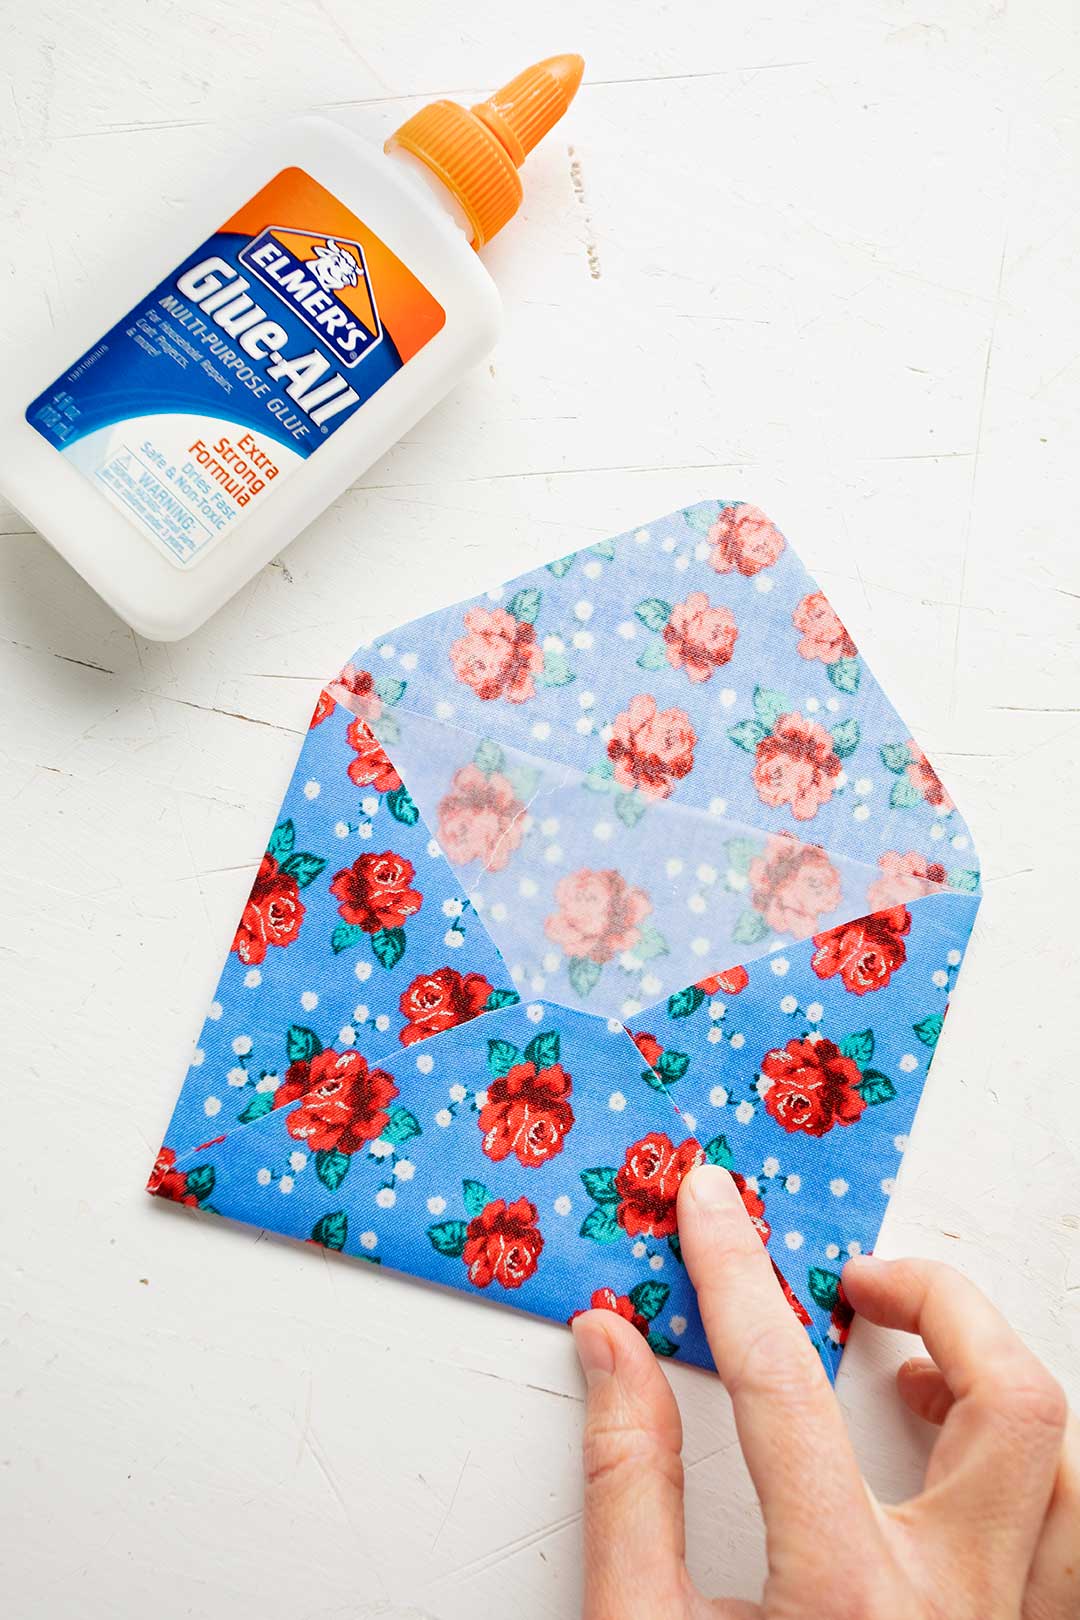
Fold the two side flaps in and then the bottom flap up (with the wax paper rectangle still inside). Glue the bottom flap up onto the two side flaps using school glue. You may need to put something on top to keep the flaps in place. If you do, place a piece of wax paper on top to prevent it from sticking.
Note- leave the top flap unglued.
When dry, take the wax paper piece out and “Wah-lah”, you have a fabric envelope!
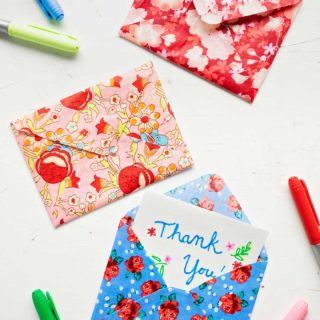
Slip in a card
Slip your card in and use a bit of glue to seal the envelope or just tuck the top flap in.
A seal and wax would be the perfect thing to seal this envelope, wouldn’t it?
Fabric gift card envelope pattern
I’m thinking this would be such a cute way to cover and give a gift card- to make a fabric gift card envelope! Let me know if you try this.
Other card and envelope crafts
- Handmade Envelopes: 3 Ways to Make a Paper Envelope
- Pressed flower card
- DIY pop up card
- Mother's Day Card Mobile
- Cheerful Spring Tri-Fold Card
- Valentine's Day Candy Bar Card
- Awesome Origami T-Shirt Card
ENJOY!
If you try this craft, let me know! Go ahead and leave a comment, rate it, and tag a photo with #WelcometoNanas wherever you post.
How to Make Fabric Envelopes
Equipment
- Hanger with clips
- OR hanger and clips
- Scissors
Items Required
Instructions
- Print out the How to Make Fabric Envelopes Free Template. Here is the link for you to get that free pattern.
- Lay out your fabric, see that it is large enough for the pattern to fit and cut the fabric into an appropriate size, big enough for pattern to fit.
- Place wax paper on your work surface. Lay the fabric out on the wax paper.
- Use a flat paint brush and Mod Podge the entire surface of the fabric. Flip the fabric over and Mod Podge the entire surface of the other side of the fabric.
- Cut out the envelope pattern on the solid black outside line.
- When the fabric is dry, lay it on the work surface (print side down) and draw around the paper envelope pattern.
- Cut out the drawn shape.
- Place the wax paper rectangle in the center of the fabric shape (wrong side of fabric) as shown on the pattern. Fold the stiff fabric flaps in on the dotted lines, over the waxed paper rectangle. Unfold again.
- Fold the two side flaps in and then the bottom flap up (with the wax paper rectangle still inside). Glue the bottom flap up onto the two side flaps using school glue. You may need to put something on top to keep the flaps in place. If you do, place a piece of wax paper on top to prevent it from sticking.
- When dry, take the wax paper piece out and “Wah-lah”, you have a fabric envelope!
Video
Supplies for How to Make Fabric Envelopes:
- Fabric scraps
- How to Make Fabric Envelope Free Template from Welcome to Nanas- Link
- OR- open an envelope of any size to use as a pattern
- Mod Podge
- Flat paint brush
- Wax paper or Parchment paper
- Hanger with clips
- OR hanger and clips
- School glue
- Scissors
Enjoy!
If you try this craft, let me know! Go ahead and leave a comment, rate it, and tag a photo with #WelcometoNanas wherever you post.
Come join the fun at https://welcometonanas.com


Leave a Reply