Learn how to make slime with this awesome Fluffy Slime Recipe for kids! Get ready for a fun, squishy science experiment that will lead to hours of sensory play.
Jump to:
- This Fluffy Slime is So Fun to Make!
- Important Safety Precautions When Making Homemade Slime
- Fluffy Slime Recipe Ingredients and Supplies
- How to Make Fluffy Slime
- How to Make Slime With Glue: Experiment Explained
- Cloud Slime Recipe Tips
- A Science Experiment You Can Play With!
- Cloud Slime Recipe Variations
- How to Store Fluffy Slime
- WATCH: Cloud Slime Recipe
- How to Make Fluffy Slime FAQs
- More Hands-On Crafts and Activities!
- Enjoy!
- More Crafts!
- More from Welcome To Nana's
- Fluffy Slime Recipe
- Safety precautions-
This Fluffy Slime is So Fun to Make!
Make-at-home projects like this Fluffy Slime can be tricky, so I applied my 50+ years of crafting experience to create a step-by-step tutorial just for you! Let me give you the tips and tricks to make this craft safely turn out perfectly fluffy and stretchy every time.
After teaching for years both at home and in the school setting, I just love crafts that double as science projects. You can turn your kitchen into a mini lab and make fluffy slime safely with the right guidance. So grab a few ingredients, follow the steps below, and have some fun as the kids learn and explore!
Important Safety Precautions When Making Homemade Slime
- Use this recipe with older children!
- Keep young kids and pets away from borax. Be sure to throw all extra borax solution away when done.
- Shaving foam can burn your eyes so don't touch or rub your eyes while handling.
- Stir the mixture with a silicone spatula until the Borax mixture has been fully mixed in and the slime is pulling away from the bowl.
- Wear gloves if you have sensitive skin. I had no problems, but others may. Also food coloring can put color on your skin.
- Work over a table or flat surface as I'm guessing that slime would stick in carpet.
Fluffy Slime Recipe Ingredients and Supplies
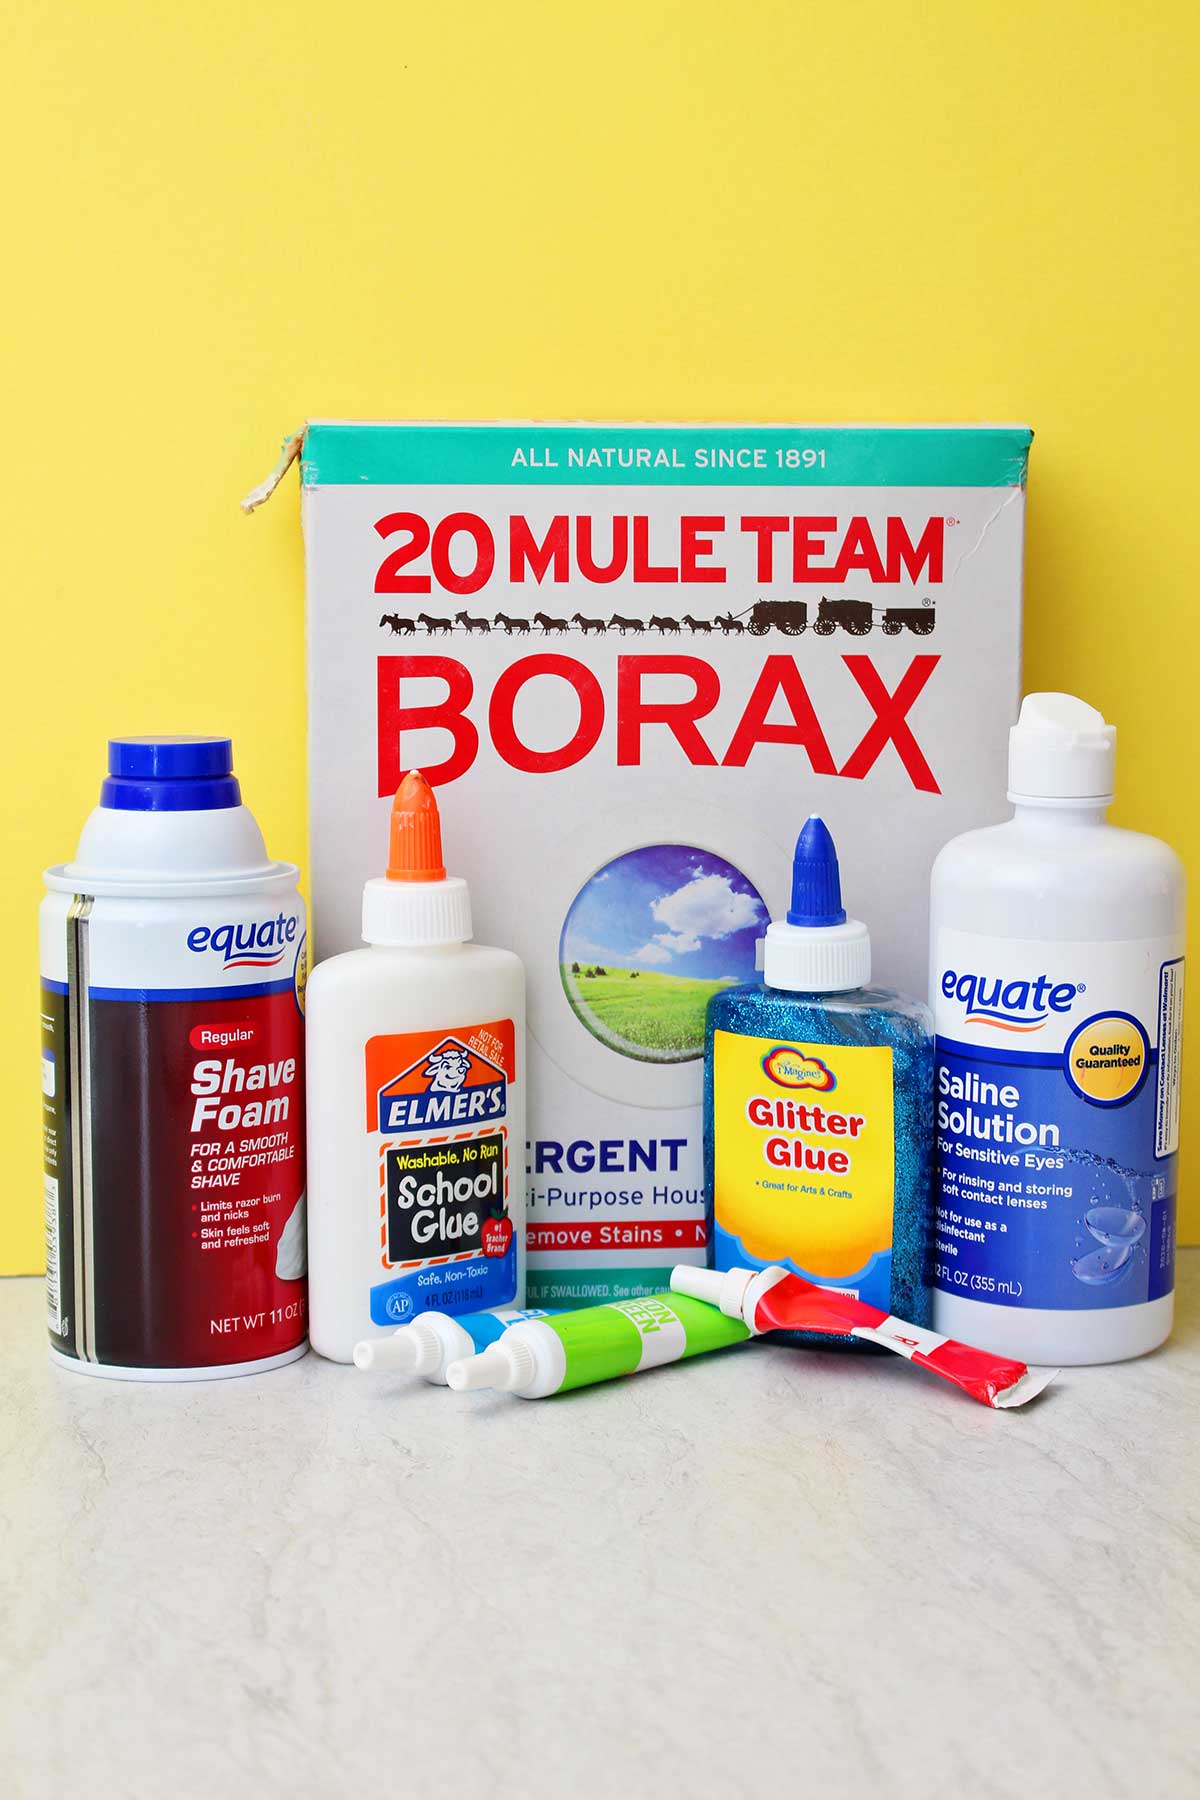
You don't need many ingredients or materials to make this fun fluffy slime recipe! Gather the following slime ingredients, and keep in mind they are not suitable for young ages:
- PVA glue- white school glue is better than clear glue for this recipe (like Elmer's School glue)
- Water
- Baking soda
- Shaving cream- spray foam type in a can
- Saline solution- a brand of contact lens solution that includes boric acid and sodium borate- read the ingredient list! Find in the store section for “eye products”, it's a solution used for contacts.
- Borax- found in the laundry section (optional- but I used it in this video)
- Optional Extra Ingredients: Food coloring, Glitter
- Equipment: Mixing bowls, Measuring cups and spoons, Silicone spatula (for stirring)
How to Make Fluffy Slime
Once you have your ingredients and equipment gathered, it's time to mix up a batch of slime!
Stir the mixture with a silicone spatula until the Borax mixture has been fully mixed in (the very last step) and the slime is pulling away from the bowl.
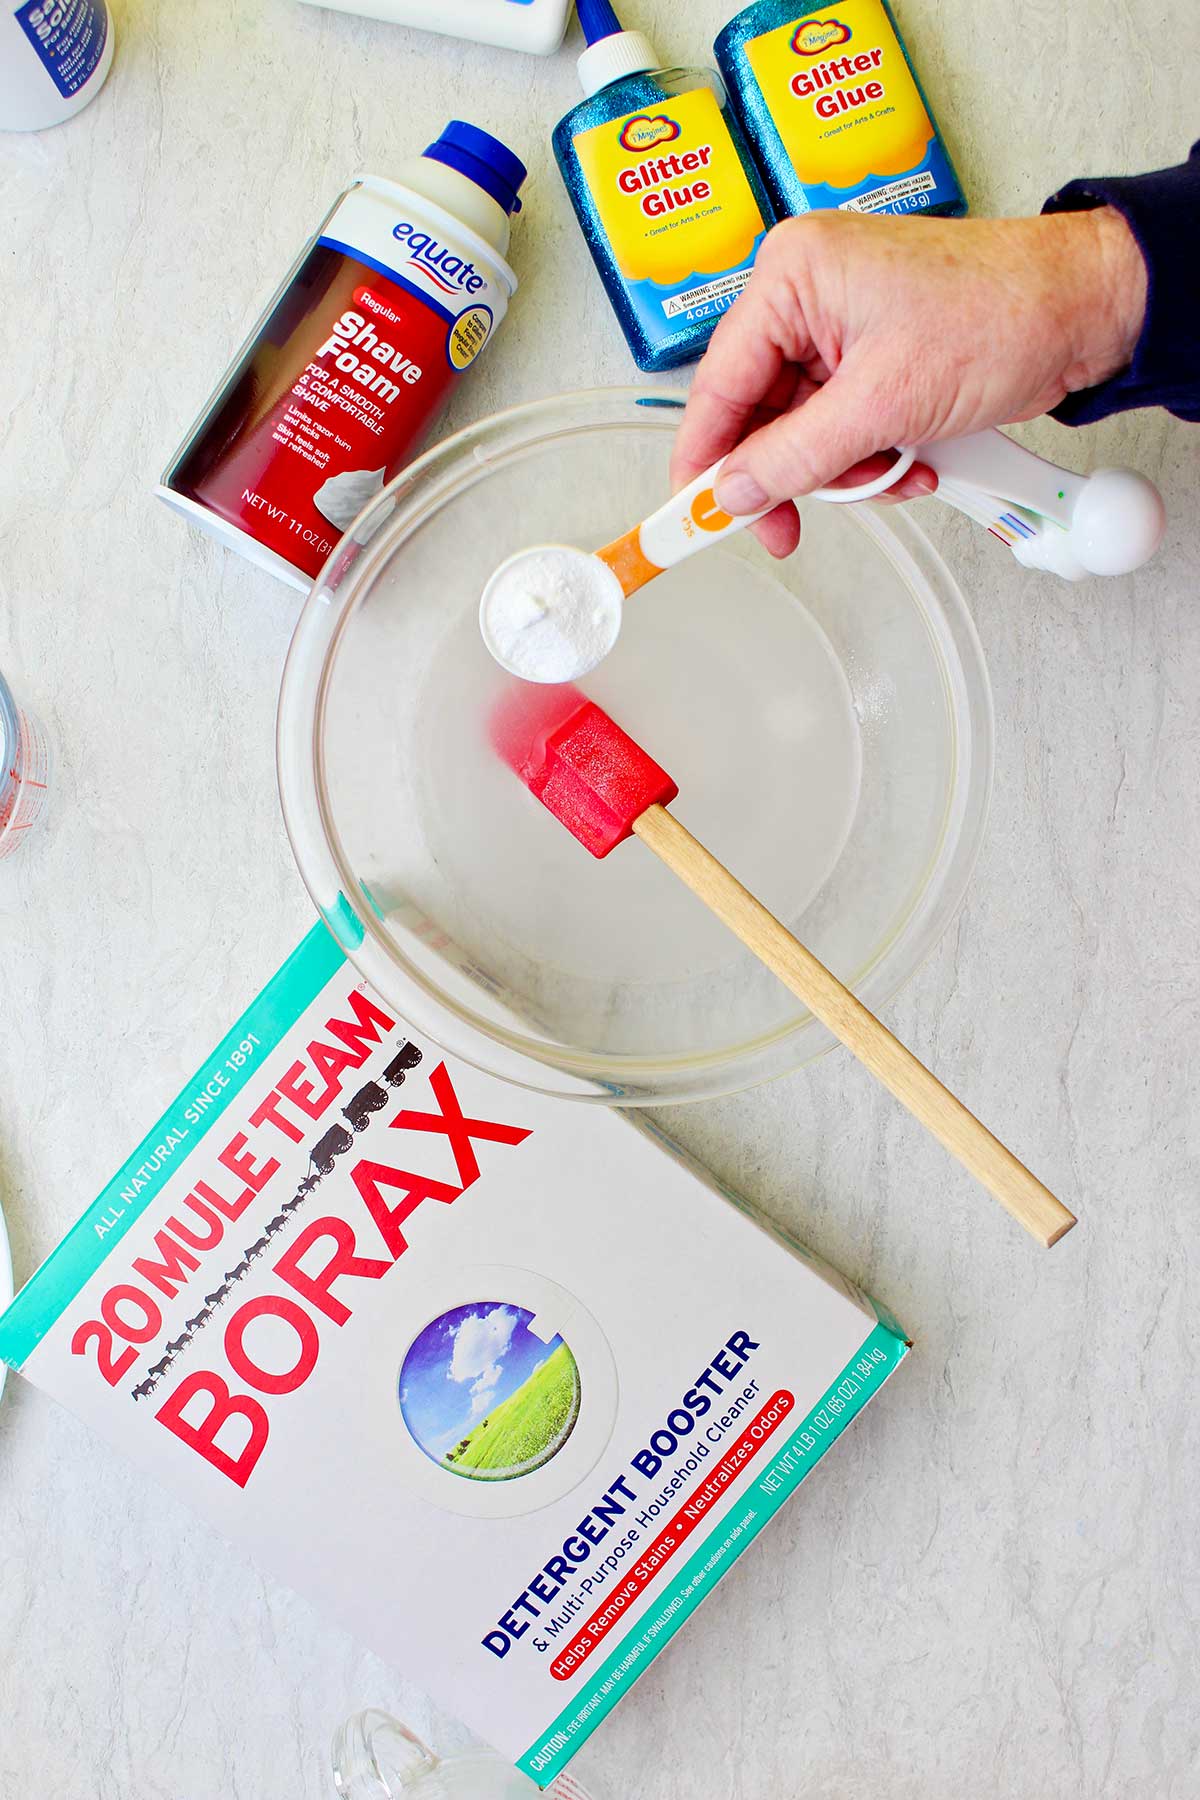
Step 1: Make The First Borax Mixture
Important: Keep this mixture away from younger children and pets. Throw away all extra solution when you finish.
I started by making a borax solution. To a medium sized mixing bowl measure out and add a cup of warm water and 1 tablespoon of Borax.
Stir this mixture until dissolved and then set aside.
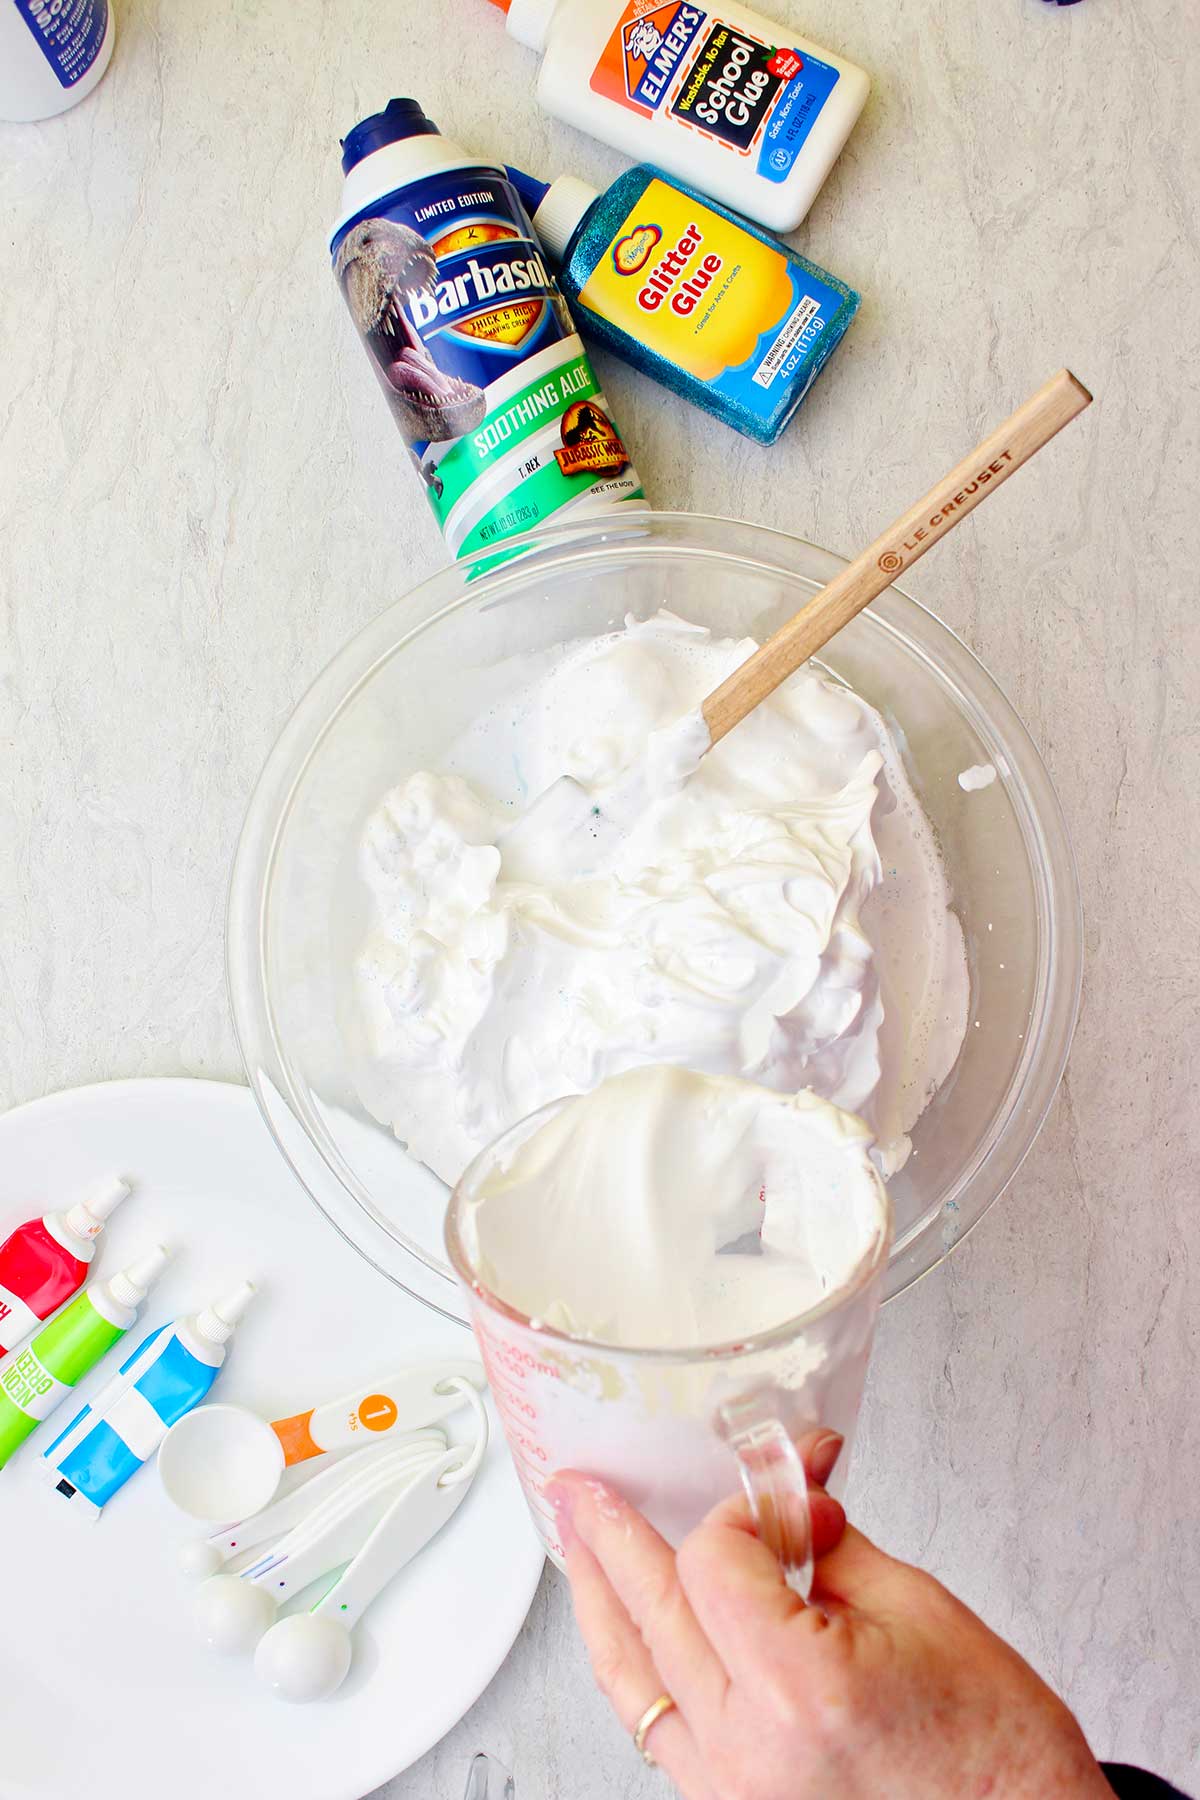
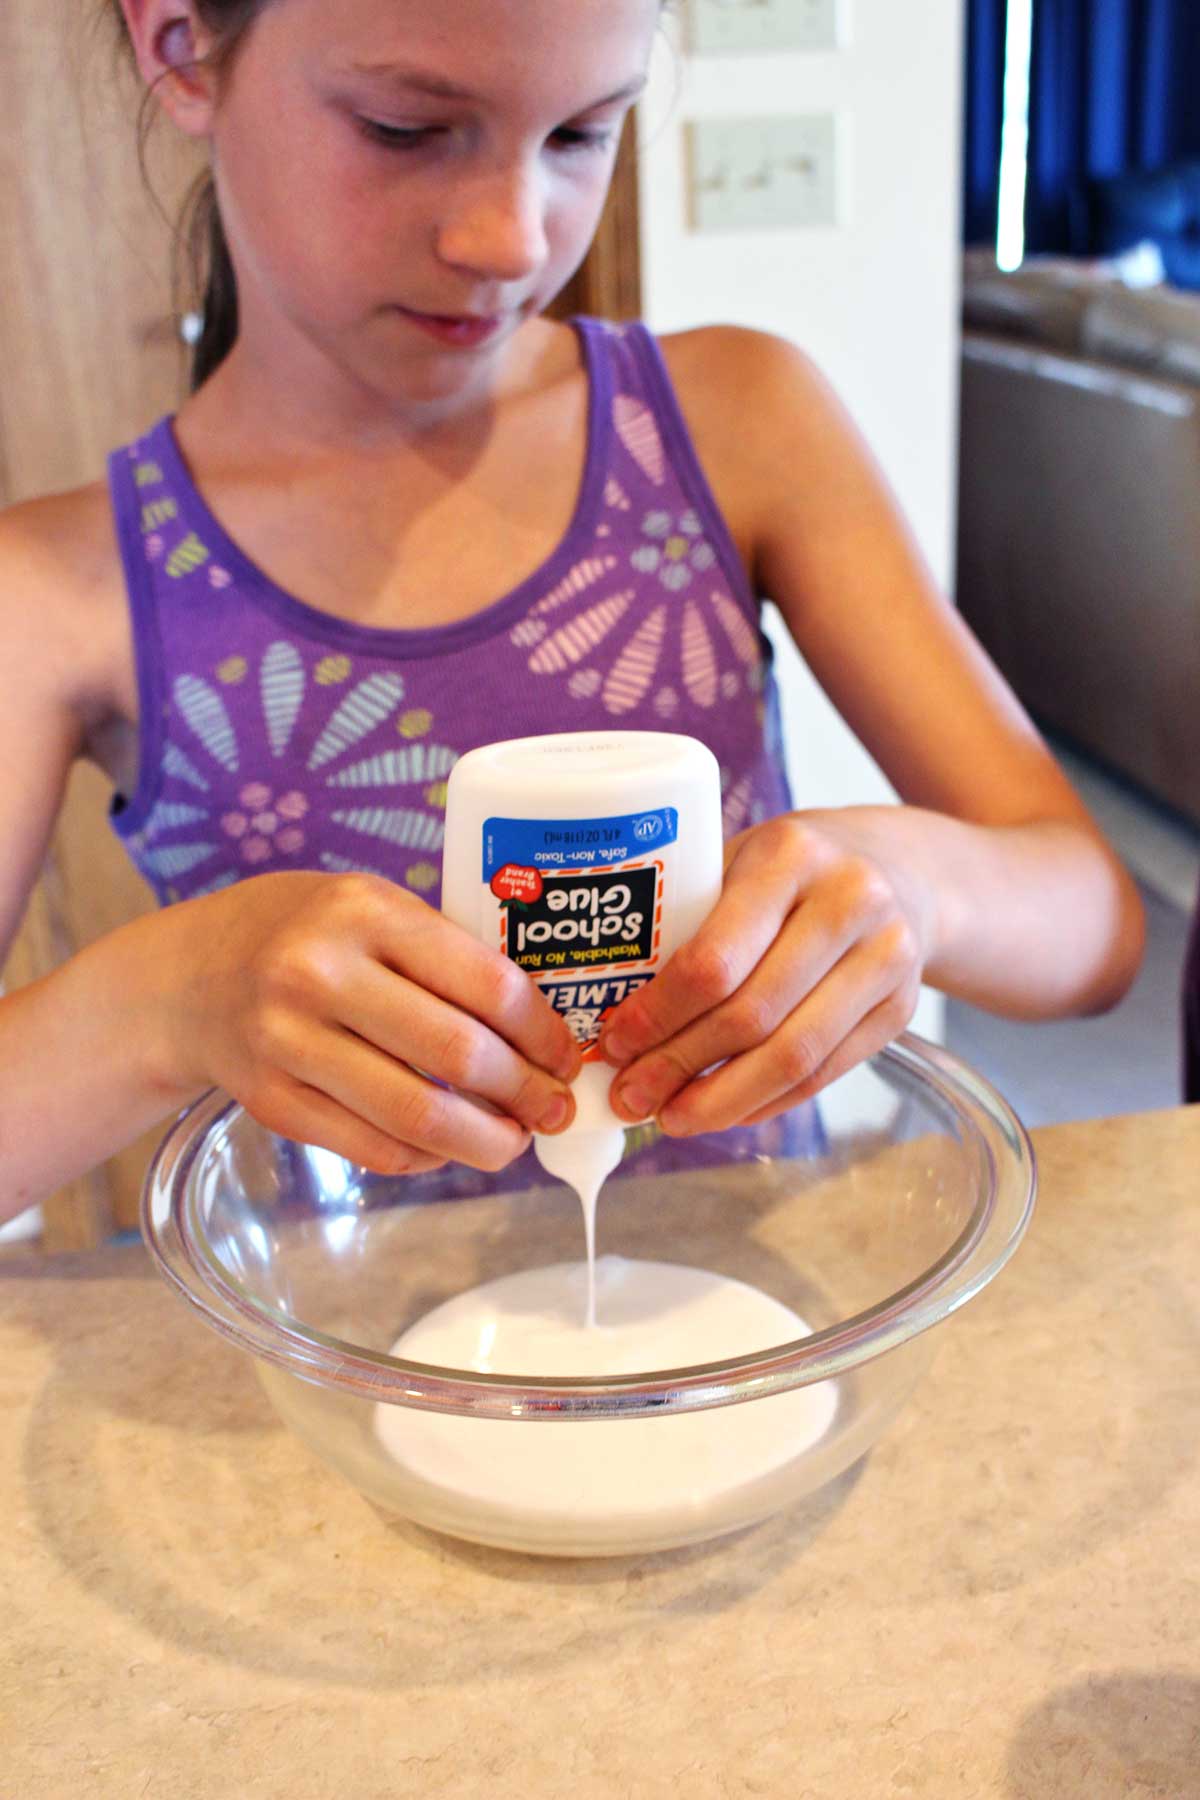
Step 2: Make Second Glue Mixture
Now pull out a large mixing bowl for the glue mixture. In this bowl, add ½ cup of warm water and 1 whole cup of glue.
Now if you’d like to, you can purchase glitter glue to add into your recipe (I bought mine at the Dollar Store). But plain white glue or Elmer's glue will work and you have the option of adding glitter in a bit.
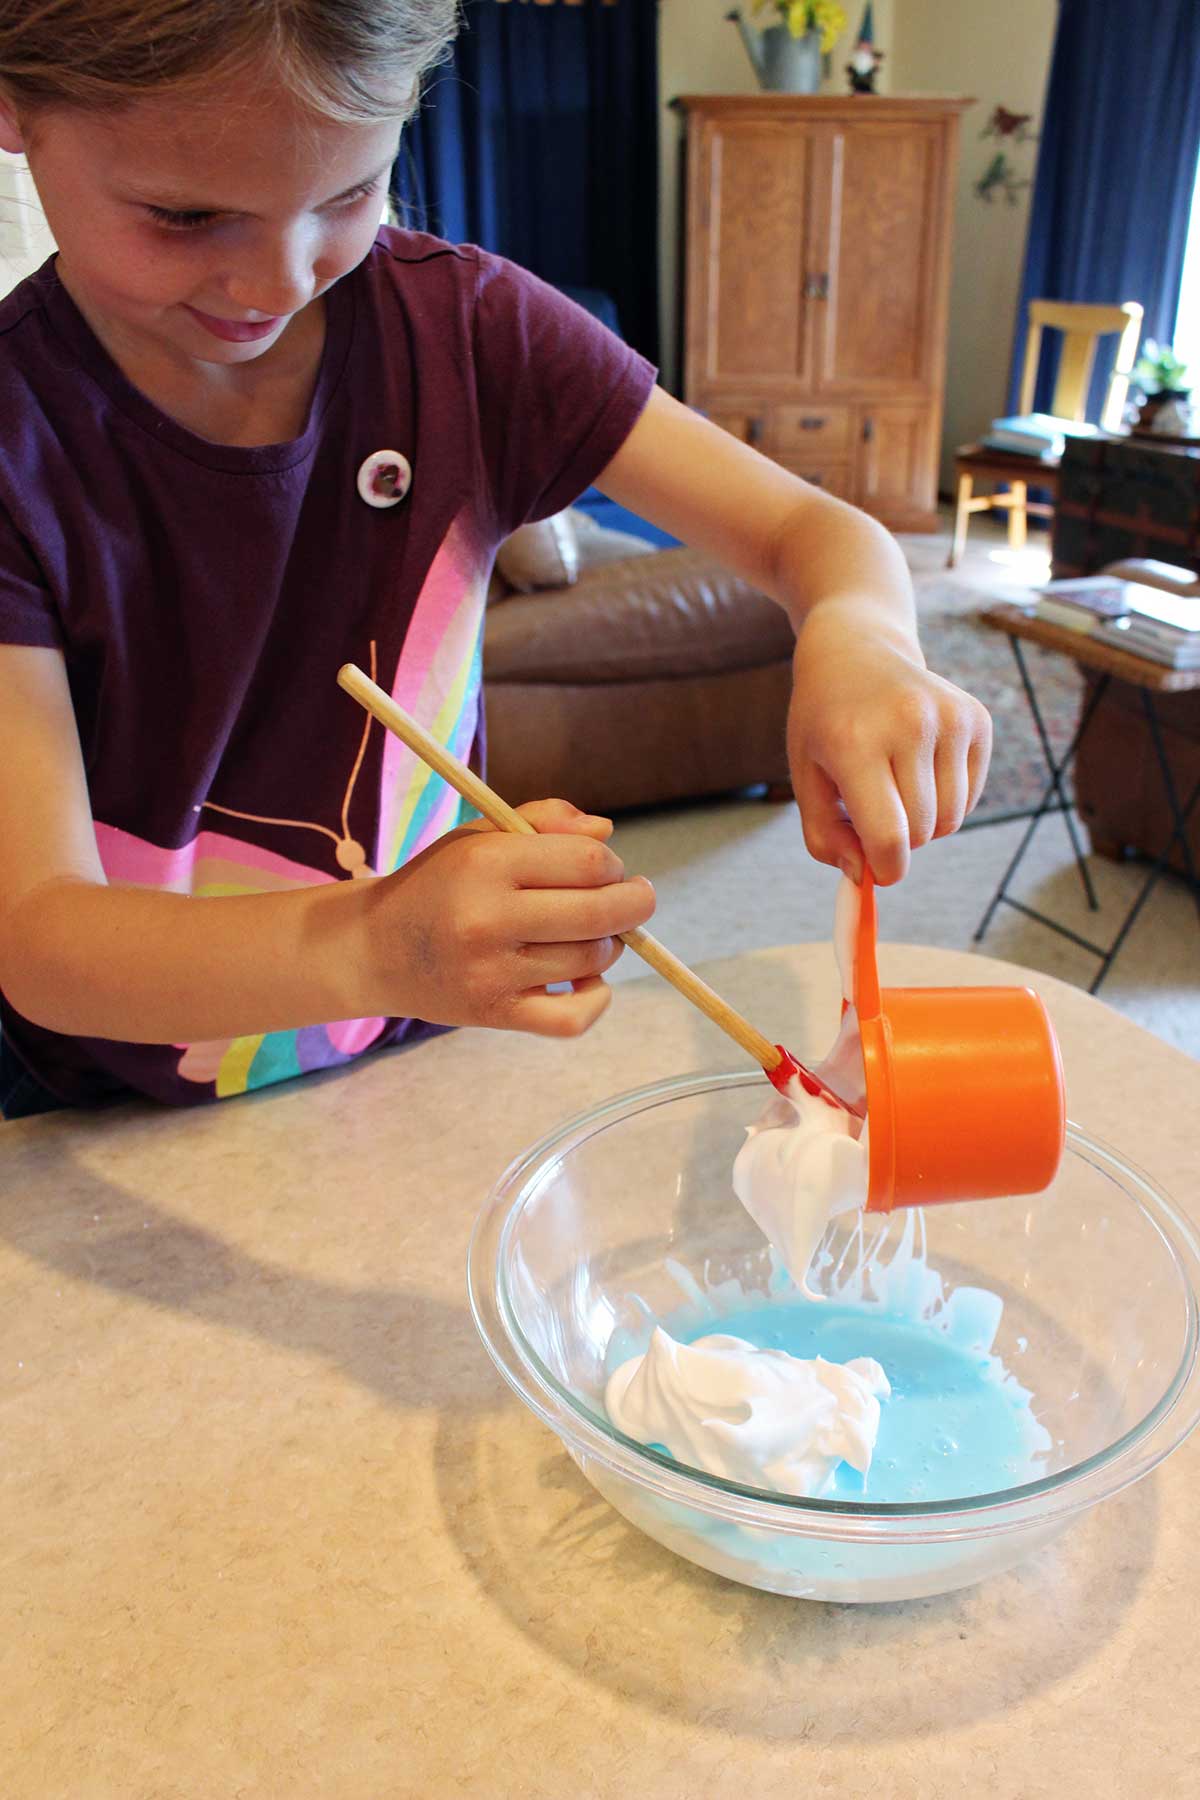
Step 3: Add Shaving Cream
Mix the glue and the water together a bit, then add 3 to 4 cups of shaving cream. This was fun, spraying the foam made the best hissing noise!
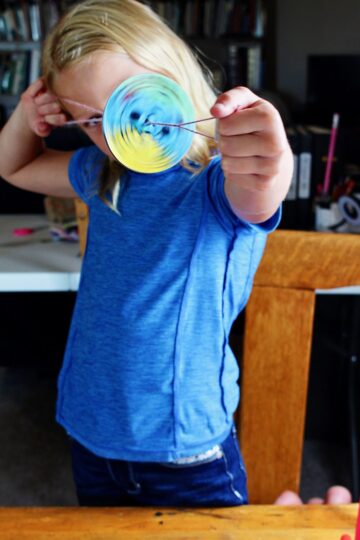
I measured out the shaving cream, but if you would prefer, you can just squirt a large amount into the bowl! (If you have leftovers, try making this cool Shaving Cream Marbling on Paper!)
Step 4: Add Baking Soda
To this mixture, add a half teaspoon of baking soda.
Now I just want to reminder you to note the difference between baking soda and baking powder! We need baking soda in this recipe, NOT powder.
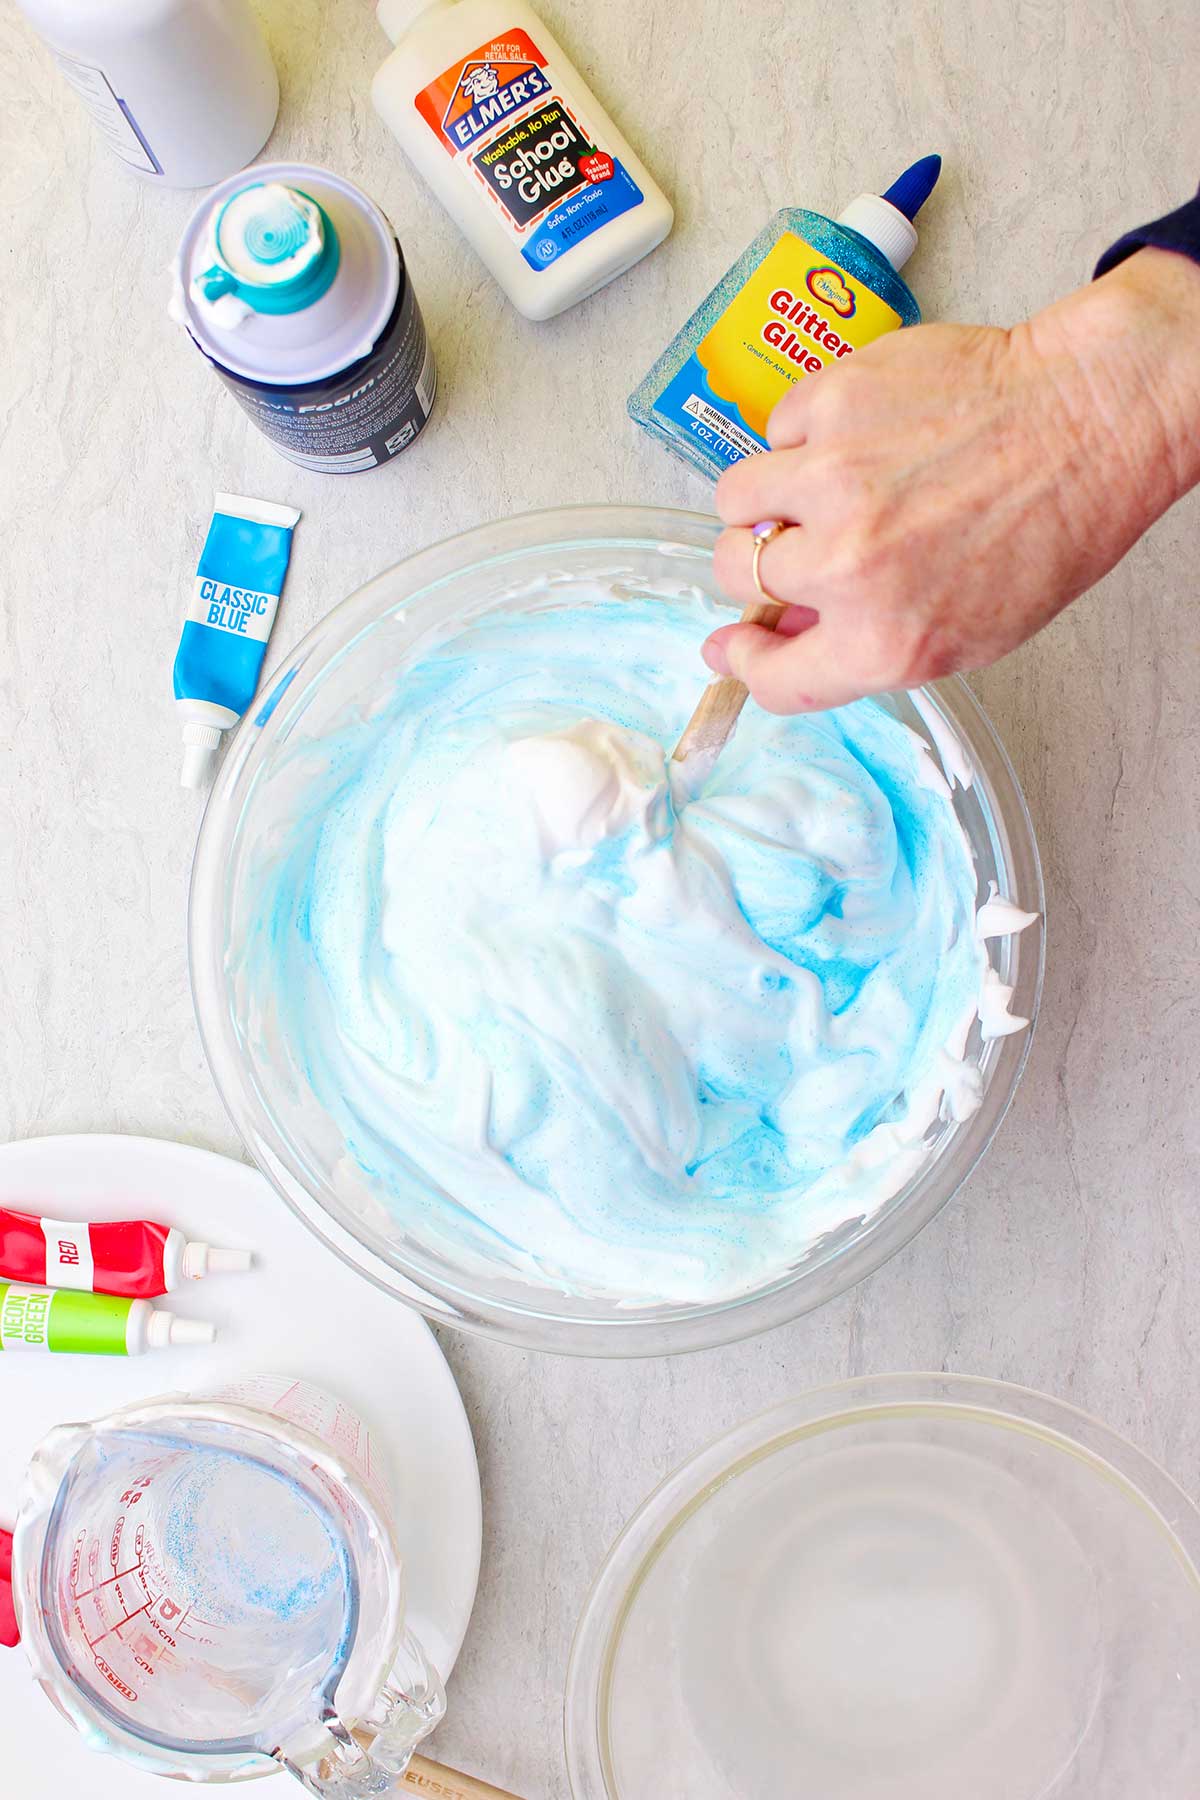
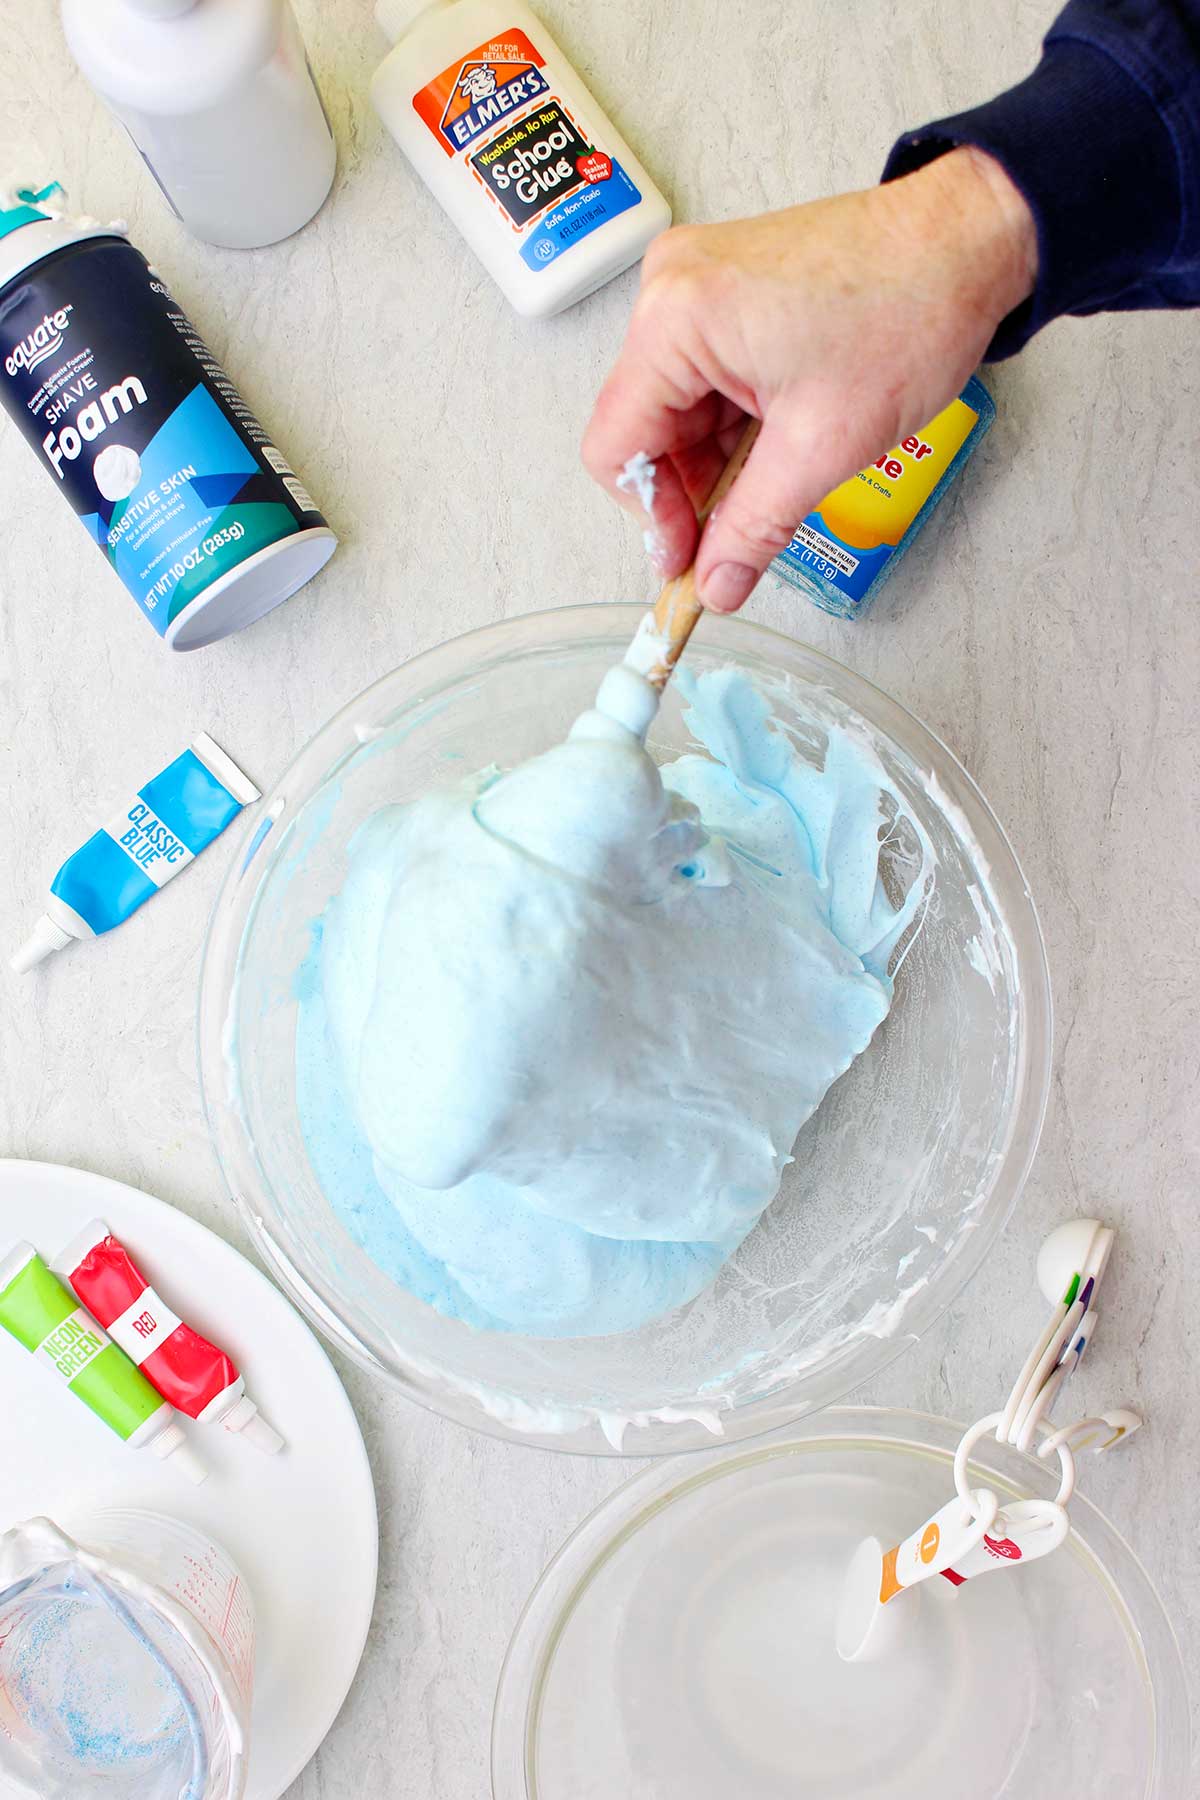
Step 5: Choose Food Coloring and Glitter
Next, I added a few drops of food coloring (optional) to my mixture (mine was a gel but liquid food coloring works too).
Some of my glue was a glitter glue, which already had a little bit of blue coloring in it. However I wanted it to be a bit more vibrant so I added more blue food coloring!
At this point, you could add other things to your solution as well. I would’ve added glitter to it if I had it. I have it somewhere in my “stash” but just couldn’t find it. 🙁
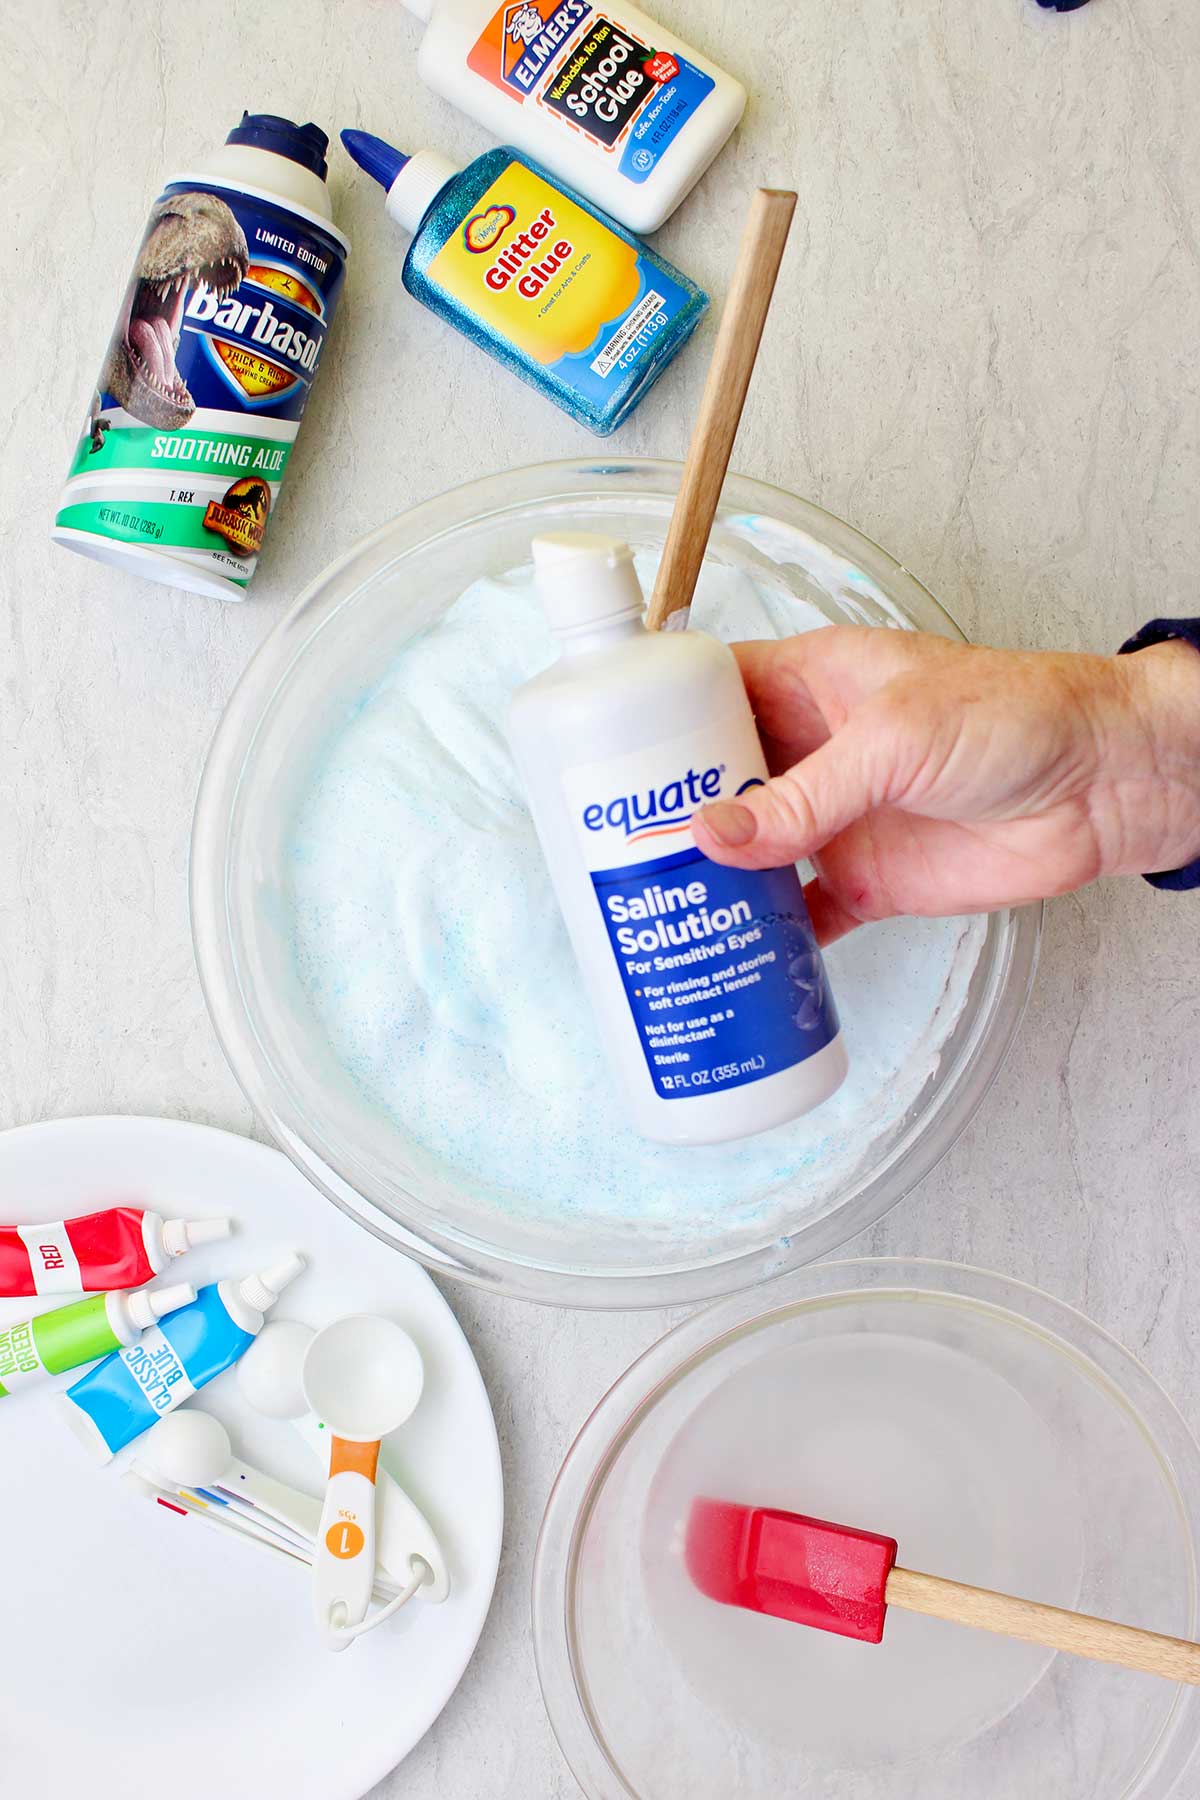
Step 6: Add Saline Solution
After you've mixed these ingredients, add 2 Tablespoons of saline solution. Saline solution is a slime activator (it activates a chemical reaction)!
As I said in the supplies list, your saline solution needs to include boric acid and sodium borate. Read the label on the saline solution container before purchasing, to make sure it has these ingredients.
How to Make Slime With Glue: Experiment Explained
The perfect fluffy slime recipe just happens to be a craft AND a science experiment - SCORE!
This is where the magic begins to happen.
As you mix, you’ll see a chemical reaction begin take place. Pretty cool - this is just the best way to mix science with crafts!
The glue is a PVA glue (polyvinyl acetate) with molecules that are in a liquid form. The saline solution contain boric acid and also is in a liquid form (the borax solution too).
When we combine the activator boric acid (molecules in the saline solution and later in the Borax) and polyvinyl acetate (in the cup of Elmer glue), we trigger a chemical reaction. Specifically, the borate ions in the boric acid trigger a chemical reaction in the polyvinyl acetate!
Whew, I'm a home ec teacher, not a science teacher, but this is fascinating.
The molecules in this new solution become long and stringy. As a result, the mixture changes and becomes something between a liquid and a solid. This is a non-Newtonian fluid.
The mixture has new properties - new ways of acting and feeling. It moves through your fingers and oozes into the shape of whatever container you put it in. In other words, it's slime!
Cloud Slime Recipe Tips
- White Glue- Use Elmer's white glue or other brand of white glue to make the fluffiest slime (PVA glue- white glue is better)
- Halve or Divide- This recipe is large, so if you are making for one child I would suggest cutting it in half! If multiple children are playing with the slime, simply divide in portions for each.
- Too Sticky?- If your slime is a bit sticky, add a little saline solution or baby oil to your hands before picking it up
Thickening Your Slime
In this final step, the ingredients interact and begin to thicken and pull away from the sides of the bowl as you stir. (And now you know why!)
As you mix, you may find that you don’t need to add anything more to the mixture. Your slime may just start setting up and that’s all you need to do.
However, if your slime is too sticky and you'd like it to firm up, you can use the Borax mixture. I do make that ingredient optional, because you may not need it.
I wanted my slime to firm up a bit more, so I used a little of the Borax solution. Add one tablespoon of the Borax solution to the glue mixture in the large bowl. Mix thoroughly and it will begin to set up even more.
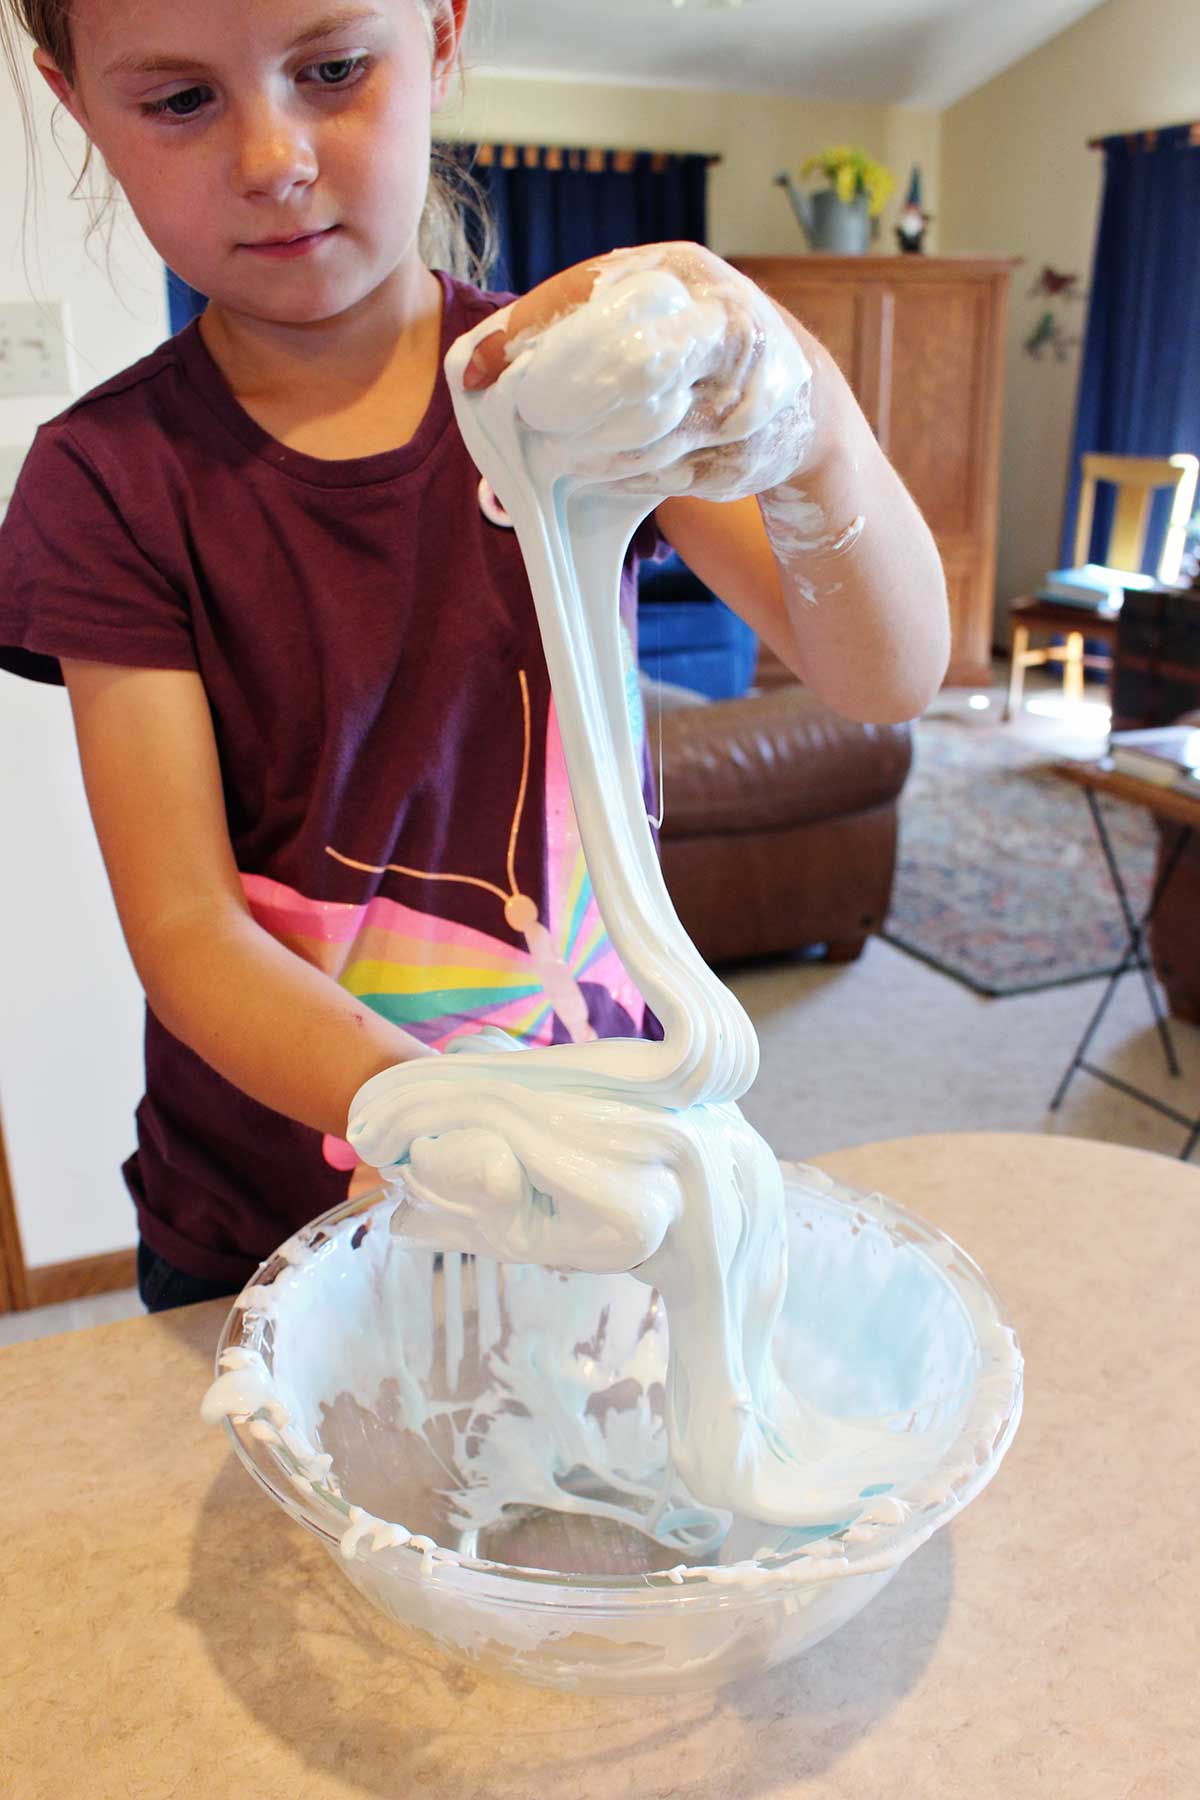
When your mixture pulls away from the bowl, you are ready to start playing with the slime!
A Science Experiment You Can Play With!
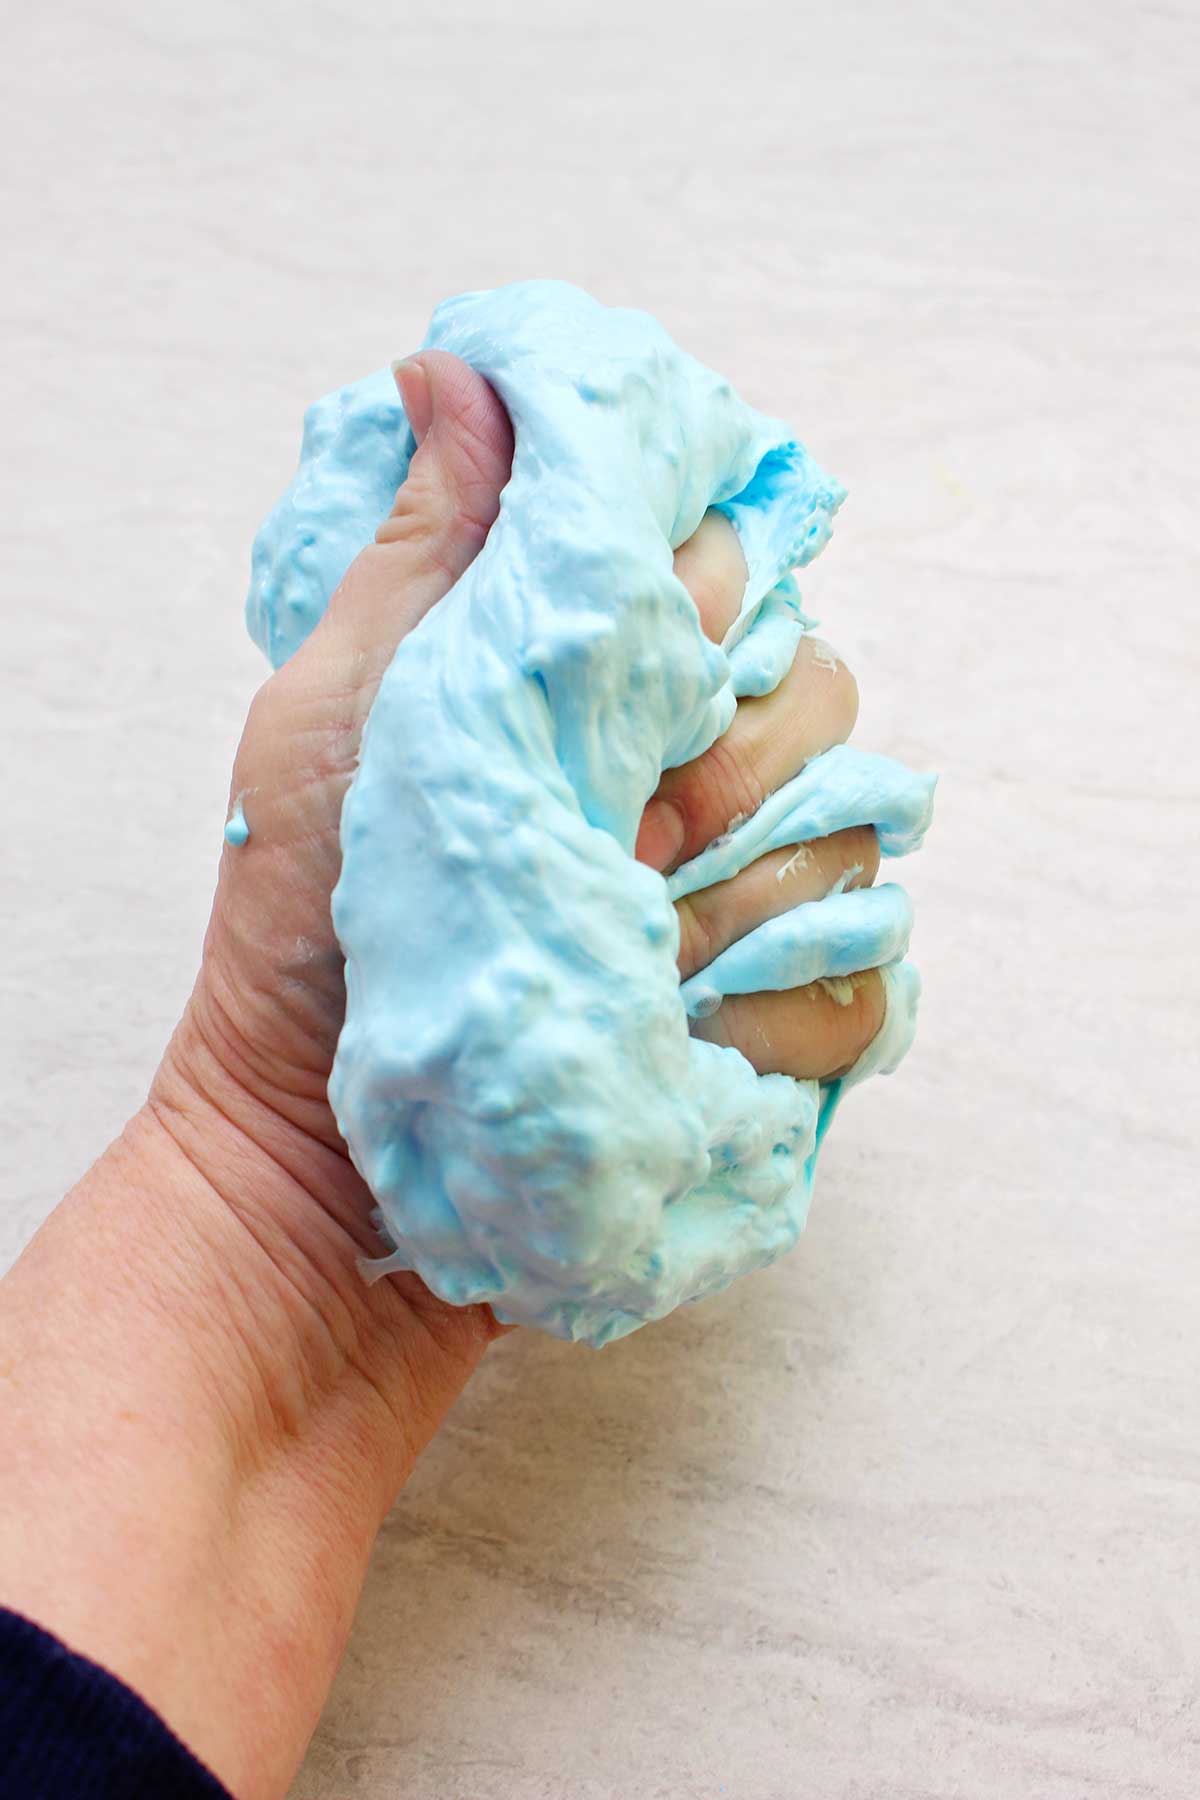
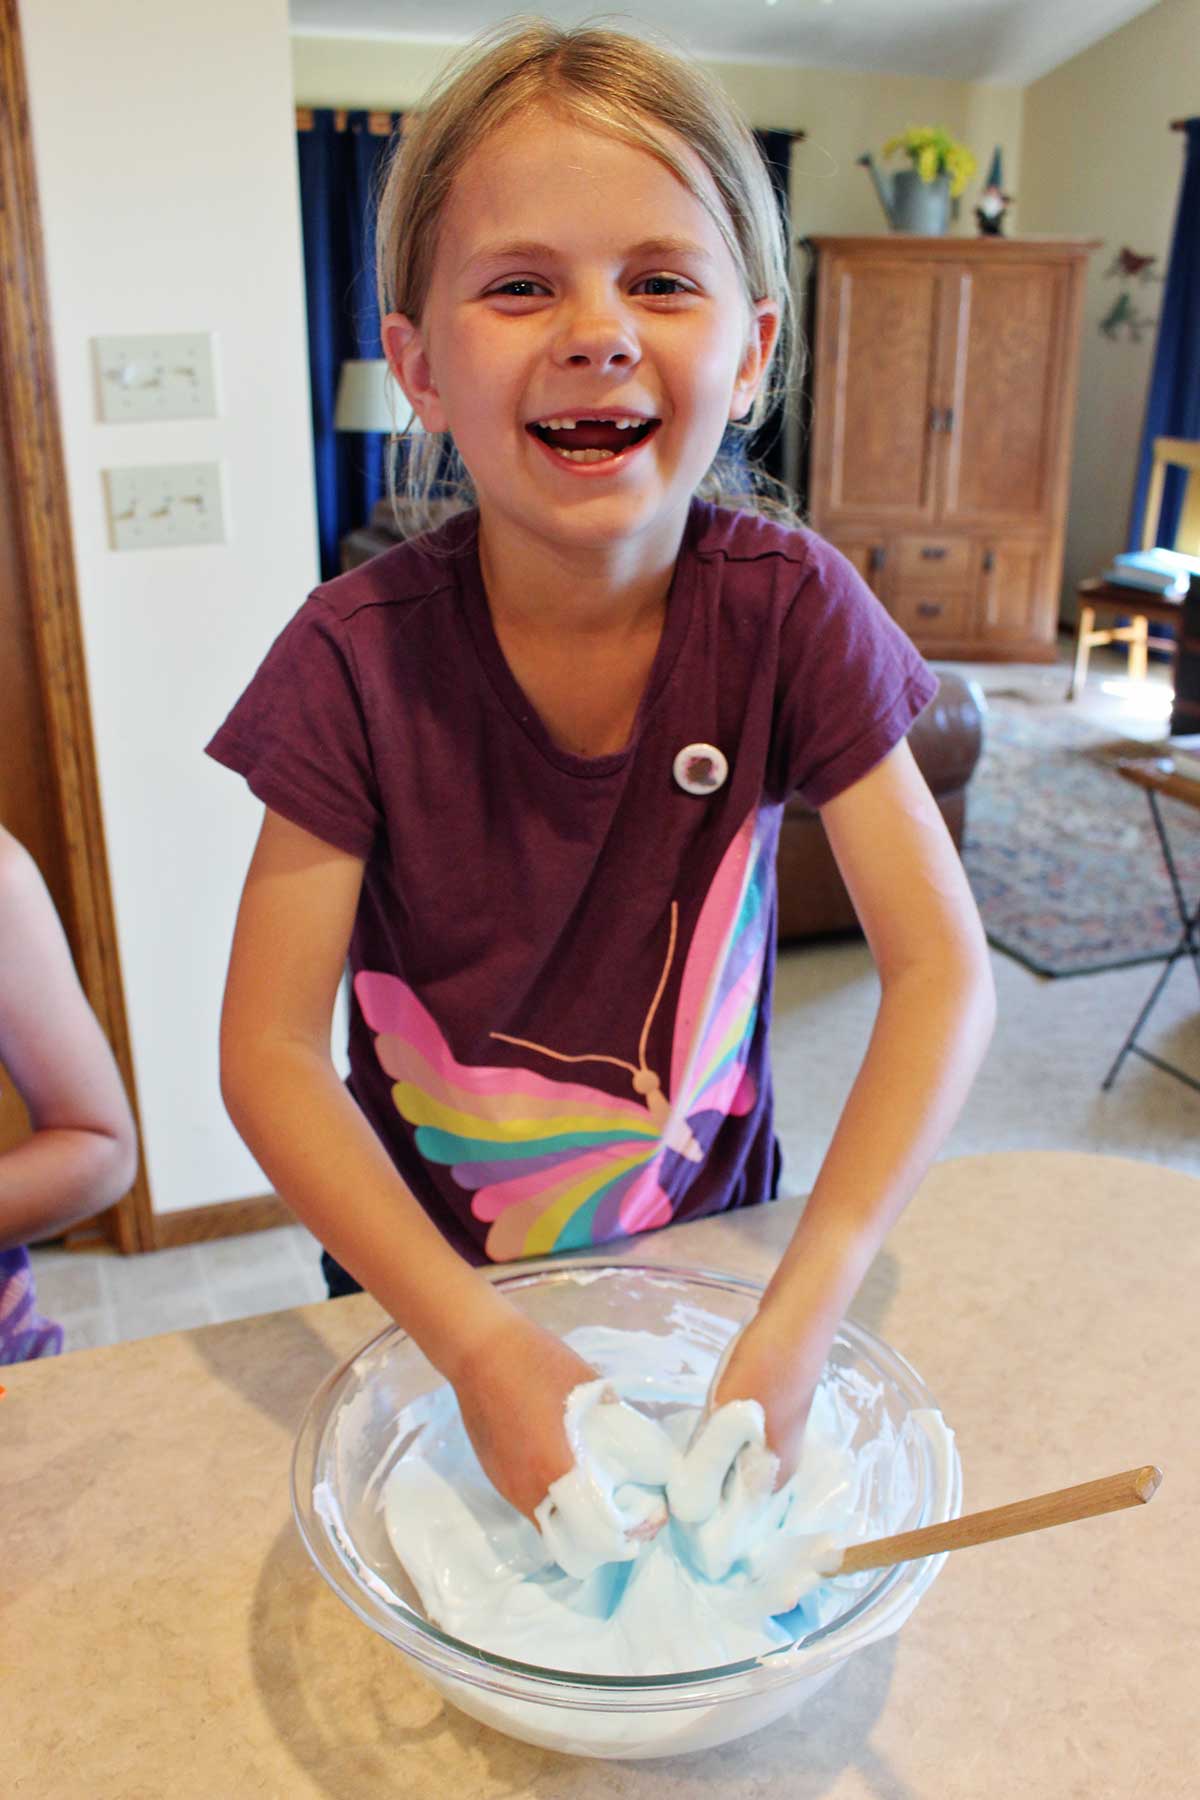
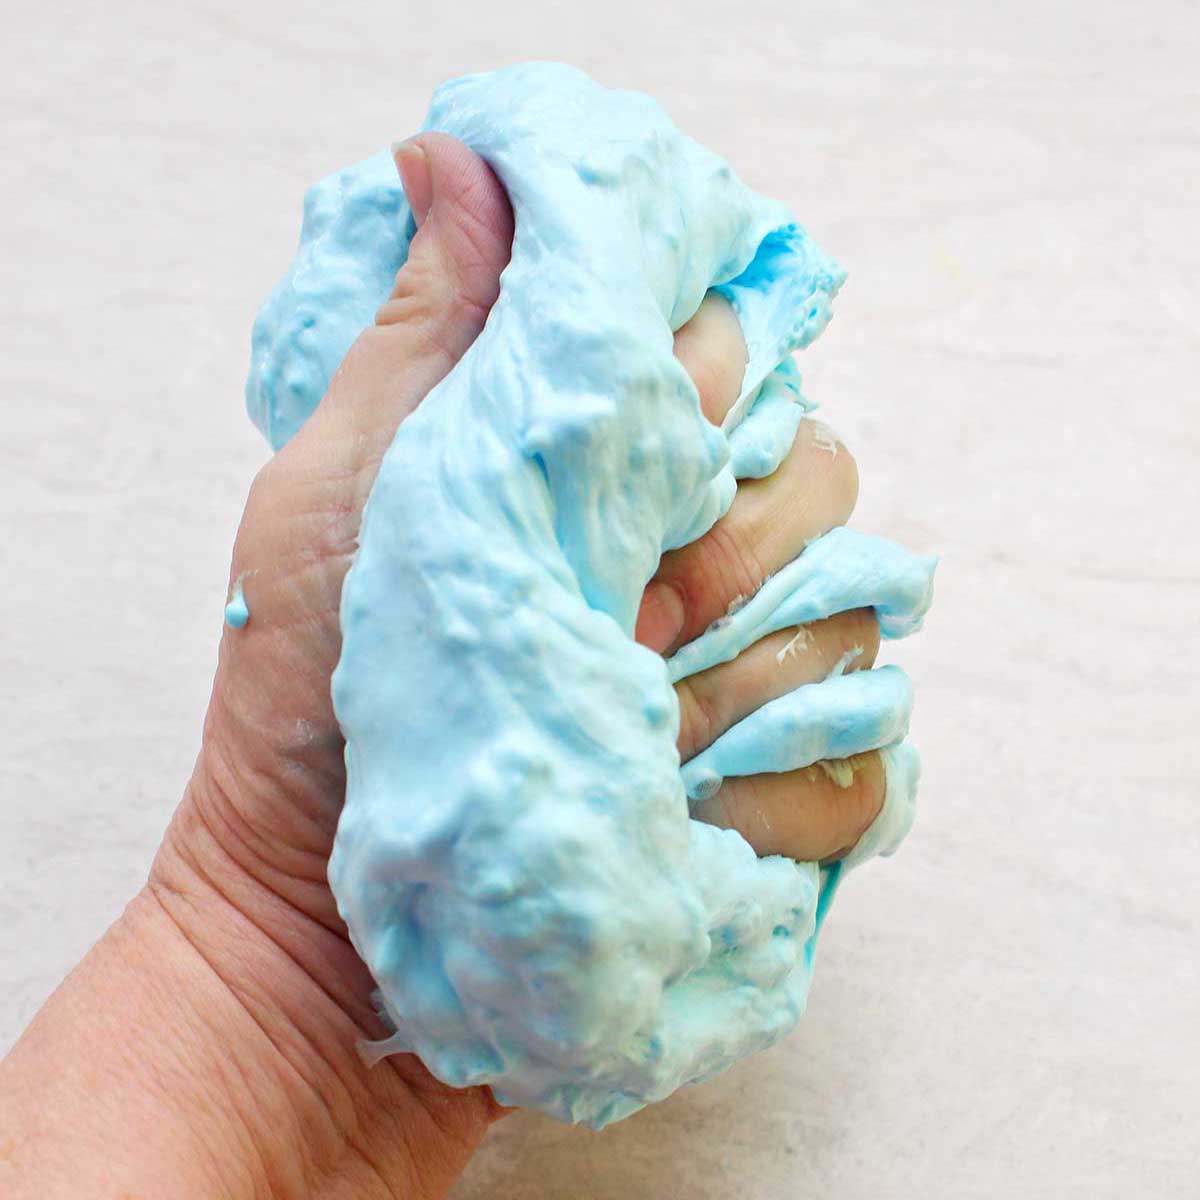
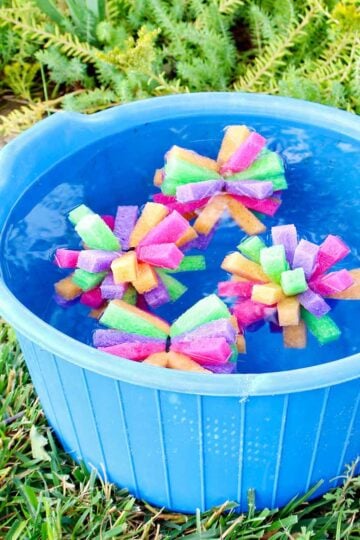
Once you finish the fluffy slime, the science experiment is ready for sensory play! I couldn’t wait to get my hands into it, the texture was so neat.
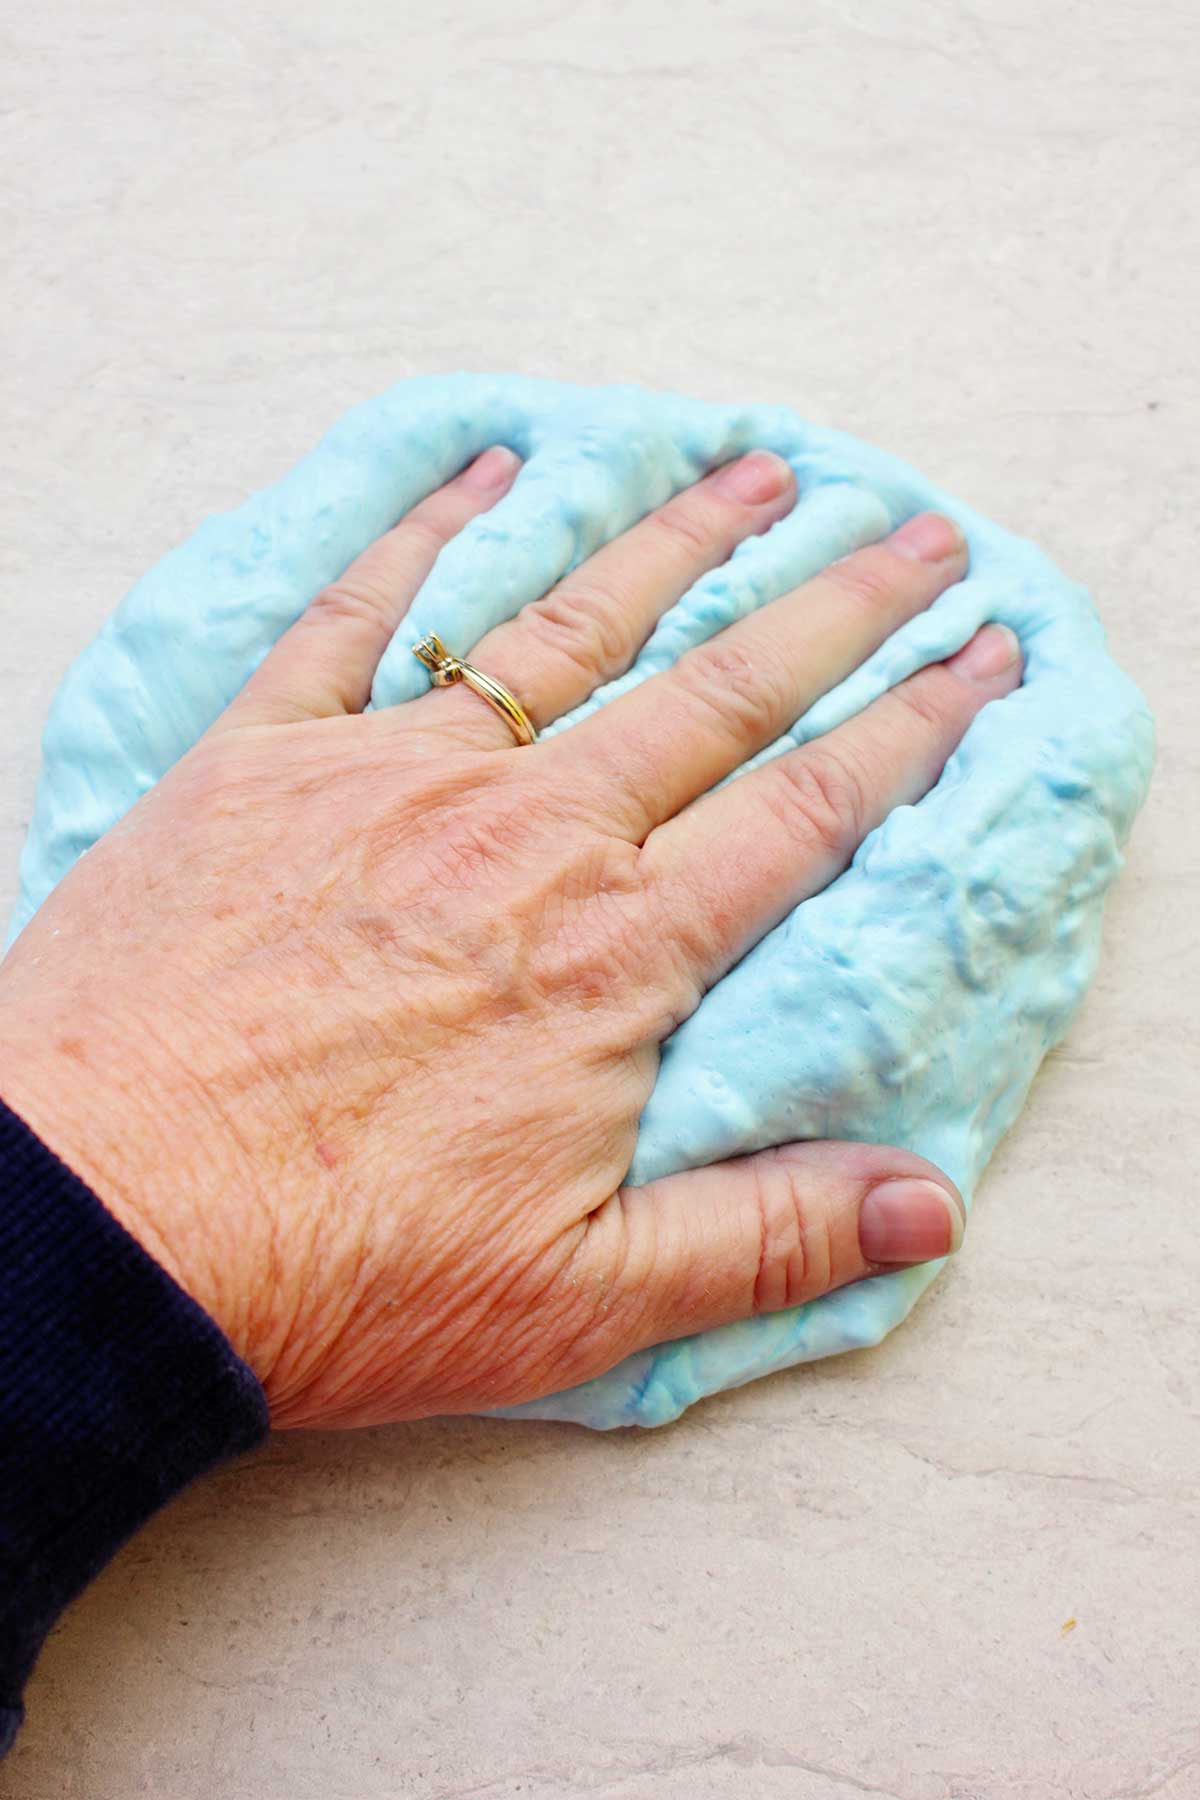
So I played around with it for a while and began to knead it. And as I kneaded the slime it firmed up more and more, so it was less sticky and easy to handle.
Mine probably got even a little bit too stiff by the end, I would have liked stretchier slime. But it had such a fluffy consistency and I had so much fun playing with it and pulling on it.
This recipe is large enough for several kids to play with. Simply divide the final slime into portions for each child to handle easily. They could make theirs different colors and add in more glitter into their own homemade fluffy slime. It could be a contest to make the best slimes!!
Cloud Slime Recipe Variations
Now that I've made my first DIY slime recipe, there are more I’d like to try. I plan on making all kinds of slime forms- like regular slime with a basic recipe, clear as well as glitter slime, unicorn and cloud slime. I've discovered there is way more to life than just fluffy shaving cream slime 😉
In the future, I'd like to make a slime that would be better for young children, with more simple ingredients. Perhaps a more basic recipe like a liquid starch slime- one that isn't a borax slime with shaving cream.
Play with add-ins, like adding in some small beads for example. Maybe putting sand in it or some other substance that would give it a feeling of texture that’s different yet.
This is my first time making this I’m late to the party, but I thought it was so much fun!
How to Store Fluffy Slime
Your slime will last a number of days if you keep it in an airtight container.
This "How to Make the Best Fluffy Slime Recipe for Kids" was my first attempt at slime but I promise you it won’t be my last! I'm hopping on the slime craze.
WATCH: Cloud Slime Recipe
Watch this craft/science experiment for fluffy slime on YouTube here: Best Fluffy Slime Recipe on YouTube
While you are there, like the video and subscribe to see more craft videos in the future!
How to Make Fluffy Slime FAQs
Borax powder is a product used when washing clothes to help make the laundry detergent work better. I keep it on hand because we live on the farm, and we have hard water. Borax helps make dirty clothes clean again!
Slime is a substance that is made from household substances (i.e.- like school glue, contact lens solution, shaving cream, Borax). The ingredients undergo a chemical reaction when mixed. This makes long polymer strands in a “non-Newtonian solution” that is a liquid/solid state. It will ooze through your fingers when held still and be hard when hit upon.
Borax powder is a product used when washing clothes to help make the laundry detergent work better. I keep it on hand because we live on the farm, and we have hard water. Borax helps make dirty clothes clean again!
This recipe uses powdered Borax that is dissolved in water. But the chemical reaction that needs to happen can also be activated with liquid starch, or contact lens solution. This activation changes the ingredients to the slime consistency.
More Hands-On Crafts and Activities!
If you’re looking for some other ways to get your hands on some fun, here are some other ideas for you:

Enjoy!
Try this craft, leave a comment, rate it, and tag a photo with #WelcometoNanas wherever you post.
More Crafts!
Love getting crafts straight to your inbox? Sign up to receive a weekly email and get a free gift!

More from Welcome To Nana's
Fluffy Slime Recipe
Equipment
- Mixing Bowls
- Measuring cups and spoons
- Spoon for stirring
Items Required
- 1 Tbsp. Borax- found in the laundry section (optional- but I used it in this video)
- Water
- 1 cup PVA glue- white glue is better than clear glue for this recipe (like Elmer's School glue)
- 3-4 cups Shaving cream- spray foam type in a can
- ½ tsp. Baking soda
- Food coloring- optional
- Glitter- optional
- 2 Tbsp. Saline solution (a brand of contact lens solution that includes boric acid and sodium borate- read the ingredient list)
- Mixing bowls
- Measuring cups and spoons
- Spoon for stirring
Instructions
- Start by making a borax solution. To a medium sized bowl measure out and add a cup of warm water and 1 tablespoon of borax. Stir this mixture until it’s dissolved and set it aside.
- The second solution is the glue mixture and it's made in a large mixing bowl. In this bowl you’re going to start with a half cup of warm water and a whole cup of glue, mix together a bit.
- Add 3 to 4 cups of shaving cream and mix with a silicone spatula.
- To this mixture go ahead and add a half teaspoon of baking soda (NOT baking powder!).
- I added a few drops of food coloring to my mixture (mine was a gel but liquid food coloring works too). At this point, you could add other things to your solution as well (like glitter!).
- Mix the ingredients in the second bowl up together and then add 2 Tablespoons of saline solution (which is a slime activator- activating a chemical reaction). Mix with your spatula.
- During this step of the recipe, you will notice that the ingredients interact and it begins to thicken and pull away from the sides of the bowl as you stir.
- You may not need to add anything more to the mixture. It will just start setting up and that’s all you need to do. But my slime was still sticky.If your slime is sticky, add one tablespoon of the borax solution to the glue mixture in the large bowl and mix with the spatula. It will begin to set up even more. As it pulls away from the bowl, you will see it’s ready to be handled.
- If your slime is too sticky to handle, pour a little saline solution or baby oil on your hands and knead together. It will start to stiffen slightly as you need.
- Your slime will last a number of days if you keep it in an airtight container.
Video
Notes
Safety precautions-
-
- Use this recipe with older children.
-
- It is important to keep young kids and pets away from borax. Be sure to throw all extra borax solution away when done.
-
- Shaving foam can burn your eyes so don't touch or rub your eyes while handling.
-
- It would be a good idea to wear gloves if you have sensitive skin. I had no problems, but others may. Also food coloring can put color on your skin.
-
- Lastly, work over a table or flat surface as I'm guessing that slime would stick in carpet.
This post was originally published in January 2024 and has been updated to add more relevant and detailed content.


Susan says
It would be so great if there was an option to have the recipe also available in an easy form to print.
Shelly says
Did you notice the "print"button on the top of the recipe? It places the recipe in a print version immediately! Hope that helps!! Nana
shawn says
I noticed this reading the recipe, and have been wondering if that meant the shaving cream was an optional ingredient that was forgotten.
It is confusing.
Shelly says
Thank you for letting me know, you were correct and I had accidentally left a step off the recipe instructions. It has been adjusted to correct! I apologize if your mixture did not turn out as expected.
Laura says
Looks like fun!
Roslyn says
Perfect project for kids this summer, thanks Nana!
Lauren says
Now that my little girl is on summer break, I have been looking for some creative, hands-on activities to do together. This is the perfect start to our summer - so much fun!
Sarah says
my little baby Joshua has 2nd degree burns all over his arms from this slime recipe!! I know we followed the instructions correctly but hes still messed up.
Shelly says
Sarah - I'm so sorry you experienced this issue with Joshua! I hope he is okay and has recovered quickly. Please always be sure to read the full post - there are safety precautions and notes throughout regarding sensitive skin and ingredient use for young children. As noted several times, there are ingredients in this recipe that can be dangerous, especially for young children. Again, I am sorry for your experience and hope Joshua is fully recovered.