Learn How to Make Stickers with packing tape in just a few easy steps. This is a simple craft for kids and a fun way to turn their own drawings into stickers!
Jump to:
Cute Craft Alert: Homemade Stickers!
My grandkids and I love to do crafts together whenever they come to my house, or I go to theirs. Surprise surprise!
The last time that they came to my house, my granddaughter was excited to show me how to make stickers. She had figured out a creative way to turn her own drawings into stickers in just a few steps! Now I HAVE to share it with you!
In this tutorial, I'll give you a list of supplies and a full step-by-step guide to turn any drawing into a sticker. This is a perfect low-cost craft for kids who love to draw. Give the stickers away, add them to DIY cards or envelopes, and decorate notebooks.
This would work for any age level of kids up through adult kids. Littles may need a bit of help, but they will love creating their own stickers or giving them to friends!
Once you start, you’ll find it hard to stop!
Supplies
This is such a fun craft and uses things that are already in the house. I know that we always appreciate using stuff we already have, right?
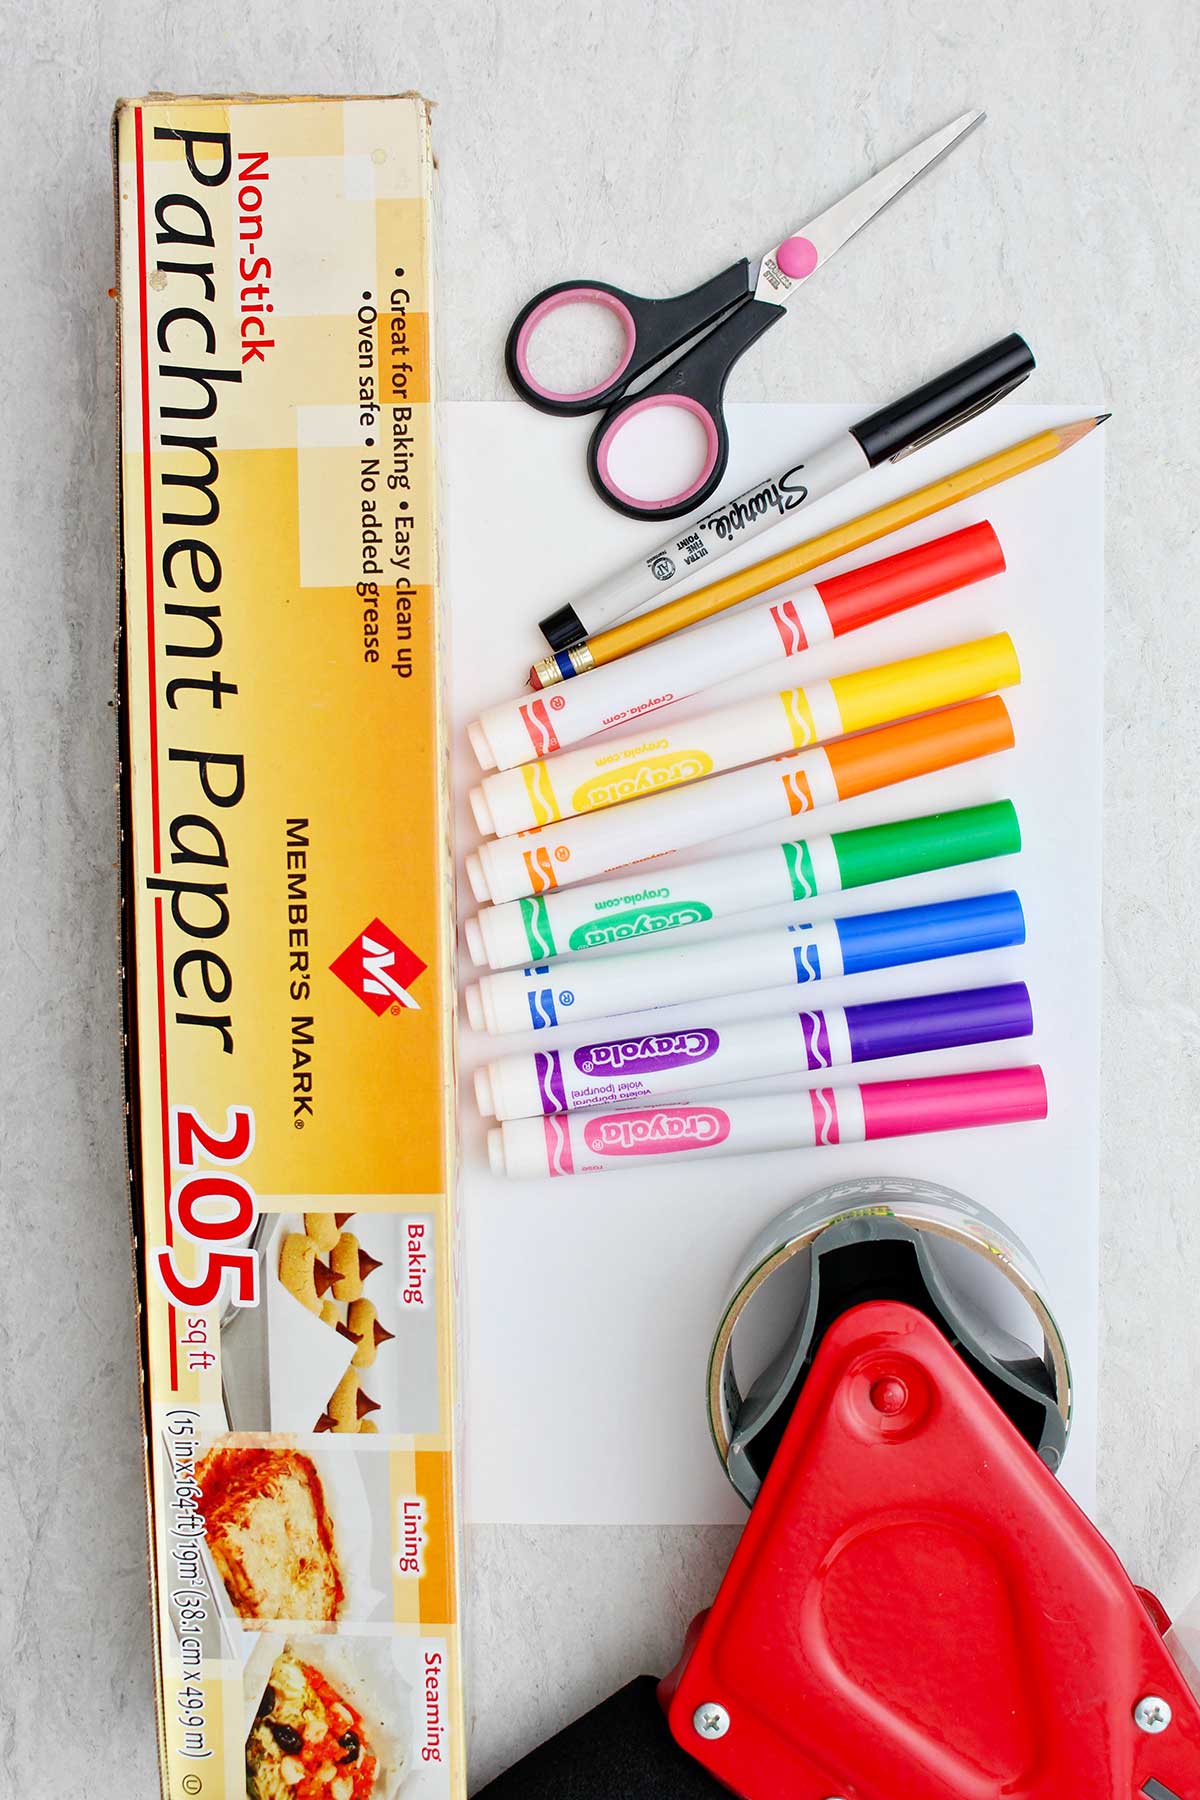
- Parchment paper- Used for the backing of the stickers. I already have this on hand for baking cookies and so forth. It works so well, I've never tried anything else.
- Packing tape- Tape is another star of this craft! I’m one of those people that keeps packing tape on hand in mass. 🙂
- Copy paper- You'll need a piece of copy paper like you would put in your printer. Lightweight pieces of paper work best for making stickers, you could try tracing paper as well.
- Colored pencils or colored markers- To decorate the sticker design.
- Scissors- After drawing the design, you'll use scissors to cut it out.
- Fine line black permanent marker (optional)- Used for outline the design to make it look more crisp.
As I mentioned, this is a cost effective craft. That makes it perfect for group activities like the classroom, Sunday school, Vacation Bible School, a shower, or a party. The expense would be low, even on a large scale.
Ideas for DIY Stickers
Take a moment to ponder what homemade stickers you would like to make and what size you would like to make them. Start the creative juices flowing!
One of my favorite things about doing a craft with the grandkids or other kids is what different ideas they all have. It just amazes me.
Steps to Make Stickers
Design the sticker
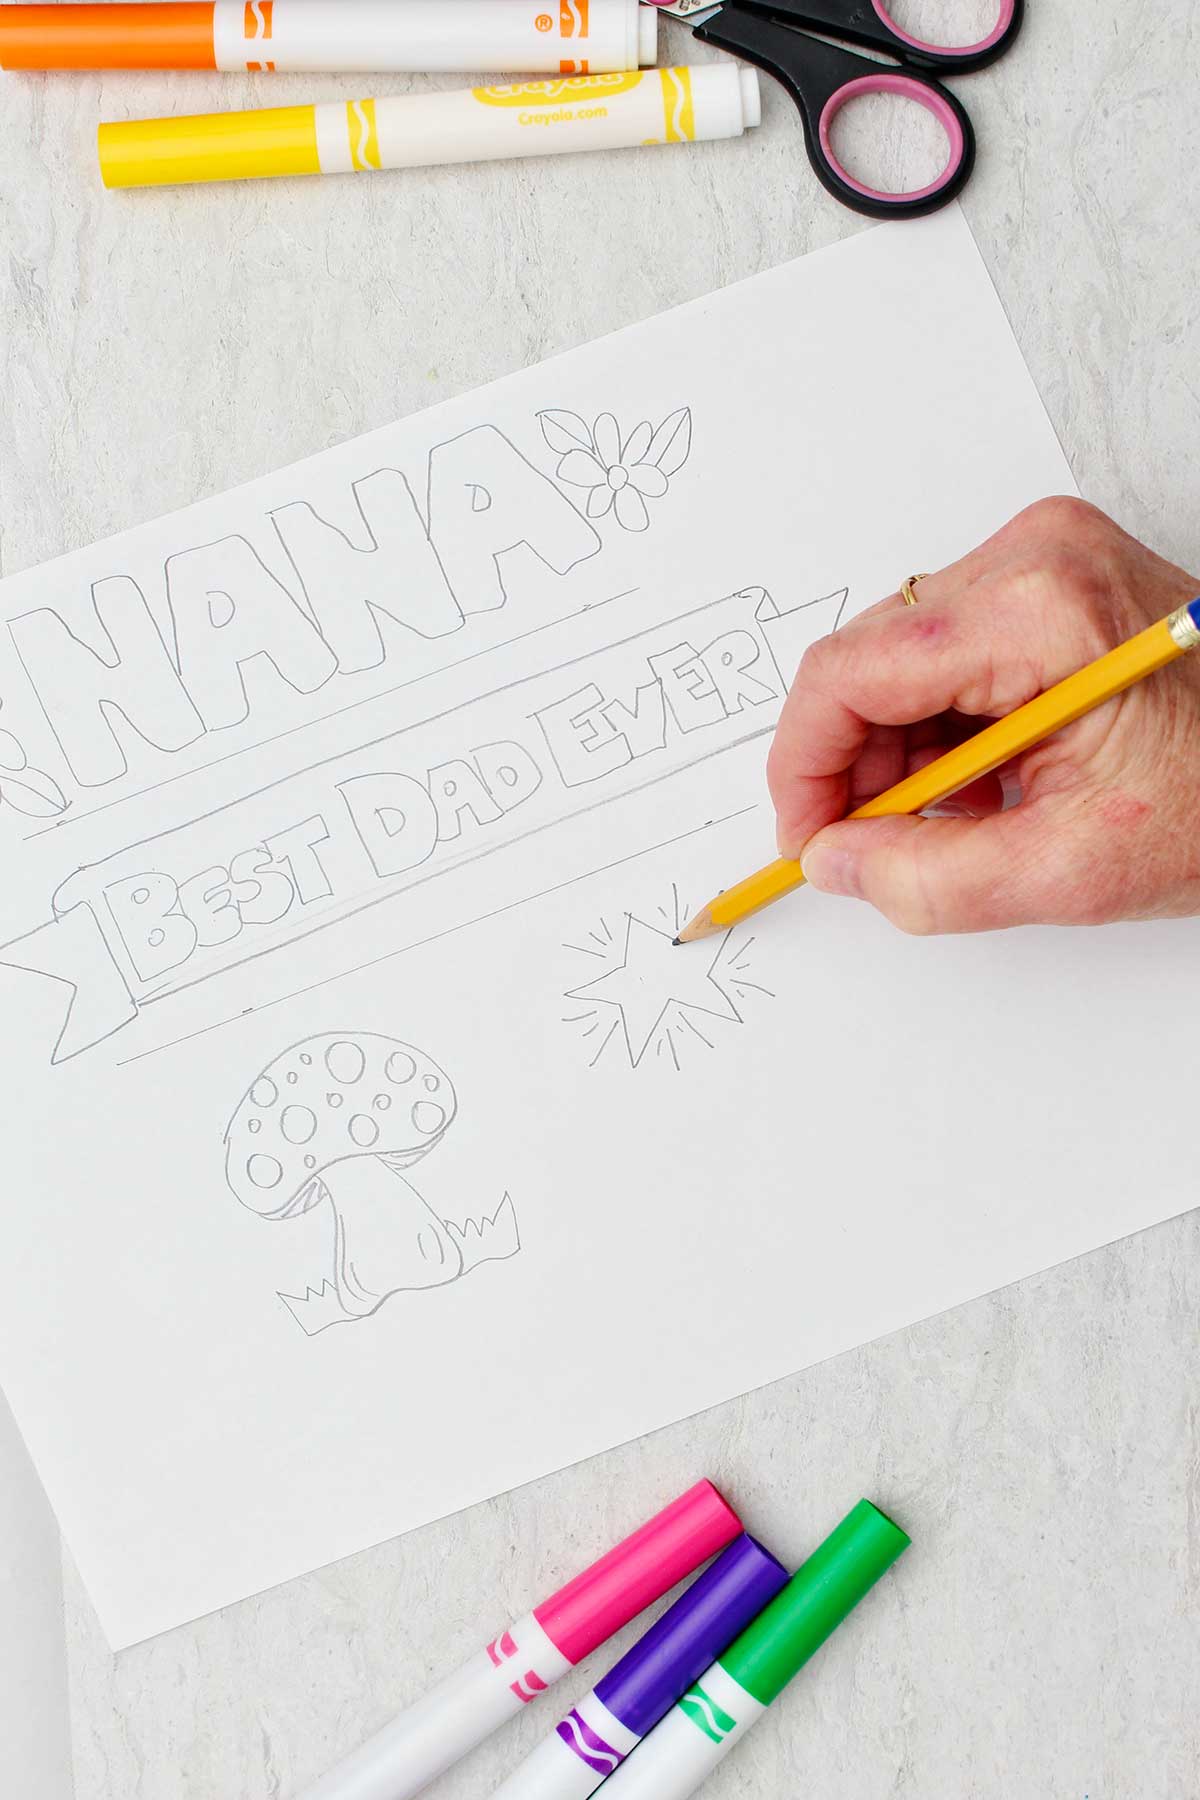
Draw your pictures that you want to make into stickers on the copy paper. I start by drawing a pencil outline, then go over it with a black permanent pen as an outline.
Adding an outline is an optional step, but I find that it brings a nice look to your sticker when it’s finished.
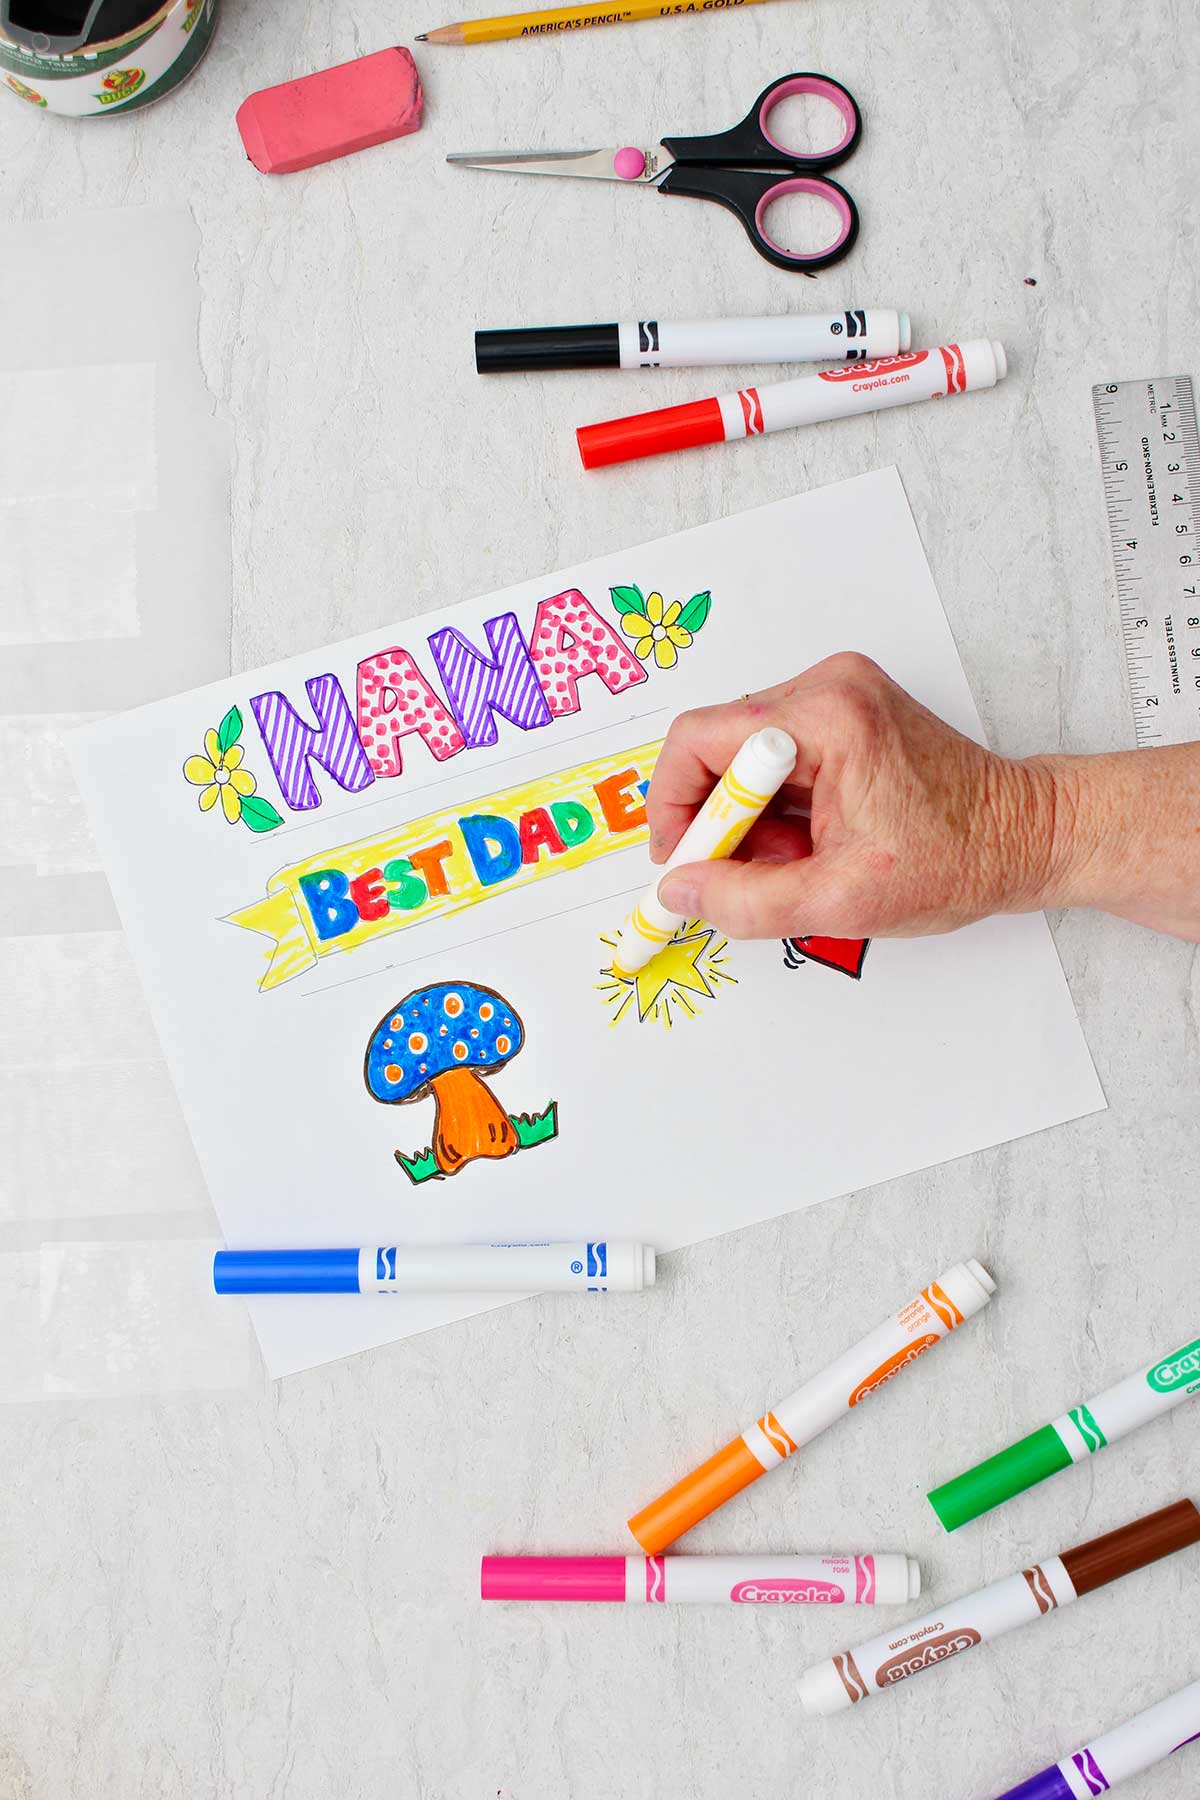
With the outline done, go back and color sticker designs in with colored pencils or colored markers. They are small drawings you can make them quickly, which is another fun part to this craft.
Looking for ideas? Try one of these:
- Words
- Pictures
- Little sayings
- Names or nicknames
- School mascot picture
- Maps
- Whatever you like to draw or doodle!
Cut out the drawing
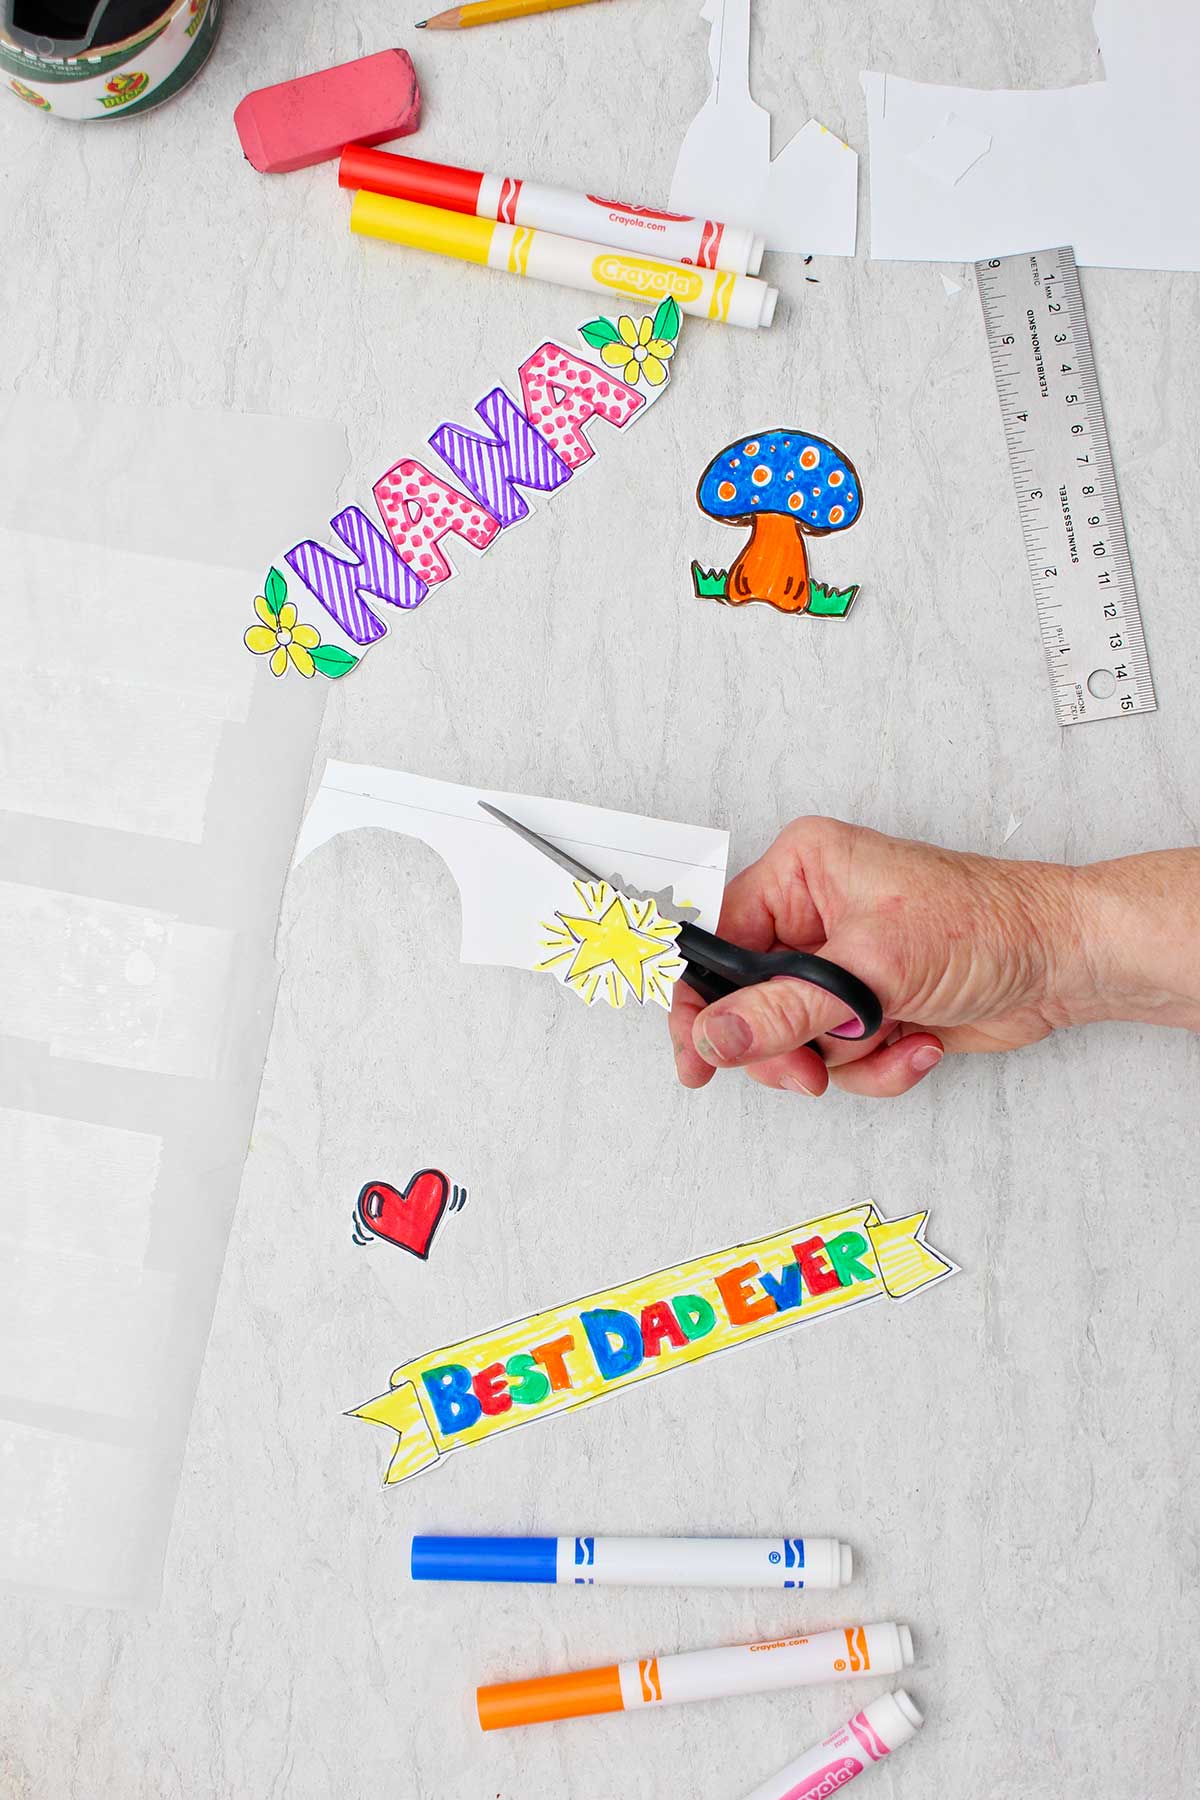
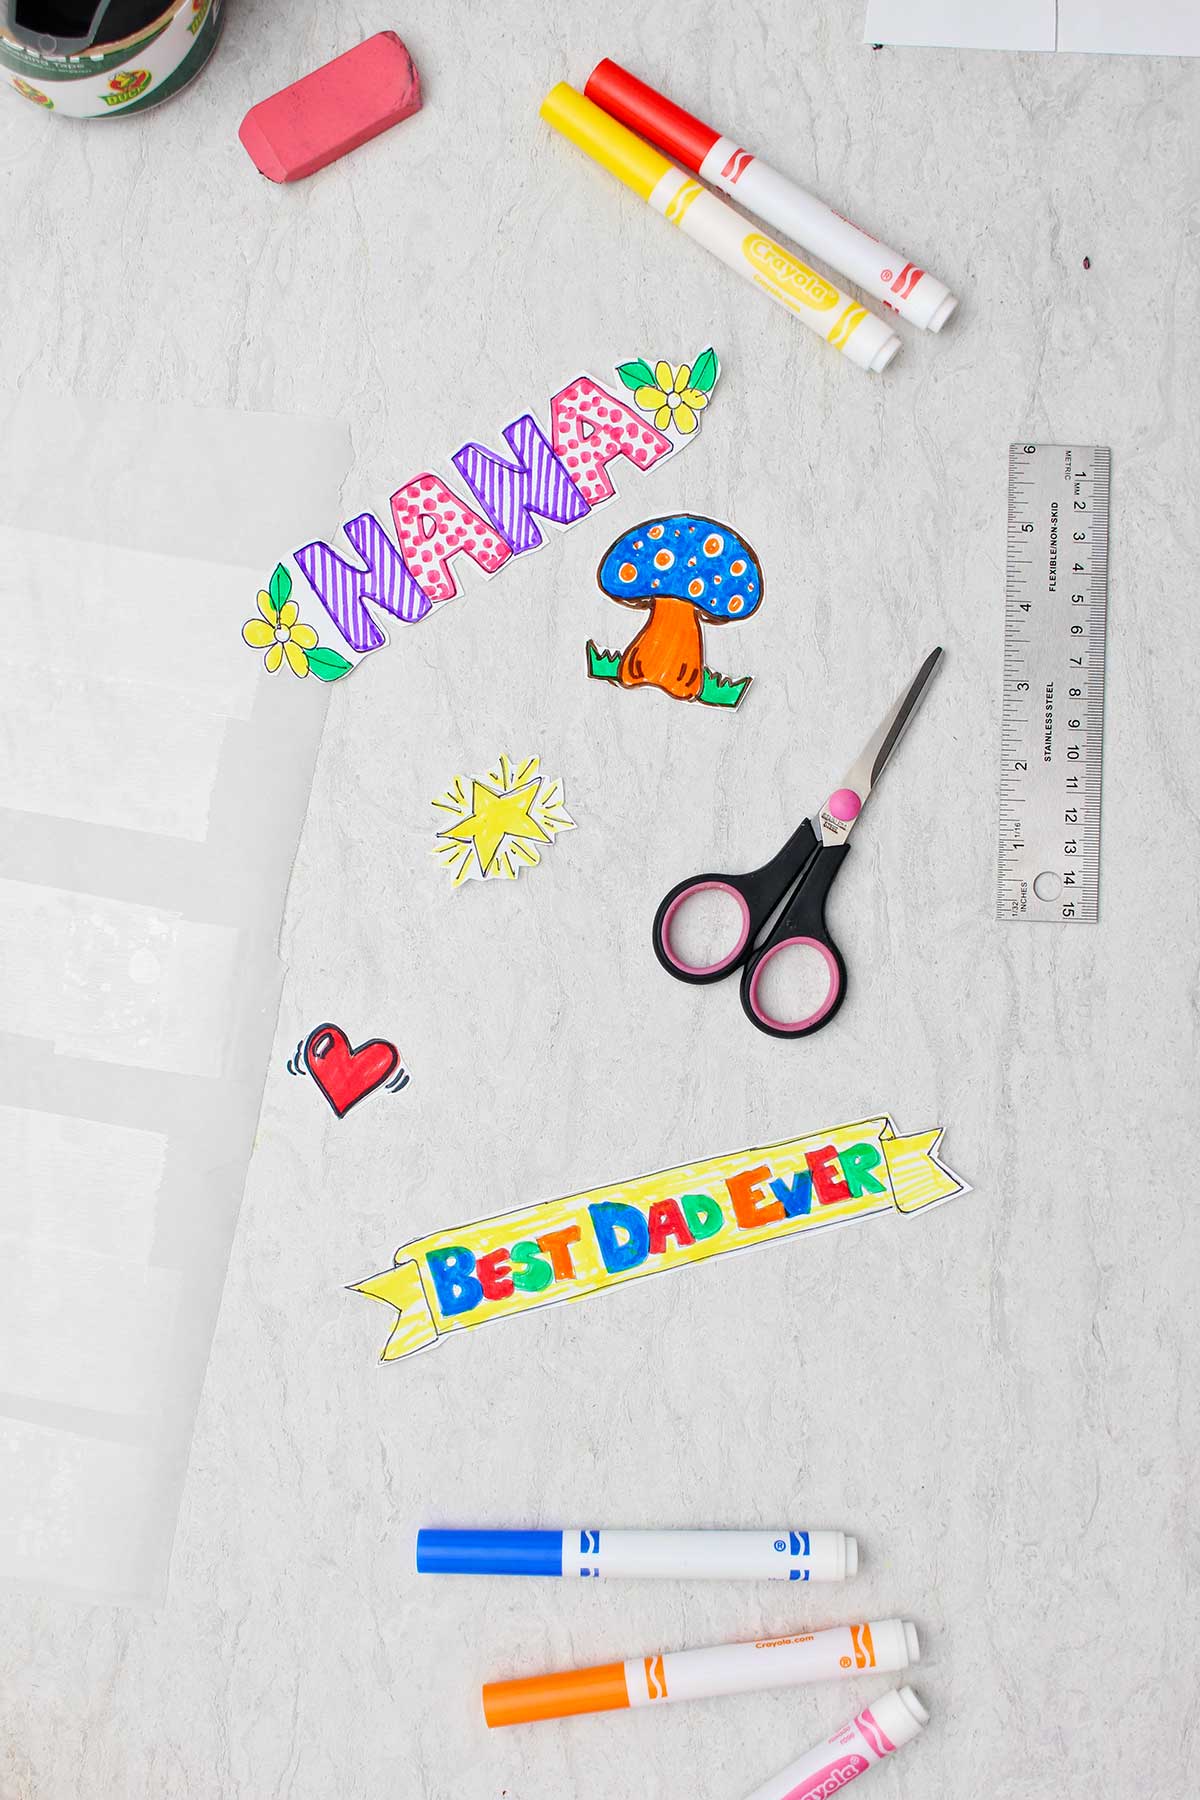
Next, take a pair of scissors and cut out your design. I leave a small white edge (or margin) around the black outlining on my sticker.
You can cut right next to the black edge if you’d like, but I like the way it turns out leaving a tiny bit of white paper. This way you also don't need to worry about getting into all the little nooks and cranny edges.
Prepare parchment paper
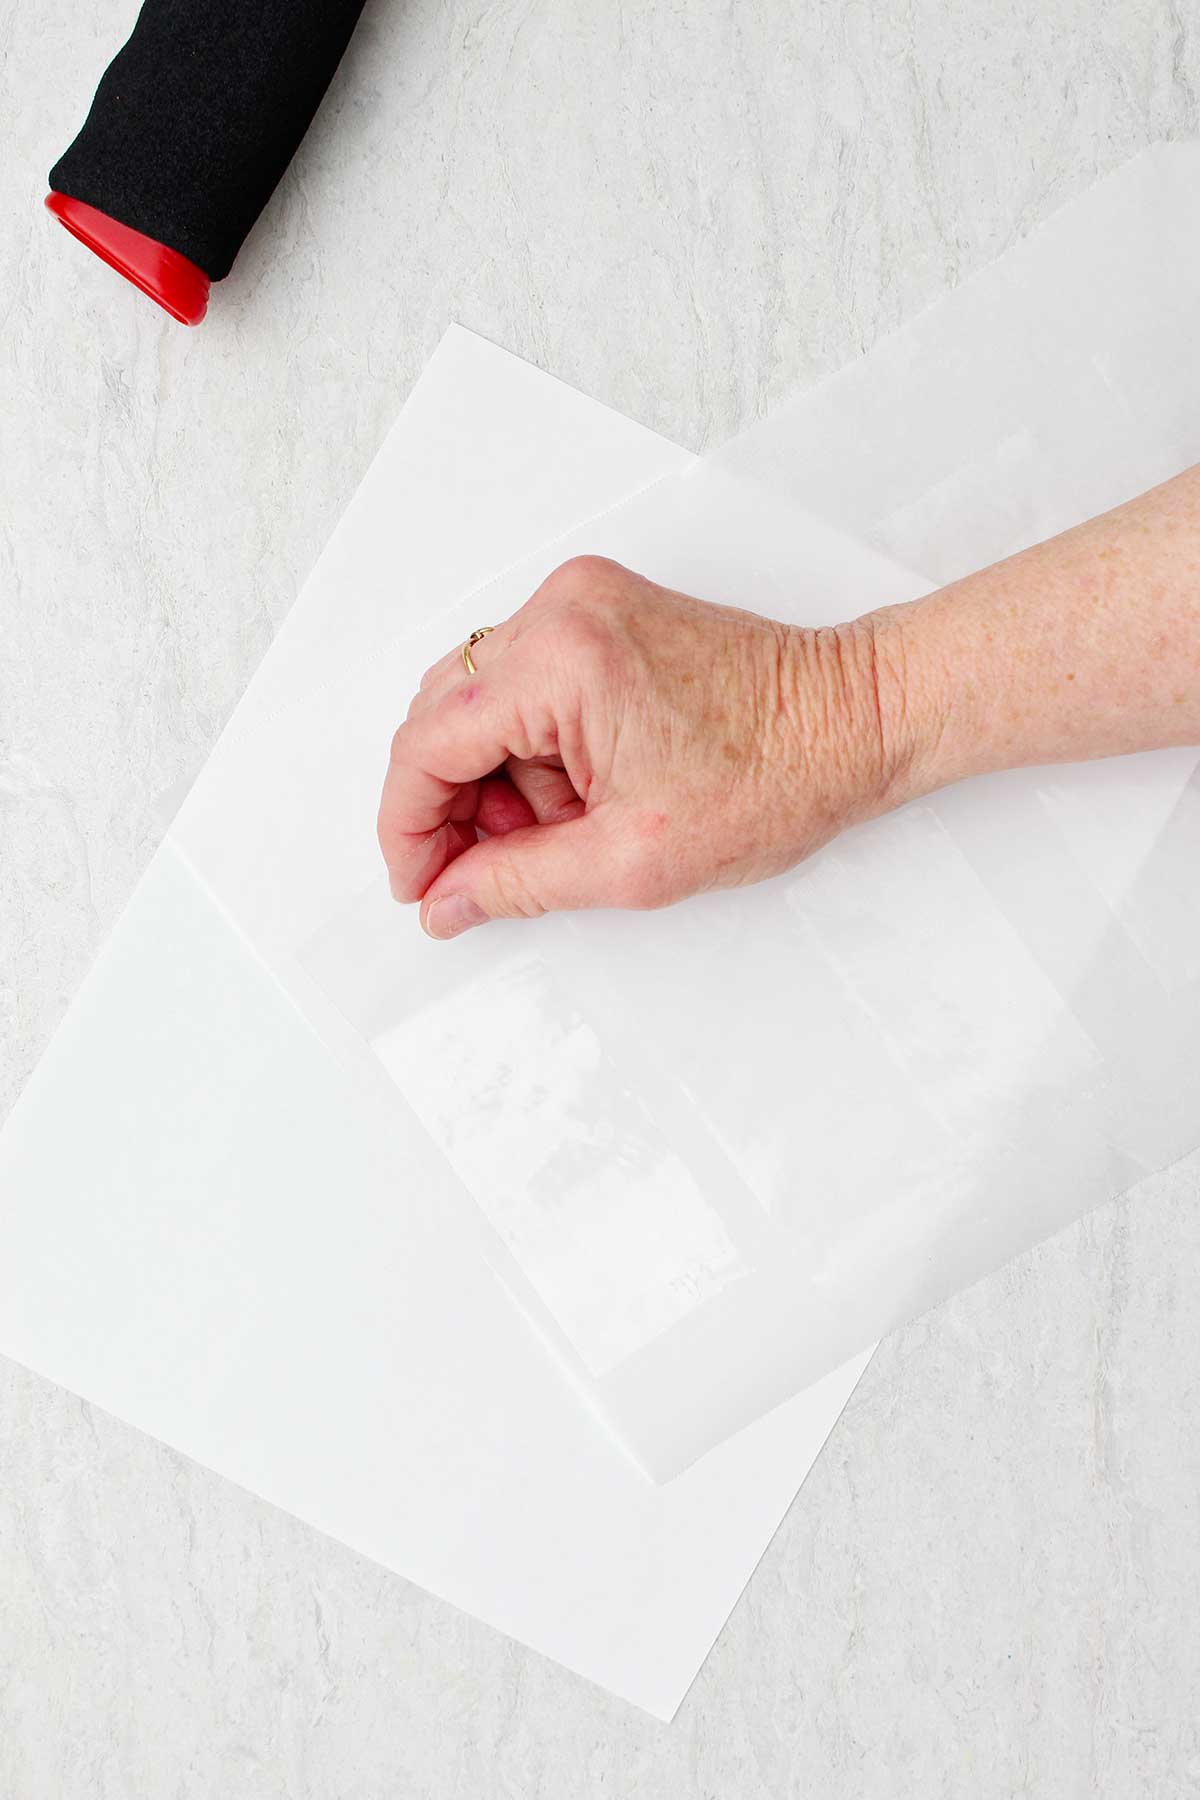
Tear off a piece of parchment paper and lay it on your work surface. Cut the paper a couple of inches larger than the size of your sticker drawing.
I chose to leave my parchment paper in a larger sheet and make several stickers on that sheet.
Add packing tape layer
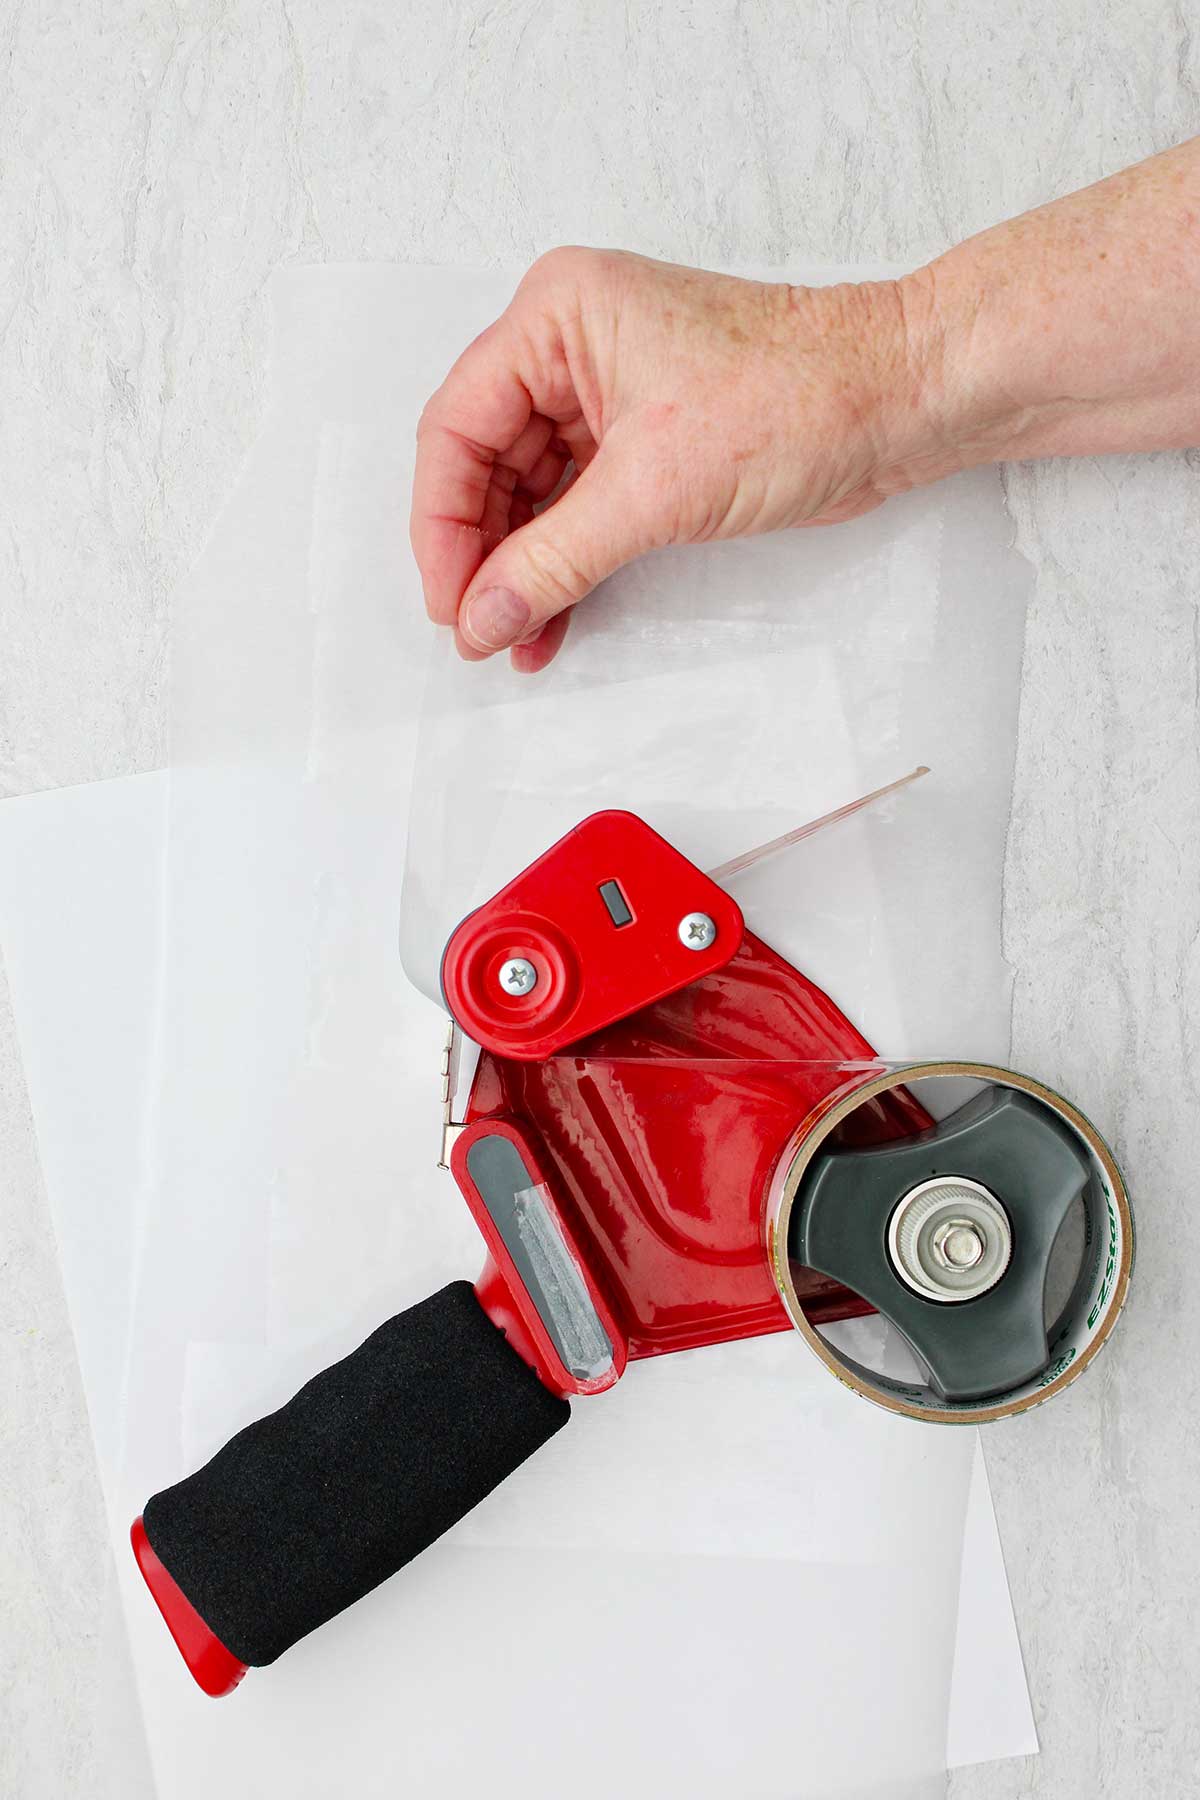
Now we are going to add a layer of packing tape. Take a piece of packing tape and cut it about an inch longer than your sticker. Stick it to the parchment paper.
Packing tape is about 2 inches wide. If your sticker is going to be between an inch - inch and a quarter wide and is longer in length, this is all you’ll need to do. But if your sticker is going to be larger, you may need to add more tape.
To do so, cut off another piece of packing tape and put it onto the parchment paper next to first piece. Overlap the two pieces by about a quarter of an inch or so.
You can make your sticker any size that you would like by adding more packing tape pieces that overlap. You will see where the packing tape overlaps, but I don't find that a deal breaker.
Keep adding pieces of packing tape to your parchment paper in the sizes that you want to make your stickers.
Add another packing tape layer
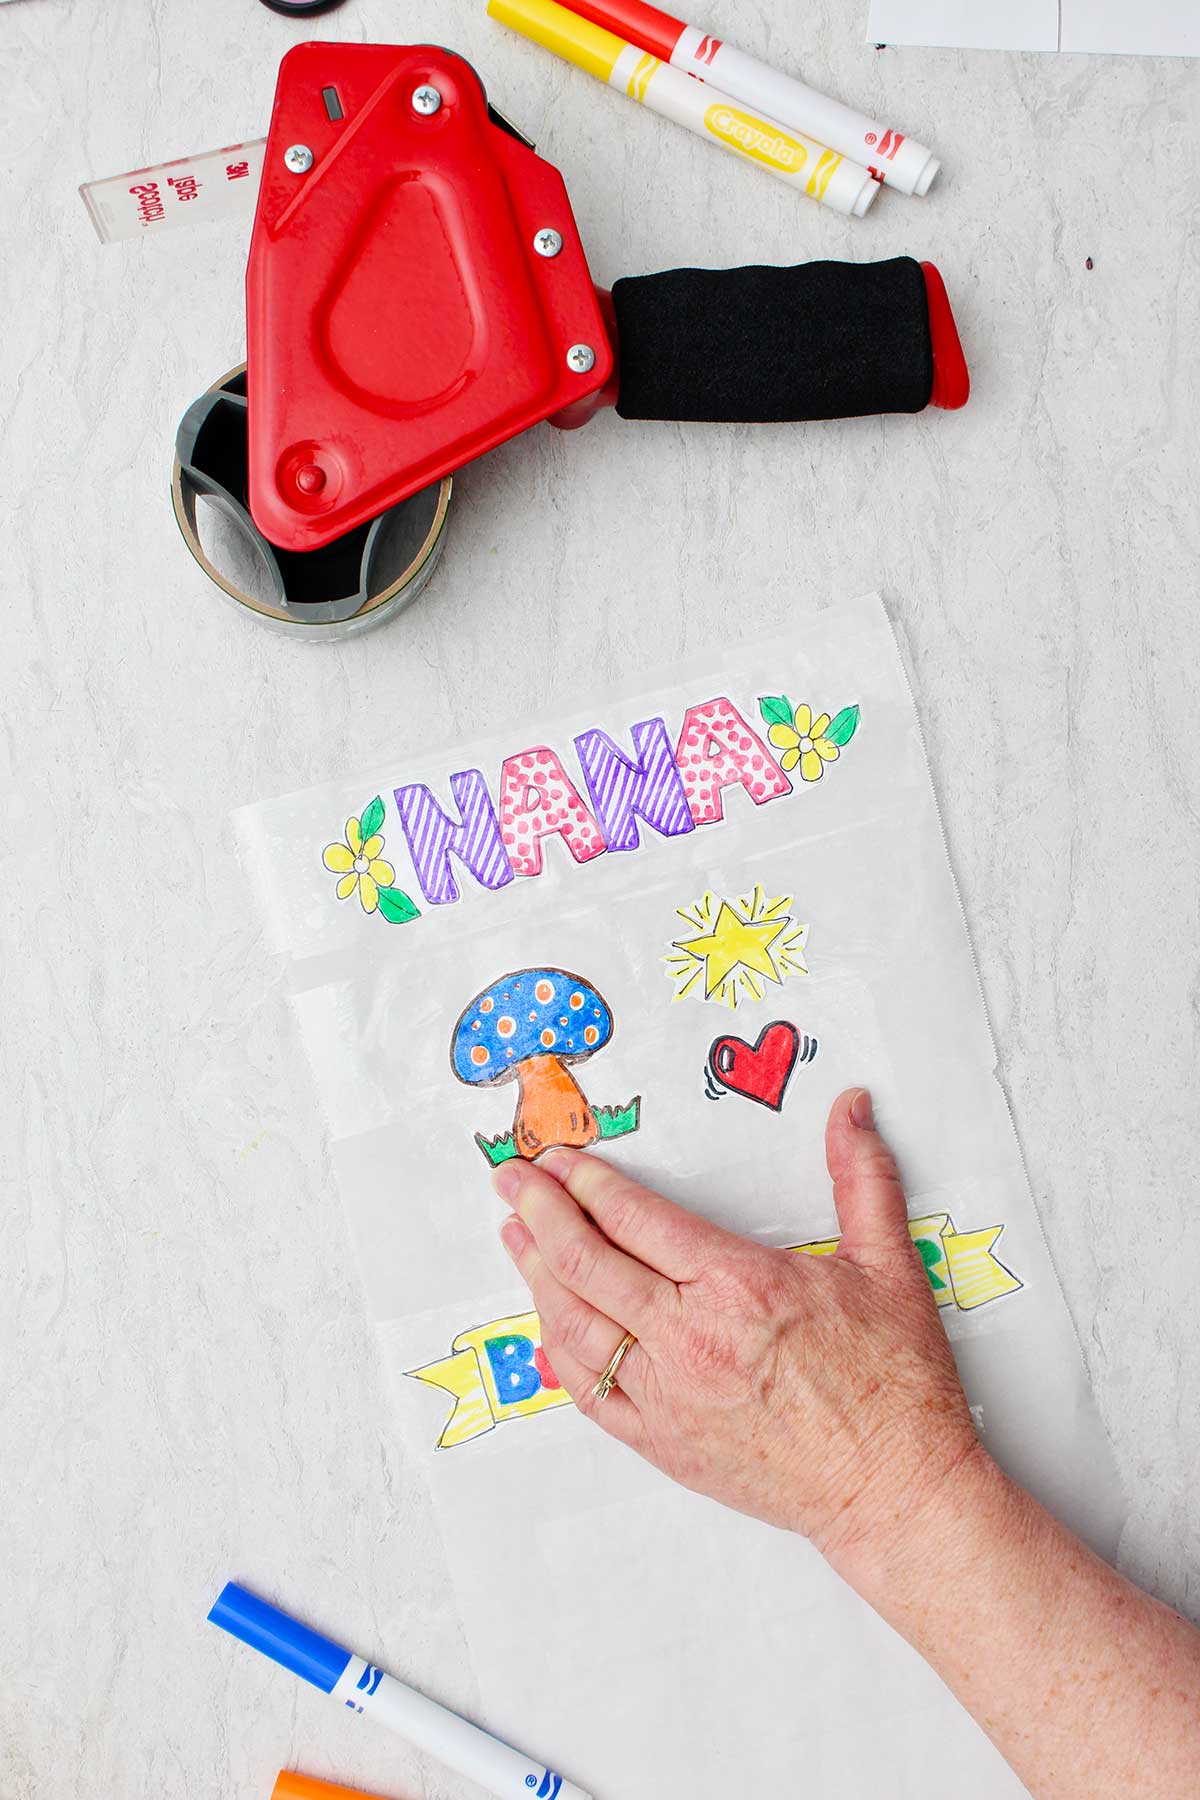
Set your sticker on top of the packing tape / parchment paper layer. Take another piece of packing tape and place it over the top of your drawing.
If your sticker is larger, you may need more than one piece of packing tape to cover your drawing. Simply add a second piece of packing tape, overlapping the first piece of tape slightly.
Cover the entire sticker drawing with this method. Add enough packing tape so there is about a half inch of tape left around the edge of the sticker drawing.
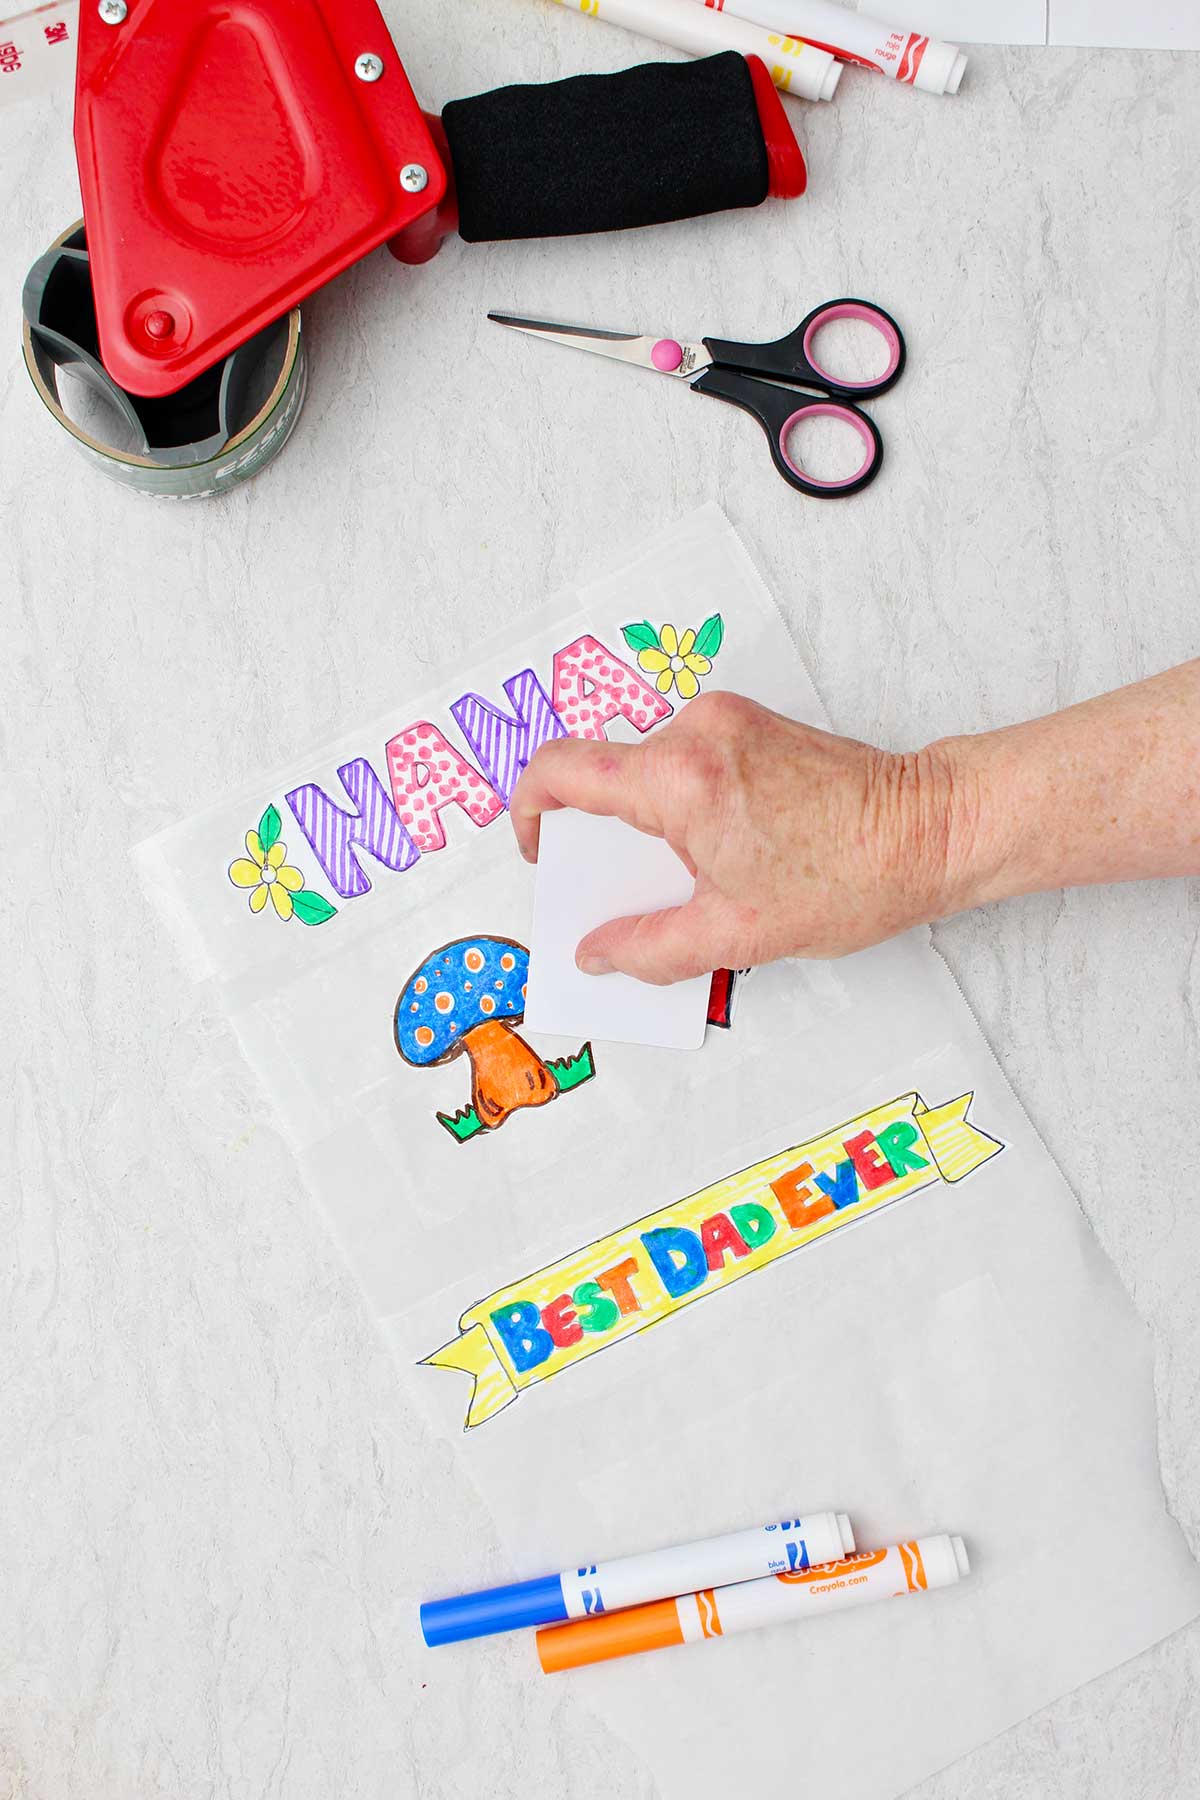
Use something like an old credit card or the edge of your scissor handles to gently rub over the top of your sticker. This will remove any air bubbles. Rub carefully around the edge of your drawing to seal the packing tape well.
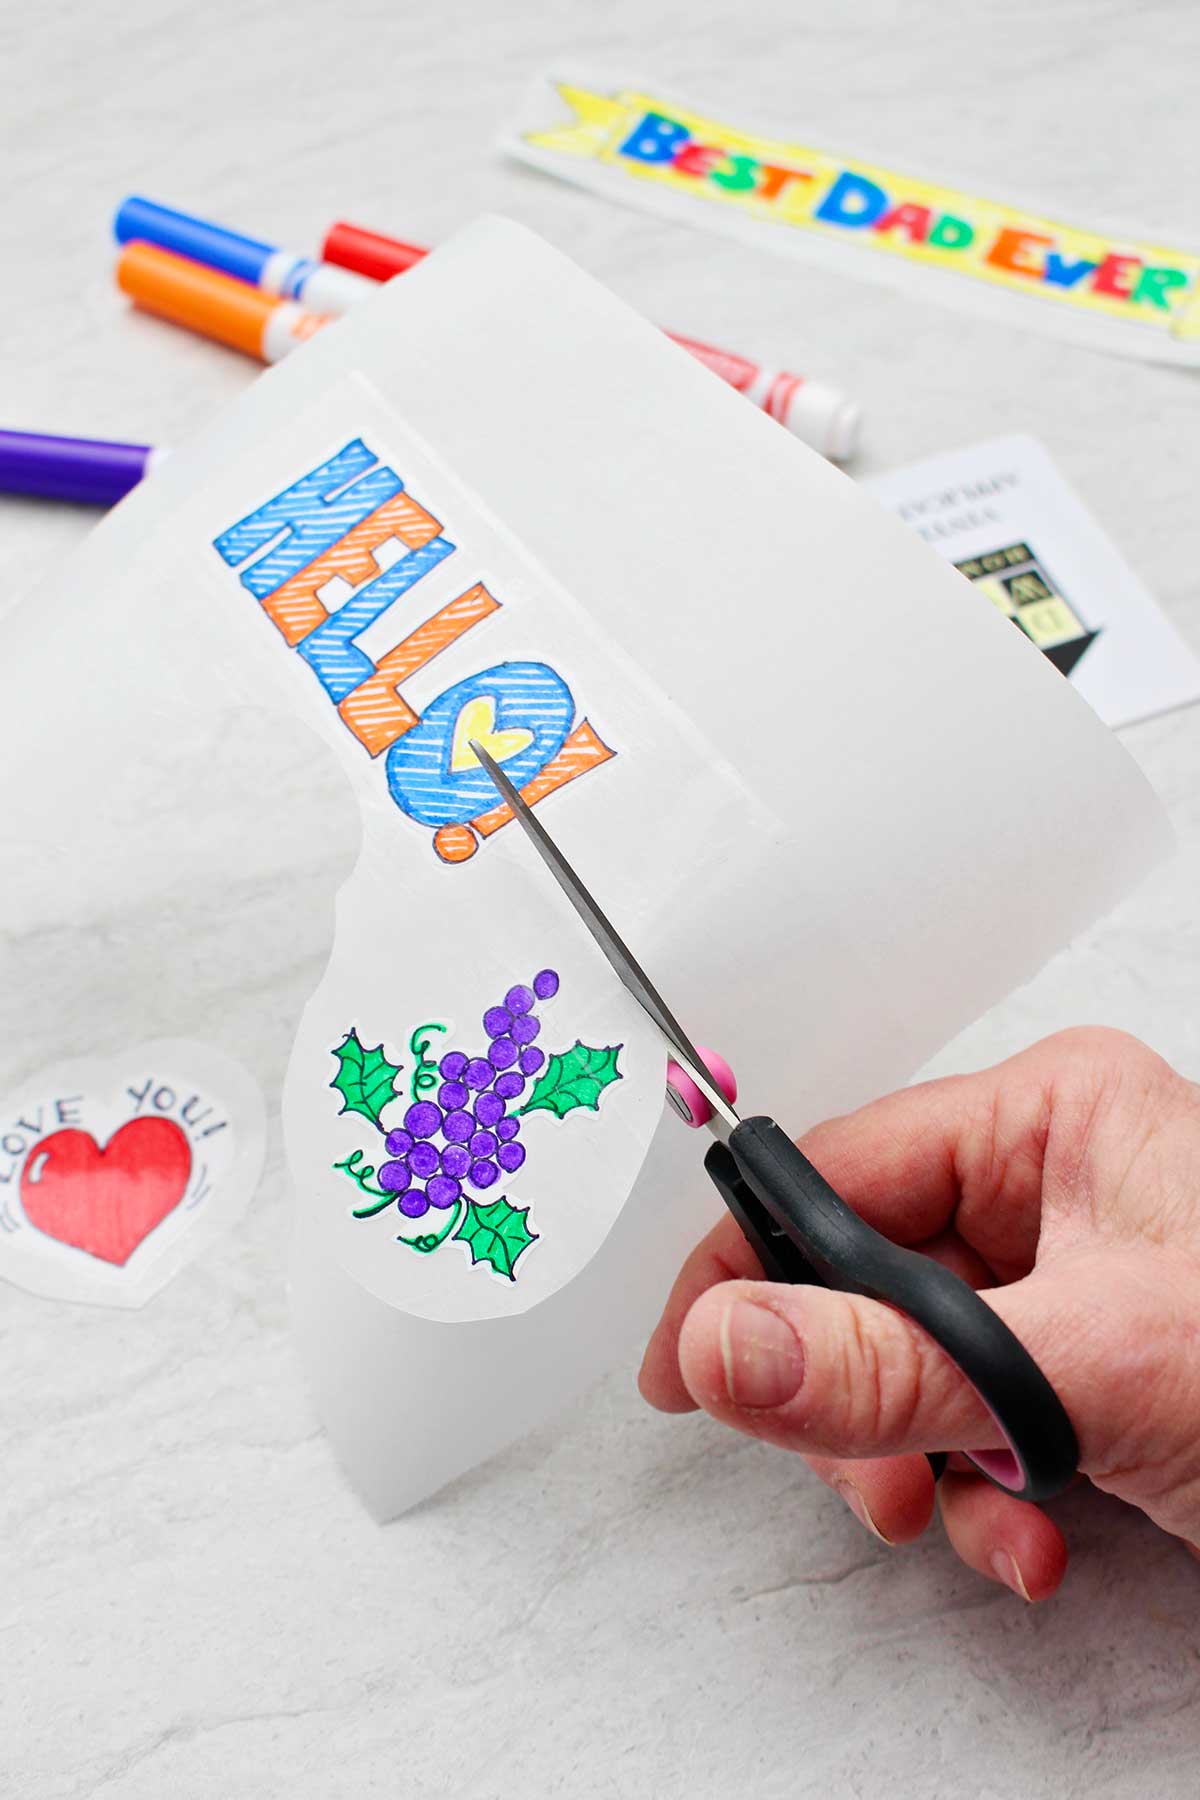
Cut out the sticker
Now cut through all the layers in the sticker. Leave at least a quarter inch of the clear packing tape around the outside edges of the sticker.
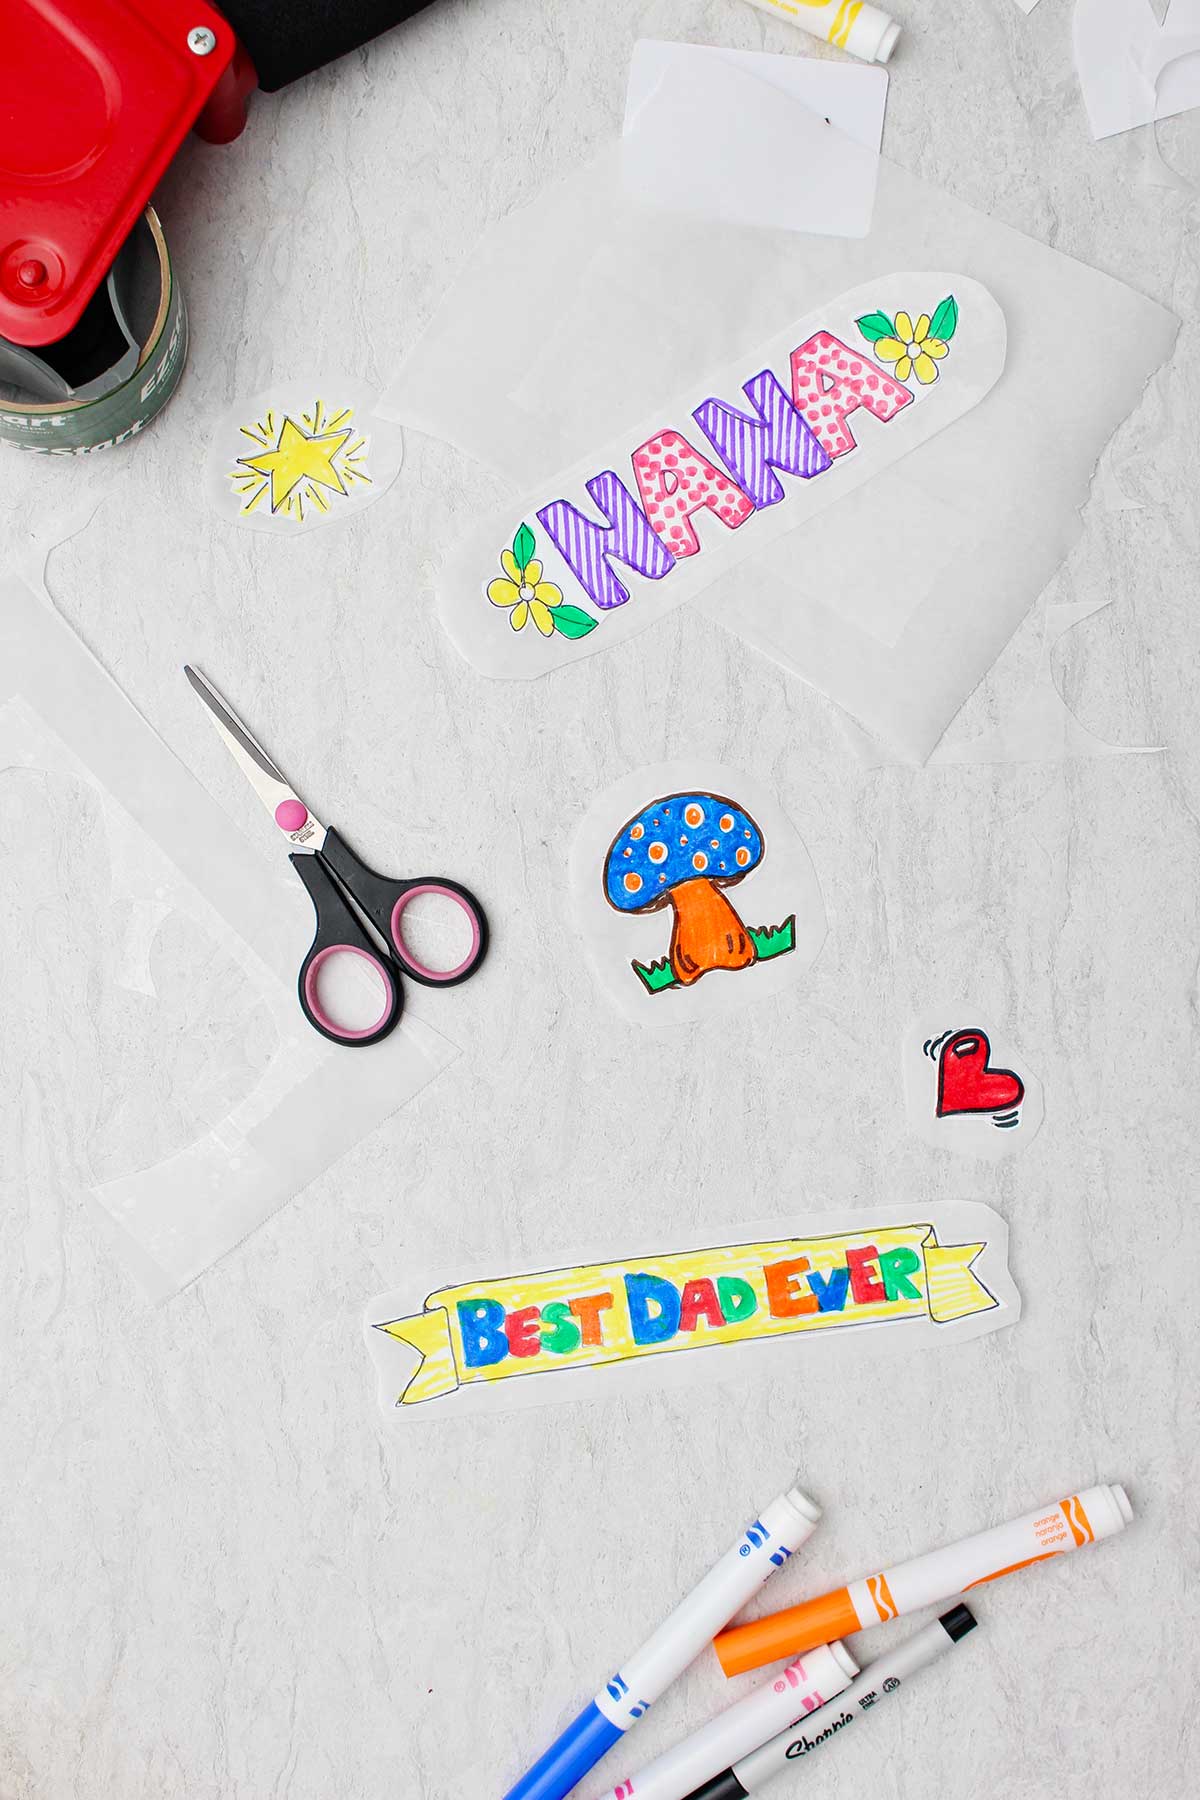
And that's it, you have your own homemade, DIY sticker!
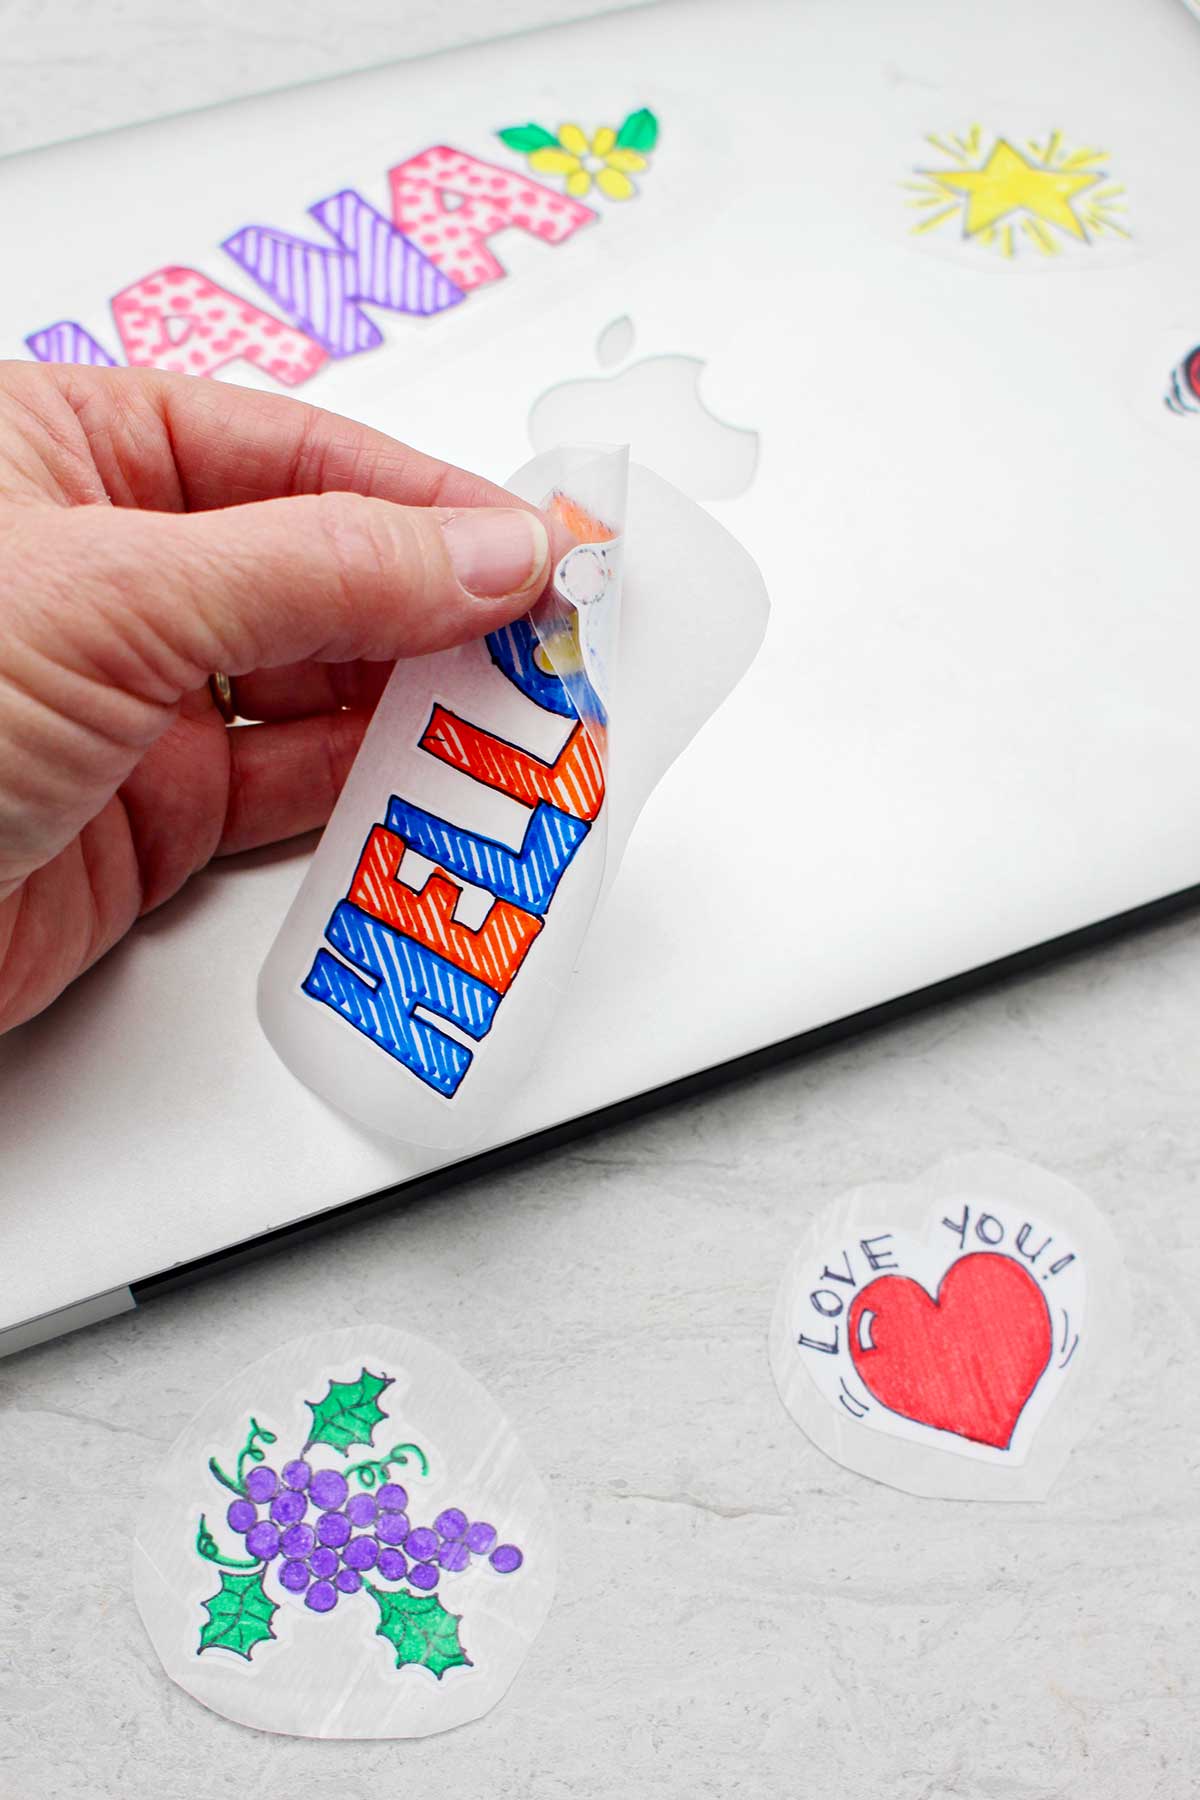
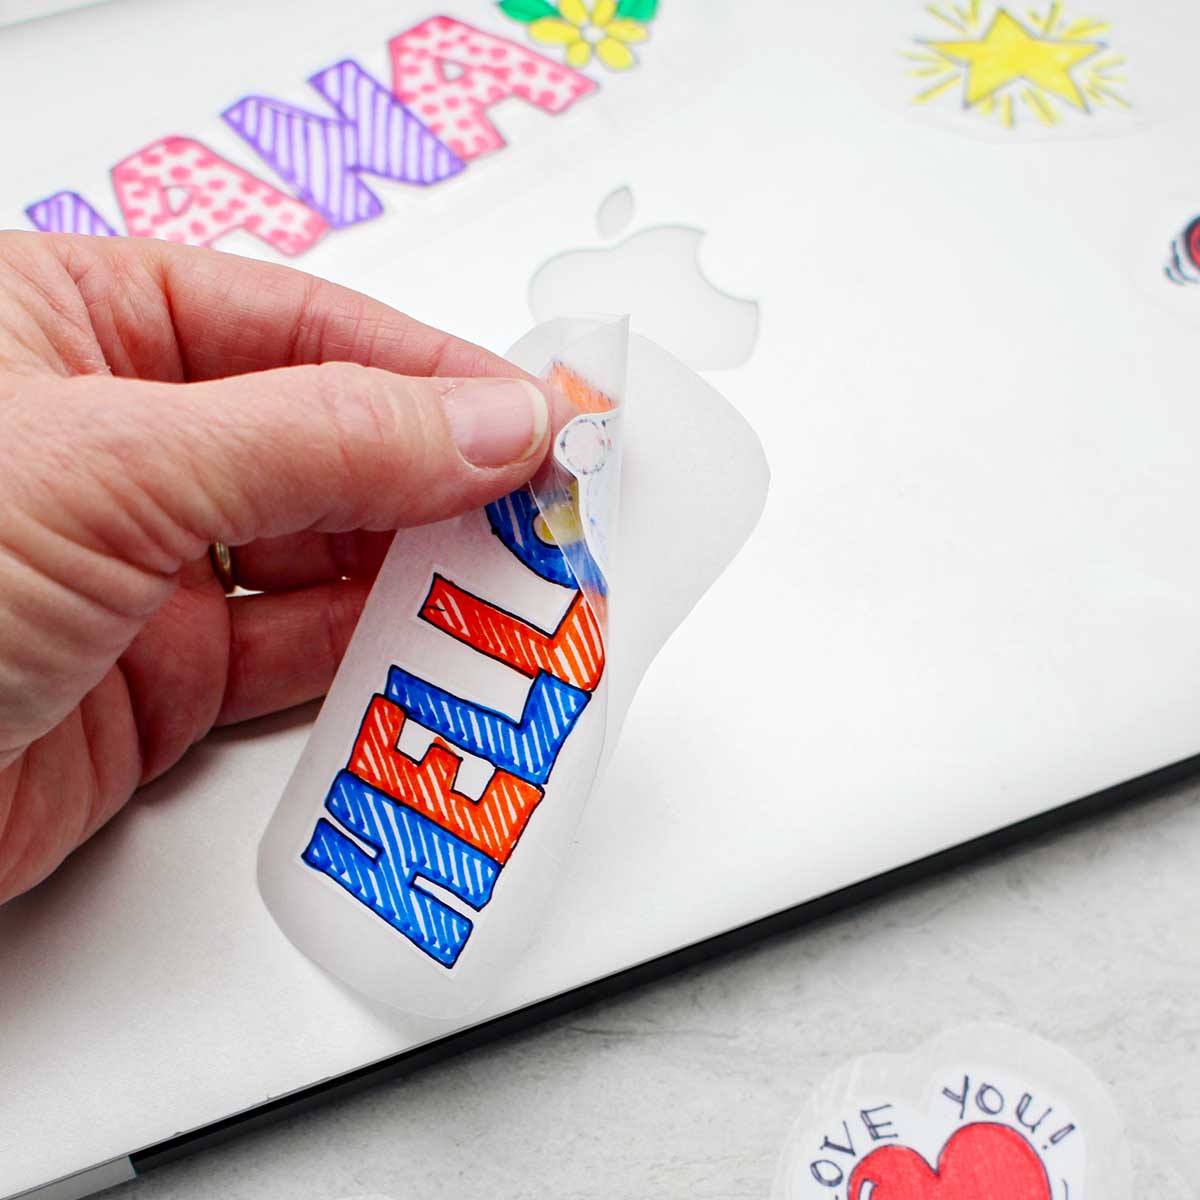
To use the sticker, peel off the parchment paper layer. The first layer of packing tape becomes the "sticky side" of your sticker, to place on a surface like paper!
How to Use Your Stickers
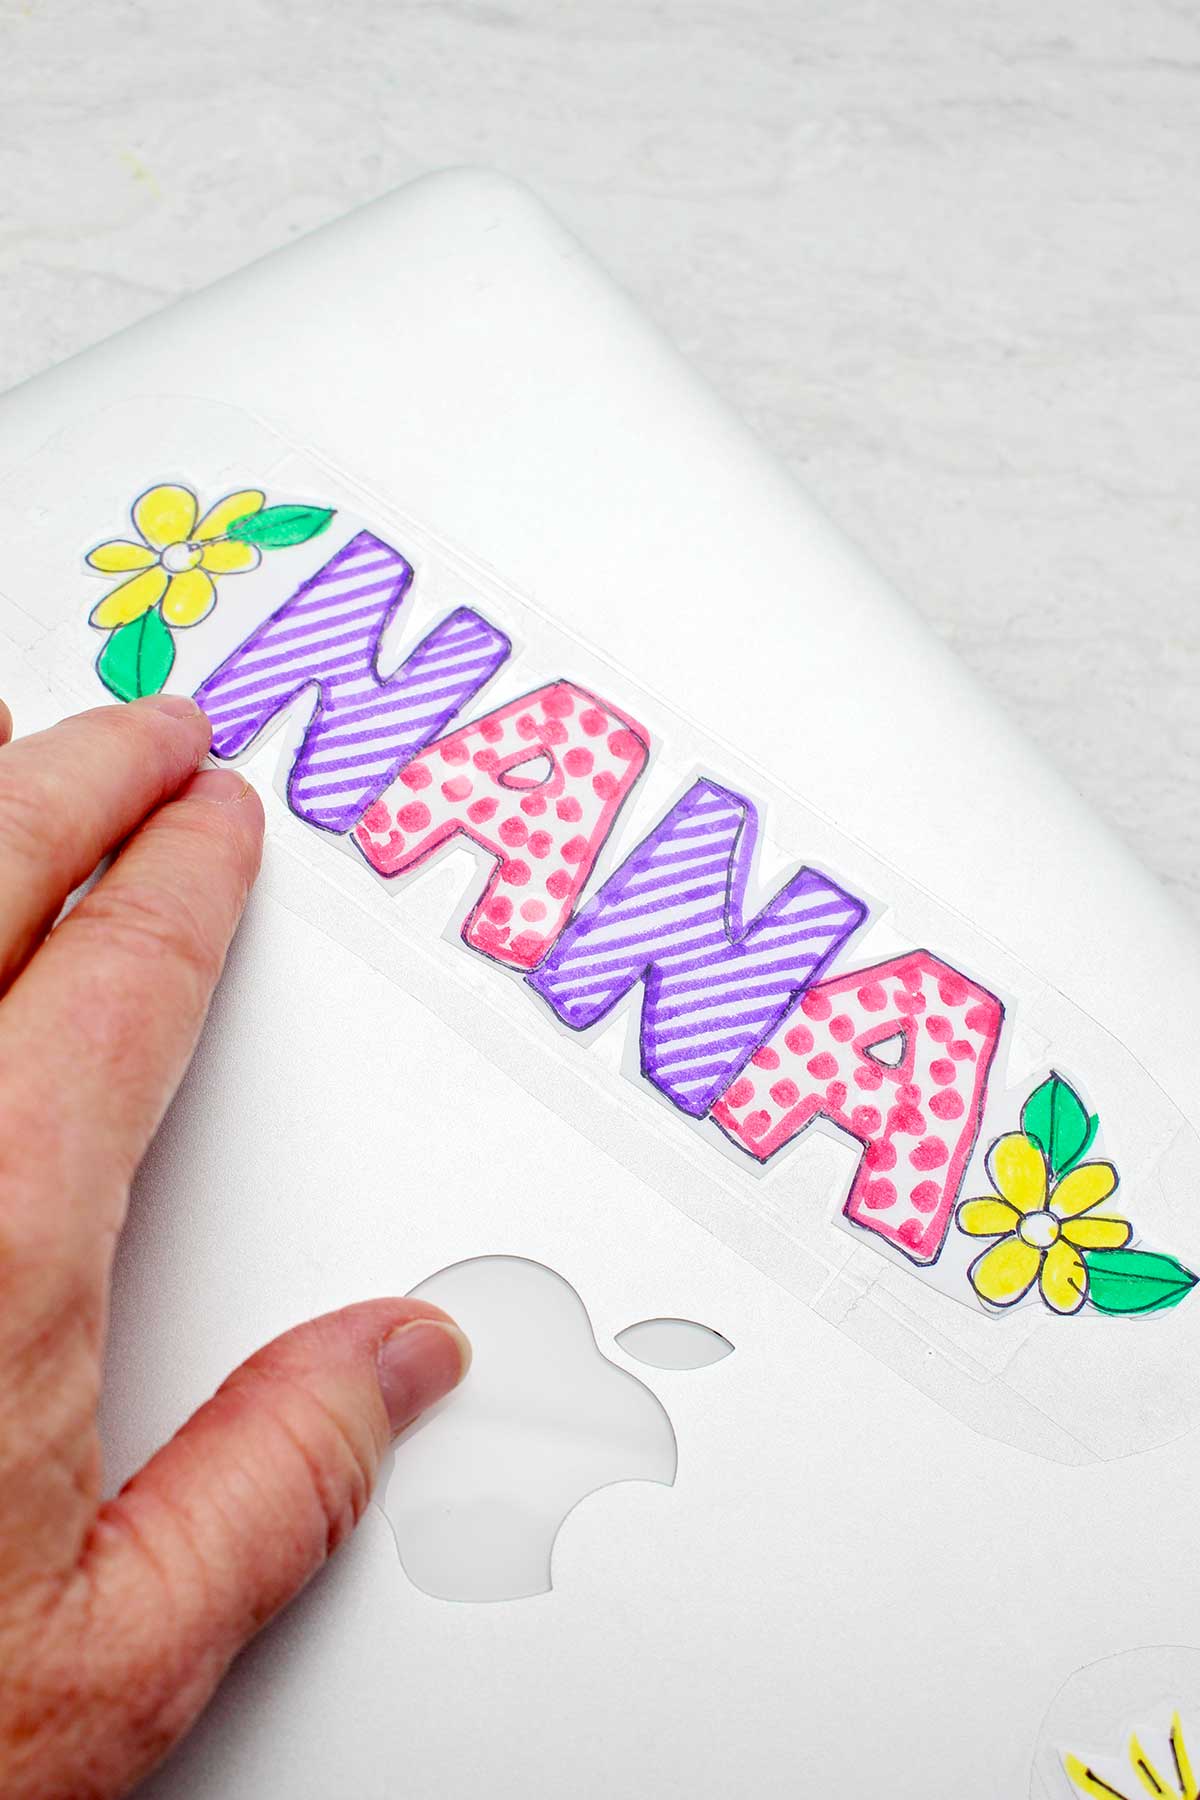
Add these stickers to DIY notebooks, letters or envelopes, paper assignments from school, and coloring books. I even think they could work on water bottles! I put my cute sticker on the front of my computer that says "Nana" to show as an example.
I’m thinking that I’m going to include them in birthday cards to people. Putting in some thing that has a little saying or a bubble lettering of their name or something fun that’s personal for them. This would be cute on a homemade envelope!
Though these stickers aren't waterproof, they are water resistant because of the packing tape covering.
I am so so excited to see what you do with your stickers.
Craft Tips
Here are a few tips that will help this craft go smoothly:
- Use Wax Paper- If you don’t have parchment paper on hand, you can also use wax paper. But I have to say I have not tried that myself so I cannot endorse it fully.
- Purchase Packing Tape in Bulk- In the bulk store I purchase a package of several rolls of packing tape. I also have one of the metal packing tape dispensers with a handle to hold the rolls of packing tape. This is a great tool to make the process easier if you are making a lot of stickers for yourself or for a group. I use it for other crafts as well, like these Musical Instruments for Kids!
Craft Variations
- Print Sticker Designs- You can make stickers from printed pictures as well! I imagine that both laser printers and inkjet printers would work fine.
- Use a Cricut Machine- These machines are great for designing and cutting out paper crafts. Try using them to design your stickers!
FAQ
You can make your own homemade stickers using just paper, parchment paper, packing tape, and some markers! Design and color your sticker, then layer it with the packing tape and parchment paper. In minutes you'll have created some unique DIY stickers to decorate, give as gifts, and put on cards!
Making your own stickers is simple, and uses just a few items you probably already have in your home. First you'll need some markers and paper to design your stickers. Next, you'll use parchment paper and packing tape to create the sticky layers, as well as the layer you peel off. Now peel and stick to your surface, or give as a gift!
Whip up some of your own stickers using packing tape and parchment paper! First you'll design your stickers with markers on a piece of paper - you can create any shape you'd like! Next, layer it with parchment and packing tape to create the sticky layer, the outer protective coating, and the layer to peel off. That's all you need!
Encouraging Young Crafters
My grandkids are always game to do things with me when they come, but the granddaughter that taught me this craft is taking it to the next level.
She has made little earrings, bracelets, crocheted items and even stickers like these, and then set up little booth at their local farmers market. I love how she is merging her entrepreneurial spirit and working with her hands.
How wonderful is it to encourage young people to pursue their interests, be curious, try things. That's what our young grand is doing. And I am thankful to be able to say, I’m doing it too! This pursuit is possible for kids of all ages, young and old.
Thanks for supporting Welcome To Nana's, and thank you, dear granddaughter for this craft idea. You rock!
Want More Paper Crafts for Kids?
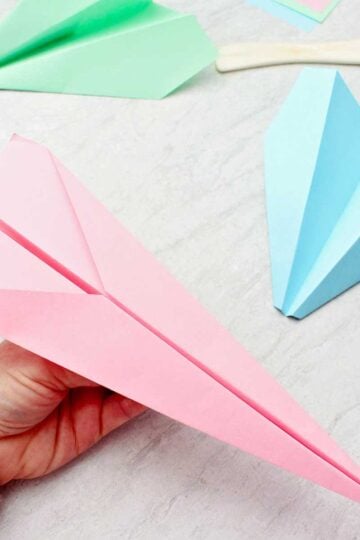
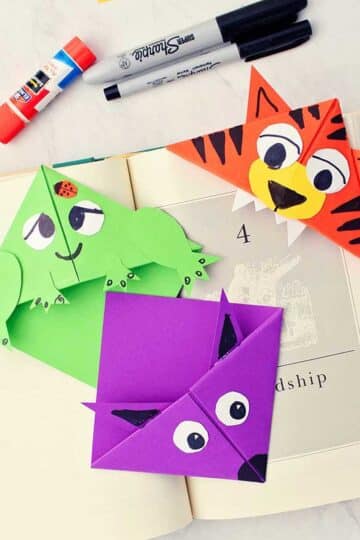
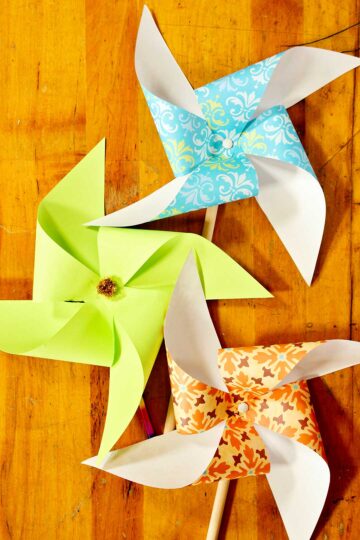
If you enjoyed making these stickers and are on the lookout for more simple paper crafts, check out these fun ones from the blog!
Enjoy!
Try this craft, leave a comment, rate it, and tag a photo with #WelcometoNanas wherever you post.
More Crafts!
Get a fun crafty gift and a weekly email with the newest crafts from Welcome To Nana's for signing up!

More from Welcome To Nana's
How to Make Stickers With Packing Tape
Equipment
- Packing Tape Dispenser (optional)
- Scissors
Items Required
- Parchment Paper (from the baking section of the store)
- Packing Tape
- Printer Paper
- Black thin lined permanent marker
- Colored markers or Colored pencils
Instructions
- Draw your pictures that you want to make into stickers on the copy paper. Start by drawing a pencil outline, then go over it with a black permanent pen as an outline. Color sticker designs in with colored pencils or colored markers.
- Cut out your design with a pair of scissors. I leave a small white edge (or margin) around the black outlining on my sticker.
- Tear off a piece of parchment paper and lay it on your work surface. Cut the paper a couple of inches larger than the size of your sticker drawing.
- Take a piece of packing tape and cut it about an inch longer than your sticker. Stick it to the parchment paper. If your sticker is going to be larger, you may need to add more tape.To do so, cut off another piece of packing tape and put it onto the parchment paper next to first piece. Overlap the two pieces by about a quarter of an inch or so.Keep adding pieces of packing tape to your parchment paper in the sizes that you want to make your stickers.
- Set your sticker on top of the packing tape / parchment paper layer. Take another piece of packing tape and place it over the top of your drawing.If your sticker is larger, you may need more than one piece of packing tape to cover your drawing. Simply add a second piece of packing tape, overlapping the first piece of tape slightly.Cover the entire sticker drawing with this method. Add enough packing tape so there is about a half inch of tape left around the edge of the sticker drawing.Use something like an old credit card or the edge of your scissor handles to gently rub over the top of your sticker. This will remove any air bubbles. Rub carefully around the edge of your drawing to seal the packing tape well.
- Now cut through all the layers in the sticker. Leave at least a quarter inch of the clear packing tape around the outside edges of the sticker.To use the sticker, peel off the parchment paper layer. The first layer of packing tape becomes the "sticky side" of your sticker!
Video
Notes
This post was originally published in May 2024 and has been updated to add more relevant and detailed content.


Laura Heller says
Such a great idea! A cute way to personalize cards and envelopes.