
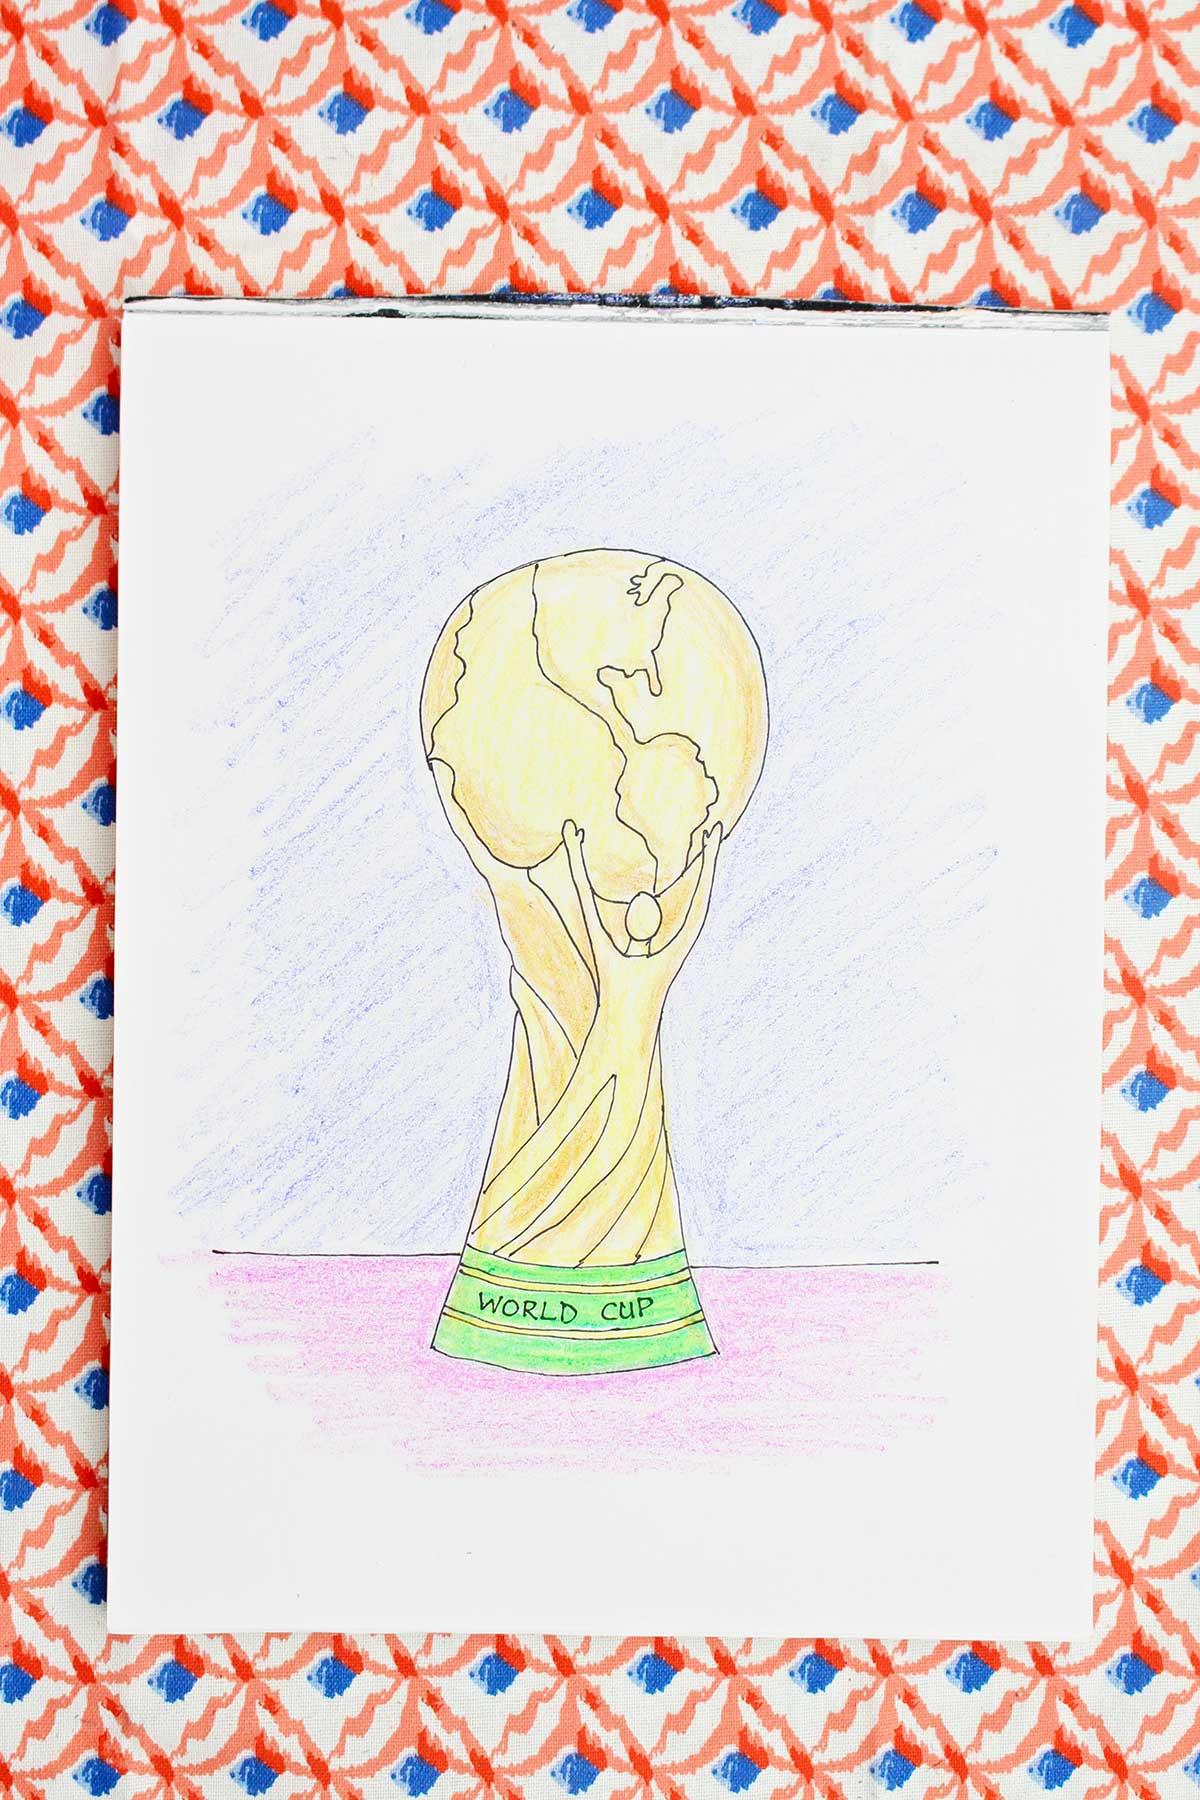
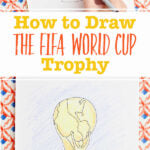
Let’s all learn How to Draw the FIFA World Cup Trophy - regardless of which soccer team we cheer for. The trophy may look hard to draw but these simple step-by-step instructions will make it easy!
Jump to:
- Drawing Fun: Celebrating Soccer and Its Fans
- Fun Facts about the FIFA World Cup Trophy
- Supplies to Draw the FIFA World Cup Trophy
- Equipment
- Steps to Draw a Soccer Trophy
- Tips for How to Draw a Trophy
- Drawing Variations
- FAQ on Trophy Drawing
- More Easy Drawing for Kids
- Come Join the Fun at WTN!
- More Crafts Please!
- How to Draw the FIFA World Cup Trophy for Soccer
Drawing Fun: Celebrating Soccer and Its Fans
When our kids were young they loved receiving medals in competitions of any sort. And the girls loved receiving trophies in dance class. Now I’m often shown grandkids medals and trophies.
They also loved receiving awards for other types of accomplishments. Sometimes these were awards or certificates that celebrated their character, acts of kindness, work accomplishments, or gaining a new skill.
But another dynamic of celebrating accomplishments is the group of supporters behind the person or team of people that receive the awards. And the FIFA World Cup soccer championship has recently shown the world how far a supportive set of fans can be! It’s as if they are winning the award right along with the team they are cheering for.
So let's Draw the FIFA World Cup and enjoy celebrating soccer, winning, competing, cheering, practicing, and not giving up! All wonderful things for kids to learn.
You’ll be amazed at what you can draw when we draw it together. I’ve been drawing for over 5 decades! Come on, let’s go have some fun!
Fun Facts about the FIFA World Cup Trophy
The FIFA World Cup Trophy currently used was created by Silvio Gazzaniga (an artist from Italy) in 1974. It was made of 18 karat gold and is approximately 14.5 inches tall. Of course it isn’t possible to give out gold trophies, so the tournament winning team receives a replica of the original that is gold plated.
The trophy is of two human figures that are holding up the world. As I looked at it, I thought they were soccer players holding flags with the world between them. But I was wrong. Oh well. The base has bands of green malachite and the figures seem to twist up the base of the trophy. It’s pretty cool.
The first version of the trophy was stolen, then found by a dog (named Pickles), then later stolen again and never returned. They think that that trophy was melted down and sold as gold bars. The current trophy was created to take its place.
Oh, and only a few people get to touch the trophy, mainly the winning team during the ceremony and those that take it out and return it to its tightly secured permanent location. Then the team brings home the gold-plated replica to keep. Still cool!
The 2026 FIFA World Cup took place June 11-July 19, 2026. The games were in cities throughout Canada, Mexico, and the United States. What a wonderful event. The finals were on July 19, 2026.
The World Cup is held every four years. 2030 celebrates 100 years of World Cup tournaments and is to be held in Spain, Portugal, and Morocco.
Supplies to Draw the FIFA World Cup Trophy
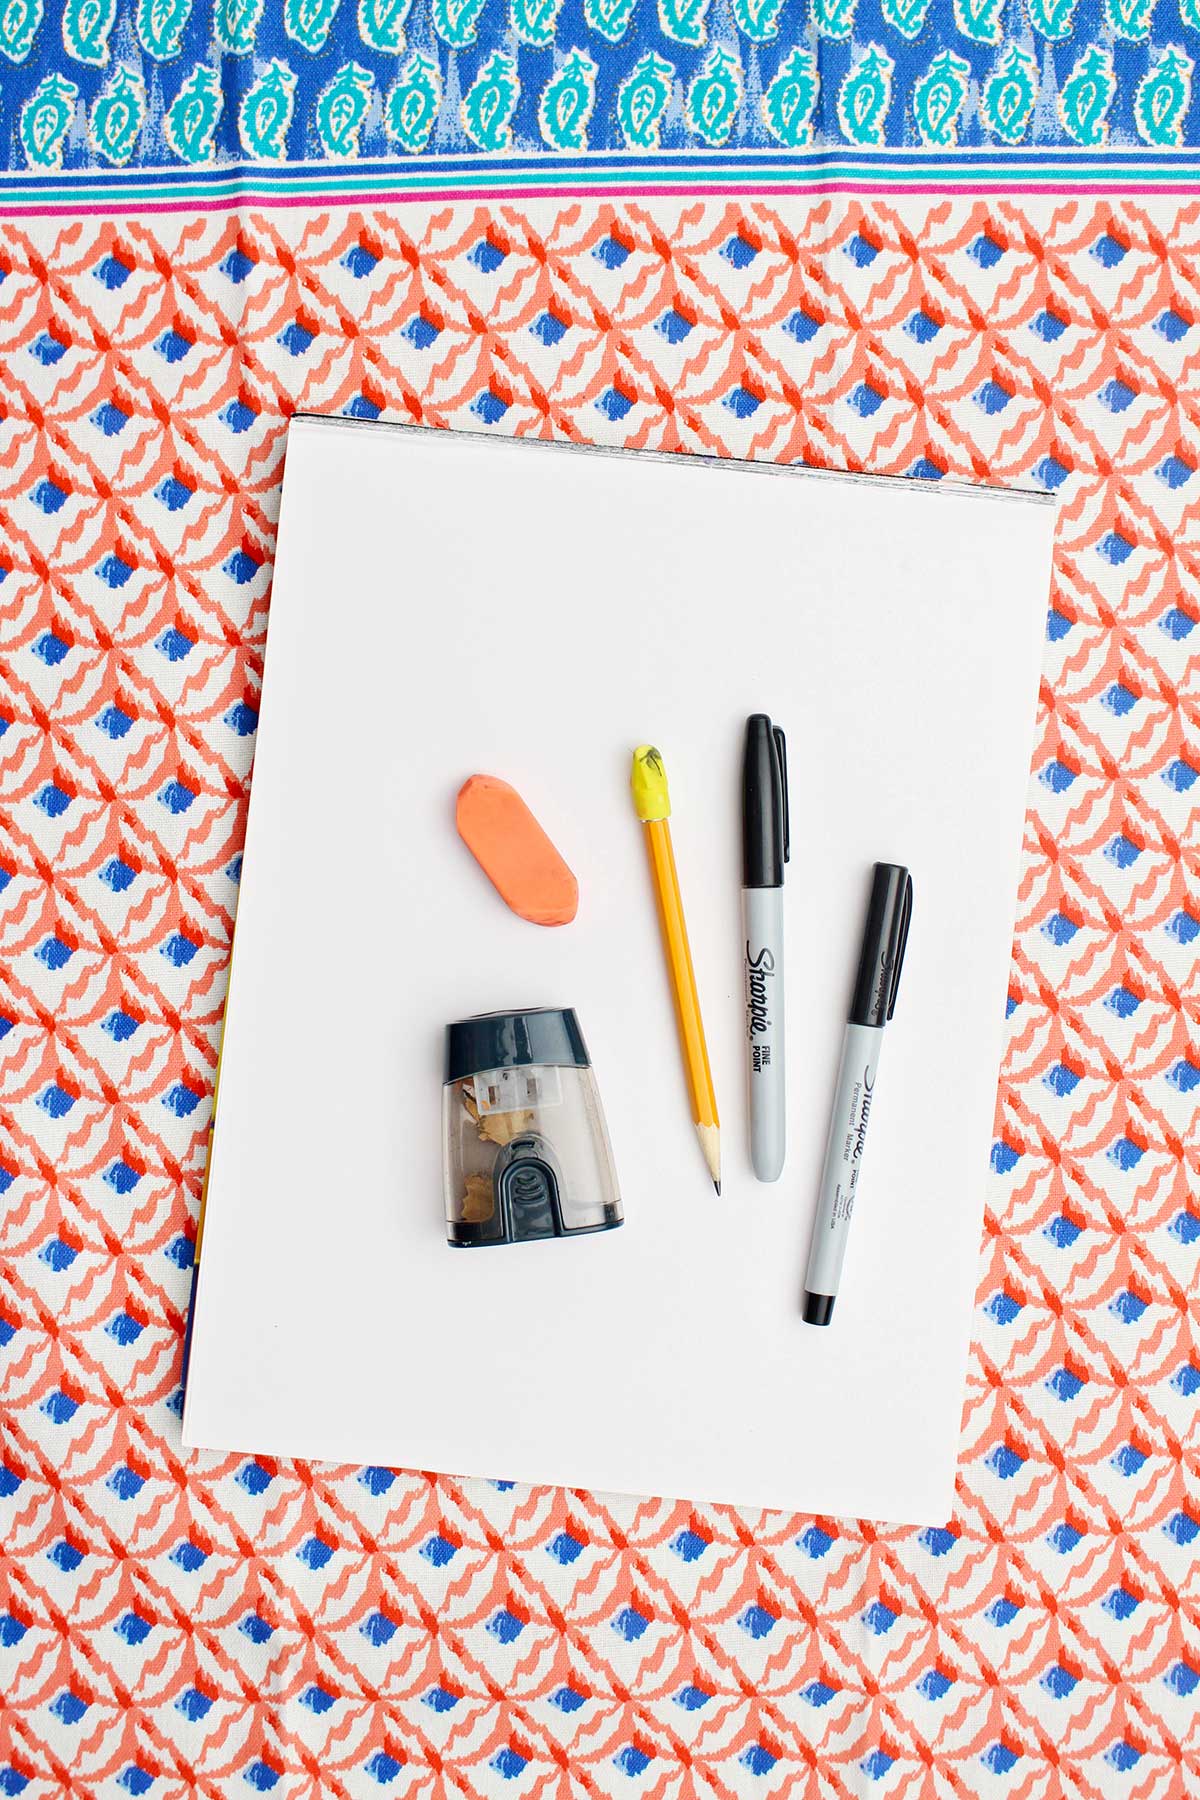
You don't need much to create this FIFA Soccer World Cup drawing!
- Drawing paper or a drawing sketchbook- White paper of any type can work.
- Pencil- Just a regular school pencil.
- Eraser- I need one at least!
- Pencil sharpener- Nice to have handy.
- Permanent black marker (fine-tip works well)- Used to go over the pencil drawing (optional).
- Colored pencils, colored markers, or crayons- Add color to your drawing (optional).
- Metallic markers (optional)
Equipment
- Flat work surface
- Good lighting
Steps to Draw a Soccer Trophy
Step 1
Pictures and the video will be helpful for you as you go through these how to draw a trophy steps.
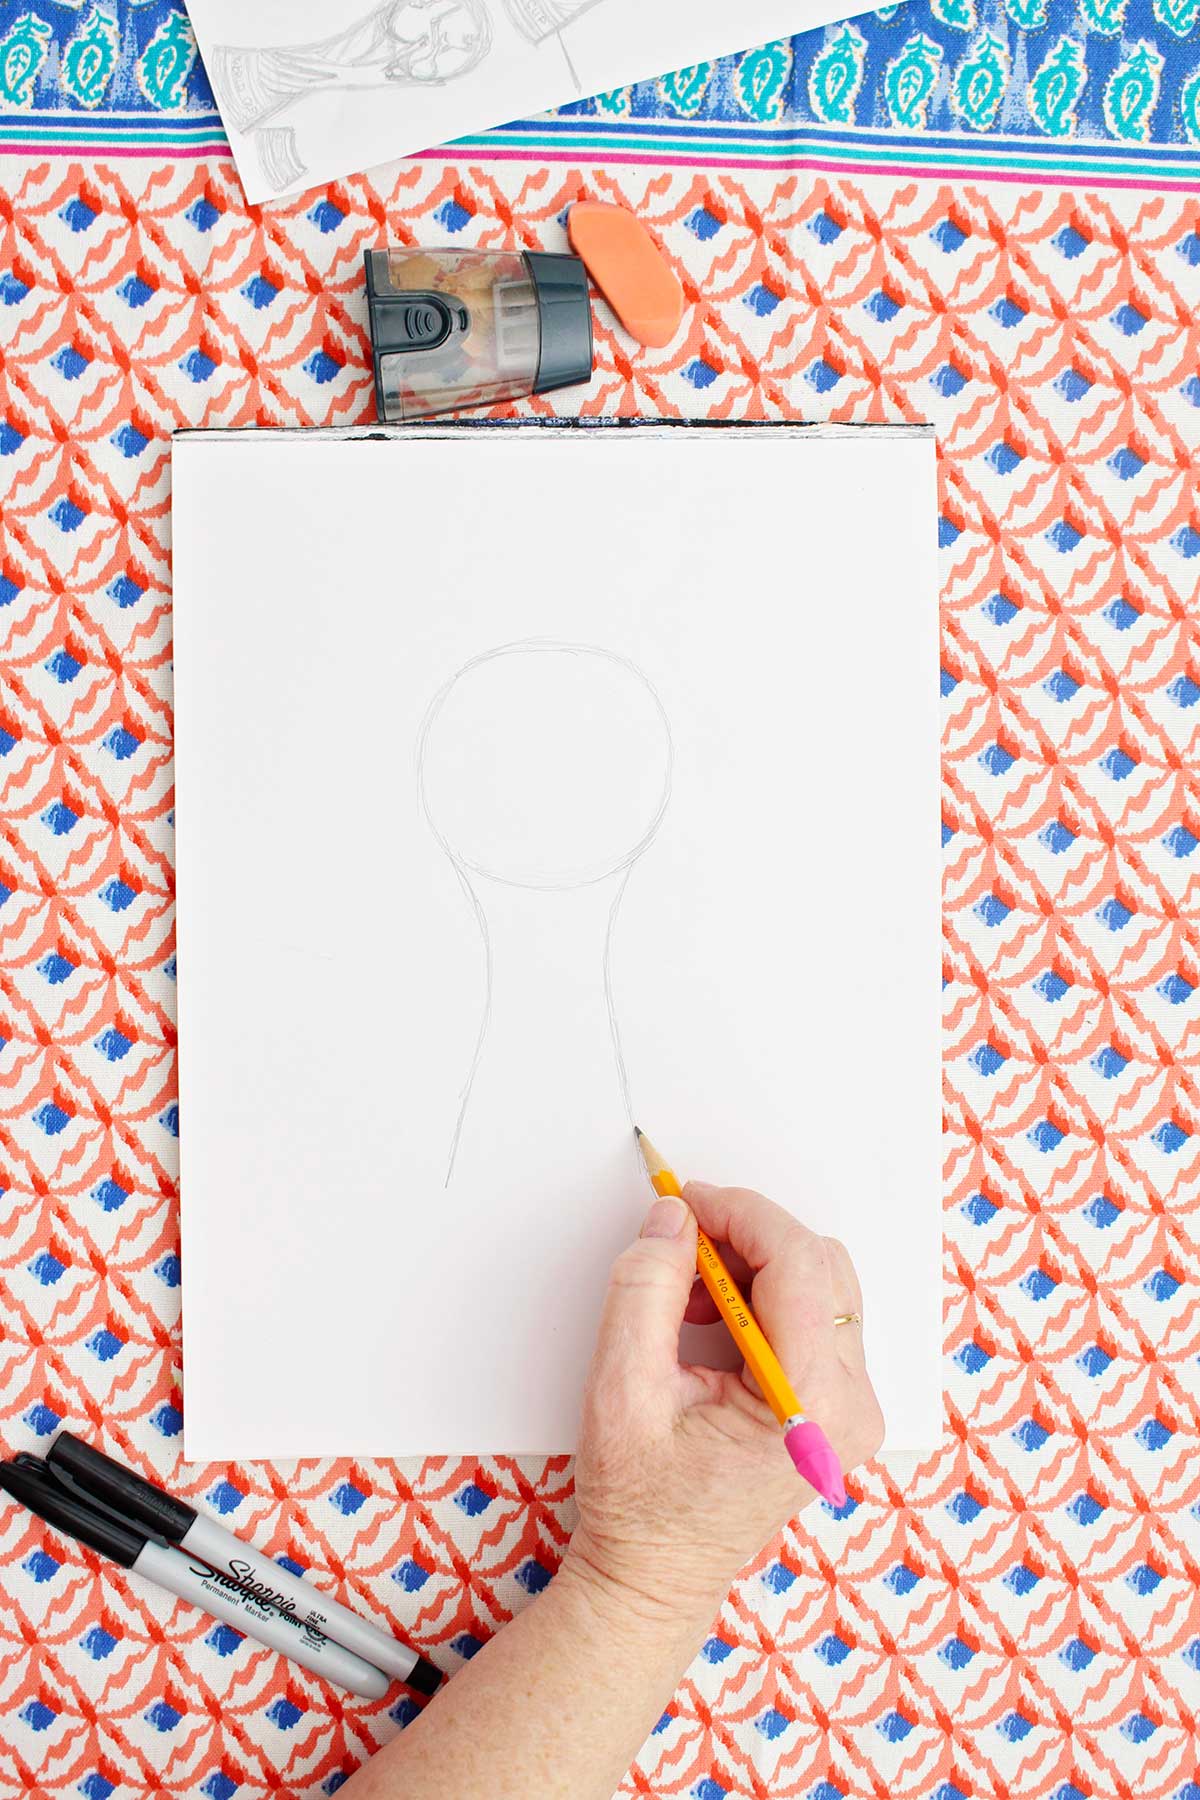
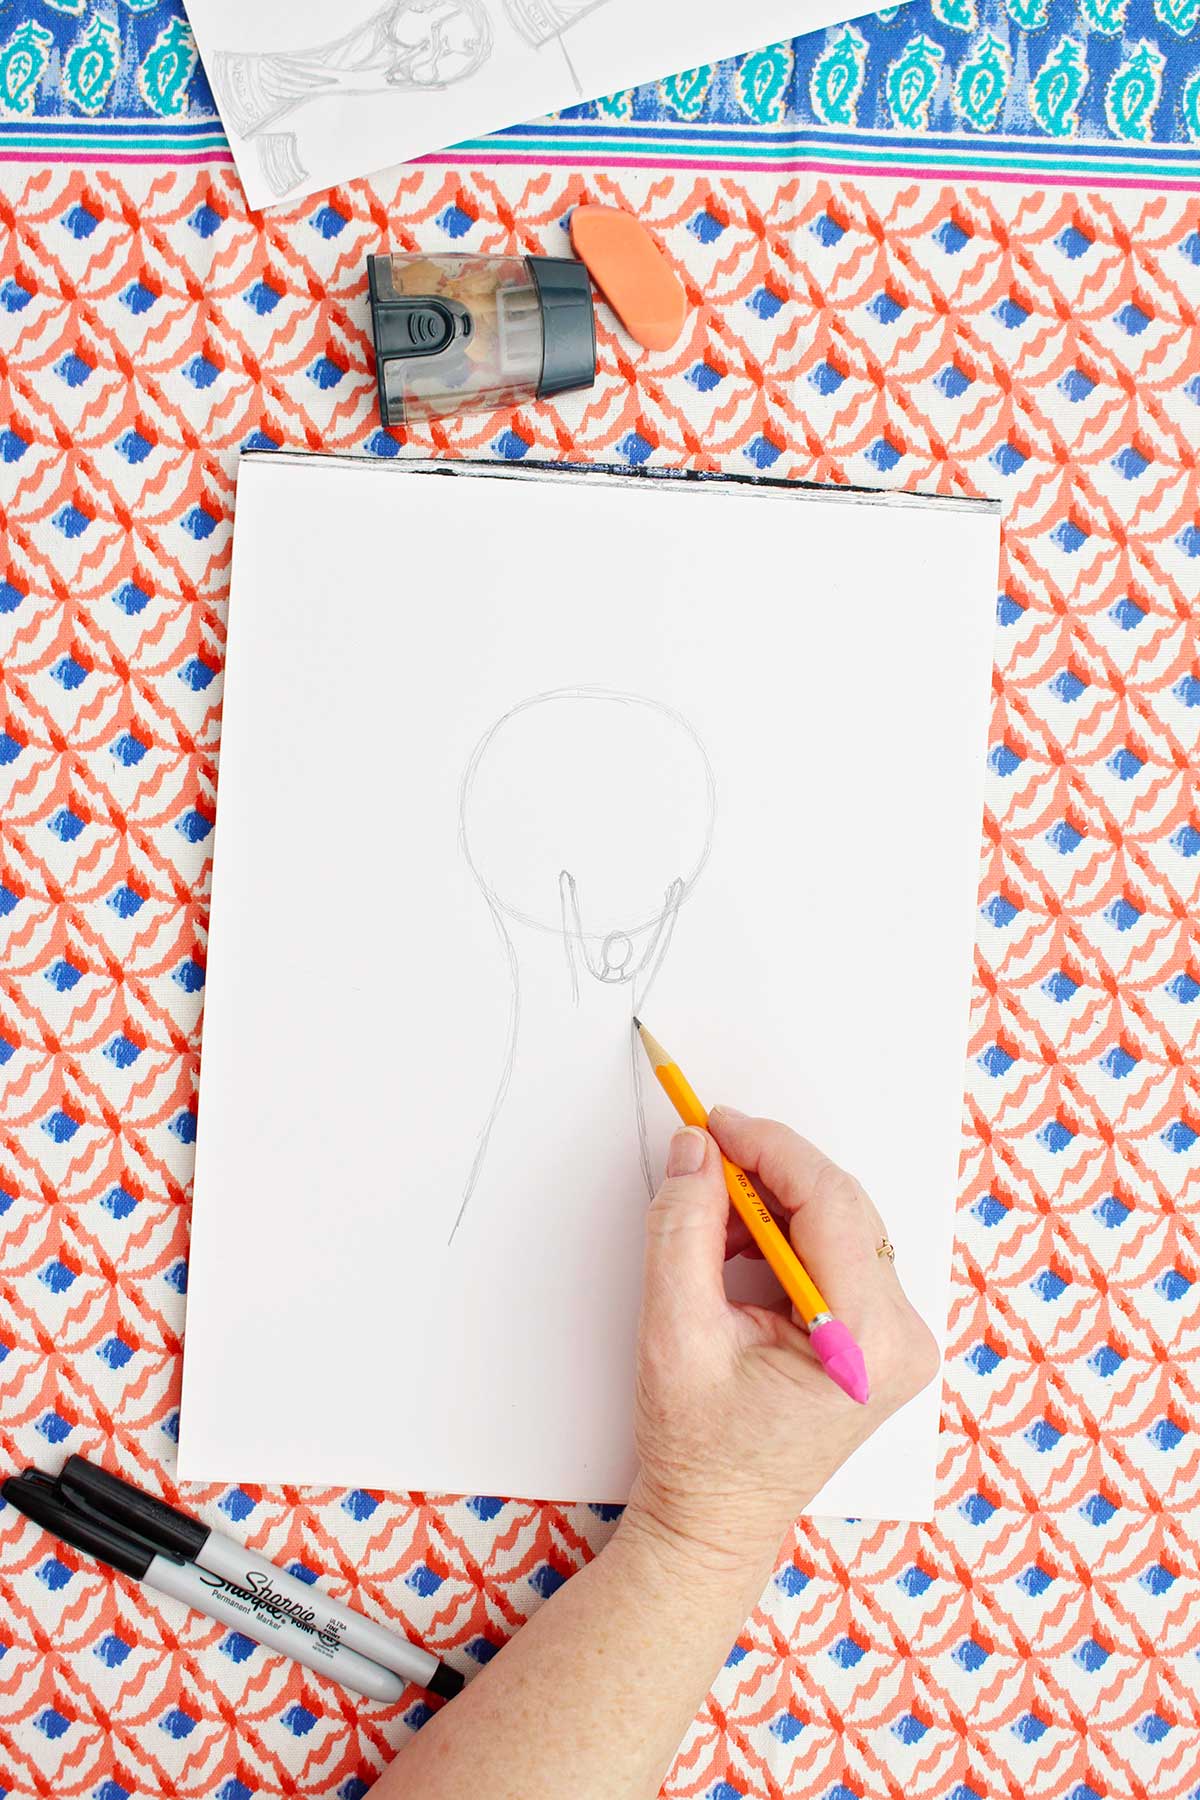
Draw a circle near the top of the paper. The diameter will be about the size of a large mug. This is the “world” at the top of the trophy. It will be finished later.
Step 2
In pencil, draw two curved lines downward to form the bottom part of the trophy. This will look kind of like an hourglass. Leave the bottom area between the two lines open for now. This part of the trophy is about 1 ¼ to 1 ½ the size of the circle drawn earlier.
Step 3
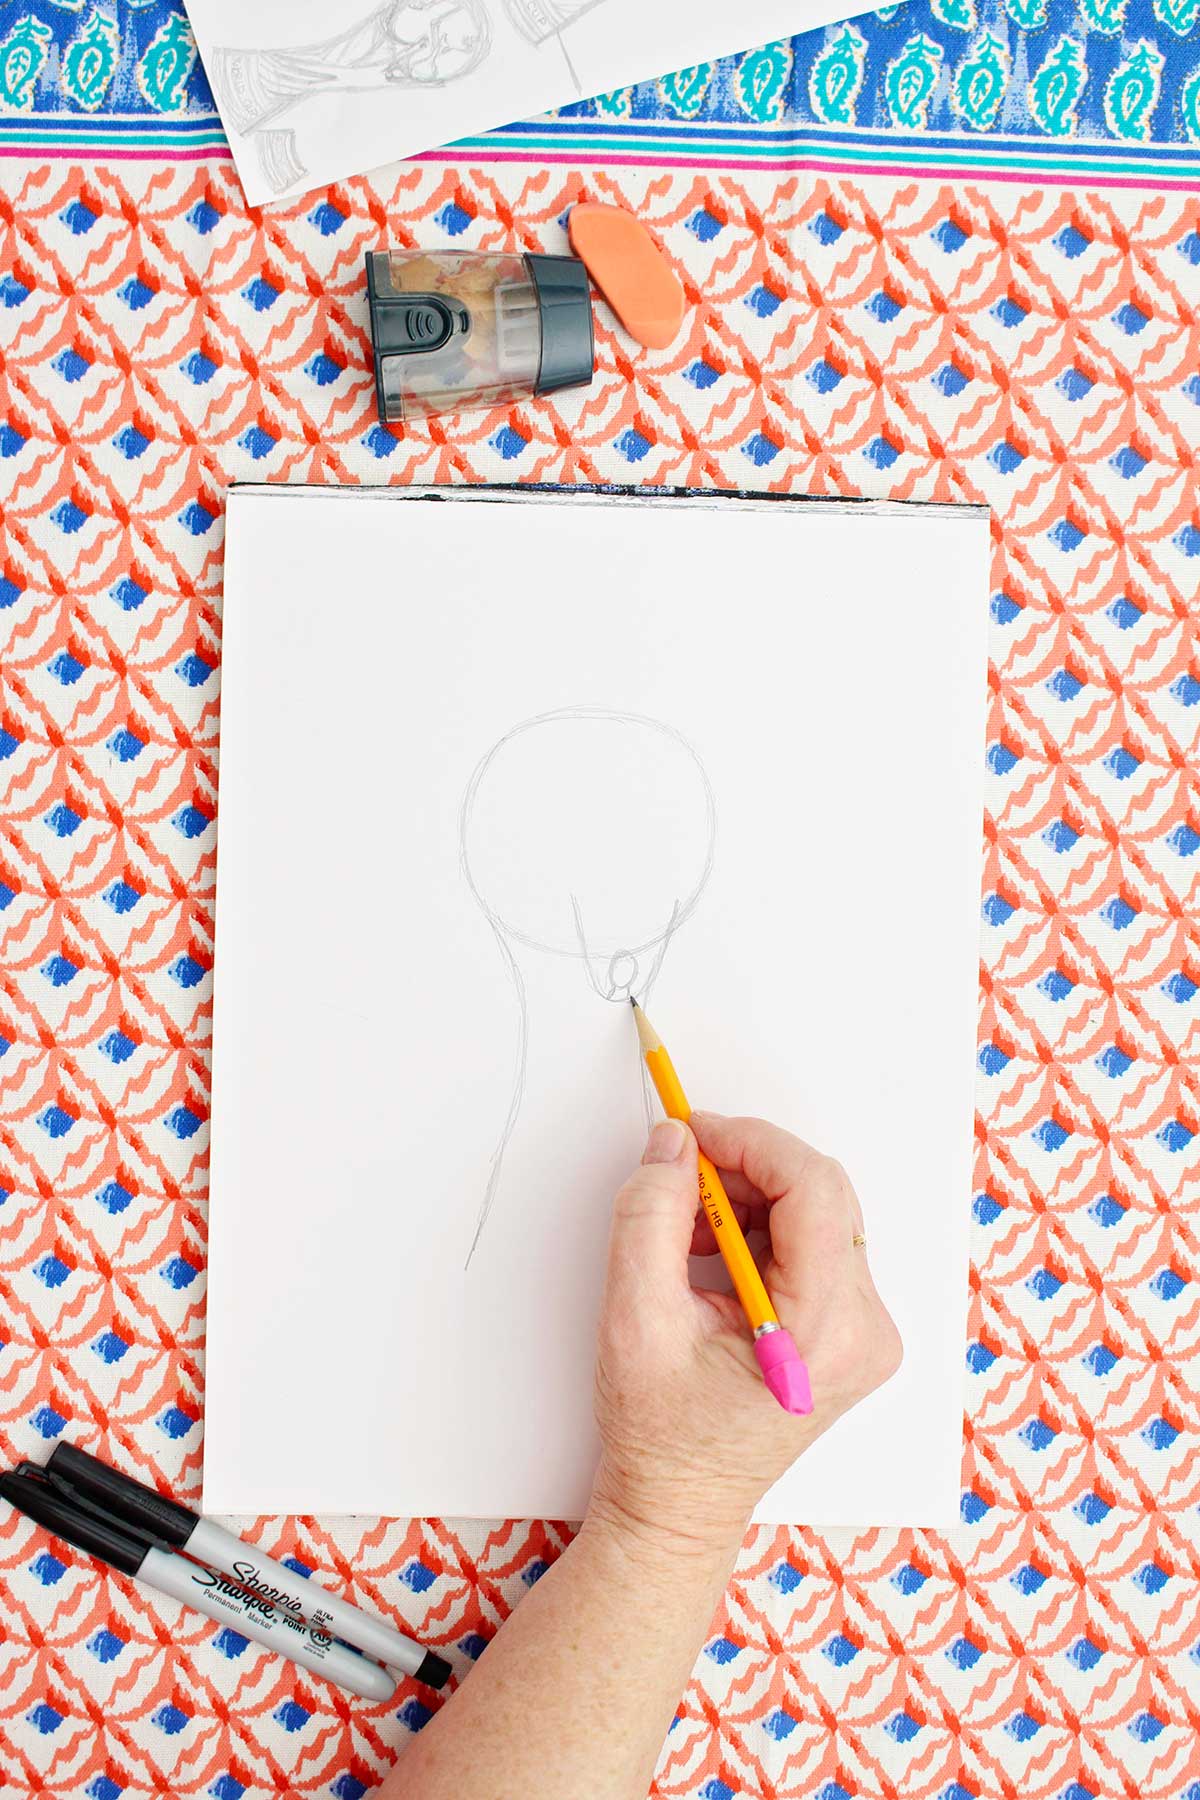
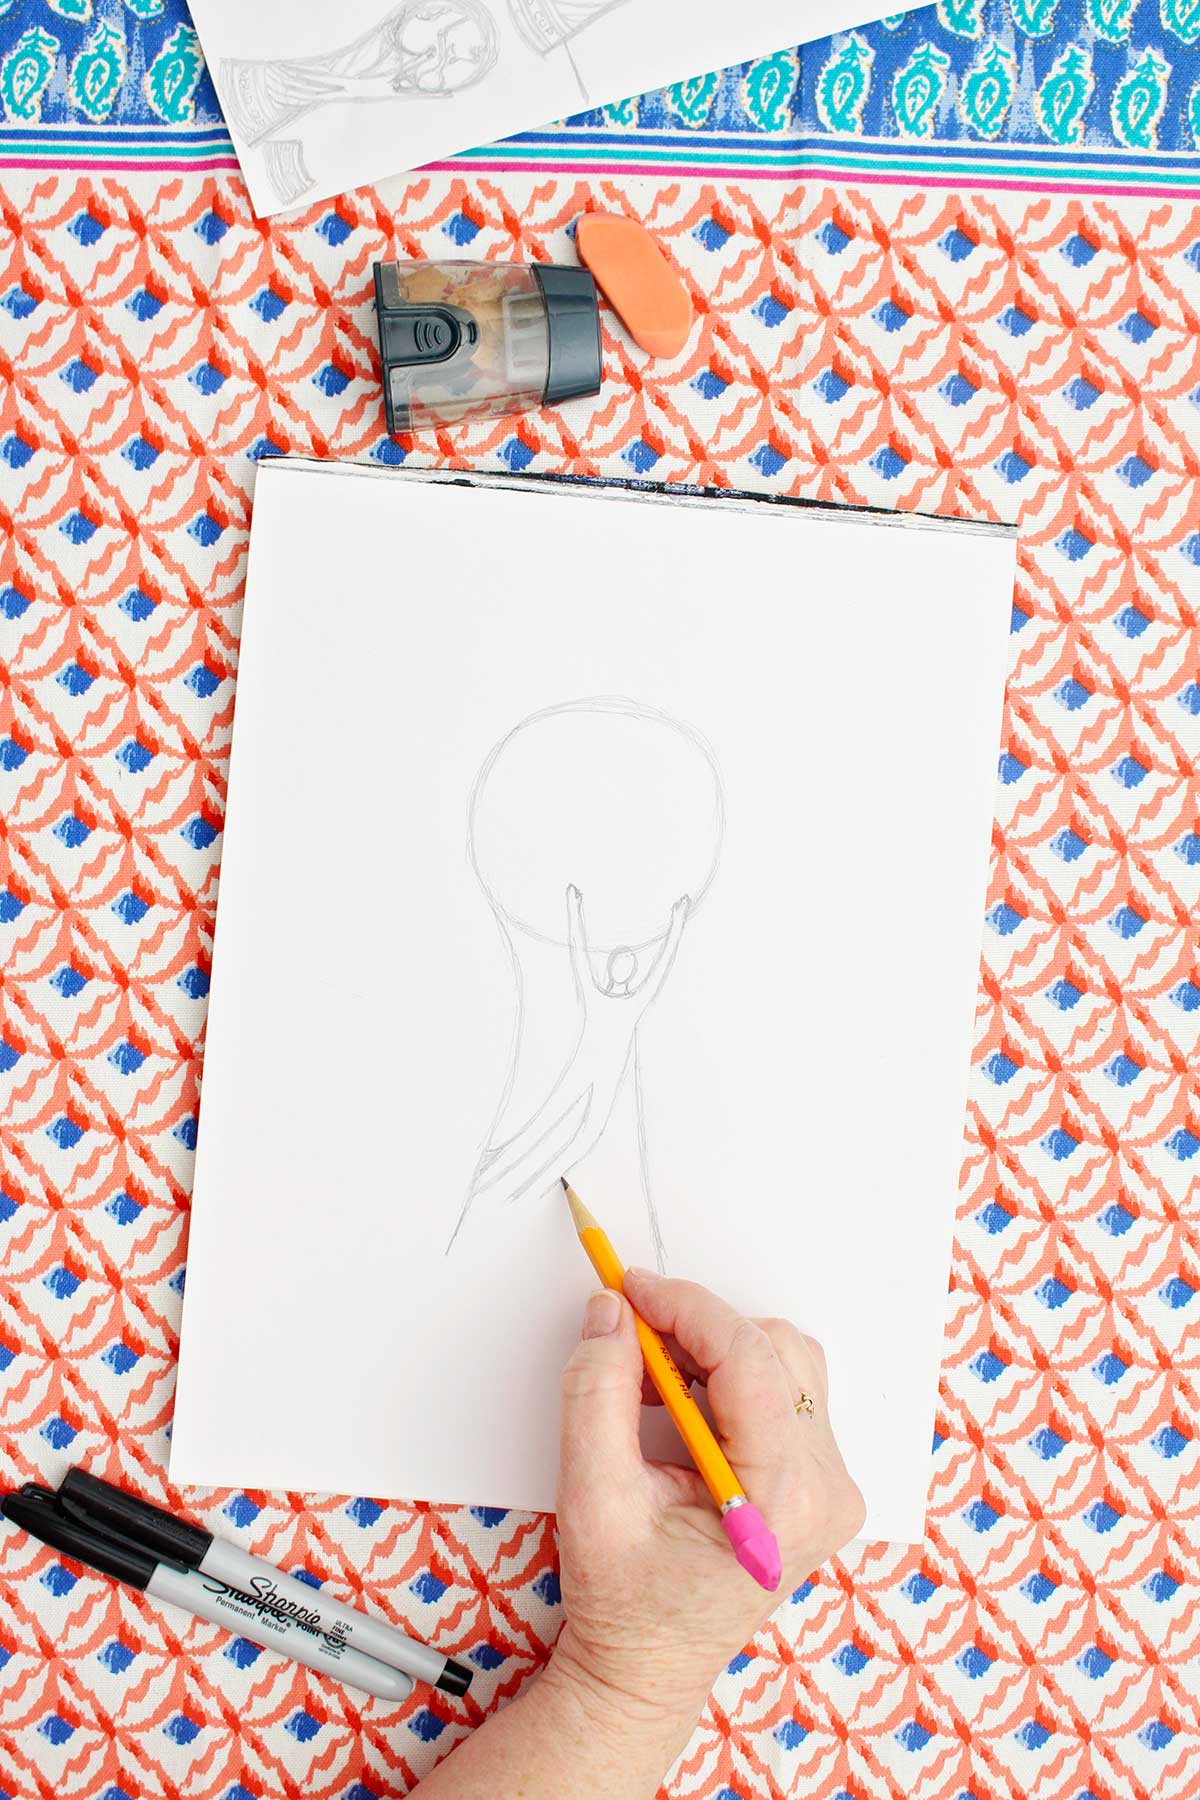
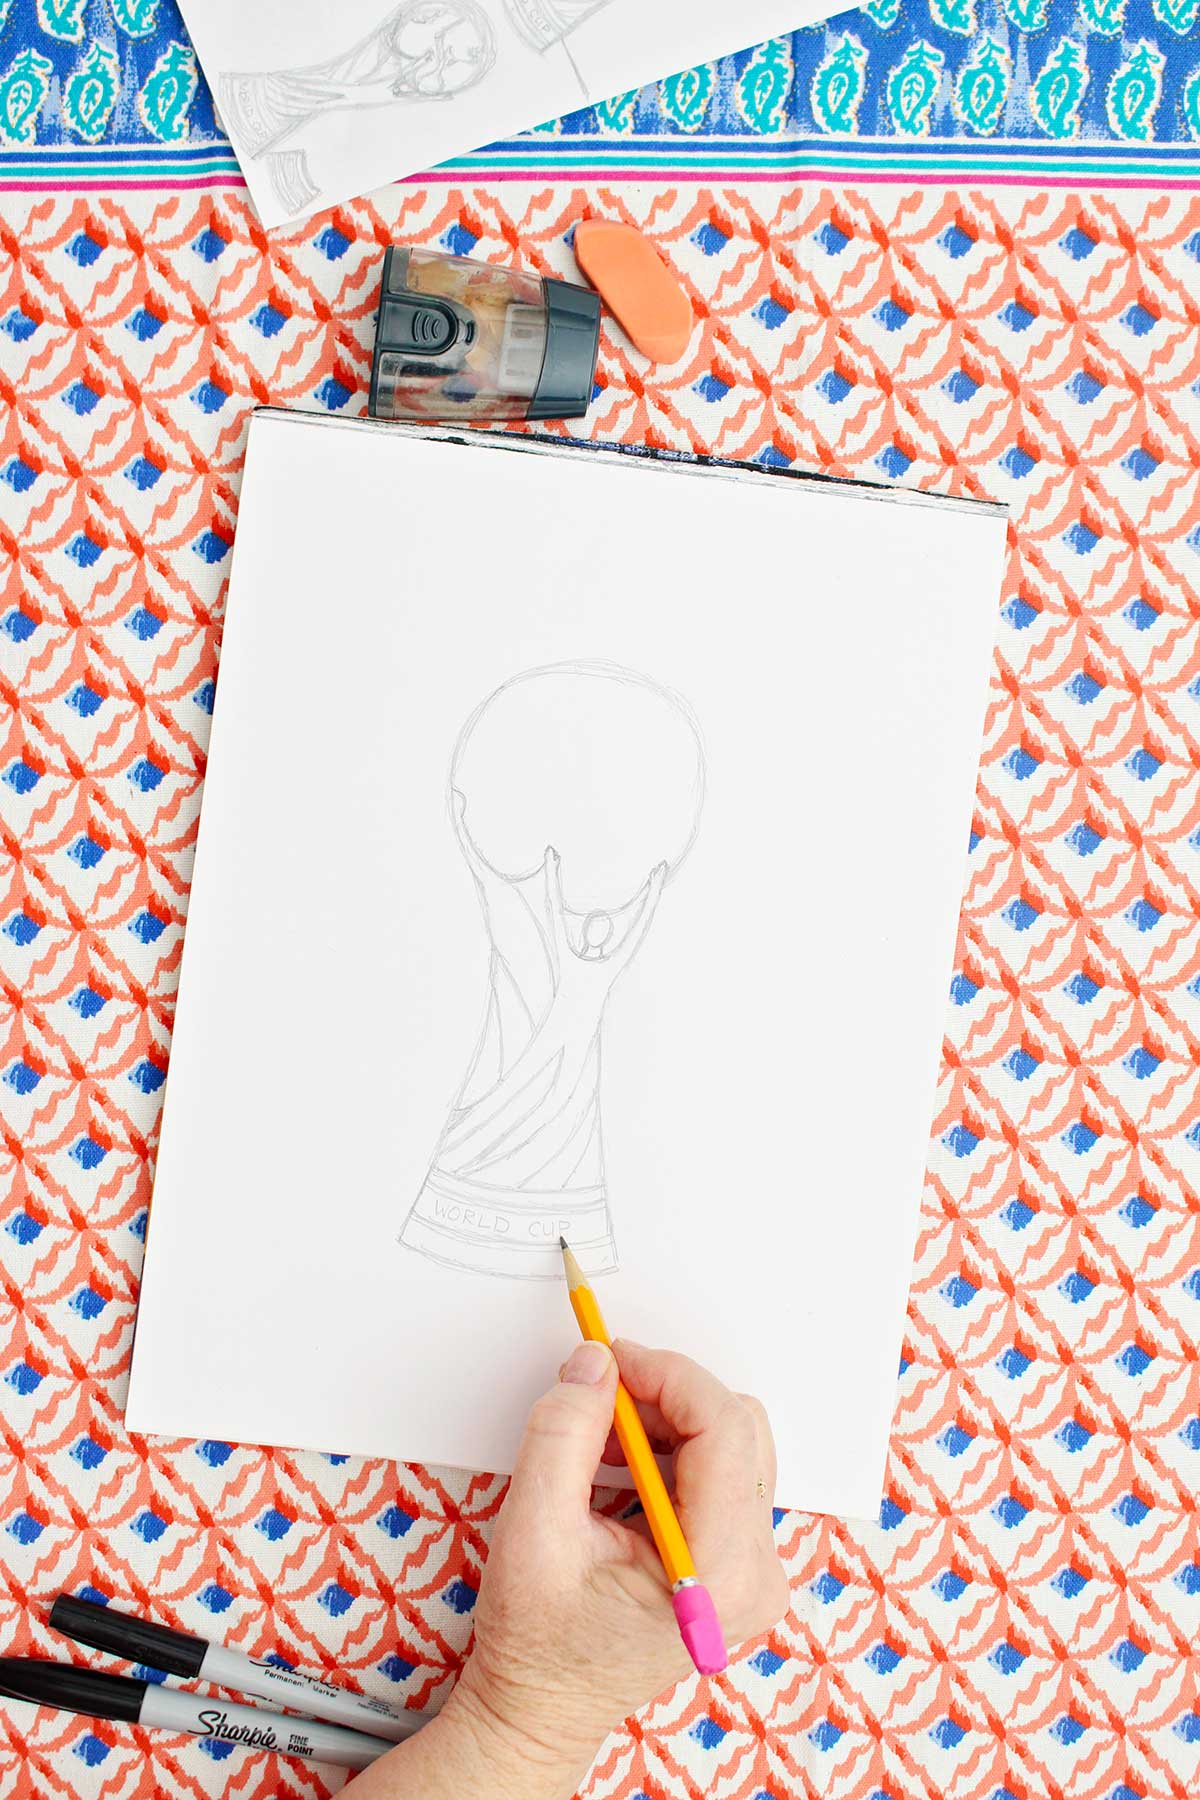
Add a “U” shaped line on the top right of the hourglass area. This is part of the figure’s arms reaching upwards and holding the world. Draw an oval inside this “U” for the head and attach it to the “U” shape with two small lines for the neck.
Complete the arms. On the left tip of the “U” draw a simple hand by rounding the top of the line and drawing a line down and parallel to that side of the “U”. Do the same thing on the right tip of the “U”
Step 4
Extend these arm lines down and curve them down to the left bottom side of the hourglass shape to make the body and outer side of the legs.
The leg on the right side is bent a bit more in what will be the knee area of the leg. There are no feet on the figure, the lines at the bottom of the legs just stop and do not connect.
Draw a line between the two legs that starts at the ankle area of one leg, goes upward and then down again to the other ankle area. Look at the picture to help understand this step. This completes the two legs and body of the figure.
Step 5
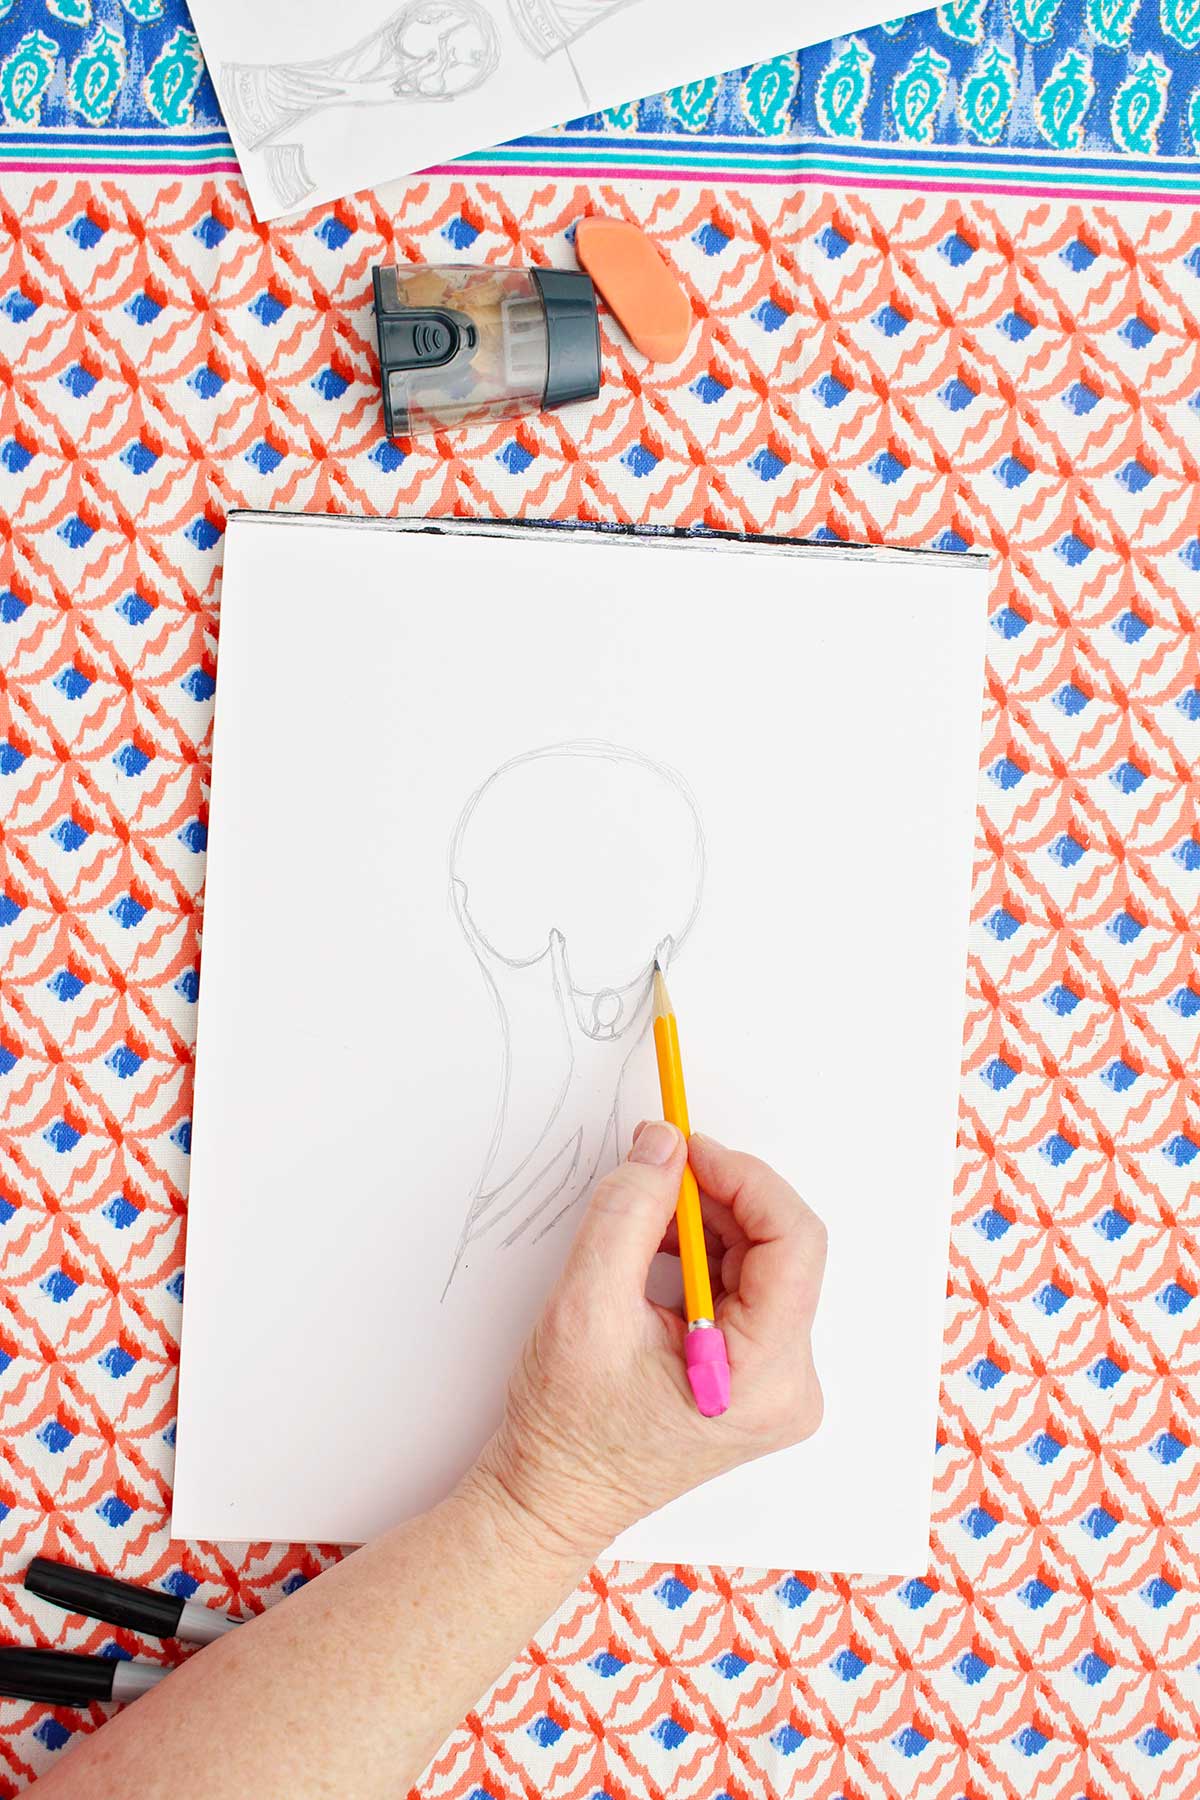
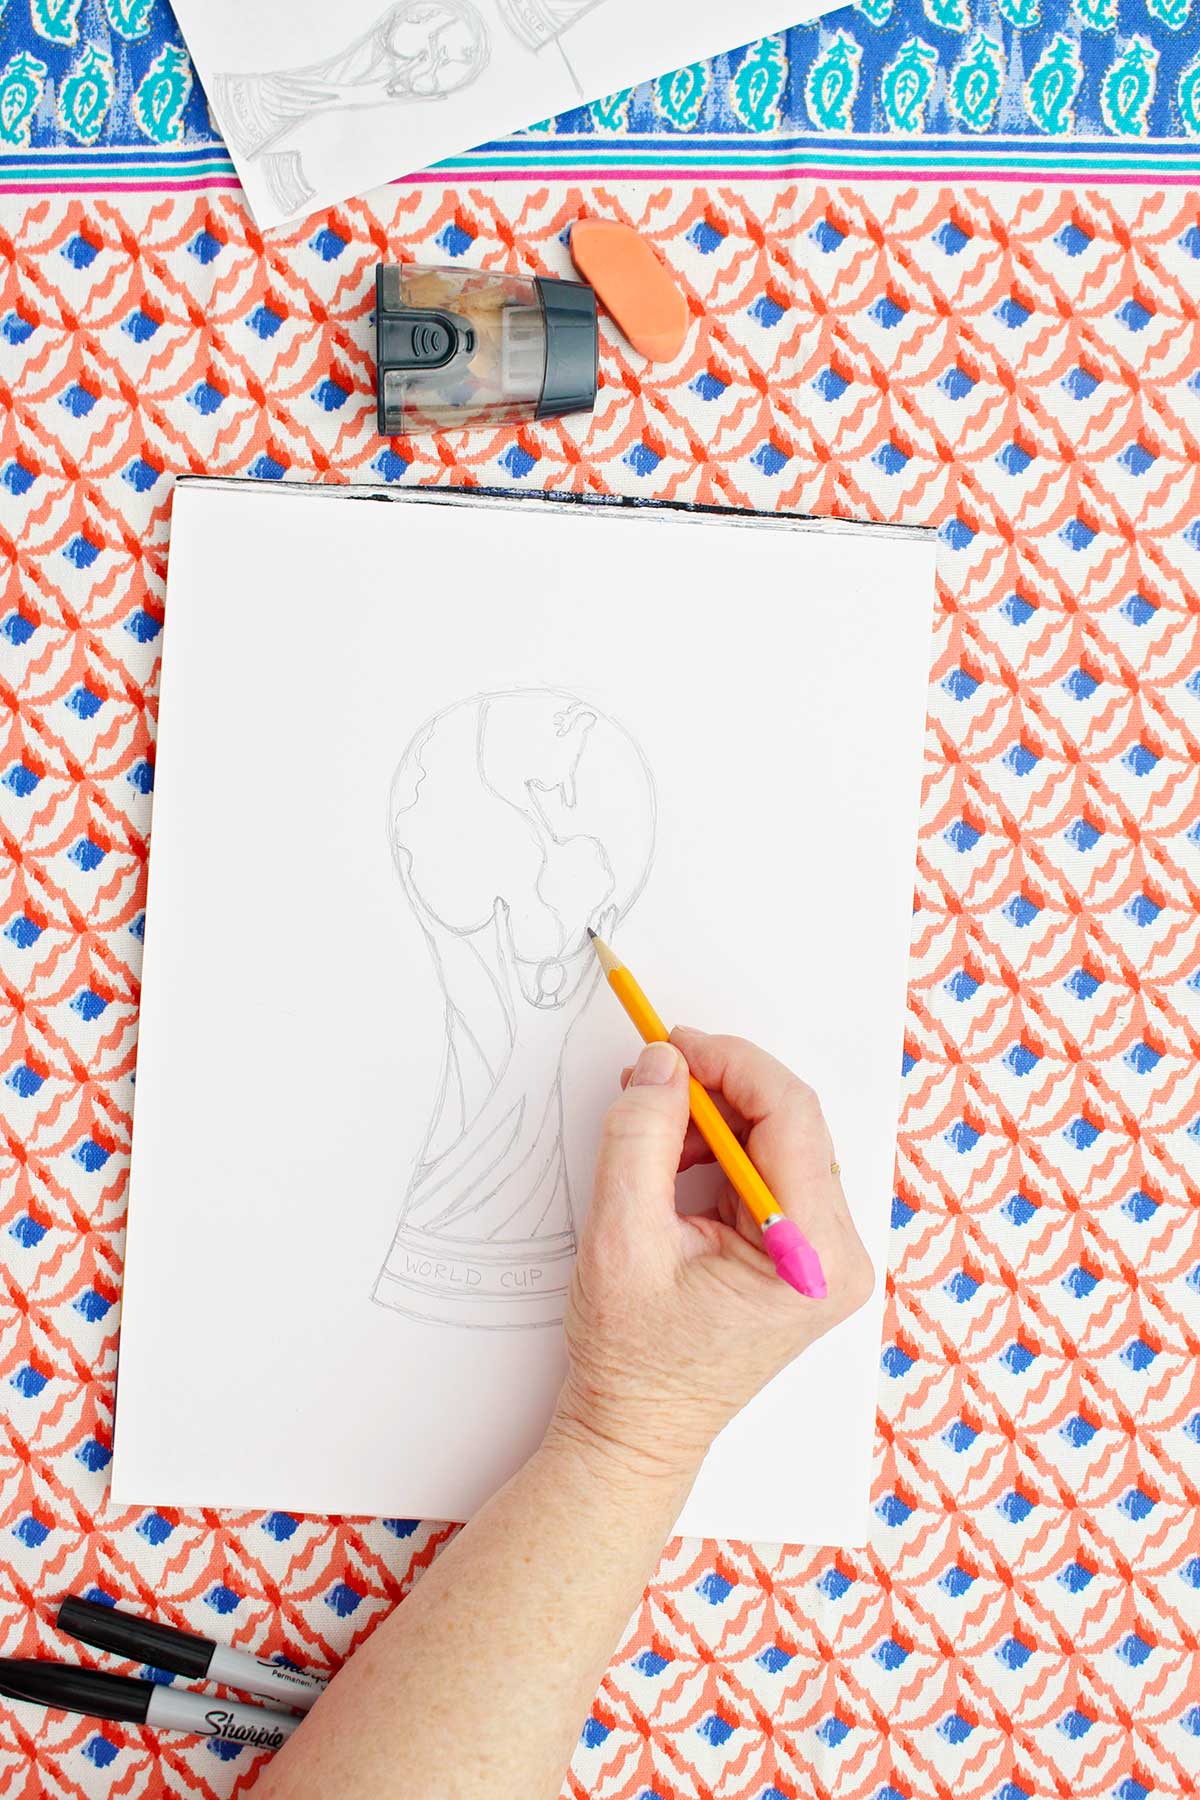
Two scooping lines are drawn at the top of the hourglass shape. One is between the figure's two hands, the second is from the right edge of the world back to the figure's hand. The details of the trophy are hard to make out for me, but this almost looks as if the figure is holding a flag that is blowing behind. Erase any lines that cross over the figure.
Step 6
Add two lines that sweep around the trophy from the right to the left below the figure's bent knee. Then add three lines that sweep down from the top left of the hourglass down towards the figure’s body.
Step 7
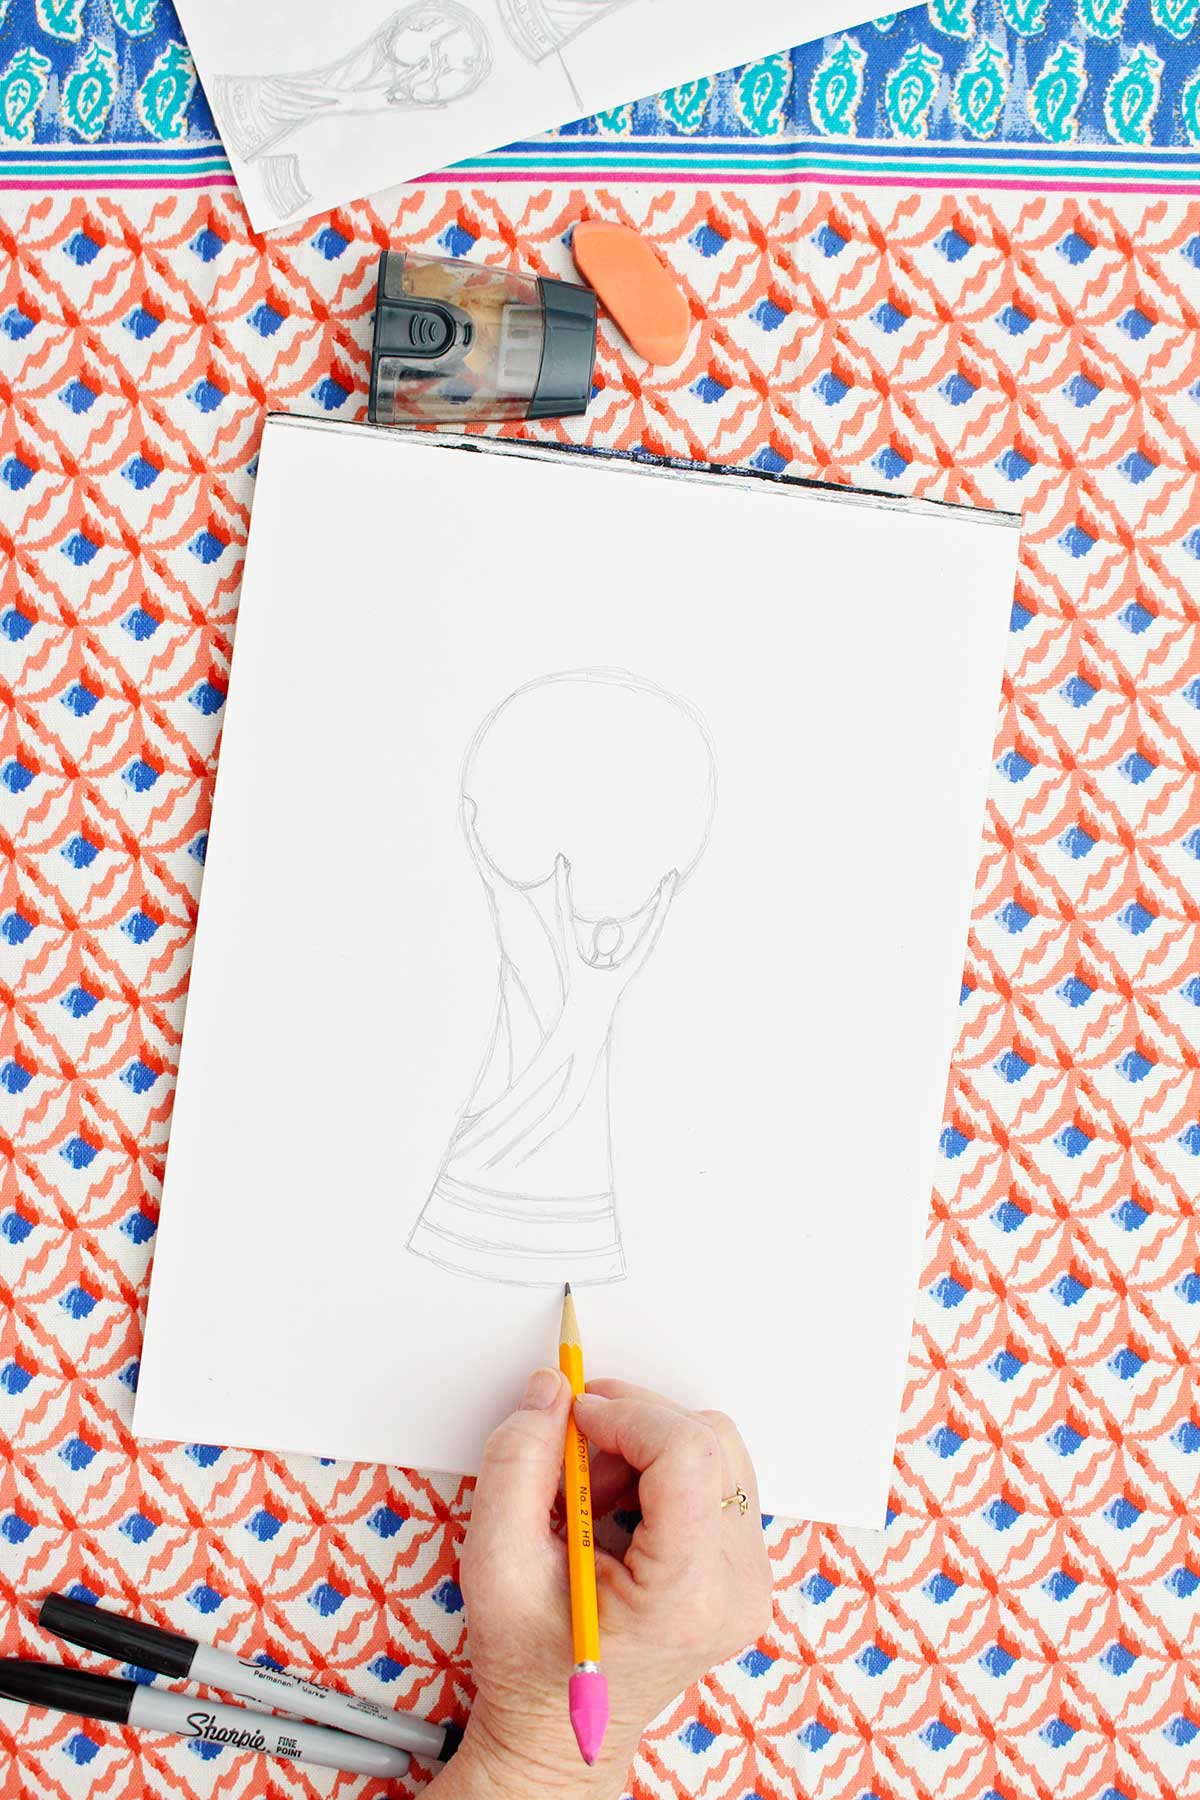
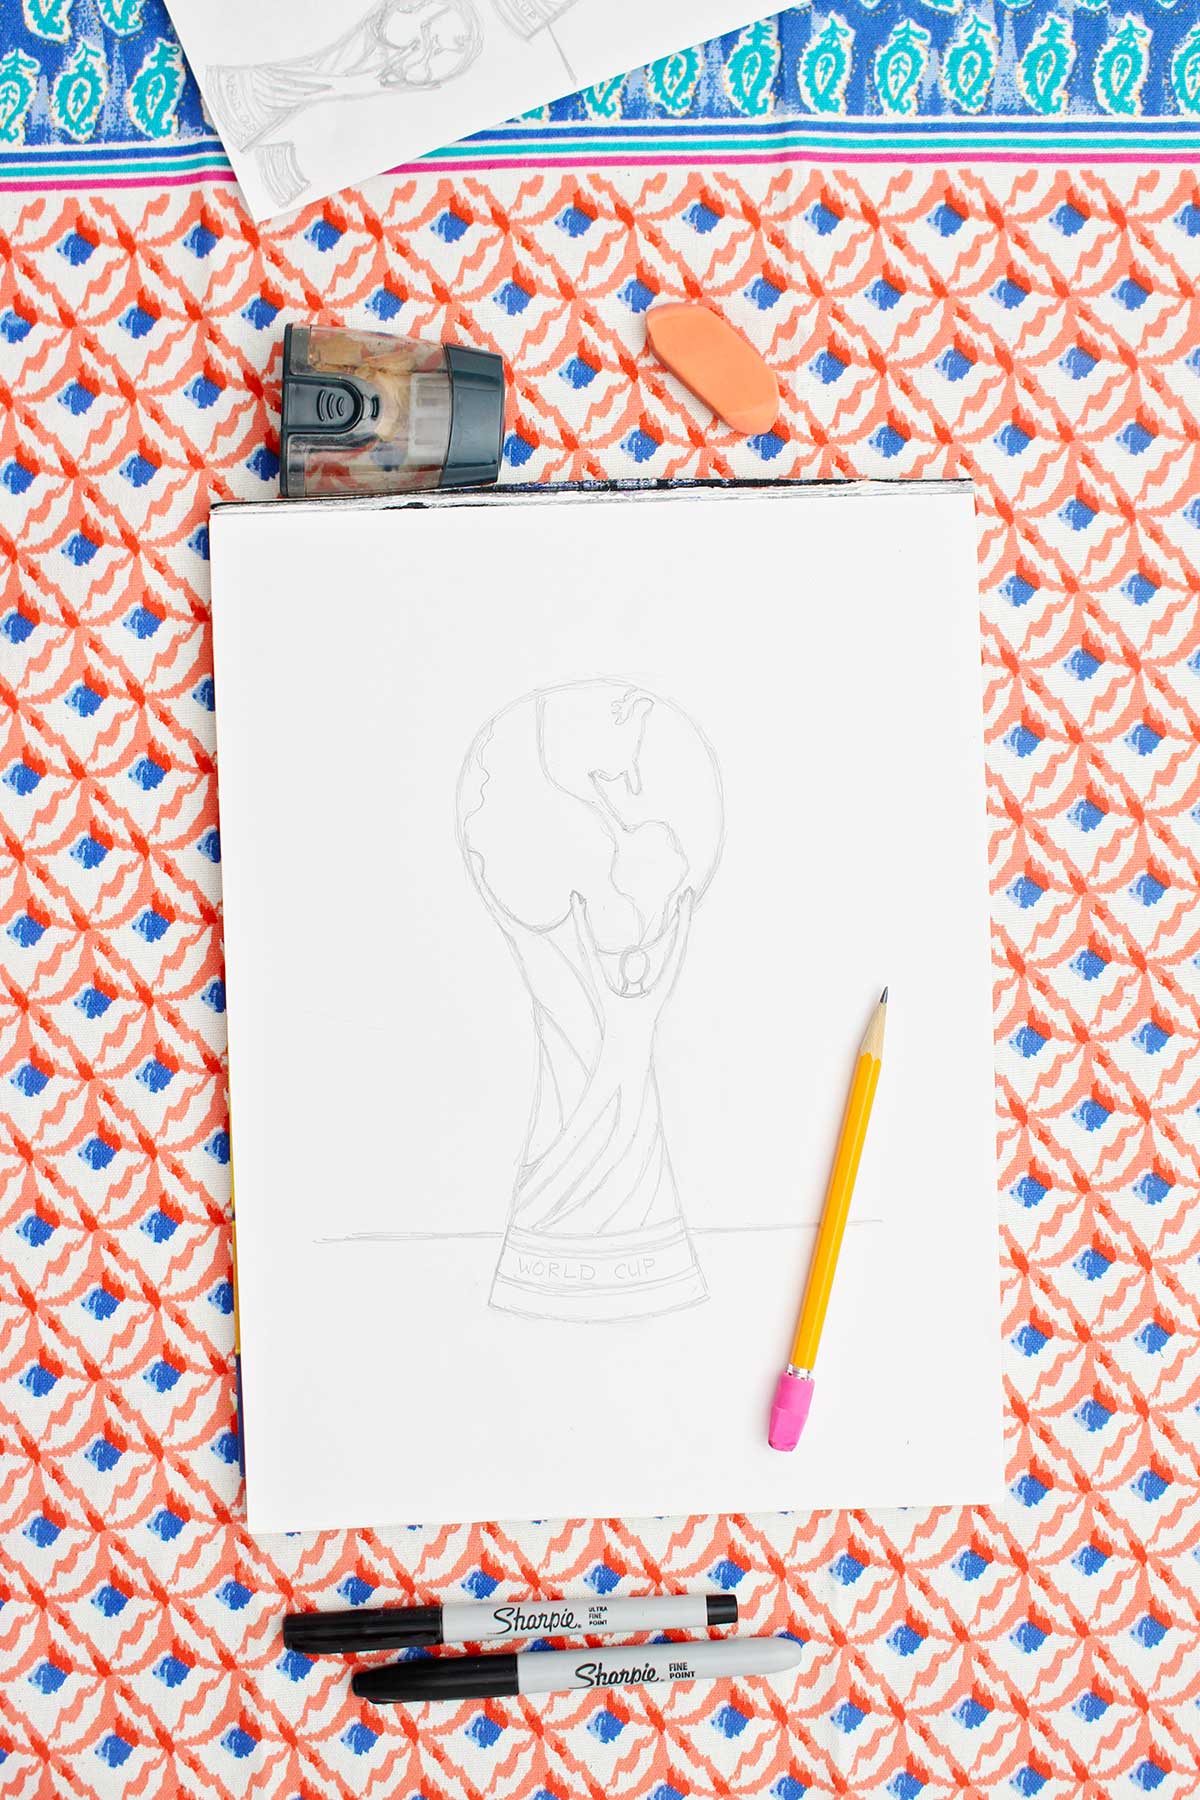
Complete the base of the trophy. Draw a slightly scooped “smile” line between the two outer lines of the hourglass shape, right under the figure's feet. You will draw a series of five or six more “smile” lines under the first one with the same scoop so they are curved but parallel. Vary the distance between the lines (see my drawing).
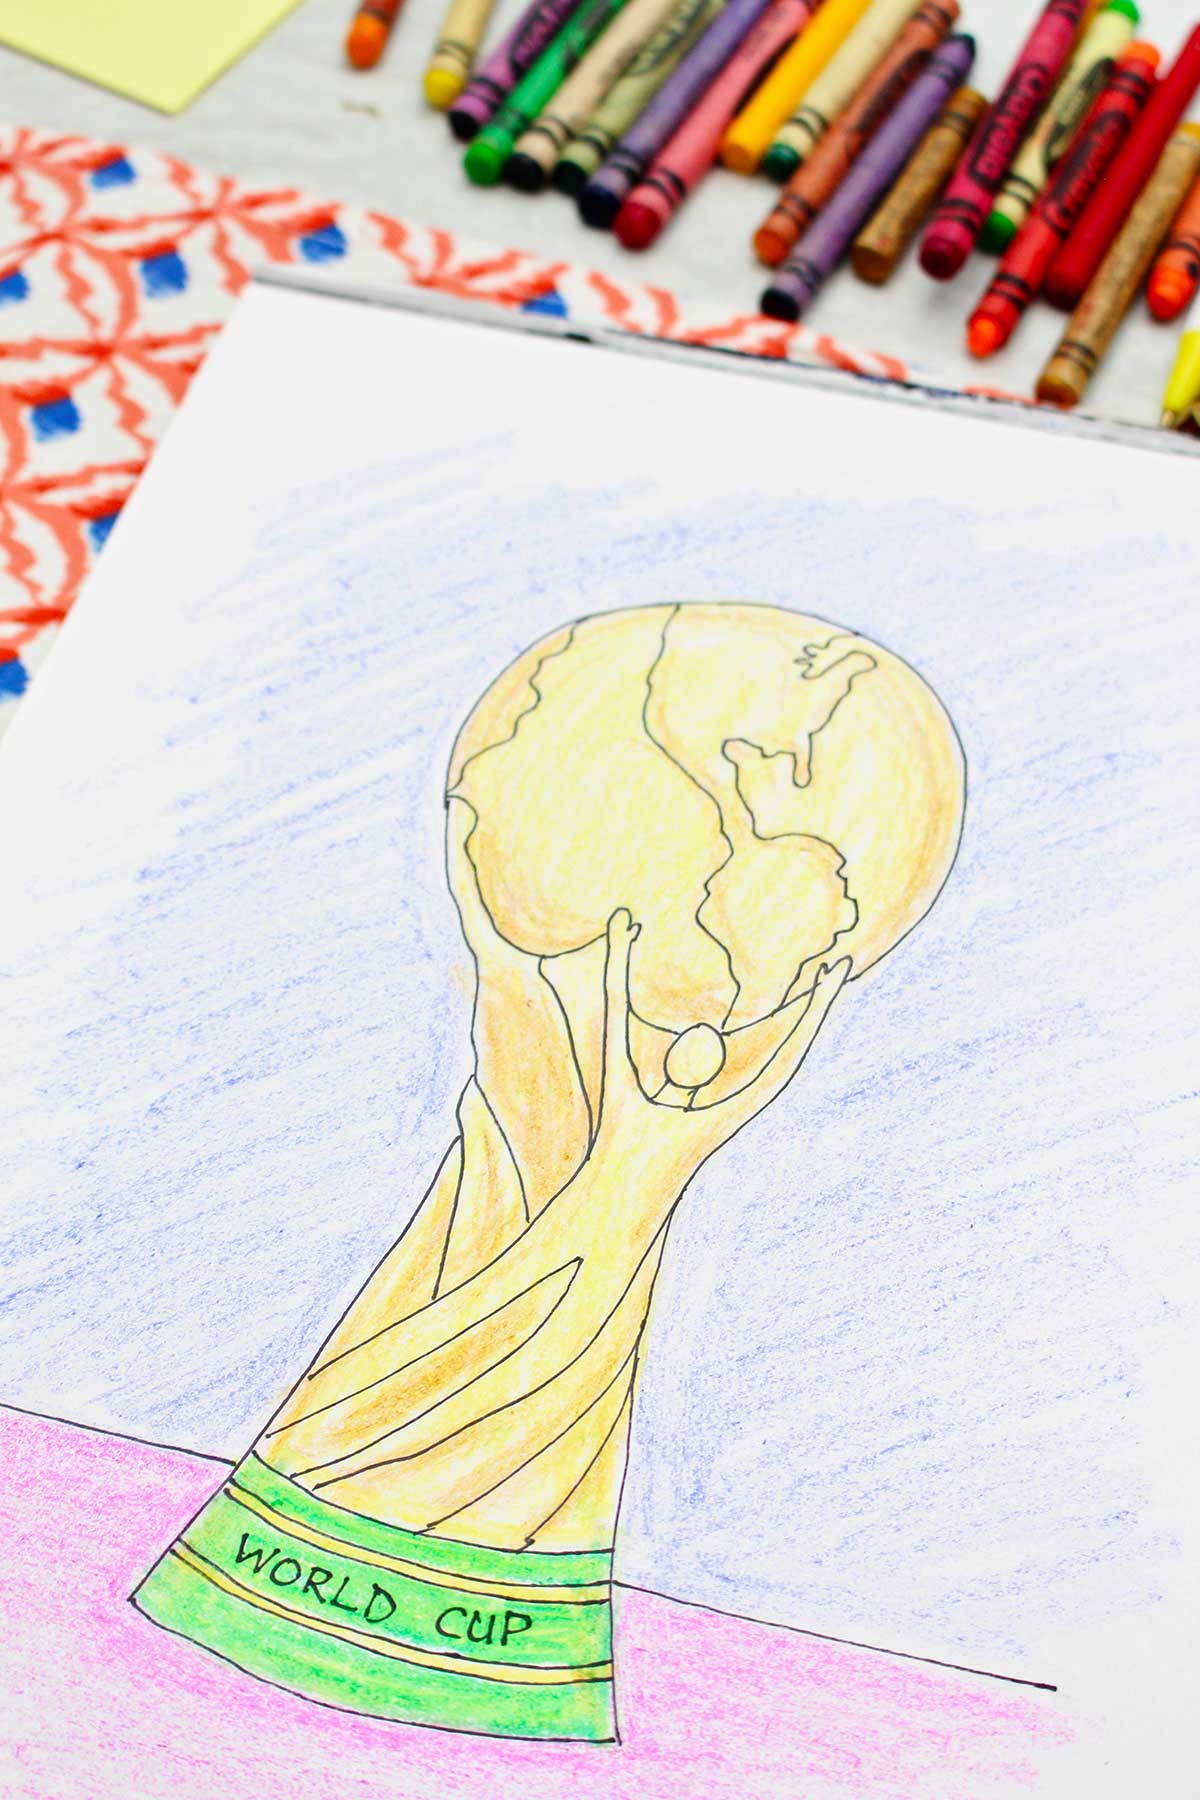
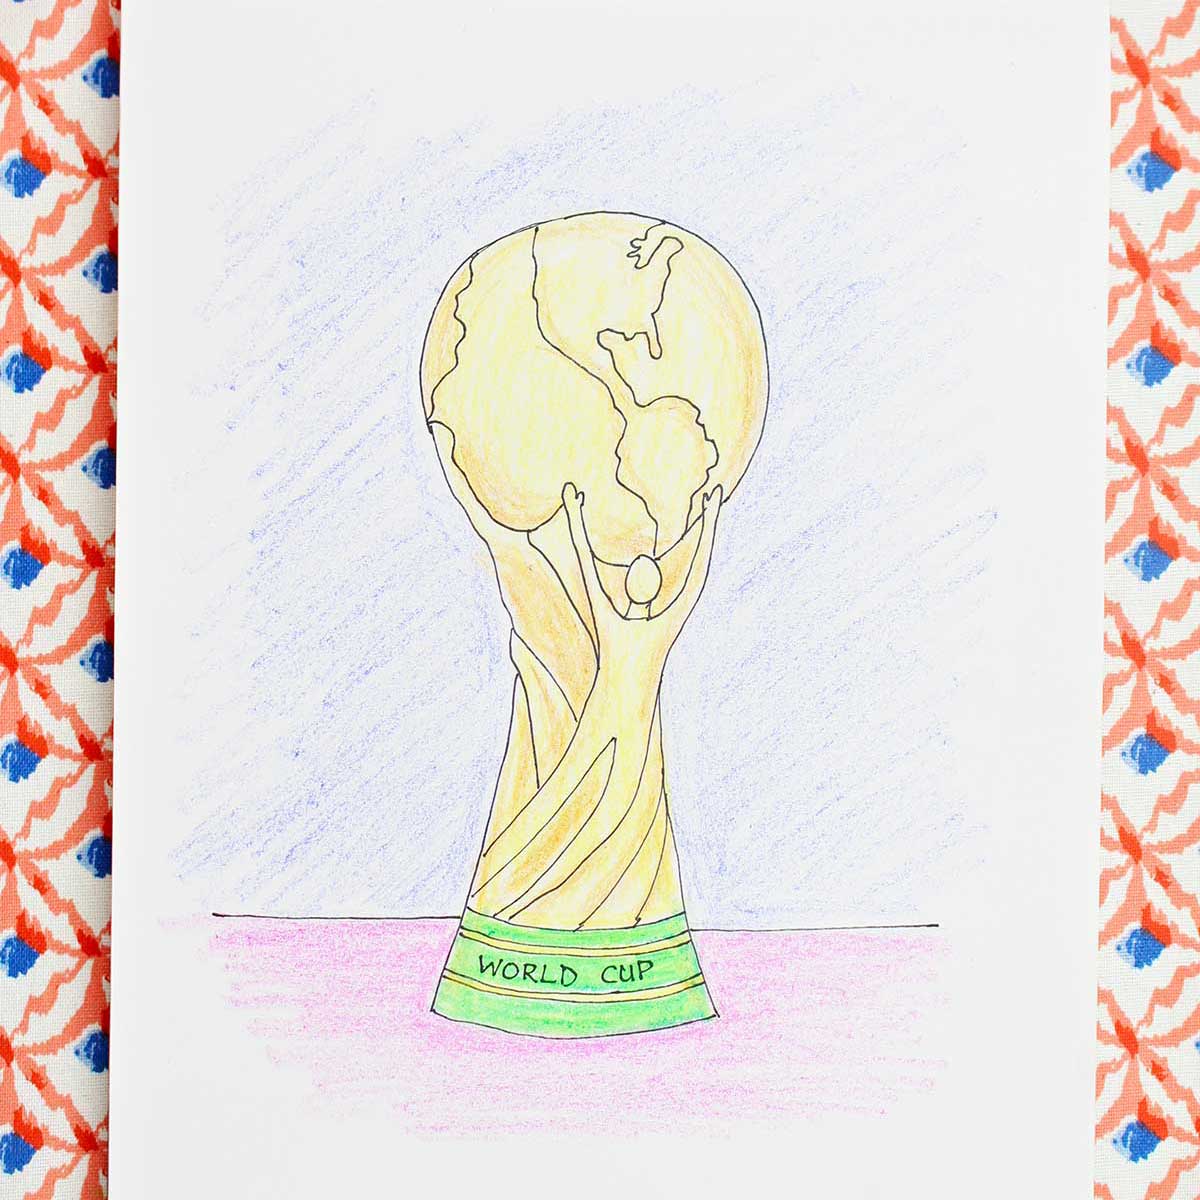
The trophy base is made of two bands of a stone called malachite. It is a nice green color. I made three which is technically incorrect but I like how it looks.
Write on one of the bands if you would like- FIFA WORLD CUP.
Step 8
Lastly, draw some countries on the world globe at the top of the trophy. I chose to draw a simple representation of North America since that is where the World Cup was held in 2026 when this tutorial was created.
Do not worry about it being exact, just the idea of the continents is fine. I started with an “S” curve from the top down which became the west coast of the continents. Observe and imitate the squiggly line that makes the east coast of the continents. A line on the left side of the globe can be added to as well.
Step 9
If you are wanting to leave it as a pencil drawing, add some shading to one side of the trophy and the table under the trophy using the side of the pencil lead. Lightly blend it using your finger. Erase extra pencil lines.
If you want to color in the trophy, move on to the next step instead.
Step 10
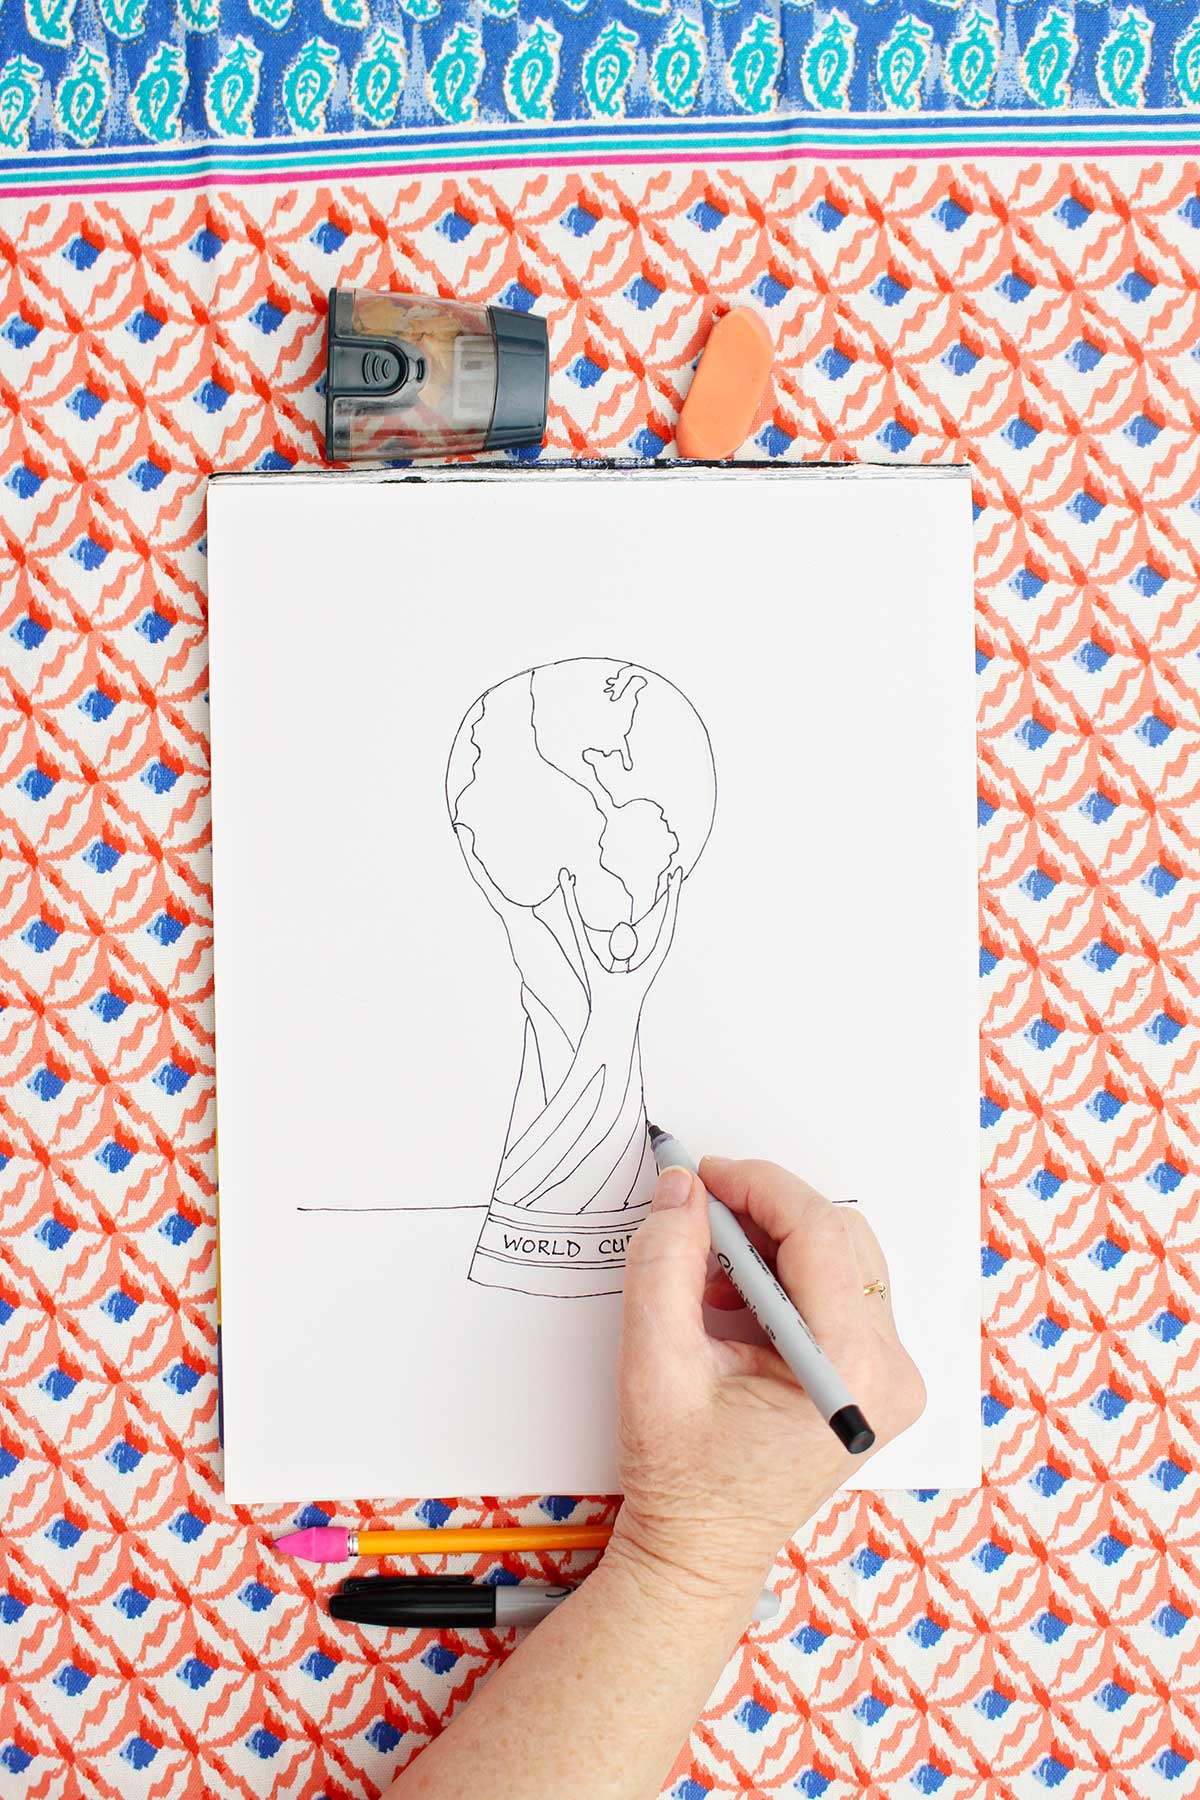
I like to draw over the pencil lines with a black permanent marker. The ink doesn’t smear if colored over with water based Colored pencils, colored markers, or crayons. A fine tipped marker works well. When finished, erase extra pencil lines.
Step 11
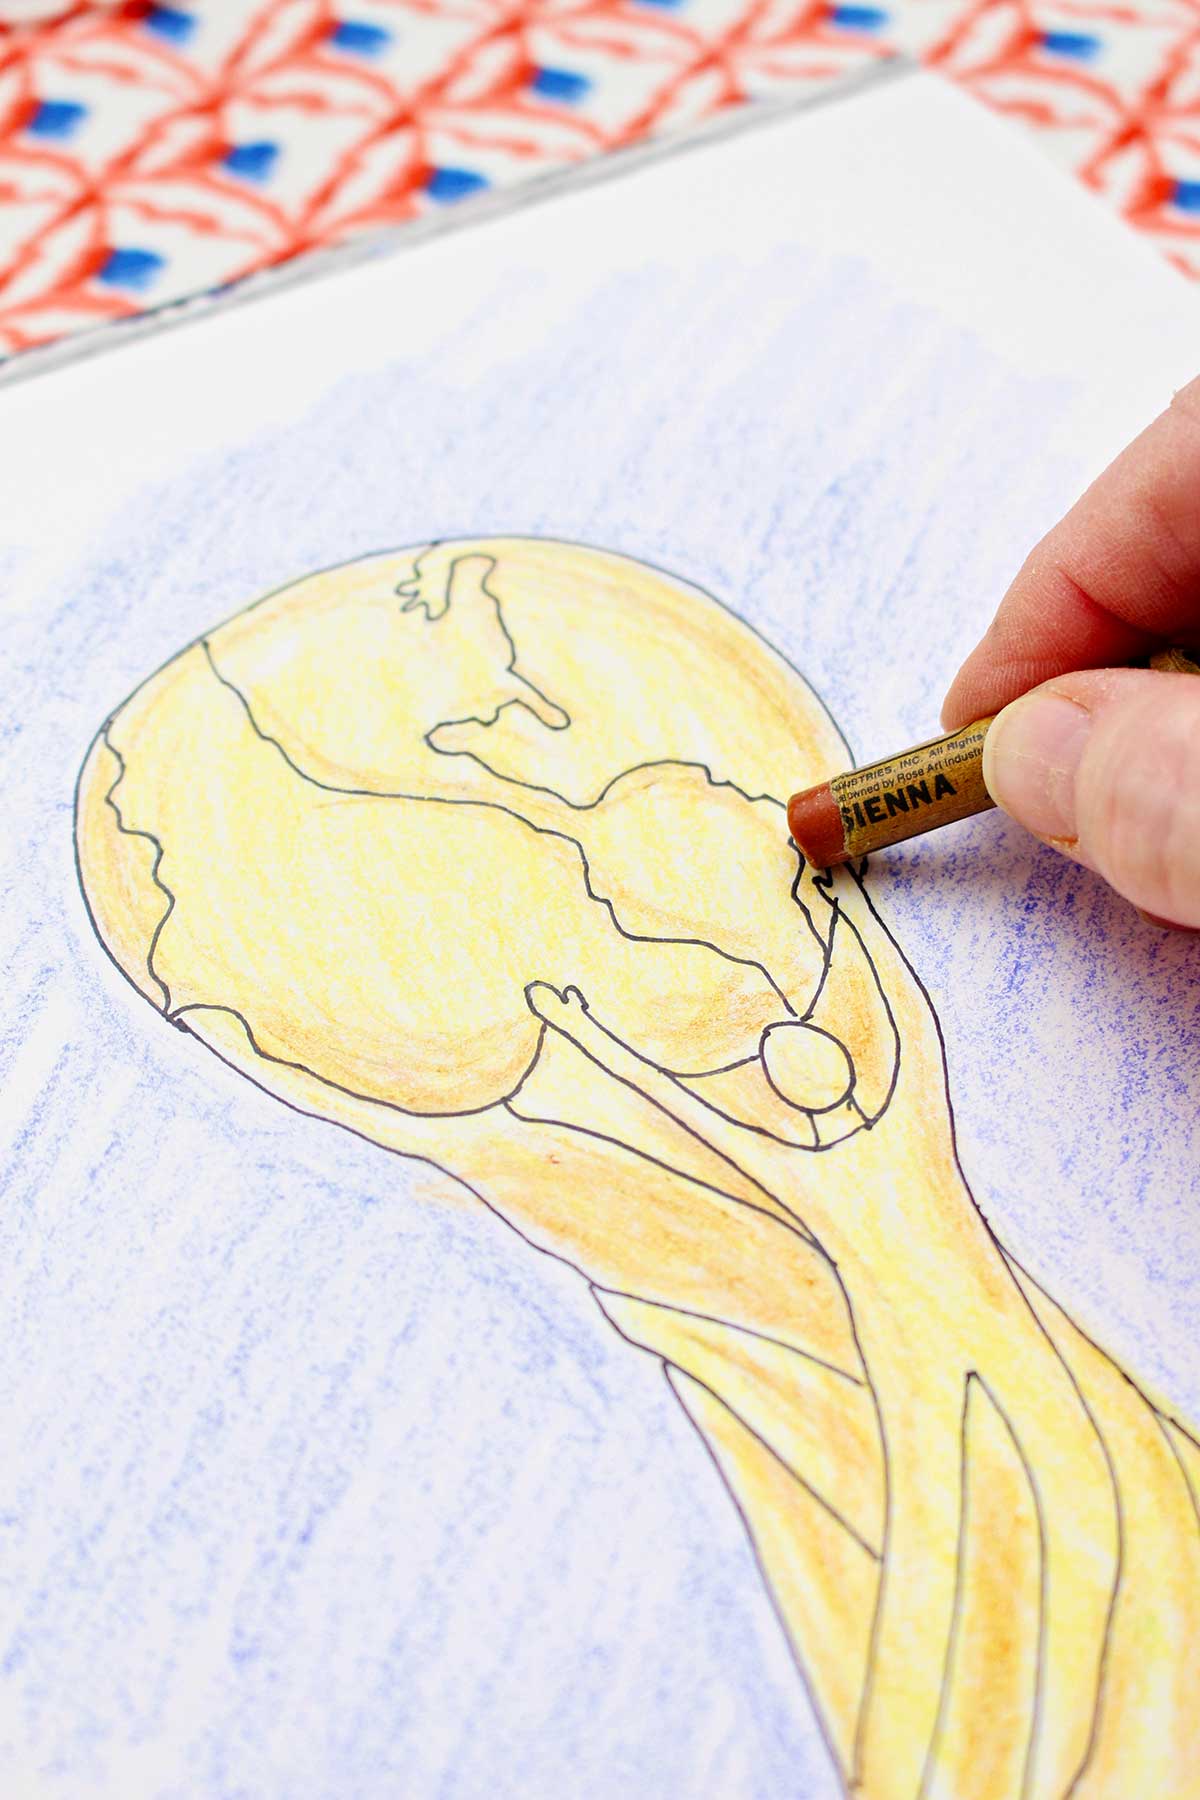
The original trophy is made with gold so gold can be the color you choose to color it in. But do whatever you want! I did color the trophy gold and added brown highlights. I chose to color every other band green on the bottom of the trophy.
Isn’t amazing what you can learn to draw when we go step-by-step? Good job! Keep practicing and you will get better and better at what you’re drawing.
Tips for How to Draw a Trophy
These tips can help make your trophy drawing even easier!
- Draw lightly with your pencil when sketching so it is easy to erase when needed. You can go over the pencil lines with darker pencil when you have the drawing as you like, or go over it with black marker.
- It could be fun to use metallic colors on the drawing to make it shine.
- Add highlights with a white colored pencil.
- Look at a world map when drawing the countries on the globe.
Drawing Variations
Want to switch things up? Here are a few ways you can customize and play with this craft.
- Change the decoration on the trophy for other sports.
- Change the world globe to a cup in a shape of your choice.
- Color the trophy in the colors of your favorite team.
- Make the globe into a soccer ball using the soccer ball tutorial.
- Add your name or your favorite team’s name to the base of the trophy
FAQ on Trophy Drawing
Start with simple shapes like ovals, rectangles, and curved lines, then combine them into a trophy.
Most trophies are designed with symmetry (the two sides are mirror images). The trophy looks balanced because of that. When drawing something symmetrical it is helpful to draw a line down the center of the paper or fold it in half to help draw something that looks the same on either side of the fold.
This FIFA World Cup trophy is not symmetrical.
Gold, silver, and bronze are the traditional trophy colors because they are usually metals. But you can use any colors you like.
More Easy Drawing for Kids
Here are some other great drawing posts we love at Welcome To Nanas!
- How to Draw a Soccer Ball
- How to Draw a Soccer Goal
- Free Soccer Ball Coloring Page for Soccer Fans!
- How to Draw Mickey Mouse
- Stories Come To Life with Comic Strip Templates
Come Join the Fun at WTN!
Try this craft, leave a comment, rate it, and tag a photo with #WelcometoNanas wherever you post.
More Crafts Please!
Love getting crafts straight to your inbox? Sign up to receive a weekly email and get a free gift! I'd love to have you join our creative community at Welcome to Nana's.
How to Draw the FIFA World Cup Trophy for Soccer
Equipment
- Flat work surface
- Good lighting
Items Required
- Drawing paper or a drawing sketchbook White paper of any type can work
- Pencil Just a regular school pencil
- Eraser I need one at least!
- Pencil sharpener Nice to have handy.
- Permanent black marker (fine-tip works well) (optional)
- Colored pencils, colored markers, or crayons (optional)
- Metallic markers (optional)
Instructions
- Pictures and the video will be helpful for you as you go through these how to draw a trophy steps. Draw a circle near the top of the paper. The diameter will be about the size of a large mug. This is the “world” at the top of the trophy. It will be finished later.
- In pencil, draw two curved lines downward to form the bottom part of the trophy. This will look kind of like an hourglass. Leave the bottom area between the two lines open for now. This part of the trophy is about 1 ¼ to 1 ½ the size of the circle drawn earlier.
- Add a “U” shaped line on the top right of the hourglass area. This is part of the figure’s arms reaching upwards and holding the world. Draw an oval inside this “U” for the head and attach it to the “U” shape with two small lines for the neck. Complete the arms. On the left tip of the “U” draw a simple hand by rounding the top of the line and drawing a line down and parallel to that side of the “U”. Do the same thing on the right tip of the “U”
- Extend these arm lines down and curve them down to the left bottom side of the hourglass shape to make the body and outer side of the legs.The leg on the right side bends a bit more in what will be the knee area of the leg. There are no feet on the figure, the lines at the bottom of the legs just stop and do not connect.Draw a line between the two legs that starts at the ankle area of one leg, goes upward and then down again to the other ankle area. Look at the picture to help understand this step. This completes the two legs and body of the figure.
- Two scooping lines are drawn at the top of the hourglass shape. One is between the figure's two hands, the second is from the right edge of the world back to the figure's hand. The details of the trophy are hard to make out, but this almost looks as if the figure is holding a flag that is blowing behind. Erase any lines that cross over the figure.
- Add two lines that sweep around the trophy from the right to the left below the figure's bent knee. Then add three lines that sweep down from the top left of the hourglass down towards the figure’s body.
- Complete the base of the trophy. Draw a slightly scooped “smile” line between the two outer lines of the hourglass shape, right under the figure's feet. You will draw a series of five or six more “smile” lines under the first one with the same scoop so they are curved but parallel. Vary the distance between the lines (see my drawing). The trophy base is made of two bands of a stone called malachite. It is a nice green color. I made three which is technically incorrect but I like how it looks.Write on one of the bands if you would like- FIFA WORLD CUP.
- Lastly, draw some countries on the world globe at the top of the trophy. I chose to draw a simple representation of North America since that is where the World Cup was held in 2026 when this tutorial was created.Do not worry about it being exact, just the idea of the continents is fine. I started with an “S” curve from the top down which became the west coast of the continents. Observe and imitate the squiggly line that makes the east coast of the continents. A line on the left side of the globe can be added to as well.
- If you are wanting to leave it as a pencil drawing, add some shading to one side of the trophy and the table under the trophy using the side of the pencil lead. Lightly blend it using your finger. Erase extra pencil lines.If you want to color in the trophy, move on to the next step instead.
- I like to draw over the pencil lines with a black permanent marker. The ink doesn’t smear if colored over with water based Colored pencils, colored markers, or crayons. A fine tipped marker works well. When finished, erase extra pencil lines.
- The original trophy is made with gold so gold can be the color you choose to color it in. But do whatever you want! I did color the trophy gold and added brown highlights. I chose to color every other band green on the bottom of the trophy.
Leave a Reply