
Master how to draw a Bubble Letter C with an easy step-by-step drawing lesson. Perfect for kids, beginners, teachers, & homeschool projects.
Jump to:
- How to Draw Letter C in Bubble Letters
- Fun Bubble Lettering for Kids: Easy Bubble Letter c
- Supplies for the Bubble Letter C Tutorial
- A Bubble Letter C Step by Step
- Let’s finish with a Nana Challenge on Bubble Letters C!
- Craft Tips for How to Draw Letter C in Bubble Letters
- Craft Variations- Drawing Bubble Letters for Kids
- Bubble Letters for Beginners FAQ
- More DIY crafts for Kids
- Come join the fun at WTN!
- More Crafts Please!
- How to Draw a Bubble Letter C: Easy Step-by-Step Drawing Tutorial
How to Draw Letter C in Bubble Letters
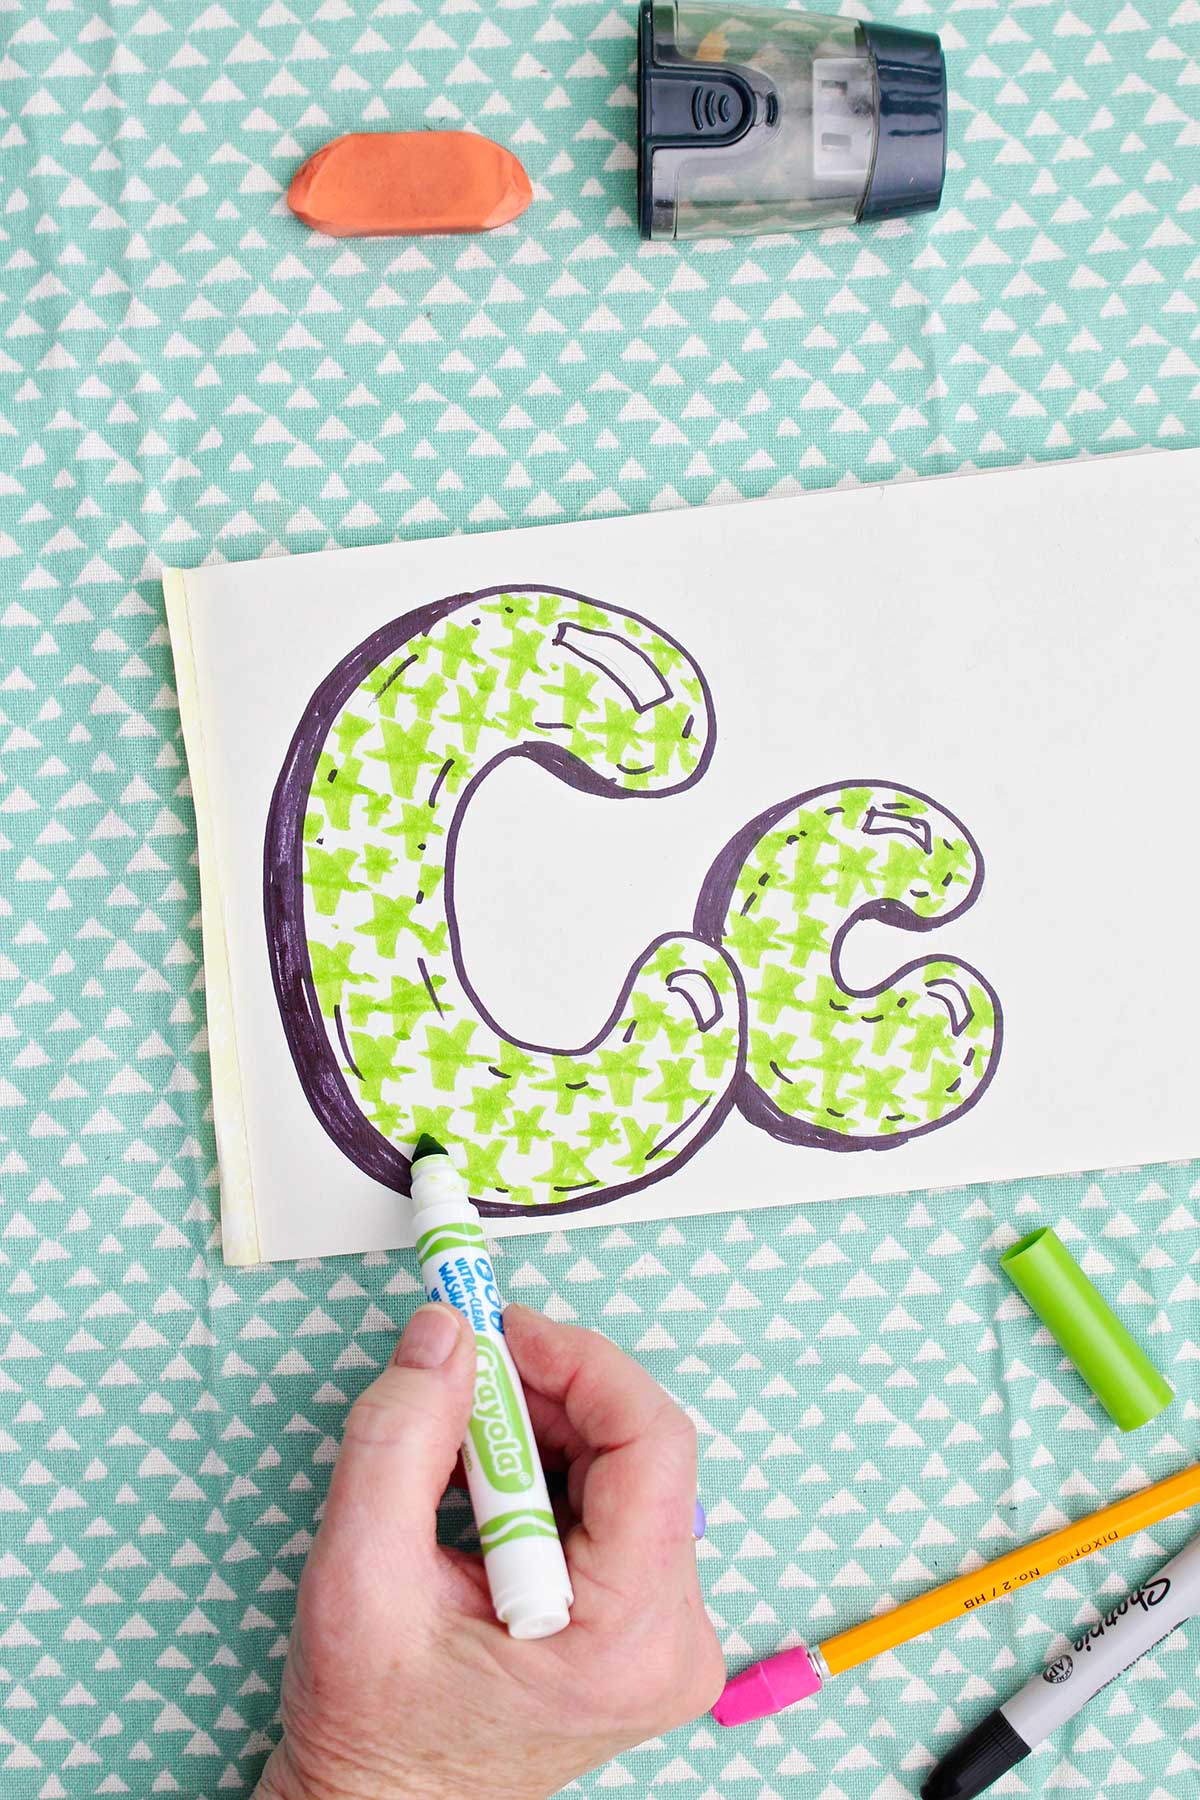
Welcome to our Bubble Letter Alphabet series where you'll easily learn how to create bubble letters one letter at a time. Today's lesson is a C in creative bubble letters.
In this beginner-friendly lesson, I'll show you how to draw a "c" that you can then creatively show others how to draw. Before long you'll be able to draw the entire bubble alphabet A-Z from memory.
Over my years of crafting I've made hundreds of craft projects where bubble lettering has come in handy to make the lettering look creative and peppy. Especially on posters and handouts in school.
It becomes easy and fast to letter in this style and adds a personal touch to the project. Often I found my students copying the bubble lettering on their papers and projects which made me happy. Can't wait to see you bubble lettering too!
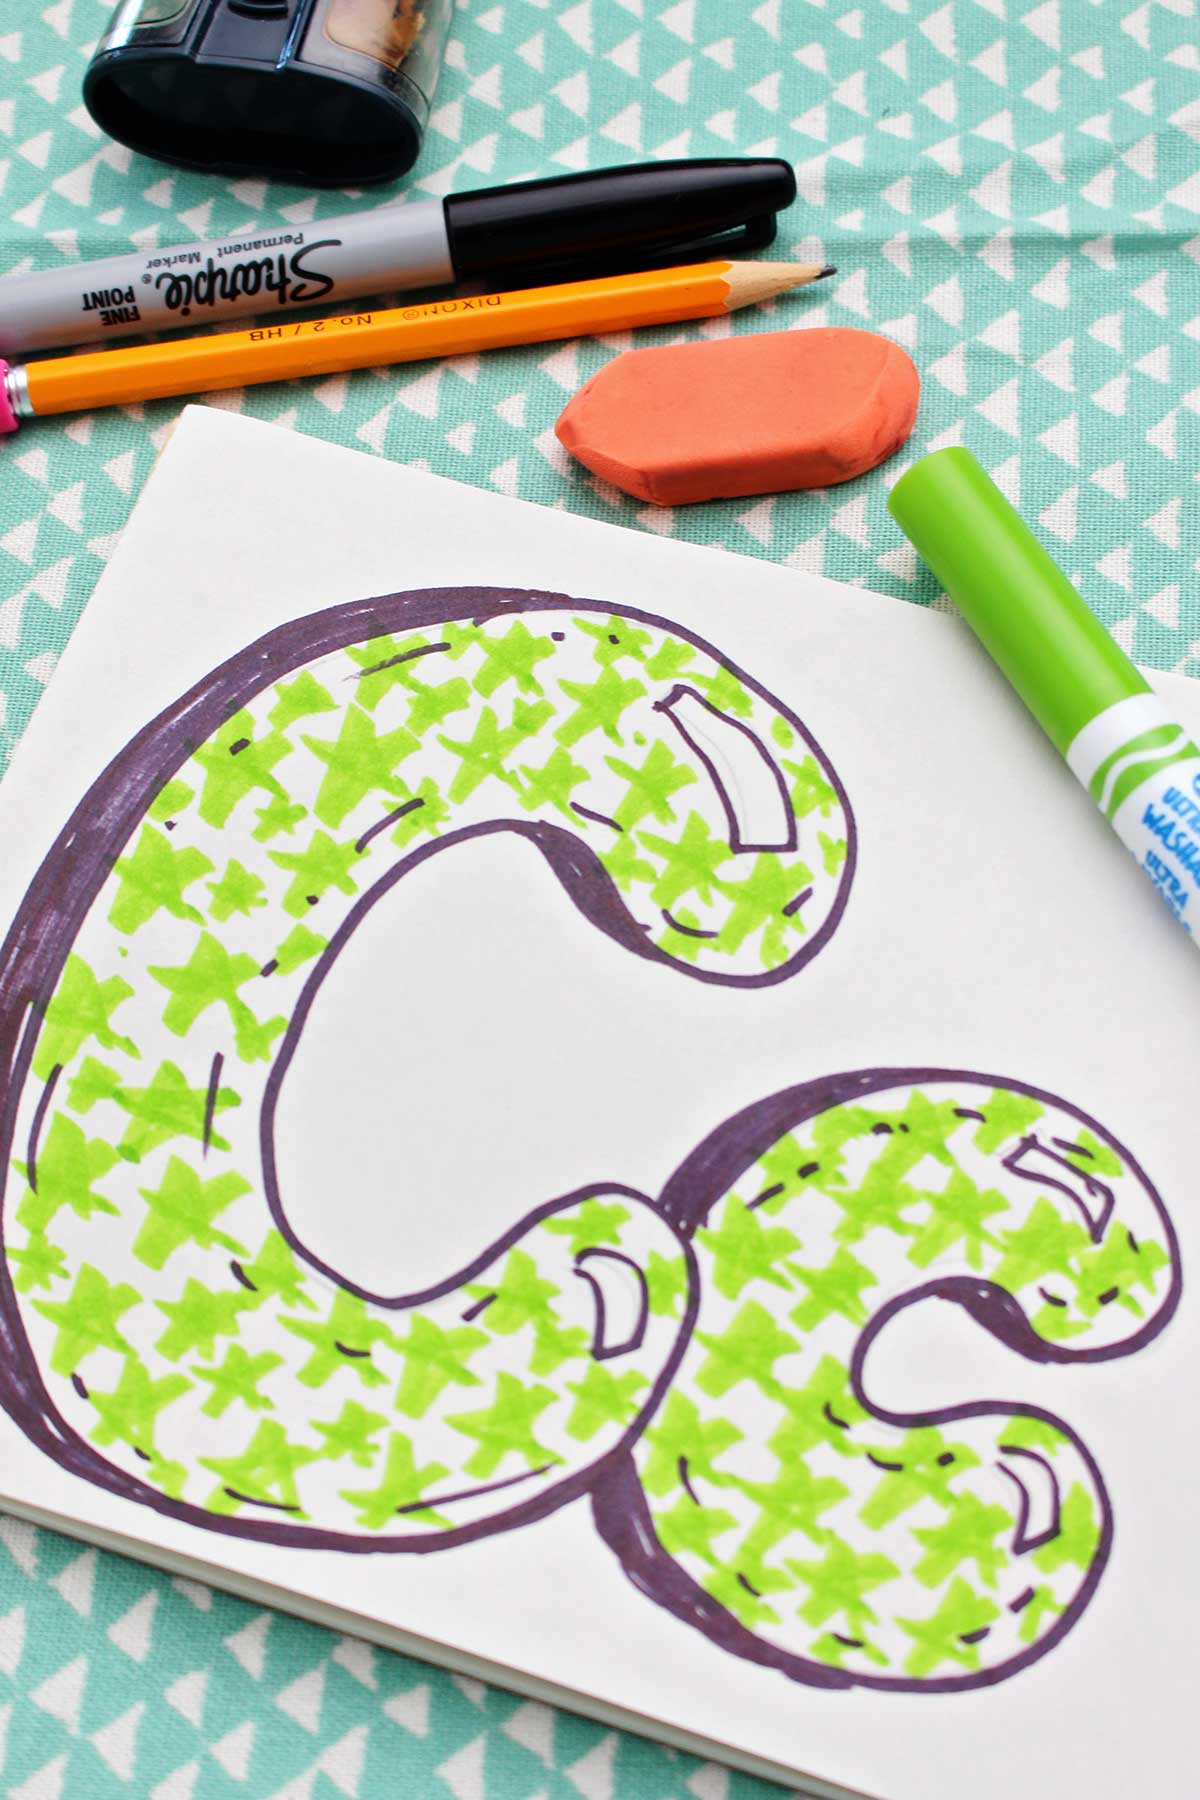
Fun Bubble Lettering for Kids: Easy Bubble Letter c
The letter C is a different and fun motion to learn in writing letters. It is created with a sideways circular motion. Circle C!
C brings me to think of colorful creative crafts for children! How can Nana not love a children's colorful craft C? Whether it's comic strips, cake mix cookies, coloring pages, or a Christmas Countdown Calendar, the letter C seems to show up in lots of fun children's projects.
You can use creative bubble lettering to bring personality to your colorful crafts. Practice your bubble letter C and then learn all the letters to use them for making cards and posters, or banners on handouts and comic strips. Let's get going!
Supplies for the Bubble Letter C Tutorial
You don’t need much to bring these cute bubble letters to life!
One things I love about learning bubble letters is that you'll find most of the supplies in your craft area.
- Drawing paper
- Pencil
- Eraser
- Black permanent marker (optional)
- Colored pencils, crayons, or markers (optional)
- Ruler (optional)
Equipment-
- Clip board (optional)- to use under paper if desired
A Bubble Letter C Step by Step
- Draw a light pencil line across the paper where you would like the bubble letters to “sit” on the page. This will be used as an approximate bottom edge of the letters. Draw lightly so you can erase easily later. Leave enough space above the line to make the letter as tall as you want it to be. The letter will “bubble” below the line some too. I promise this will make sense soon (watching the video really helps- here's the link to the video: How to Draw a Bubble Letter C For Beginners)
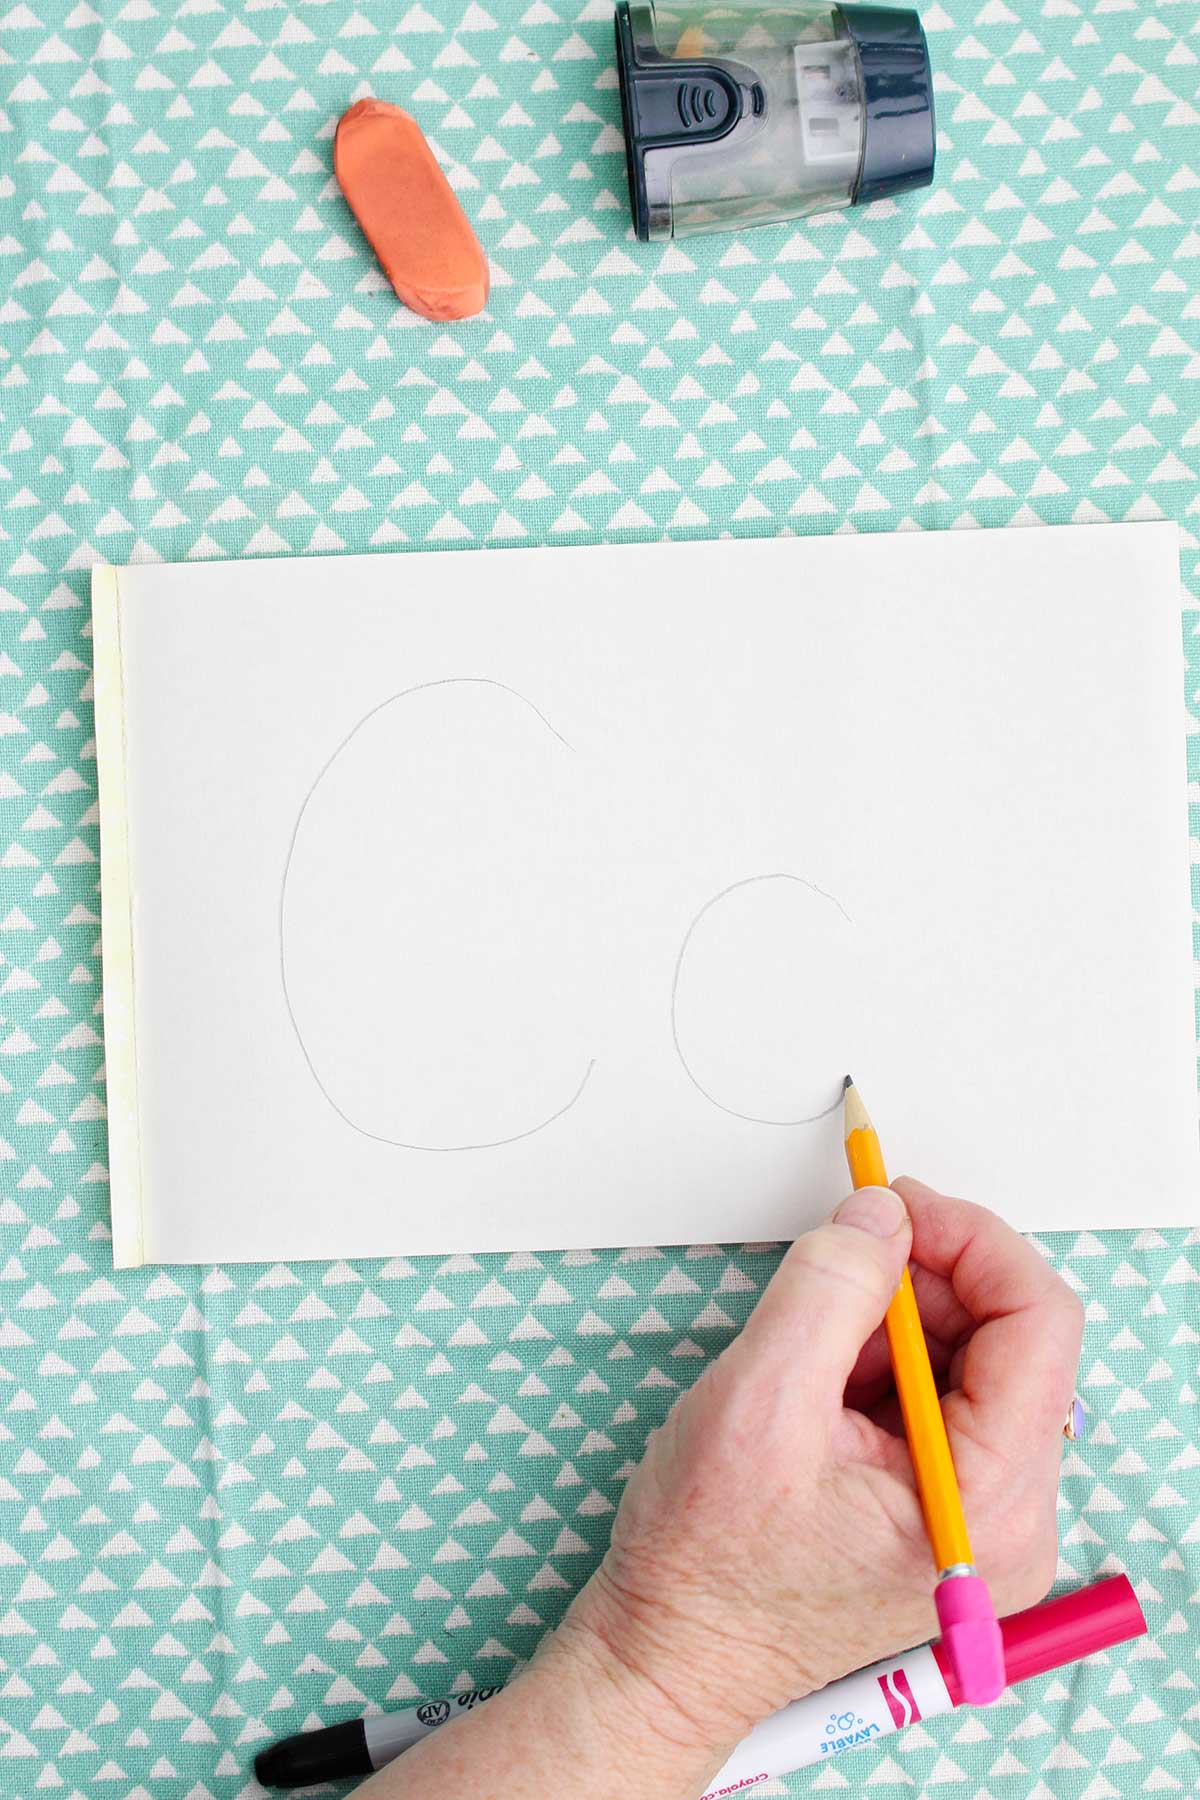
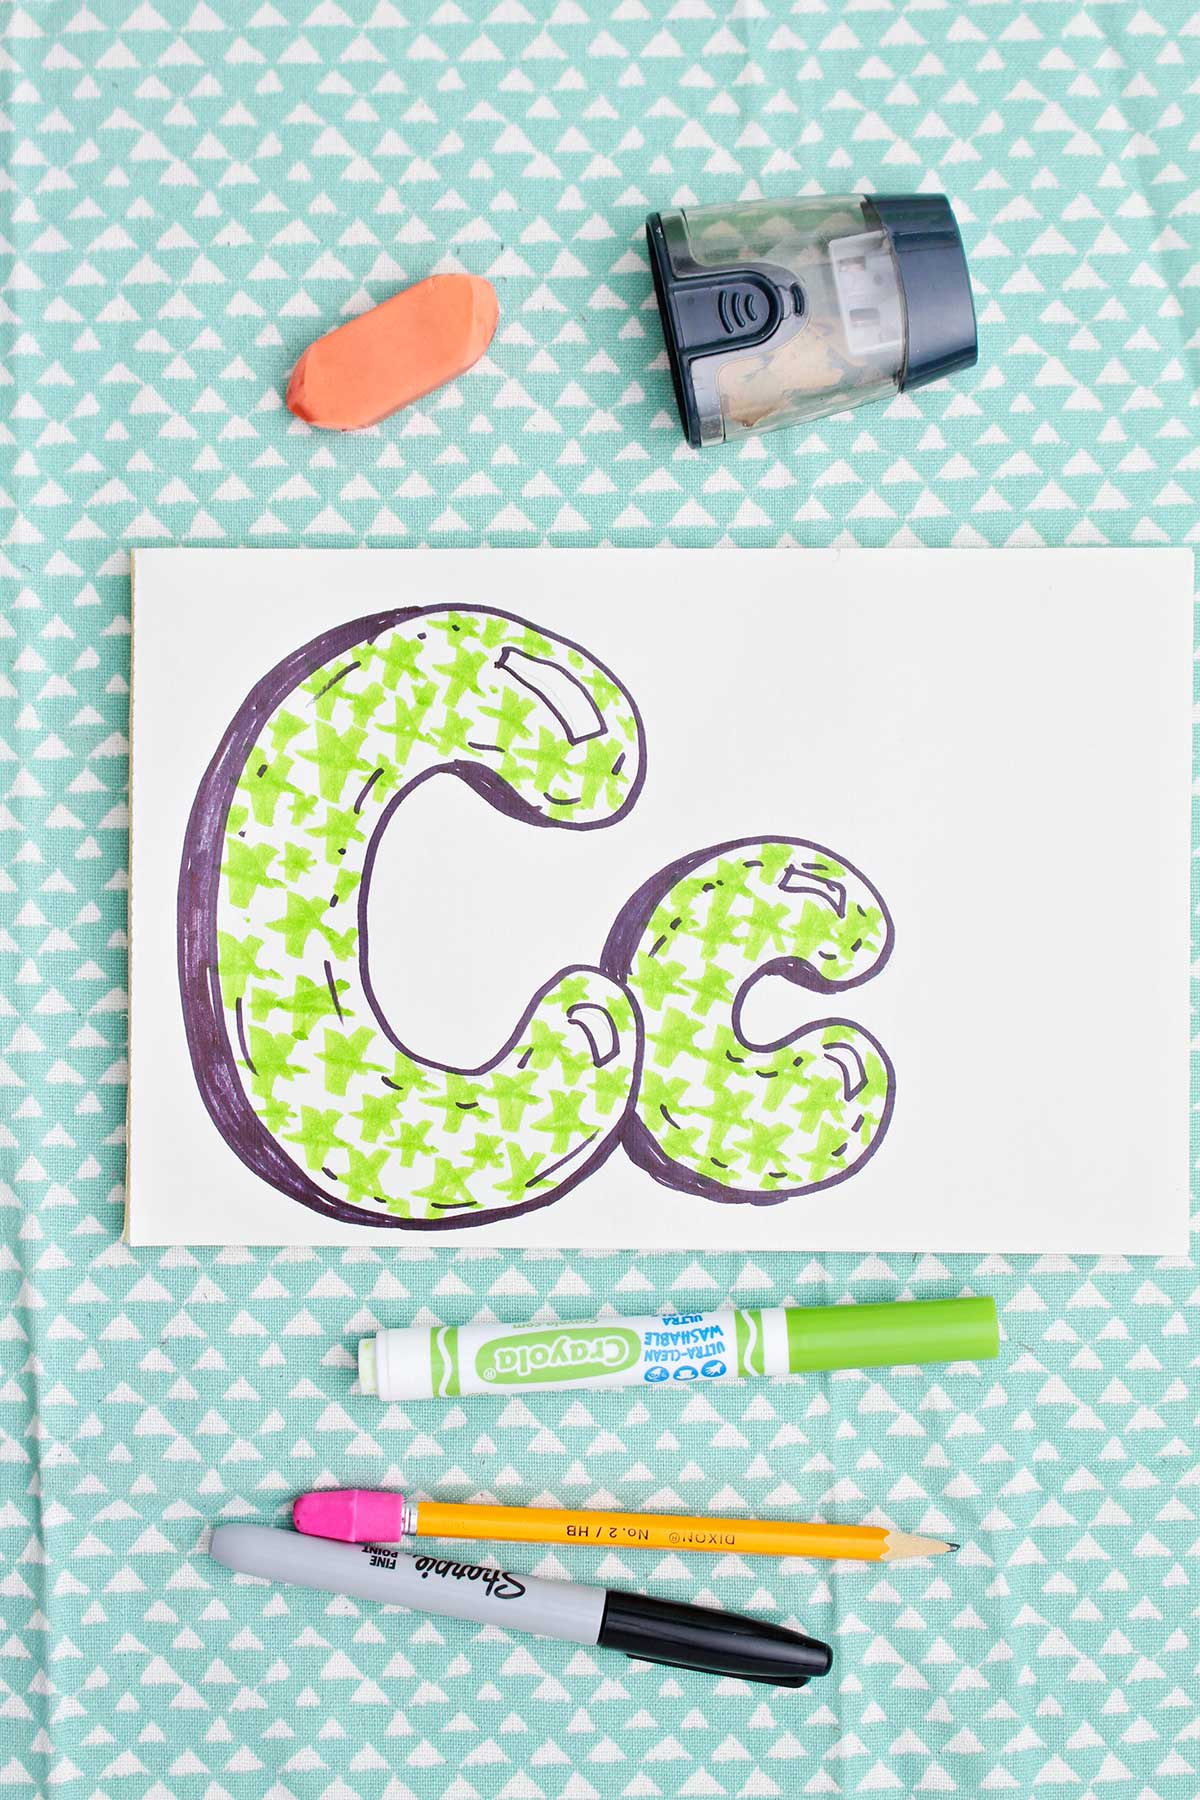
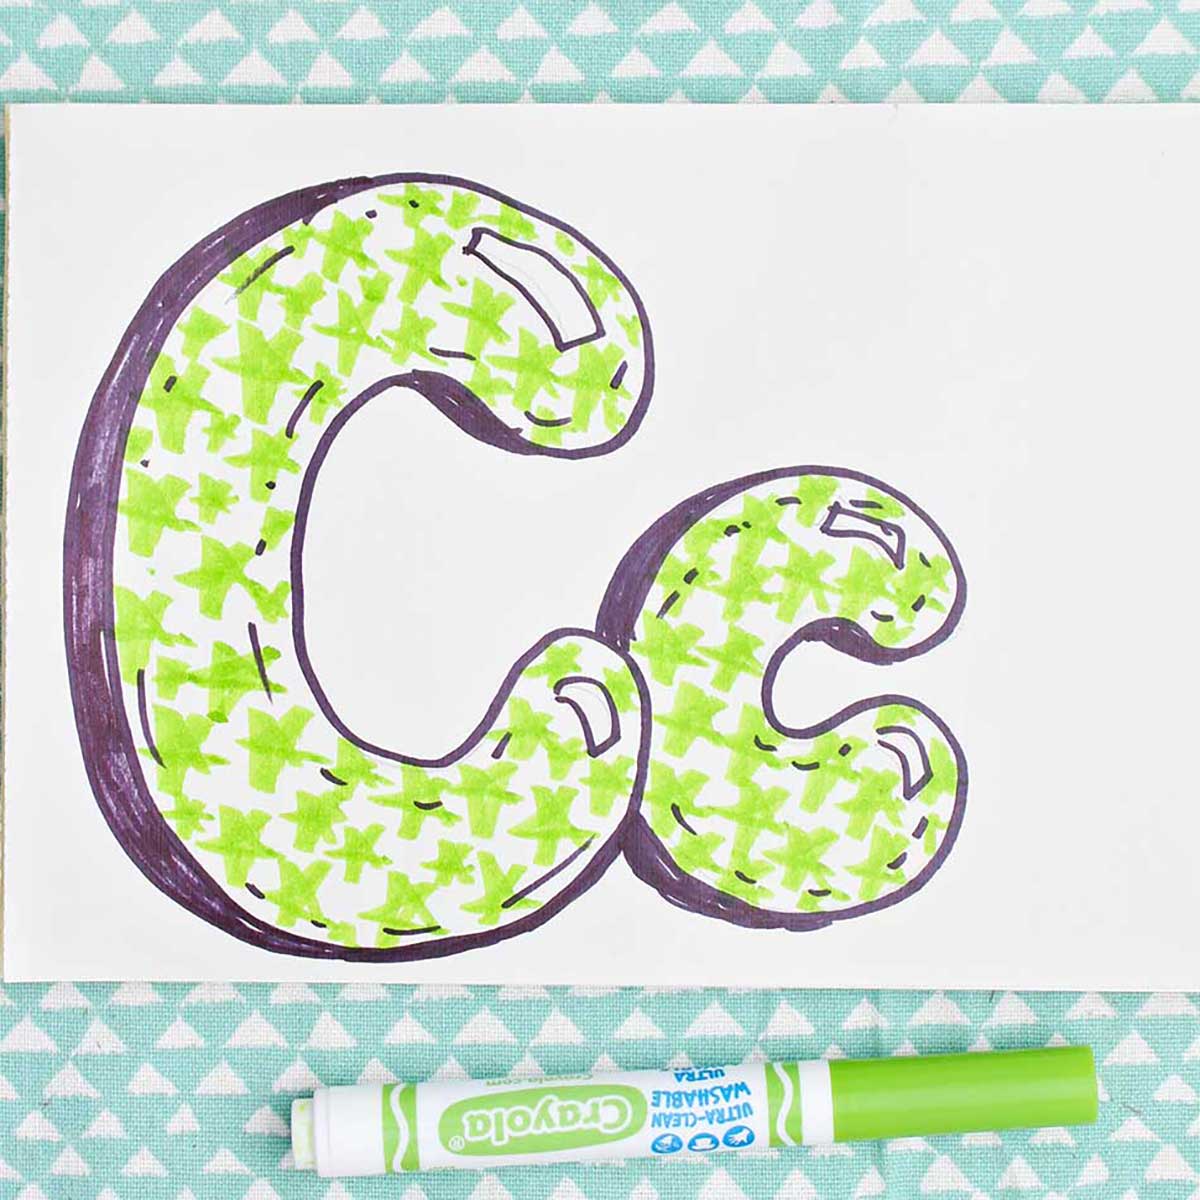
- Lightly draw a simple capital letter C as tall and wide as you want. With some space between, draw a lowercase letter c. This is your framework, like a skeleton for what comes next. Let’s try making both into bubble letters!
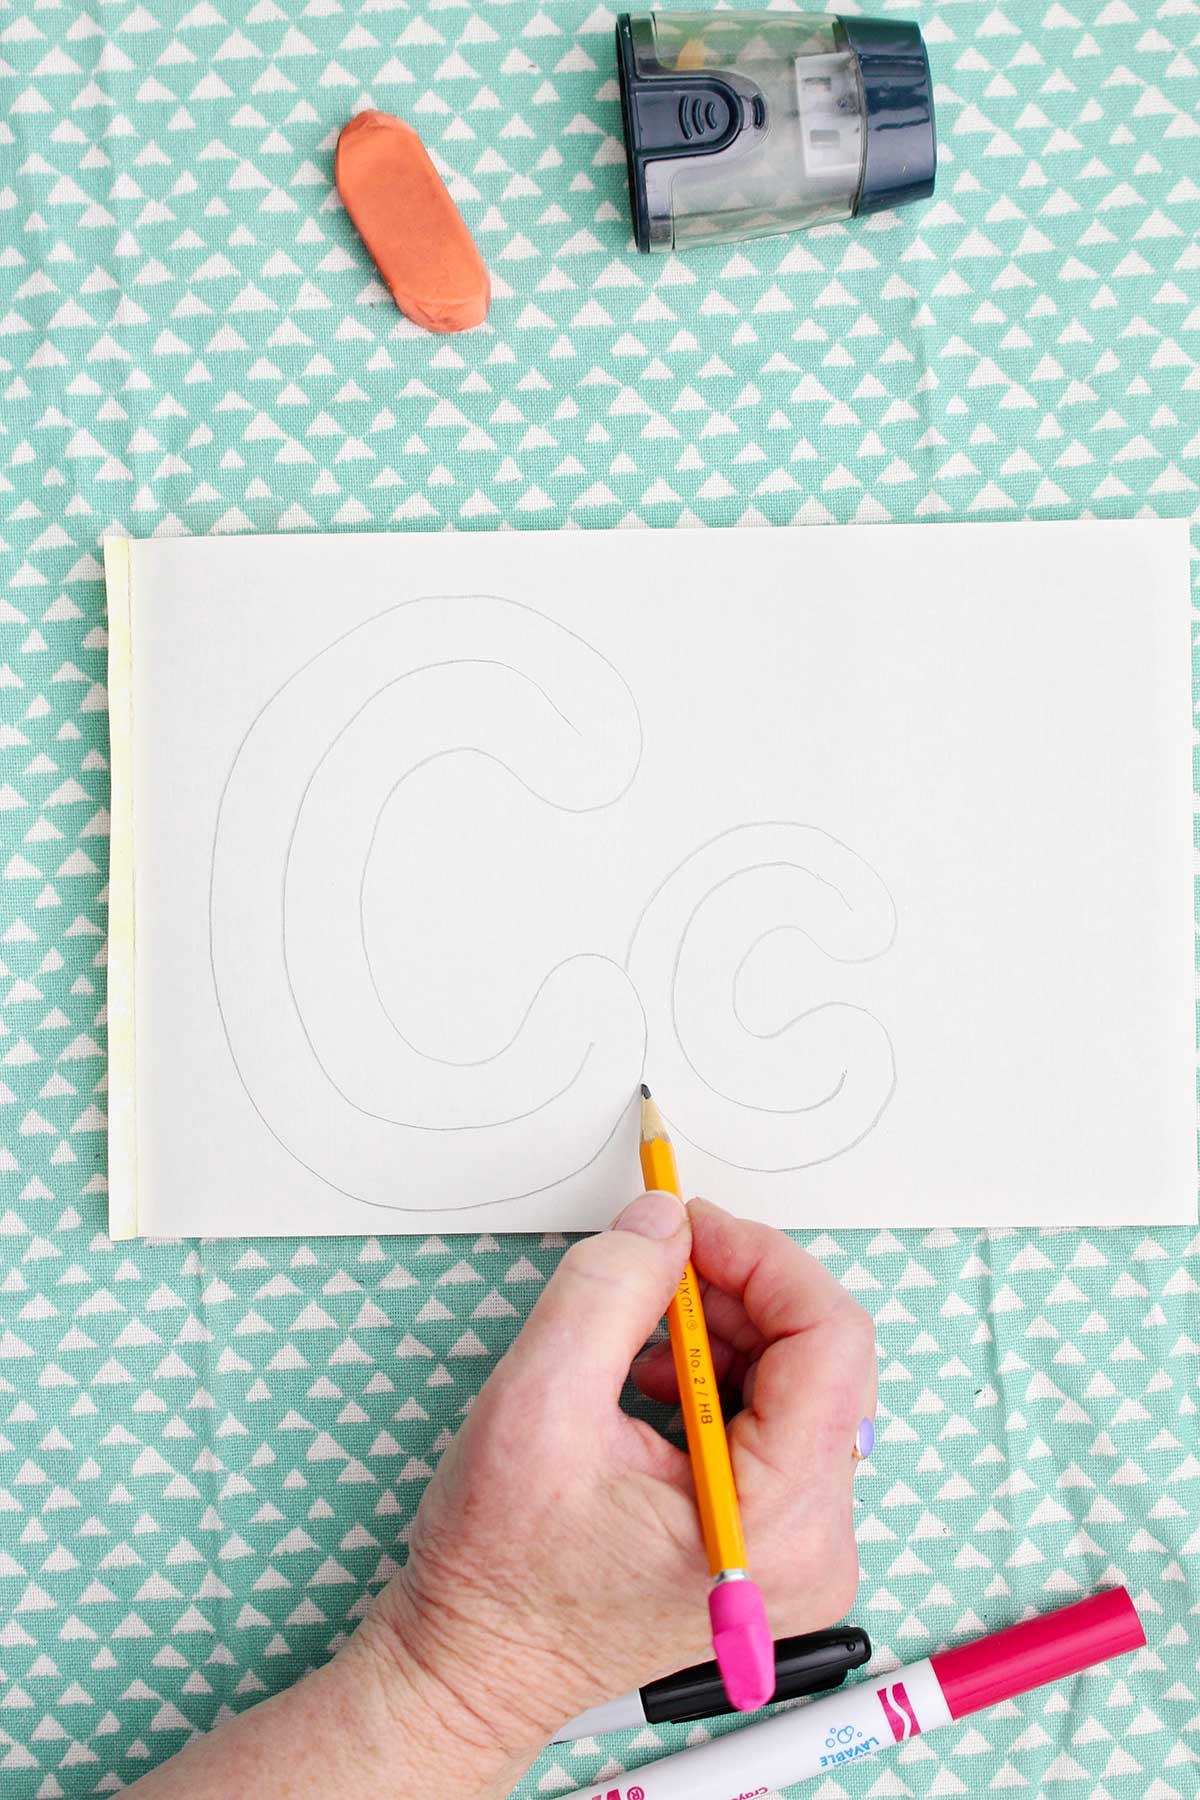
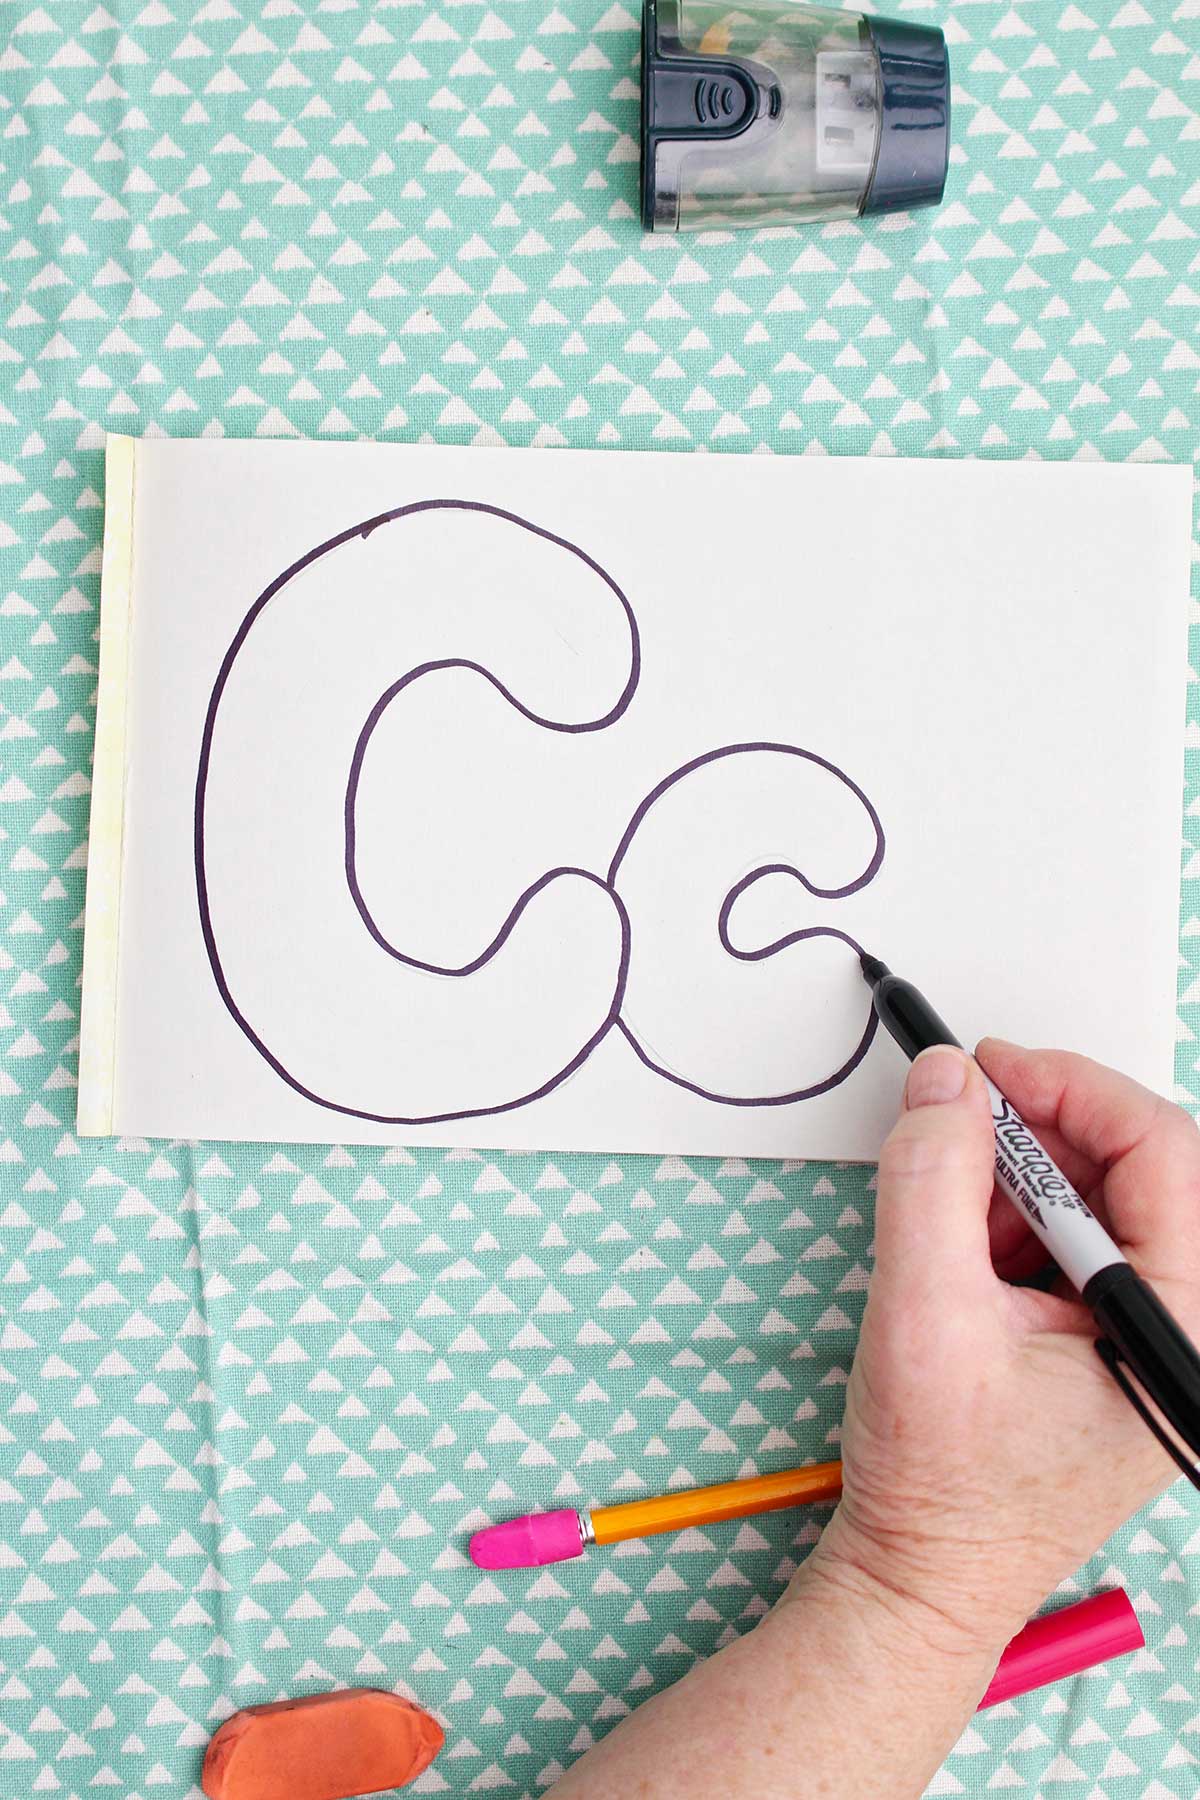
- This step is fun. Start by putting your pencil outside the letter C you drew, about ½ inch away. You can start anywhere you want because…well, because we are going to encase the letter in a BUBBLE!! With your pencil down go around the entire letter at about the same distance away as you started. The capital “C” is almost a complete circle. Your bubble will be curved around the top and bottom ends of the line to make it rounded. Don’t make any square edges. Making them rounded makes the letter C shape obvious.
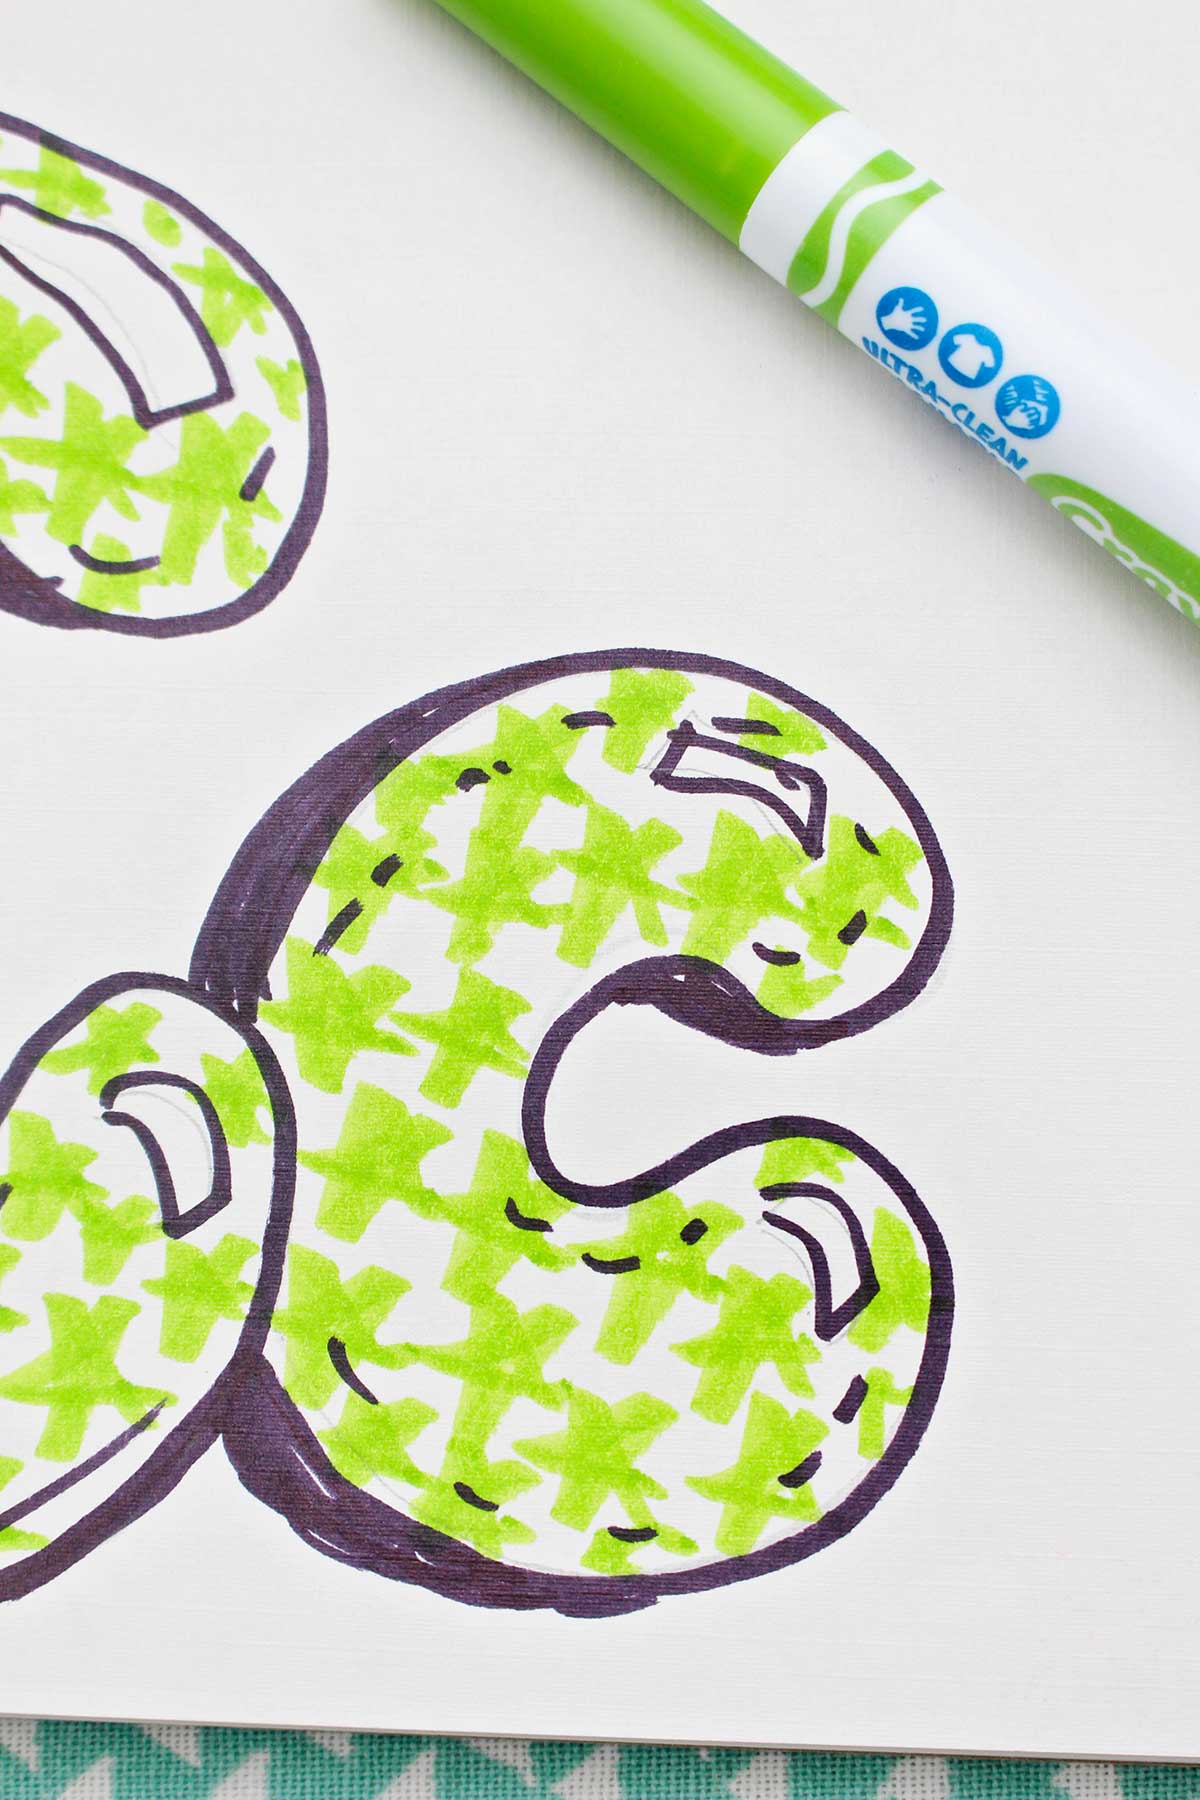
- Repeat this process for the lower case “c”. If, when drawing around the second letter you “run into” the first letter line, just lift your pencil up and skip over that part of the first letter. Put the pencil down again when past the first letter and finish the second letter. This makes it look as if the letters overlap and the second is slightly behind the first.
- Erase the original framework letter you drew as a skeleton. What do you think? Isn’t this fun?
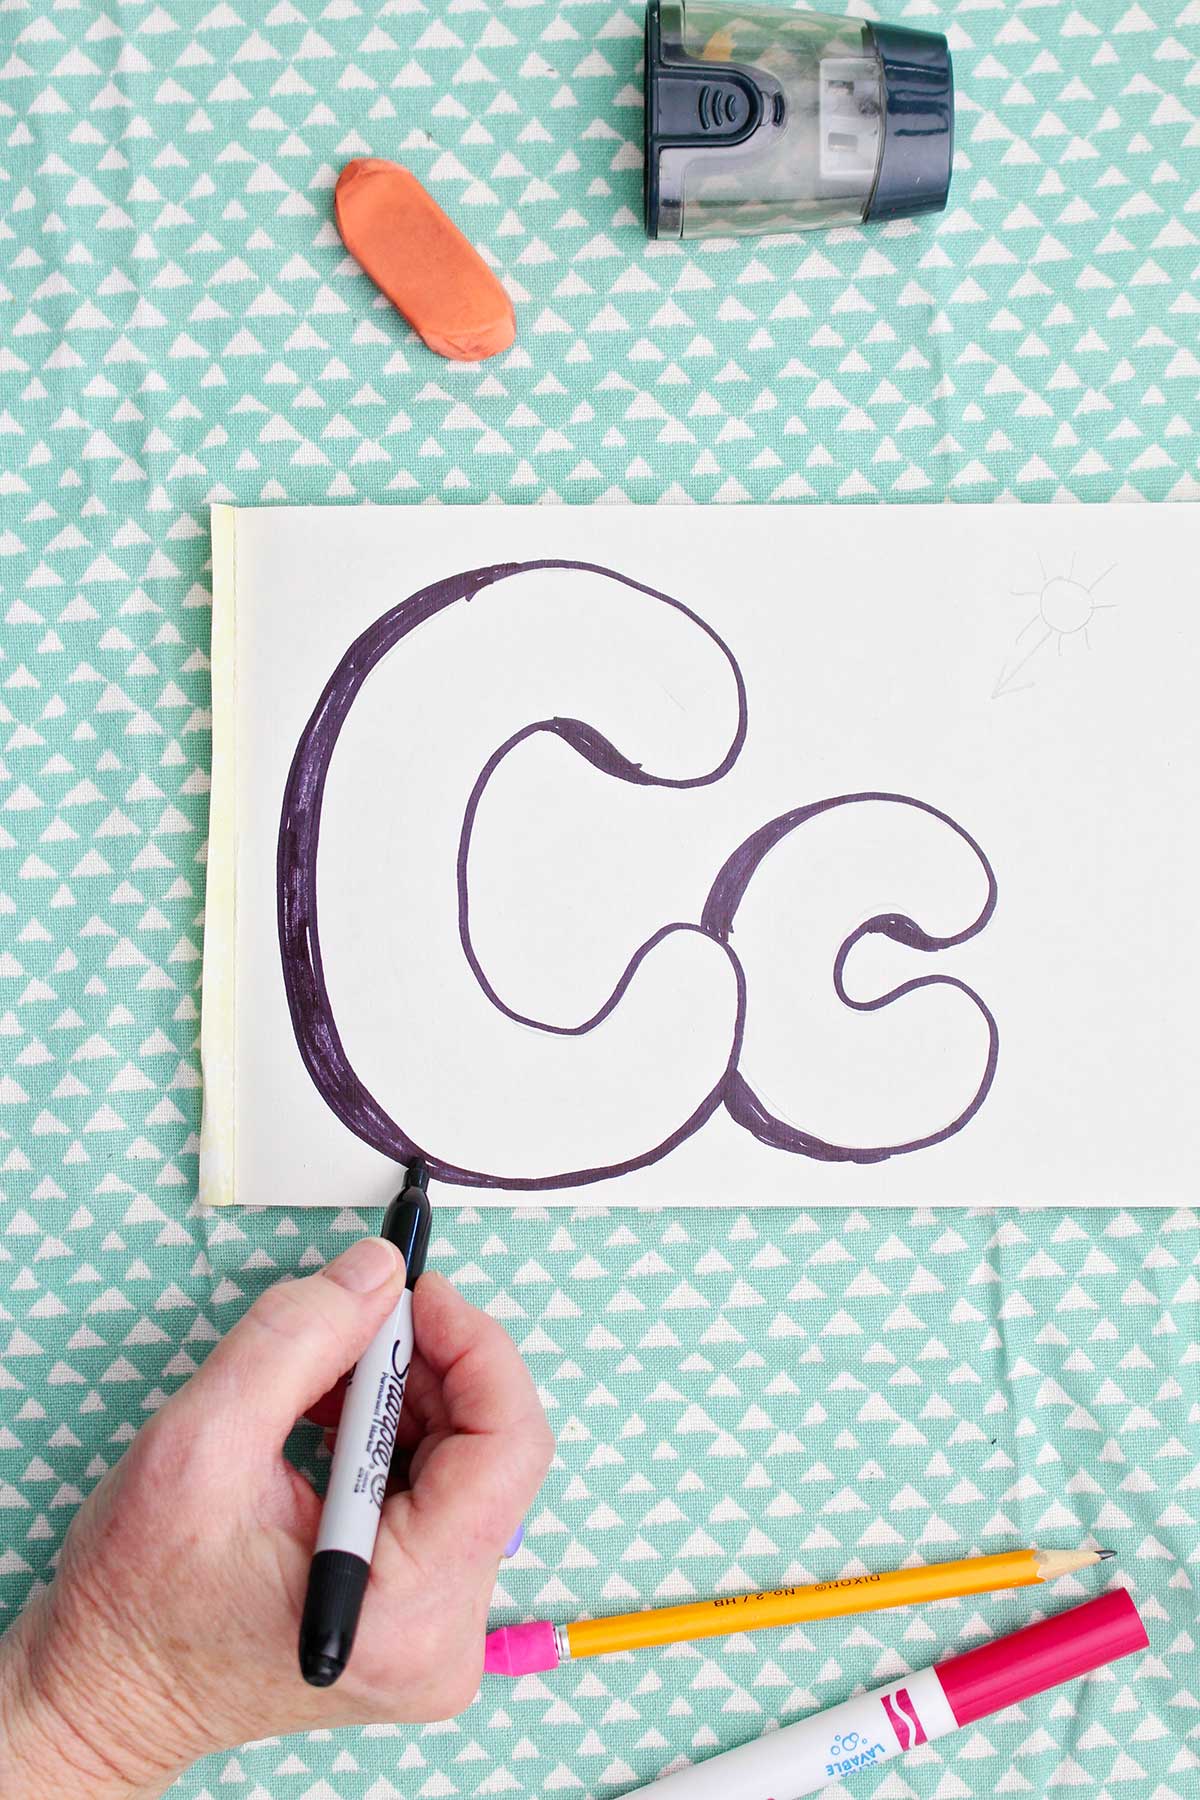
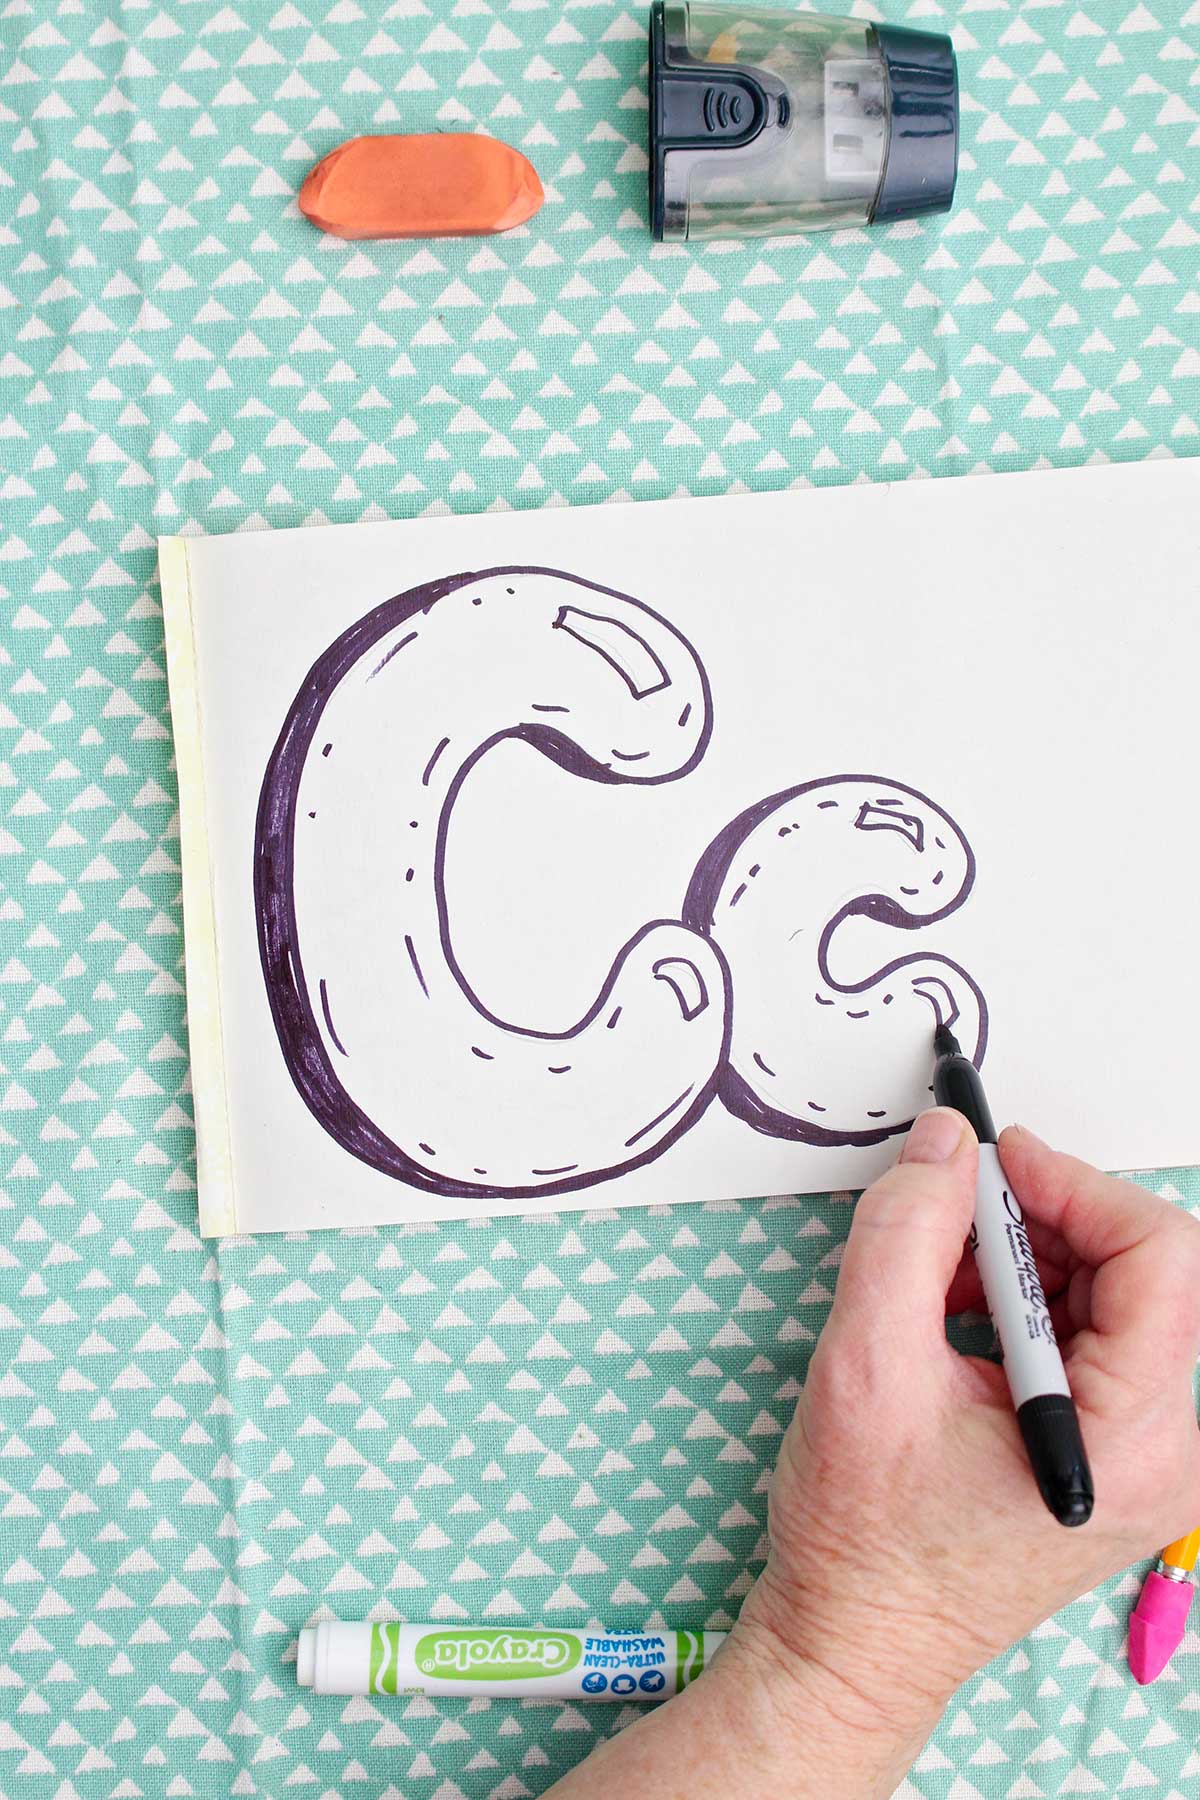
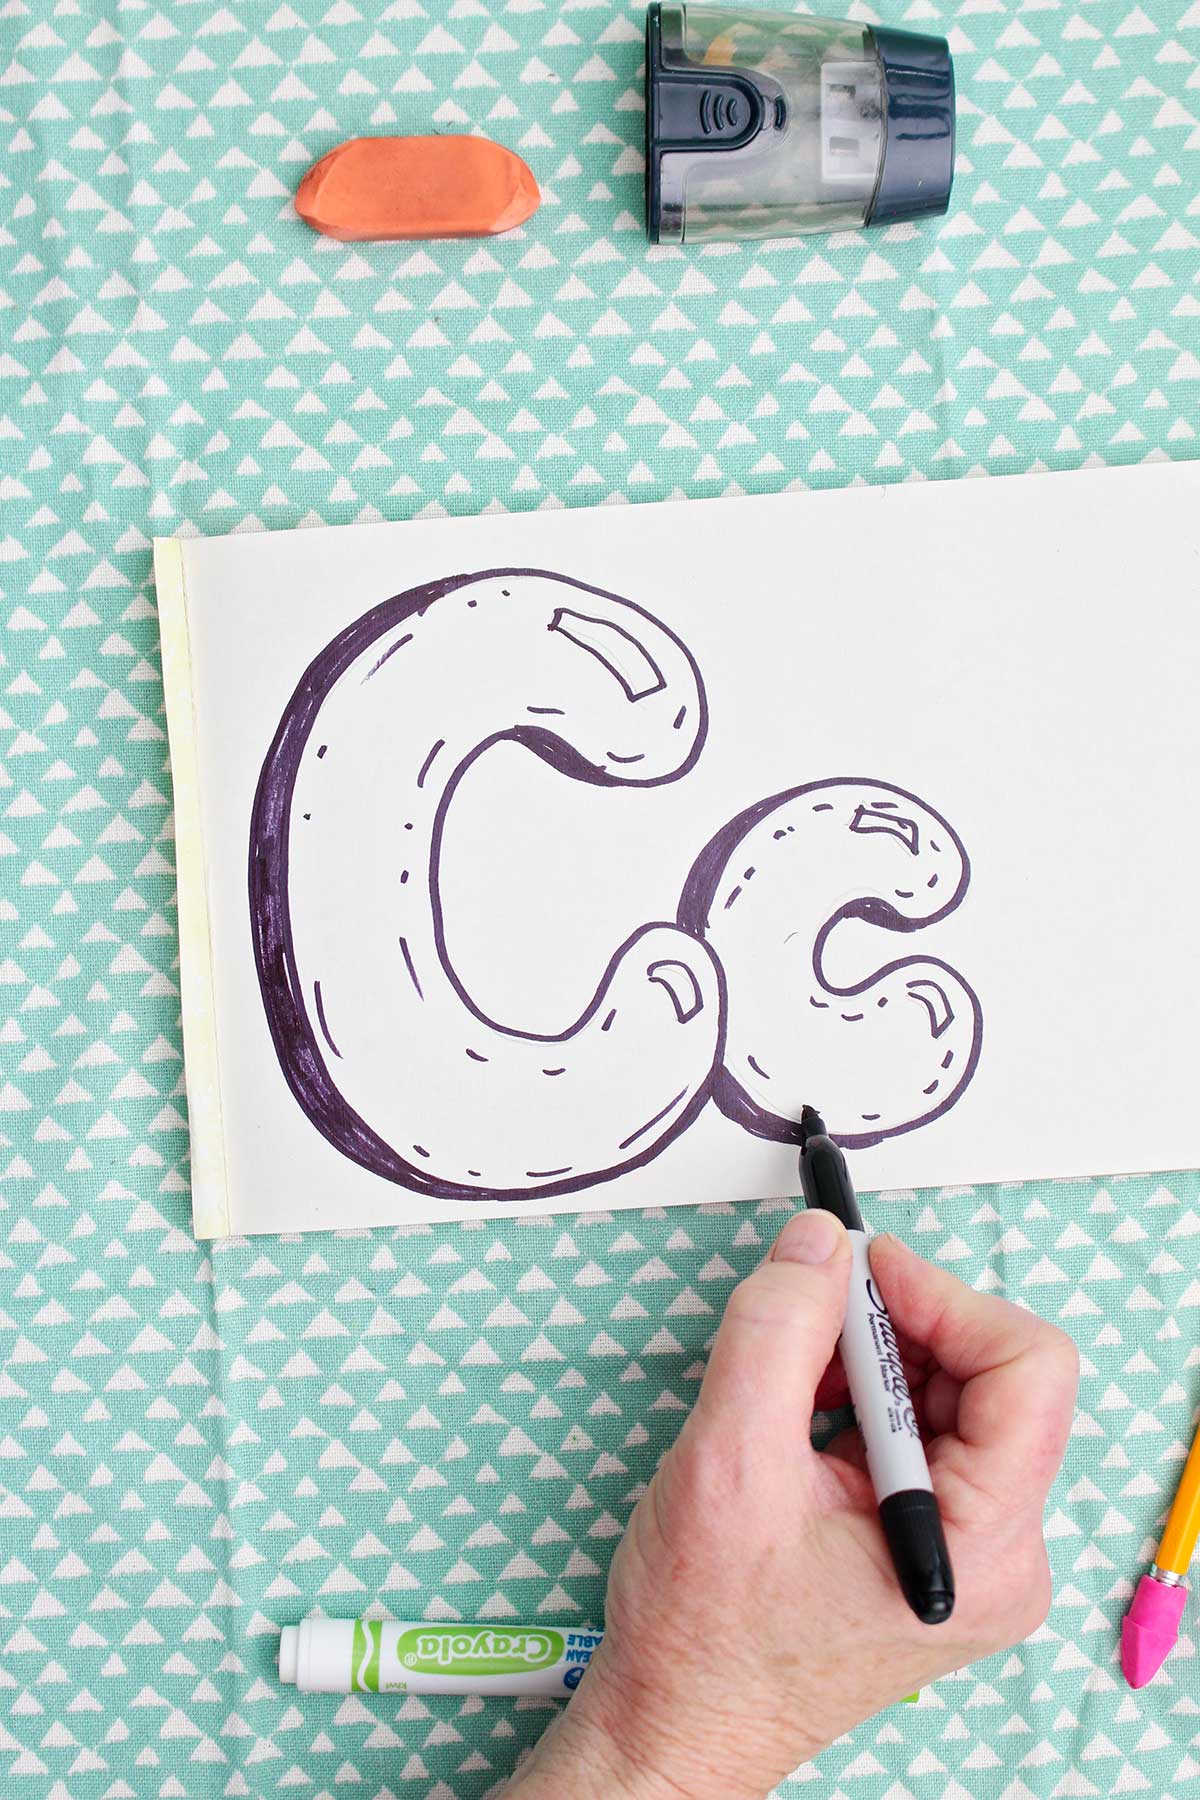
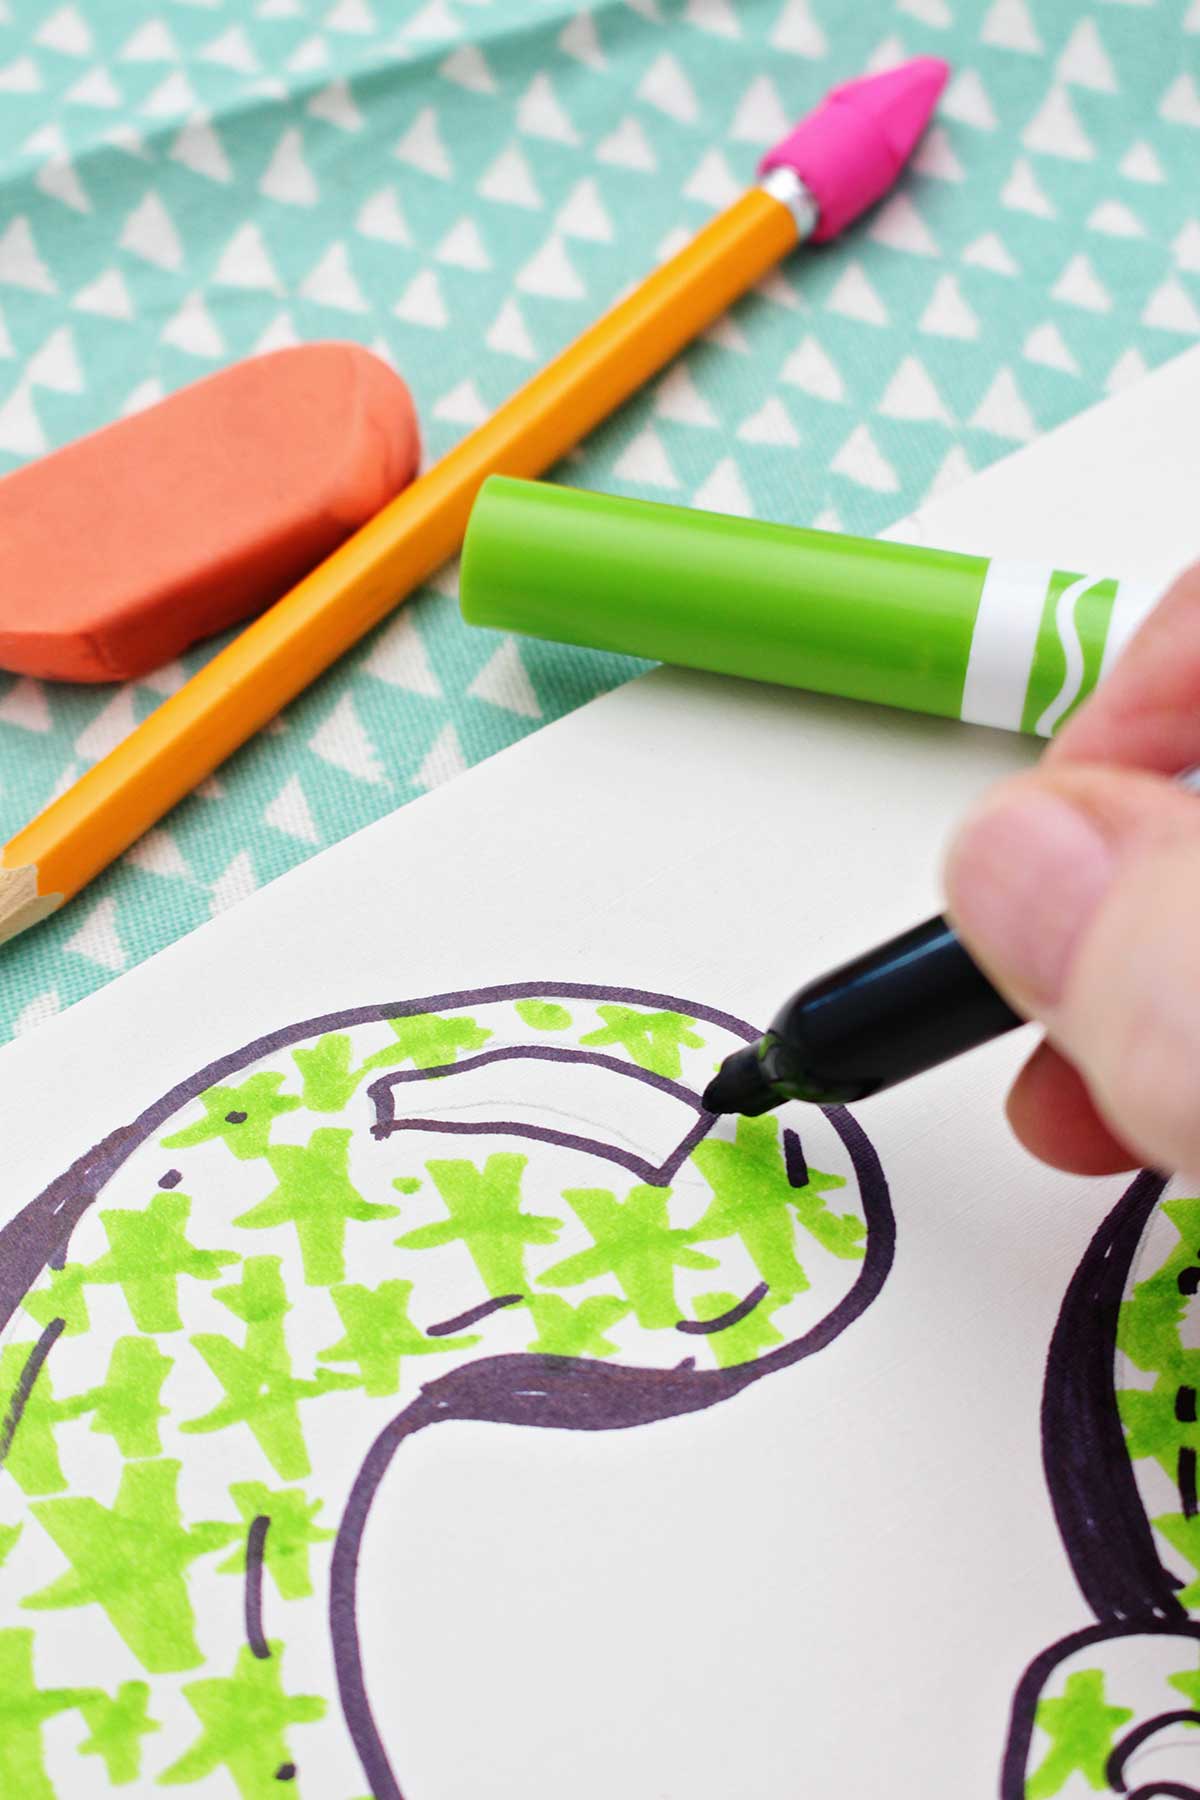
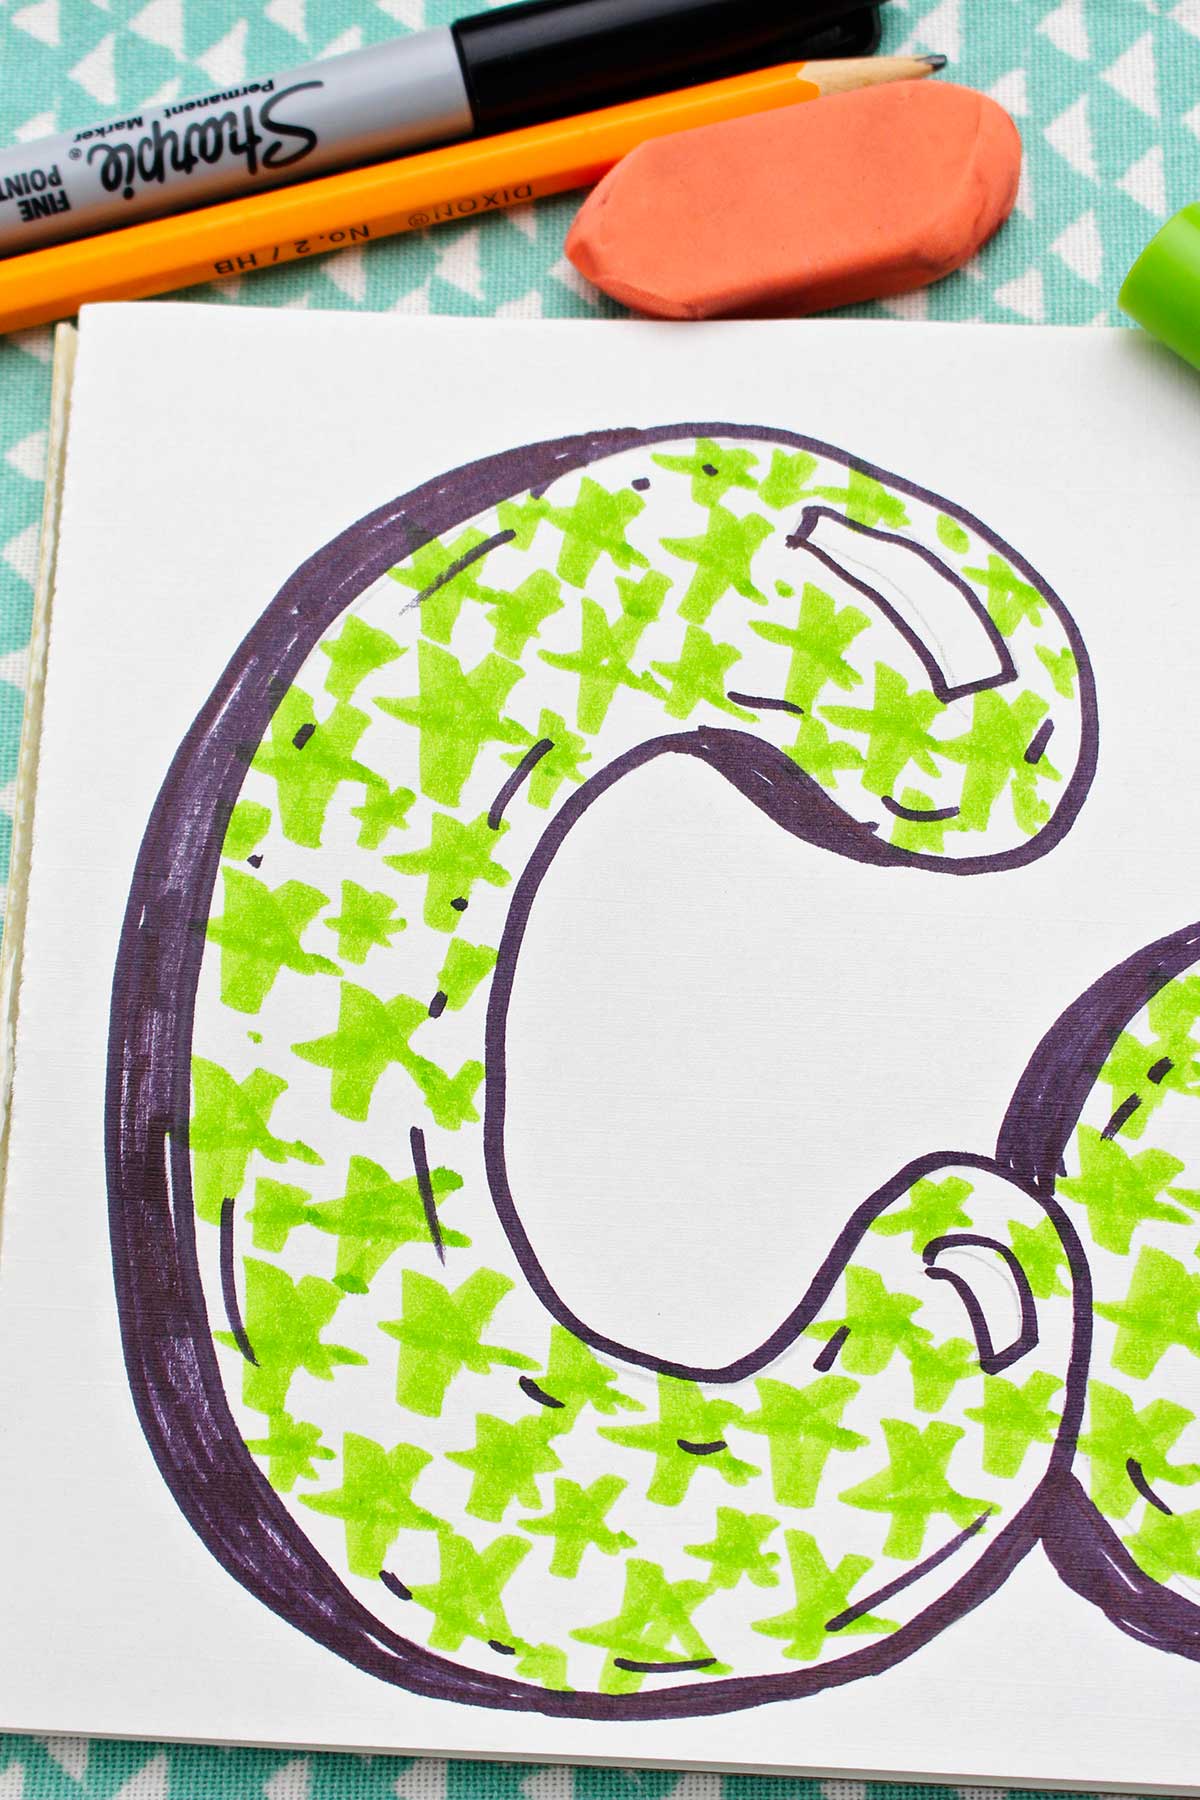
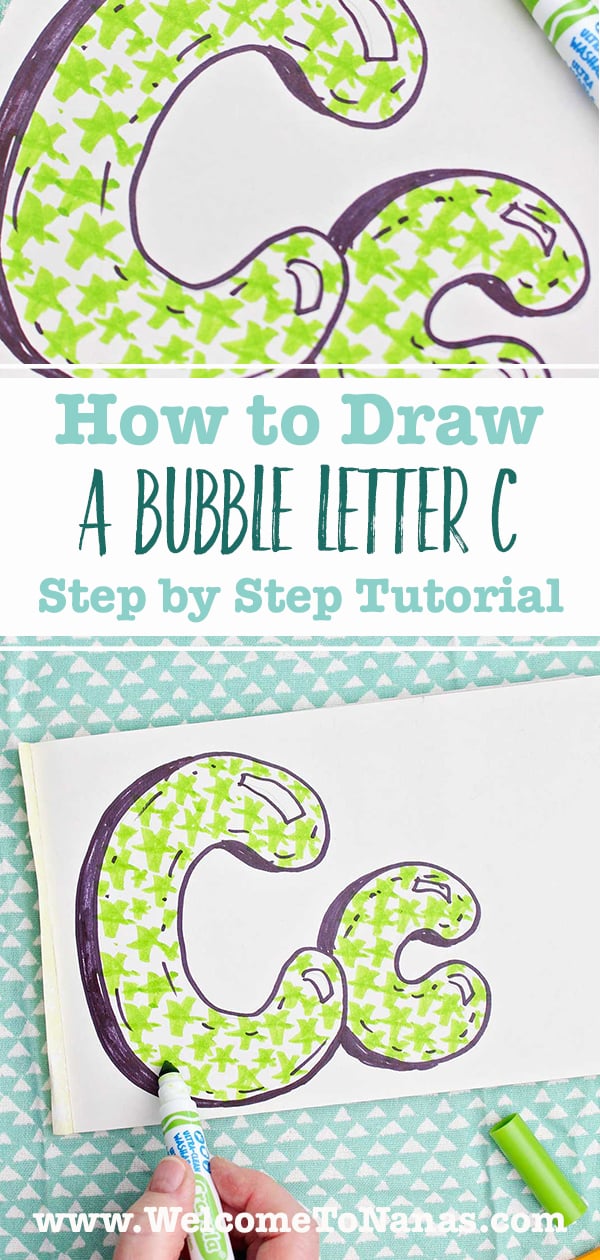
- Add a reflection or highlight on the letter by drawing a circle or square on one side of each letter (see the video). This makes the letter look like light is shining on it and reflecting. Don't color inside this area, leave it white.
- Use a permanent black marker to go over the bubble letter "C"s you drew. Now you can decorate the letter(s) with Colored pencils, crayons, or markers and it won’t smudge. Decorating is optional but makes your lettering so unique and festive!
- Keep practicing your uppercase letter “C” and lowercase letter “c” several times until it is familiar to you. You will eventually get where you don’t need to draw the framework letter if you don’t want to! You won’t believe how many ways and times you can use this lettering style.
Let’s finish with a Nana Challenge on Bubble Letters C!
Let's have a fun challenge with your bubble letter C. When you have learned all 26 bubble letters in the series you will have completed 26 creative mini art activities too! You’ll be a master at drawing bubble letters soon! Have fun and keep practicing!
NANA'S Awesome Bubble LEttER C CHALLENGE
Let’s finish with a Nana Challenge!
Now it's your turn! Try this fun challenge with your bubble letter C.
Nana Challenge: After drawing your bubble letter C fill it with circles and then color them in...colorfully! Or create a rainbow in your letter for color.
Craft Tips for How to Draw Letter C in Bubble Letters
These tips can help make drawing a Bubble Letter C even easier!
- Start drawing with pencil and draw lightly so it is easier to erase as you learn.
- Take the time to draw the regular letter first and space the letters evenly. You'll be much happier with the results.
- Draw a light pencil line across the paper where you would like the bubble letters to “sit” on the page. This will be used as an approximate bottom edge of the letters. It can be straight across, vertical, or an arch. You can experiment with this later.
- Don't worry if your bubble lines aren't perfectly straight. A bubble letter will be a bit bumpy looking.
Craft Variations- Drawing Bubble Letters for Kids
Here are a few variations you’re welcome to try with your bubble letters:
- Glitter glue- Glitter glue could make a nice variation on bubble letters. Outline over the black permanent marker or make part of your design with the glue.
- Animal print- Try zebra stripes, leopard dots, or paw prints on the letter.
- Camouflage- Another "c" word! Make a camouflage pattern in greens or other colors on your bubble letters.
Bubble Letters for Beginners FAQ
I draw a light line in pencil where I want my letters to "sit" on my project. Then I print the actual letters on this line leaving equal space between the letters and some extra space between words. The actual bubble is drawn around each of these printed letters- make the bubble equal distance around the letter. The bubbles will never be exactly "even" as no balloon is perfectly shaped. But these tricks help.
Yes, you can draw your bubble letters in marker without using pencil. But I recommend practicing a number of times in pencil first. Then it will feel natural and you can draw in marker without making many mistakes.
Yes, print your letters then outline the bubble letter around the letter. Finish with drawing with marker. This prevents mistakes and having to re-do the project!
More DIY crafts for Kids
Looking for more great lettering and crafts to try? Here are a few of our favorites:
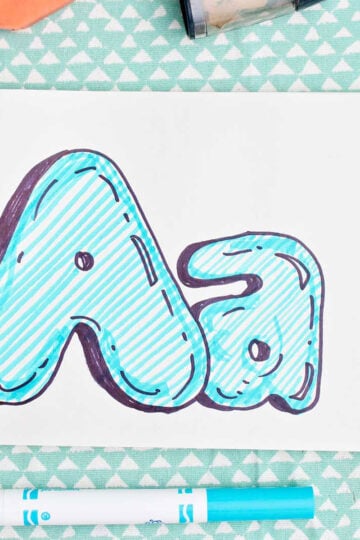
- How to Draw a Bubble Letter A: Easy Step-by-Step Drawing Tutorial
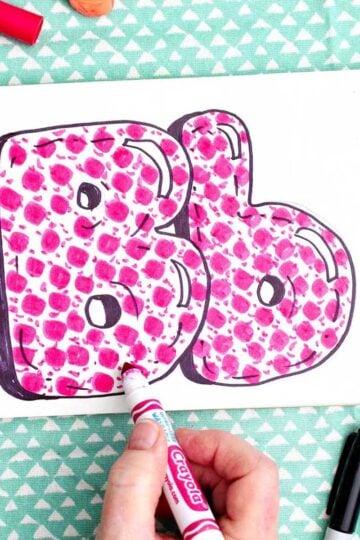
- How to Draw a Bubble Letter B: Easy Step-by-Step Drawing Tutorial
- Stories Come to Life with Comic Strip Templates!
Come join the fun at WTN!
How did your bubble letter C go? I'd love to see a picture of your drawing. It's a pretty easy lettering style once you practice a bit!
Try this craft, leave a comment, rate it, and tag a photo with #WelcometoNanas wherever you post.
Have fun bubble lettering!!
More Crafts Please!
Love getting crafts straight to your inbox? Sign up to receive a weekly email and get a free gift!
How to Draw a Bubble Letter C: Easy Step-by-Step Drawing Tutorial
Equipment
- Clip board (optional)
Items Required
- Drawing paper
- Pencil
- Eraser
- Black permanent marker (optional)
- Colored pencils, crayons, or markers (optional)
- Ruler (optional)
- Clip board (optional)
Instructions
- Draw a light pencil line across the paper where you would like the bubble letters to “sit” on the page. Leave enough space above the line to make the letter as tall as you want it to be. The letter will “bubble” below the line some too. (Watching the video really helps- here's the link to the video: How to Draw a Bubble Letter C For Beginners)
- Lightly draw a simple capital letter C as tall and wide as you want. With some space between, draw a lowercase letter c.
- Put your pencil outside the letter C you drew, about ½ inch away. With your pencil down go around the entire letter at about the same distance away as you started. The capital “C” is almost a full circle. Your bubble will be curved around the top and bottom ends of the line to make it rounded. Don’t make any square edges. Making them rounded to makes the letter C shape obvious.
- Repeat this process for the lower case “c”. If, when drawing around the second letter you “run into” the first letter line, just lift your pencil up and skip over that part of the first letter. Put the pencil down again when past the first letter and finish the second letter.
- Erase the original framework letter you drew as a skeleton.
- Add a reflection or highlight on the letter by drawing a circle or square on one side of each letter (see the video). This makes the letter look like light is shining on it and reflecting. Don't color inside this area, leave it white.
- Use a permanent black marker to go over the bubble letter "C"s you drew. Now you can decorate the letter(s) with Colored pencils, crayons, or markers and it won’t smudge. Decorating is optional but makes your lettering so unique and festive!
- Keep practicing your uppercase letter “C” and lowercase letter “c” several times. You won’t believe how many ways and times you can use this lettering style.

Leave a Reply