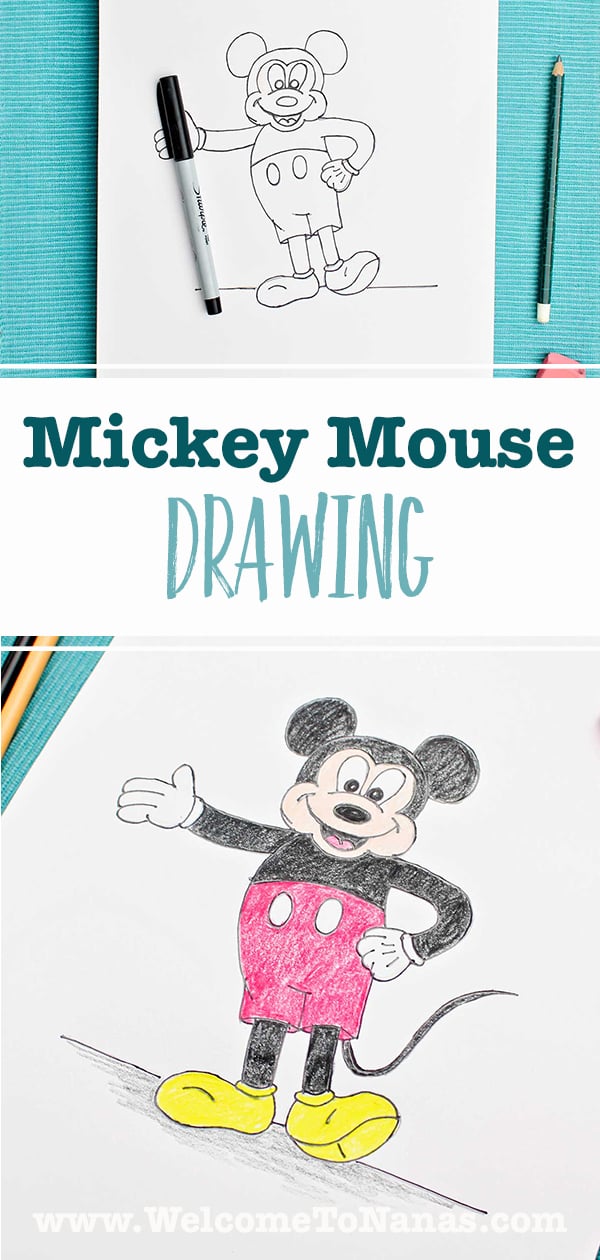
Learn how to make your own Mickey Mouse Drawing with this easy, step-by-step drawing tutorial! Perfect for artists of any age or skill level who want to grow their confidence and learn how to draw.
Jump to:
- Cute Craft Alert: Drawing Mickey Mouse!
- Recommended Supplies Needed for Drawing Mickey Mouse
- Why Everyone Loves Mickey Mouse!
- Why This Is a Great Drawing for Kids
- Why Drawing is Beneficial for Kids
- How to Draw Mickey Mouse Step-by-Step
- Nana’s Tips for Success
- Mickey Drawing Variations
- How to Use Your Mickey Mouse Drawing
- FAQ
- More DIY Drawing Tutorials for Kids
- Come Join the Fun at WTN!
- Drawing Mickey Mouse
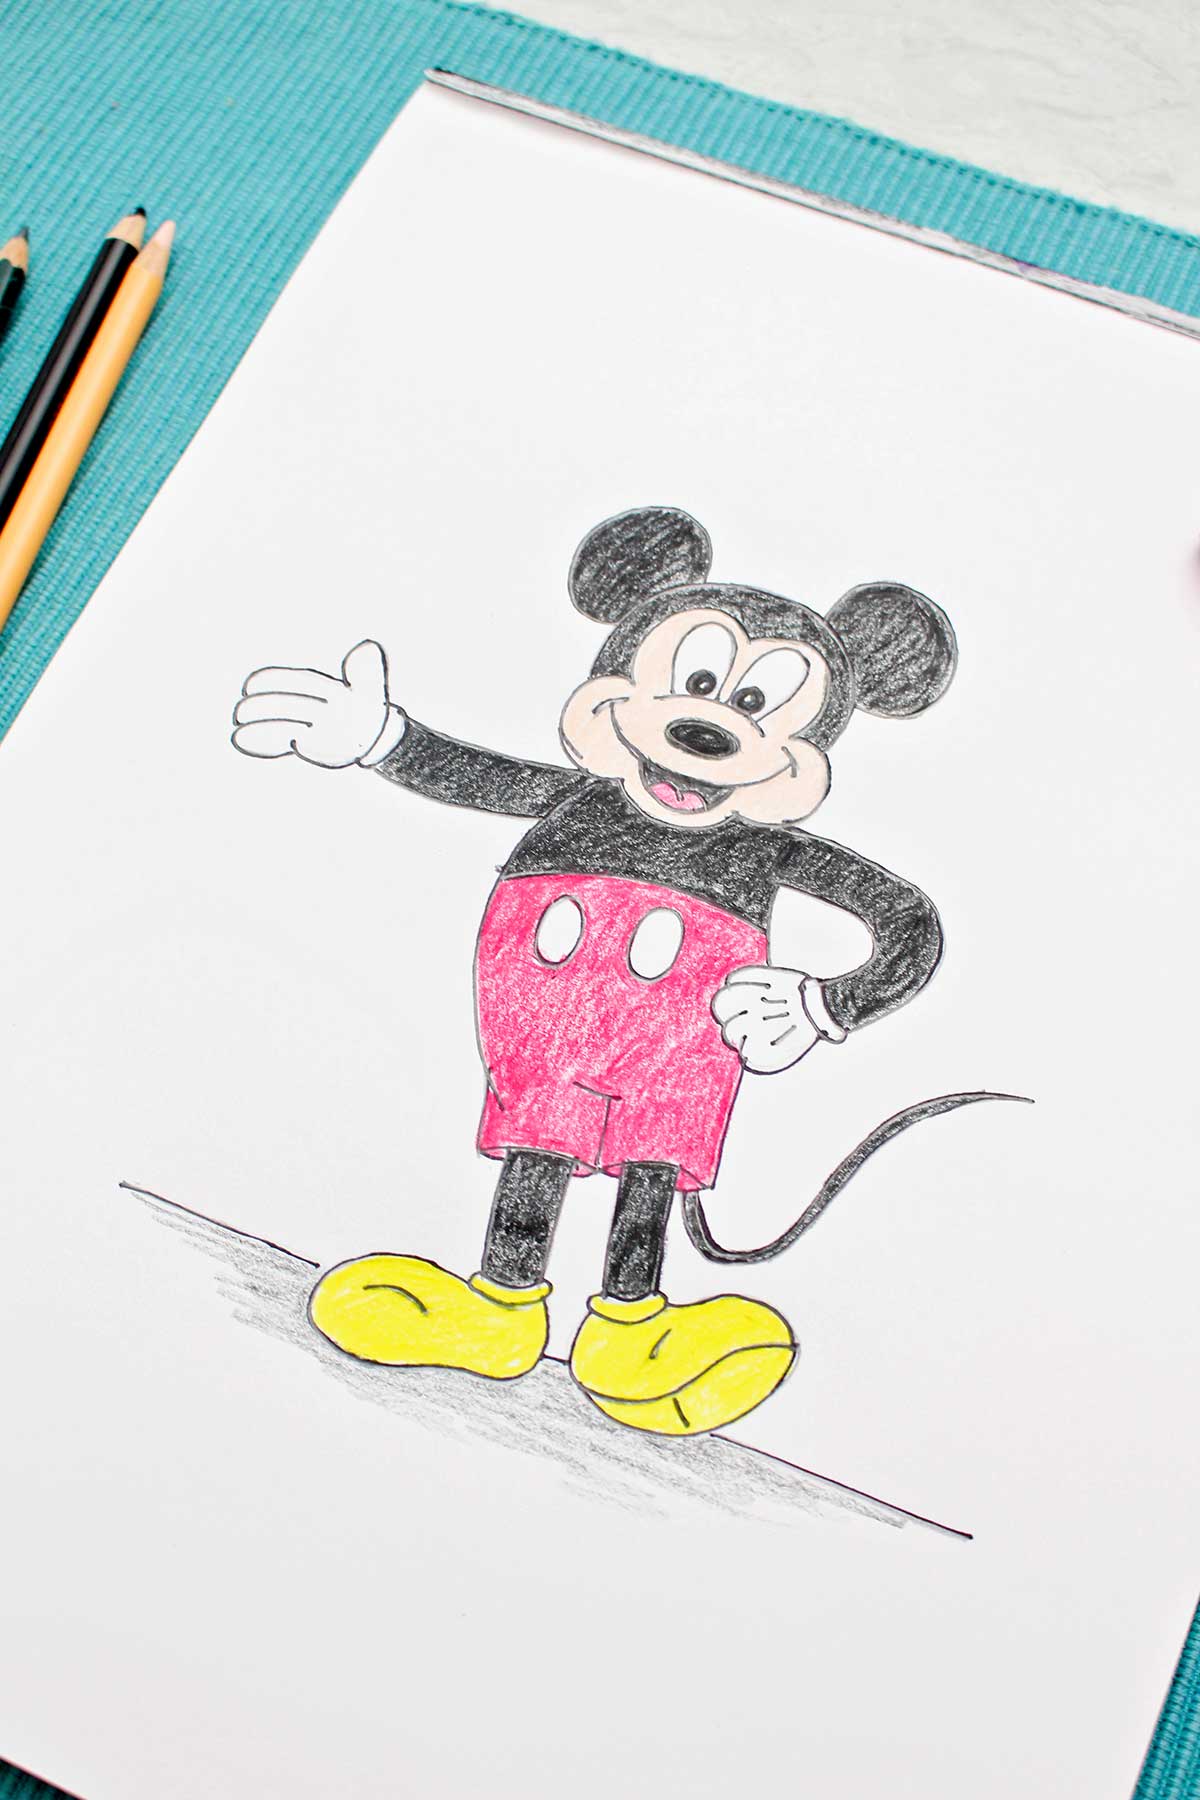
DIY Mickey Mouse Drawing
Hi friends! We’re going to make a DIY Mickey Mouse Drawing that’s simple enough for kids but is fun for grown-ups too! You’ll draw basic shapes and lines that fit together in a magical way so you end up with Mickey, right before your eyes!
Your confidence in your drawing skills will build as you draw this classic cartoon figure. So, go get a pencil, piece of paper, and your little artists and let’s learn how to draw Mickey Mouse!
Cute Craft Alert: Drawing Mickey Mouse!
Mickey Mouse is a well recognized and well loved cartoon character all around the world. Who doesn’t love Mickey Mouse?
It is so cool to sit down with our young artists and draw him together. There is information below telling some of the history behind Mickey that you could share as you draw.
Even though I’ve been drawing for decades, this is the first time I’ve drawn Mickey! I was surprised at how simple he was to draw with simple shapes and lines.
I love it when they go together and his familiar smiling face appears on the page. You’re going to be surprised at how easy the step-by-step directions and video make it. It’s almost like magic.
Recommended Supplies Needed for Drawing Mickey Mouse
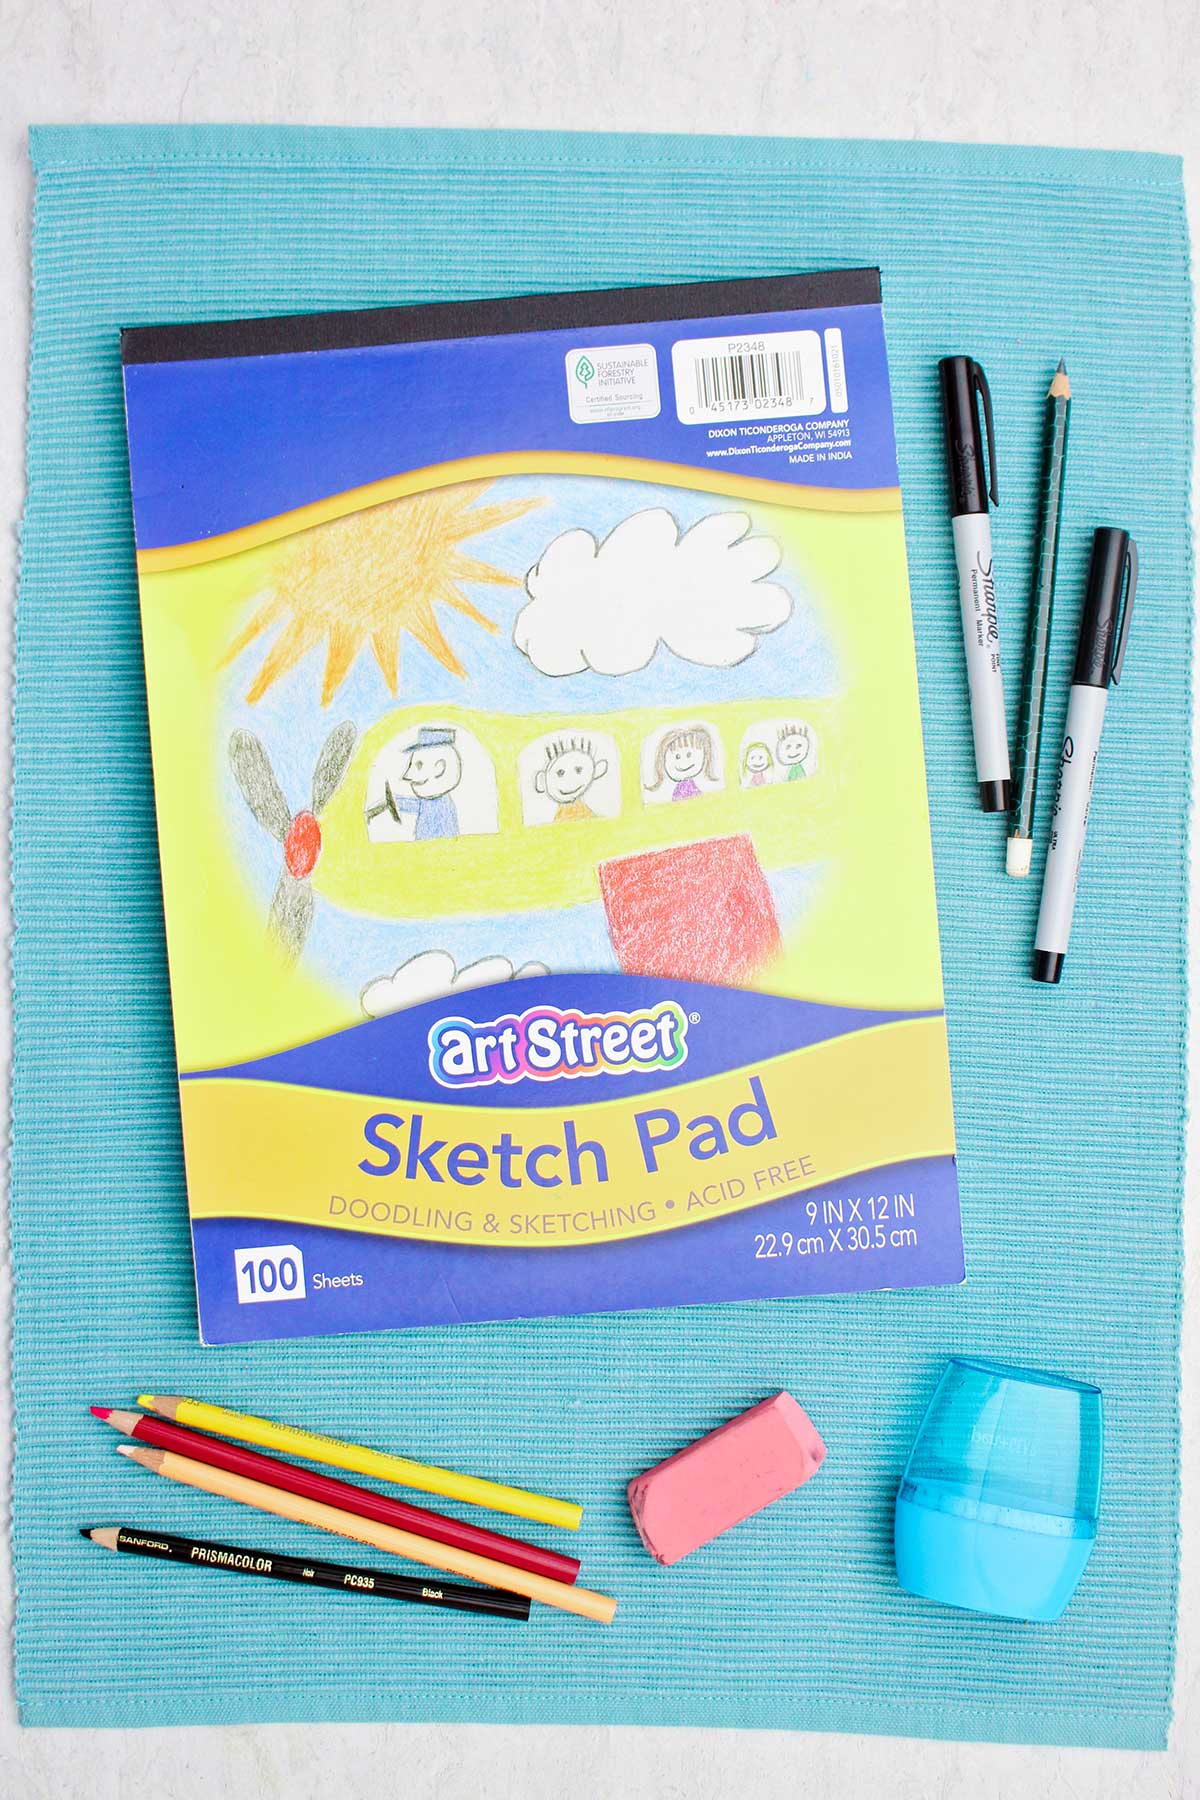
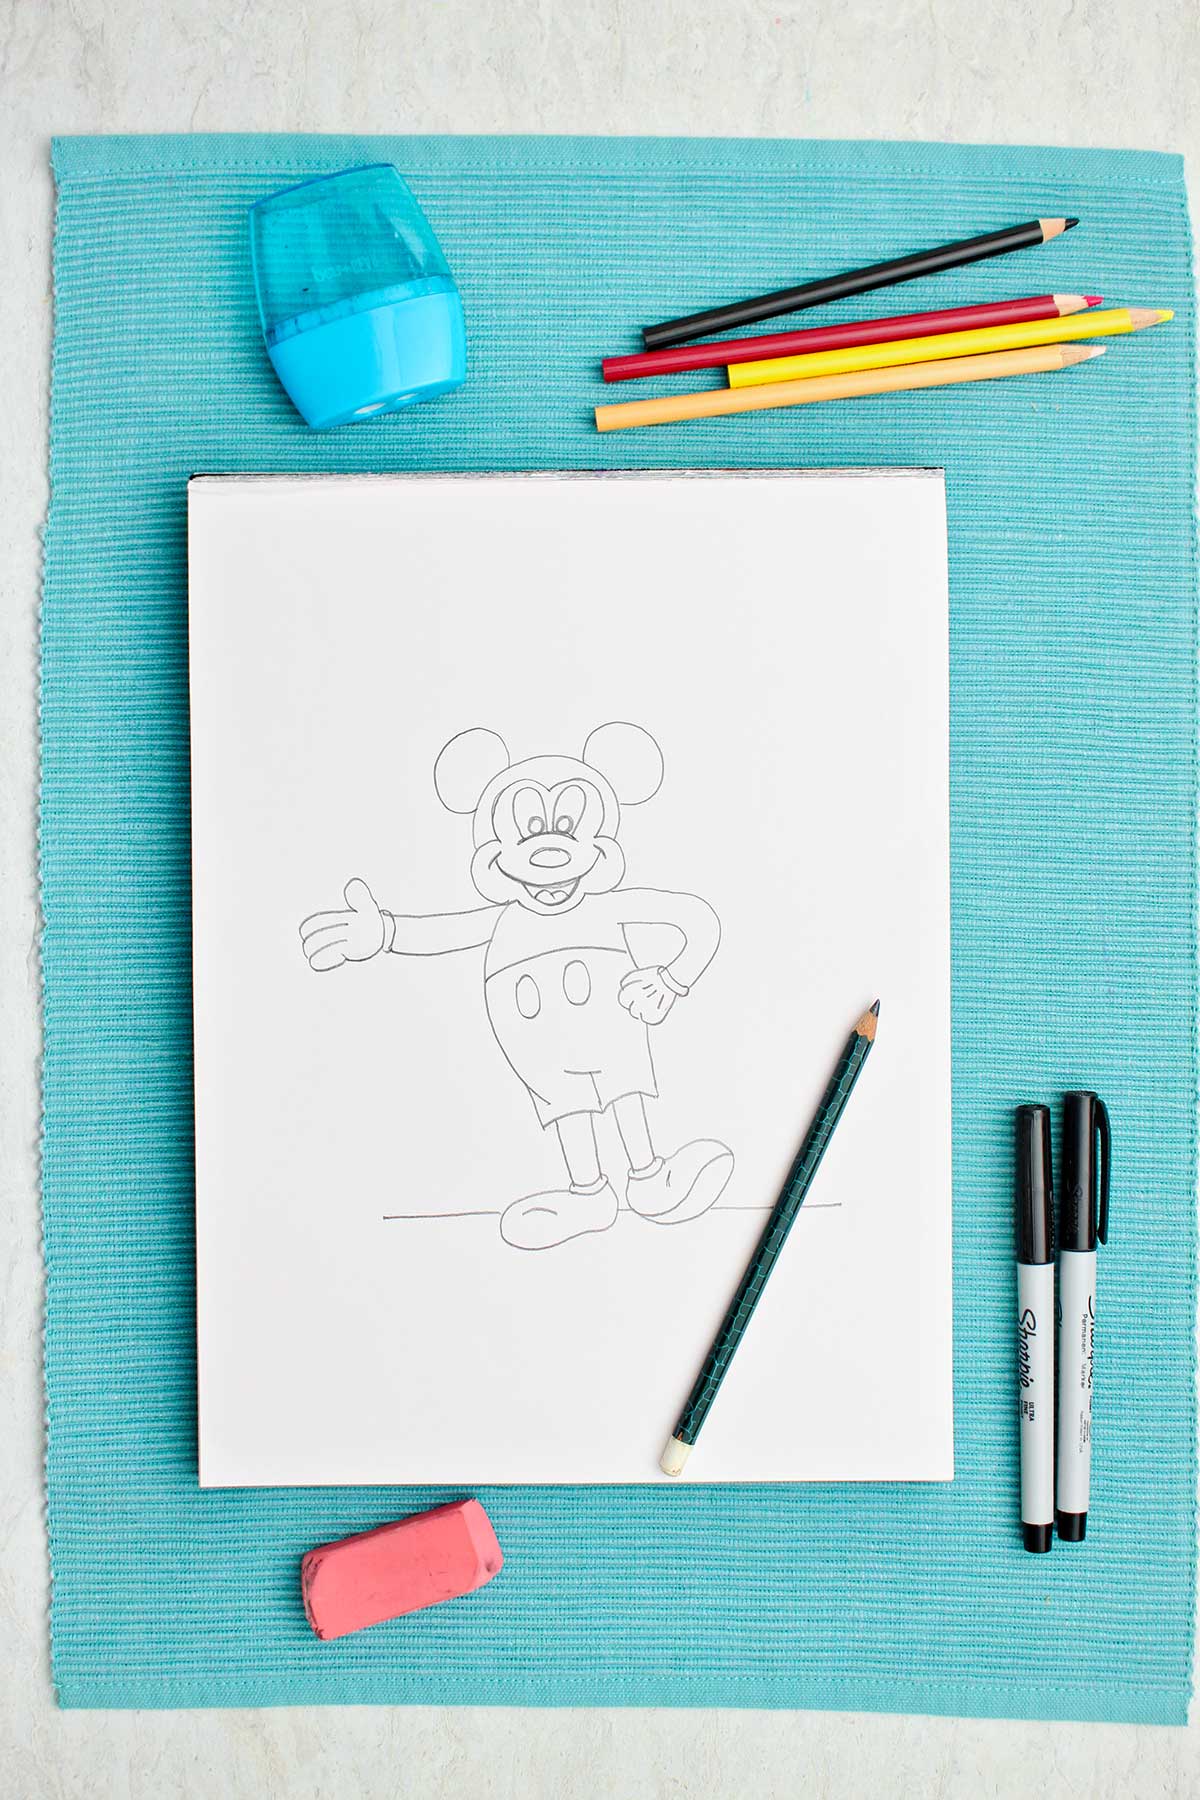
You don’t need much to bring this cute drawing of Mickey Mouse to life!
- Pencil- A typical #2 pencil is fine, or purchase a set of drawing pencils.
- Eraser- Use an eraser that doesn’t smudge the lead as it erases.
- Paper- Drawing paper or copy paper work fine. If you want to save your drawings a sketch pad is nice to have.
- Black permanent marker (optional for outlining)- A Sharpie fine line permanent black marker works well.
- Crayons, markers, or colored pencils (optional for coloring the drawing)- Use your choice of crayons, markers, or colored pencils for coloring in the drawing.
Why Everyone Loves Mickey Mouse!
Did you know that Mickey Mouse was first named Mortimer? Thanks to the persistence of Walt Disney’s wife, he was renamed Mickey Mouse after his creation in 1928. She thought people would like that name better. I think that she was right, don’t you?
Mickey made his grand entrance into the world and our hearts through one of the first animated short films called Steamboat Willie. He was cute, cheerful, shy, and was dressed in shorts, shoes and gloves. His first high pitched words were, “hot dogs!” and he often said, “Gosh!”
Soon a crew of friends joined him and made it easy to create all kinds of story lines for their cartoons. There was Pluto (his dog), Goofy and Donald Duck (Mickey’s silly friends), and of course, Minnie Mouse (his girlfriend).
I grew up watching Mickey Mouse cartoons many Saturday mornings. There was even the Mickey Mouse Club which was a weekly show for kids. Mickey Mouse is the favorite character to find and have a picture taken with at the Disney theme parks around the world.
Mickey's simple round ears and big smile makes him easy to recognize and easy to draw. And drawing MIckey is the focus of my post today. Follow along and learn how to draw Mickey Mouse yourself with these simple step-by-step instructions. You’ll surprise yourself!
Why This Is a Great Drawing for Kids
This easy Mickey Mouse drawing is perfect for kids because:
- It’s drawn with simple circles and lines
- Kids practice placing the lines and shapes and getting them in proportion
- They will find it fun and easy to recognize Mickey
Why Drawing is Beneficial for Kids
Drawing is more than just fun, it’s a wonderful learning activity too! Drawing...
- Builds fine motor skills
- Develops their imagination and creativity
- Encourages observational skills
- Helps with focus and patience as kids work to complete their drawing
- Boosts confidence as kids see their progress
- Provides a calming, screen-free activity
- Is portable, take paper and pencil with you almost anywhere
- Is a great gift for others
How to Draw Mickey Mouse Step-by-Step
Let’s break this easy Mickey Mouse drawing down into little steps. Encourage kids to take it slow and enjoy the process!
This full length YouTube video can be a help as you follow these steps: How to Draw Mickey Mouse Full Length Video
Part A- Steps for drawing Mickey's head
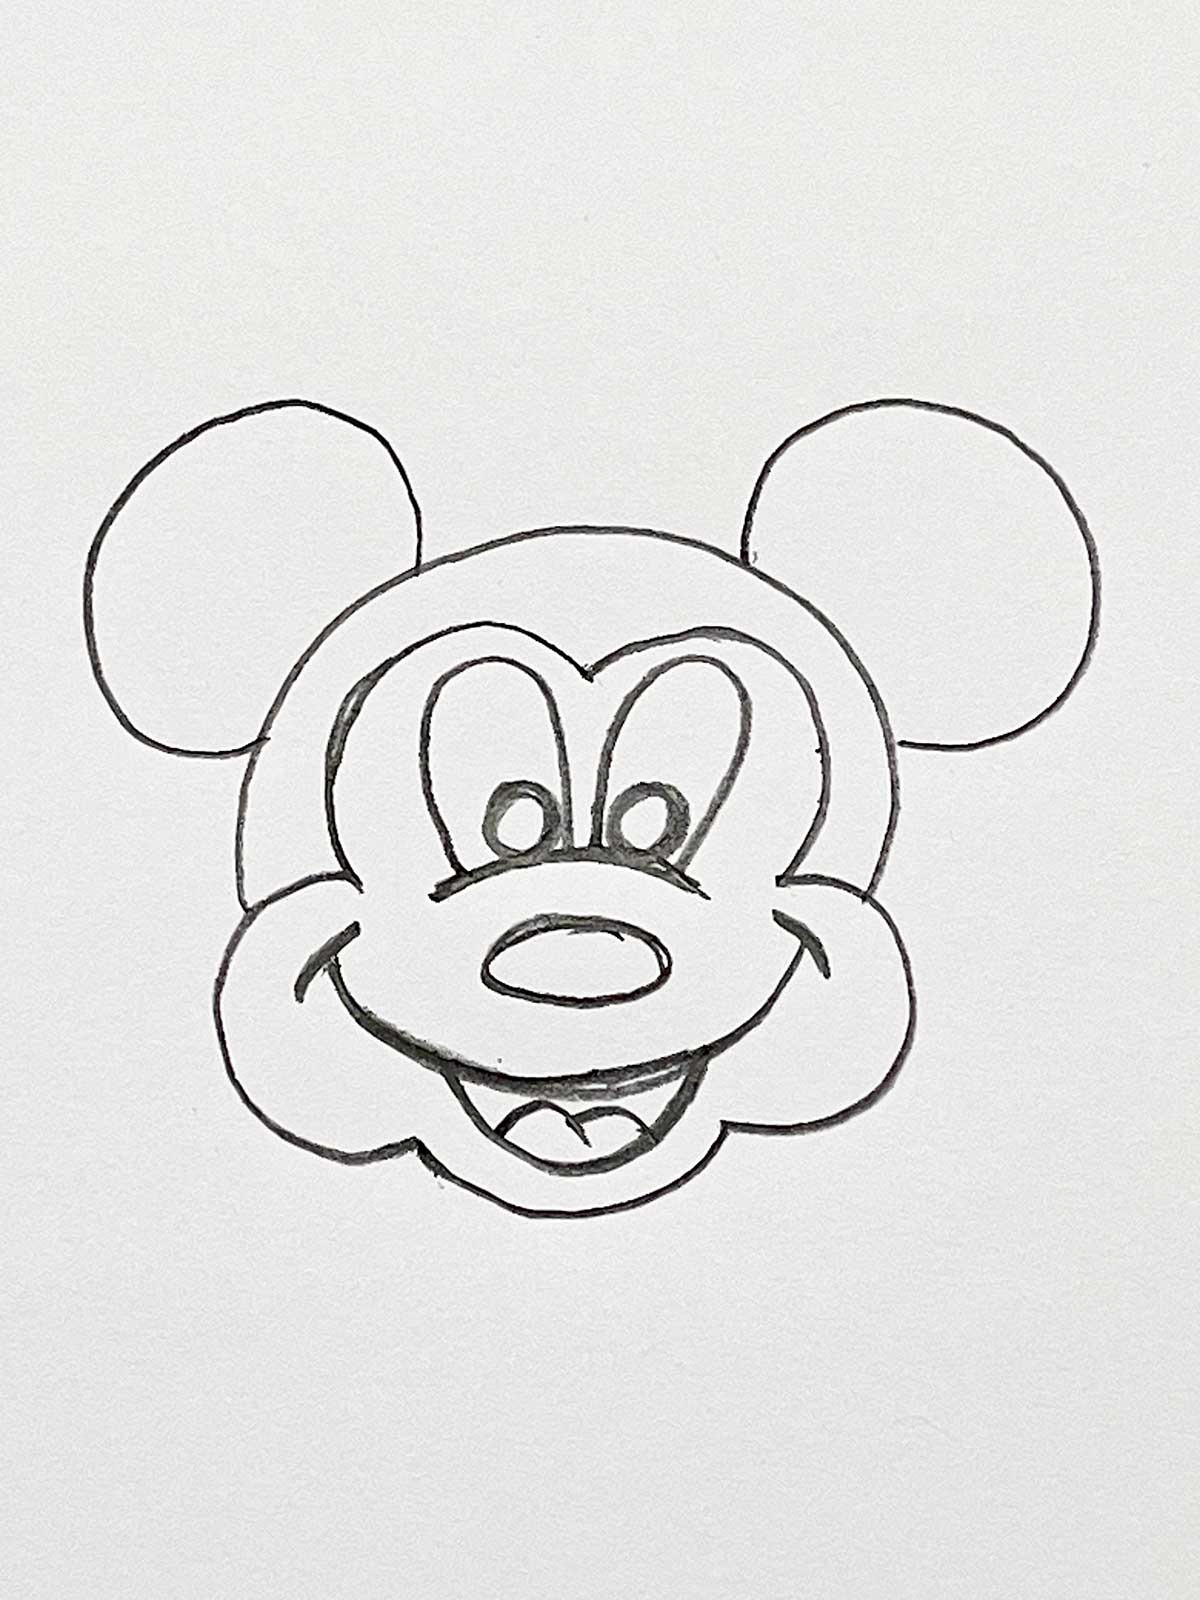
1. Draw the Nose, Eyes
Using a pencil, start with a side to side oval shape on your paper for Mickey’s nose. Add a curved line over the top (bridge of the nose). On top of this line draw two arched eye outlines then draw a circle (pupil) inside each one towards the bottom.
2. Add a smile
Draw a large curved smile line under the nose with a small line on either end as the end of the smile. Under this is a small curved line as the bottom of the mouth. Add a tongue as shown in the picture (two “hill” lines side by side.) It already looks like Mickey Mouse doesn’t it? Such personality in a simple face drawing!
3. Finish the face
Draw what looks like the top half of a heart over the two eyes. It follows the shape of the eyes and will stop close to the side of the eyes.
Draw a scooped line under the smile for a chin. Then draw two rounded cheek lines (one on each side of the face) that connect the top of the heart shape and the chin. This creates Mickey’s lighter face area.
4. Complete the head
Place an arched line (rainbow like) over the eyes area of the face as the top of the head, also stopping at the bottom edge of the eye, stopping on the rounded cheek lines.
5. Add the Ears
Draw two large circles on top of the head for ears- one slightly to the right and one slightly to the left. The circles may not be exactly circular or exactly the same size. That’s OK, do the best that you can.
This is a great place to stop and jump to Part C with younger kids. If you want to draw Mickey's body as well, keep going to Part B!
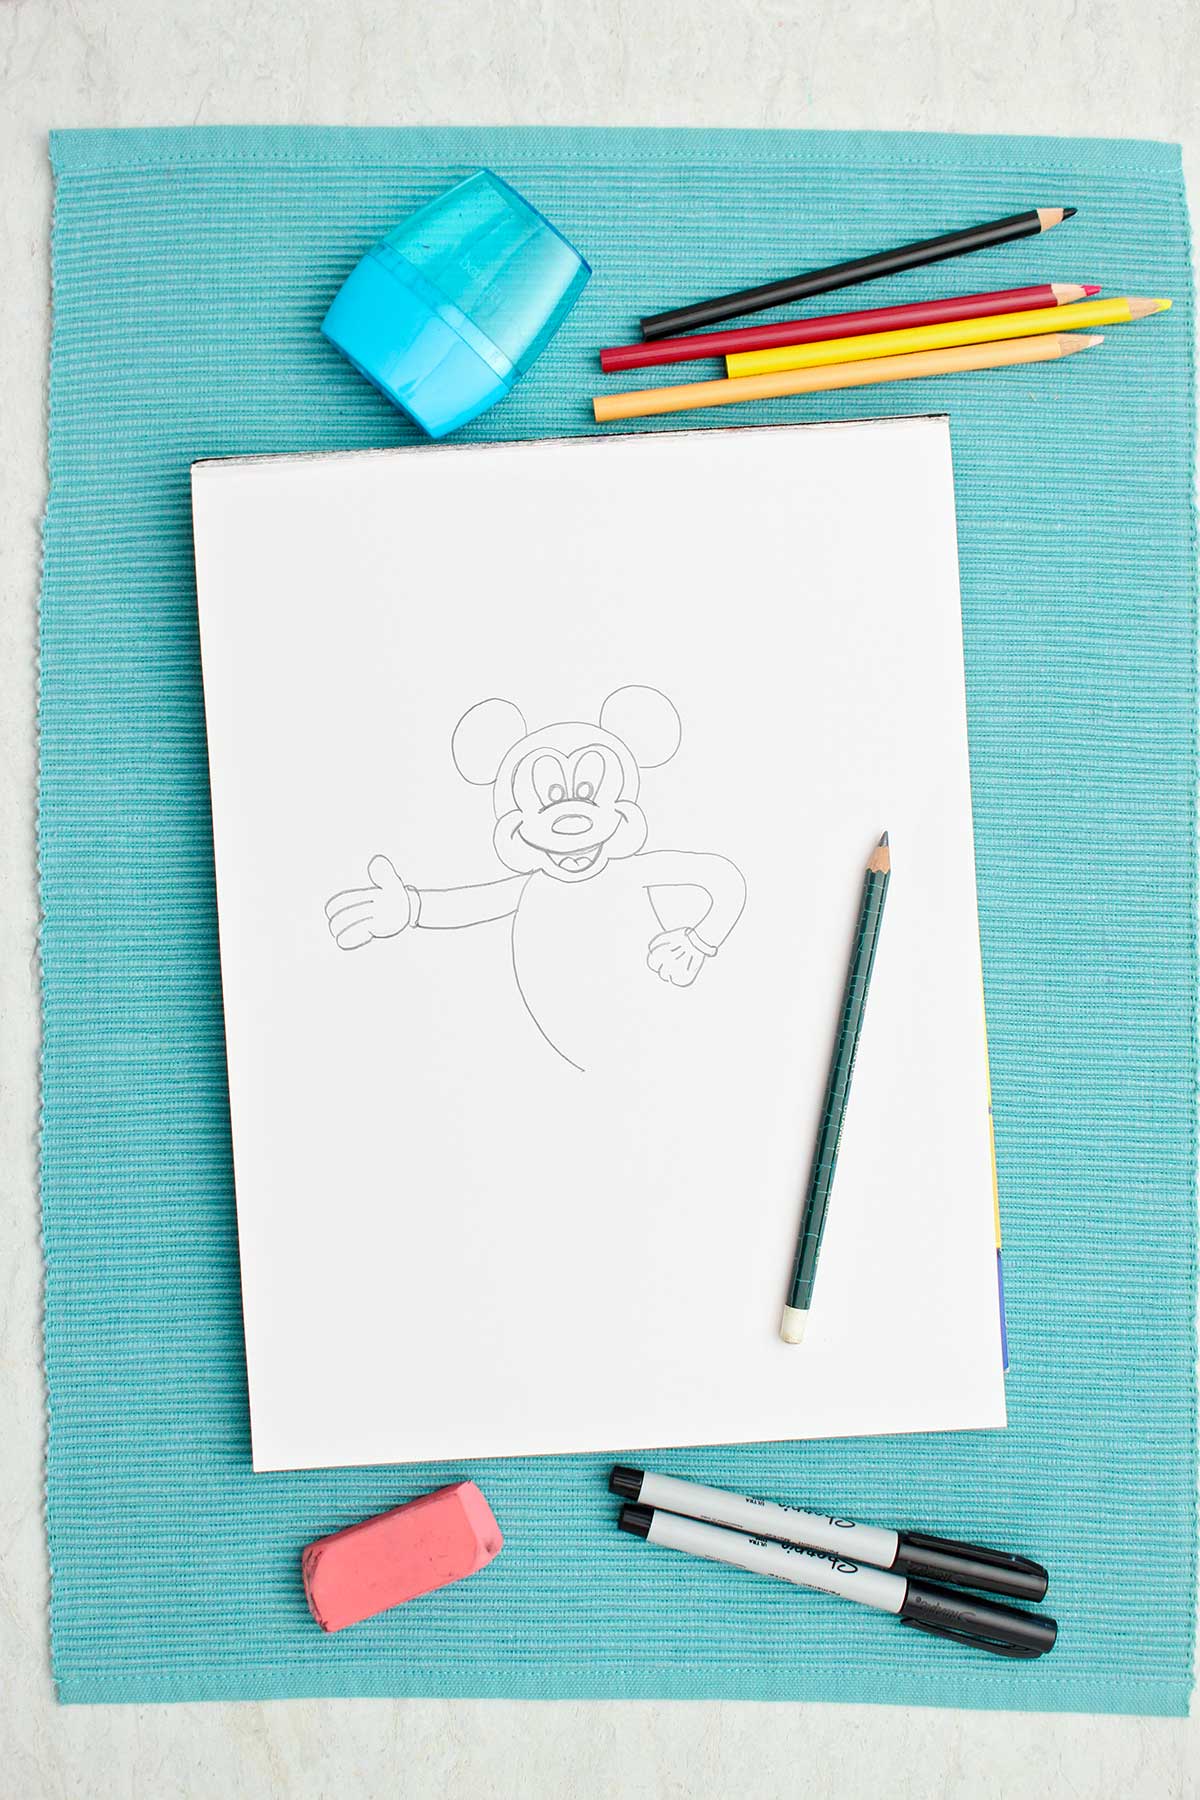
Part B: Sketch Mickey’s body
Step 1: Torso and arms
Draw a line from below Mickey’s right cheek curved out and down which about the same length as the head and ears are high (front of tummy).
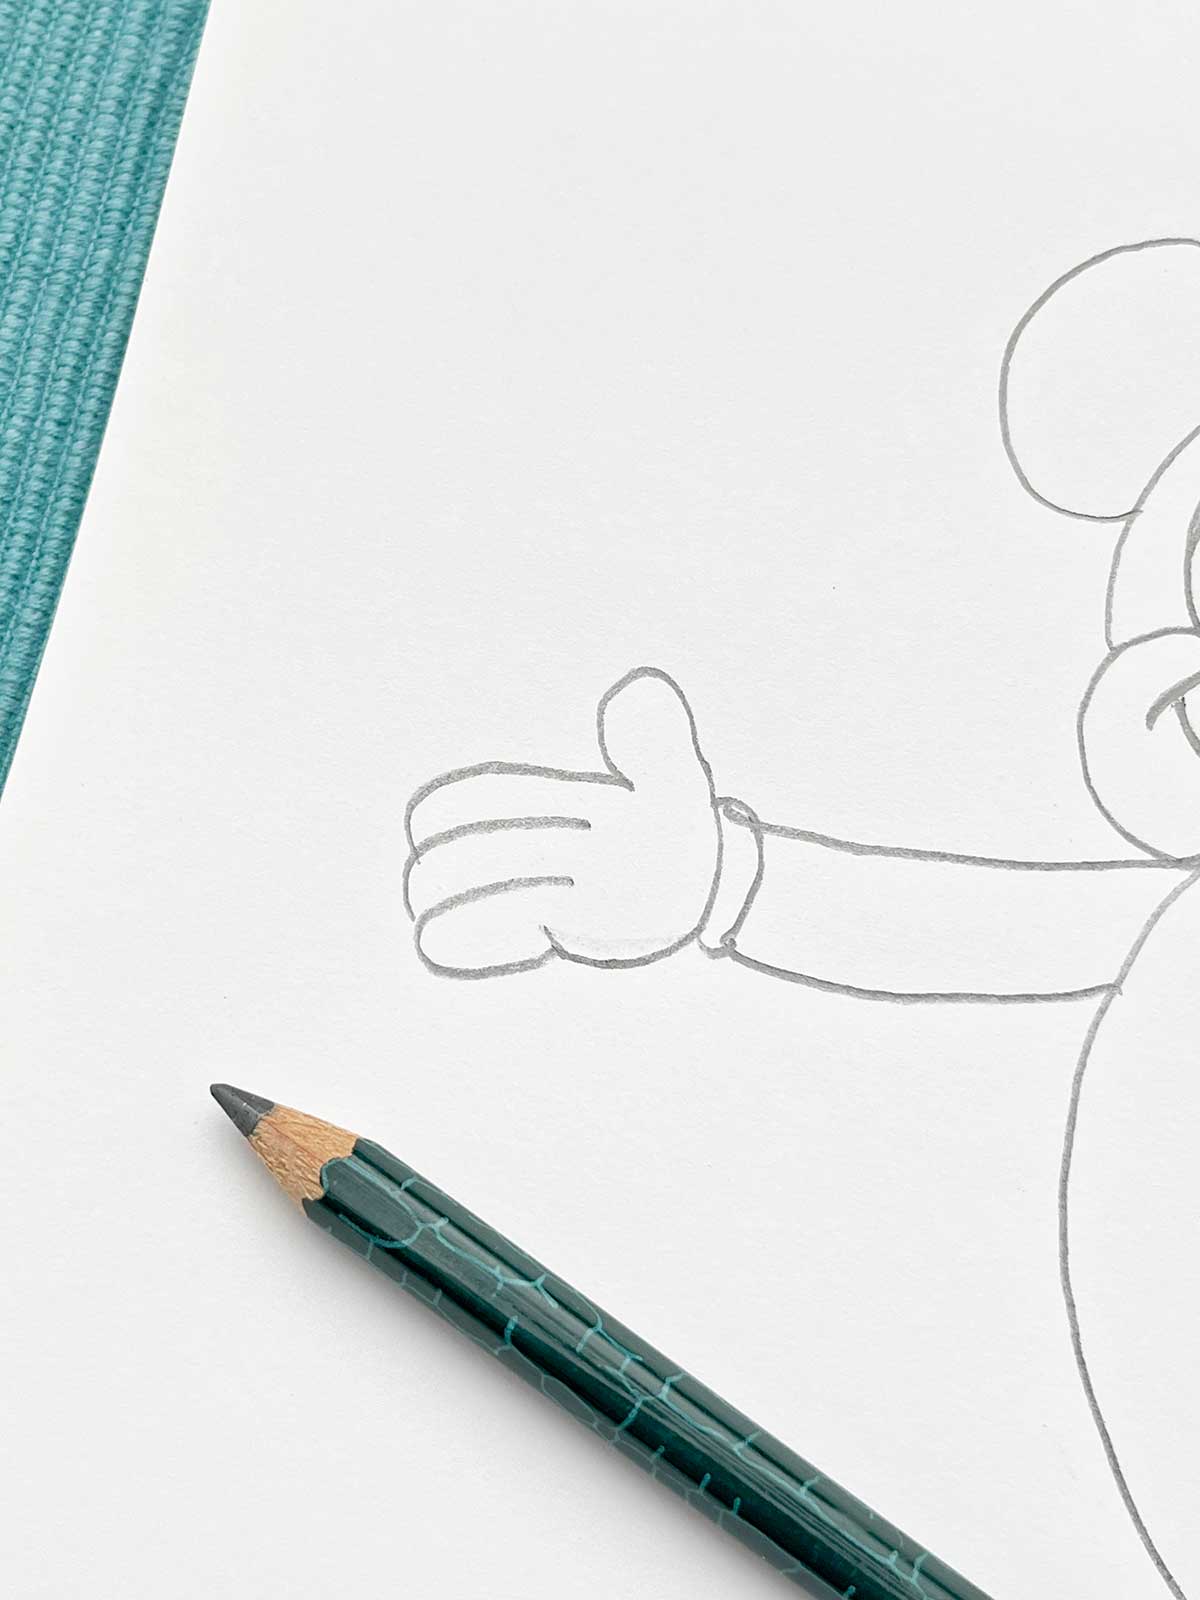
Two parallel lines are drawn out from the top of this line to the left side of the paper that are about half the length of the tummy line (his right arm). Two short and close curved parallel lines go across the end of the arm as a cuff for Mickey’s glove. Close those two lines off on the ends with a short curved line
Then draw the hand with curved lines. See the picture and video to see what these look like. From the top of the cuff, draw a knob upwards as a thumb, then three overlapping curved lines to the left for three fingers. The last finger is a full knob which comes back to the bottom of the cuff.
Mickey’s left arm is done in a similar fashion but is curved instead of straight. Draw two parallel lines to the right from the bottom of the cheek line. This time, bend them back towards the body (like the arm is bending at the elbow).
Draw the cuffs and hand in a similar manner as before. But you’ll see in my drawing the hand is in a fist on Mickey’s hip. So draw curved lines for the thumb and then the three fingers but only bumps compared to the open hand you drew earlier. Notice there are three lines on the back of the glove.
Finish the torso with a line that goes from underneath this arm down to the hand (for his back).
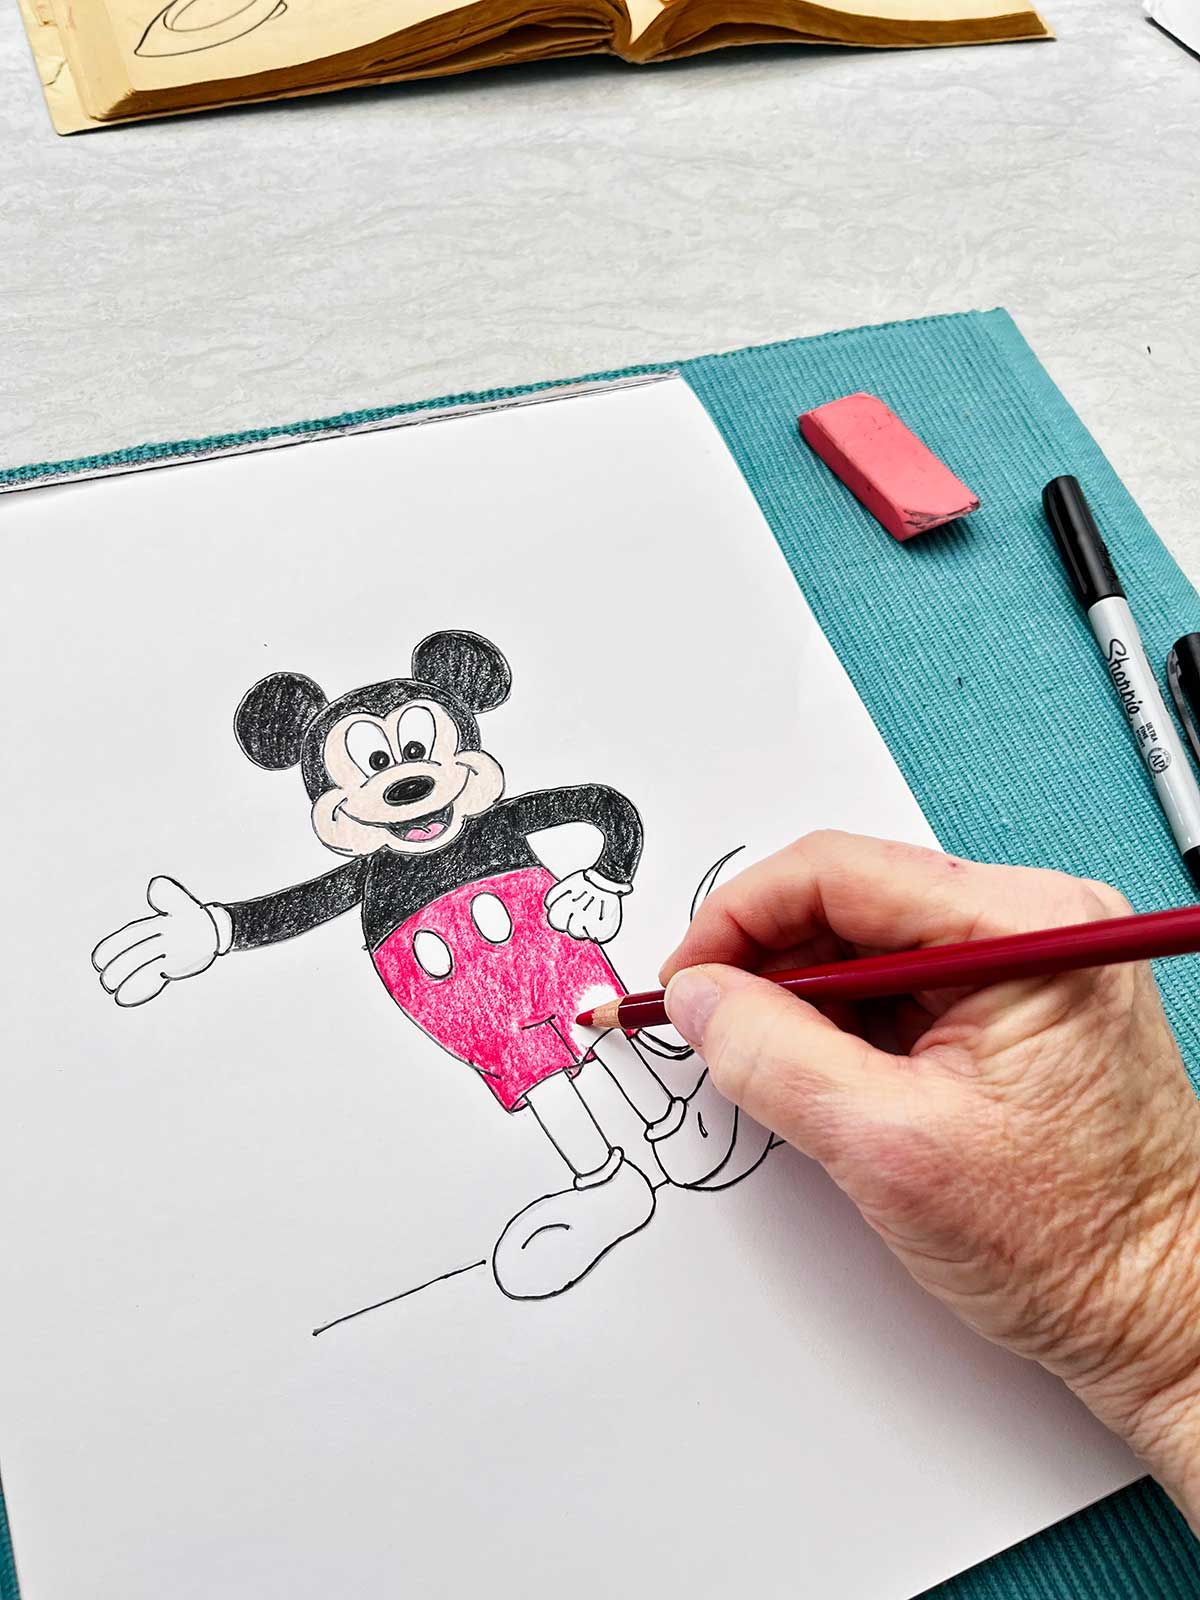
Step 2: Shorts
Draw a slightly upward curving line across MIckey’s tummy for the top of his shorts. Place two ovals below this line for buttons.
The bottom of the shorts are created with two short lines drawn down from either side of Mickey (the stomach line and extending the back line below the left arm).
There is a “T” shaped line in between these two lines for separating the right and left leg of the shorts.
Draw two slightly upward curving lines across the two shorts leg openings. This is where the legs will extend in the nest step.
Step 3: Legs
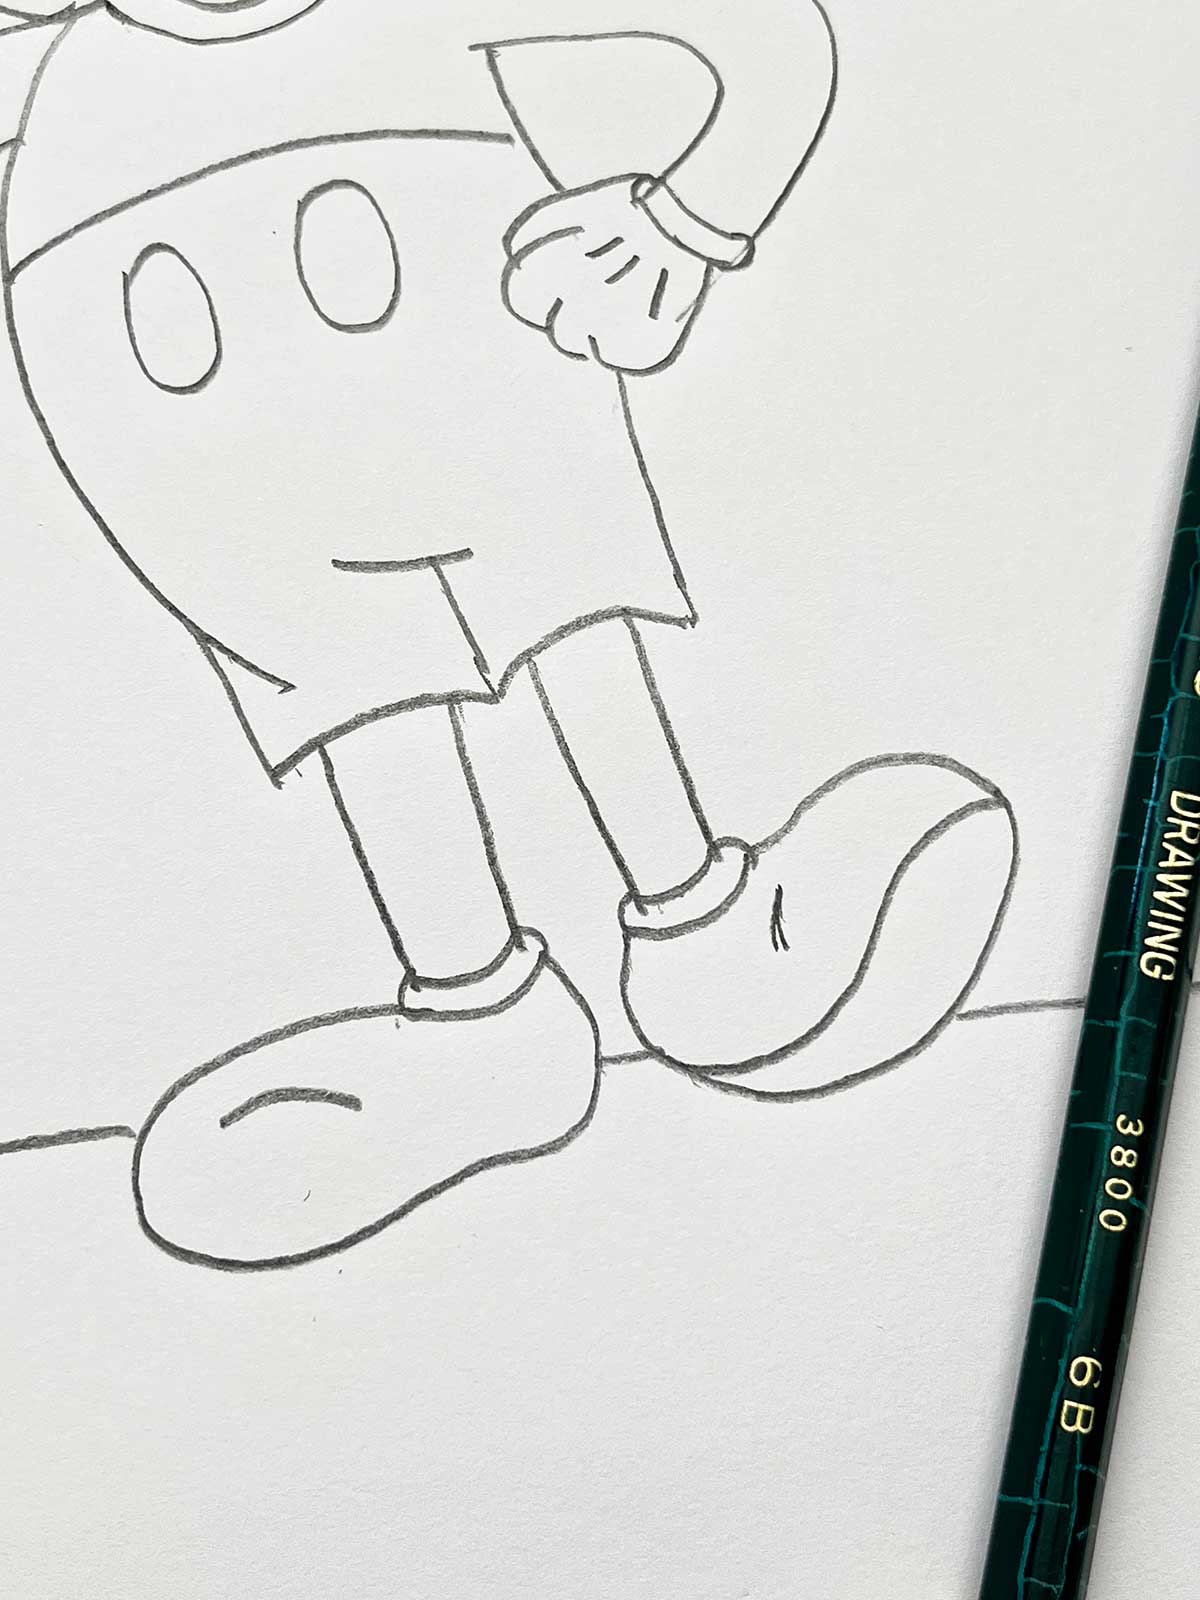
Each leg is drawn with two short parallel lines down from the middle of the shorts leg openings. They are closed at the bottom with two close parallel lines that are the cuff above the shoe. Close those two lines off on the ends with a short curved line.
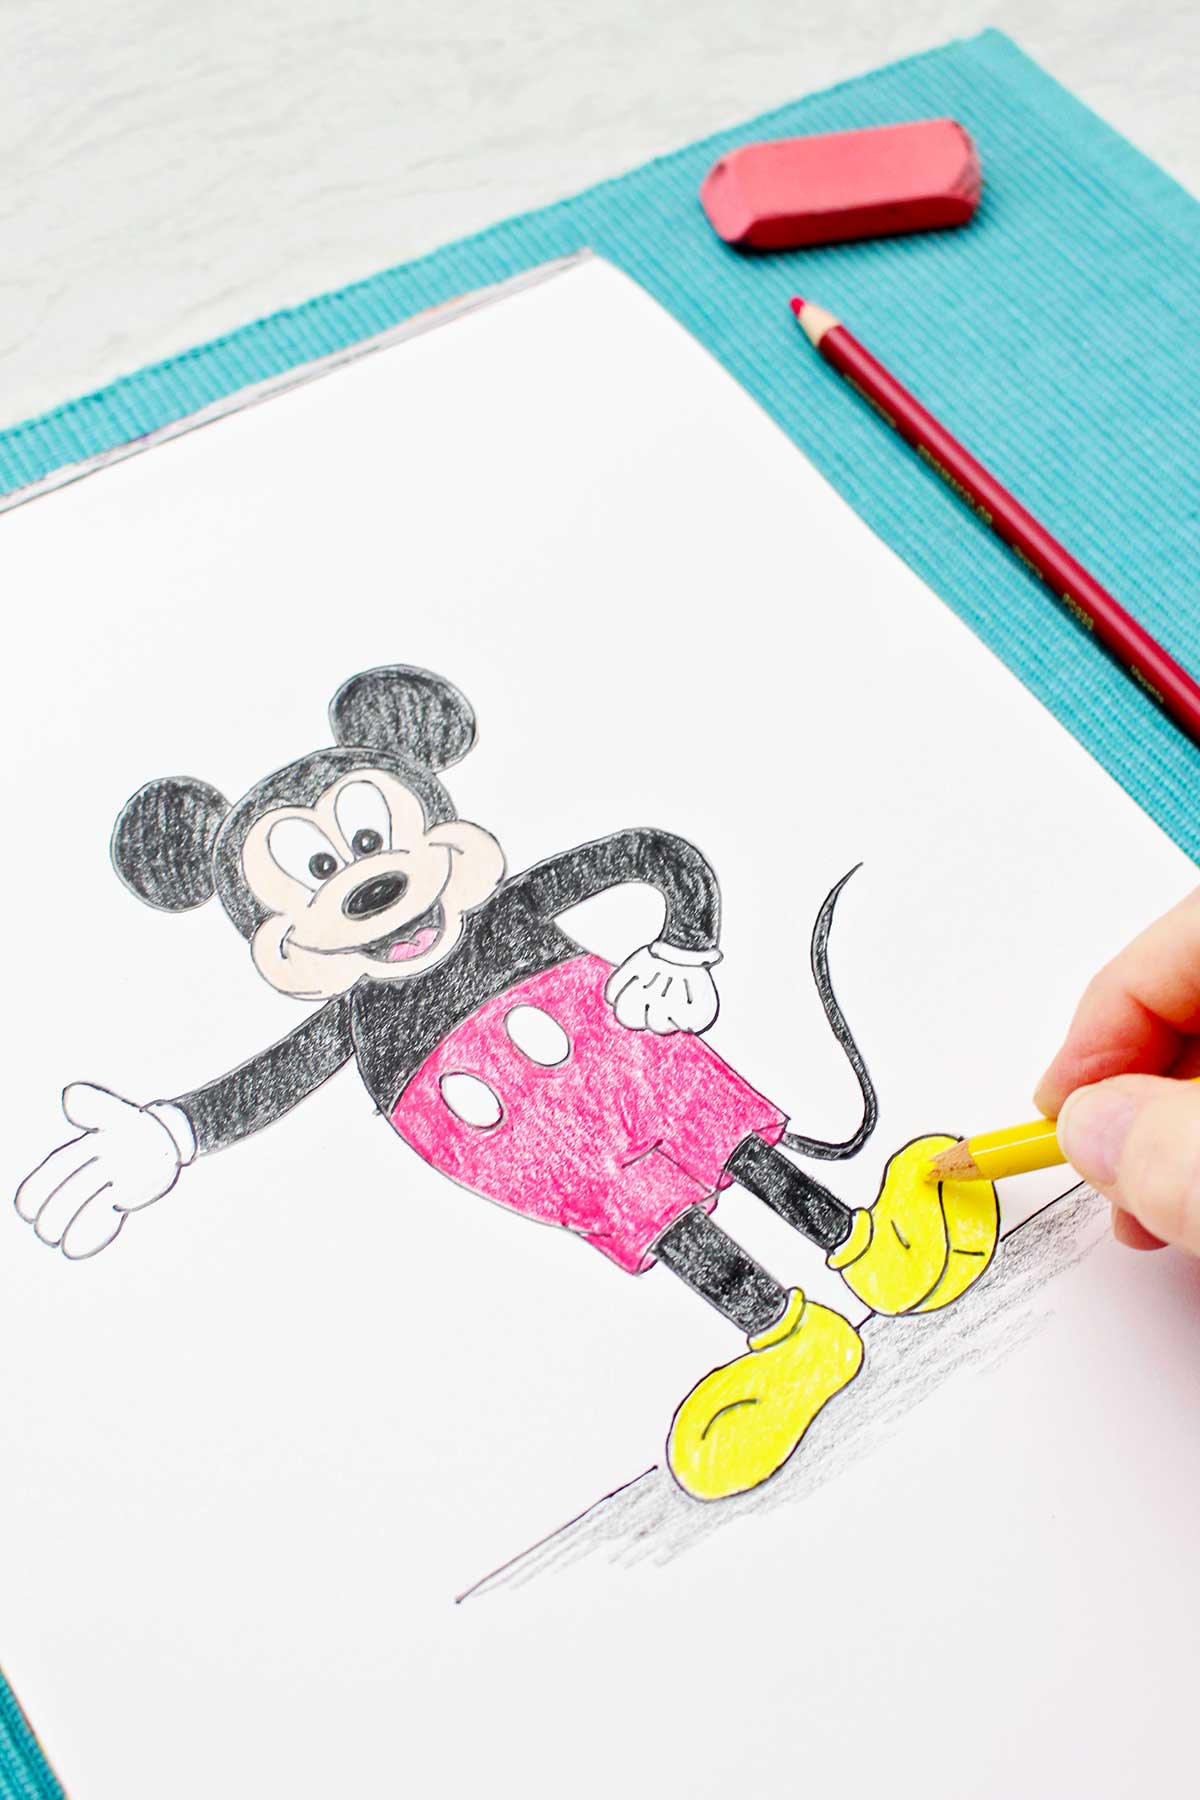
Step 4: Shoes
The shoe on Mickey’s right leg is like a large potato shape, ha! Draw an oval starting at the left side of the cuff and end at the other side of the cuff.
The shoe on the left leg is a bit more complicated. Observe what it looks like in the drawing or video. The edge of the shoe is drawn with a line in a slight “S” shape that starts from the left side of the second leg, goes down and then upwards. From where it stops there is a line that starts there and is slightly curved up, ending at the other side of the cuff.
A second slightly downward curved line is drawn from the heel of this foot to the pointed toe area. That looks like the bottom of his shoe!
You finish with one very short line on each shoe to make it look like the shoe is bent a bit.
Step 5: The "Tail End" of Your Drawing!
Draw little curved lines to complete the back edge of Mickey’s shorts leg openings.
Then draw a long slightly “S” curved line to be the tail coming from the bottom of the shorts leg. A second line will closely parallel the first and make a point at the end where it meets the end of the first line.
I forgot this step on my drawing until I was coloring it, sorry. It got left out of my notes!!
Draw a line across the background for a “floor” to your picture. You’re done drawing!!! Good job! Keep practicing and each time your drawing will look even more like MIckey Mouse. And you can try drawing Mickey in different positions!
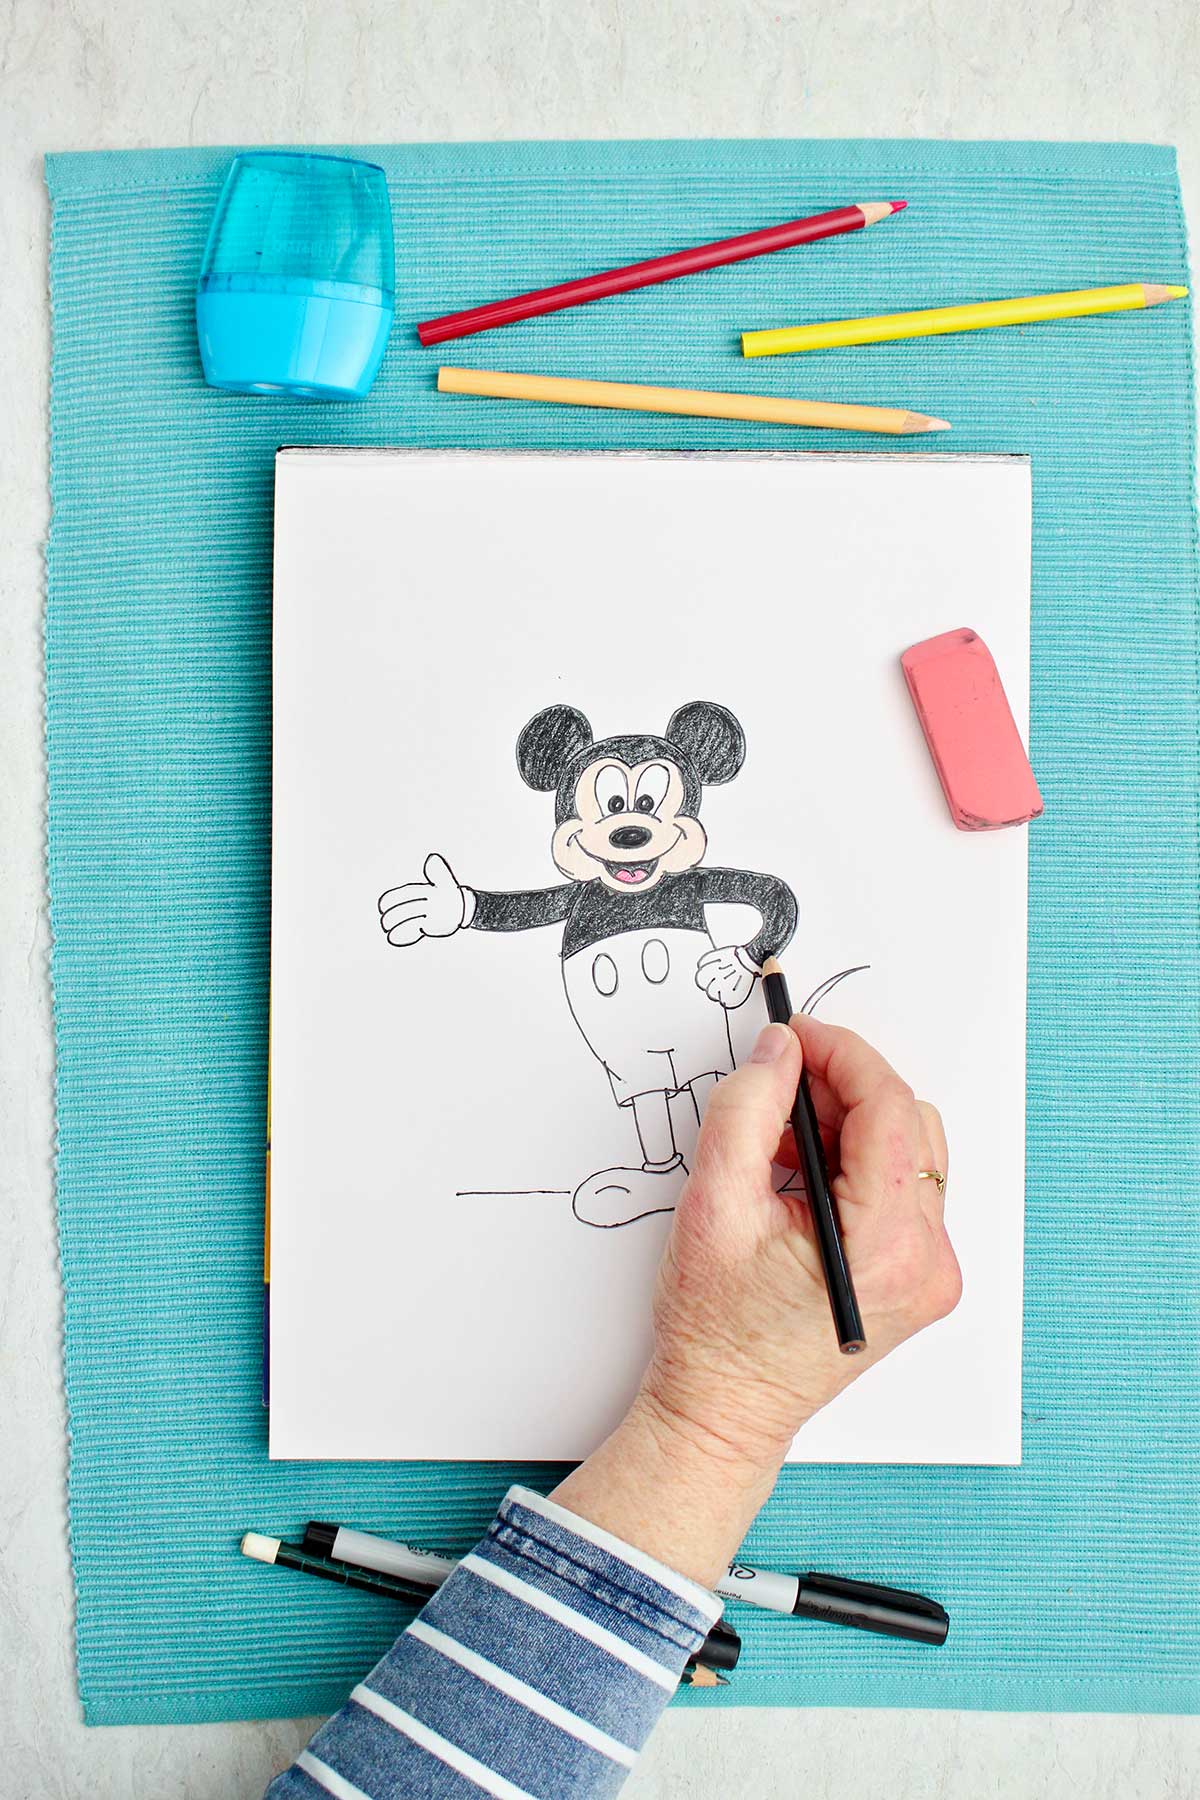
Part C: Outline & Color the Drawing
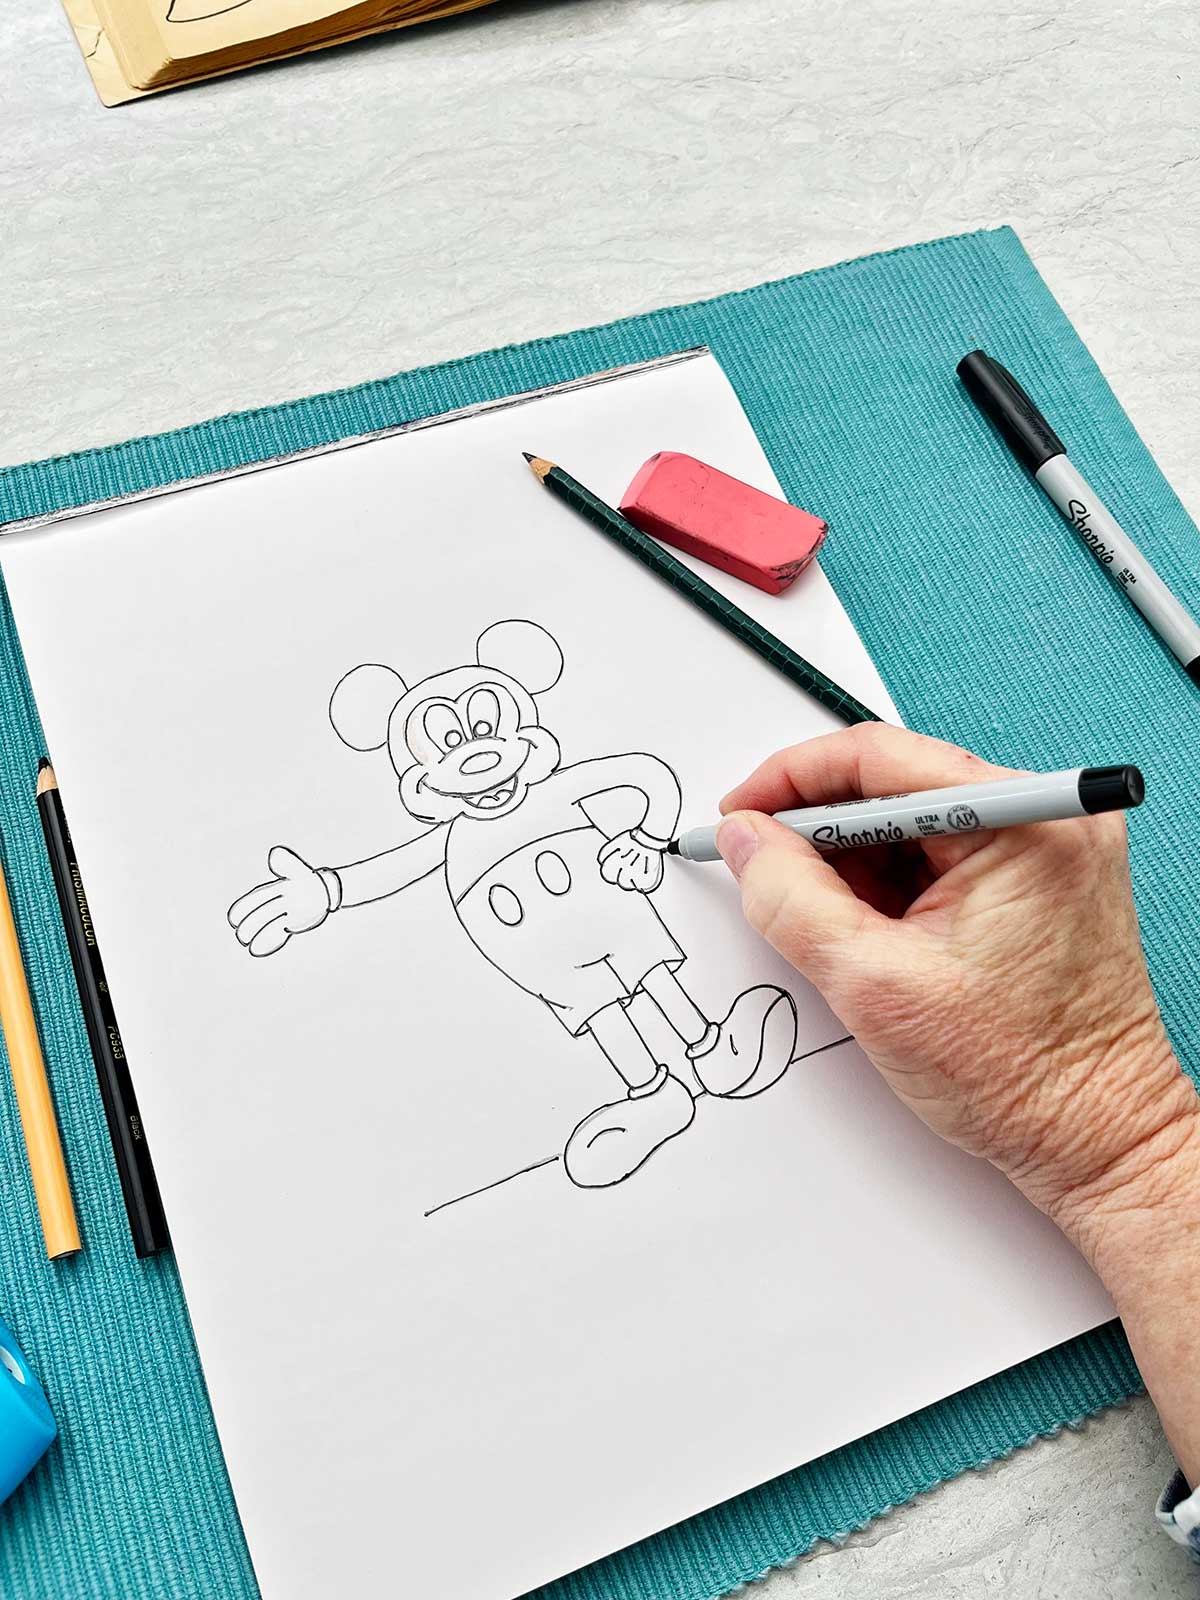
Step 1: Outline and Erase
Go over your final lines with a permanent black fine line marker.
Then gently erase any extra sketch lines.
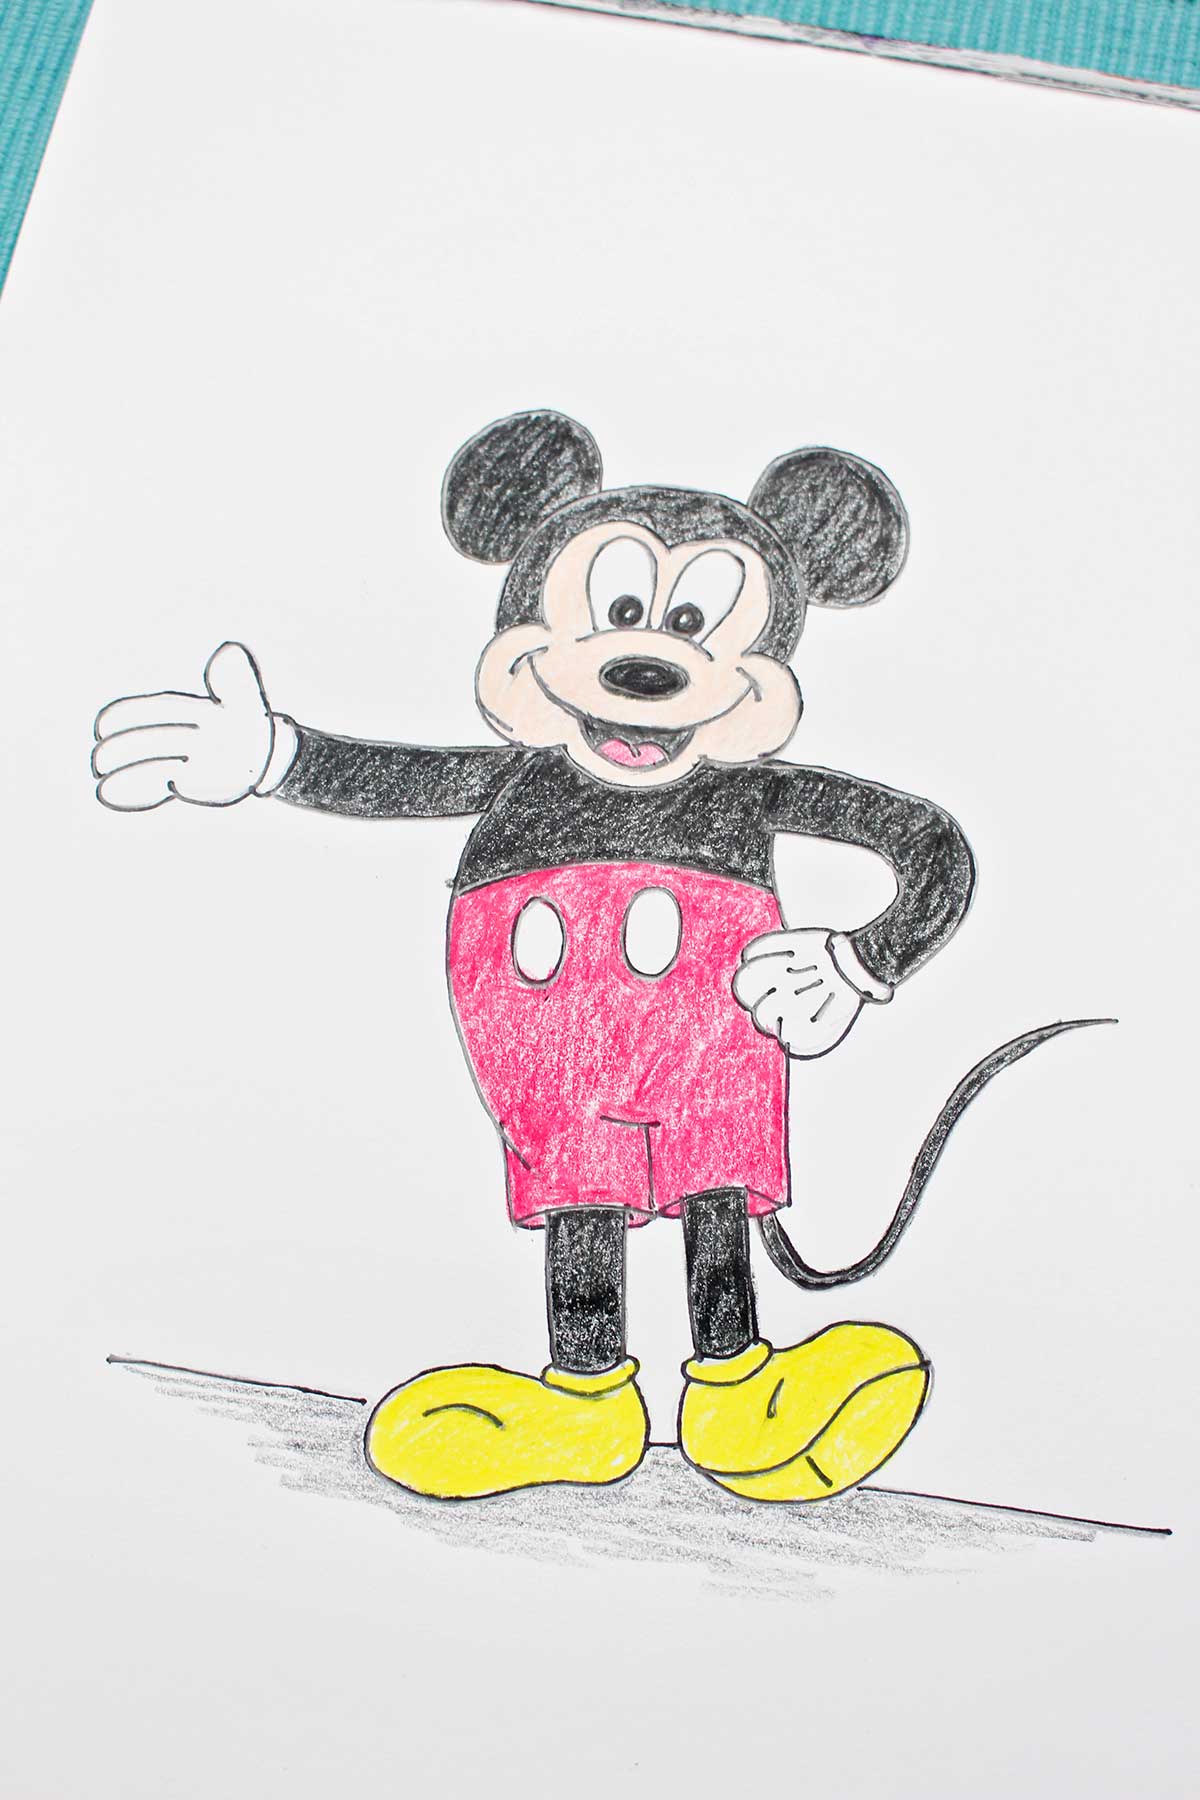
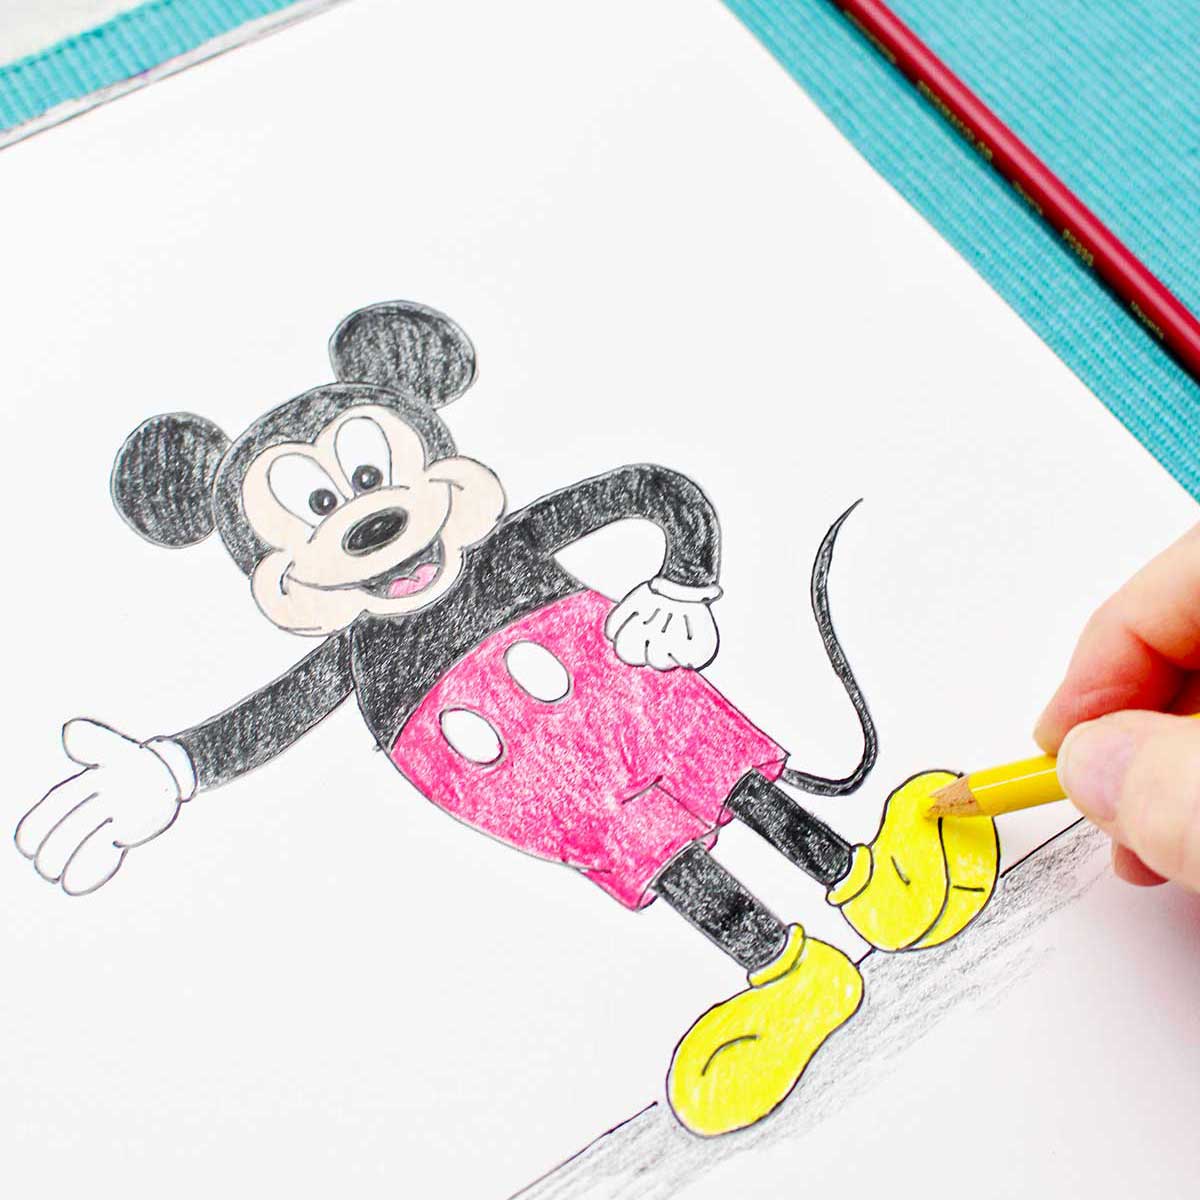
Step 2: Color in Your Drawing of Mickey!
Color your drawing of Mickey in the traditional colors like mine or color any way you would like! Use your choice of crayons, markers, or colored pencils
Happy drawing!
Nana’s Tips for Success
These tips can help make drawing Mickey Mouse even easier!
- Don’t draw heavy, dark lines as you make your sketch, then you can erase more easily
- Use a coin to trace the ear circles if needed
- Turn your paper from side to side to help with curved lines
- Don’t worry about drawing perfectly, have fun! Keep practicing! Every sketch of Mickey will look different. Did you notice that mine is tipping to the side? 🙂
- Use a permanent fine line marker to go over your drawing. This makes the drawing “pop” and doesn’t smear when using water based markers.
Mickey Drawing Variations
Try other ways to decorate, color or paint your picture of Mickey Mouse:
- Change Mickey’s clothing (overalls, scarf, Santa hat, bunny ears, etc.)
- Add a background in your picture (trees, house, castle, stars and moon, etc)
- Paint your picture instead of coloring it
- Make a mini comic strip with Mickey as the star. Get a free comic strip template at this link: DIY Comic Strip Templates
- Draw the pupils of the eyes with different placements to make Mickey “look” in different directions.
- Change his expression to be extra smiley, frowning, surprised, or silly!
- Make the arms in different positions, straight, bent, up high or low.
How to Use Your Mickey Mouse Drawing
There are so many fun ways to use your finished drawing!
- Make a comic strip with a story and a background (find a template at this link).
- Cut it out and tape it to a popsicle stick. Add other characters and create a play.
- Make your drawing on ½ of your paper, fold it in half and make a card
- Put your drawing into a frame
- Give it as a gift
- Add it to a scrapbook or art journal
- Make a whole Mickey-themed art day! Invite your friends.
FAQ
This is perfect for ages 5 and up, but younger kids can join in with a help! With younger kids just draw the face of Mickey Mouse.
Not at all! This is an easy Mickey Mouse drawing made for beginners. It is easiest to just start with Mickey Mouse’s head.
Yes! Just know you won’t be able to erase, so go slow and have fun with it.
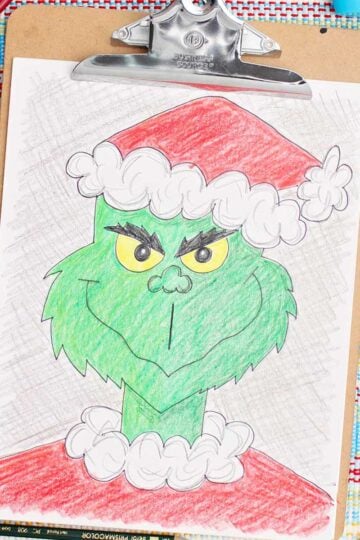
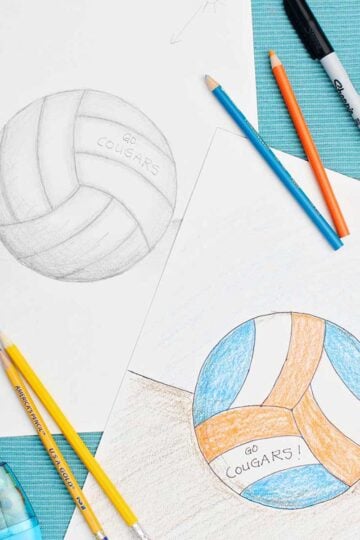
More DIY Drawing Tutorials for Kids
Looking for more great DIY drawing ideas for kids? Here are a few favorites for you to try:


Come Join the Fun at WTN!
If you try this DIY Mickey Mouse drawing, I’d love to hear how it went! Did your kiddos add their own twist to their drawing? I’d love to see it! Tag a photo with #WelcometoNanas wherever you post.
Love getting crafts straight to your inbox? Sign up to receive a weekly email and get a free gift!
Drawing Mickey Mouse
Equipment
- none needed
Items Required
- Pencil A typical #2 pencil is fine, or purchase a set of drawing pencils
- Eraser Use an eraser that doesn’t smudge the lead as it erases
- Paper Drawing paper or copy paper work fine.
- Black permanent marker (optional for outlining) A Sharpie fine line permanent black marker works well.
- Crayons, markers, or colored pencils (optional for coloring the drawing) Use your choice of crayons, markers, or colored pencils for coloring in the drawing.
Instructions
Part A- Steps for drawing Mickey's head
Draw the Nose, Eyes
Using a pencil, start with a side to side oval shape on your paper for Mickey’s nose. Add a curved line over the top (bridge of the nose). On top of this line draw two arched eye outlines then draw a circle (pupil) inside each one towards the bottom.Add a smile
Draw a large curved smile line under the nose with a small line on either end as the end of the smile. Under this is a small curved line as the bottom of the mouth. Add a tongue as shown in the picture (two “hill” lines side by side.) It already looks like Mickey Mouse doesn’t it? Such personality in a simple face drawing!Finish the face
Draw what looks like the top half of a heart over the two eyes. It follows the shape of the eyes and will stop close to the side of the eyes.Draw a scooped line under the smile for a chin. Then draw two rounded cheek lines (one on each side of the face) that connect the top of the heart shape and the chin. This creates Mickey’s lighter face area.Complete the head
Place an arched line (rainbow like) over the eyes area of the face as the top of the head, also stopping at the bottom edge of the eye, stopping on the rounded cheek lines.Add the Ears
Draw two large circles on top of the head for ears- one slightly to the right and one slightly to the left. The circles may not be exactly circular or exactly the same size. That’s OK, do the best that you can.This is a great place to stop and jump to Part C with younger kids. If you want to draw Mickey's body as well, keep going to Part B!
Part B: Sketch Mickey’s body
Torso and arms
Draw a line from below Mickey’s right cheek curved out and down which about the same length as the head and ears are high (front of tummy). Two parallel lines are drawn out from the top of this line to the left side of the paper that are about half the length of the tummy line (his right arm). Two short and close curved parallel lines go across the end of the arm as a cuff for Mickey’s glove. Close those two lines off on the ends with a short curved lineThen draw the hand with curved lines. See the picture and video to see what these look like. From the top of the cuff, draw a knob upwards as a thumb, then three overlapping curved lines to the left for three fingers. The last finger is a full knob which comes back to the bottom of the cuff. Mickey’s left arm is done in a similar fashion but is curved instead of straight. Draw two parallel lines to the right from the bottom of the cheek line. This time, bend them back towards the body (like the arm is bending at the elbow). Draw the cuffs and hand in a similar manner as before. But you’ll see in my drawing the hand is in a fist on Mickey’s hip. So draw curved lines for the thumb and then the three fingers but only bumps compared to the open hand you drew earlier. Notice there are three lines on the back of the glove. Finish the torso with a line that goes from underneath this arm down to the hand (for his back).Shorts
Draw a slightly upward curving line across MIckey’s tummy for the top of his shorts. Place two ovals below this line for buttons.The bottom of the shorts are created with two short lines drawn down from either side of Mickey (the stomach line and extending the back line below the left arm). There is a “T” shaped line in between these two lines for separating the right and left leg of the shorts. Draw two slightly upward curving lines across the two shorts leg openings. This is where the legs will extend in the nest step.Legs
Each leg is drawn with two short parallel lines down from the middle of the shorts leg openings. They are closed at the bottom with two close parallel lines that are the cuff above the shoe. Close those two lines off on the ends with a short curved line.Shoes
The shoe on Mickey’s right leg is like a large potato shape, ha! Draw an oval starting at the left side of the cuff and end at the other side of the cuff. The shoe on the left leg is a bit more complicated. Observe what it looks like in the drawing or video. The edge of the shoe is drawn with a line in a slight “S” shape that starts from the left side of the second leg, goes down and then upwards. From where it stops there is a line that starts there and is slightly curved up, ending at the other side of the cuff.A second slightly downward curved line is drawn from the heel of this foot to the pointed toe area. That looks like the bottom of his shoe!You finish with one very short line on each shoe to make it look like the shoe is bent a bit.The "Tail End" of Your Drawing!
Draw little curved lines to complete the back edge of Mickey’s shorts leg openings.Then draw a long slightly “S” curved line to be the tail coming from the bottom of the shorts leg. A second line will closely parallel the first and make a point at the end where it meets the end of the first line.I forgot this step on my drawing until I was coloring it, sorry. It got left out of my notes!!Draw a line across the background for a “floor” to your picture. You’re done drawing!!! Good job! Keep practicing and each time your drawing will look even more like MIckey Mouse. And you can try drawing Mickey in different positions!
Part C: Outline & Color the Drawing
Outline and Erase
Go over your final lines with a permanent black fine line marker. Then gentlyerase any extra sketch lines.Color in Your Drawing of Mickey!
Color your drawing of Mickey in the traditional colors like mine or color any way you would like! Use your choice of crayons, markers, or colored pencils
Leave a Reply