
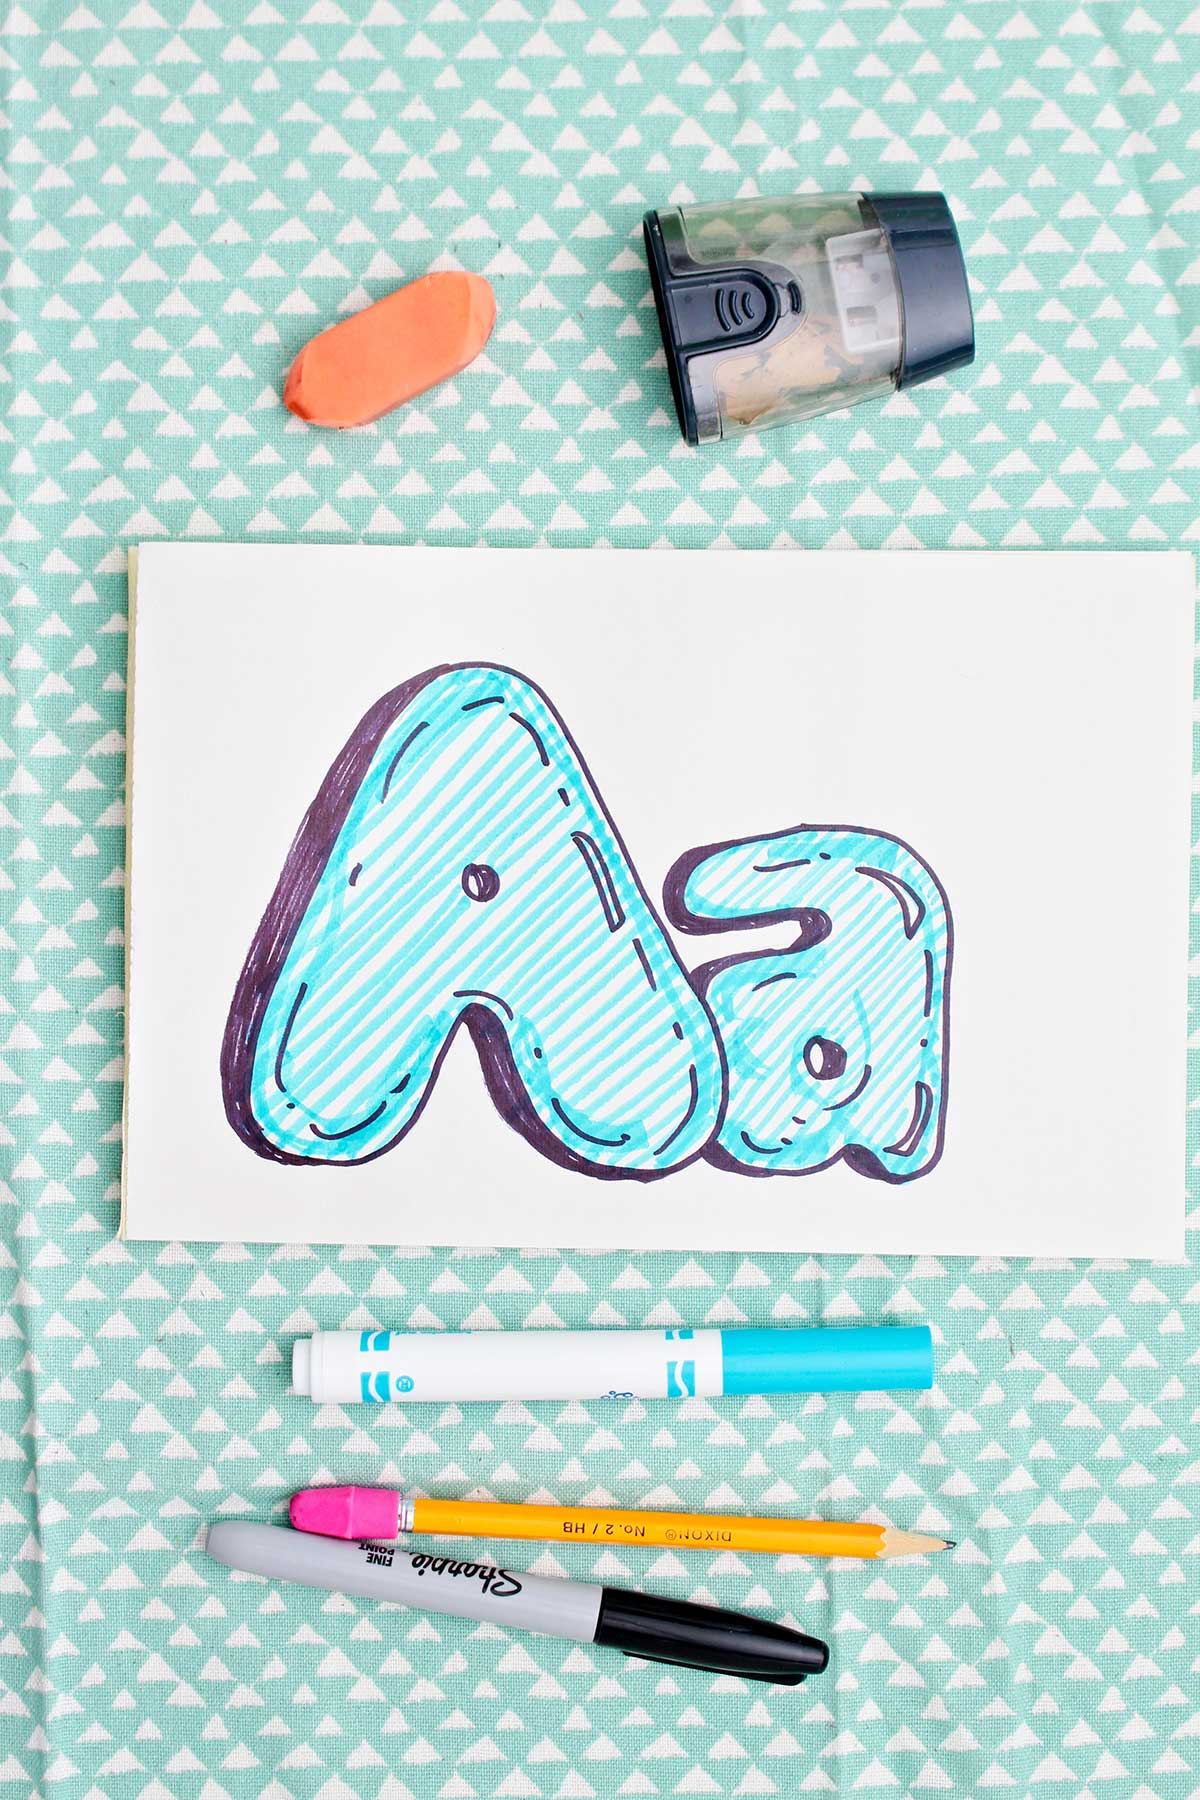
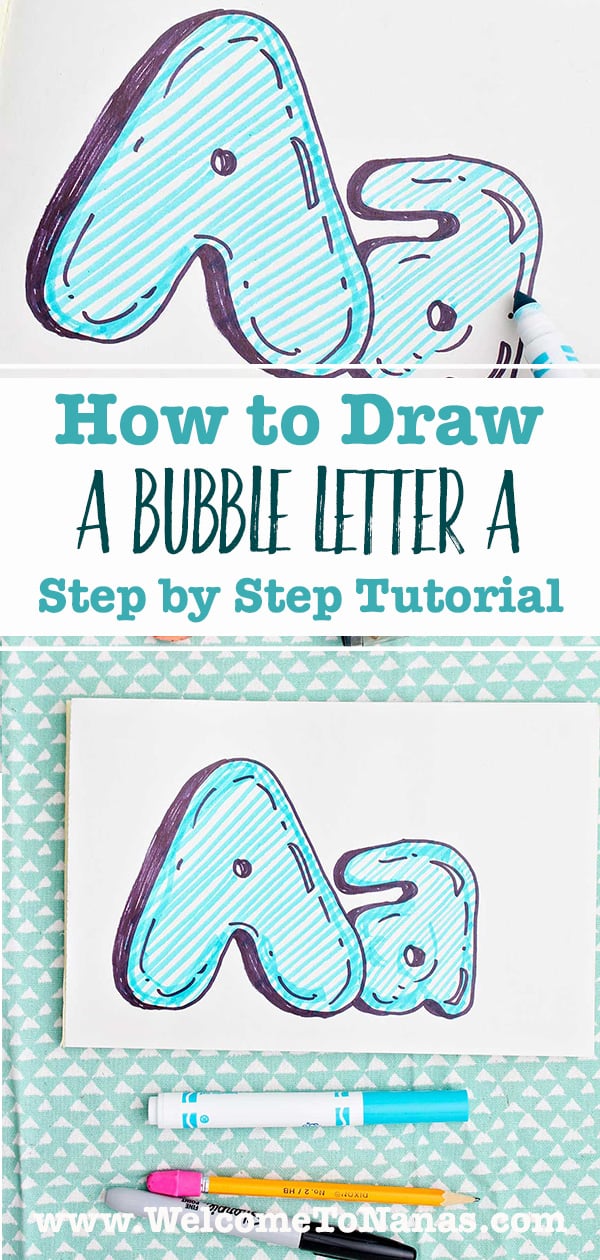
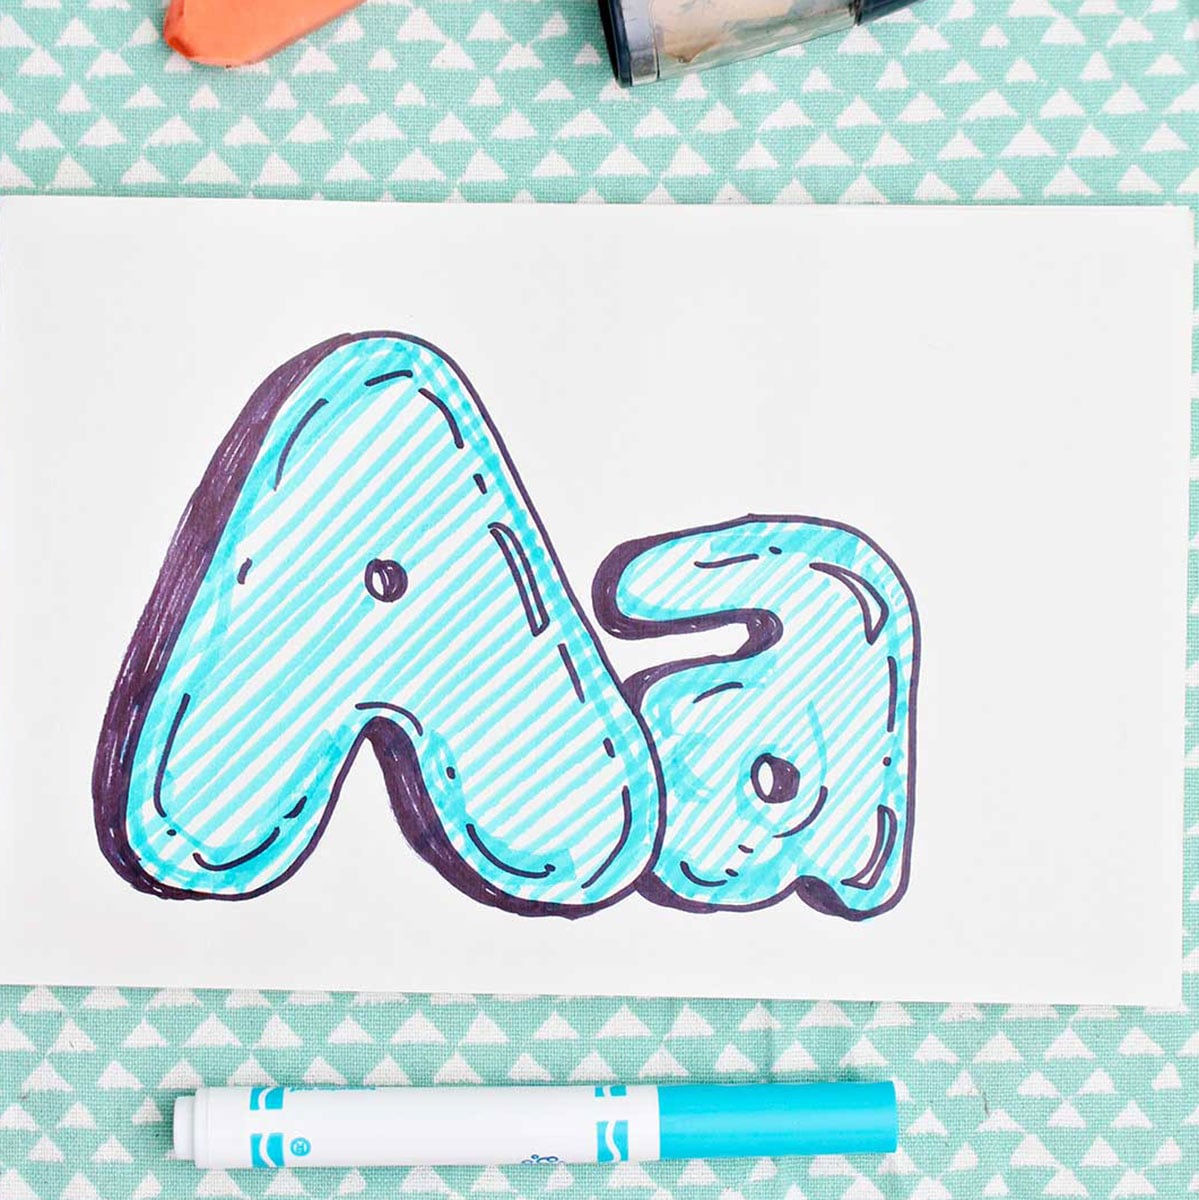
Learn how to draw a Bubble Letter A with this step-by-step tutorial from Nana! This easy drawing idea is perfect for kids, beginners, teachers, and homeschool projects.
Jump to:
- How to Draw Letter A in Bubble Letters
- Fun Bubble Lettering for Kids: Easy Bubble Letter A
- Supplies for the Bubble Letter A Tutorial
- A Bubble Letter A Step by Step
- How about a Nana Challenge on Bubble Letters A?
- Craft Tips for How to Draw Letter A in Bubble Letters
- Craft Variations- Drawing Bubble Letters for Kids
- Bubble Letters for Beginners FAQ
- More DIY Lettering Crafts for Kids
- Come join the fun at WTN!
- More Crafts Please!
- How to Draw a Bubble Letter A: Easy Step-by-Step Drawing Tutorial
How to Draw Letter A in Bubble Letters
Welcome to our Bubble Letter Alphabet series where you'll easily learn how to create bubble letters one letter at a time.
Today's lesson is an A in amazing bubble letters, we're starting at the very beginning. But before long you'll be able to draw the entire alphabet from memory.
Over the years I've used bubble lettering literally hundreds and hundreds of times adding a fun and light look to whatever needs lettering. It's my favorite lettering style and I think that will be true for you too!
Fun Bubble Lettering for Kids: Easy Bubble Letter A
The letter A is often the first letter children learn to recognize- it helps to be the first letter of the alphabet, right? I've always loved watching kids proudly draw their letters. usually starting with that giant tent shaped letter A.
Whether you're making classroom posters, birthday banners, handmade cards, or just doodling for fun, the bubble lettering you are learning will bump them up to the next level. Your message will almost float off the page!
Supplies for the Bubble Letter A Tutorial
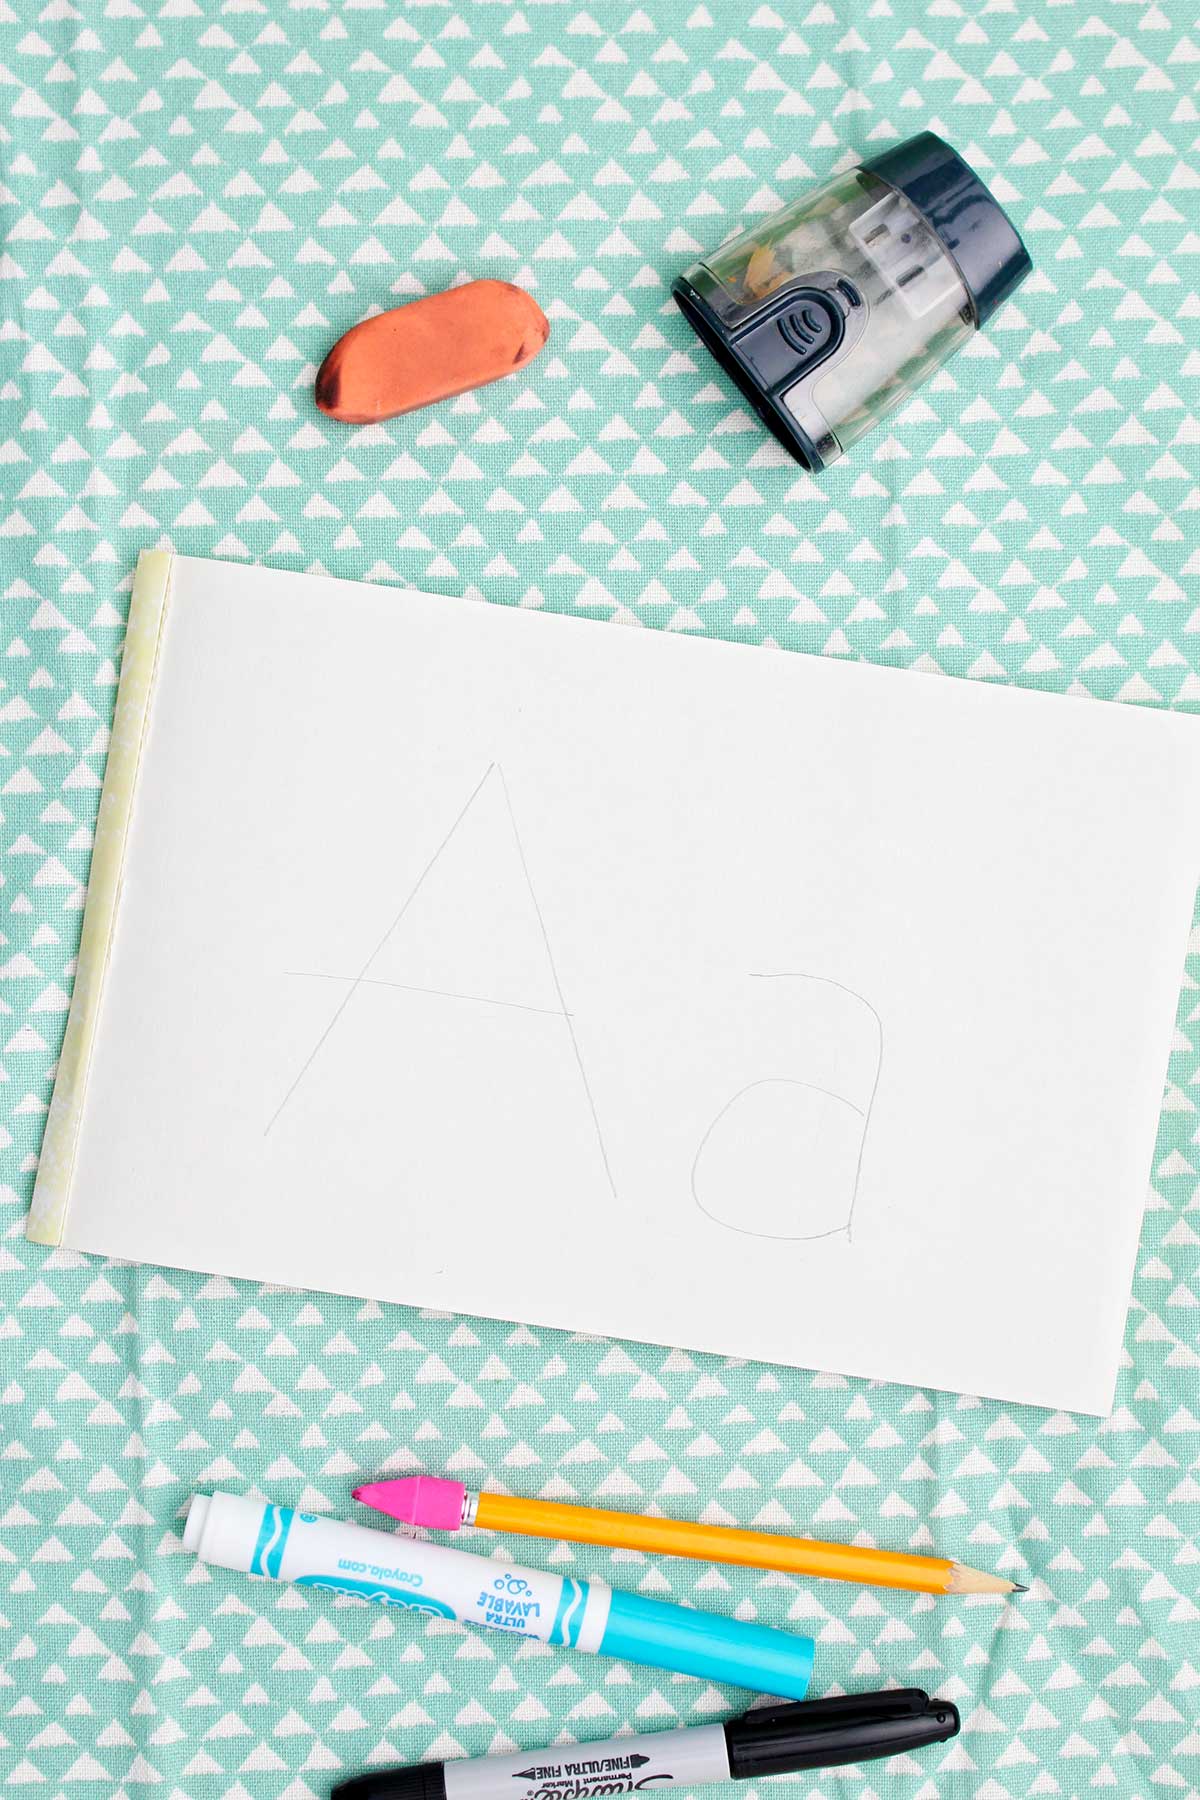
You don’t need much to bring these cute bubble letters to life!
One of my favorite things about learning bubble letters is that you probably already have everything you need.
- Drawing paper
- Pencil
- Eraser
- Black permanent marker (optional)
- Colored pencils, crayons, or markers (optional)
- Ruler (optional)
Equipment-
- Clip board (optional)- to use under paper if desired
A Bubble Letter A Step by Step
- Draw a light pencil line across the paper where you would like the bubble letters to “sit” on the page. This will be used as an approximate bottom edge of the letters. Draw lightly so you can erase easily later. Leave enough space above the line to make the letter as tall as you want it to be. The letter will “bubble” below the line some too. I promise this will make sense soon (watching the video really helps- here's the link to the video: How to Draw a Bubble Letter A For Beginners)
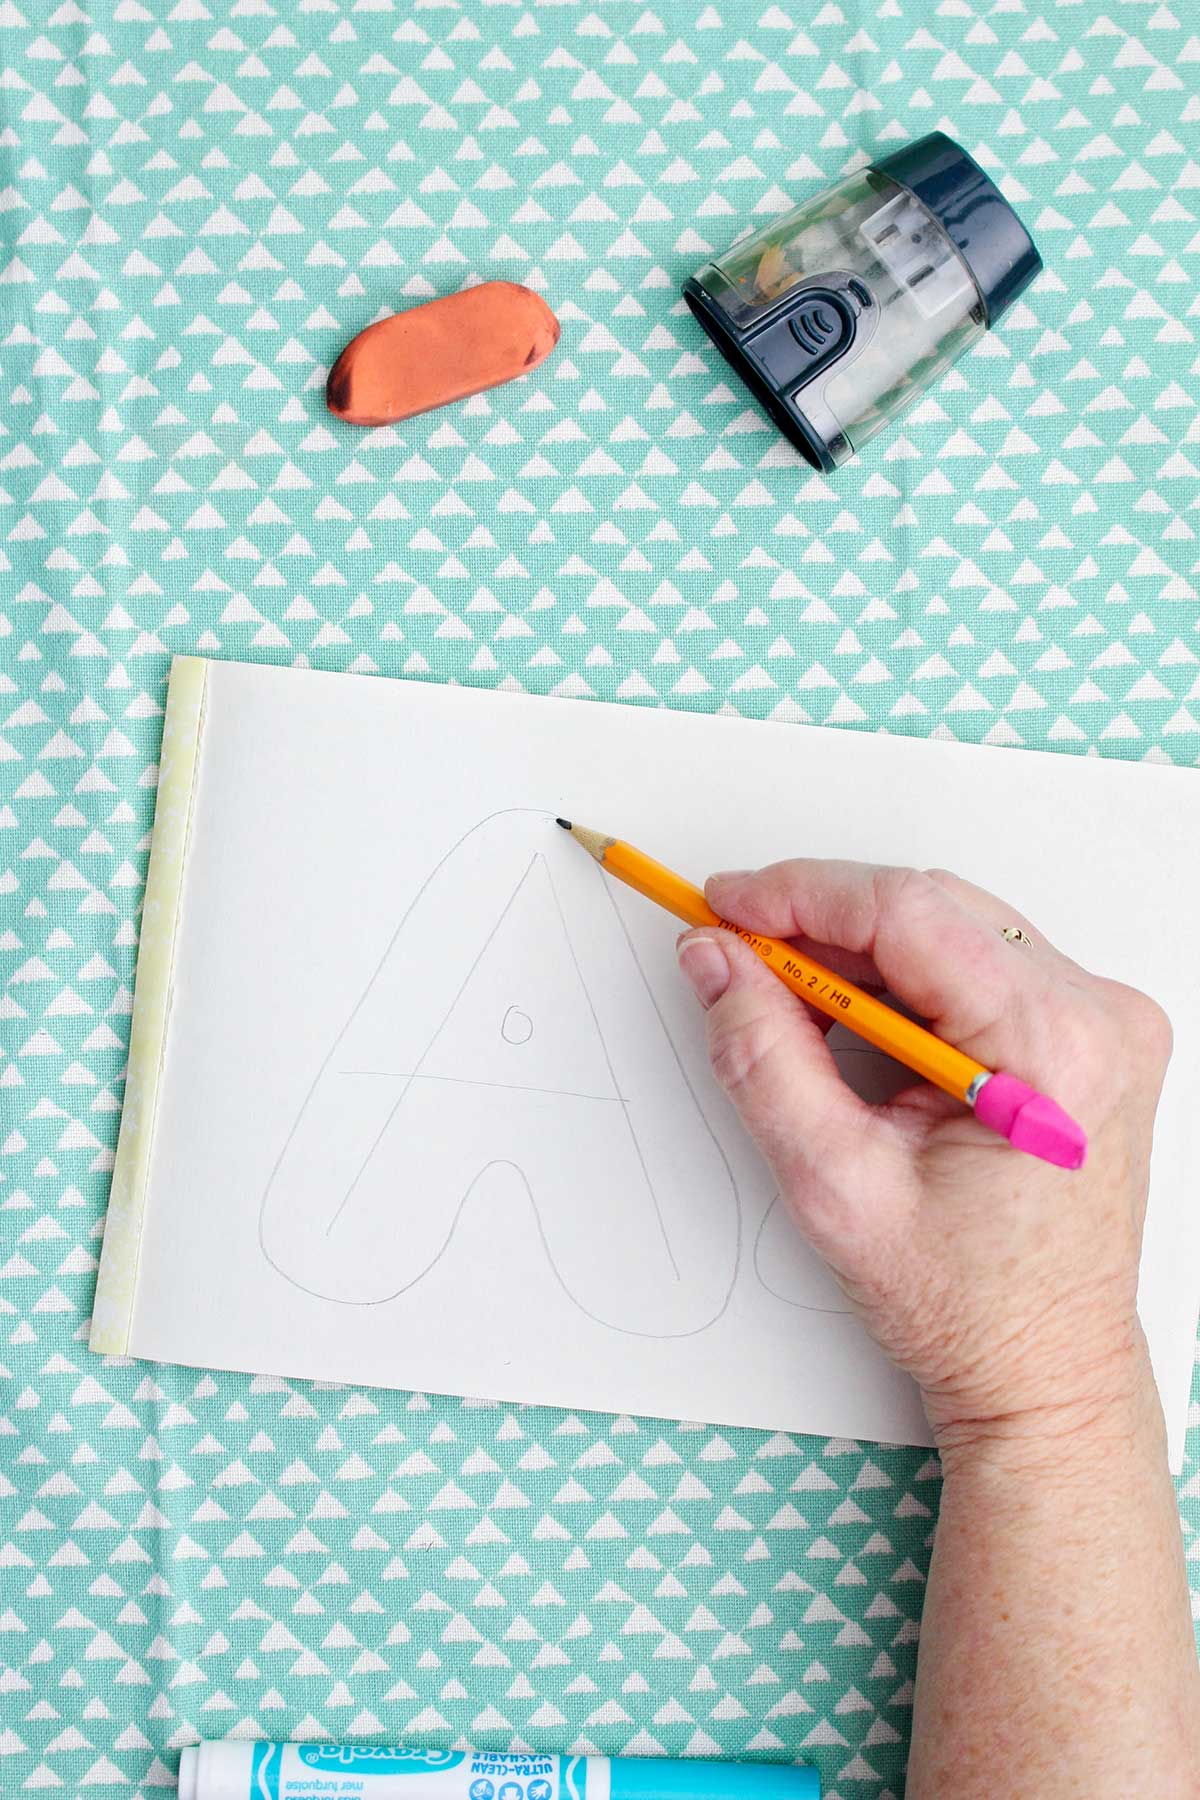
- Lightly draw a simple capital letter A as tall and wide as you want. With some space between, draw a lowercase letter A. This is your framework, like a skeleton for what comes next. Let’s try making both into bubble letters!
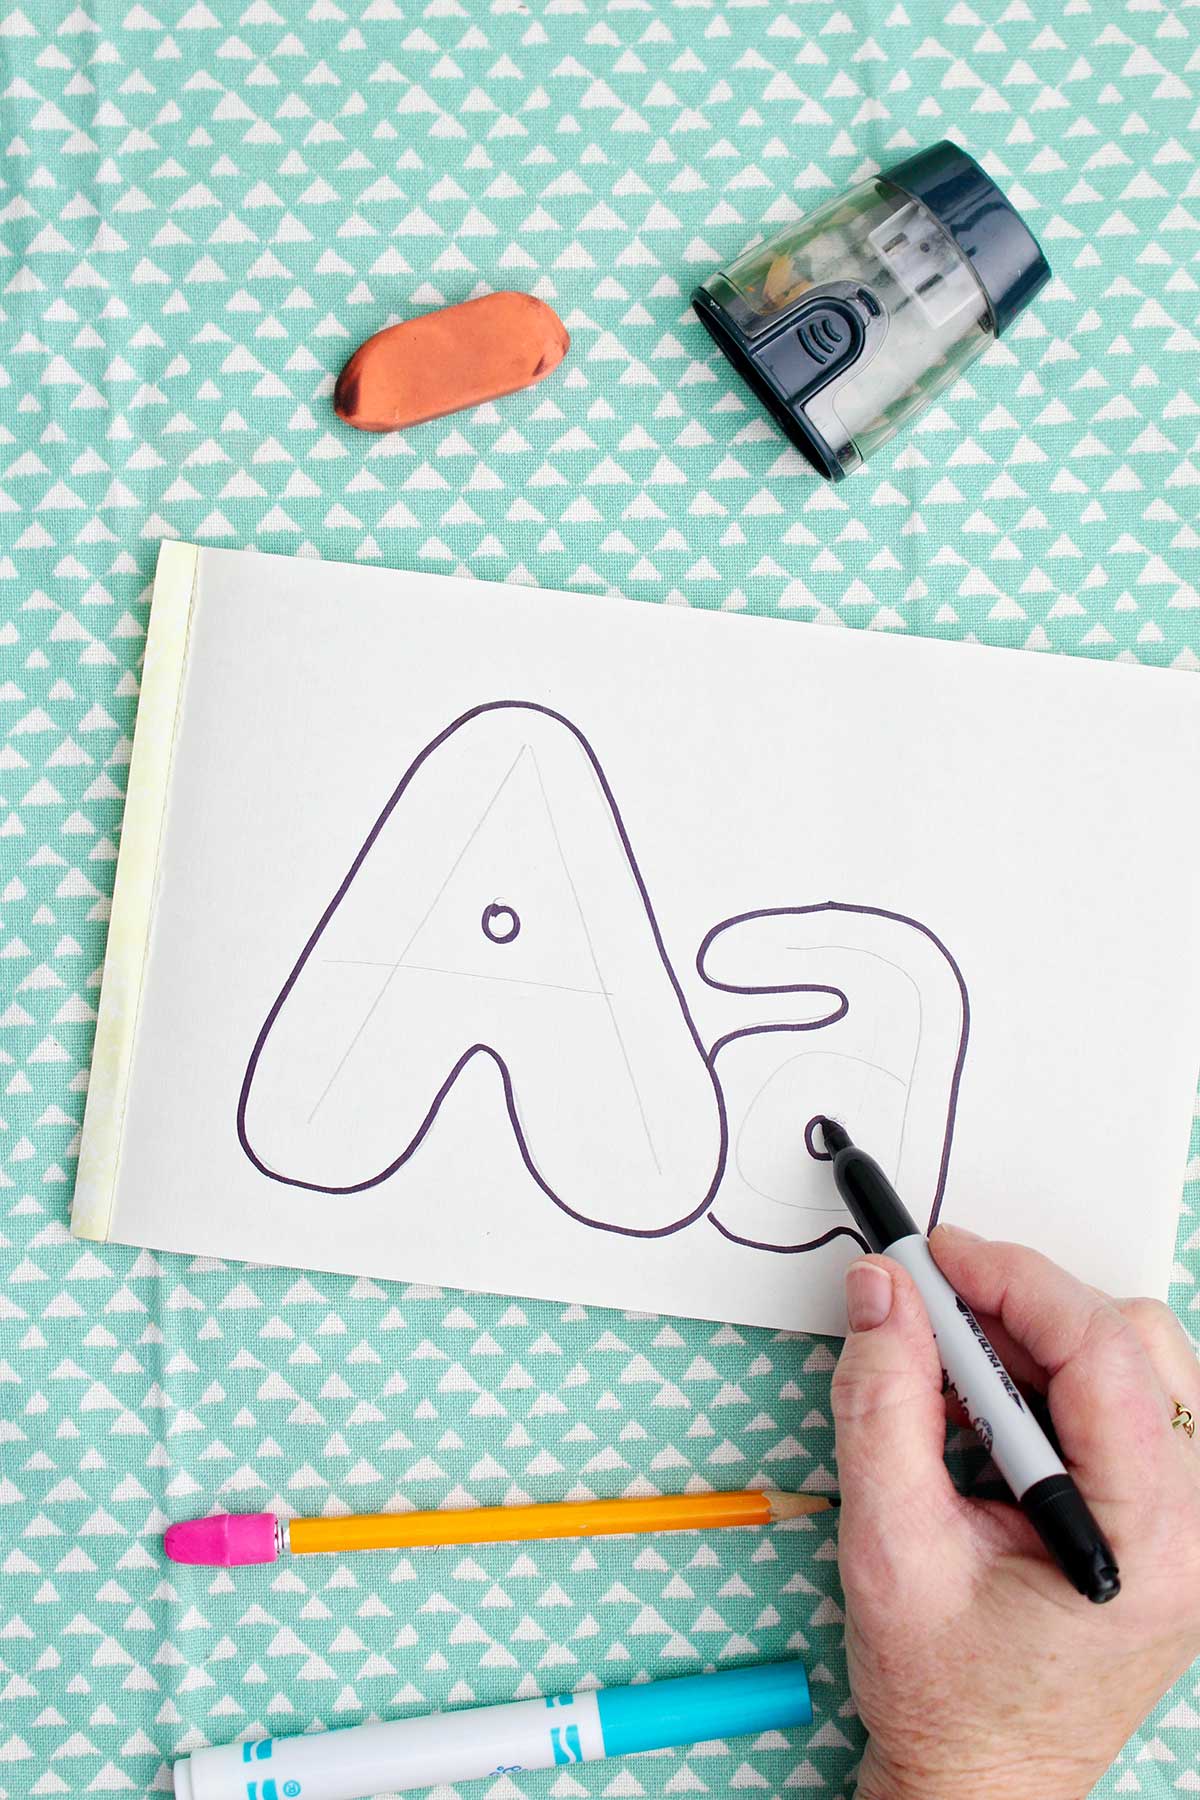
- This step is fun. Start by putting your pencil outside the letter A you drew, about ½ inch away. You can start anywhere you want because…well, because we are going to encase the letter in a BUBBLE!! With your pencil down go around the entire letter at about the same distance away as you started. The capital “A” has a pointed top, legs, and squared edges. Your bubble will be curved around the point, legs, and square edges to make it rounded. Don’t make any square edges.
- Go back and make small “bubbles” inside any center holes that the letter has, making it rounded even if the hole in the A is a triangle.
- Repeat this process for the lower case “a”. If, when drawing around the second letter you “run into” the first letter line, just lift your pencil up and skip over that part of the first letter. Put the pencil down again when past the first letter and finish the second letter. This makes it look as if the letters overlap and the second is slightly behind the first.
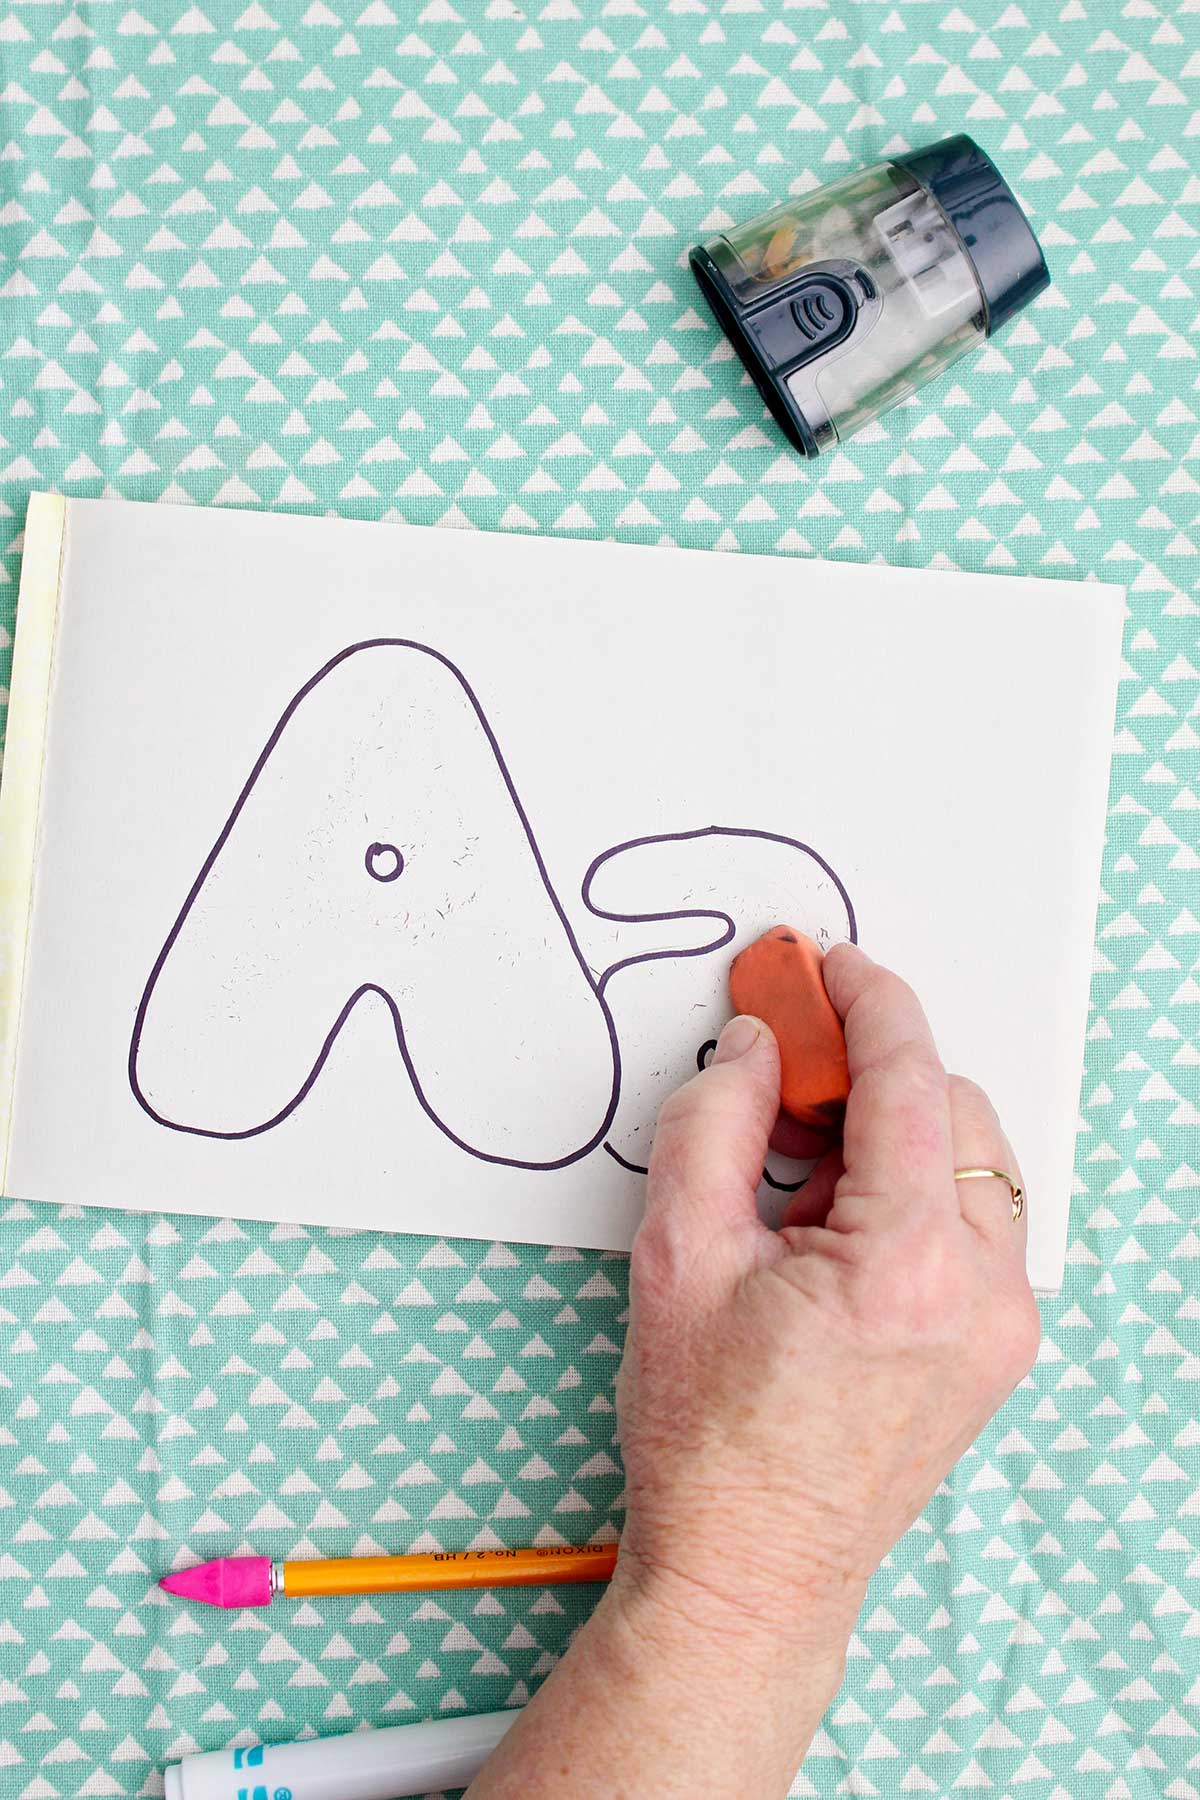
- Erase the original framework letter you drew as a skeleton. What do you think? Isn’t this fun???
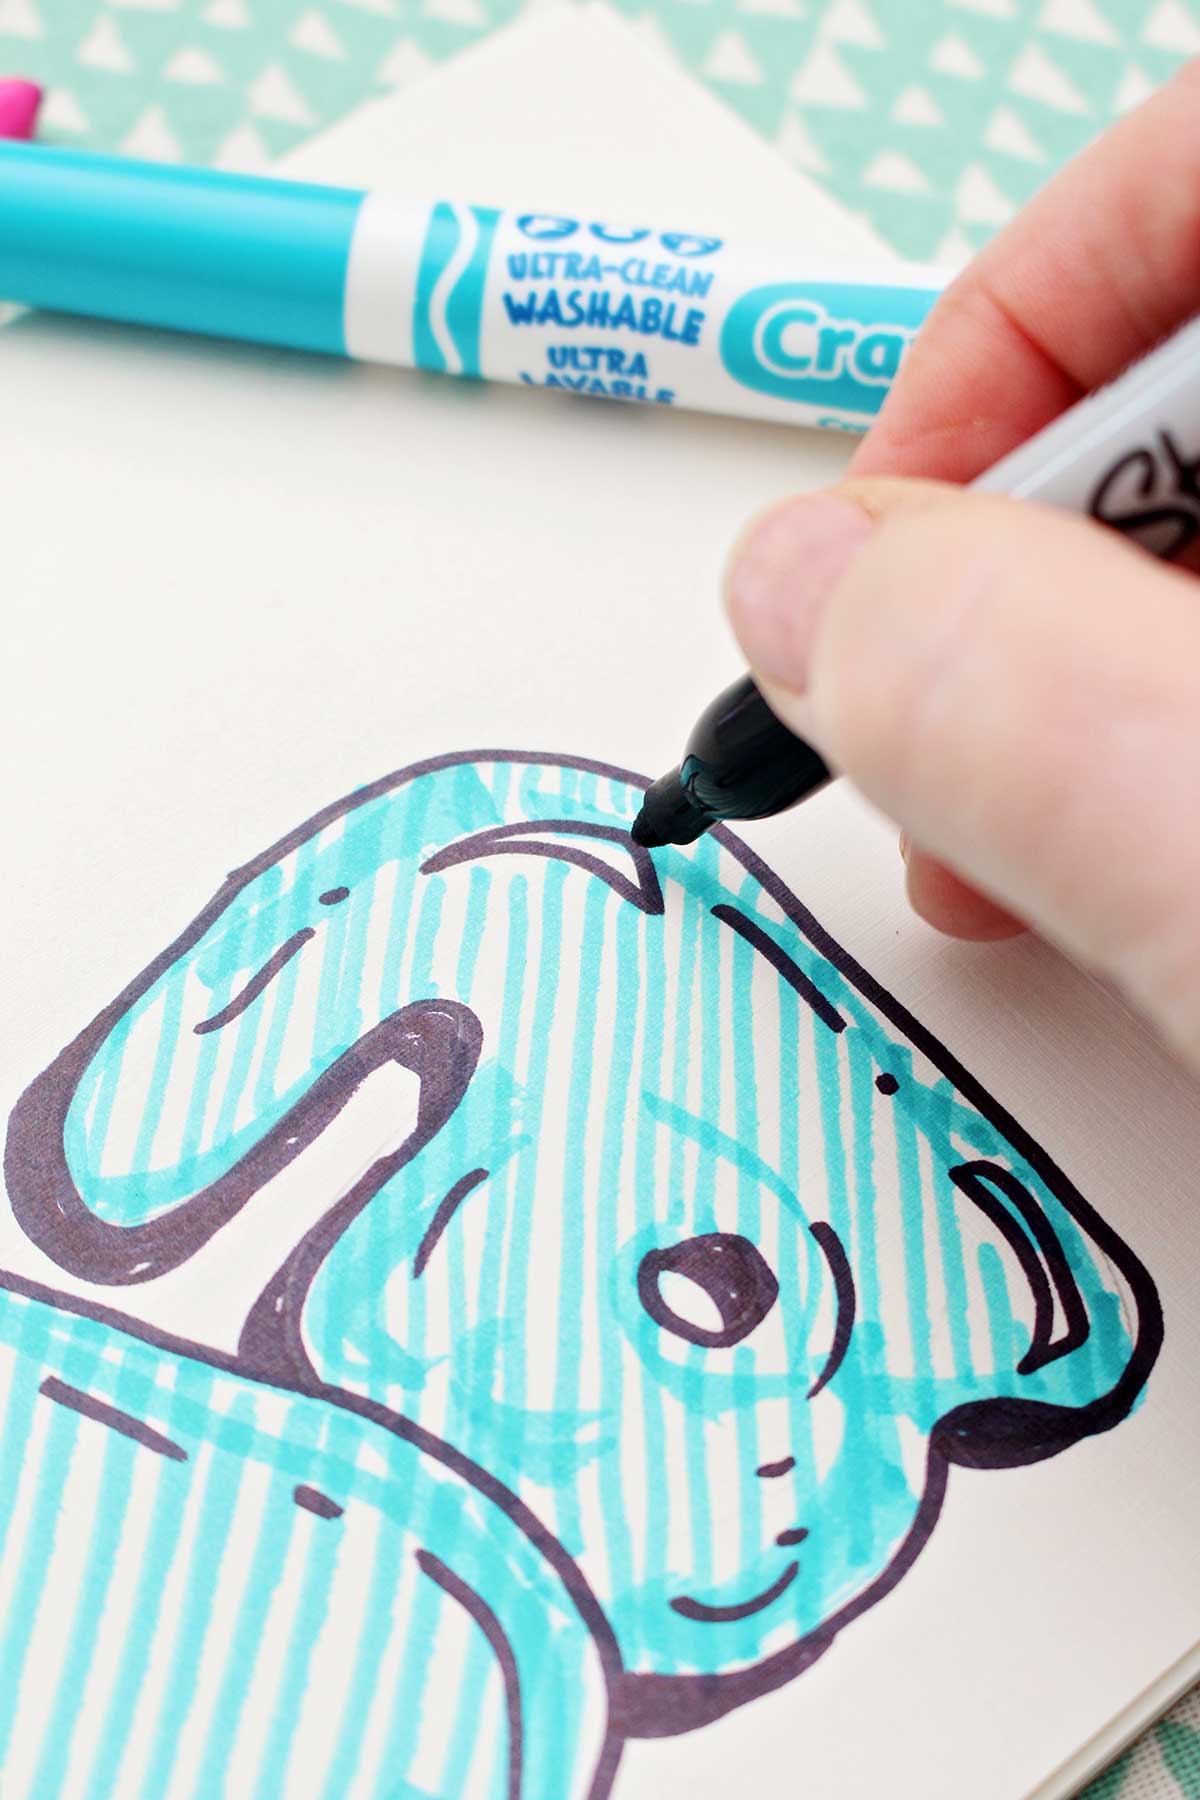
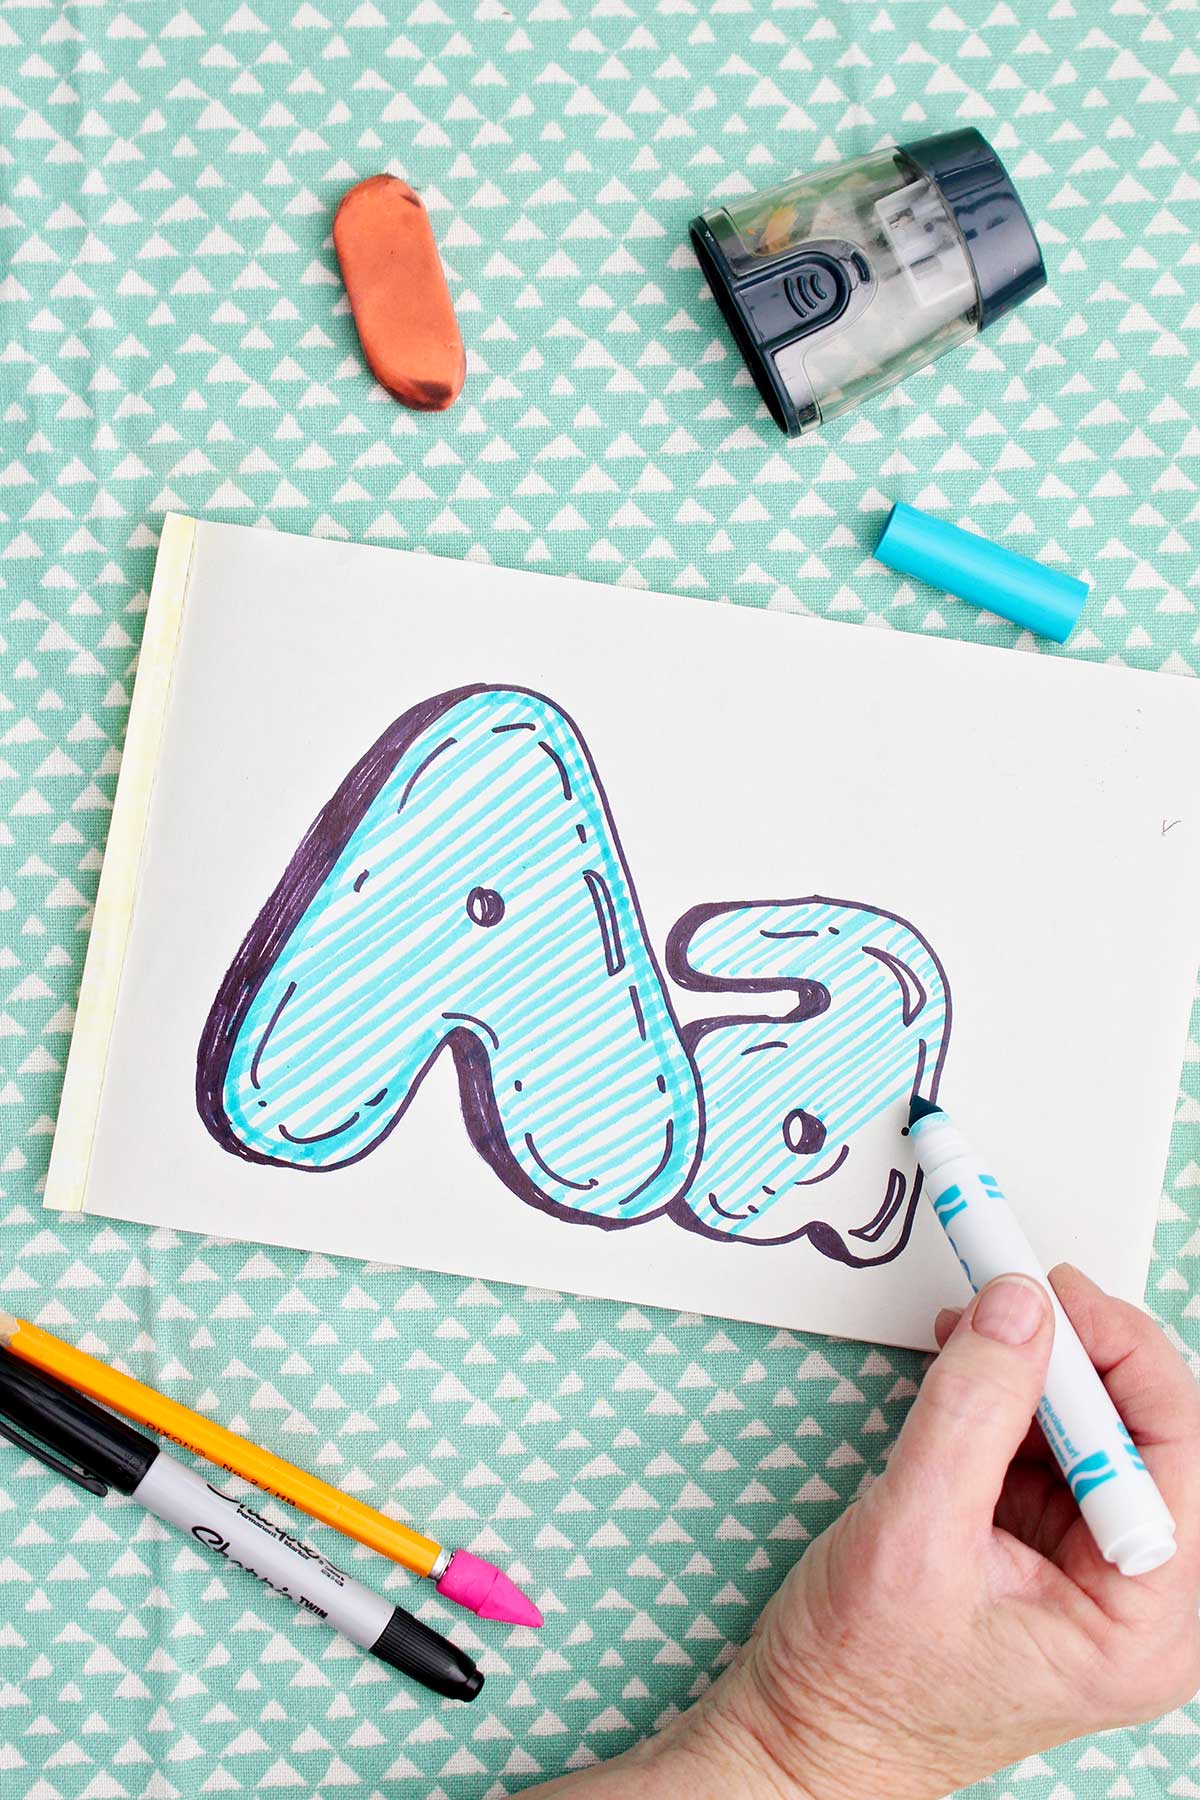
- Use a permanent black marker to go over the bubble letter you drew. Now you can decorate the letter(s) with Colored pencils, crayons, or markers and it won’t smudge. Decorating is optional but makes your lettering so unique and festive!
- Keep practicing your uppercase letter “A” and lowercase letter “a” several times until it is familiar to you. You will eventually get where you don’t need to draw the framework letter if you don’t want to! You won’t believe how many ways and times you can use this lettering style.
How about a Nana Challenge on Bubble Letters A?
OK! I have a fun challenge for you with your bubble letter A. When you have learned all 26 bubble letters in the series you'll have done 26 creative little art challenge activities too!
You’ll be a master at drawing bubble letters soon! Have fun and keep practicing!
NANA'S Awesome Bubble LEttER A CHALLENGE
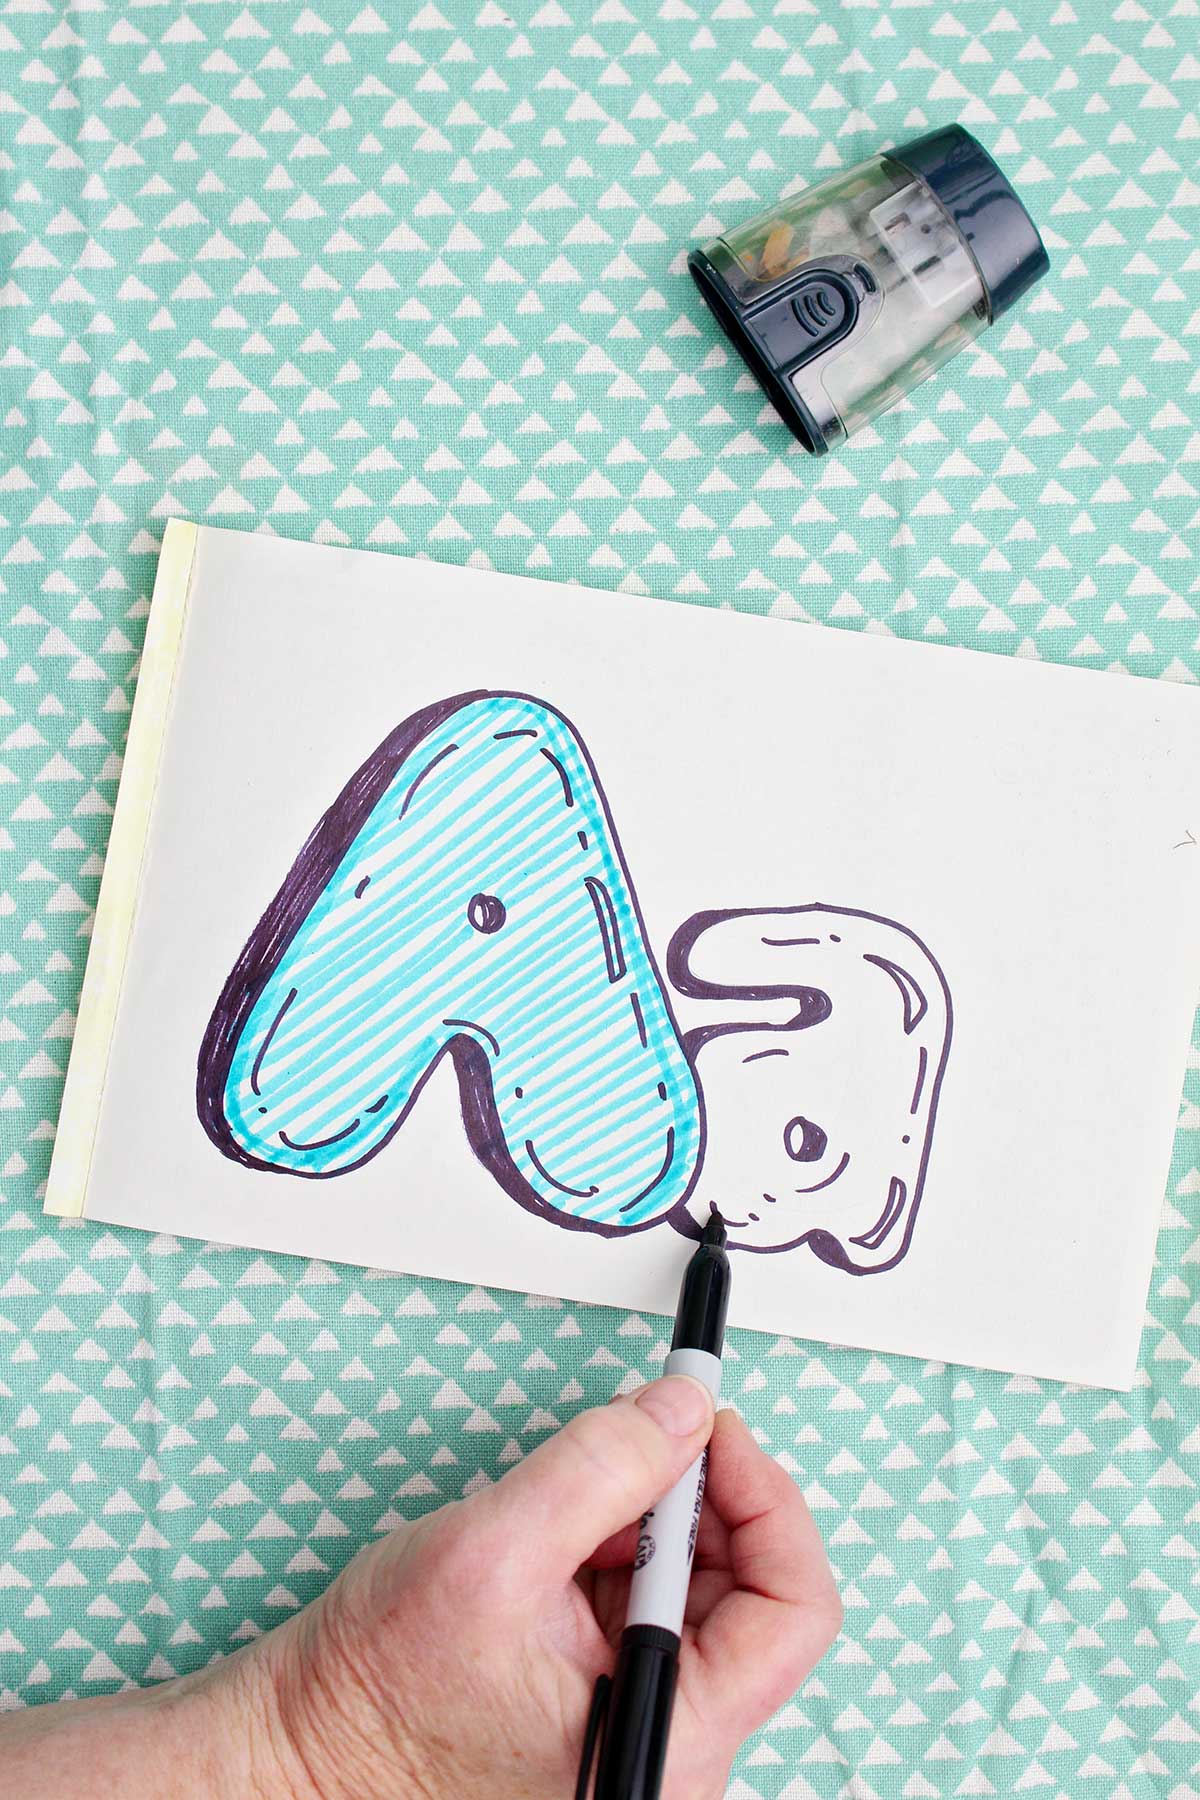
Nana Challenge: Draw your bubble letter A three times. Can you decorate each one in a completely different way? Perhaps use different patterns, favorite colors, or try tiny doodles inside each letter.
Craft Tips for How to Draw Letter A in Bubble Letters
These tips can help make drawing a Bubble Letter A even easier!
- Draw your lines for the template letter and line lightly so they are easy to erase.
- Leave even spacing between the template letters to make the bubble letters even.
- Make both sides of the template letter match but make the bubble around it "bubbly" to have character.
Craft Variations- Drawing Bubble Letters for Kids
Here are a few variations you’re welcome to try with your bubble letters:
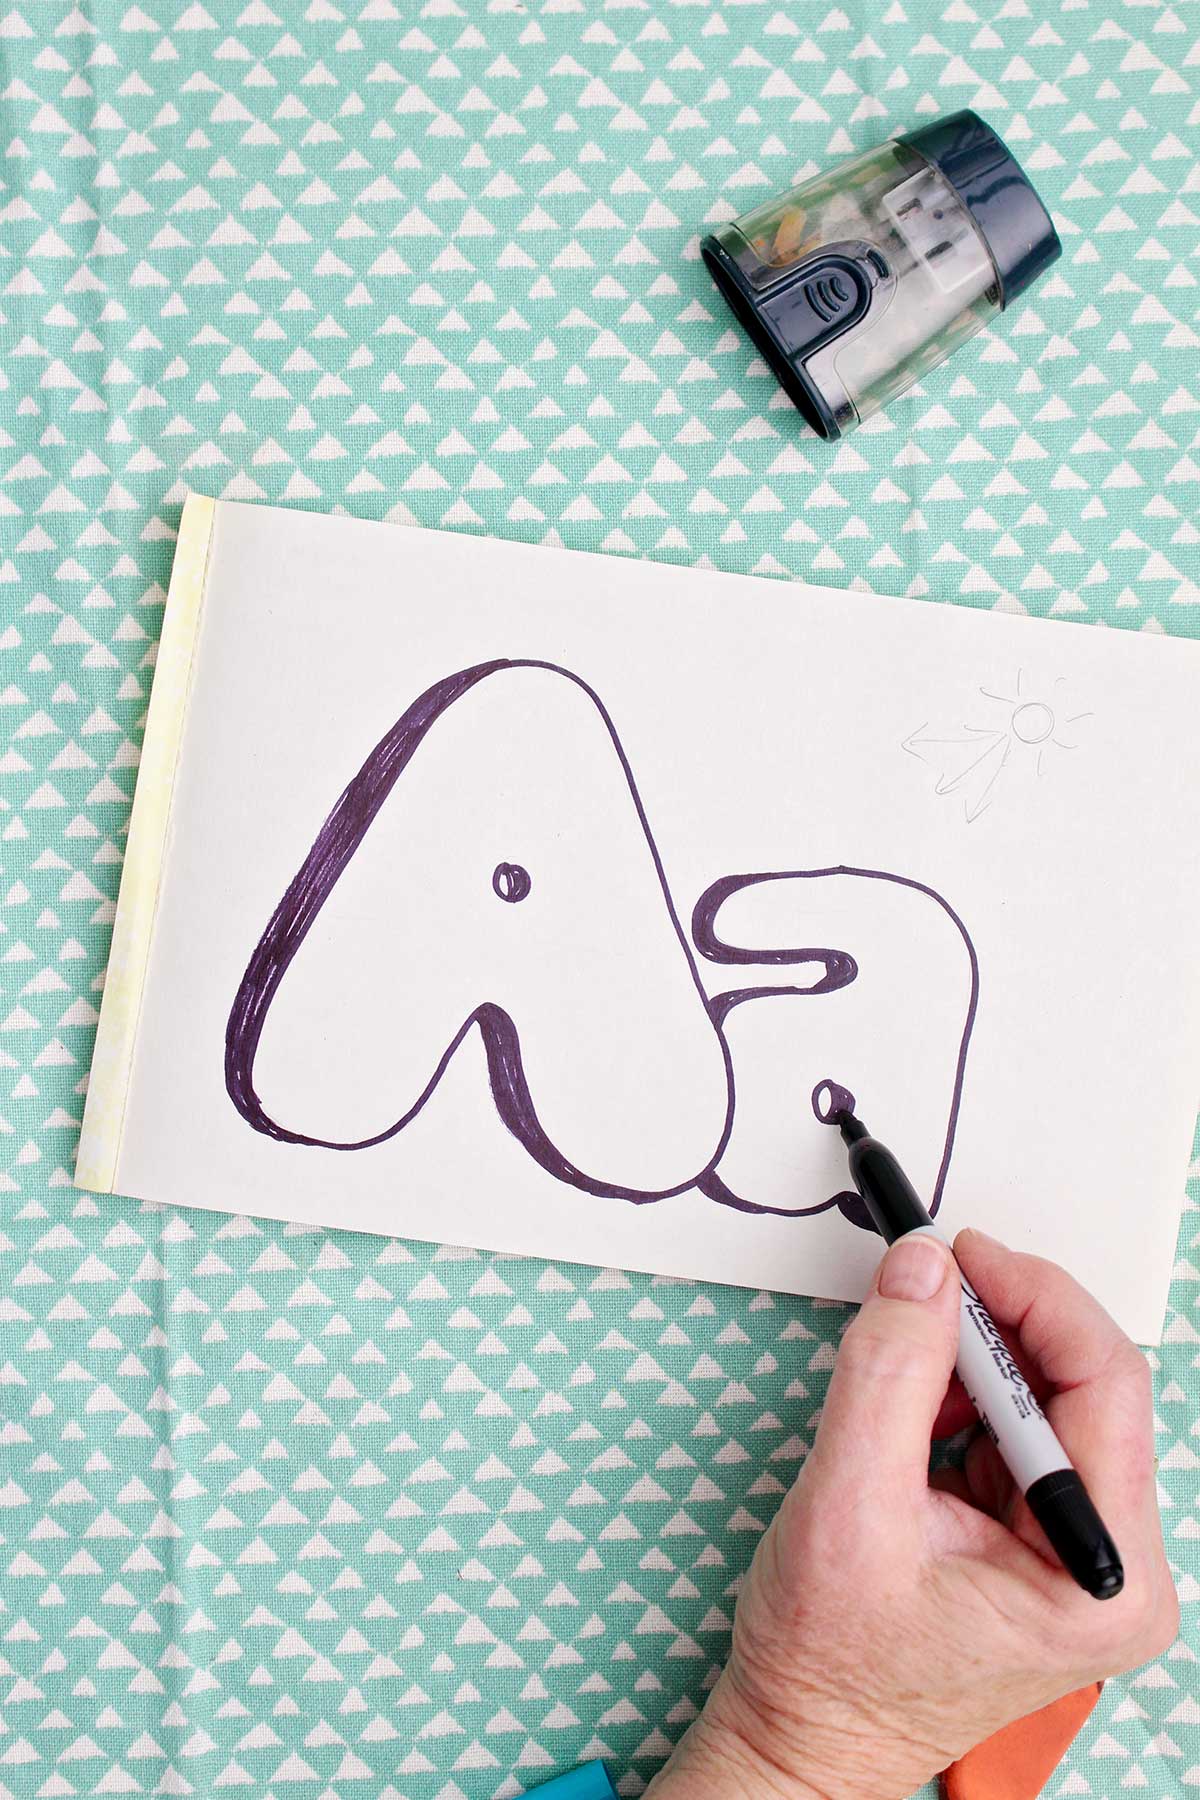
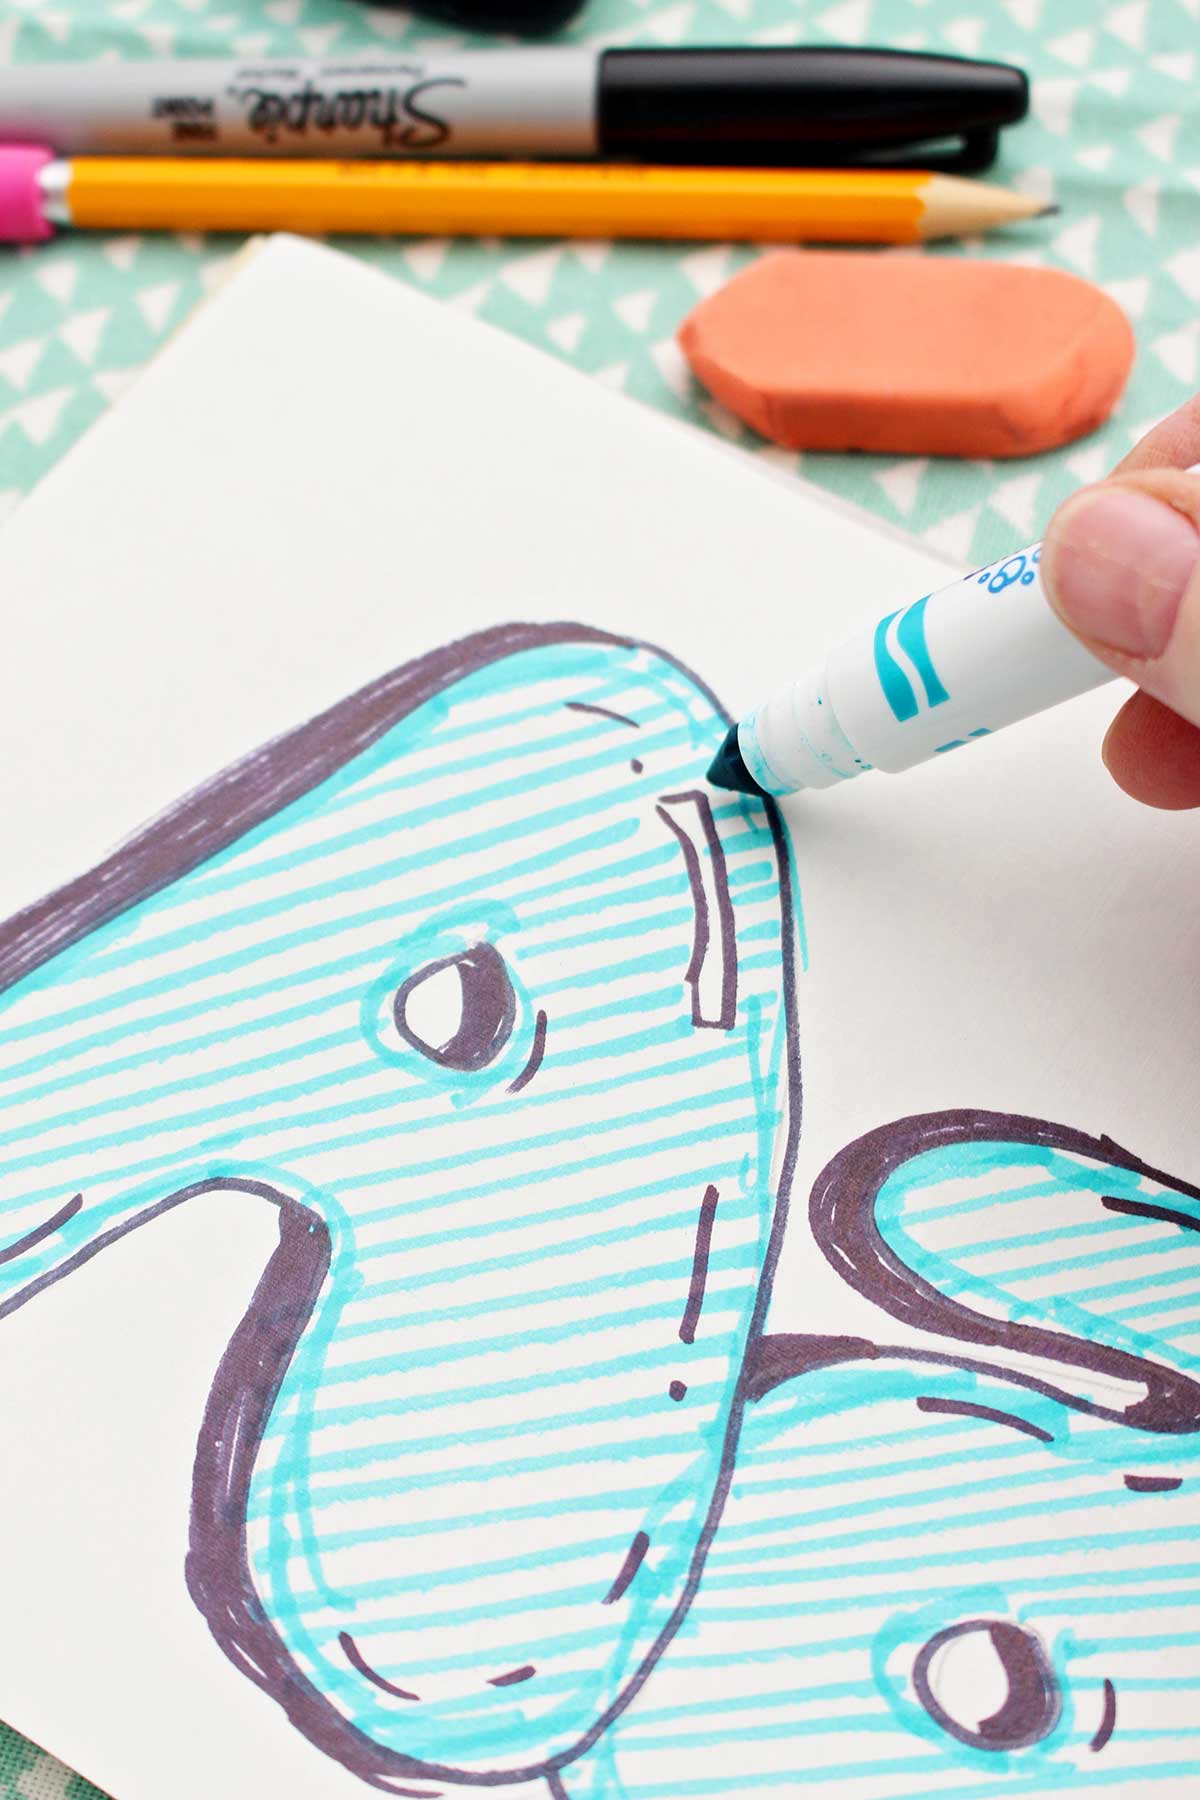
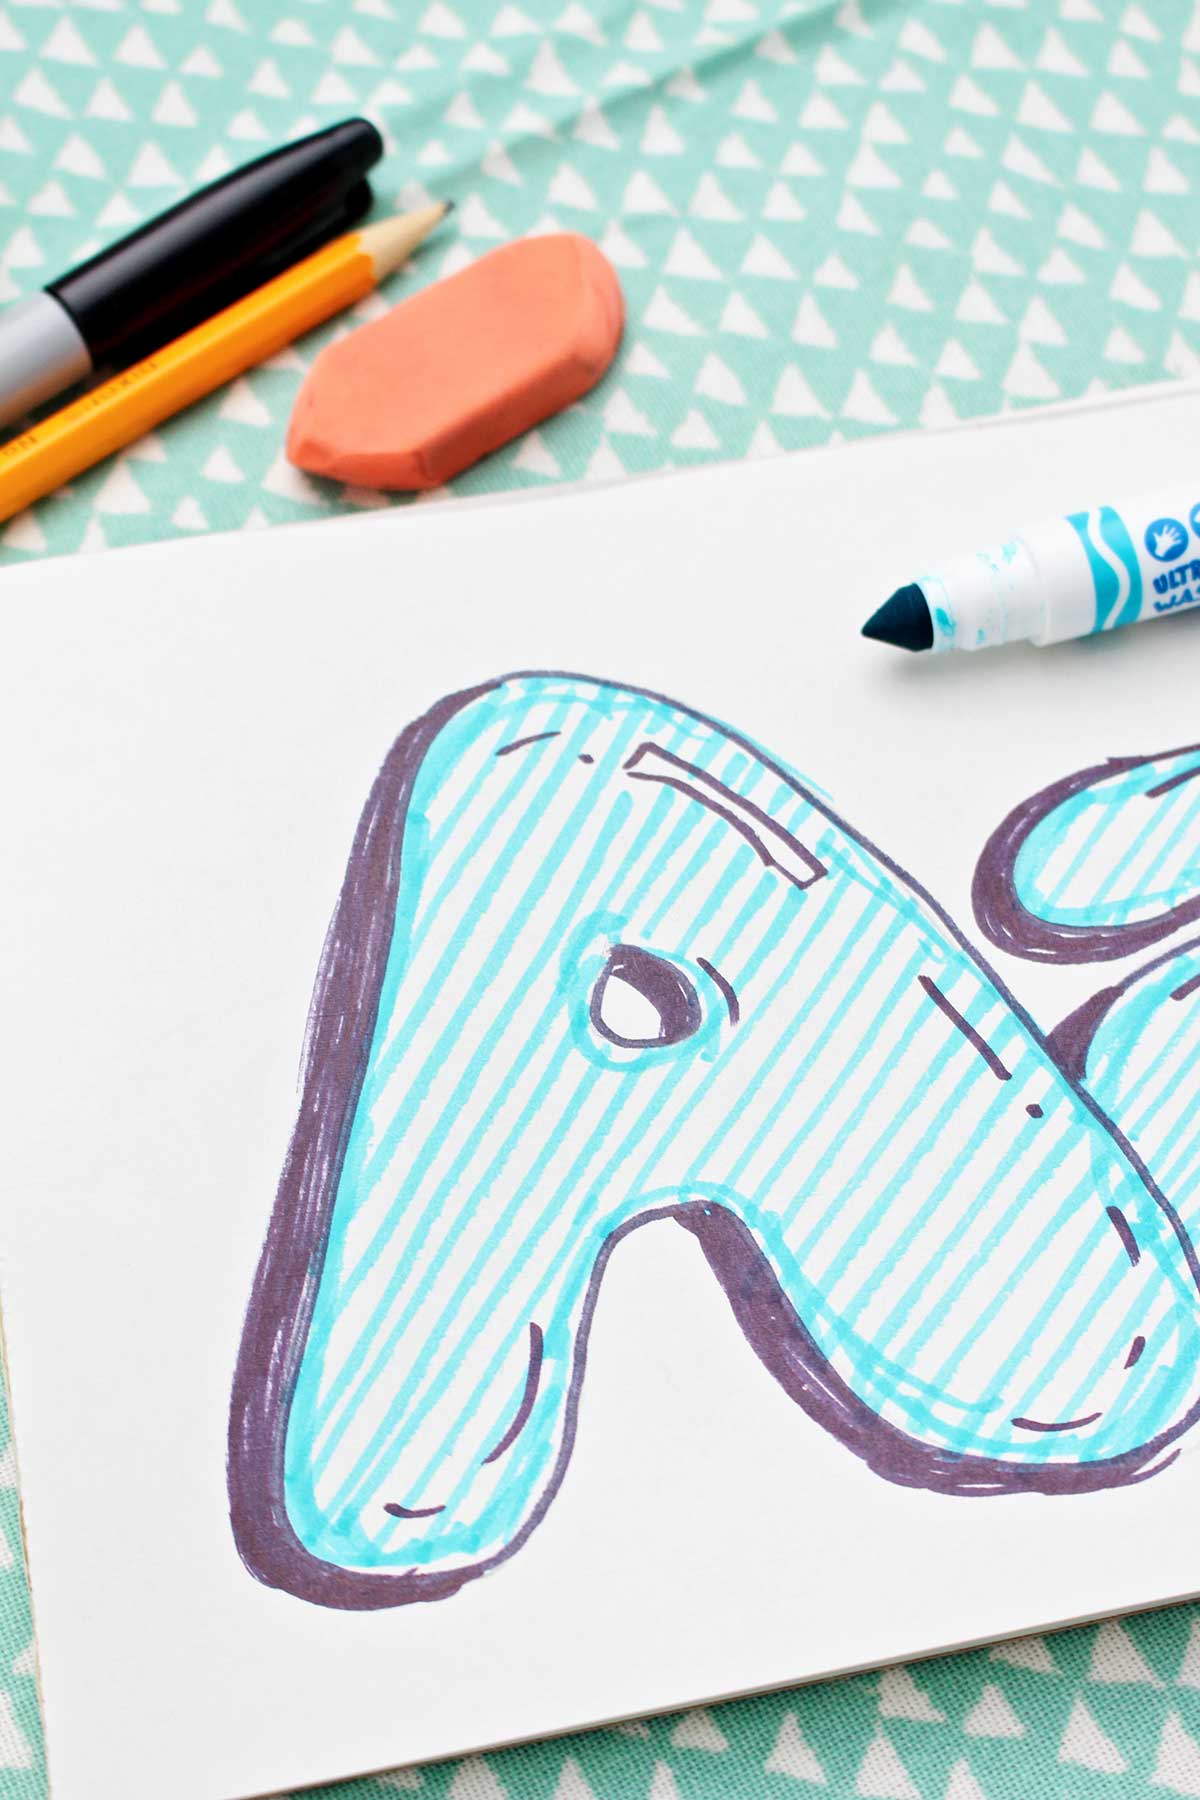
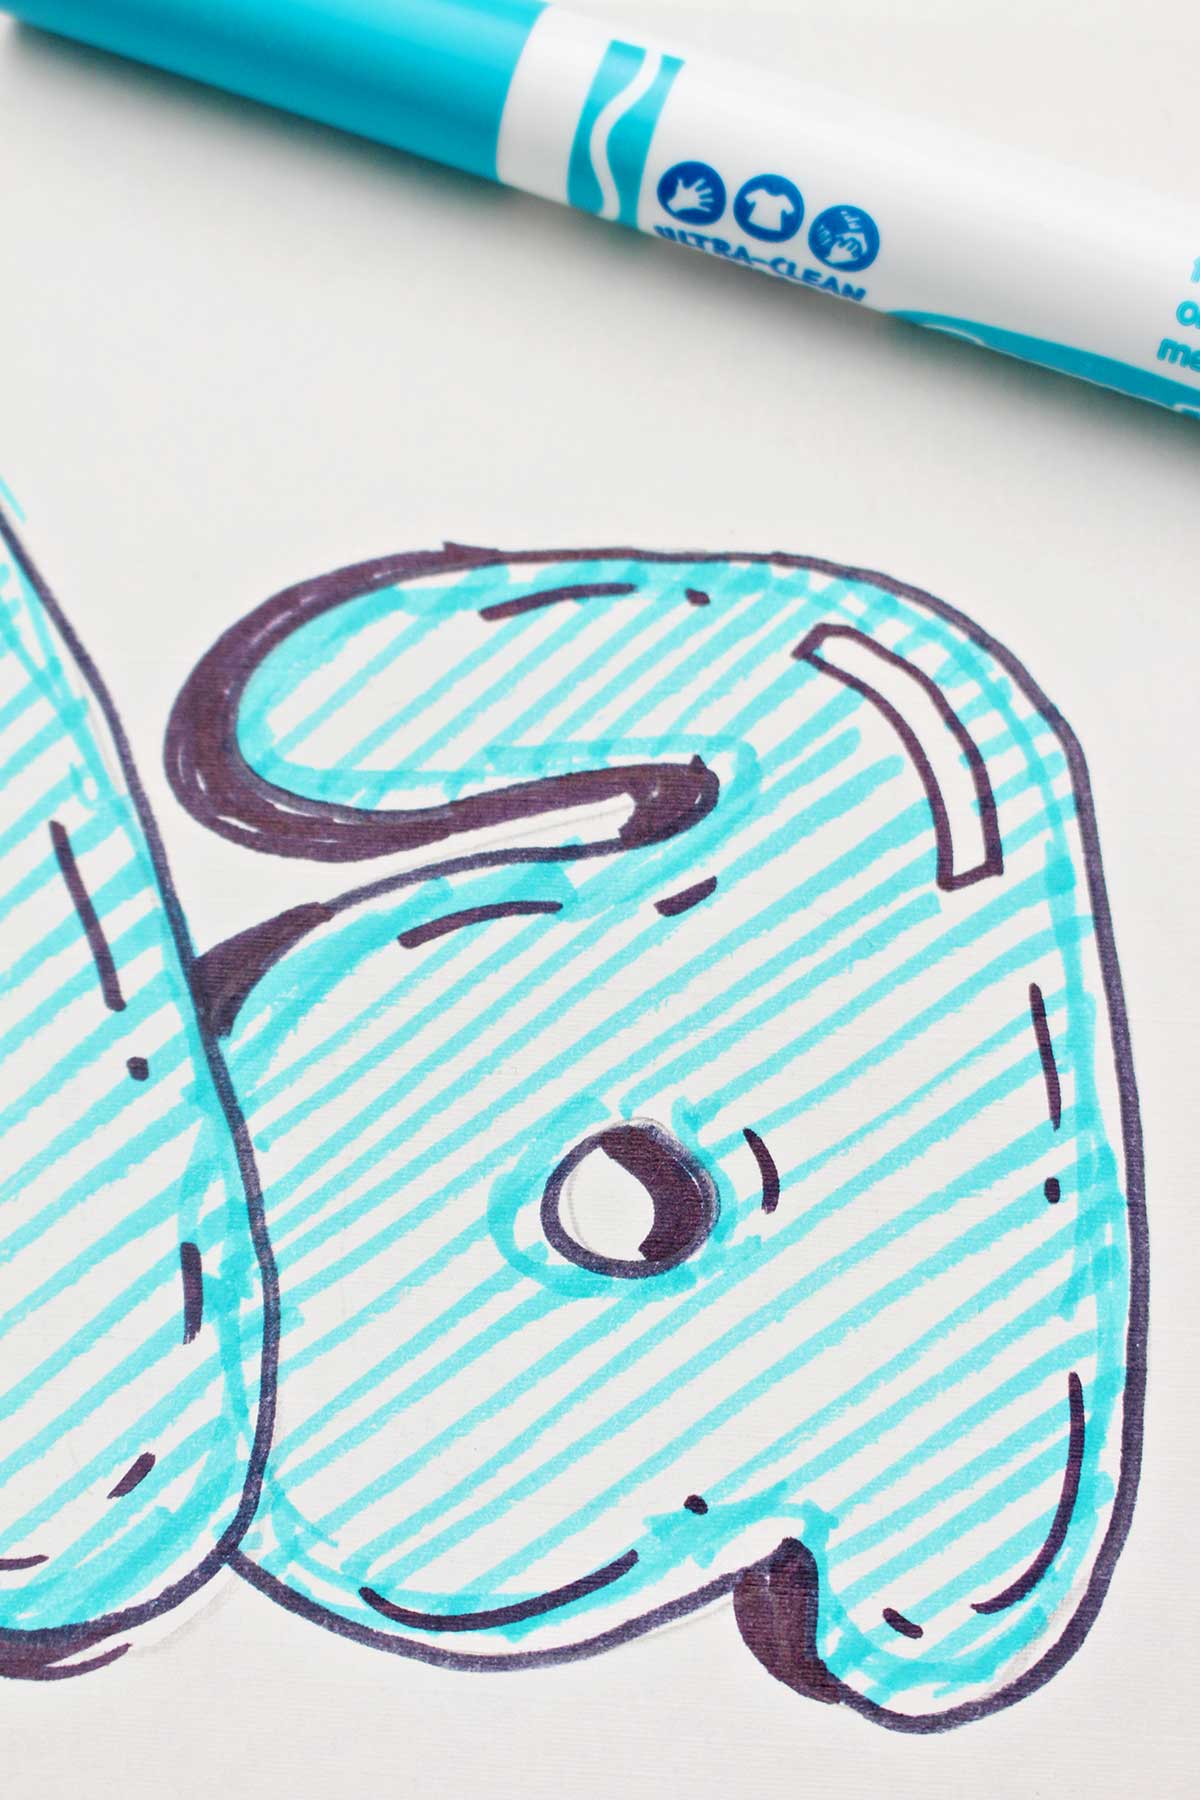
- Add shadowing to one side of the letters.
- Fill the letters with designs and color them in.
- Think of the bubble letters like cartoon strips and fill them with characters that tell a story.
Bubble Letters for Beginners FAQ
Yes! If they are too young to draw the letters to use as a template you can do that for them. Then teach them how to draw the bubble around the letters. They will be able to do it all themselves when they can write their own letters.
Any pencil will work but I recommend a #2 pencil and also drawing lightly so it can be erased easily.
Draw your letters as large as you have room for on your project. It is easier for others to read if it is larger. Especially if you are making a poster or banner, but even on a handout or comic.
More DIY Lettering Crafts for Kids
Looking for more great letter crafts to try? Here are a few of our favorites:
- DIY Alphabet Photography Art and Cards
- DIY Craft Foam Stamps (make alphabet stamps)
- Magazine Collage Cards With Lettering
Come join the fun at WTN!
Try this craft, leave a comment, rate it, and tag a photo with #WelcometoNanas wherever you post.
More Crafts Please!
Love getting crafts straight to your inbox? Sign up to receive a weekly email and get a free gift!
How to Draw a Bubble Letter A: Easy Step-by-Step Drawing Tutorial
Equipment
- Clip board (optional)
Items Required
- Drawing paper
- Pencil
- Eraser
- Black permanent marker (optional)
- Colored pencils, crayons, or markers (optional)
- Ruler (optional)
Instructions
- Draw a light pencil line across the paper where you would like the bubble letters to “sit” on the page. This will be used as an approximate bottom edge of the letters. Draw lightly so you can erase easily later. Leave enough space above the line to make the letter as tall as you want it to be. The letter will “bubble” below the line some too. I promise this will make sense soon (watching the video really helps- here's the link to the video: How to Draw a Bubble Letter A For Beginners
- Lightly draw a simple capital letter A as tall and wide as you want. With some space between, draw a lowercase letter A. This is your framework, like a skeleton for what comes next. Let’s try making both into bubble letters!
- Start by putting your pencil outside the letter A you drew, about ½ inch away. With your pencil down go around the entire letter at about the same distance away as you started. The capital “A” has a pointed top, legs, and squared edges. Your bubble will be curved around the point, legs, and square edges to make it rounded. Don’t make any square edges.
- Go back and make small “bubbles” inside any center holes that the letter has, making it rounded even if the hole in the A is a triangle.
- Repeat this process for the lower case “a”. If, when drawing around the second letter you “run into” the first letter line, just lift your pencil up and skip over that part of the first letter. Put the pencil down again when past the first letter and finish the second letter.
- Erase the original framework letter you drew as a skeleton.
- Use a permanent black marker to go over the bubble letter you drew. Now you can decorate the letter(s) with Colored pencils, crayons, or markers and it won’t smudge. Decorating is optional but makes your lettering unique and festive!
- Keep practicing your uppercase letter “A” and lowercase letter “a” several times until it is familiar to you. You won’t believe how many ways and times you can use this lettering style.
Leave a Reply