Learn How to Make an Agamograph with an accordion folded paper that makes your pictures 3D. It's a fun art technique for kids that creates an optical illusion. When you move the craft from side to side you will see two different pictures.

Jump to:
Cute Craft Alert: How to Make an Agamograph
I’ve seen agamograph art pieces in several museums, they are so intriguing. When I move from side to side I see two different pictures.
Kinetic art like this takes movement. Yaacov Agam made the agamograph art technique popular. I think we should use this fun art technique too!
In this tutorial, we'll take a look at how to make an agamograph from start to finish. Kids will use two of their own art pictures to try this fun new technique. Step back and view the cool optical illusion that changes the picture as you move!

Craft Supplies
Here's everything you'll need to make this cool art project:
- Cardstock paper- Use 2 sheets of white cardstock and 1 sheet of colored cardstock.
- Copy paper- This project requires 2 sheets of white copy paper.
- Free Printable Agamograph Template- You'll copy the Free Printable Agamograph Template on the white cardstock and white copy paper.
- Colors- Use crayons, colored pencils, or markers to color your project.
- Glue- Tacky Craft Glue and a glue stick.
- Other supplies: Scissors, ruler, tape


How to Make an Agamograph, Step by Step
Prep the papers
Copy the Free Agamograph Printable Template onto the white copy paper and the white cardstock paper.
OR- Lay out the white papers landscape view (horizontal). Make one-inch marks down both long sides of the paper and then use a ruler to connect these marks. Mark all four white papers in the same way.
Then make a line ¾ inch from one long edge of each of the four papers.
Draw and color pictures
Draw a picture on each of the two pieces of copy paper. The pictures can be pictures that have something in common. Pictures like trees in different seasons, a worm then a butterfly, etc. Or the pictures can also be of two completely different subjects.
Place the ¾ inch lined off area on the bottom of the drawing. Don’t draw in this ¾ inch area on the one edge of the paper.
Completely color in each picture.


Label and cut pictures apart
Label each picture using a letter and number system for each strip of the picture. Write the labeling on the ¾ inch area of each strip.
Label the first picture A1, A2, A3, and so on. Label the second picture B1, B2, B3, and so on.
Cut the papers apart on the long lines and stack the strips in two piles to use later.
Fold & label the cardstock paper
Tape the two pieces of cardstock paper together on one end so it makes one long piece. Tape it on the back unlined side.
Cut along the line that is ¾ inch from the edge down both papers and throw the small strip away.
Fold the paper from one end to the other accordion style. We've used this accordion fold for other crafts as well (like these Accordion Heart Valentines), it comes in handy!
Make the folds on the lines as accurately as possible with a good crease. Start by folding the first end to the back so you can easily see the line.


Glue on Paper Strips
Label each folded strip of the accordion fold cardstock paper. Start at the bottom left and move to the right. Use this pattern: A1, B1, A2, B2, A3, B3 all the way to A11, B11.
Pick up strip A1, cut off the small, marked tab and glue it to the A1 position on the folded cardstock paper. Pick up strip B1, cut off the small, marked tab and glue it to the B1 position on the folded cardstock paper.
Repeat this with all the pieces of paper from A2, B2 to A11, B11.


Mount the Agamograph
You can leave your agamograph this way or mount it on another piece of cardstock. If you choose the later, complete the following steps.
Apply Tacky Glue to each of the folded edges of the accordion folds on the back of the agamograph. Turn it over again and place it on top of the colored cardstock paper.
You'll move the folds around until evenly spaced across the colored cardstock paper. Let this dry.
Use tape to tape the ends of the accordion folded paper to the edge of the colored cardstock paper.
Hold the agamograph and tilt it from side to side to see one picture and then the other.

Craft Tips for an Agamograph
- Bone folder- A bone folder is for creasing folds like for origami. We've used this in other easy origami tutorials as well! Use this or a pen, pencil, or handle of a scissors to make crisp accordion folds.
- Color schemes- The more contrasting the color schemes are on your two drawings the better the agamograph will turn out.

Craft Variations & Agamograph Ideas
Here are a few variations you’re welcome to try with this amazing craft:
- Vertical agamograph- Draw the lines across the paper vertically and draw vertical pictures.
- Photographs- Copy two photographs to an 8.5x11 inch size. Use these instead of drawings.
- Teaching projects- Use this craft as a teaching project. Have students make two pictures representing two aspects of the subject being studied. For example draw a worm and a butterfly for metamorphosis in science.


FAQ
An agamograph uses an accordion folded paper base to make pictures 3D. Two (or more) pictures are cut into strips and glued onto the folded paper in a pattern. When you tilt it side to side you see the two different pictures one at a time! Learn How to Make an Agamograph with this step-by-step tutorial.
Create two pictures and cut them into strips (in our project they are one inch wide). Glue these strips onto an accordion folded base paper instead of a flat canvas. Glue the strips in an A1, B1, A2, B2 (and so on) pattern. Tilt the project or move yourself from side to side to see the pictures one at a time.
The word agamograph is pronounced “ah-gah-mo-graph”.
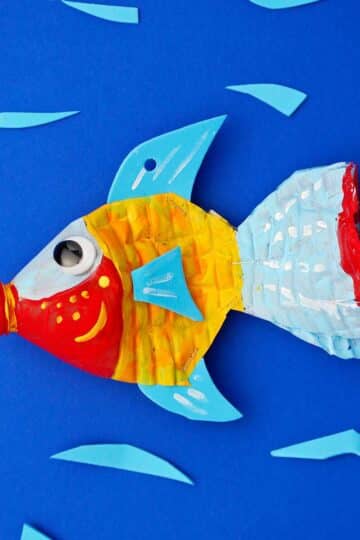
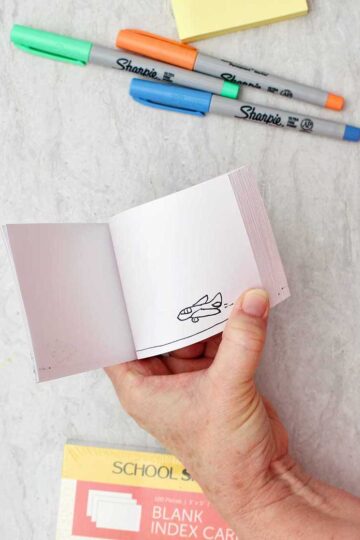
More DIY 3D Crafts for Kids
Looking for more great DIY 3-D Crafts for kids? Here are a few favorites for you to try:
Come Join the Fun!
Try this craft, leave a comment, rate it, and tag a photo with #WelcometoNanas wherever you post.
Want More Crafts?
Sign up for a free gift and a weekly email with the newest crafts from Welcome To Nana's!


How to Make an Agamograph 3D Picture
Equipment
- none needed
Items Required
- white cardstock, colored cardstock 2 sheets of white and 1 sheet of colored
- white copy paper 2 sheets
- Free Printable Agamograph Template to copy on white papers
- crayons, colored pencils, or markers
- Tacky Craft Glue and a glue stick
- Scissors, ruler, tape
Instructions
- Copy the Free Agamograph Printable Template onto the white copy paper and the white cardstock paper. OR- Lay out the white papers landscape view (horizontal). Make one-inch marks down both long sides of the paper and then use a ruler to connect these marks. Mark all four white papers in the same way.Then make a line ¾ inch from one long edge of each of the four papers.
- Draw a picture on each of the two pieces of copy paper. The pictures can be pictures that have something in common. Pictures like trees in different seasons, a worm then a butterfly, etc. Or the pictures can also be of two completely different subjects. Place the ¾ inch lined off area on the bottom of the drawing. Don’t draw in this ¾ inch area on the one edge of the paper.Completely color in each picture.
- Label each picture using a letter and number system for each strip of the picture. Write the labeling on the ¾ inch area of each strip.Label the first picture A1, A2, A3, and so on. Label the second picture B1, B2, B3, and so on.Cut the papers apart on the long lines and stack the strips in two piles to use later.
- Tape the two pieces of cardstock paper together on one end so it makes one long piece. Tape it on the back unlined side.Cut along the line that is ¾ inch from the edge down both papers and throw the small strip away.Fold the paper from one end to the other accordion style. Make the folds on the lines as accurately as possible with a good crease. Start by folding the first end to the back so you can easily see the line.
- Label each folded strip of the accordion fold cardstock paper. Start at the bottom left and move to the right. Use this pattern: A1, B1, A2, B2, A3, B3 all the way to A11, B11.Pick up strip A1, cut off the small, marked tab and glue it to the A1 position on the folded cardstock paper. Pick up strip B1, cut off the small, marked tab and glue it to the B1 position on the folded cardstock paper.Repeat this with all the pieces of paper from A2, B2 to A11, B11.
- You can leave your agamograph this way or mount it on another piece of cardstock. If you choose the later, complete the following steps.Apply Tacky Glue to each of the folded edges of the accordion folds on the back of the agamograph. Turn it over again and place it on top of the colored cardstock paper.You'll move the folds around until evenly spaced across the colored cardstock paper. Let this dry.Use tape to tape the ends of the accordion folded paper to the edge of the colored cardstock paper.Hold the agamograph and tilt it from side to side to see one picture and then the other.


Leave a Reply