This Easy Origami Pumpkin is a cute fall paper craft for kids that everyone will love! Make a few for Halloween or Thanksgiving decorations, place cards for a table, or a cute extra gift to tuck in a trick-or-treat bag.
Jump to:
Cute Craft Alert: Pumpkin Origami!
I love making origami projects. They intrigue me because you take a flat piece of paper and with a few folds it becomes an object, like a pumpkin!
Over the years on this blog, we've had a great time making origami shirts, stars, animal bookmarks, and trees. Now, I can't wait to make this Halloween origami project with my grandkids!
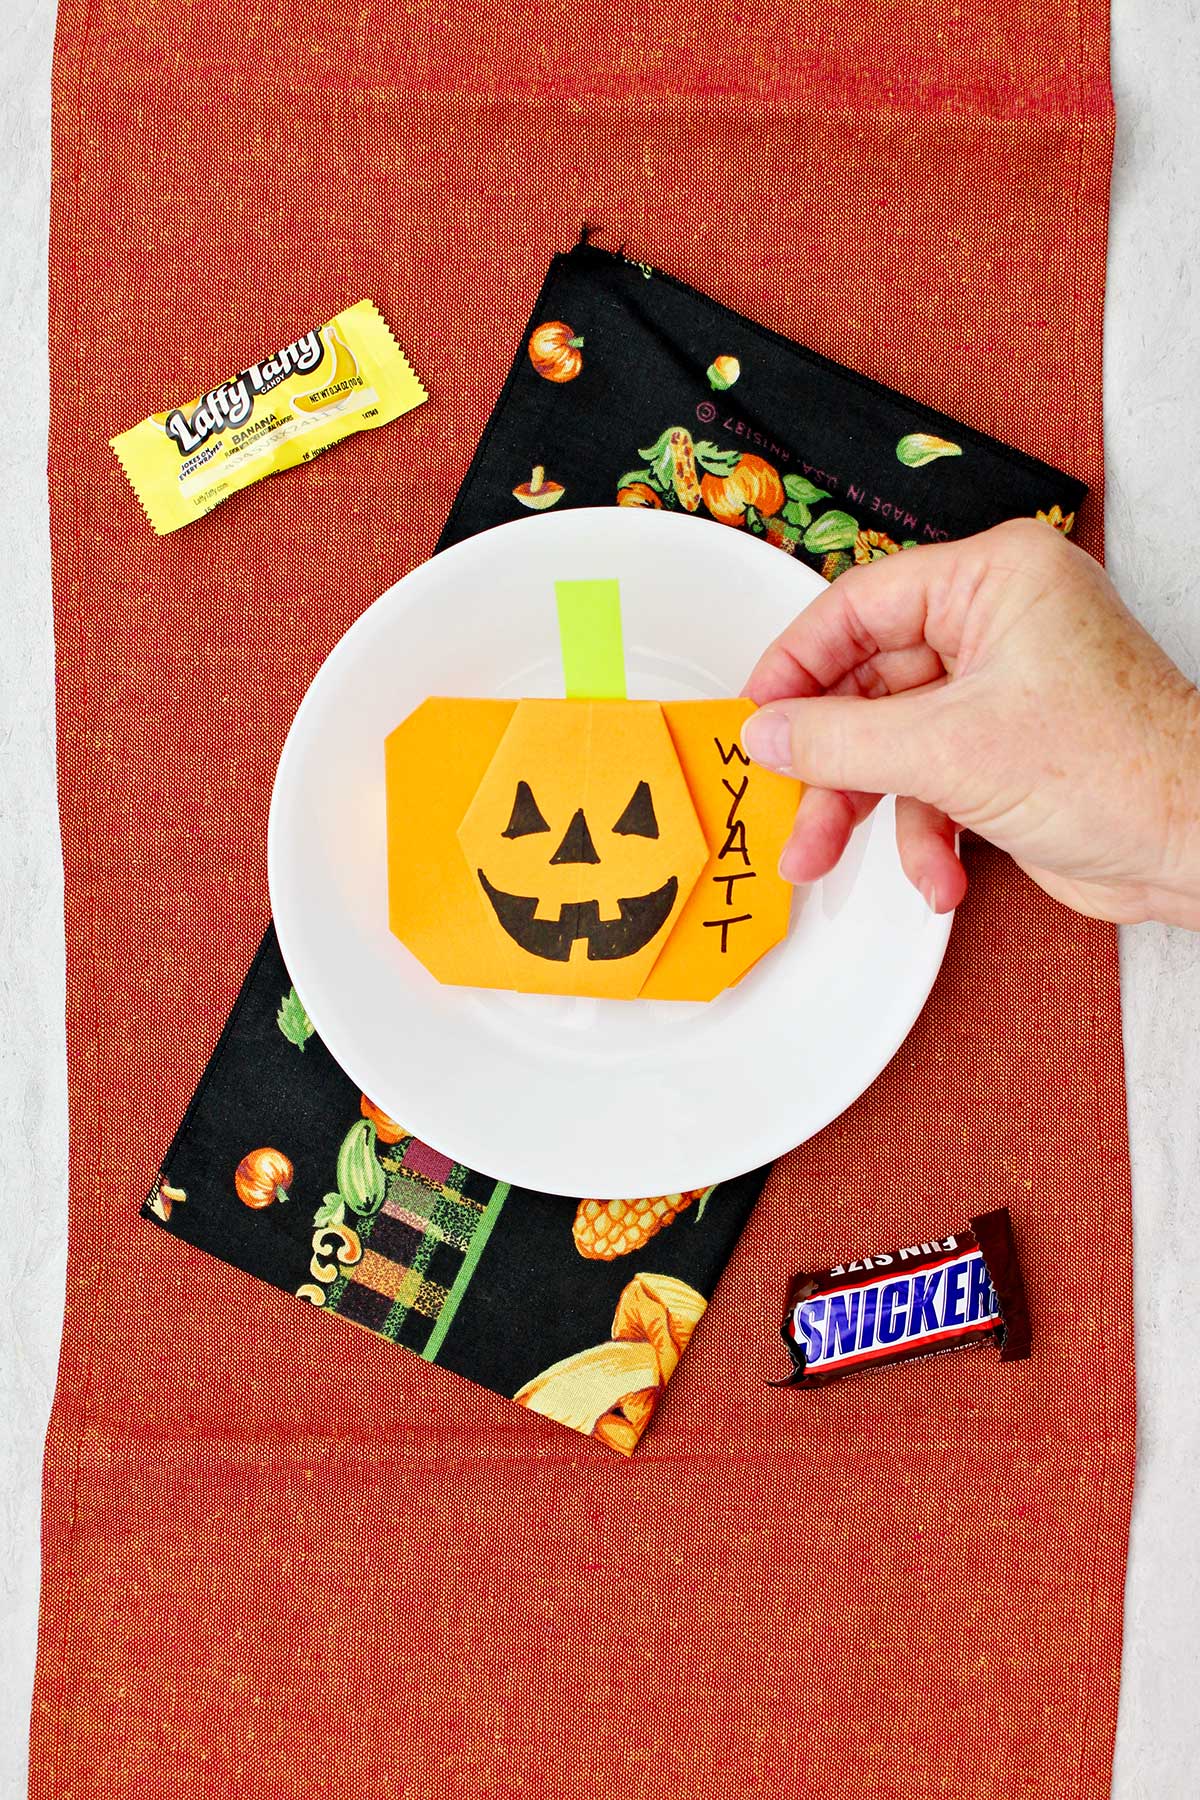
I've made a stack of them up to stick in trick or treat bags. It will be easy to tape some Halloween candy to the back of each pumpkin.
Supplies for an Easy Origami Pumpkin
- Paper- You can use origami paper or plain copy paper in the color of your choice.
- Bone Folder- A bone folder is an optional tool but it helps make the creases crisp when you do origami.
- Additional supplies-tape, scissors, glue stick, black sharpie.
Origami Pumpkin Step by Step Tutorial
Want to watch exactly how the folds are made? Check out the full length video found on YouTube at this link!
Paper preparation
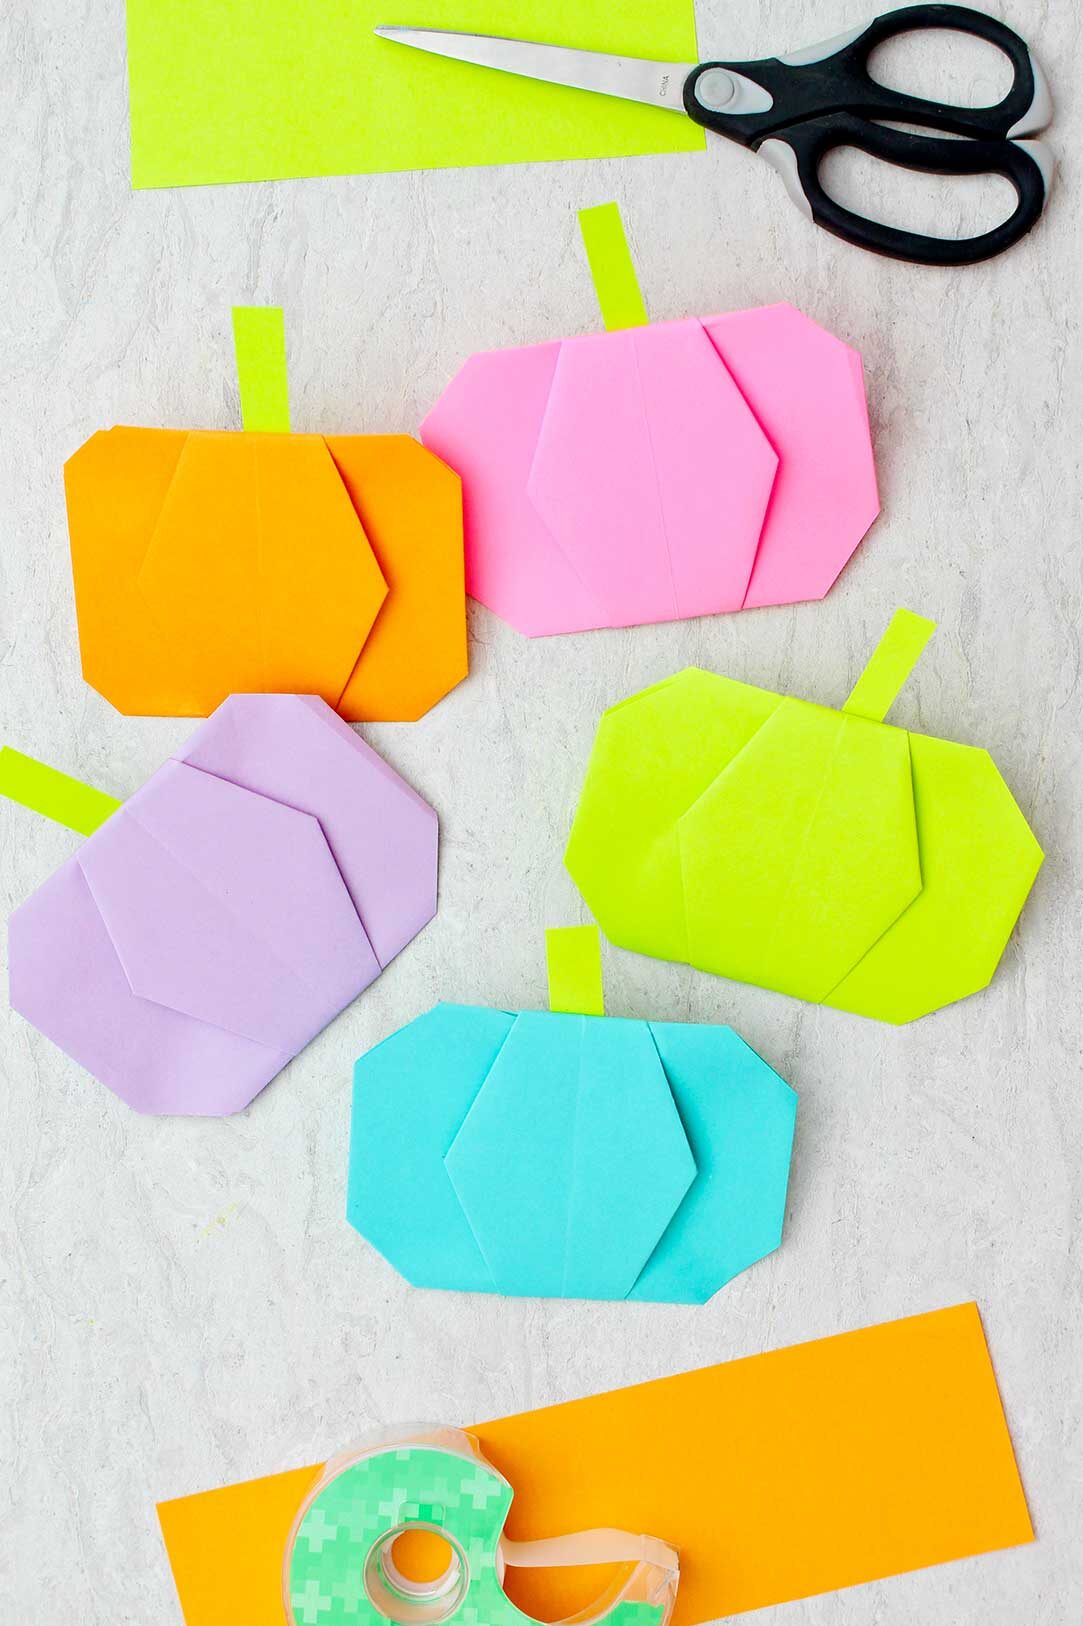
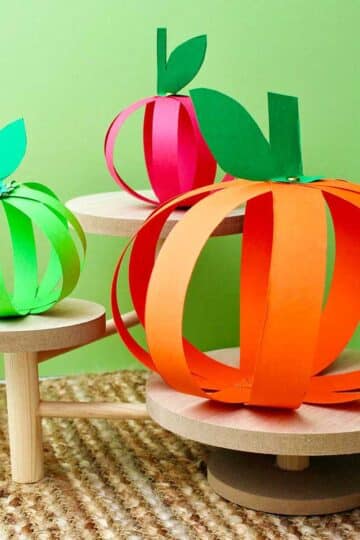
Use a piece of square paper like origami paper or cut a piece of copy paper into a square. Use the color of choice to make your pumpkin, pink, or lime green!.
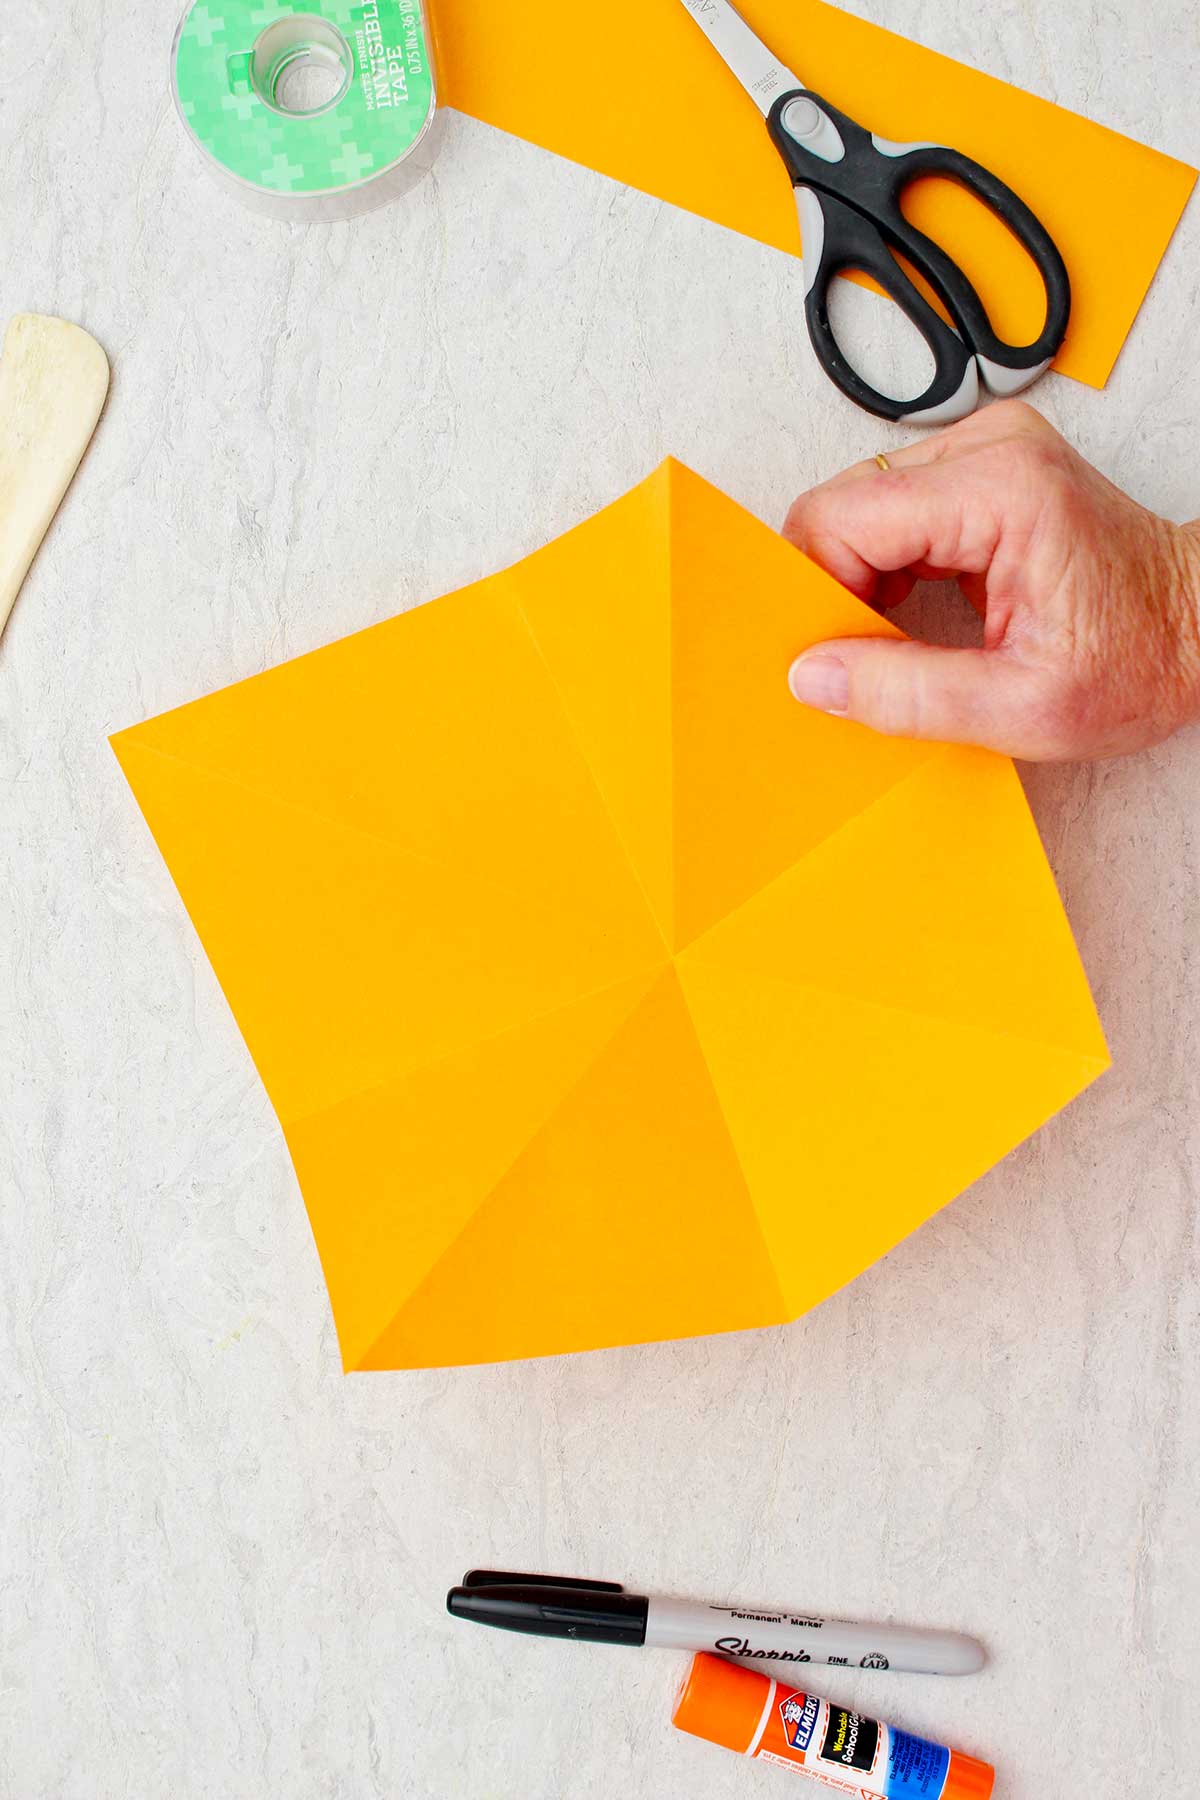
Fold the square into a triangle one direction and unfold. Then fold the square into a triangle the other direction and unfold.
Fold your square into a rectangle one direction and unfold. Then fold it in a rectangle the other direction and unfold.
First folds
Turn the paper so that it is a diagonal in front of you on the work surface.
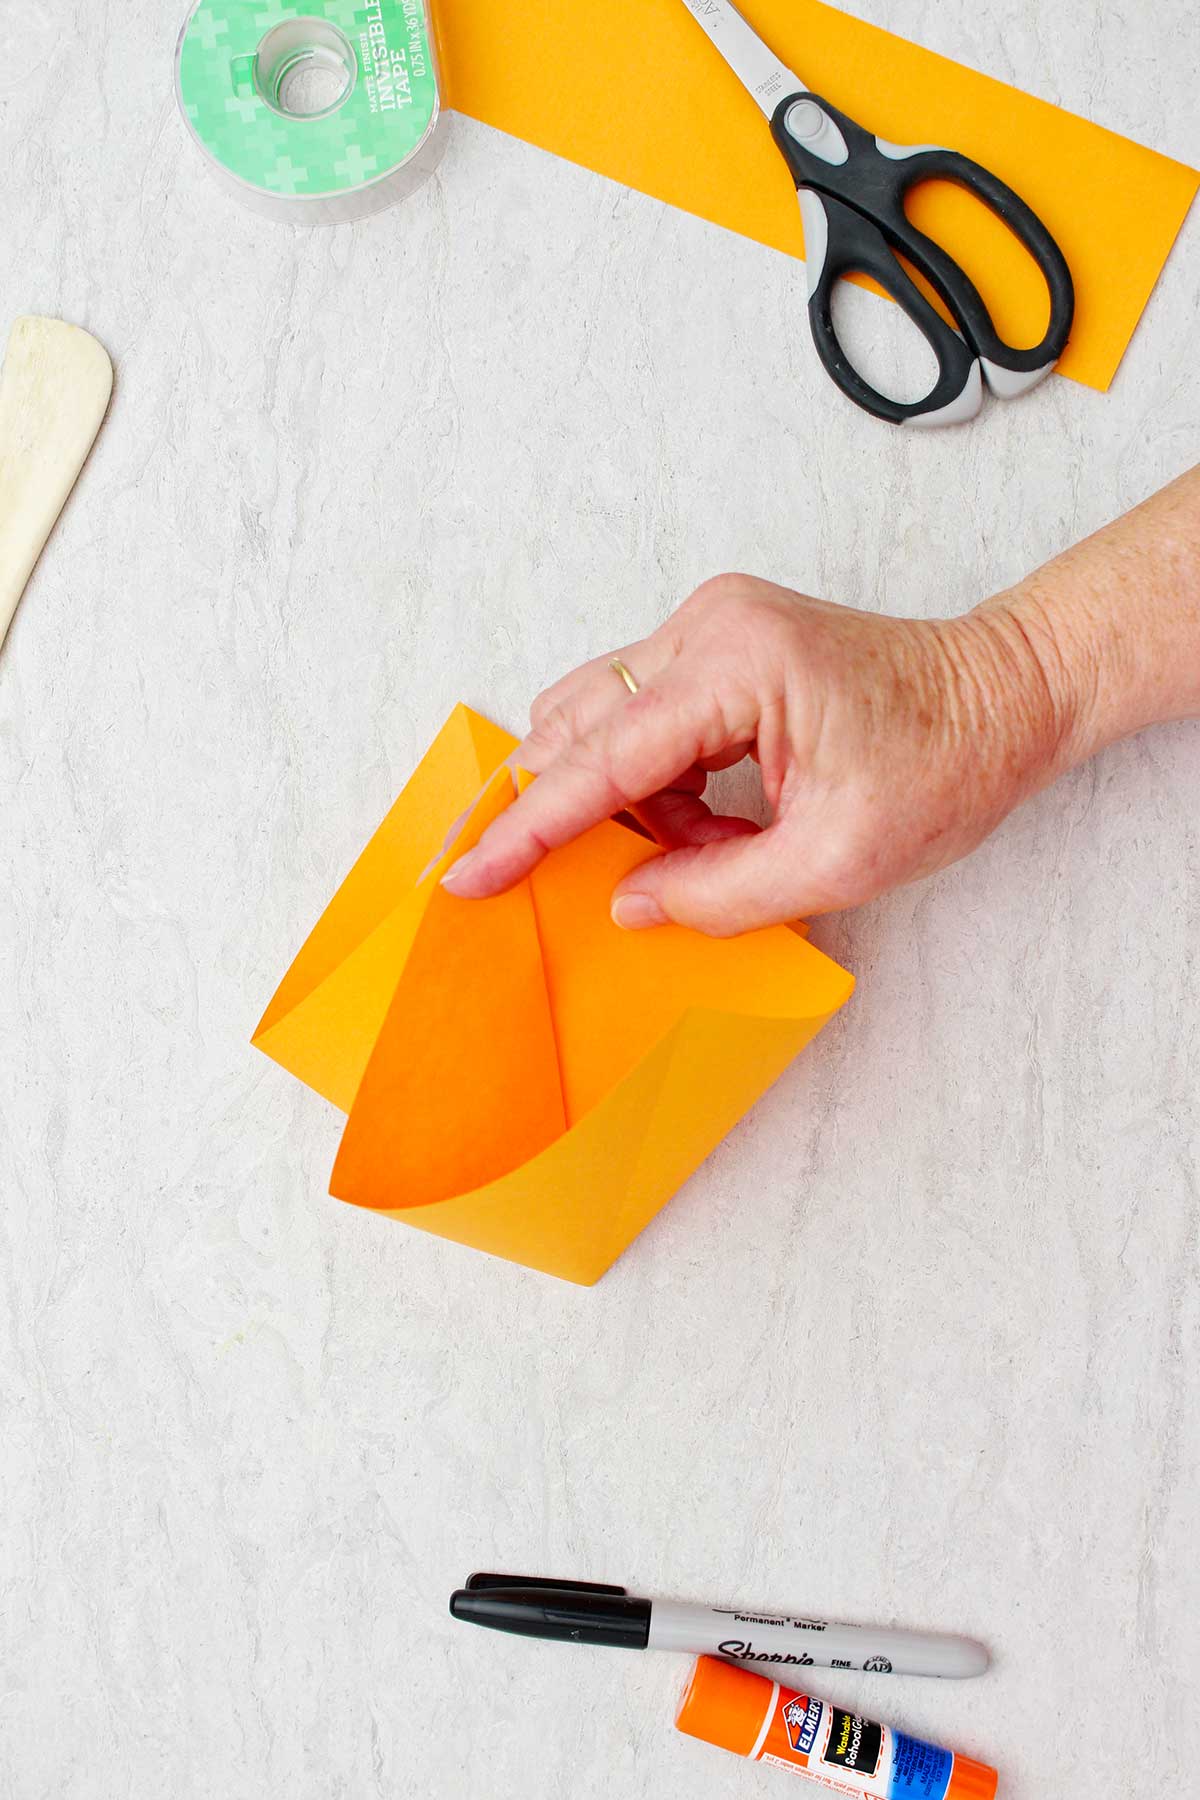
Pull the corner on your right and the corner on your left up together so it makes an inward fold of triangles. This folds the paper square into a smaller square with these two small inward folds tucked inside. Please see the photo.
Turn this square so that the loose corners are at the bottom and the paper is in a diagonal laying on the work surface.

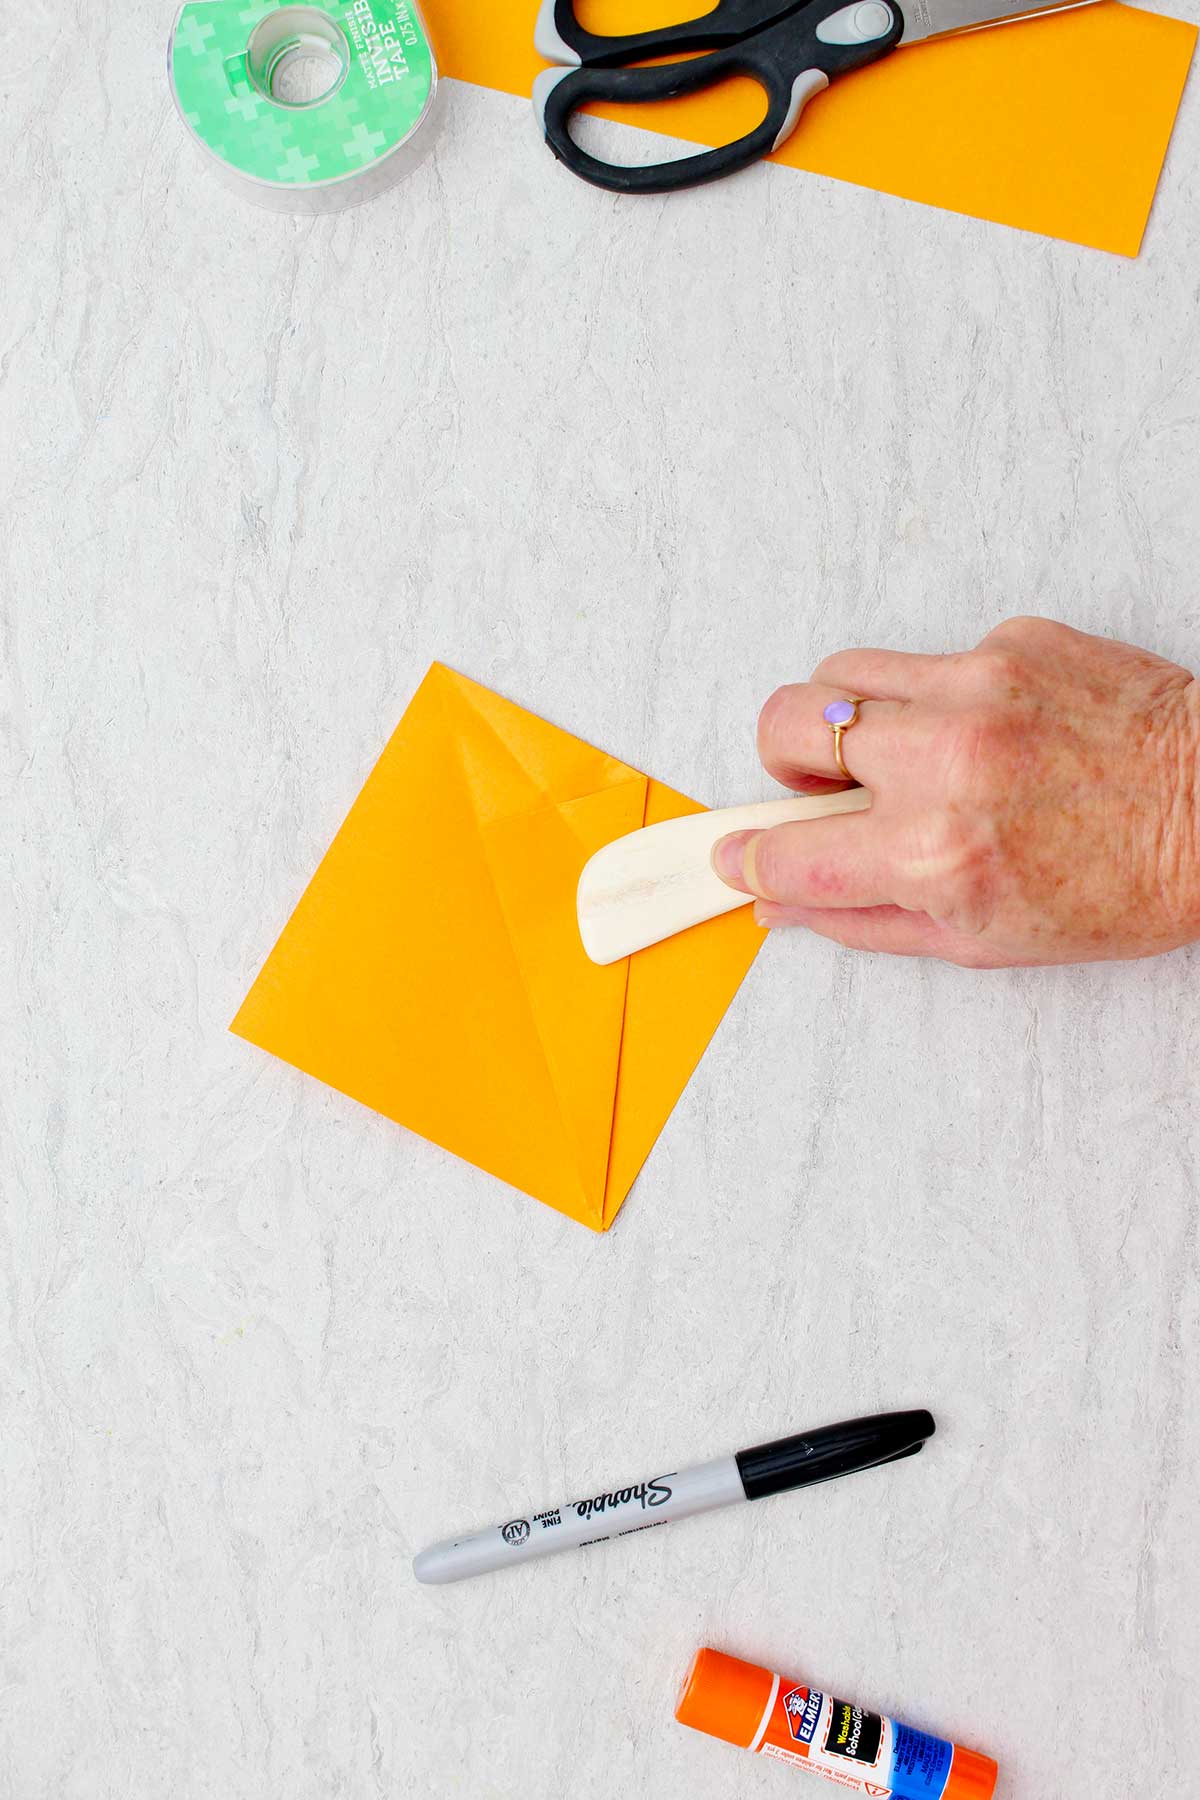
Creating two flaps
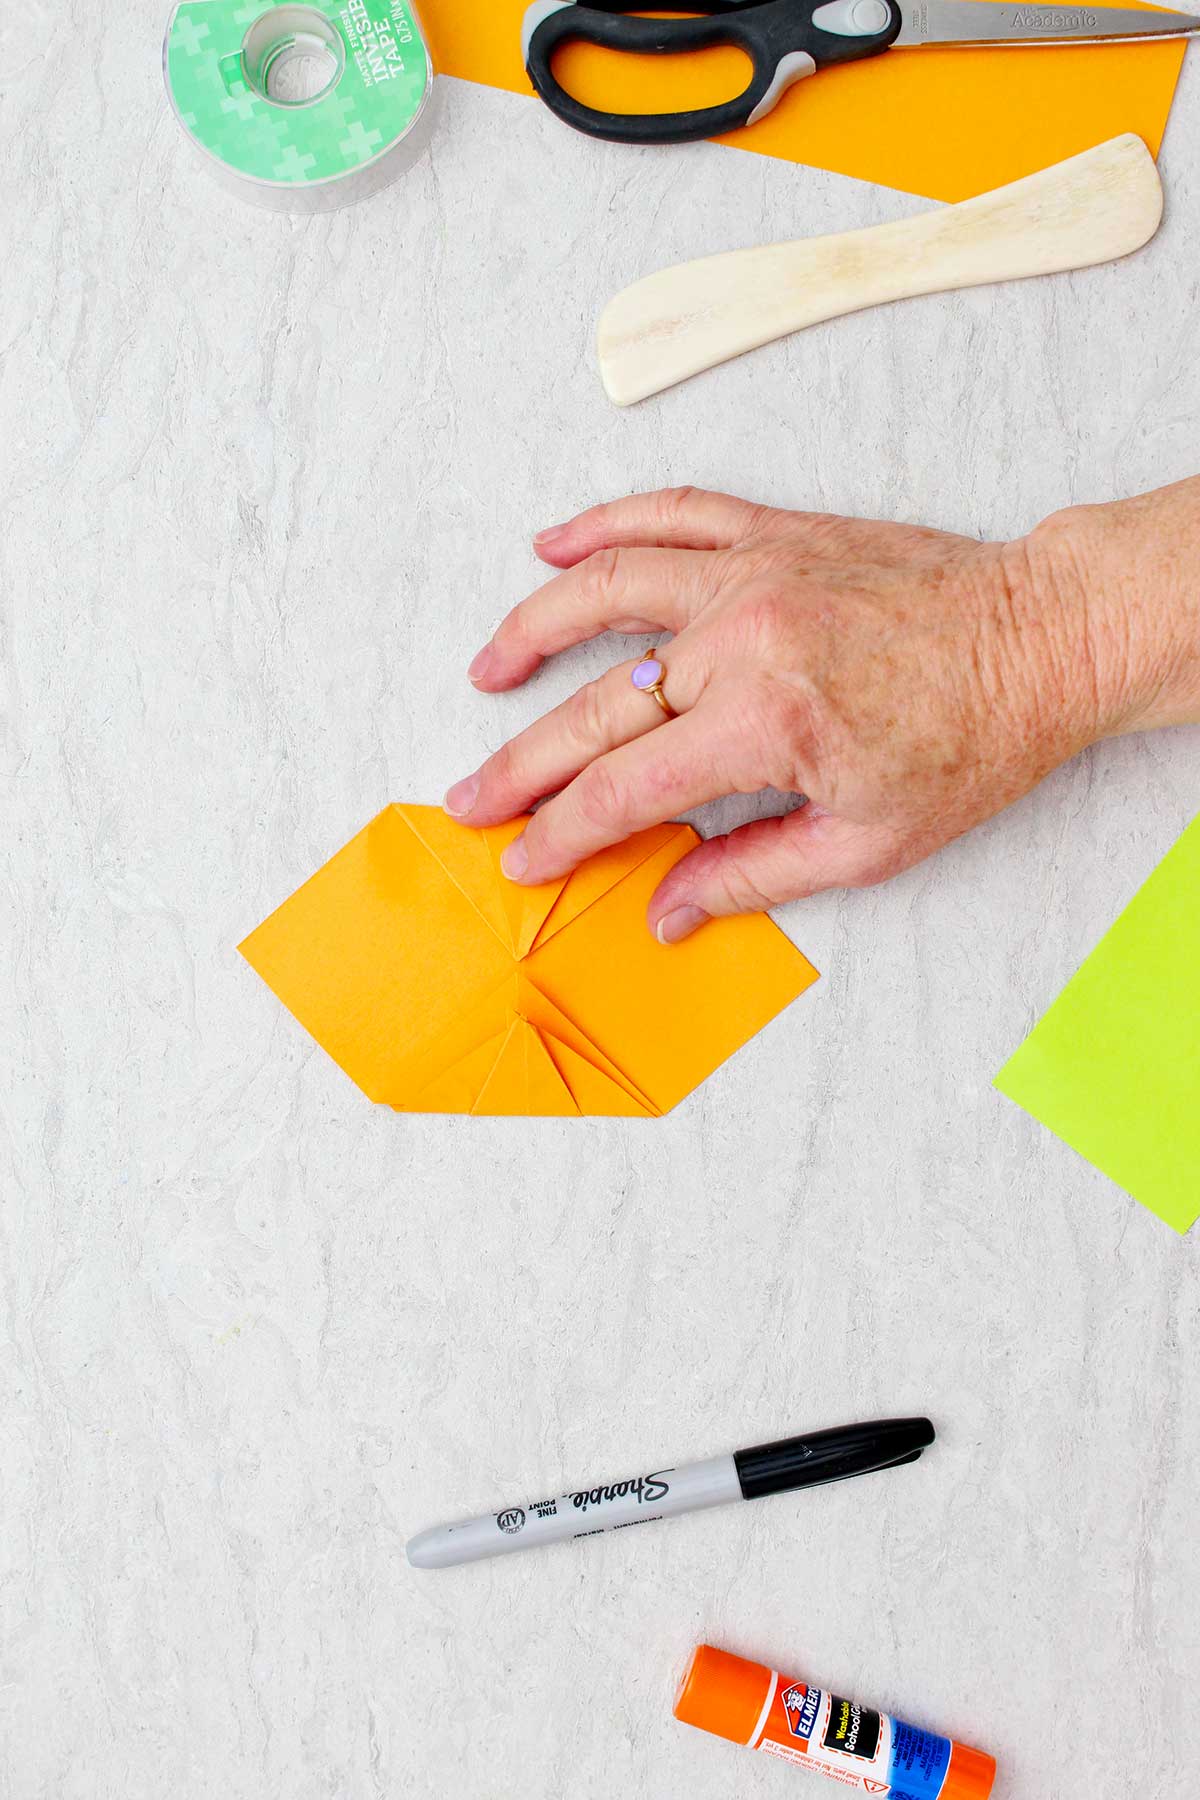
Hold the right corner (top layer only) and fold the edge below that corner towards the center crease of your diamond. Crease the fold well.
Hold the right corner that this fold has created and pull the top edge down towards the center crease and press well. See the picture.
Turn the paper over. Now using the left corner of the diamond paper fold the bottom edge towards the center crease. Crease well
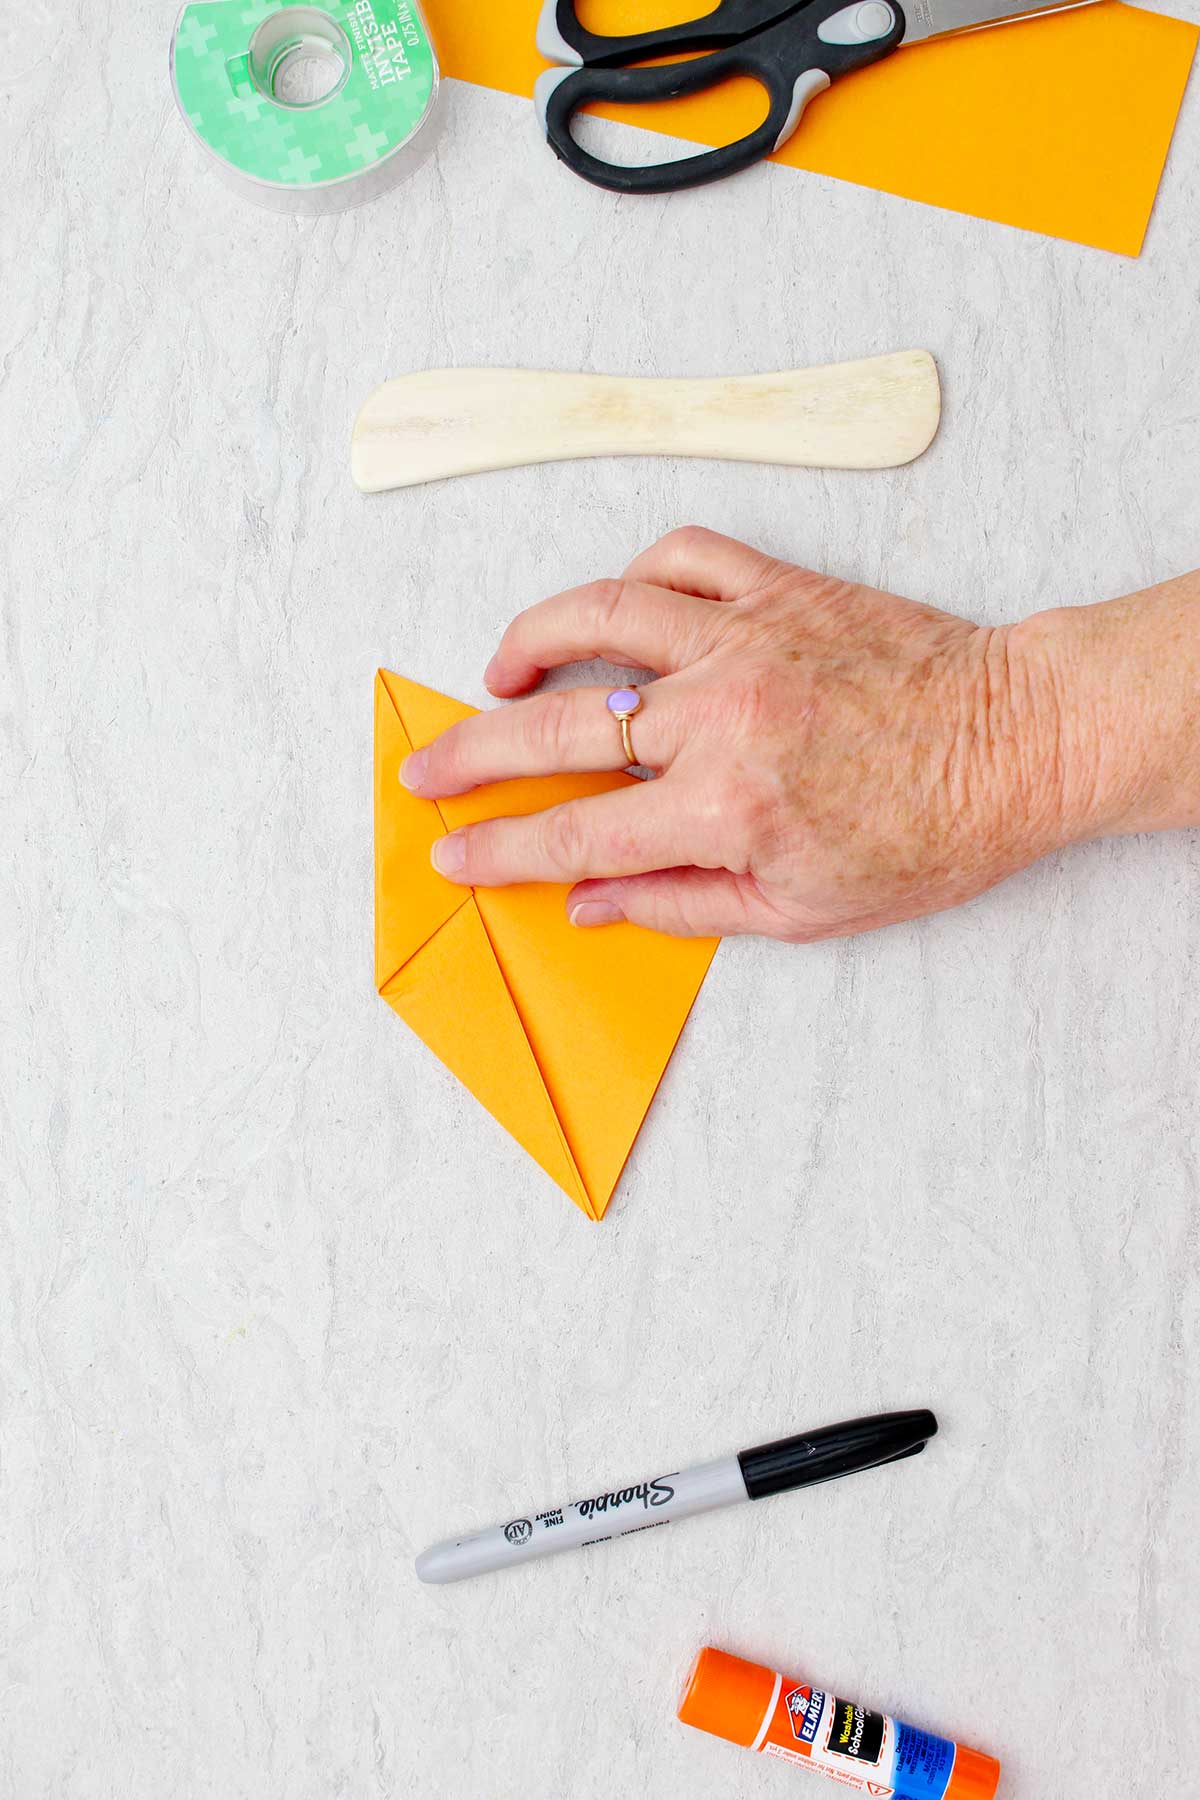
Hold the top left corner that this fold has created and pull the top edge down towards the center crease. Crease well
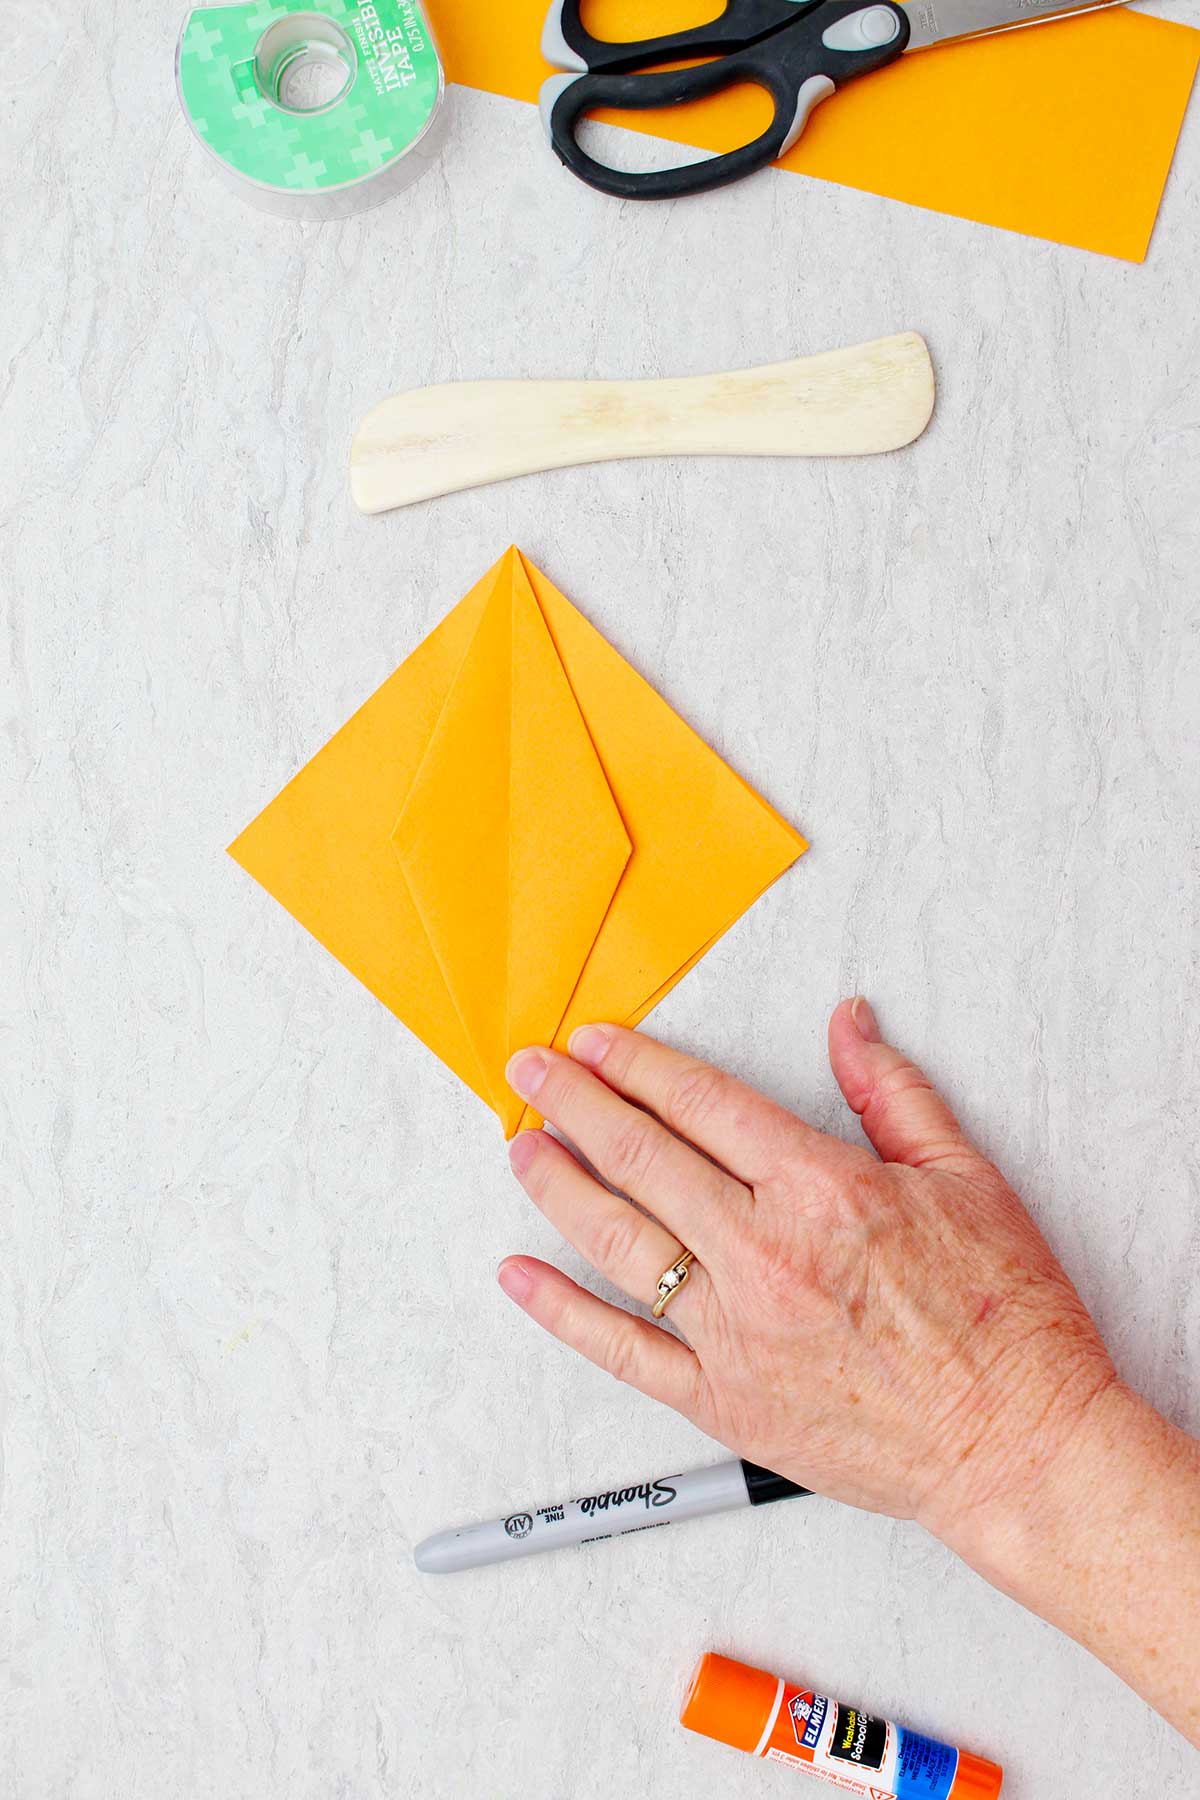
Pick your paper up and pull open these two new folded areas so that you see a long diamond shape in front of you. Then pull the two back flaps out underneath this so you see the diamond on top of your larger diamond square.
Completing the pumpkin
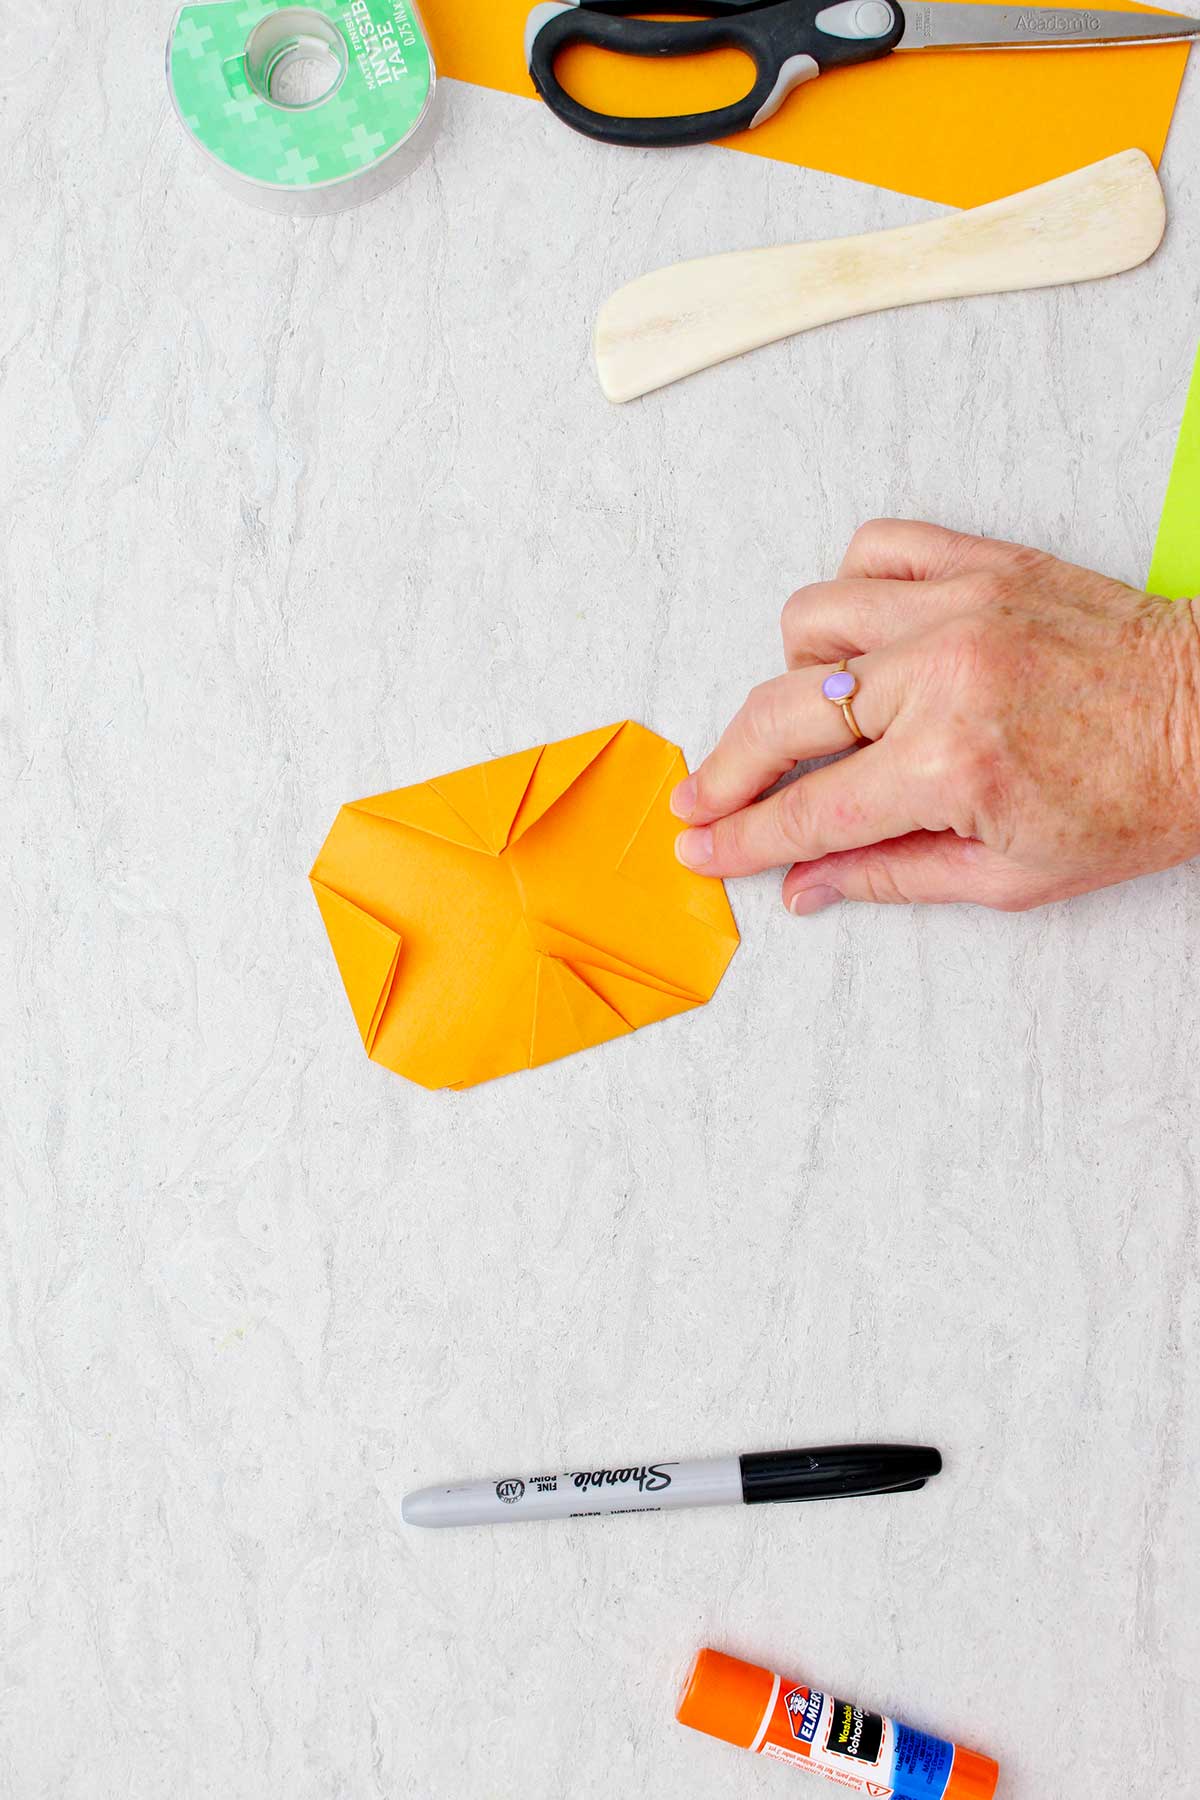
Turn this whole paper over and find the center point of the up and down crease line of your diagonal folded paper. I put a ruler or a piece of paper from the right corner to the left corner of the diamond. Then I could see where that center point was.
Now fold the top corner down to the center point. This is where a bone folder is helpful, as you want to crease this fold well. Then fold the bottom corner (all the overlapping points) of the paper up to the center point as well. Crease the fold well.
I like to put a piece of tape over where the two corners meet in the center to hold them in place.
Now fold the right corner in about halfway to the center point and then do the same on the left side. Flip your paper over and you have your pumpkin!
Stem & Jack-O-Lantern Face
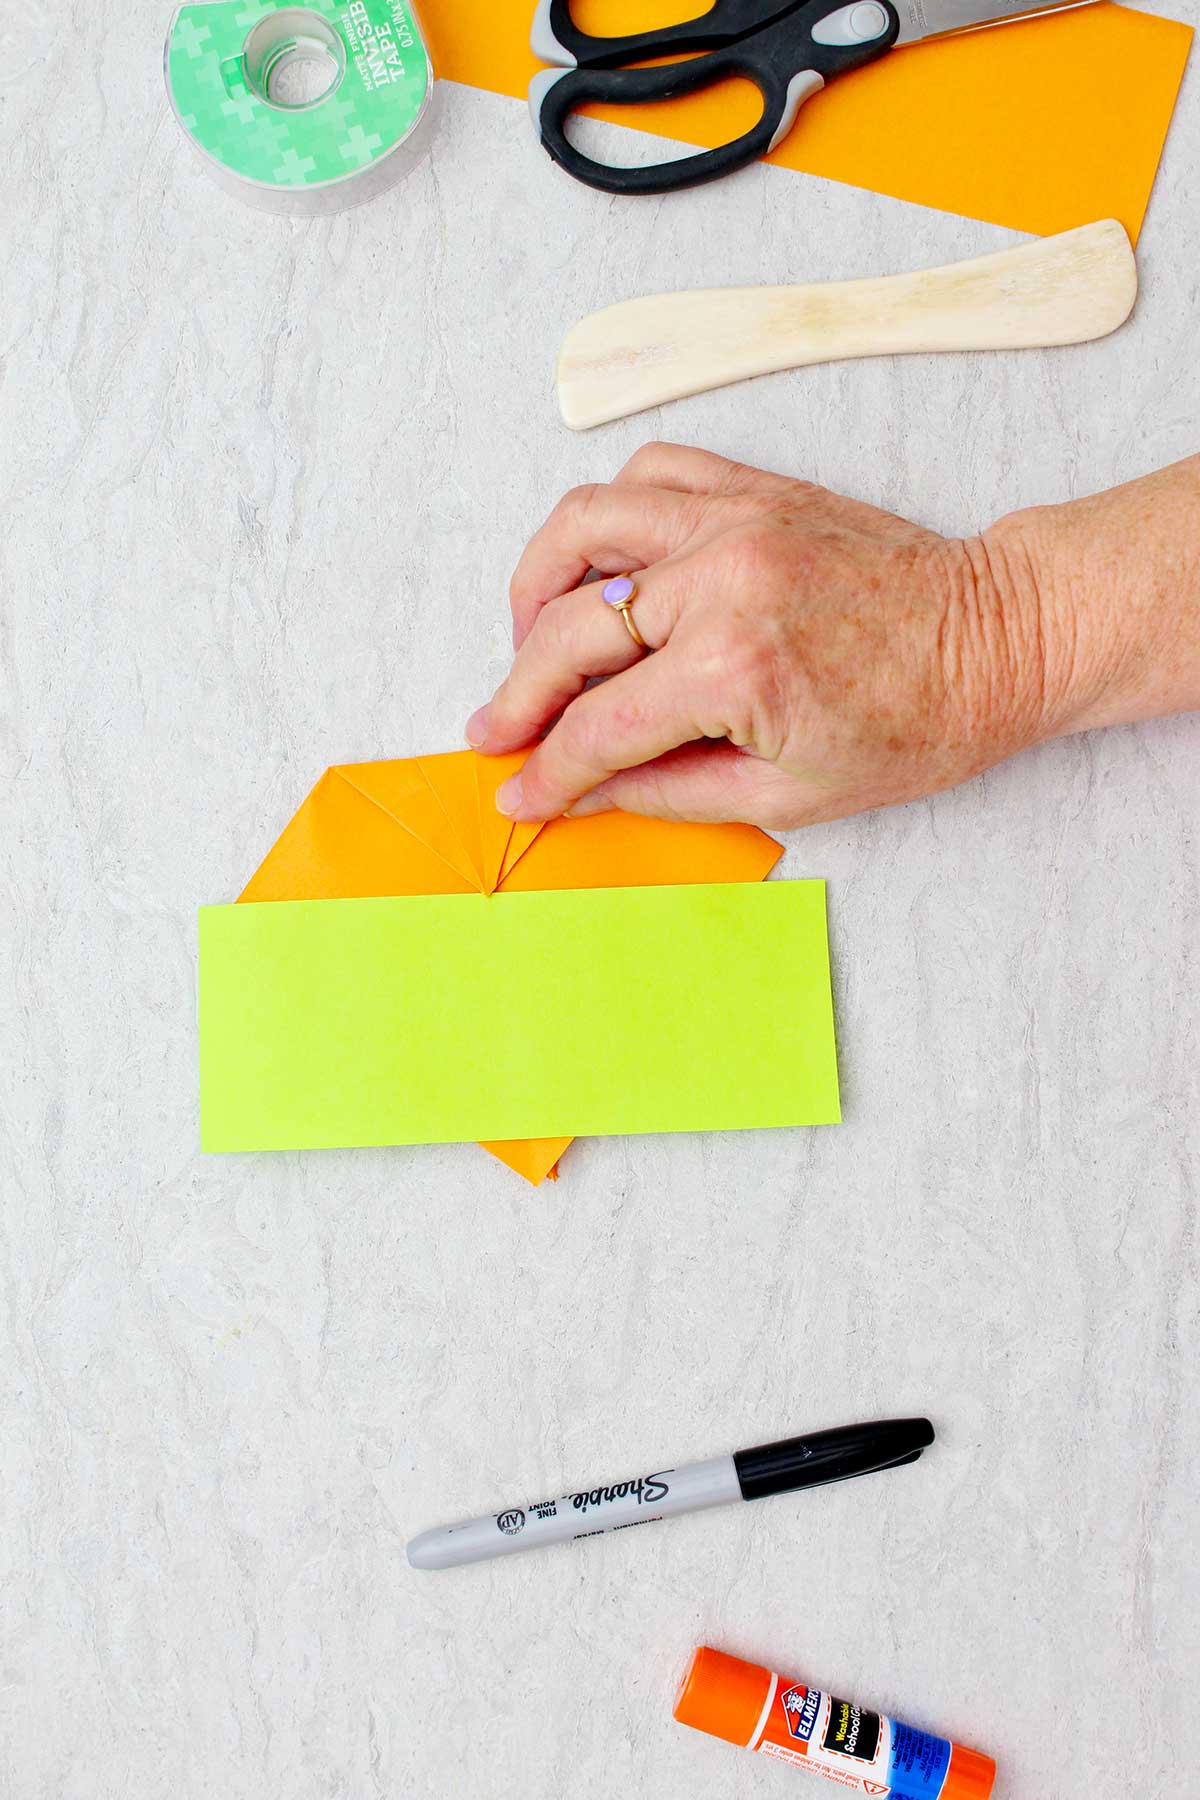
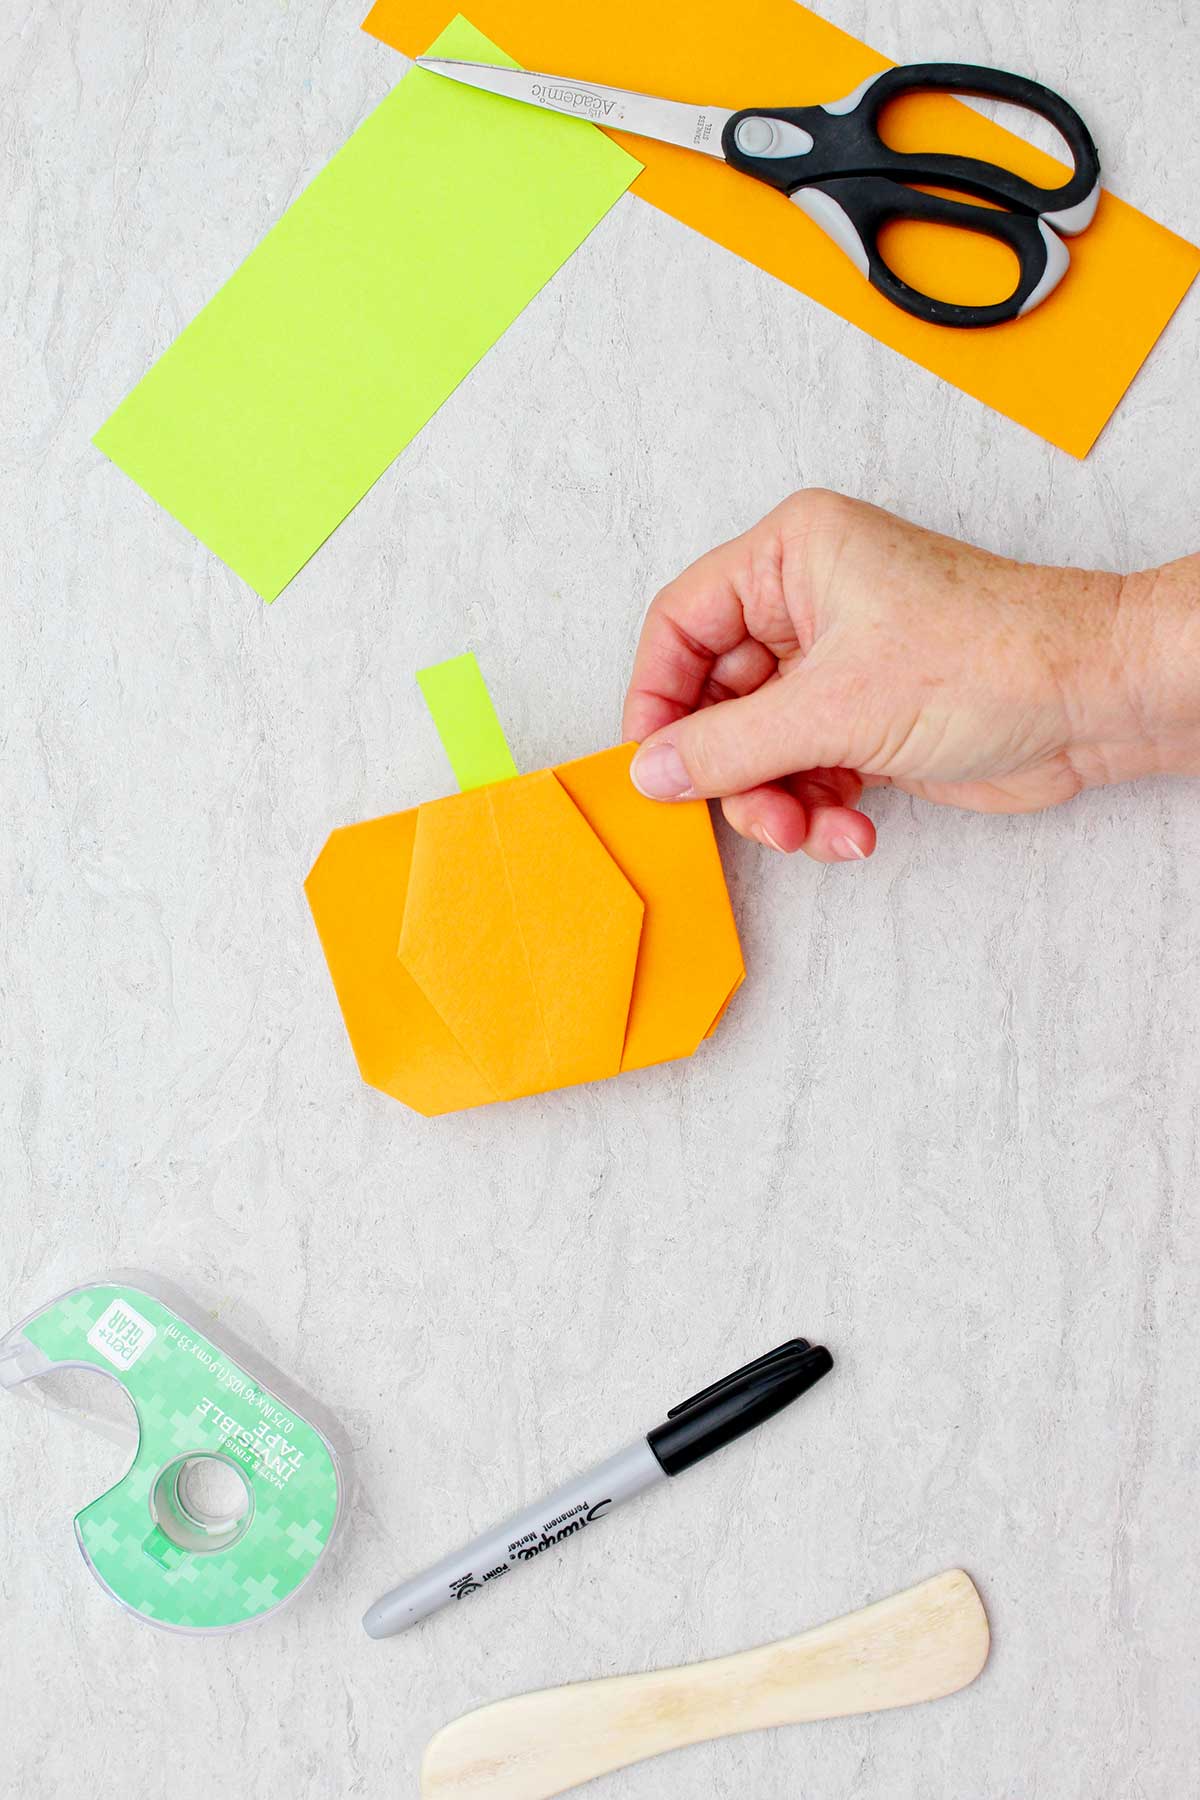
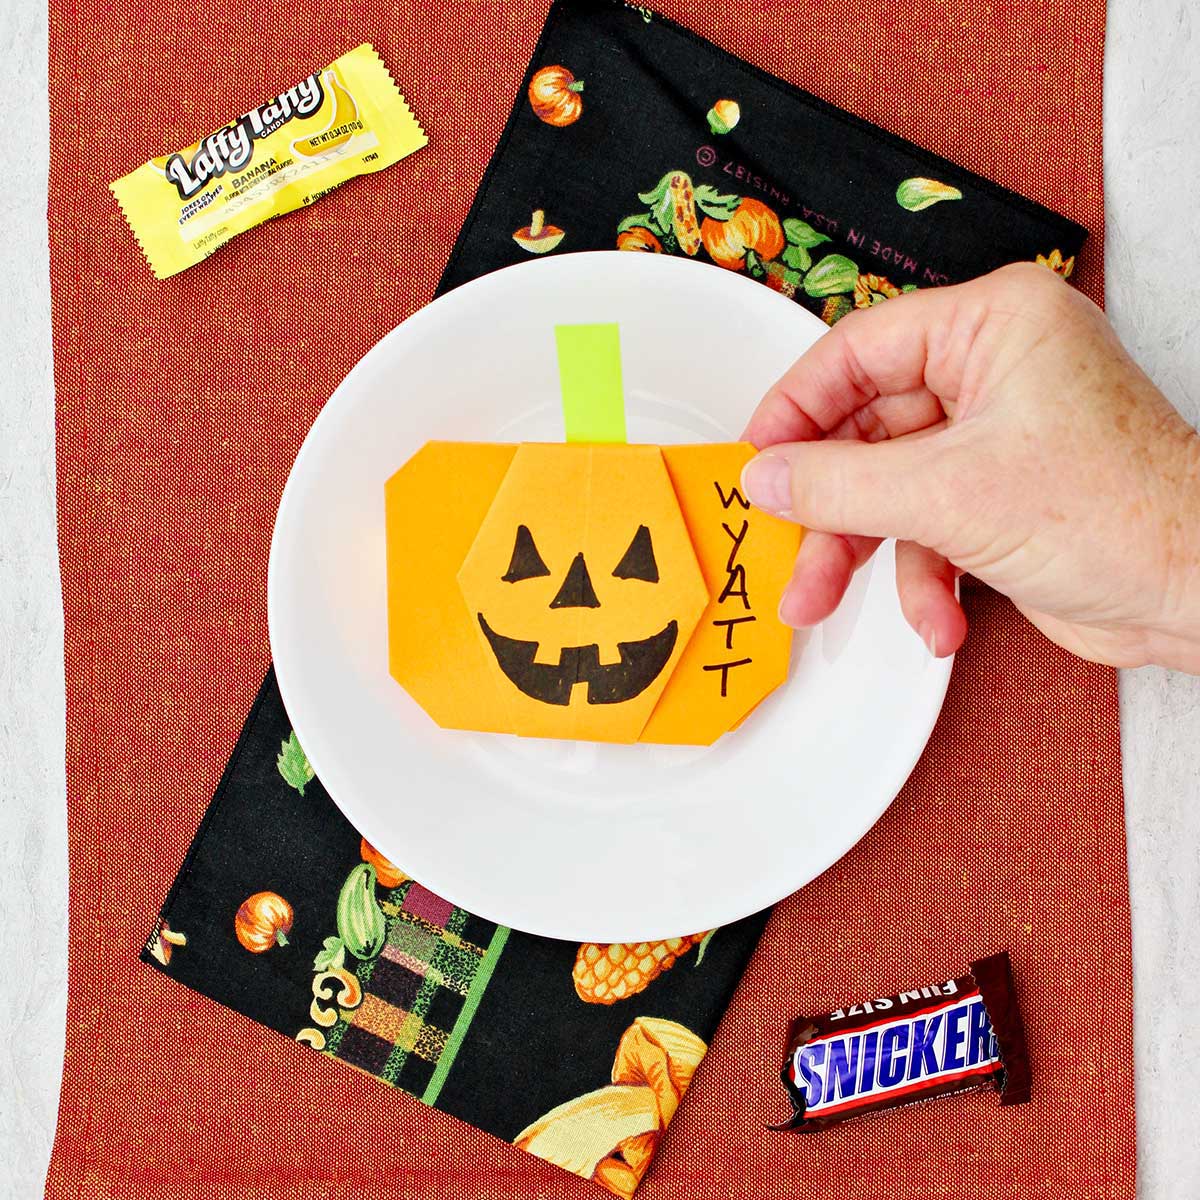
I cut a small piece of contrasting paper into a rectangle and use a glue stick to glue it to the top for a stem.
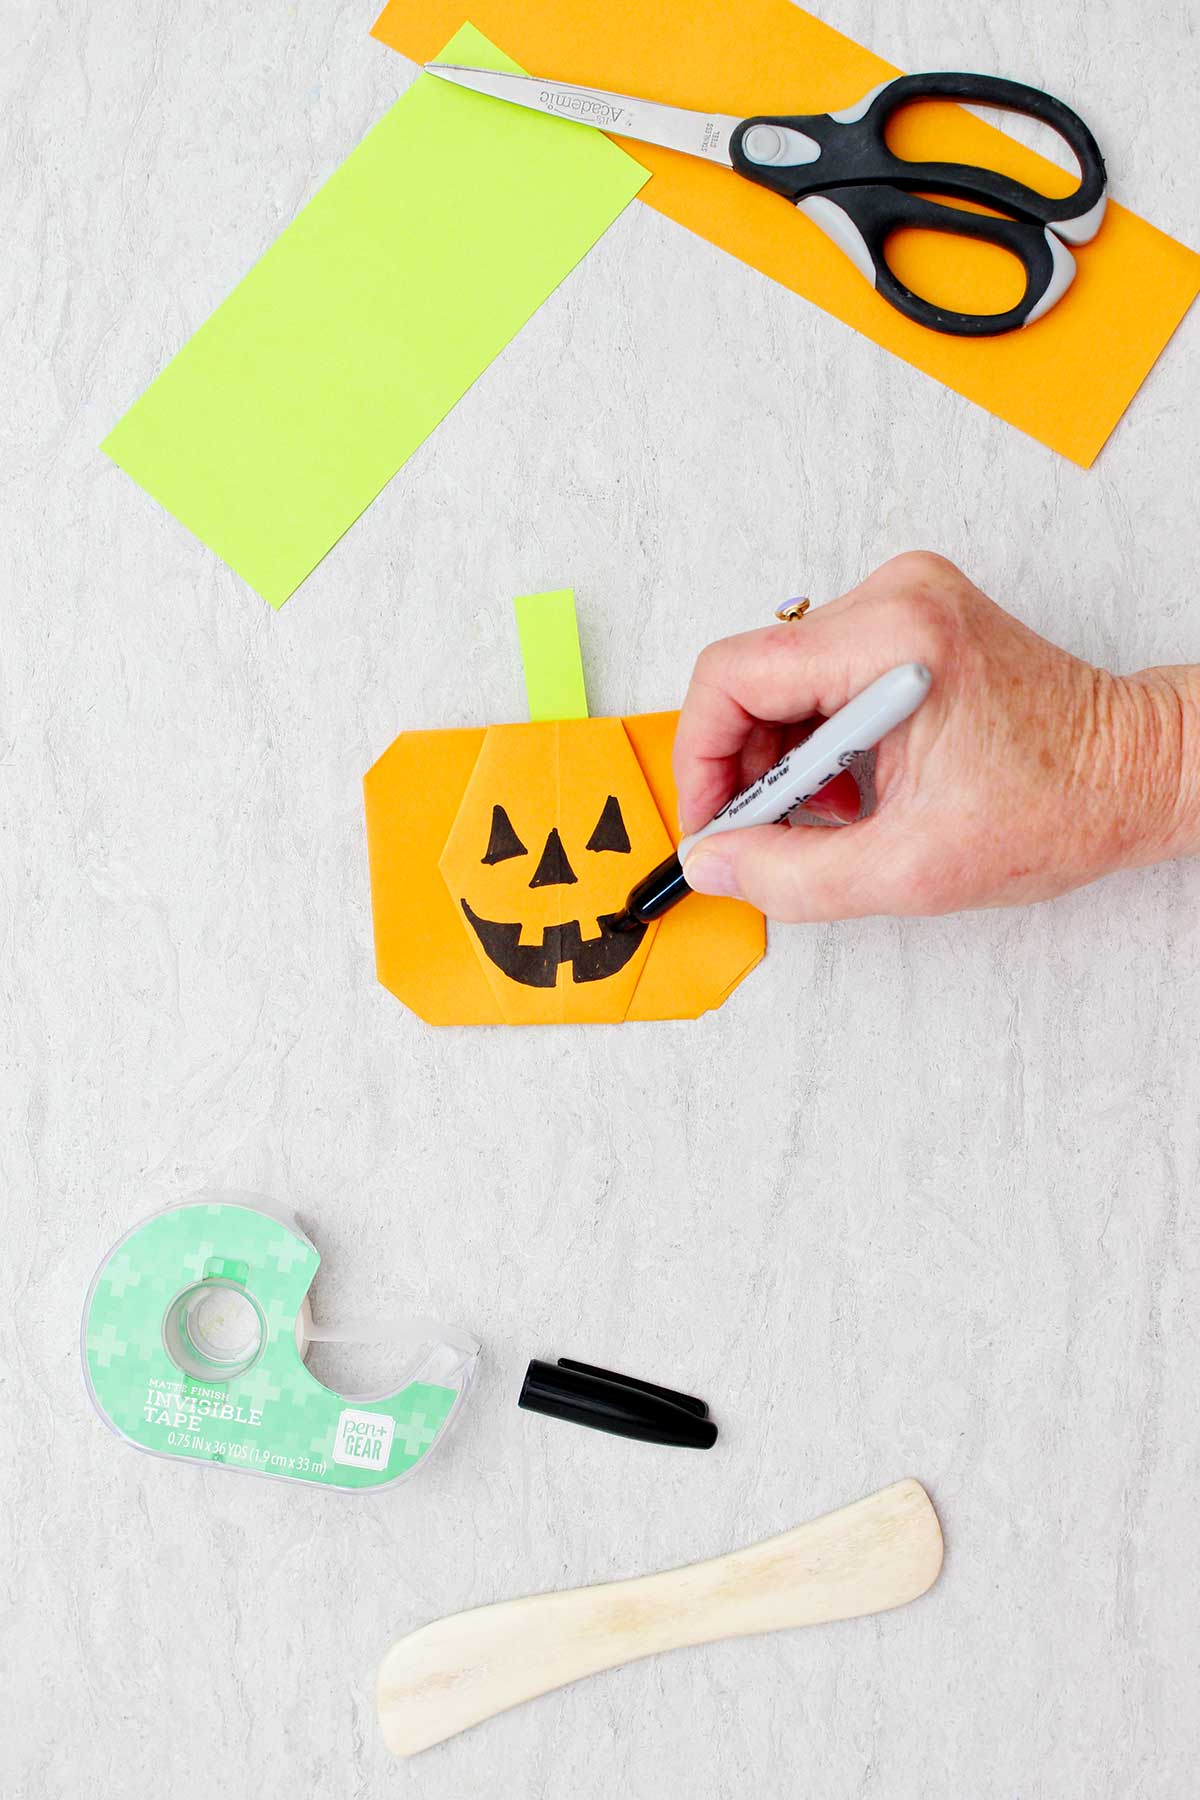
To make this a Jack-O-Lantern, use a black sharpie and draw a pumpkin face on the front of your origami pumpkin!
The two triangle pieces on the right and left cause your paper pumpkin to sit up. Which makes it look nice if you use it for a place card on the table. Just write the person's name on the pumpkin and they will know where to sit.
Craft Tips for this Origami Pumpkin Tutorial
A few tips to make this craft even easier.
- Tape- Place a piece of tape on the back to hold down the top and bottom triangle.
- Accuracy- Be as accurate as possible with your folds. Match edges and corners well.
- Crisp folds- Use a bone folder, the side of a pen, or the handle of a scissors to press and make the fold crisp.

Craft Variations-
Want to switch things up? Here are a few ways you can customize and play with this craft.
- Color- Make your pumpkin hot pink, lime green, purple, or any other color you want to!
- Curly Q- Tape on a little curly cue made from a pipe cleaner next to the stem. Trick or treat card-use your origami pumpkin as a trick or treat card. Tape candy to the back. Handed out to your friends.
- Garland- Make a series of pumpkins and tape them onto a twine to make a Garland.
- Uses- Tape candy to the back of the origami pumpkins and use them for Trick-or-treats for school friends! They are cute place cards for dinner in the fall.
FAQ
The origami pumpkin instructions along with the pictures and video make this step by step origami pumpkin easy for you and the kids. You will be successful in folding an origami pumpkin, easy!
People also ask: How do I fold an origami pumpkin step by step and how do I fold an origami pumpkin for beginners. The answer above and my origami pumpkin instructions found above answer these questions too!!
To fold an origami pumpkin, you can use either origami paper or copy paper cut to a square shape. Use solid colors or designed paper!
More DIY Fall Crafts for Kids
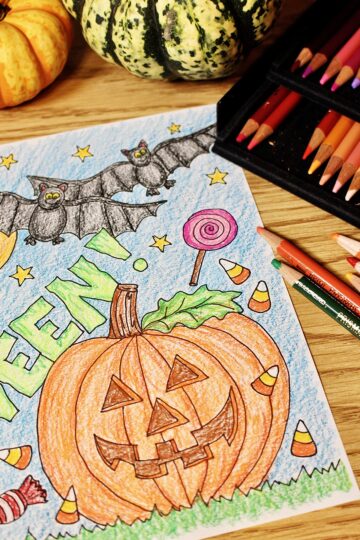
Looking for more easy Halloween paper crafts to try? Here are a few of our favorites:

Come join the fun at WTN!
Try this craft, leave a comment, rate it, and tag a photo with #WelcometoNanas wherever you post.
Fold an Easy Origami Pumpkin for Fall
Equipment
- bone folder is an optional tool to press on creases
Items Required
- origami paper or plain copy paper in the color of your choice
- bone folder is an optional tool to press on creases
- tape
- scissors
- glue stick
- black sharpie
Instructions
- Use a piece of square paper like origami paper or cut a piece of copy paper into a square.Fold the square into a triangle one direction and unfold. Then fold the square into a triangle the other direction and unfold.Fold your square into a rectangle one direction and unfold. Then fold it in a rectangle the other direction and unfold.
- Turn the paper so that it is a diagonal in front of you on the work surface.Pull the corner on your right and the corner on your left up together so it makes an inward fold of triangles. This folds the paper square into a smaller square with these two small inward folds tucked inside. Please see the photo.Turn this square so that the loose corners are at the bottom and the paper is in a diagonal laying on the work surface.
- Hold the right corner (top layer only) and fold the edge below that corner towards the center crease of your diamond. Crease the fold well.Hold the right corner that this fold has created and pull the top edge down towards the center crease and press well. See the picture.Turn the paper over. Now using the left corner of the diamond paper fold the bottom edge towards the center crease. Crease wellHold the top left corner that this fold has created and pull the top edge down towards the center crease. Crease wellPick your paper up and pull open these two new folded areas so that you see a long diamond shape in front of you. Then pull the two back flaps out underneath this so you see the diamond on top of your larger diamond square.
- Turn this whole paper over and find the center point of the up and down crease line of your diagonal folded paper. I put a ruler or a piece of paper from the right corner to the left corner of the diamond. Then I could see where that center point was. Now fold the top corner down to the center point. This is where a bone folder is helpful, as you want to crease this fold well. Then fold the bottom corner (all the overlapping points) of the paper up to the center point as well. Crease the fold well.I like to put a piece of tape over where the two corners meet in the center to hold them in place.Now fold the right corner in about halfway to the center point and then do the same on the left side. Flip your paper over and you have your pumpkin!
- I cut a small piece of contrasting paper into a rectangle and use a glue stick to glue it to the top for a stem. To make this a Jack-O-Lantern, use a black sharpie and draw a pumpkin face on the front of your origami pumpkin!


Leave a Reply