Don’t miss this Cute DIY, Button Flowers in a Salt Shaker! This craft for kids repurposes old or new buttons and wire to create flowers. They look sweet in a salt shaker as a vase for the final touch!

Jump to:
Cute Craft Alert: Button Flowers Craft
This is a sweet little button flower craft that I saw at craft fairs a number of years ago.
I picked one up to have in my home economics classroom on my desk. Ever since, I've wanted to try making my own!
This button flower bouquet is one of my favorite craft decorations. With just a few simple steps, I'll walk the kids through choosing button layers for their flowers, wiring them together, and displaying them in a cute salt shaker vase.
I thought they might like it as they see flowers blooming for the summer. It would make a cute decoration for a doll, or a nice gift too!

Supplies
You don’t need many supplies to bring these cute button flowers to life!
- Buttons – Either new buttons or old buttons will work to make these pretty flowers. Use a variety of button colors, shapes, and sizes.
- Floral craft wire – Use green floral craft wire for the stems and for holding the buttons together.
- Salt shaker – A vintage, thrifted, or new salt shaker will be the vase that holds your button flowers.
- Ribbon- Tie ribbon at the top of the salt shaker.
- Wire cutters – Floral wire is easy to bend, but you don’t want to use a regular scissors to cut the wire. So a pair of wire cutters will come in handy.
- Felt – Use some green felt for leaves (optional).


Steps to Make a Button Flower DIY
Button flowers
Take your buttons out and find two or three buttons that will stack up and look like a flower. Place the largest one on the bottom and a variety of colors, sizes, and shapes looks nice.
Make about 10 to 15 groupings of flower buttons.
Use a piece of craft wire (18-22 gauge wire) to thread up through one hole on a group of your buttons. Then go down through another hole on the buttons. You may have to improvise, depending what your buttons look like and how many holes they have.


Twist the wire below the button. Make sure that the buttons are about halfway across the wire before twisting. Complete all of your buttons in the same manner.
If you would like leaves, make some small teardrop shaped green felt leaves that are about 1 inch long. Poke the wire stem through the wider end of the teardrop shape and push the leaves up underneath the flower buttons.


Salt shaker vase
Compare your flower buttons to the height of your salt shaker. You will need a variety of stem lengths.
Cut your wires to a variety of lengths (with a wire cutters). So that the tallest flower is higher than your salt shaker by almost the same distance as the shaker is tall. For example, if your salt shaker 3 inches tall make your tallest flower about 2 ½ to 3 inches taller than that.


Begin placing your wire stems through the holes of the salt shaker. You’ll want the tallest ones in the center and then make the stems a little shorter for the holes that are around the center one.
Bend and arrange the wires, trimming them to the right size so that it makes a nice looking bouquet.
Tie a ribbon to the top of the salt shaker.
That’s it! These are fast and simple to make. You can make them in a variety of colors and use a variety of salt shaker types.
Do you need to give a gift to a teacher or your mom? This craft would be perfect.


Craft Tips
These tips can help make button flowers in salt shakers even easier!
- Buttons – Make flowers that are all the same color just different hues, some lighter and some darker. Or make flowers where the center is a different color. Make a variety of flower types or a whole flower bouquet of the same type!
- Salt shaker holes- Count the number of salt shaker holes and start by making that number of button flowers.
- Button holes- Choose buttons with at least two holes. When placing the buttons on the wire, go through the two opposite holes if there are 4 holes in the button.

Craft Variations
Here are a few variations you’re welcome to try with this button craft:
- Bead flower centers- Add a bead to the top of the button flower as a flower center.
- Leaves – You can make leaves from green felt in a teardrop or other shape. Add them to the flower stems.
- Wooden thread spool- Instead of a salt shaker, place the flowers in a wooden thread spool.

FAQ
Stack buttons (I use 3) into "button flowers". String these buttons on a bent piece of floral wire (through two button holes). Twist the wire as a stem.
18-20 gauge wire. I used a lightweight floral wire so it was green.
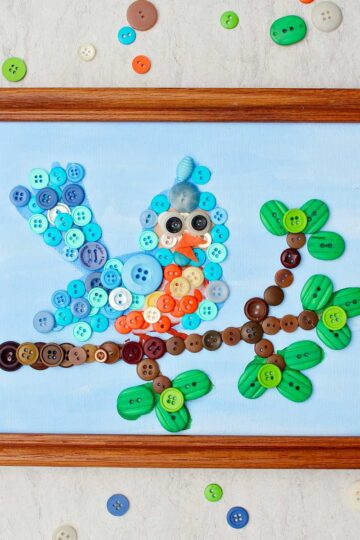
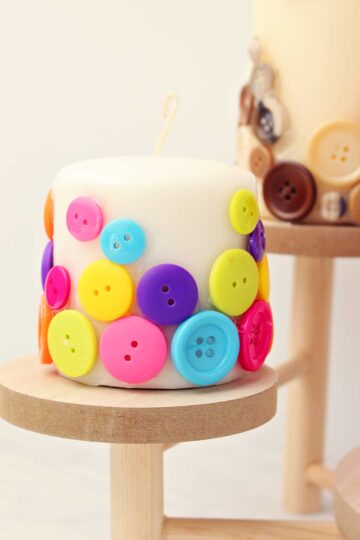
More DIY Button Crafts for Kids
Looking for more easy button crafts to try? Here are a few of our favorites:

Come join the fun at WTN!
Try this craft, leave a comment, rate it, and tag a photo with #WelcometoNanas wherever you post.
Want More Crafts?
Love getting crafts straight to your inbox? Sign up to receive a weekly email and get a free gift!


Cute Button Flowers in a Salt Shaker DIY
Equipment
- pair of wire cutters
Items Required
- new buttons or old buttons various sizes
- green floral craft wire 18-22 gauge
- vintage, thrifted, or new salt shaker
- ribbon
- pair of wire cutters
- green felt (optional)
Instructions
Button flowers
- Take your buttons out and find two or three buttons that will stack up and look like a flower. Place the largest one on the bottom and a variety of colors, sizes, and shapes looks nice.Make about 10 to 15 groupings of flower buttons.Use a piece of craft wire (18-22 gauge wire) to thread up through one hole on a group of your buttons. Then go down through another hole on the buttons. You may have to improvise, depending what your buttons look like and how many holes they have.Twist the wire below the button. Make sure that the buttons are about halfway across the wire before twisting. Complete all of your buttons in the same manner.
Salt shaker vase
- Compare your flower buttons to the height of your salt shaker. You will need a variety of stem lengths.Cut your wires to a variety of lengths (with a wire cutters). So that the tallest flower is higher than your salt shaker by almost the same distance as the shaker is tall. For example, if your salt shaker 3 inches tall make your tallest flower about 2 ½ to 3 inches taller than that. Begin placing your wire stems through the holes of the salt shaker. You’ll want the tallest ones in the center and then make the stems a little shorter for the holes that are around the center one.Bend and arrange the wires, trimming them to the right size so that it makes a nice looking bouquet.


Leave a Reply