Hobo Stove DIY
How about learning How to Make a Hobo Stove Out of a Tin Can to cook breakfast after an overnight with the grands? Just a tent in the backyard event is made unique by cooking your own breakfast over this small homemade cook stove.
Note: See end of the post for the origin of the name of this homemade upcycled cook stove!
Homemade Camping Stove
My neighborhood bestie and I spent a night at our pond and cooked breakfast on our Hobo Stove. We were young but we were Girl Scouts and were eager to try our skills.
We set up our tent and had a small cooler with our breakfast ingredients. The hobo stove was made and ready to go.
When we woke up in the morning it had rained a bit so the bits of wood we were planning on burning were wet. Since then, I’ve learned about the buddy burner you see in this post. Wish we had known to make one all those years ago!
We will make the buddy burner in a second post. Here's the link to find out how to make it!
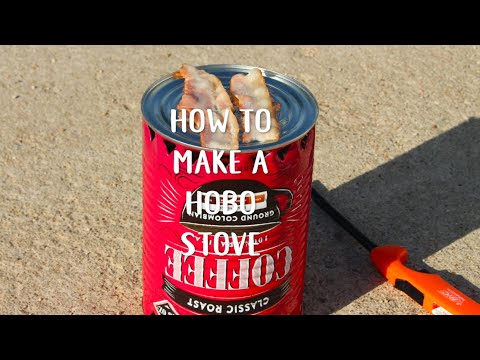
Watch a video about making and using a hobo stove if you prefer.
How to Make a Hobo Stove Out of a Tin Can
This is a really fast project to make.
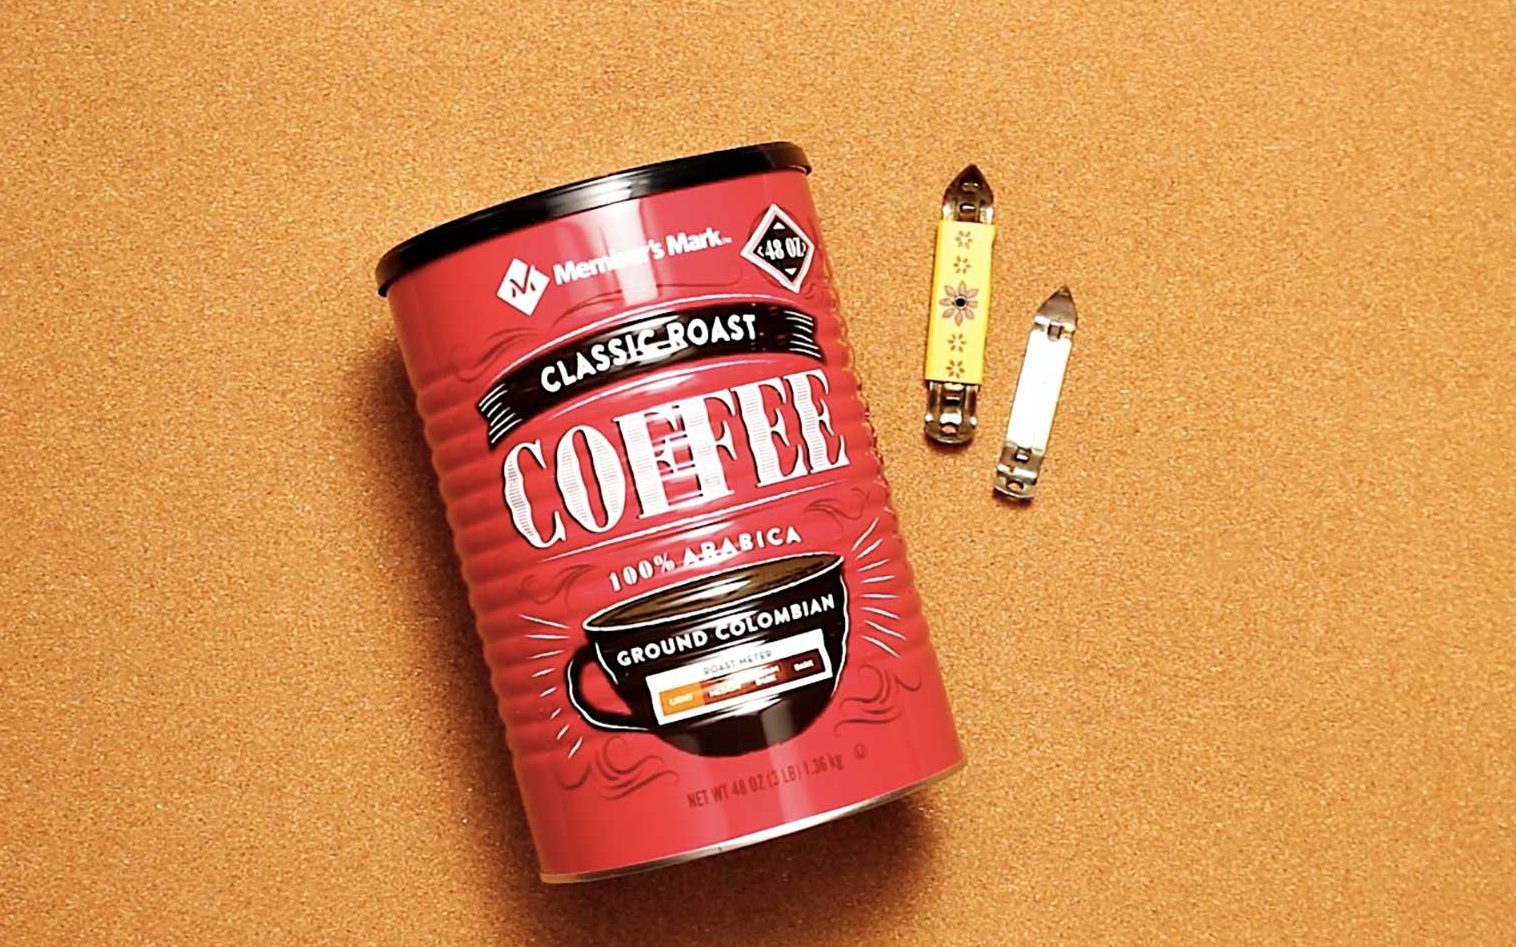
Use a very large coffee can or bulk food can. I love that this is an upcycle project! Restaurants or bulk food kitchens like a school or hospital use the really large cans in cooking. Just ask them if you can have a couple of if they would save you a couple.
Take care in this project as there are sharp edges on cans and the can will get very hot when cooking with it. This is not a project for littles and takes adult supervision at each step.
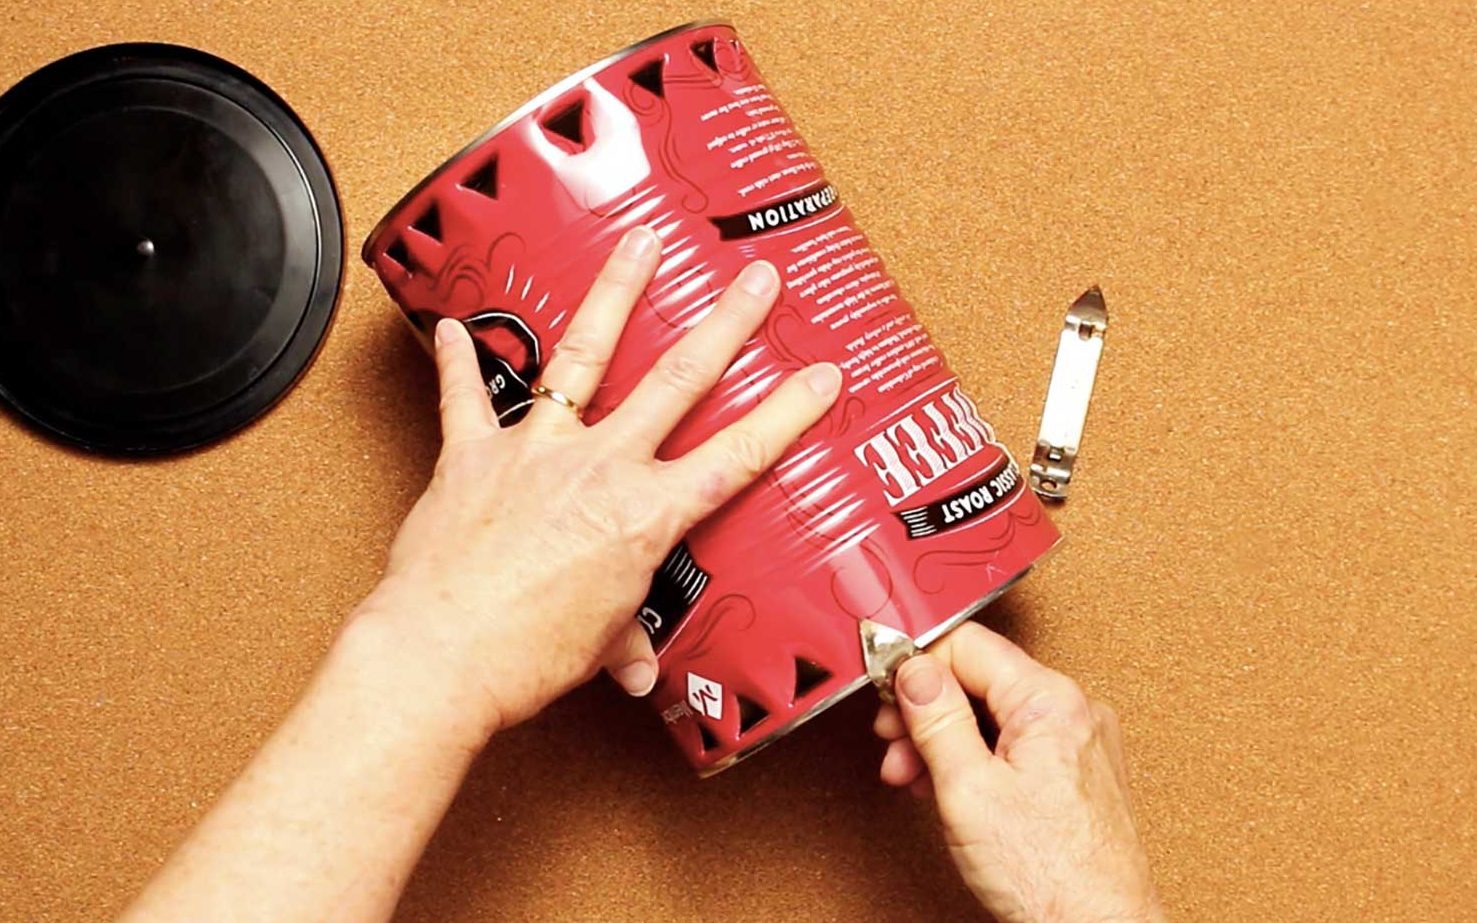
Only one end of the large can should be cut out, leave the other end on the can.
Church Key Can Opener? What?
We will use the church key can opener to make ventilation holes in the can. Did you know that this can opener had that name- church key can opener? I didn’t know that until a few years ago. Hmmm.
Make 8-10 holes along the top of the can’s side. Then make 8-10 holes along the bottom of the can’s side. I made about 14-15 holes along the top and bottom and I think that it was too much ventilation. The fire burned higher than needed while I was cooking, and I think that was the reason.
Note: My church key can opener bent the metal back, so it did not stick out with a sharp point. If yours does not, you may want to use a pliers and bend the pointed metal down against the can so you don’t get cut easily. Be careful though, the metal is sharp.
Homemade Hobo Stove
That’s all there is to the hobo stove!
DIY Camping Stove Cooking
When I was young, we lit fire to a small pile of sticks under our hobo stove as a heat source. This time I used a Buddy Burner, which you can make on your own from the step-by-step instructions in my other post.
Do your cooking in an area that is safe for a fire. This is not to be used in the house. A flat concrete or gravel area works well.
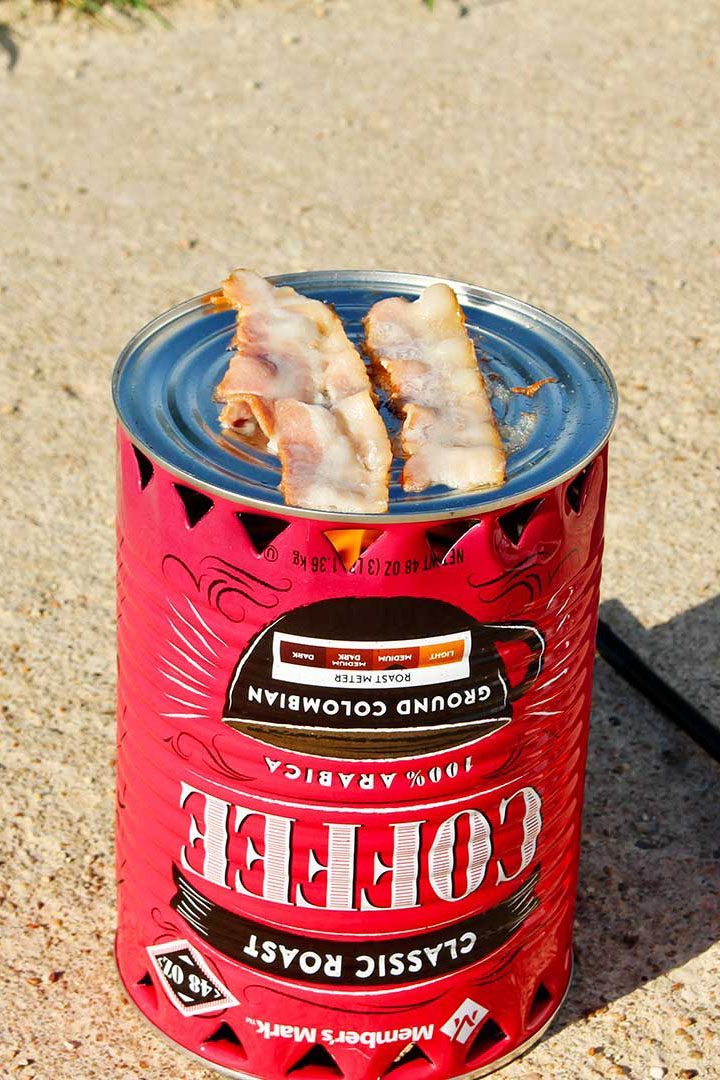
Place the heat source down and light it. Place the Hobo Stove over the lit material or Buddy Burner. The flat surface of the Hobo stove will be your cooking surface.
Note: A small skillet will sit on top of the stove if you want. It takes more heat energy to heat a skillet so keep that in mind for cooking.
Hobo Stove cooking
Give the Hobo Stove a bit of time to warm up. You want a hot surface when you place the food on top.
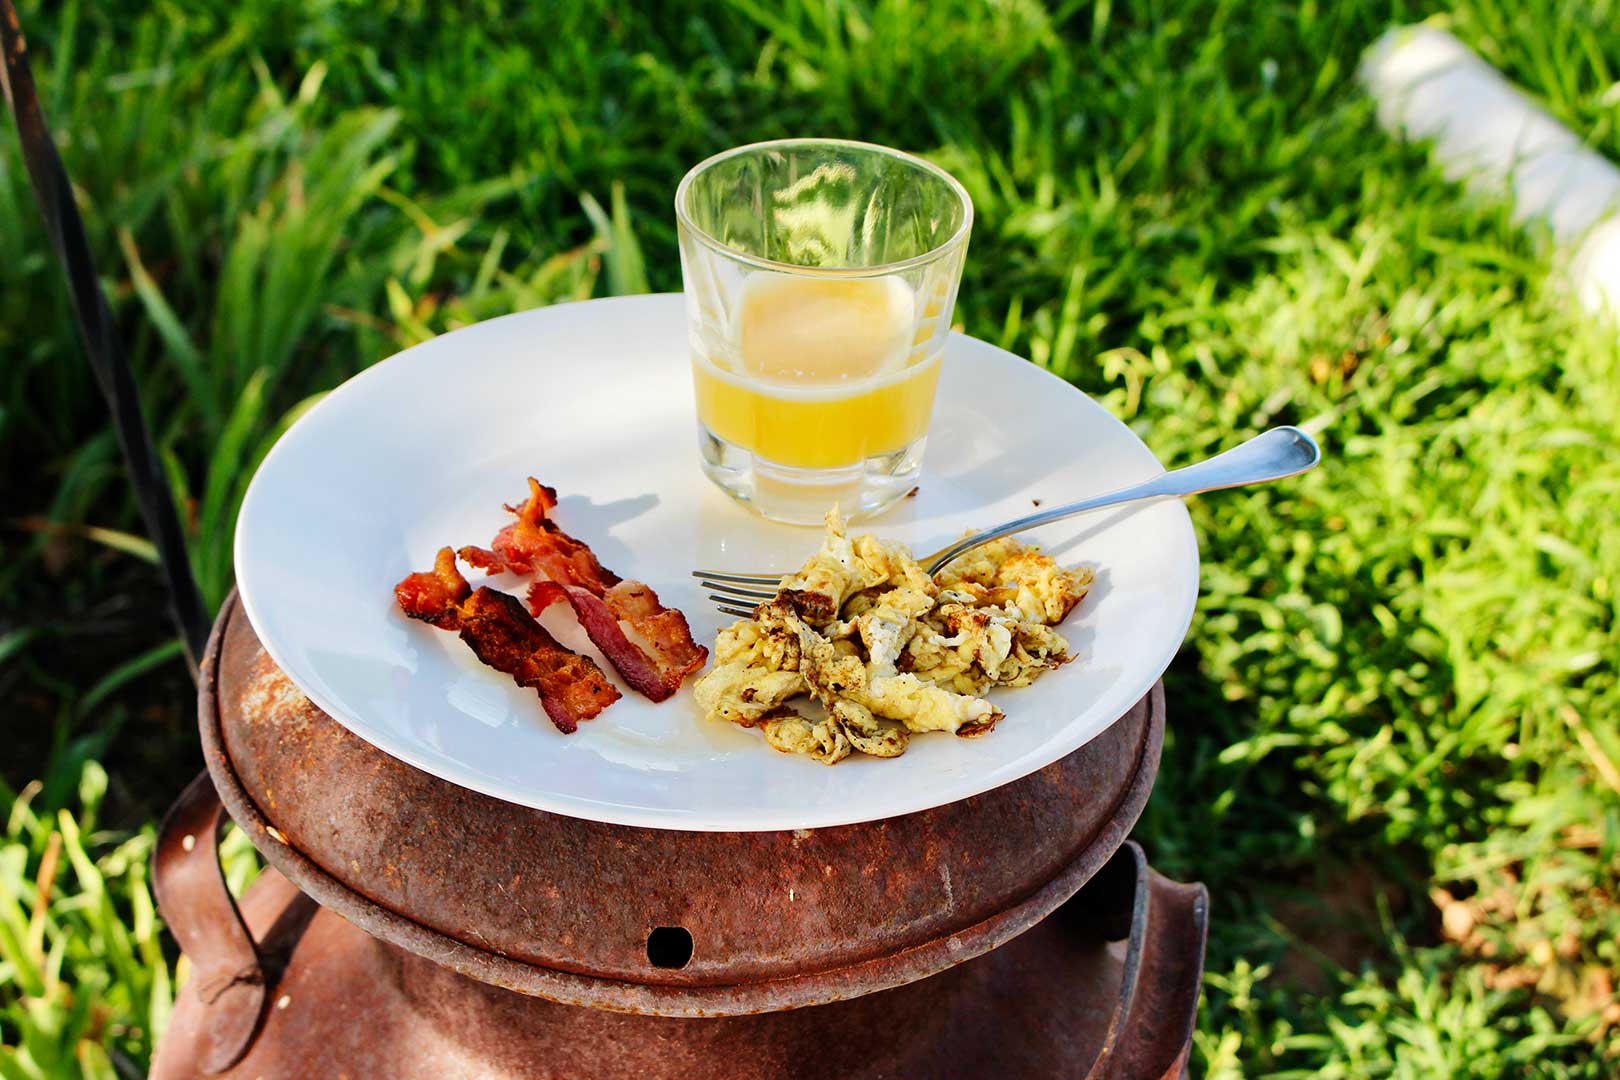
Start with bacon. If you don’t use bacon, place a bit of butter on the surface to prevent sticking.
Tip: Cut the bacon in half to fit on the can surface.
Let the bacon brown on one side and then use tongs turn to brown on the second side.
Remove the bacon and put it on a plate.
Scramble the egg.
Cook the eggs one at a time on the can. There isn’t room for more without spilling.
Crack the egg into a cup and scramble it up with a fork. Gently pour it onto the hobo stove.
Tip: Don’t pour the egg on as quicky as I did in the video! Some spilled off the edge!
Changes for next time
I have several things I would do differently in making a hobo stove again.
Choose a large tin can that has a removable label, so the heated paint isn’t an issue in cooking.
Make less holes in the can for ventilation, 8-10 on the top and 8-10 on the bottom would be enough, I think.
Leave the Buddy Burner flat on the ground, no need to place it up on anything.
Enjoy!
If you try this craft, let me know! Go ahead and leave a comment, rate it, and tag a photo with #WelcometoNanas wherever you post.
Come join the fun at https://welcometonanas.com
Name of stove explanation
Note: The term hobo has been used in the name of this stove over many, many decades. In this case it refers to a group of people that road the rails during the depression looking for work. They cooked on open fires and supposedly created this cooking stove. Very resourceful. There are many stories of how the term "hobo" originated and it was already coined in the late 1800s. This is what the cooking stove was called when I learned to make it and it is still found under that title in keyword searches. It is not meant to be derogatory.
More outdoor activities for kids:
Let's keep the fun rolling outdoors! Check out these awesome ideas to get out in nature and keep the kiddos entertained outside.
- 14 Activities to Get Your Kids Outside
- How to Make Bug Boxes from Recycled Materials
- Tree Leaf Identification Journal
- Kid's Obstacle Course
- Hole in One Frisbee Golf
- How to Make Your Own Diamond Shaped Kite
Supplies for How to Make a Hobo Stove Out of a Tin Can
- Large coffee can- bulk food size
- Church key can opener
- Pliers (optional)
- Bacon
- Eggs
- Spatula and tongs
- Eating utensils and plate


Leave a Reply