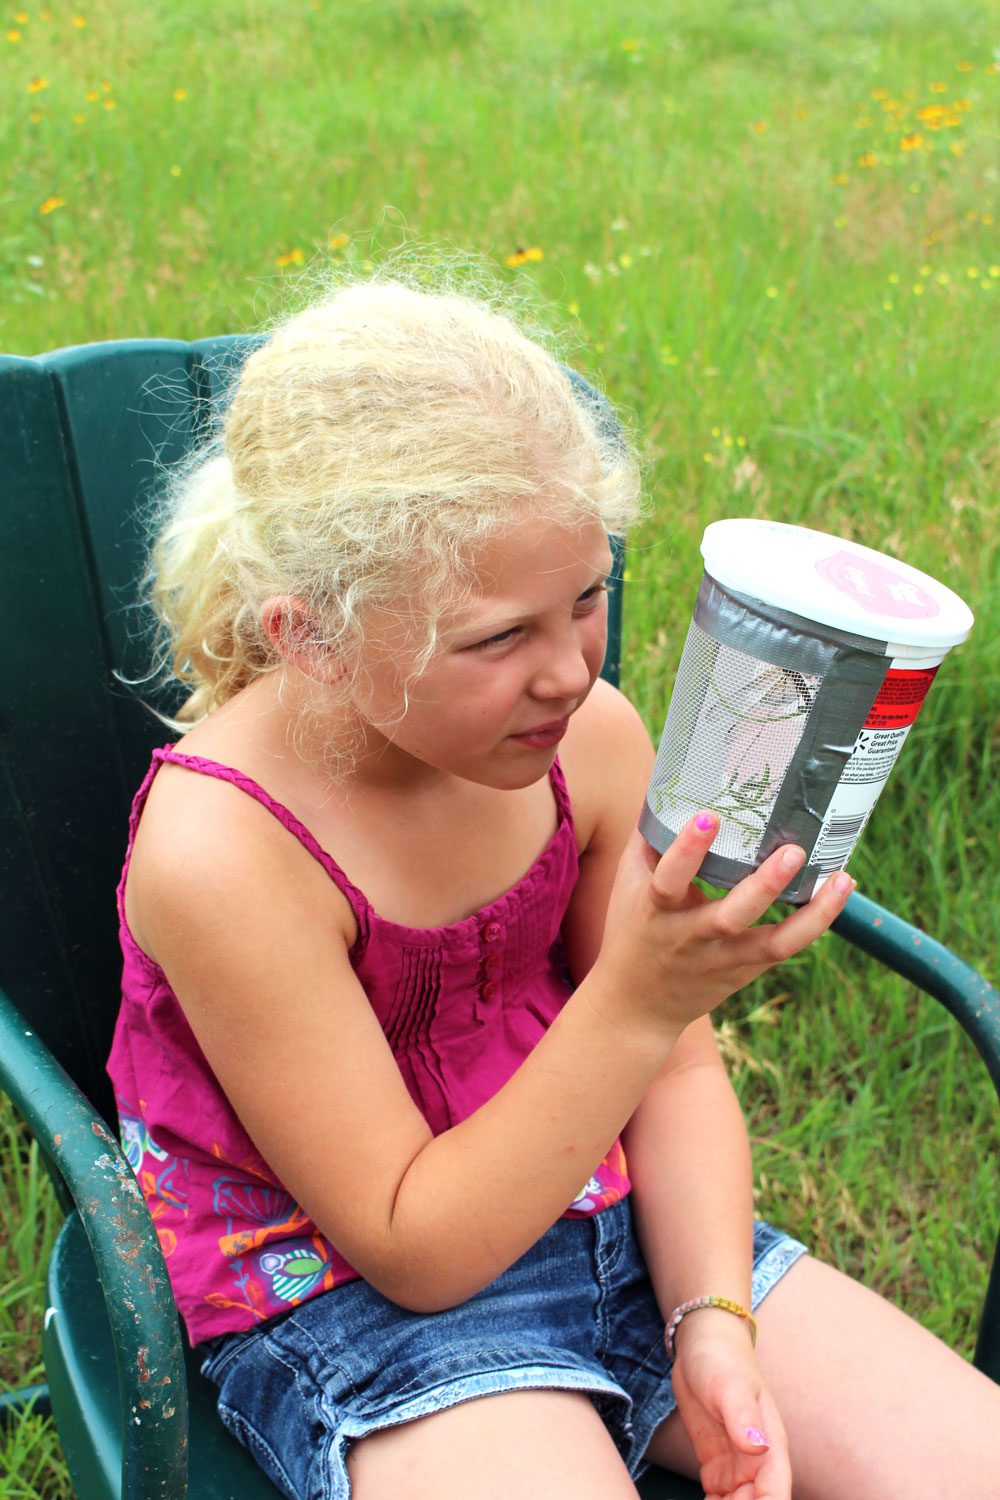
I love watching kids discover June bugs, ladybugs and lightning bugs outside in the grass or on the sidewalk. Let’s make a bug box with them to identify those bugs and observe them more closely!
Boxes for Bug Boxes
First I went to the store to purchase supplies, including a box with a pop off lid like a plastic shoe box. But after finding one, I then had the idea to look around for other fun box options! In the craft section I also found a small wooden box that had a lid that opened on hinges and had an opening for a picture. We’ll try putting screen in that picture opening.
Upcycled Bug Boxes!
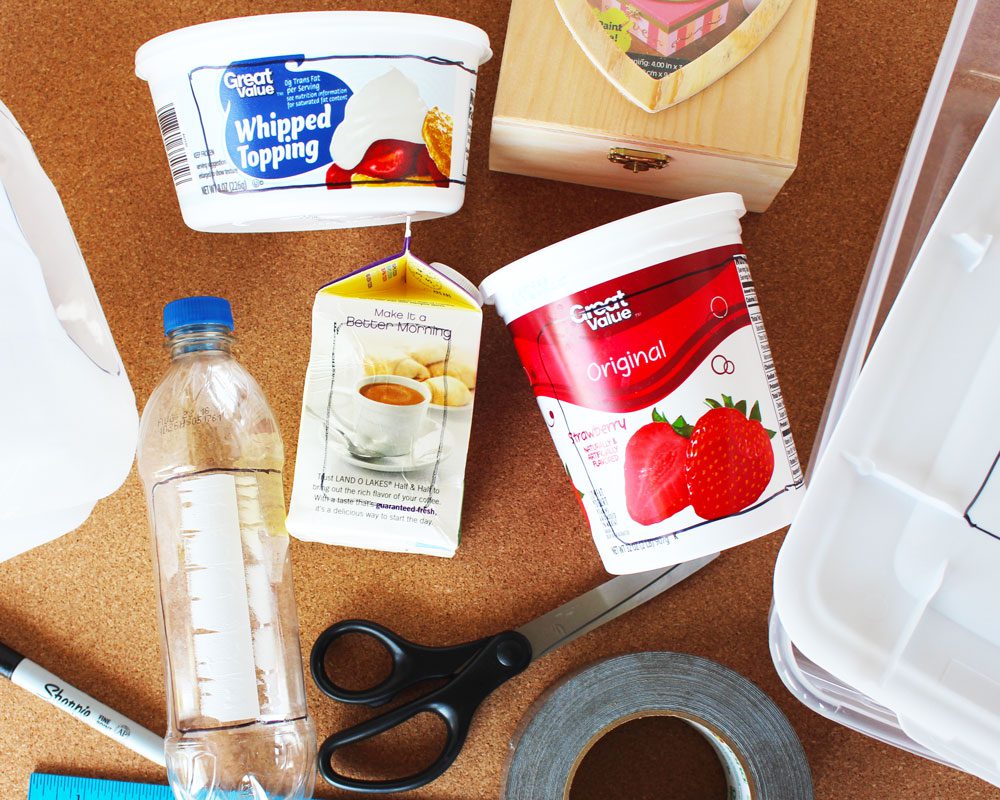
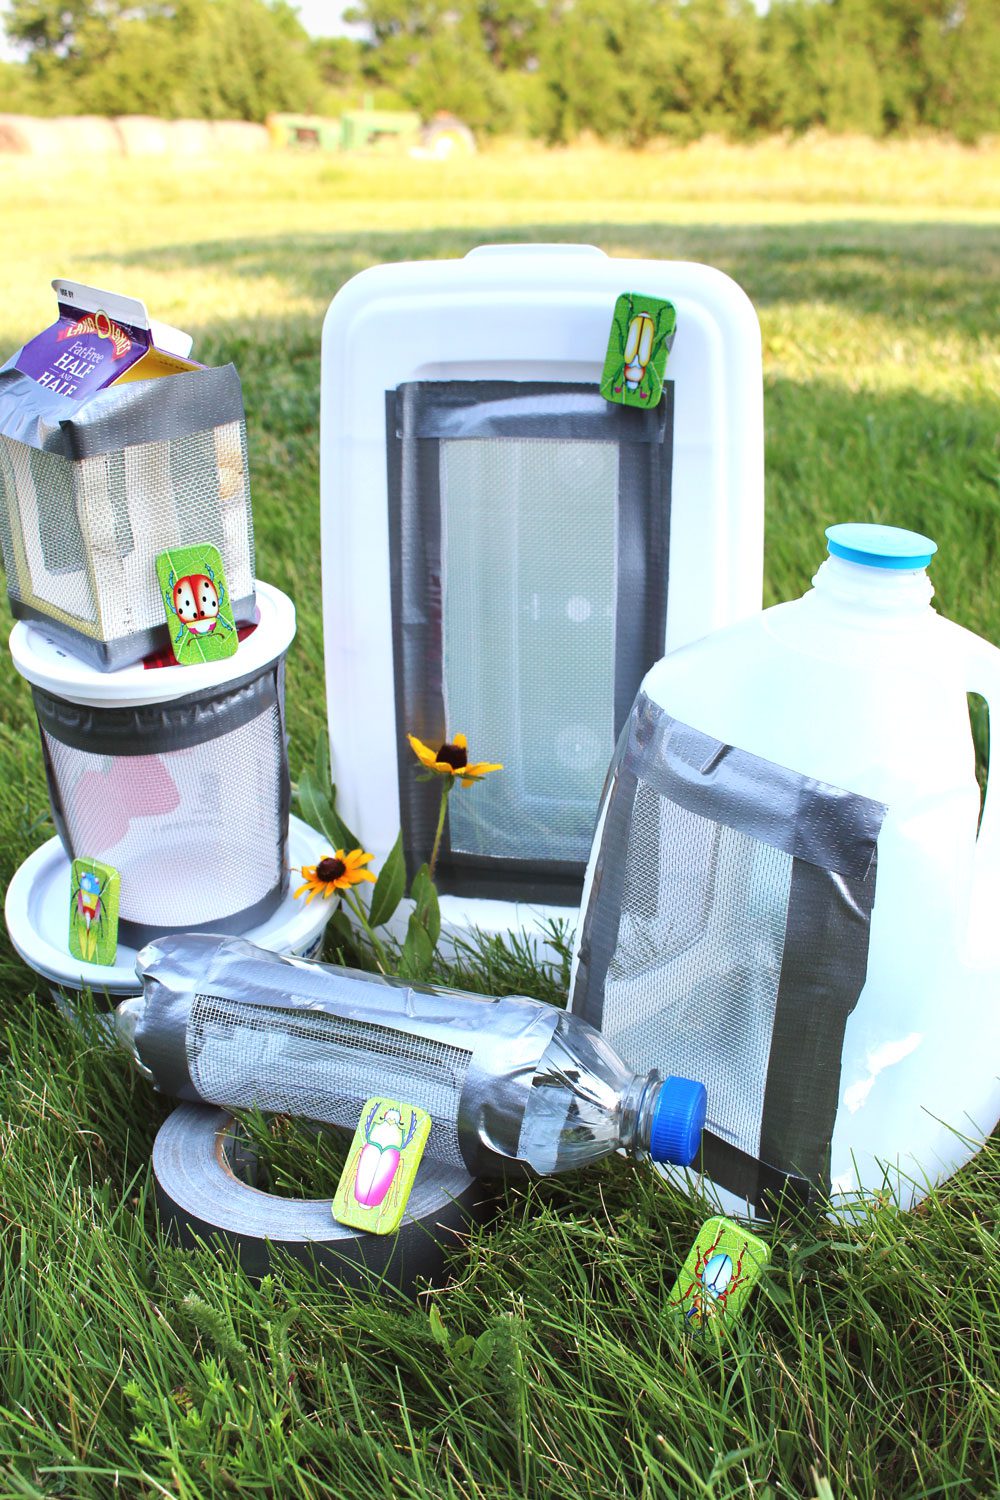
As soon as I got the supplies I started thinking of recycled options for the box. I found a milk jug, a cardboard milk box, a clear plastic pop bottle, a yogurt container, and a whipped topping container. I had all of these things ready for the trash or recycling - but instead, we can be trendy and up-cycle! Do wash them with dish soap to help the duct tape stick better.
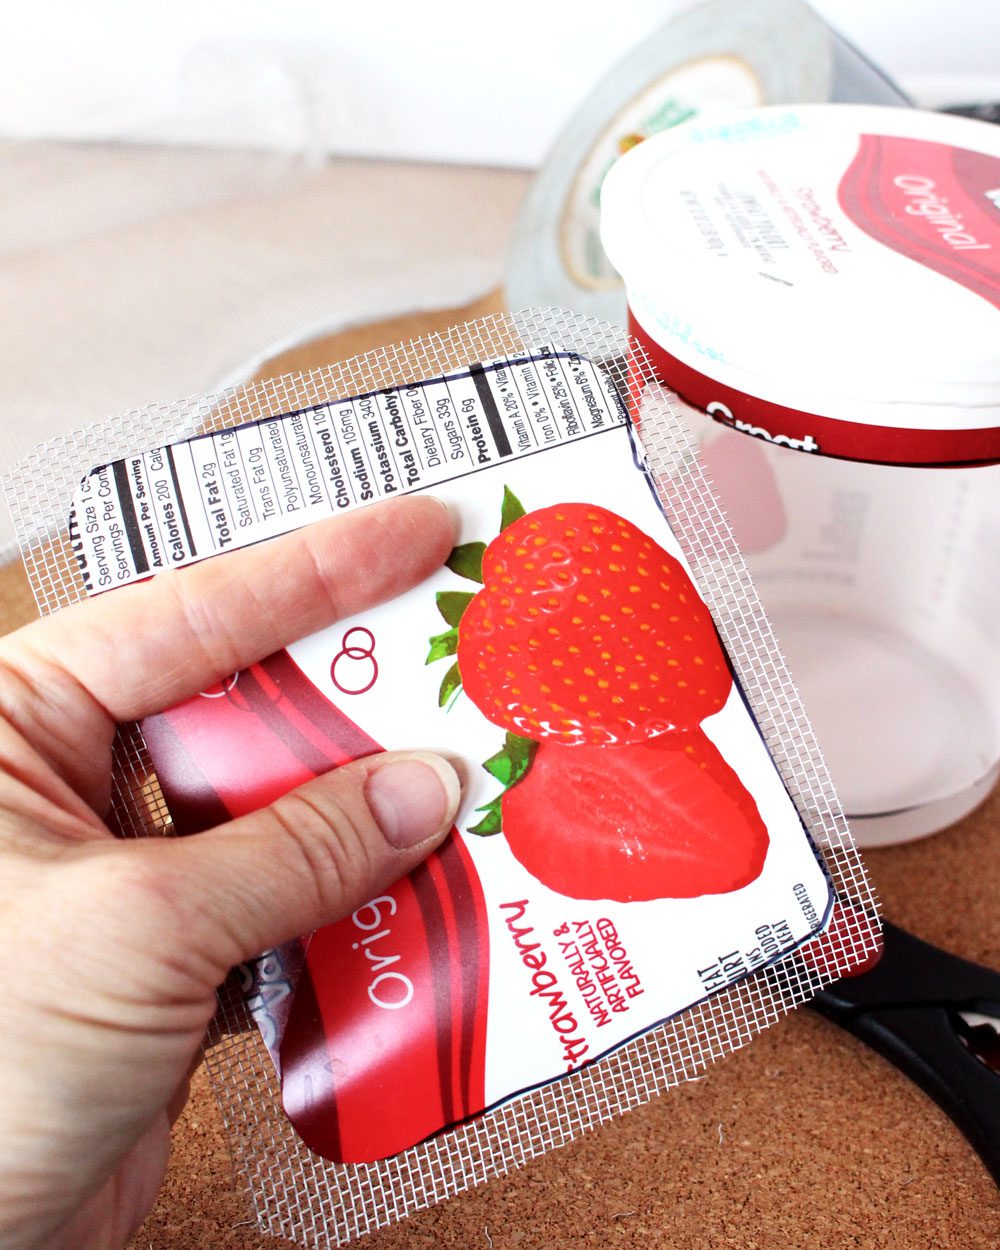
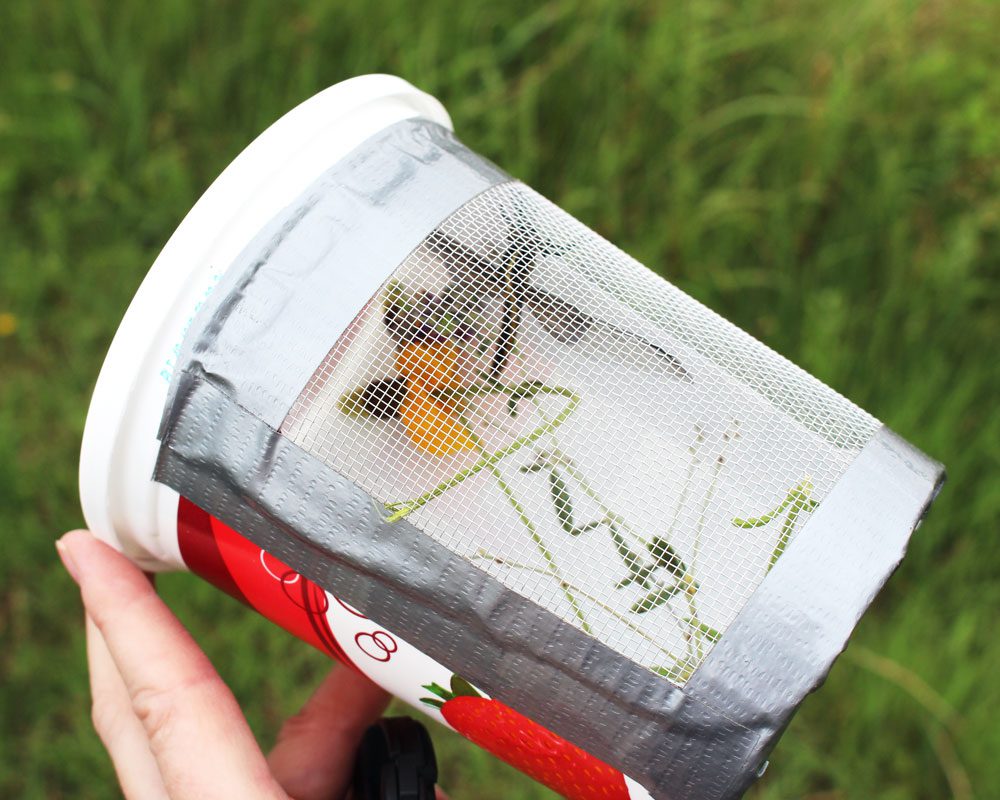
To create the simple bug boxes, we first cut a "window" in the side of the container. Using the cutout for reference, we then clipped a piece of wire mesh a little wider than the window. Finally, we placed the wire mesh over the hole in our container, and secured the sides with duct tape. This created the perfect opening to let the bugs breath and let us observe them!
For future bug box experiments, I would like to try a clear two-liter bottle and a larger half gallon cardboard milk or juice box. Also, I'd skip the whipped topping container as it was too flimsy with the side cut out.
Bug Box Jazz Up
Sure wish I would have thought to purchase duct tape with a fun pattern on it! But I already had the plain silver duct tape at home so I didn’t think of that until later.
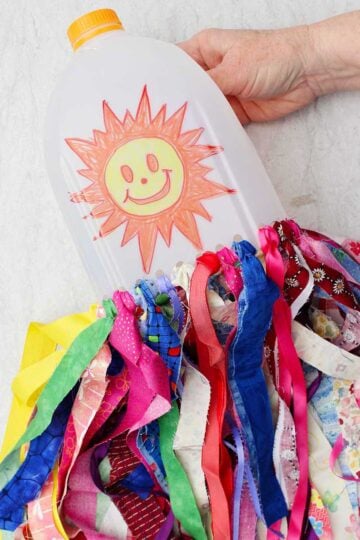
It would be possible to decorate the containers by gluing felt or craft paper over them and using markers. Permanent markers would draw on the clear plastic containers but that would not be the best with younger grands. They may end up decorating your table...or each other! We left ours plain this time.

Show Some Bug ID Please
With our up-cycled boxes in hand, we first stashed some grass and leaves inside them as an environment, then set out to find a few bugs. I have a bug identification book that I keep on hand and it was fun to look up the names of a few bugs we found. Then after observing for a bit, we released the bugs to live free!
Of course, I need to give a reminder that some bugs bite! Perhaps using gloves or a hands-off method of scooping them into the bug box would be wise!
Never Too Old...
The kids' favorite was a praying mantis and a dragonfly, they loved seeing them up close with their interesting wings and arms. Later though, we had high school girls go nuts over the lightning bugs, as they don't live in their state! (I thought lightning bugs lived everywhere!) They ran around chasing and catching them, giggling the whole time. It was so fun!
We are never too old for such things!
You'll Need:
- Up-cycled container such as a milk jug, yogurt container, or pop bottle
- Scissors
- Wire mesh
- Wire cutter
- Duct tape
- Bug identification book
- Optional: markers, stickers, and other decorations
Instructions:
- Give your recycled containers a thorough clean with soap and water, then make sure they are fully dry.
- Cut a window out of the side of your container with the scissors.
- Using the cutout as a pattern, cut a "screen" for the window out of the wire mesh that is at last a half an inch larger than the window cutout.
- Duct tape the wire mesh screen over the window of the bug box container.
- Add some grass and leaves to your bug box to create a simple environment, then head out to find some bugs!
- Use your bug identification book to learn about the bugs you catch, then after observing for a bit, set them free!




Leave a Reply