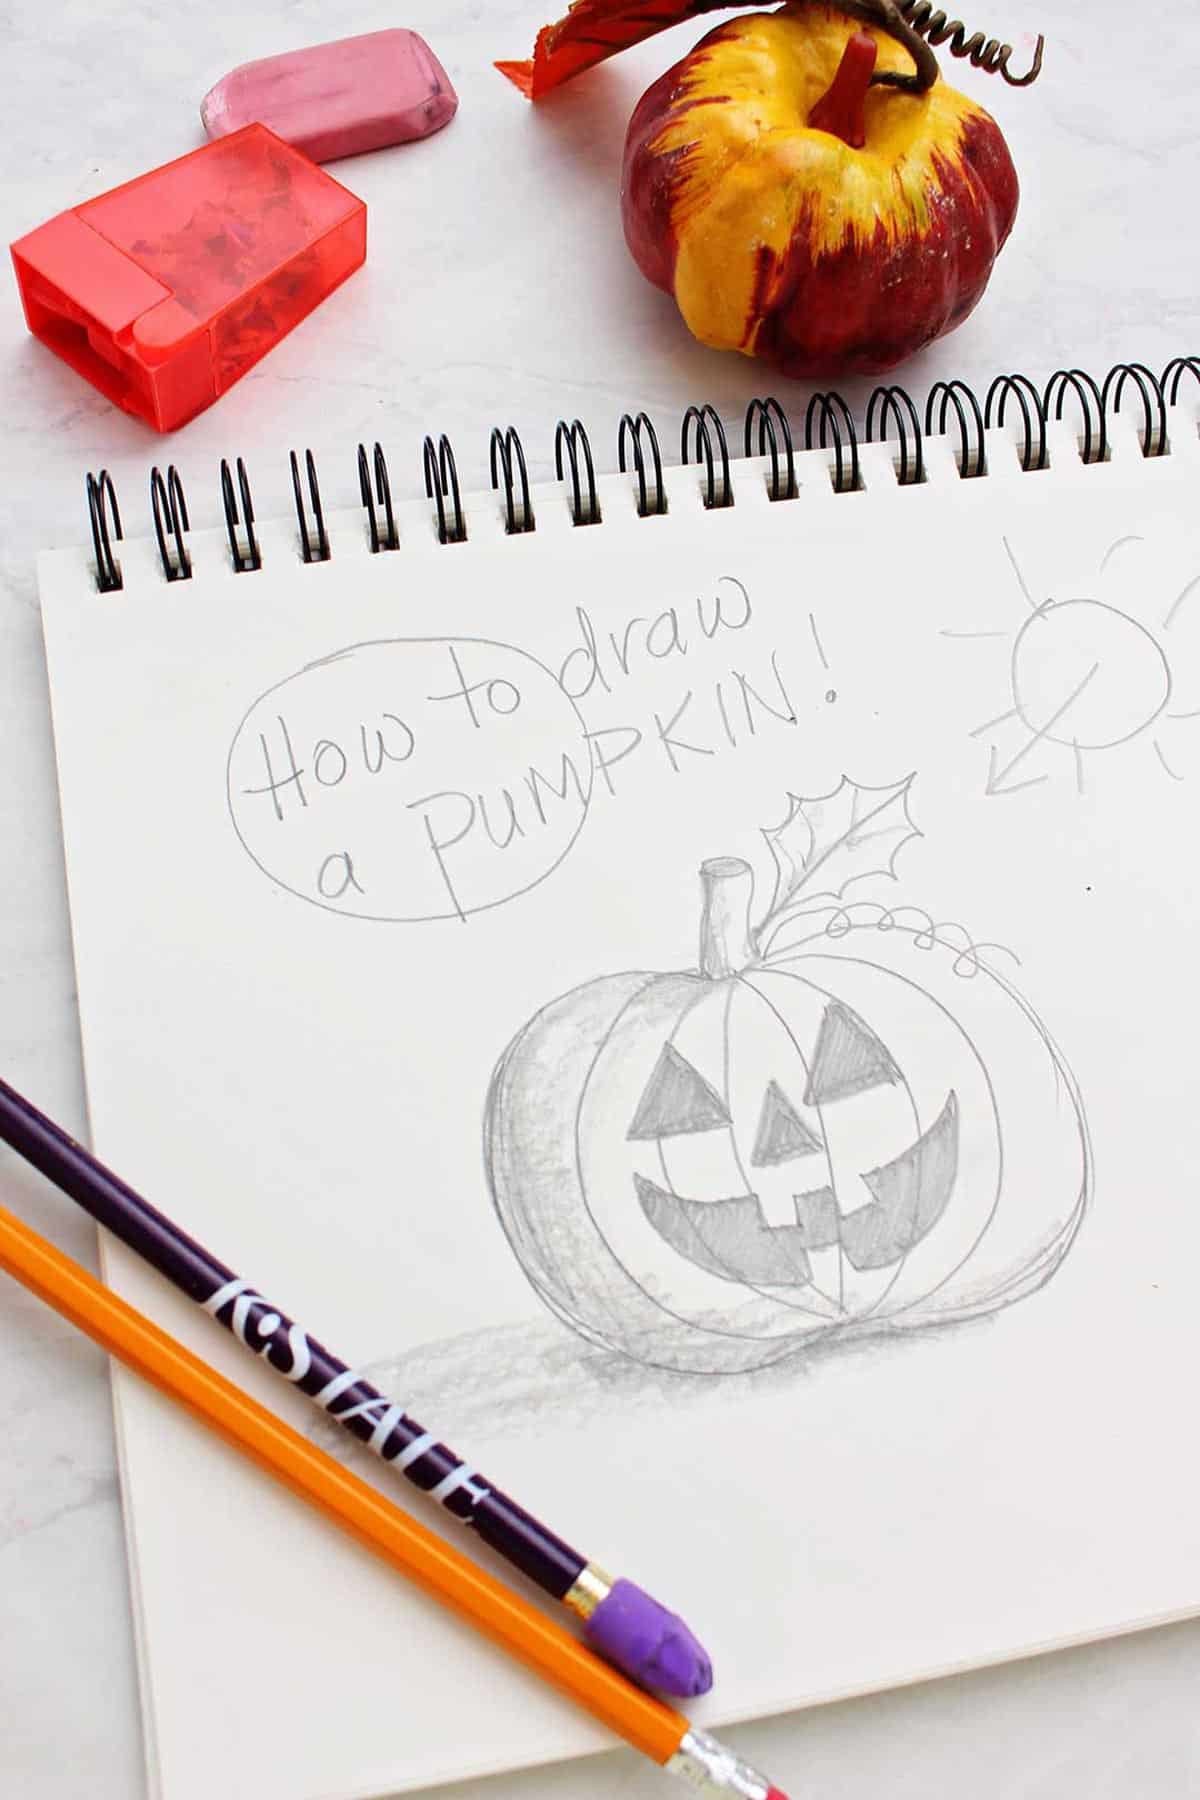
Fall is the perfect time to learn how to draw a pumpkin with this drawing tutorial for kids! Follow the steps to draw and shade a 3D pumpkin, stem, and even a jack-o-lantern face.
Straight from my 30 years of teaching kids in the classroom and at home, this step-by-step Simple Pumpkin Drawing is quick and easy for any skill level! All you need is paper and pencil to learn how to draw and shade a cute pumpkin, stem and even a jack-o-lantern face.
This lesson is created to be easy to follow, even if you’ve never tried your hand at drawing before. Whether learning in a group or on their own, it’s a fun art project for kids to enjoy as they build drawing skills! Sketching, doodling, and drawing have been a part of my life from a very young age and I’m thrilled to pass on some of the tips and tricks I’ve picked up along the way.
Fun Facts About Pumpkins!
Before we get started drawing, let’s learn a few fun facts about pumpkins! Kids love knowing the “why” behind something, and this pumpkin trivia is a great way to spark curiosity and conversation while you create together:
- Pumpkins are actually a type of fruit, not a vegetable- surprise!
- Every part of a pumpkin is edible, even the seeds, skin, and flowers.
- The largest pumpkin ever grown weighed over 2,700 pounds- which is as heavy as a small car!
- Pumpkins come in lots of colors- like orange, white, blue, and even green.
- Native Americans used pumpkins for food, medicine, and even made mats from dried pumpkin strips.
Pretty cool, right? Adding a few facts to an art activity makes it even more interesting- and kids will feel pleased when they can share what they’ve learned!
Supplies for Simple Pumpkin Drawing
Learning to draw doesn't take many supplies:
- Pencil: Regular #2 school Pencils will work for learning to draw.
- Eraser: Use a separate Eraser then the one on the pencil. A pink eraser or the type that you place on the end of the pencil will work.
- Paper: Sketchbook, paper, or scratch paper to give drawing a pumpkin a try.
How to Draw a Pumpkin Step-by-Step
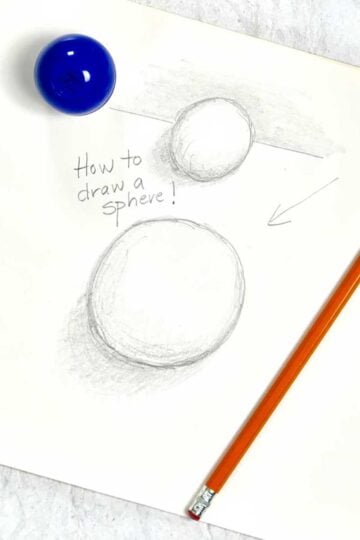
Drawing a pumpkin is a bit like drawing a sphere, and similar to drawing an orange like we did in previous posts. Check out these posts if kids want more practice!
First, set a pumpkin (or a picture of one) in front of you for reference.
How to draw the Pumpkin Shape
When you look at a pumpkin, you'll see it's circular, but not actually a sphere. Notice what happens to the shape where the stem meets the pumpkin, it creates an indentation into the sphere.
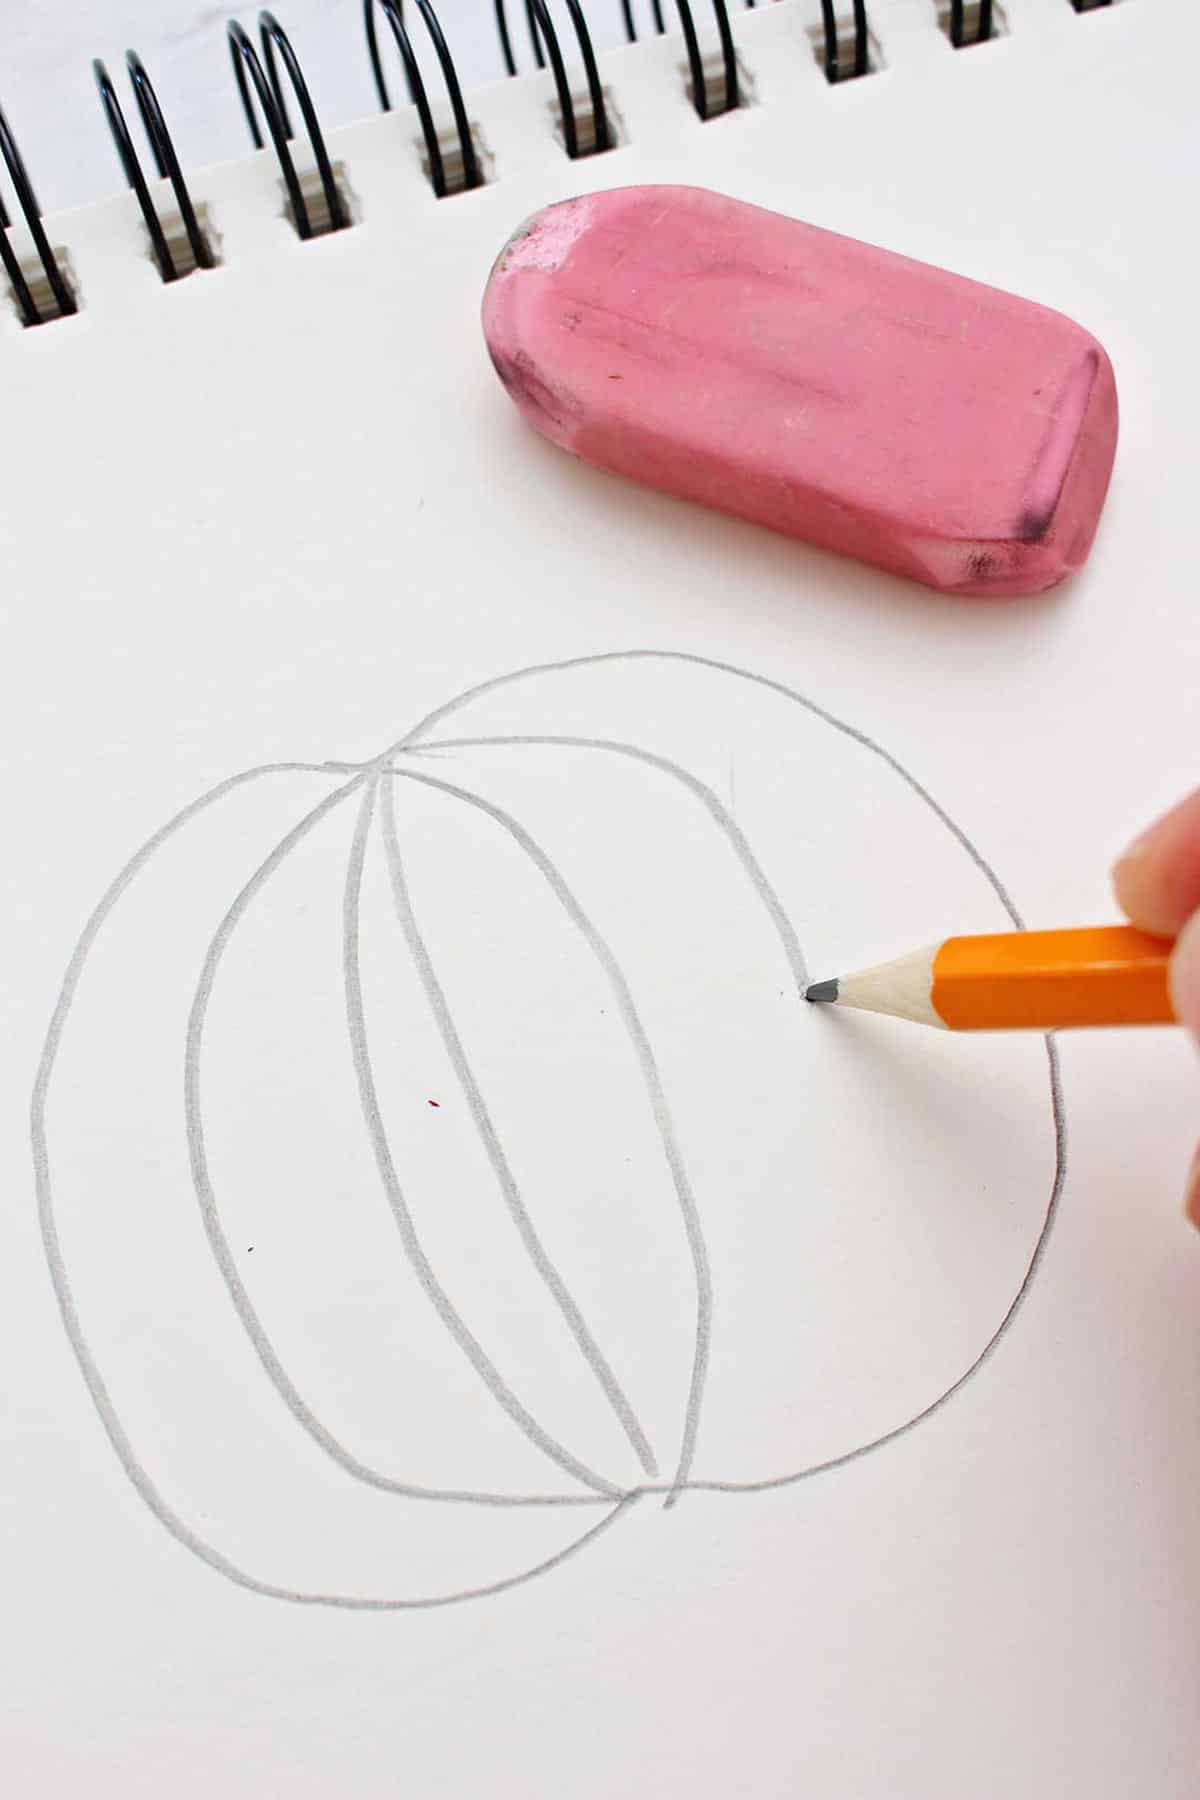
We'll start our tutorial by drawing the pumpkin outline: it is a rounded shape with that dip in the top and the bottom.
Adding the ribs
A pumpkin has a series of indentations that run from the stem area down to the center bottom of the pumpkin. The indentations on the pumpkin are called ribs.
If you tip the pumpkin over on its side, you will notice that these ribs look like smile lines.
Draw 2-3 vertical smile lines on the left side of the pumpkin. As you cross over the centerline of the pumpkin, the vertical smile lines will shift to the other direction. Do you notice that on your pumpkin?
Pumpkin Leaf and Pumpkin Stem Drawing
Next, we draw the stem on top of the pumpkin. A stem is a variation on a cylinder, we have drawn one before in a previous tutorial.
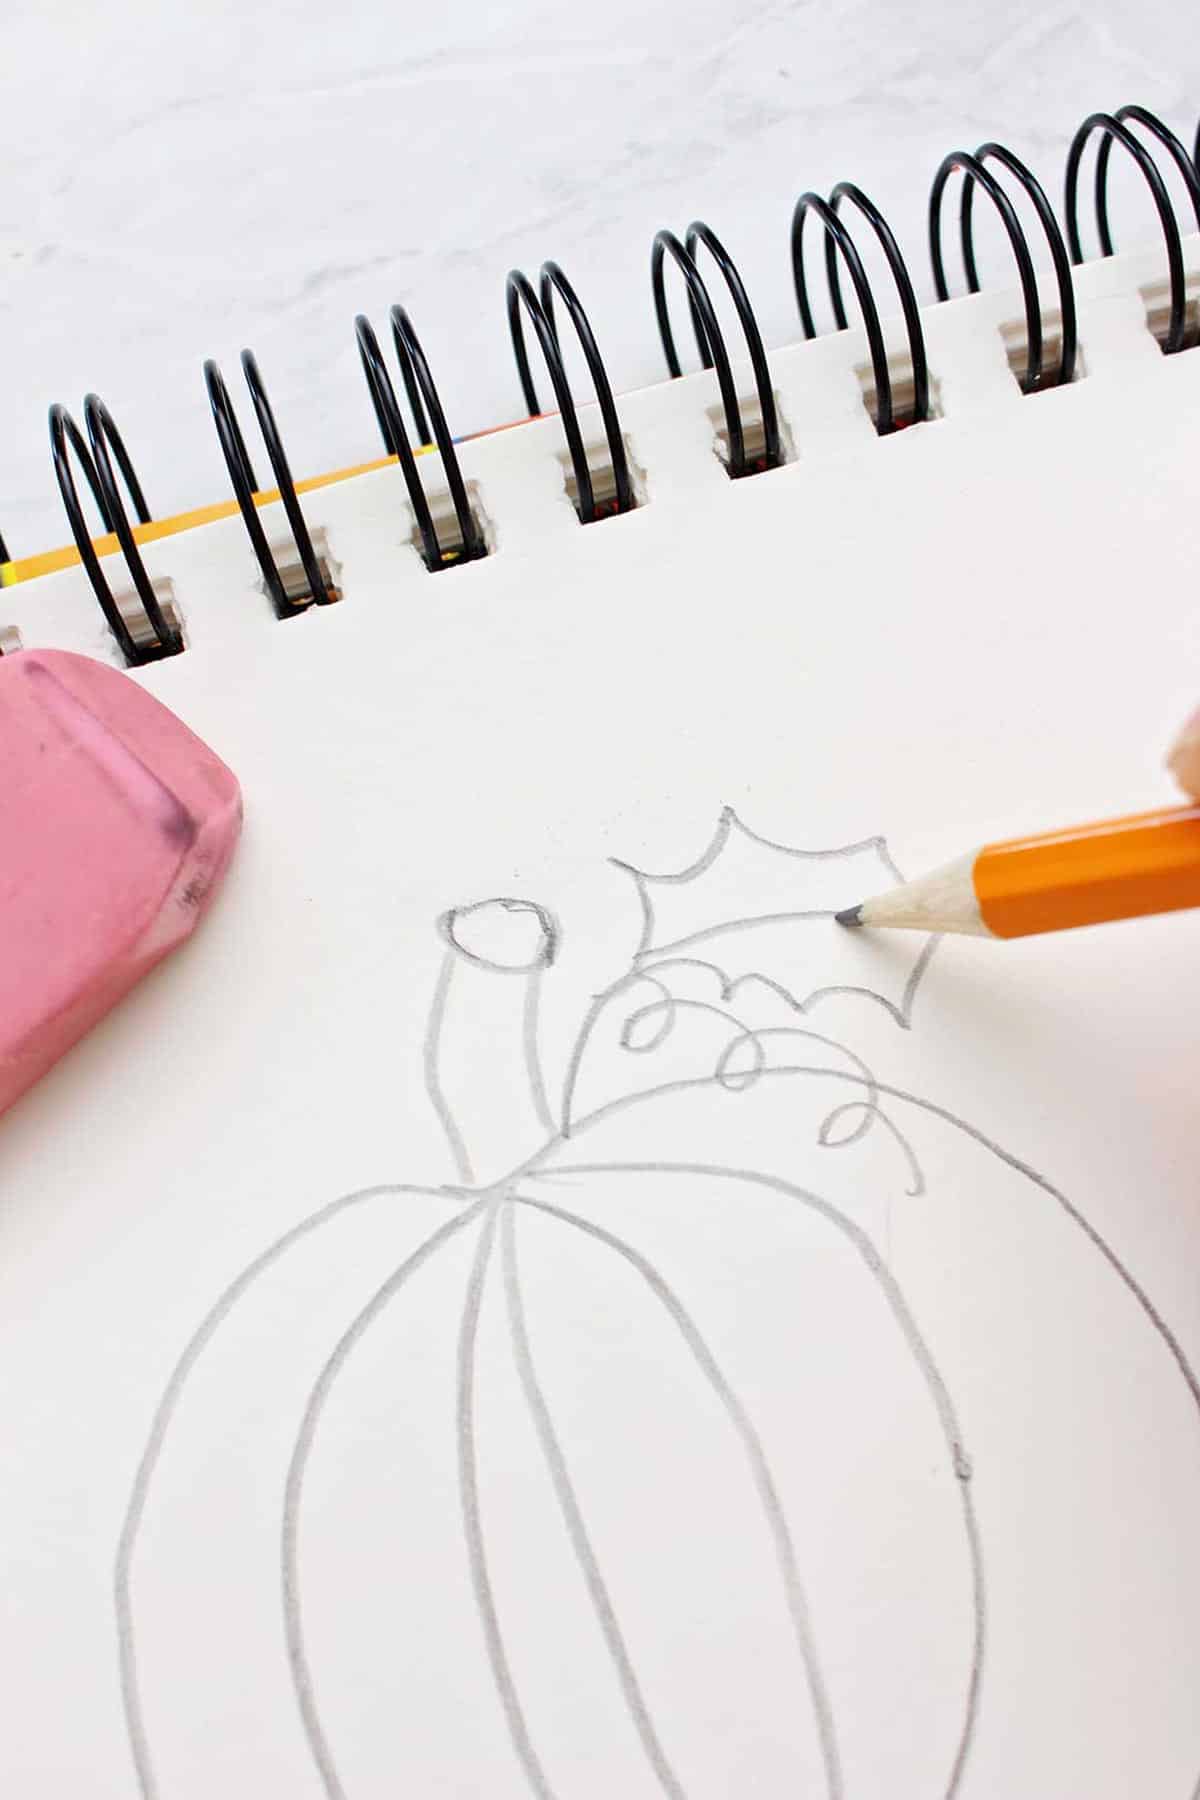
Draw two slightly curved lines up from the center top of the pumpkin and an oval on the top to connect them.
Draw a curlicue line (or two) to represent a tendril from the pumpkin vines.
A leaf is two dipping (or smile) lines that connect on each end. I usually draw a line down the center of the leaf and maybe even a couple vein lines.
How to Draw a Jack-o-Lantern
Adding just a few shapes will turn your pumpkin drawing into a Halloween pumpkin drawing! If you don't want to do this, skip over the jack-o-lantern instructions down to the shading steps.
Let's draw a traditional jack-o-lantern face. You can experiment with the features later and make any type of face you would like on your pumpkin.
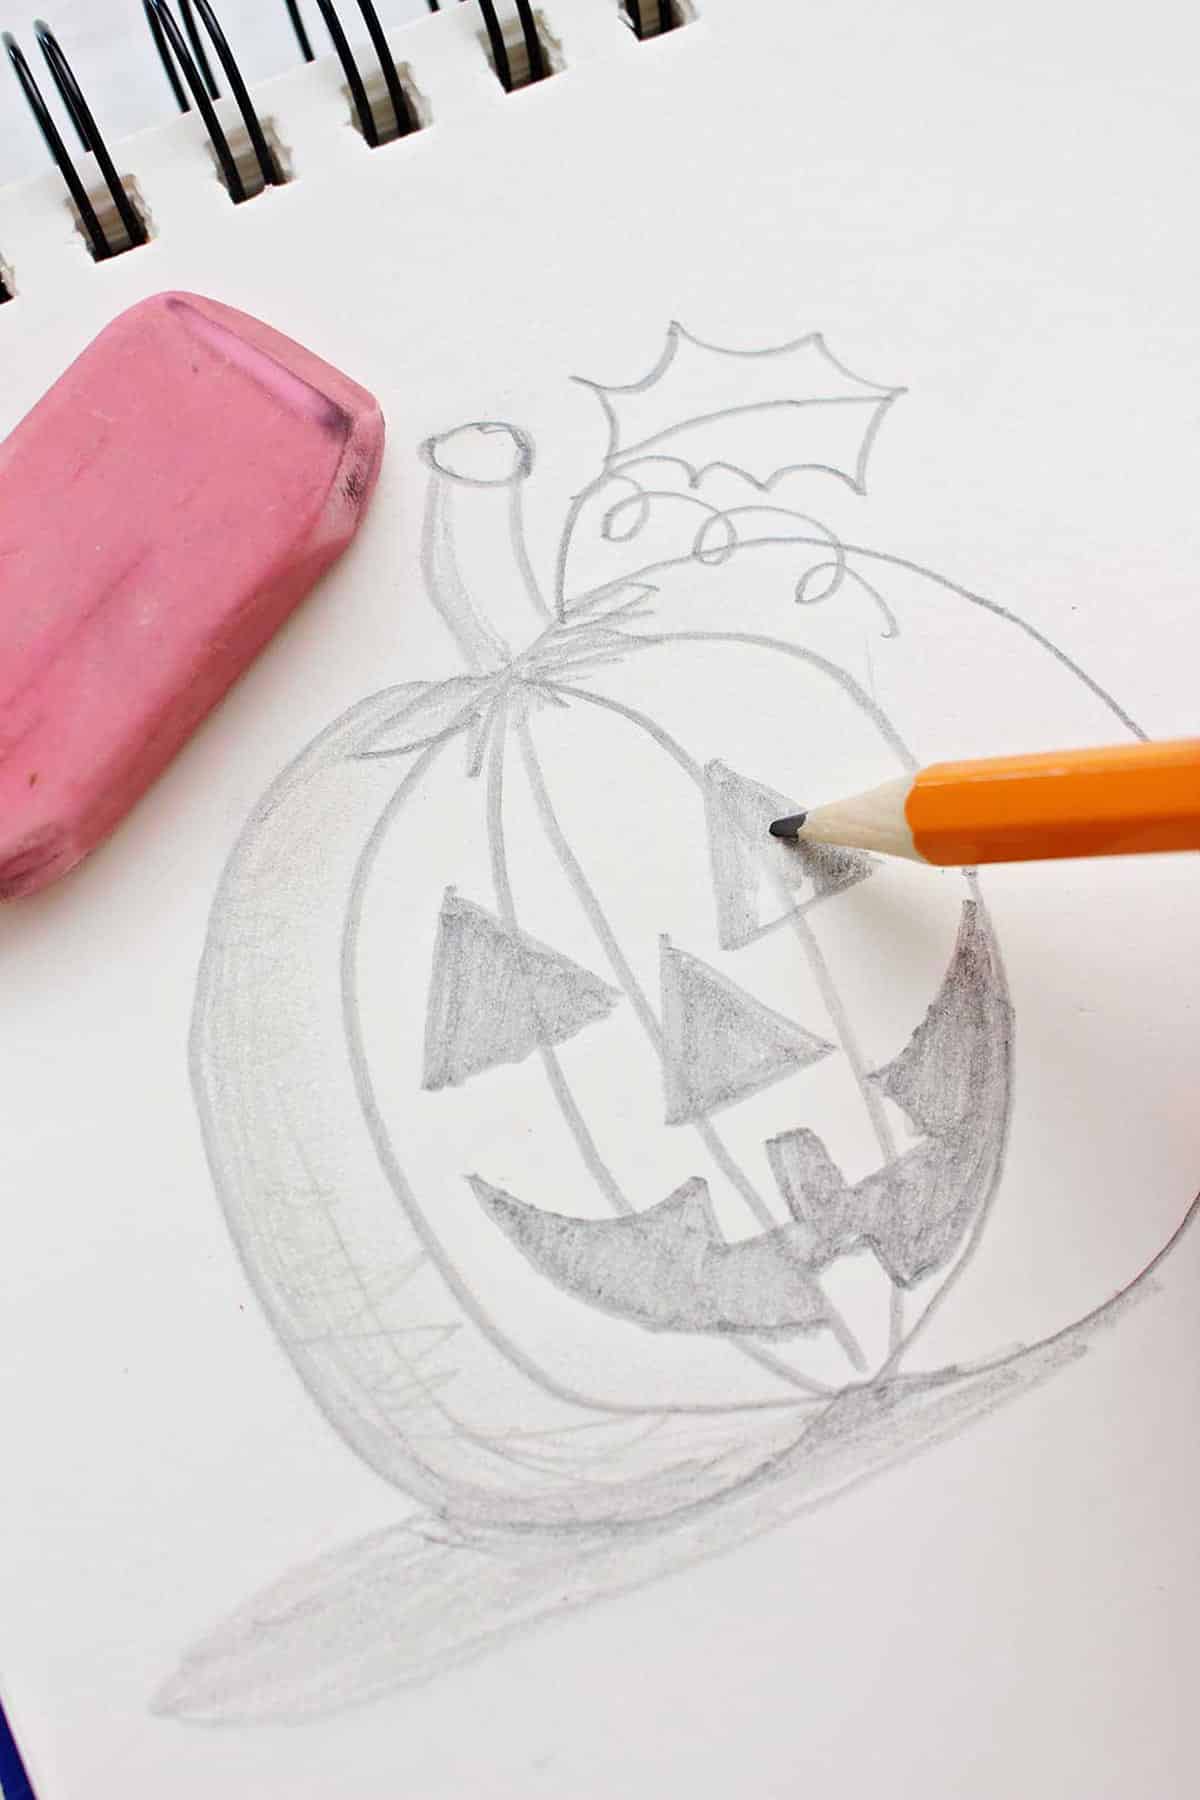
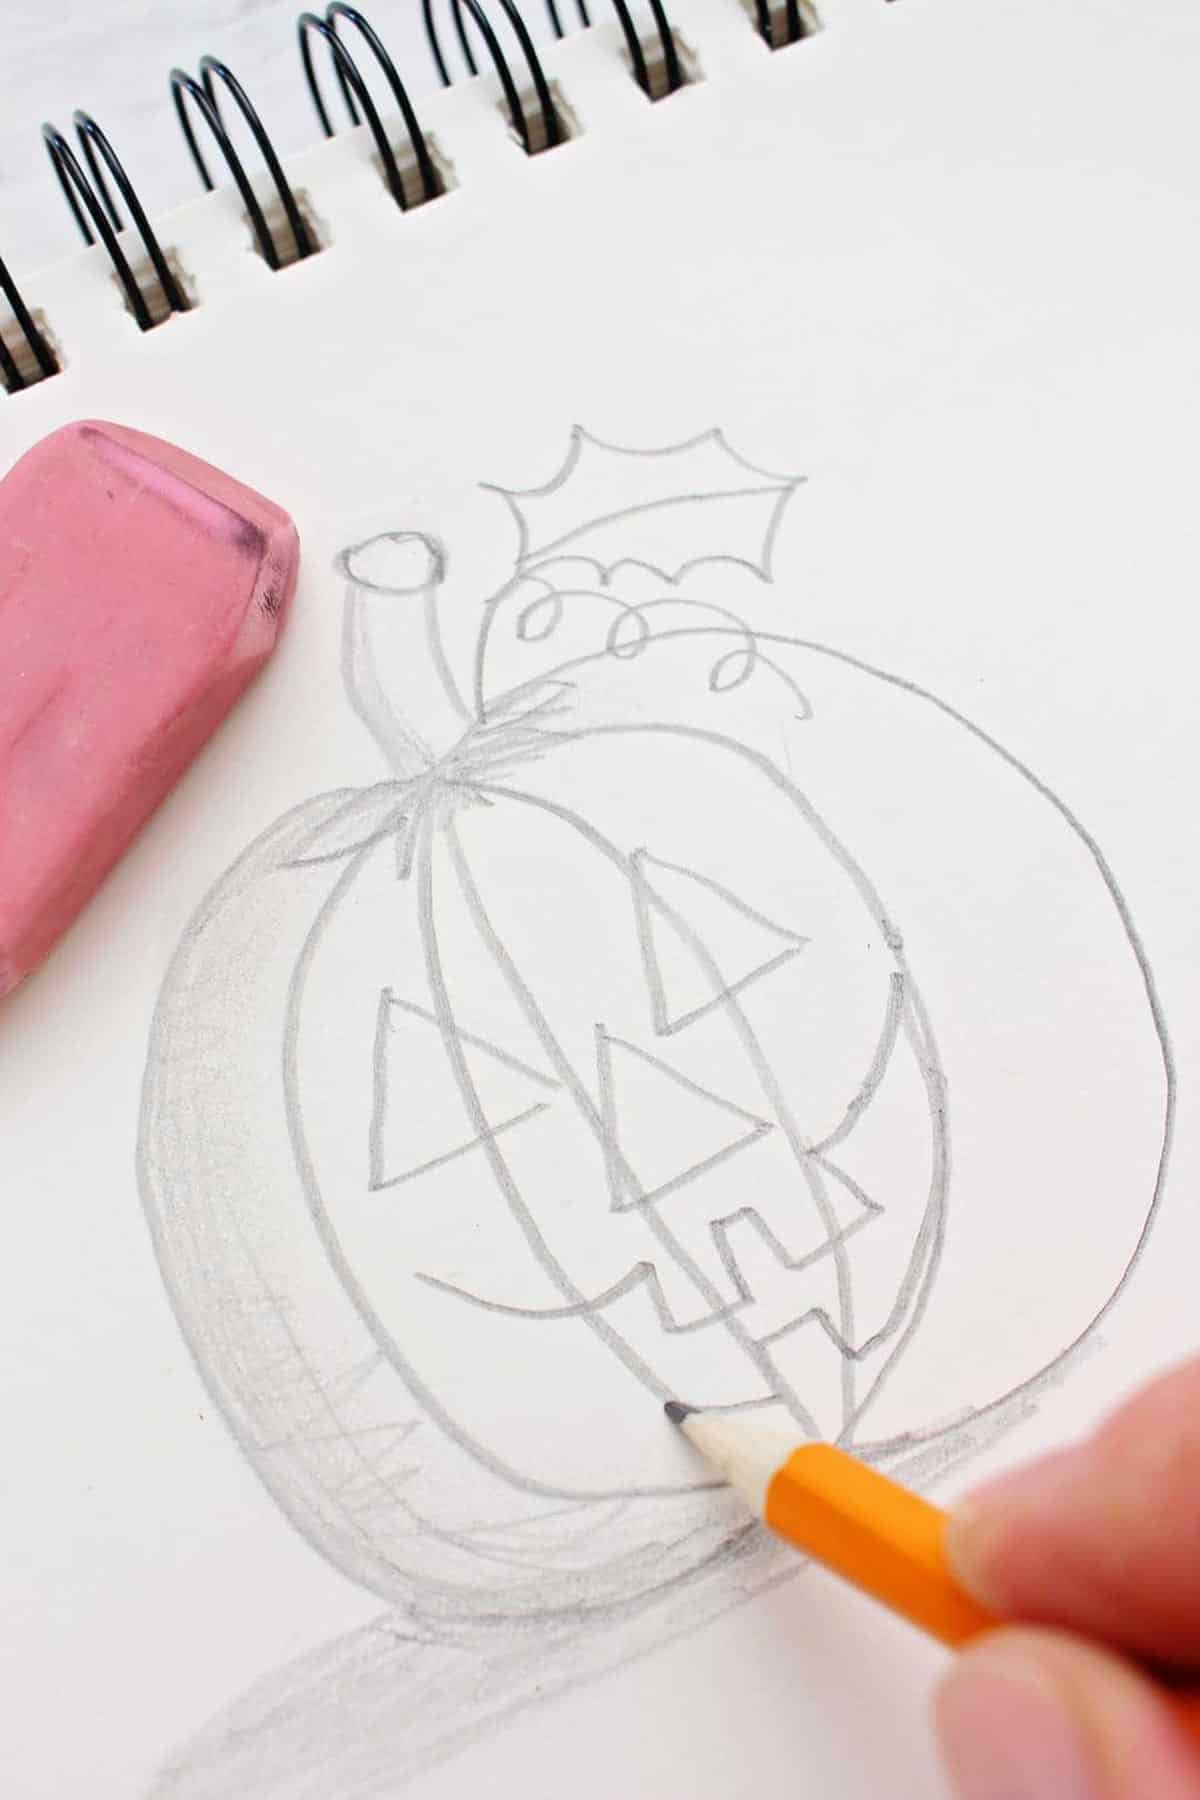
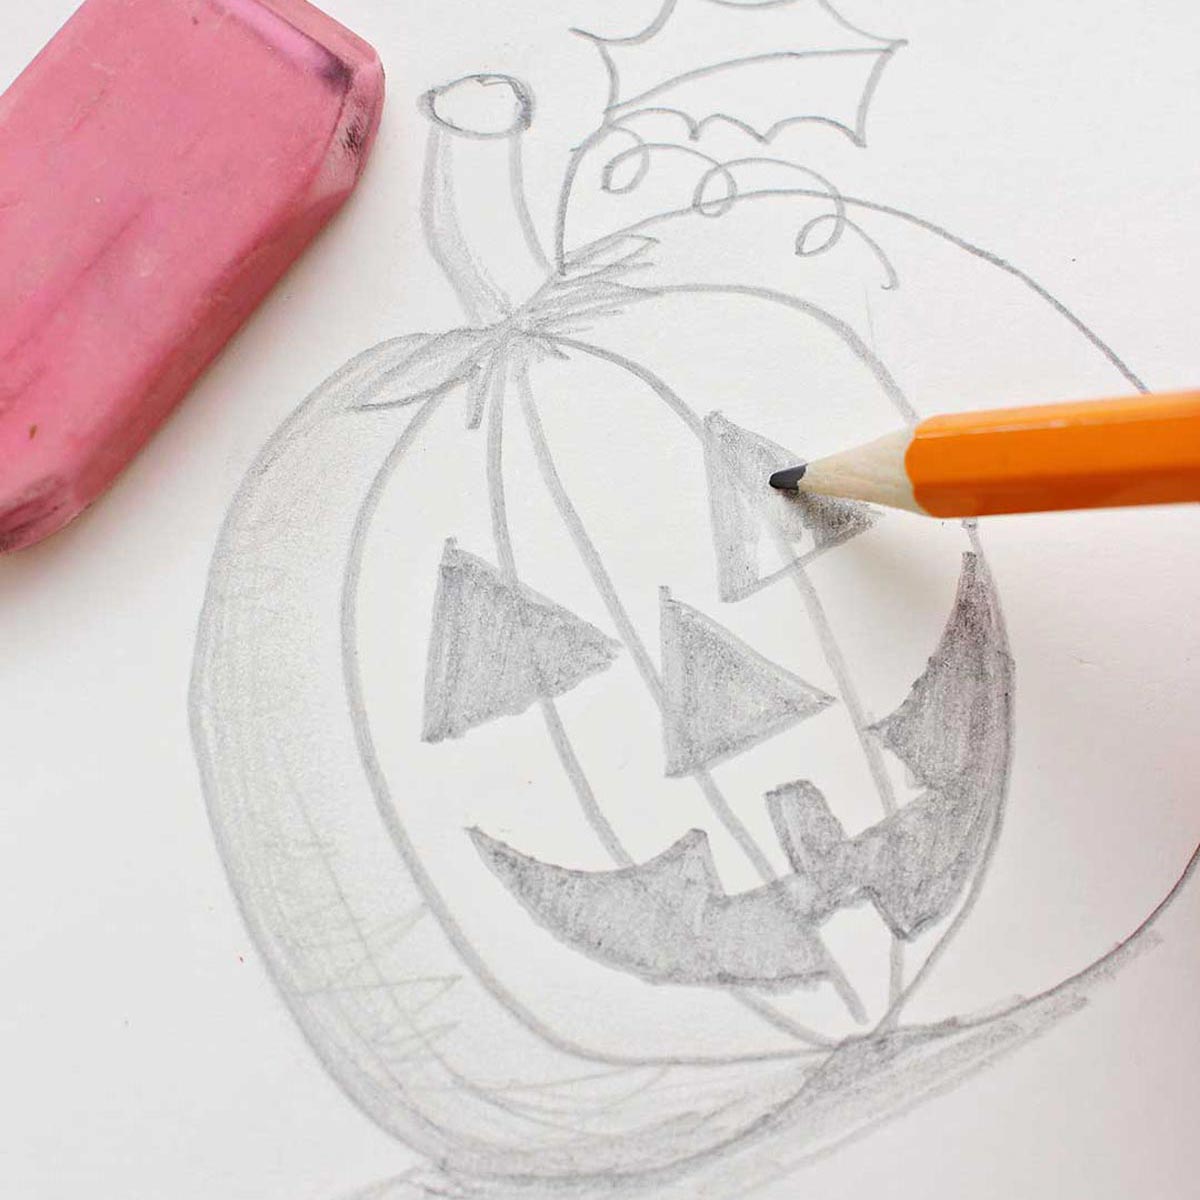
Start by drawing two triangle eyes and a triangle nose. Then (most importantly) draw a toothy grin underneath the nose.
If it is easier for you, you can draw a large smile first and then add the teeth in afterwards.
How to Shade a Pumpkin Drawing
Now we will do a bit of shading on your pumpkin to make it look 3D. Lean your pencil over so you are rubbing the paper with the side of the lead, not the point.
Remember that the shadow on an object is on the side that is opposite of the light source.
We will imagine that our light source is to the top right of the pumpkin. I draw a sun on my paper to illustrate this for our lesson, but you don’t have to draw a sun on your paper.
Do some shading on the left side of the stem and pumpkin with the side of your pencil lead. Shade in the facial features so it looks hollow inside.
Use your finger to do a bit of blending in the shaded areas. If you've never done this before, you can find more instructions in this lesson on How to Draw a Sphere.
Simple Pumpkin Drawing Tips
- Pencil types: Pencils range from 6H which has hard lead to 14B which has soft lead. The higher the number, the harder or softer the lead. Hard lead makes soft light lines. Soft lead is dark and smudges more easily.
- Sketchbook: I recommend keeping a sketchbook of these How to Draw exercises for reference. You can look back on them to remember techniques and to see how you progress.
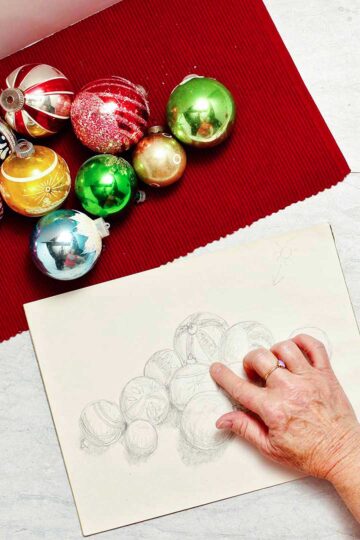
- Use a pumpkin for reference: If you can, keep an actual pumpkin in front of you as you are drawing. Take a bit of time to study how the pumpkin looks. If you don't have a real one, a picture will do!
Pumpkin Drawing Variations
- Different shapes: Alter the different shapes used to draw the pumpkin to create variety. Every pumpkin is unique, and you can draw each of your pumpkins uniquely as well!
- Copy then experiment: You can draw your pumpkin in the same shape as I did as you learn. Later you can use the same technique to make it taller or wider or make a group of pumpkins of various shapes.
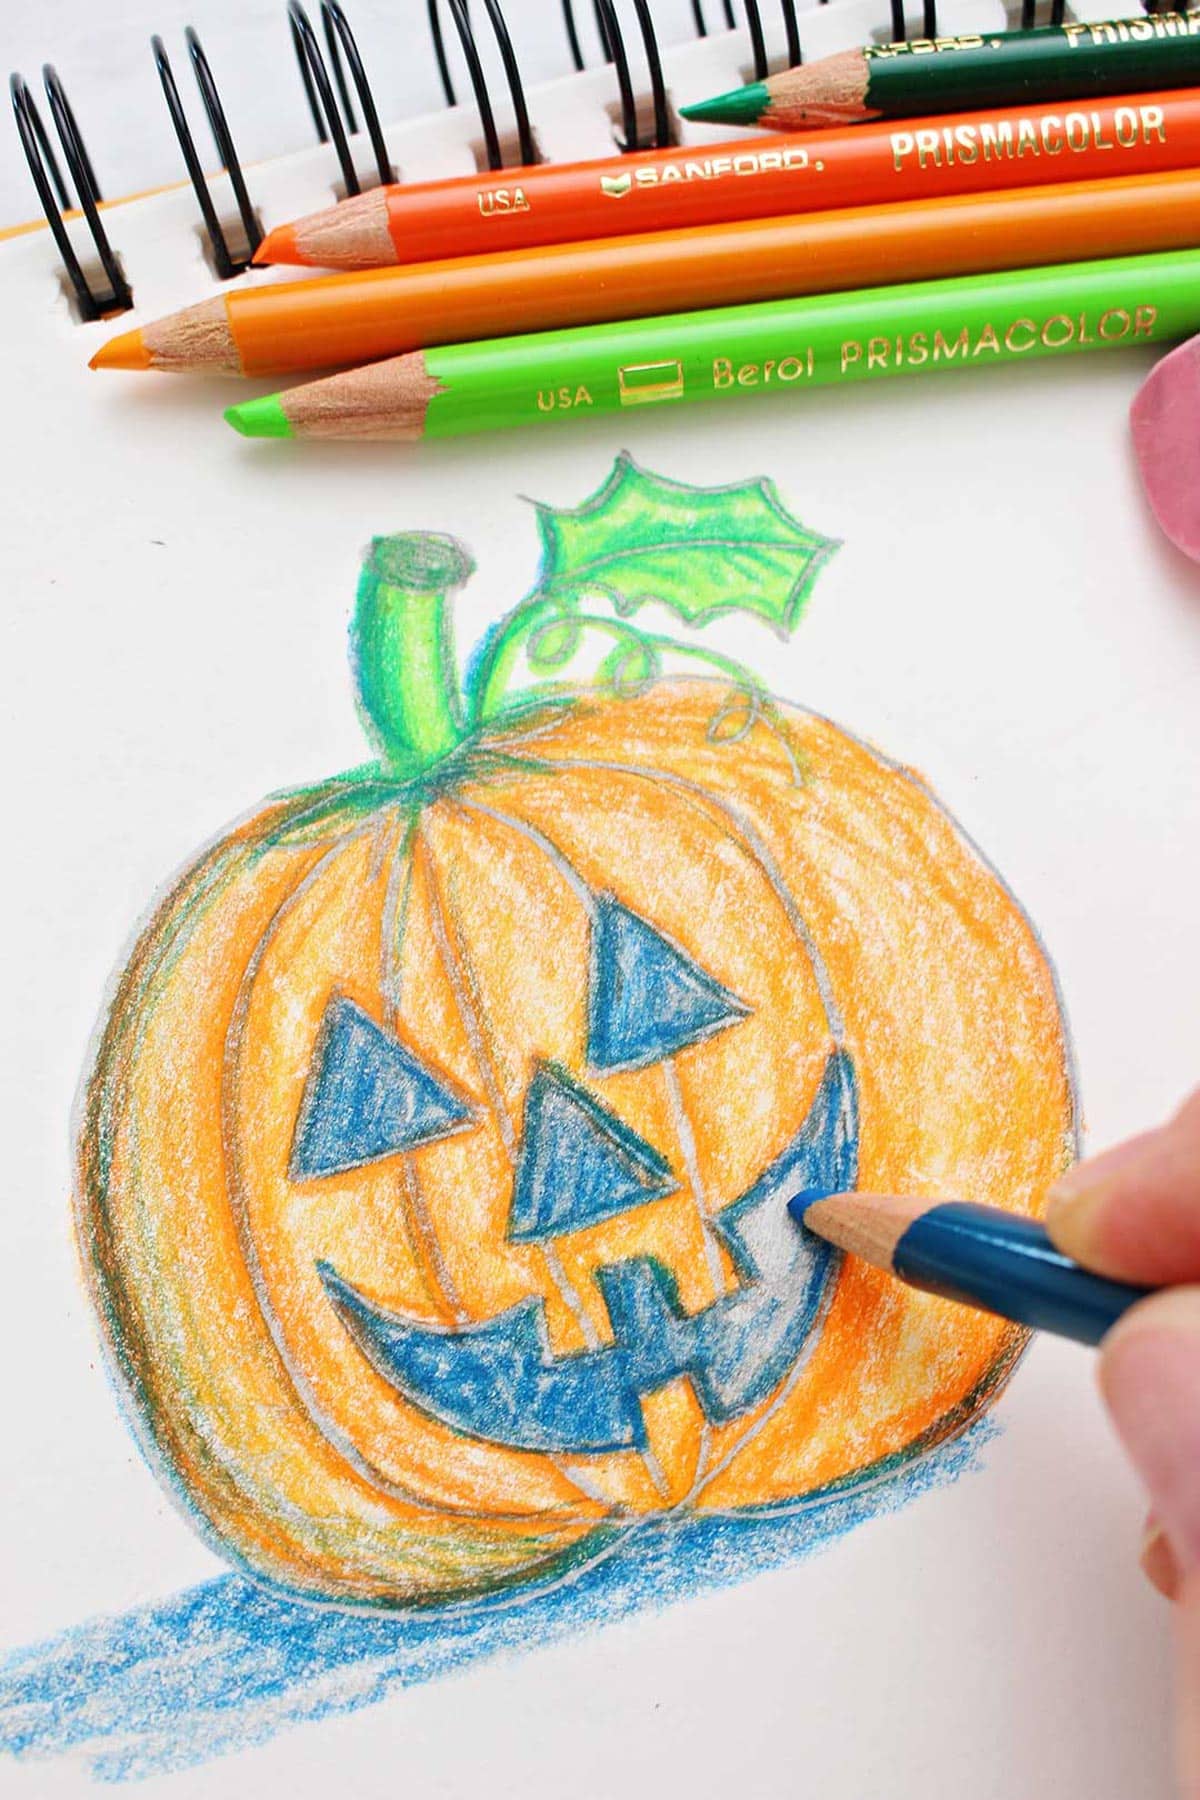
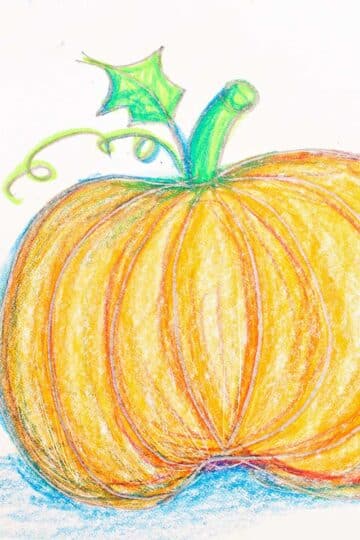
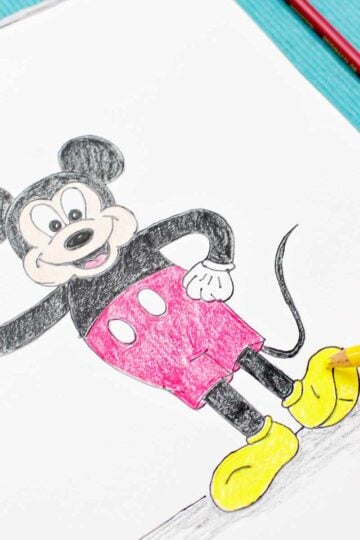
- Color the Pumpkin: Once you've finished drawing your pumpkin, check out this tutorial on how to color a pumpkin too!
Sketch Pumpkin Drawing FAQs
Start by drawing a sphere with a dip on top and bottom. Next add the ribs, a stem and some tendrils! Follow this tutorial for instructions on how to draw a pumpkin easily. Watch the video for step by step instruction.
Start with what you have, a 2B pencil like you use in school. You can experiment with new types of pencils after practicing awhile.
Complete the instructions for a plain pumpkin. Then add the facial features of a jack o lantern. The tutorial shows a traditional face but you can change that as you would like.
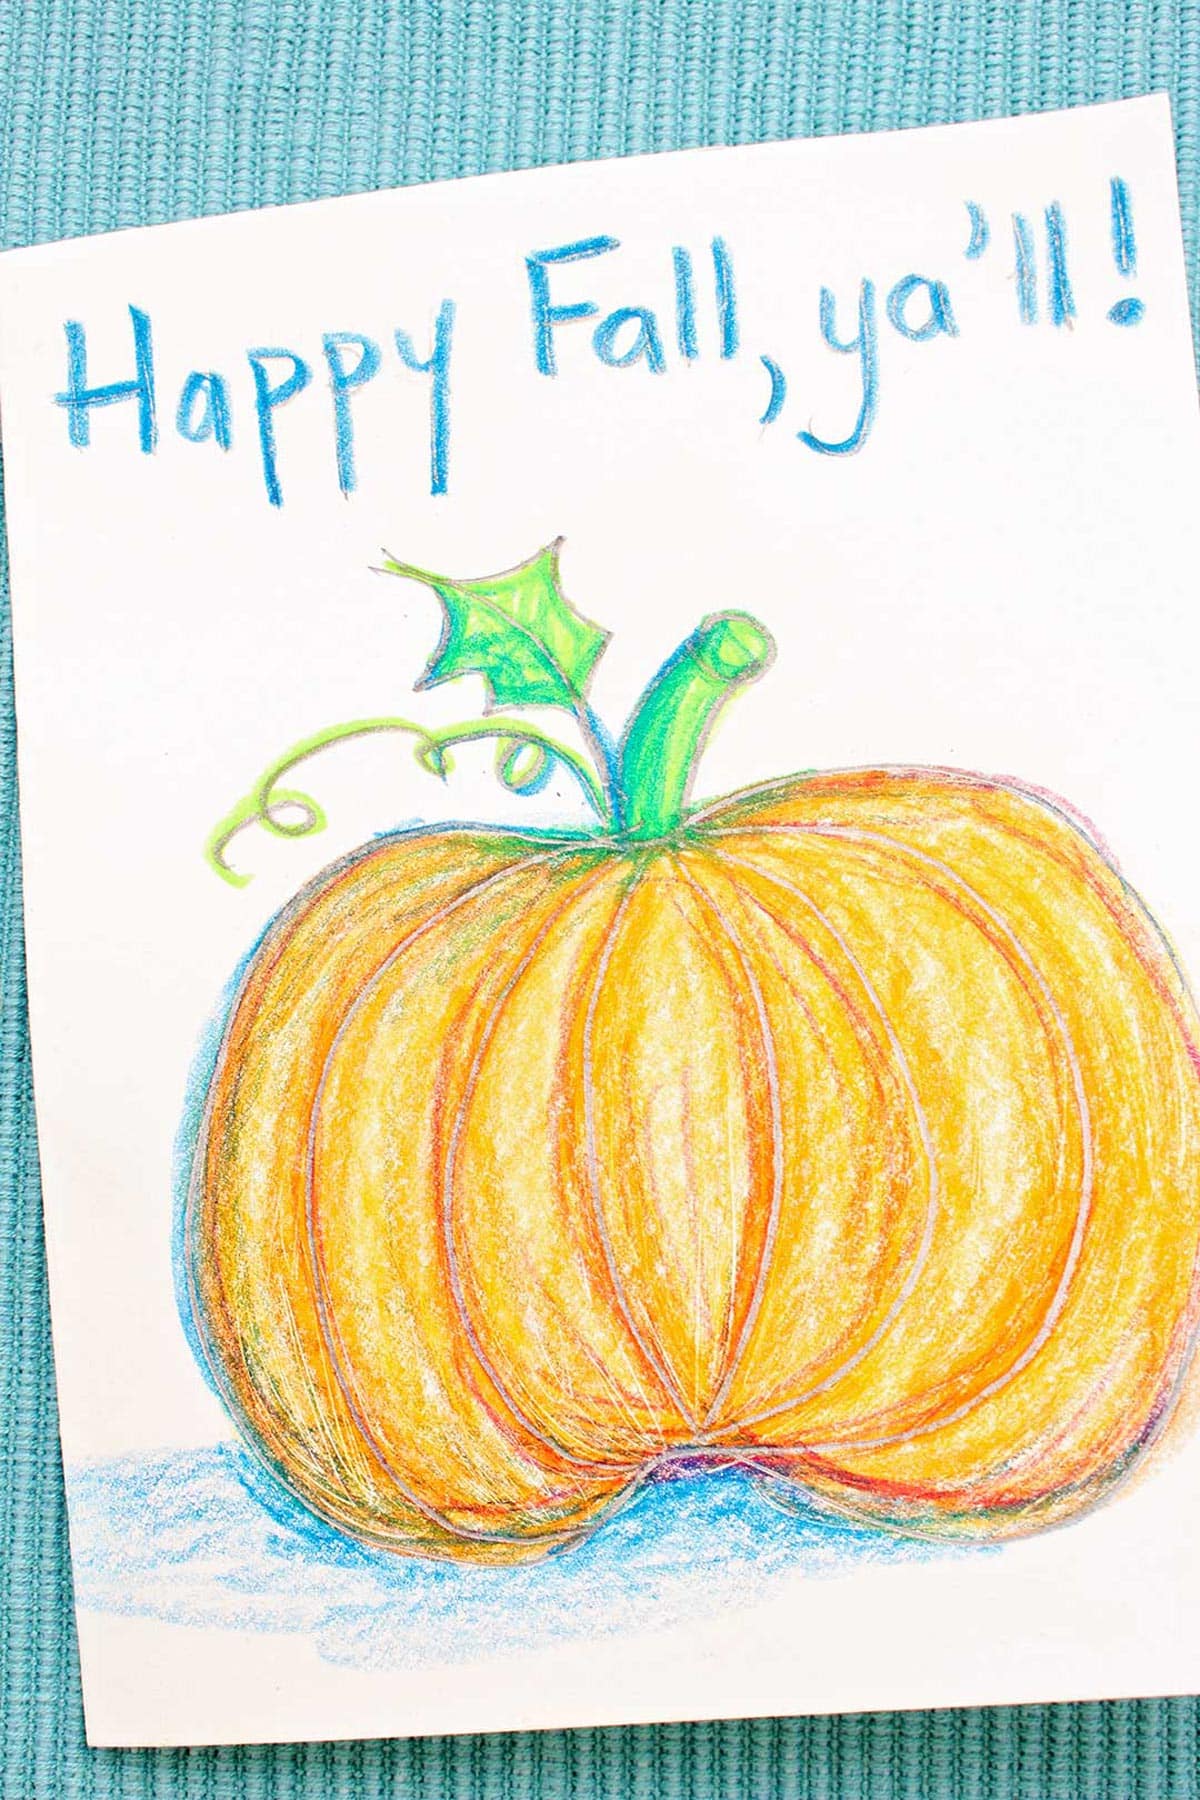
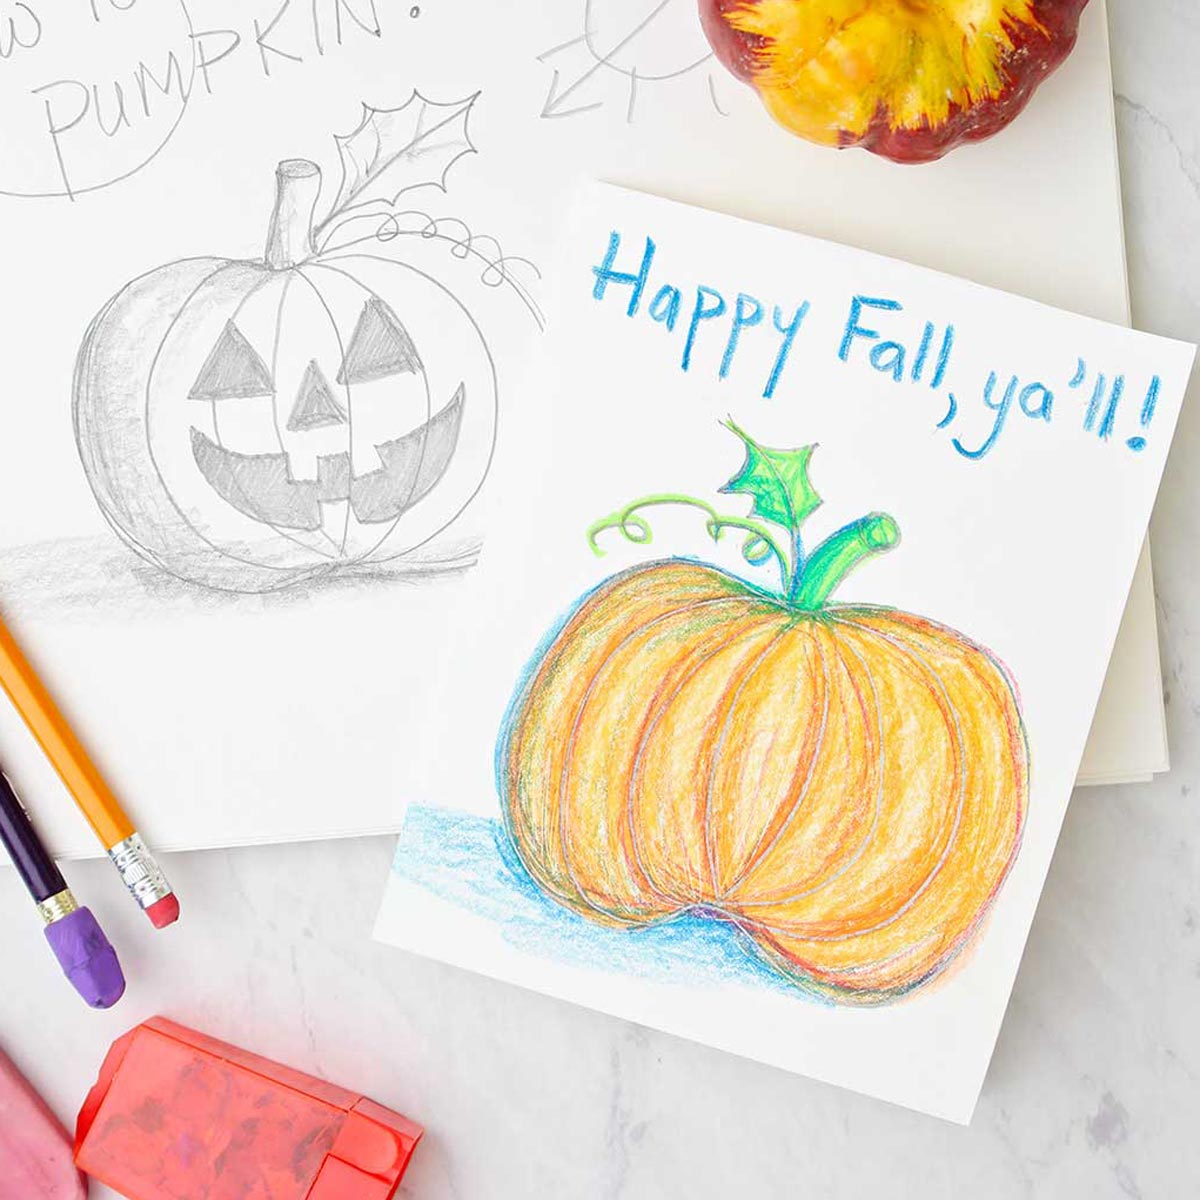
Draw a pumpkin on a blank card for a fall invitation, or card. Decorate any note you write to a friend. Make a coloring sheet for a friend who is sick or needs a smile. Or doodle on any notebook!
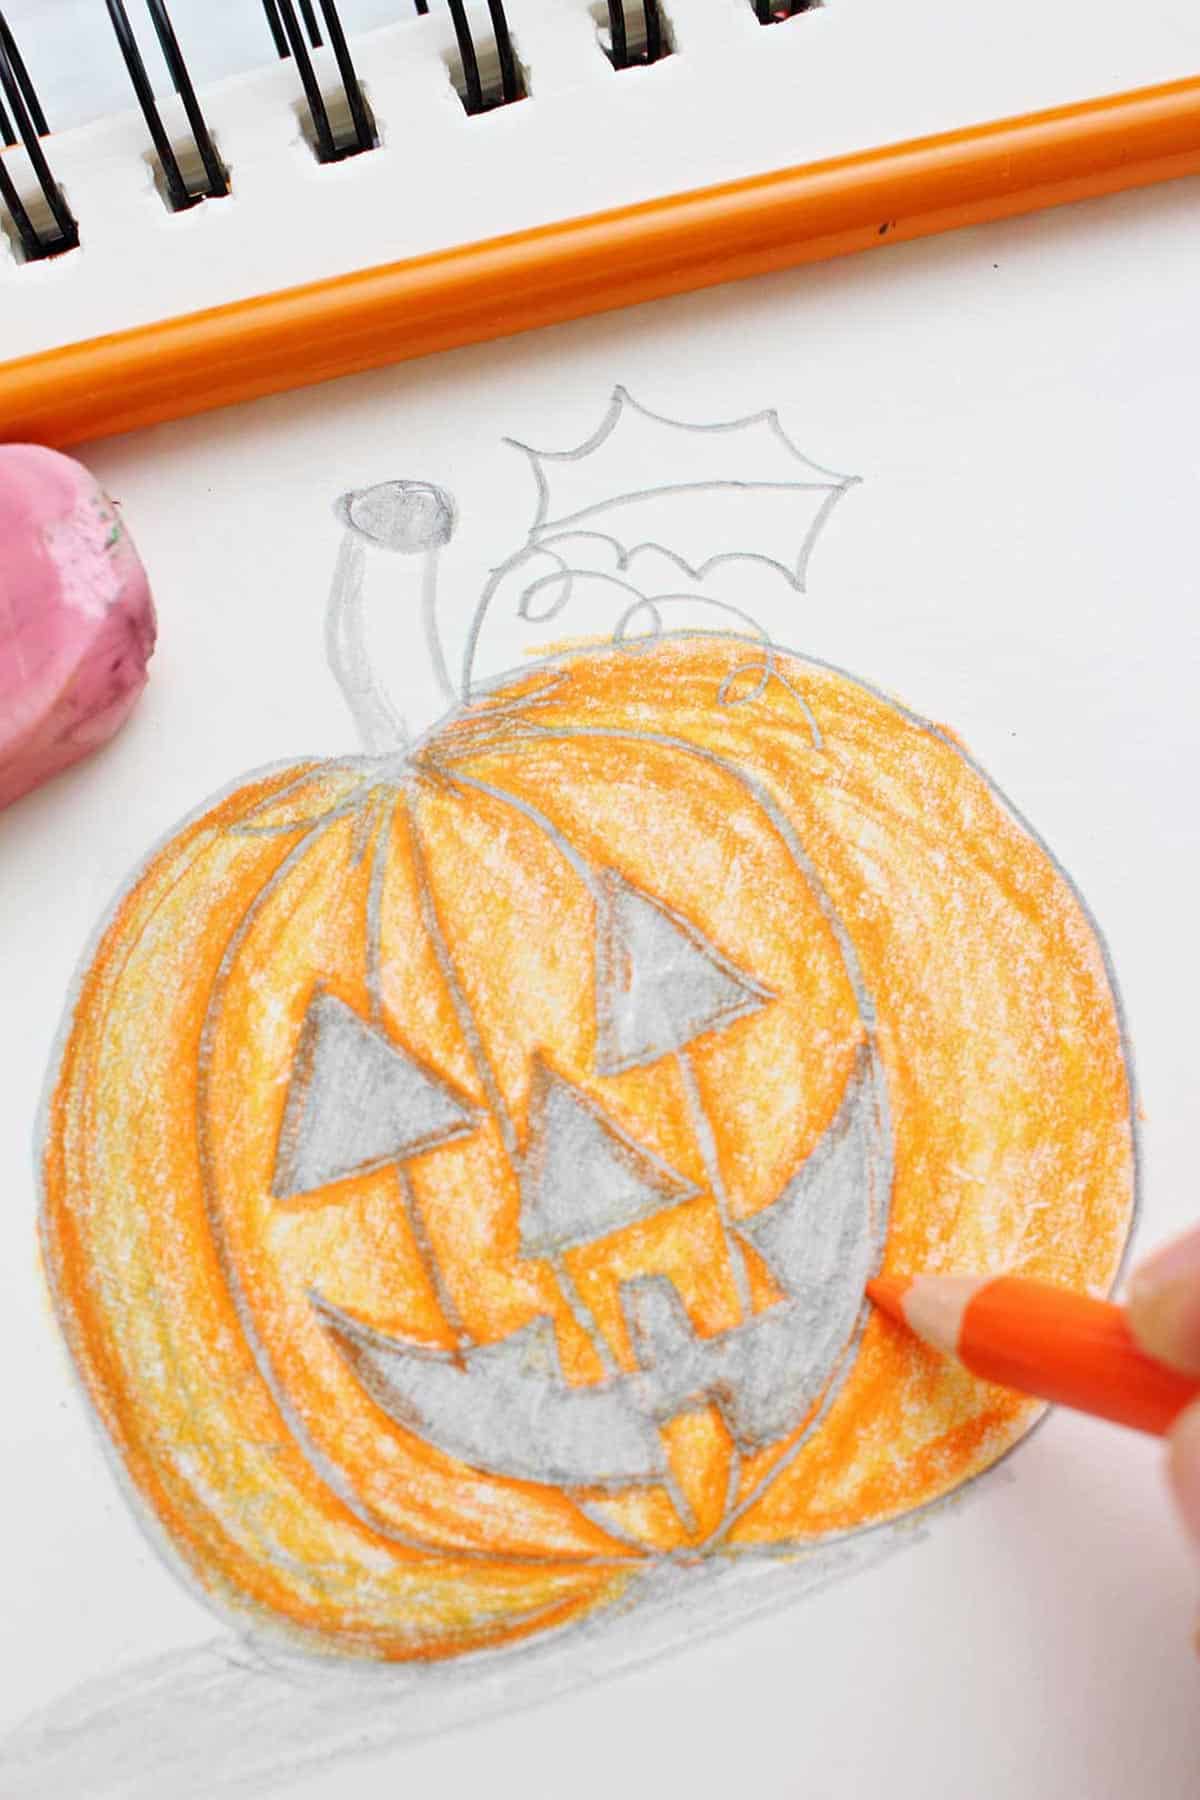
Looks good, but how about color?
This drawing tutorial is one that the kids (and you) can master quickly. They will enjoy making an easy pumpkin drawing that looks more realistic.
Next up, how about adding some color? This tutorial on how to color a pumpkin will walk you through creating a pumpkin place card, birthday card or thank you card too!
I sure hope you take a picture of your drawing and load it up to your favorite social media page! I love seeing what you create.
More Easy Drawing Tutorials
Keep up the good work! Here are some more drawing ideas to get kids sketching in no time. These are great for learning simple pencil drawing techniques.

Come join the fun!
If you try this craft, let me know! Leave a comment, rate it, and tag a photo with #WelcometoNanas wherever you post.
How to Draw a Pumpkin Step by Step
Equipment
- none needed
Items Required
Instructions
- Draw a pumpkin shape, it is a rounded shape with that dip in the top and the bottom. You can draw yours in the same shape as I did as you learn.
- Draw 2-3 vertical smile lines on the left side of the pumpkin and as you cross over the centerline of the pumpkin, the vertical smile lines will shift to the other direction.
- Next, we draw the stem on top of the pumpkin. A stem is a variation on a cylinder. We have drawn them before. Draw two lines up from the center top of the pumpkin and an oval on the top to connect them.
- Draw a curlicue line (or two) to represent a tendril from the pumpkin vines.
- A leaf is two dipping lines that connect on each end. I usually draw a line down the center of the leaf and maybe even a couple vein lines.
- Now, if you would like to make your pumpkin into a jack-o-lantern, that is easy to do! If not, skip over the jack-o-lantern instructions down to the shading steps.
- Draw two triangle eyes and a triangle nose.Then draw a toothy big grin underneath.
- We will imagine that our light source is to the top right of the pumpkin.Draw some contour lines on the left side of the stem and pumpkin. Do some shading on the left side of the pumpkin with the side of your pencil lead. Use your finger to do a bit of blending in the shaded areas.
Video
Notes
This post was originally published in October 2022 and has been updated to add more relevant and detailed content


Laura says
Loving the drawing tutorials, keep them coming!