How to draw an orange easy!
Let’s see how to easily Draw an Orange or Clementine from the 3D sphere shape you learned to draw. There are many objects around you that you can draw starting from a sphere shape. Look around you…what objects around you could be drawn starting with a sphere shape? I see a vase, a tea pot, and a lip gloss container.
It’s cool to draw a sphere, and here is a link to How to Draw a Sphere if you want to review before starting. Practice brings improvement so try a few sphere drawings first, it only takes a few minutes.
How do you draw an orange?
This is for kids of ALL ages, so grown up, sit down with the grands and have some fun! You can all have some laughs and learn a bit!
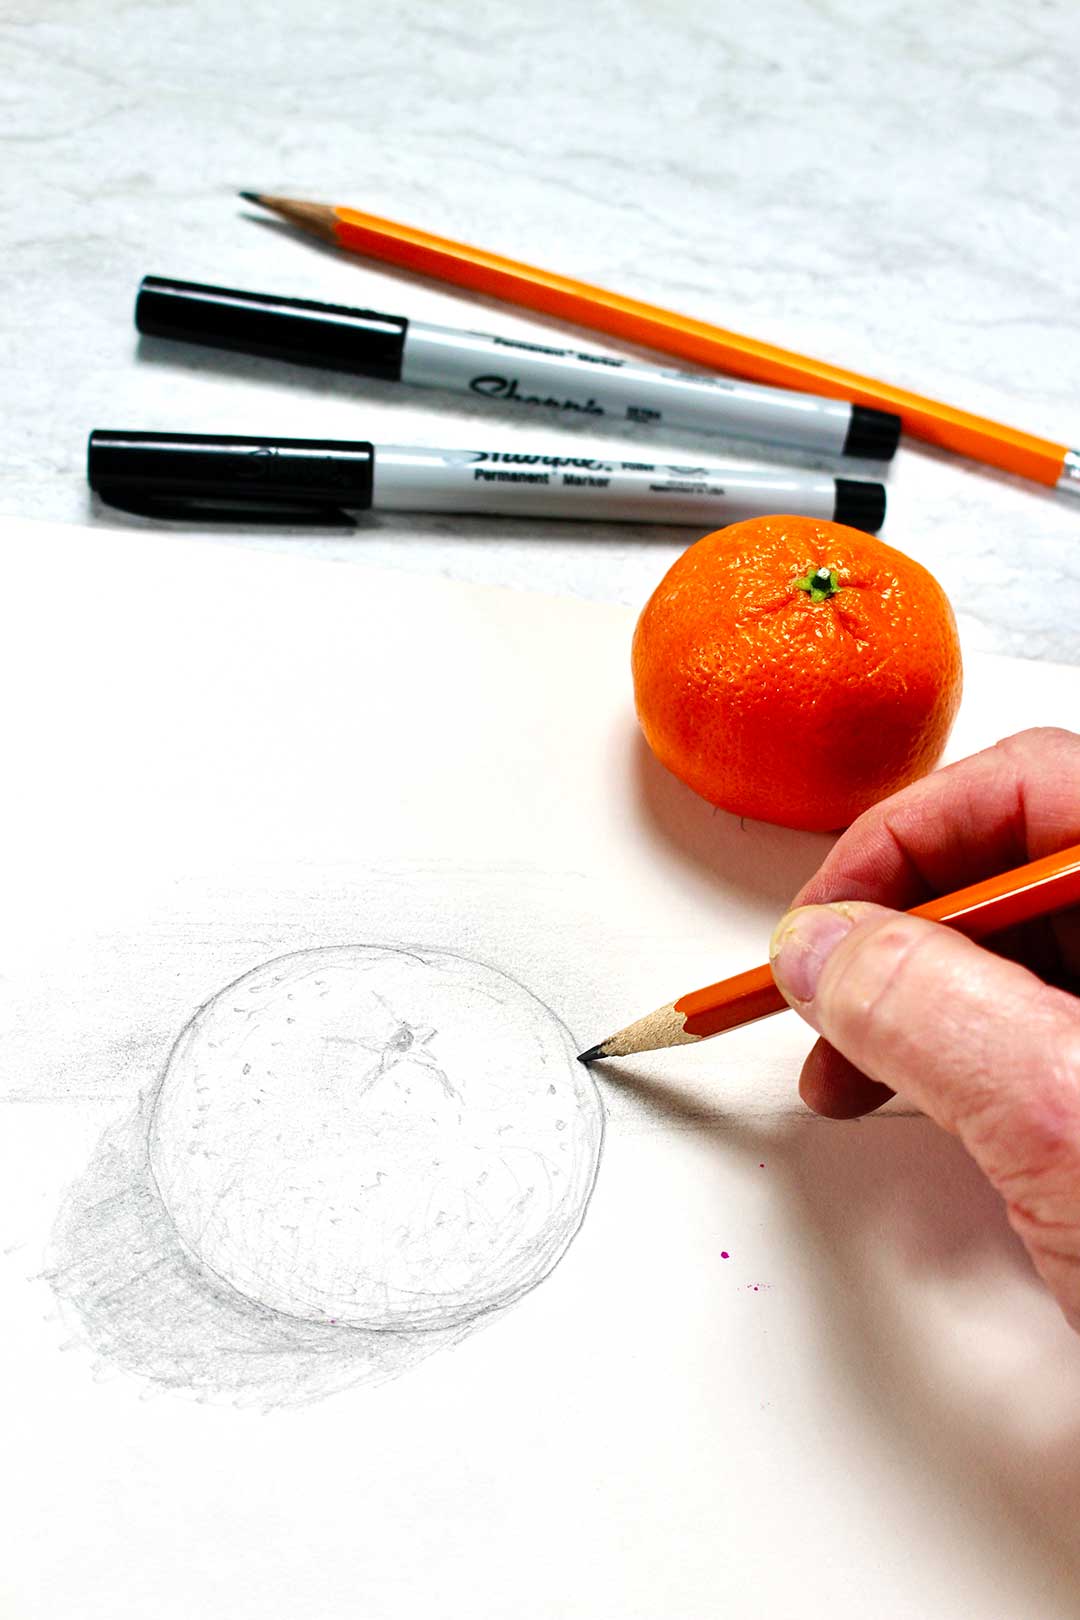
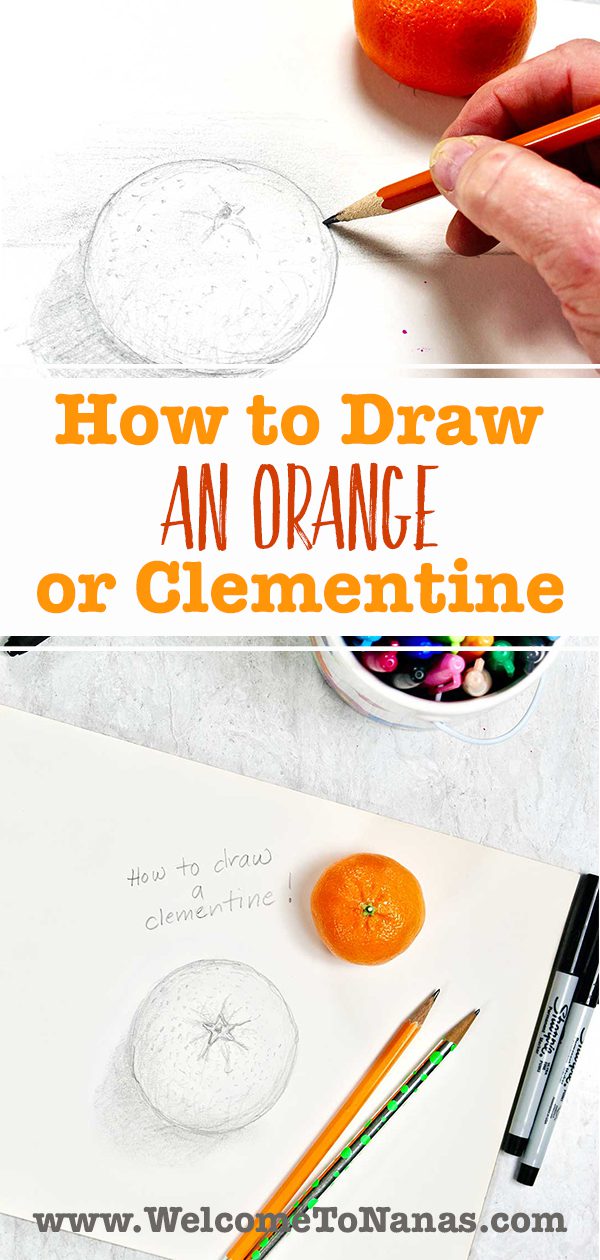
If you have an orange or a clementine set it on the table next to your paper or drawing pad. Notice how the light shines on it, making a highlight on the fruit. Also notice where there is shadow on the side of the fruit away from the light and the shadow cast on the table.
Watch the video if you prefer! How to Draw an Orange or Clementine

How to draw an orange step by step
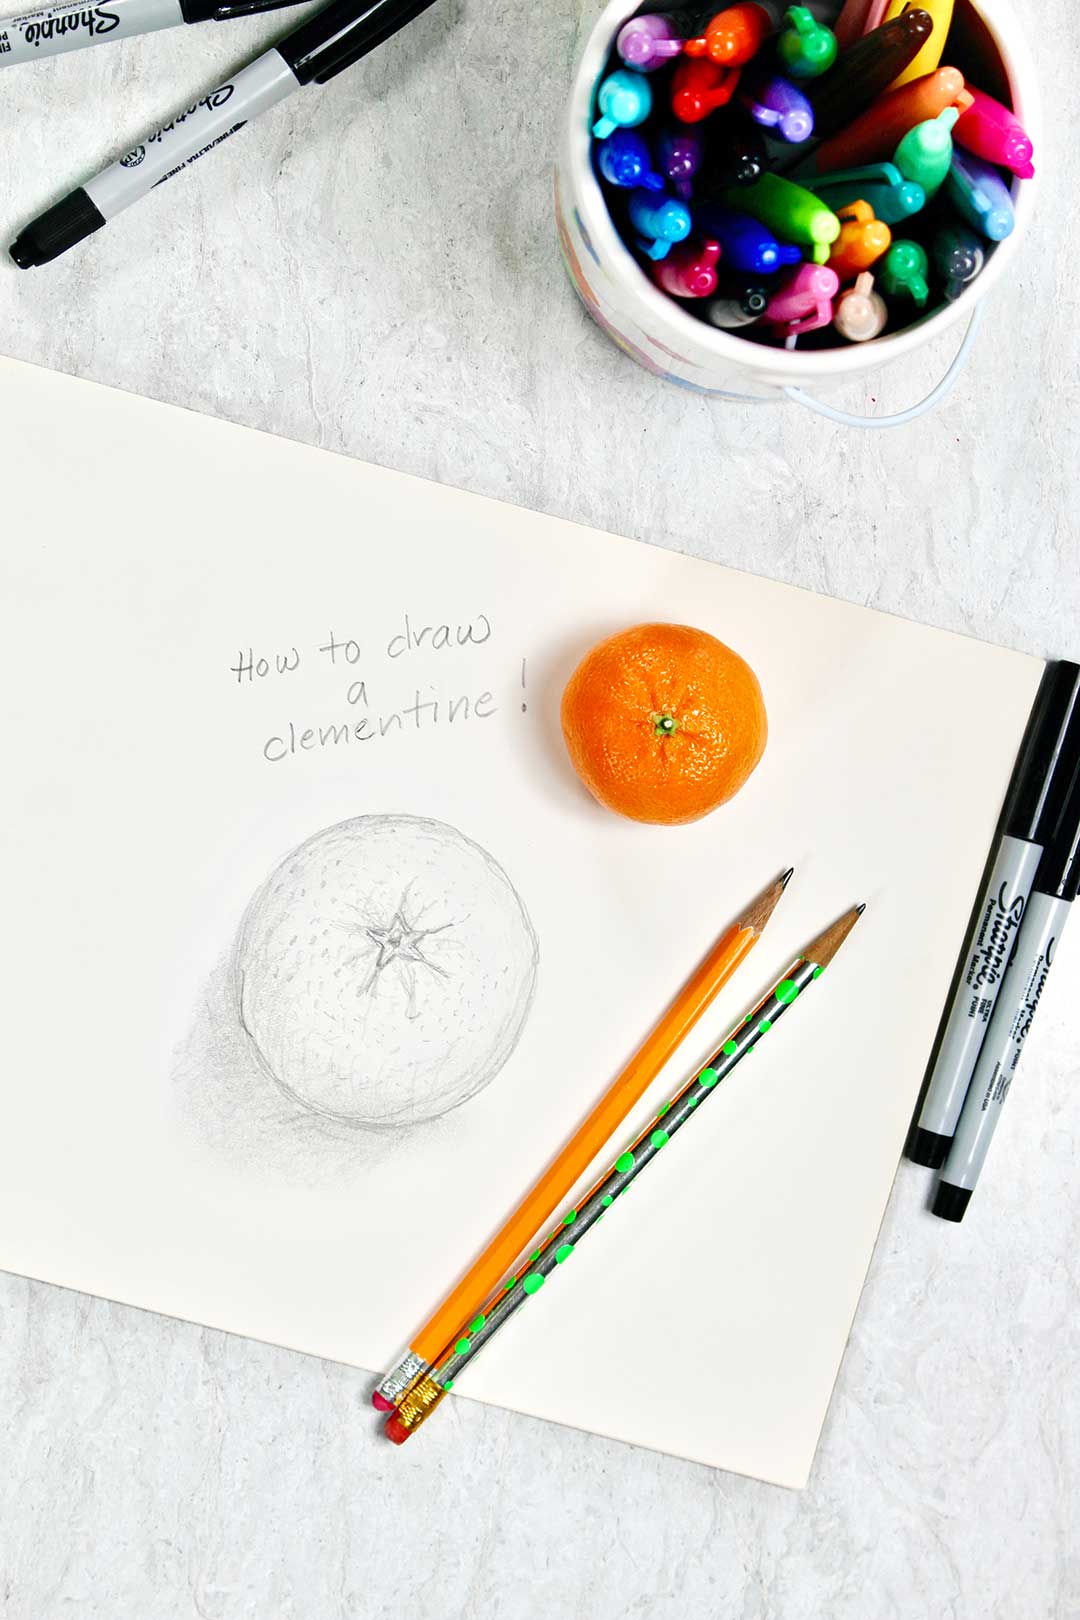
Start drawing the orange on your paper by drawing a sphere shape with pencil. Go ahead and do some of the shading and draw in the shadow on the table next to the sphere. Smudge a bit with your finger to get it to blend.
Do you notice that the shadow and shading are darker towards the bottom of the shape?
How to draw a realistic orange
Next, begin to transform the sphere into the orange or clementine. I had a clementine so that is what I talk about in the video.
Draw in a star shape on the top of the sphere. It doesn’t have to be perfect. You can draw a star with the one-line method if you want and then erase the interior lines. Do a little shading on the star. Draw a stem with a circle and shade on the shadow side of the stem.
There are “valleys” that come out from the stem on the surface of the fruit. Draw lines out from the star at each point, blend them a bit, add a bit more line over the top. This gives the effect of the valley to add more 3D effect to your drawing.
Dips and smudging- fun!
An orange or clementine have small dips in the skin. You can turn your pencil slightly on the side and draw little dots to represent these dips. Don’t draw hard line dips, just light dots. Draw less dots on the side where the light hits and more dots on the shadowed side. Do a bit of blending for shading (not too much or the dips will disappear into just shadow, this takes practice, have fun!).
A kneadable eraser is like a putty that will lift pencil carbon off the paper and is fun to use. You can take a bit of the smudging off if you do too much. A regular eraser is a helpful tool also!!
Add more shading and shadow. Add more dips and do a bit more blending. Just keep adding a bit more and a bit more until you are happy with the look.
If you overdo and don’t like it, remember that this is a learning time. It’s OK to draw another one on the same page. Keep practicing till you like the result. You will improve the more you draw!
All my notes and papers (even many of my books) have doodles in the margins. Always ponder “how could I draw that” when you see things around you. These shapes we are learning are some of the building blocks to being able to draw objects. Be patient with yourself as you learn and practice!!
Be sure to encourage others and yourself to try new things. Most people say that they can’t draw but could improve greatly with some skills and practice. Just like anything we try!!
ENJOY!
More How to Draw tutorials will be coming! Be sure to subscribe and get a notice when the next How to Draw video comes out.
If you try this How to Draw tutorial, let me know! Go ahead and leave a comment, rate it, and tag a photo with #WelcometoNanas wherever you post.
Come join the fun!
More Drawing Tutorials
Want to learn more about drawing? Check out these additional posts on Welcome to Nana's!
- How to Draw a Sphere for ALL ages
- How to Draw Christmas Ornaments
- How to Draw a Pumpkin
- How to Draw a Baseball
- How to Draw an Orange
How to Draw an Orange or Clementine
Equipment
- none needed
Items Required
- Paper or drawing pad
- Pencil
- Eraser or kneadable eraser
- Blending tools
- Orange or clementine (optional but helpful)
Instructions
- Start drawing the orange on your paper by drawing a sphere shape with pencil.
- Draw in a star shape on the top of the sphere. It doesn’t have to be perfect. Do a little shading on the star. Draw a stem with a circle and shade on the shadow side of the stem.
- There are “valleys” that come out from the stem on the surface of the fruit. Draw lines out from the star at each point, blend them a bit, add a bit more line over the top.
- An orange or clementine have small dips in the skin. You can turn your pencil slightly on the side and draw little dots to represent these dips.
- Add more shading and shadow. Add more dips and do a bit more blending. Just keep adding a bit more and a bit more until you are happy with the look.
- Be patient with yourself as you learn and practice!!
- To draw a sphere: How to Draw a Sphere for ALL ages
Video
Supplies:
- Paper or drawing pad
- Pencil
- Eraser or kneadable eraser
- Blending tools
- Orange or clementine (optional but helpful)


Leave a Reply