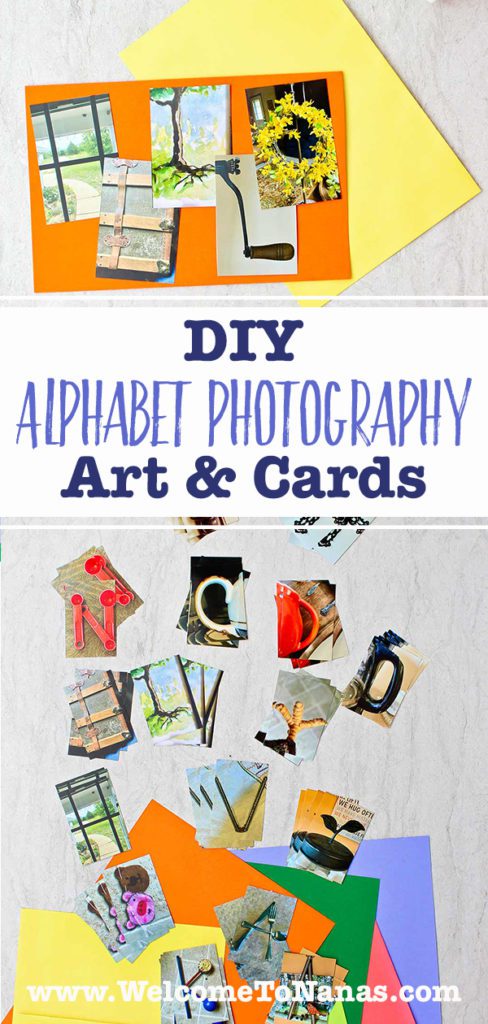
Let's try DIY Alphabet Photography!
I saw a picture hung on the wall in an office the other day- and it was Alphabet Photography. The picture consisted of a word (BLESS) and each letter in the word was a picture of objects that formed that letter.
So for example, the letter “S” was a picture of some rod iron railing in an “S” shape. Of course I wanted to try it and see if it would work well as a Welcome To Nanas craft project.
The answer is yes it did! Let's go for it!

Photography letters of the alphabet
If your younger kids know their letters, they can work to find objects in the areas around them that are in the shape of that letter. Or an older child (or adult) could help the younger child learn their letters by doing this craft project. That’s a fun way to learn!
First, decide what word you want to spell.
I decided to make birthday cards and a fun little picture to give away.
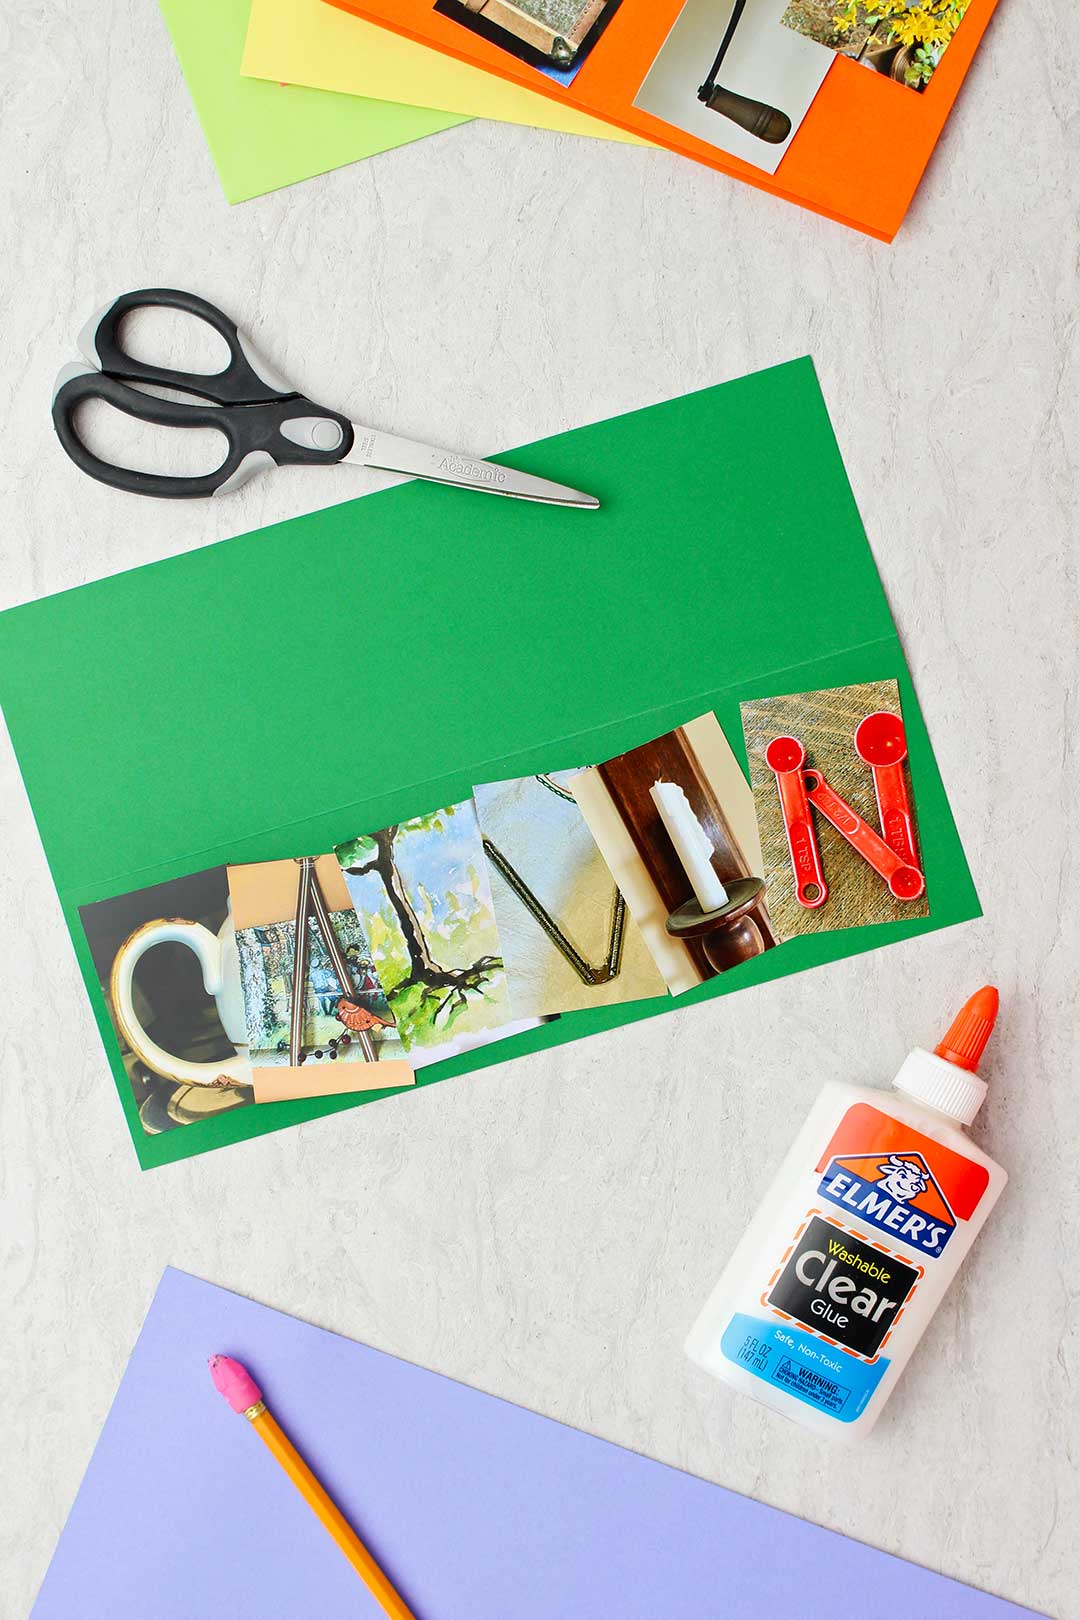
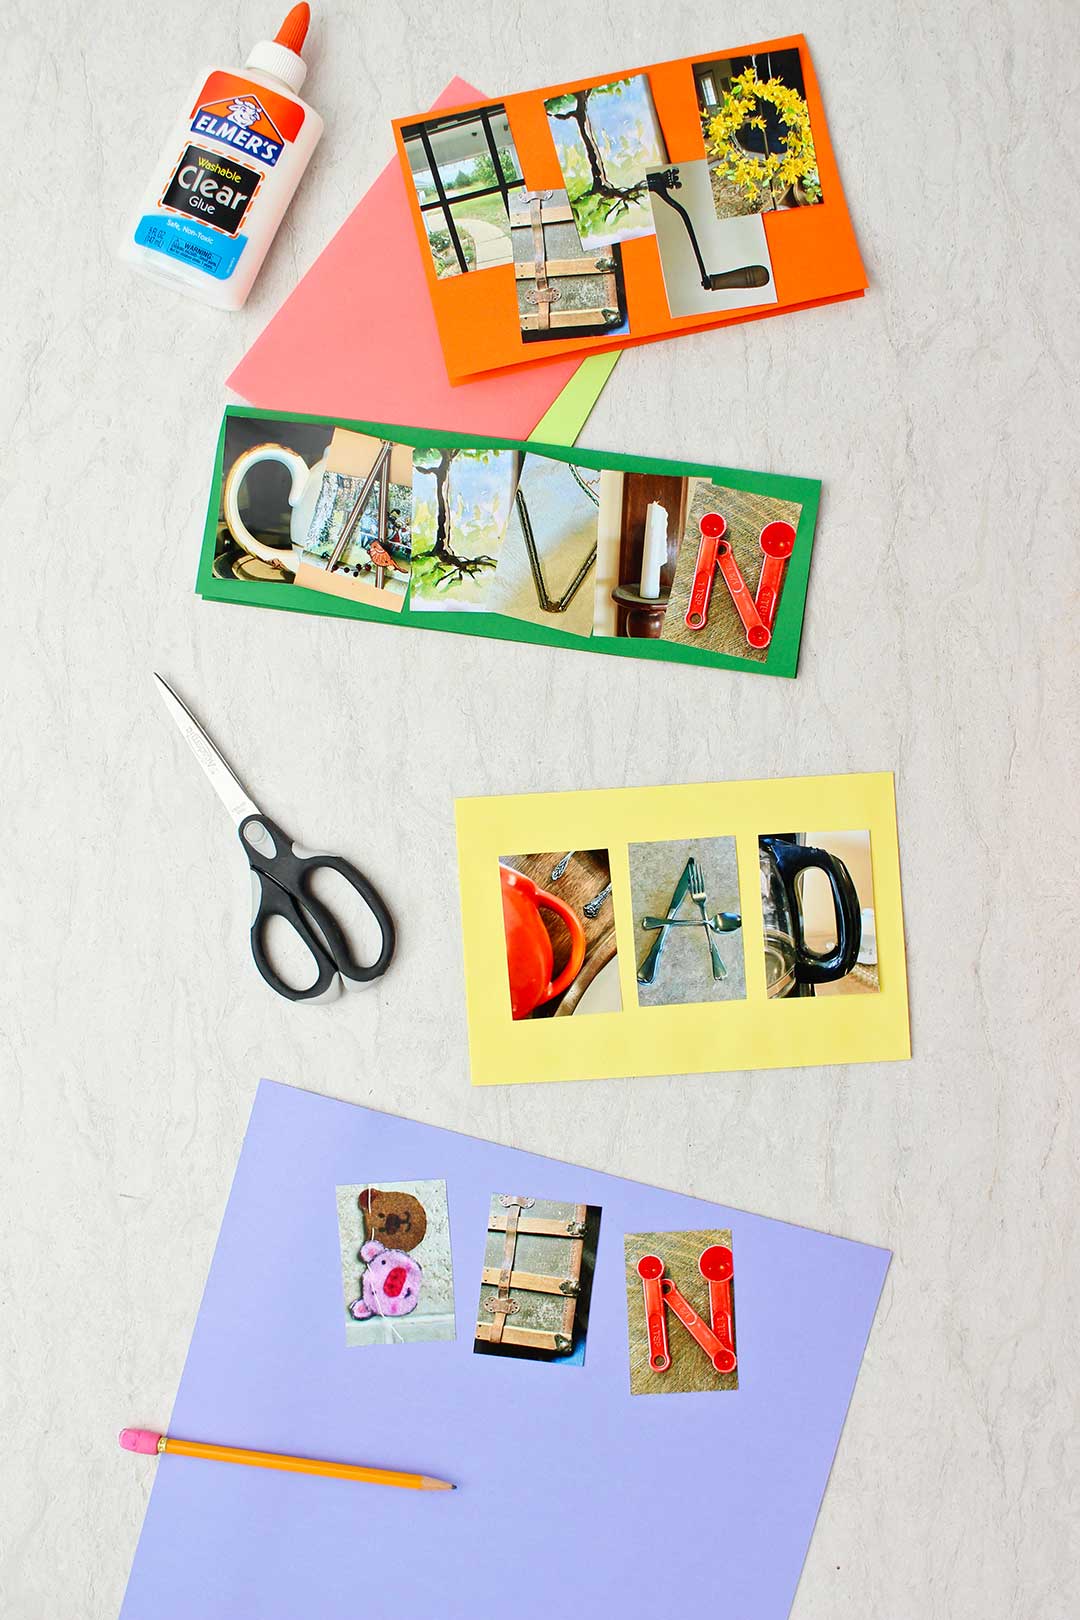
Ben, Calvin, Dad, Addy, Kate, and Hello were the words that would go on my cards or art projects.
It is important to mention that shorter words work better than longer ones. The projects I show are 3-6 letters long.
Perhaps you can use a nickname for someone with a longer name or choose a shorter word rather than a longer one. Another idea is to use a person’s initials if their name is long.
Photography alphabet
With a list of words in hand, I could make a list of the letters needed to spell those words. So that is where I suggest you start as well.
What words or names do you want to create? Make your list and then tally up how many of each letter you will need.
So, there is a bit of an issue on this next step. The kids need a cell phone, tablet with a decent camera, or a digital camera to take pictures.
Some have their own phones already so that isn’t an issue. But…if not are you willing to let them take your phone for a while to take pictures? I promise they will have fun, but I can’t promise that nothing will happen to your phone. So there’s that.
Note: You or an older child could partner with a younger child that isn’t ready to take a phone or camera on their own yet. Together you can find the letter shapes and take the pictures.

Letters made out of objects
Take your list of letters and go around your house and yard to find objects that have that letter shape, or objects you can make into that letter shape.
Remember to look at objects sideways or even upside down to find the letter shape you are wanting. Letter shapes are hidden everywhere.
A handle on a cup can make a letter “C”. A wreath creates an “O” shape. The decorative leaf handle on a cookie jar looks like a “Y”.
Arrange objects into the shapes of letters
For certain letters you can take several objects, arrange them correctly and they form the shape of the letter.
For example, the cord and mouse on a computer can curl and make a “G”. 4 screwdrivers from the toolbox can be arranged into the letter “E”. A saucer and spoon can be set up to look like a “Q”. You get the idea. Be creative.
Vertical letter photos
It works best to take vertical pictures. This will allow for more letters to fit on your project. So I recommend that- up and down, vertical pictures!
Since shooting pictures in the shape of alphabet letters I keep noticing letter shapes all around. It’s funny how that happens.
Note: It would work to take a picture of an actual letter in another sign if you wanted to. Like the P in the word “STOP” on a stop sign for example.
If you want, you can go ahead and shoot pictures of all the letters in the alphabet. Then you will have them to make more DIY Alphabet Photography Art and Cards in the future!
I chose to do that and have a file on my computer as I can foresee using this idea again to make birthday cards.
It works well to take pictures of two of some letters so they can be used in a word that has double letters (like A, S, L, T, E, D). That way you have two different “L”s to use in the word HELLO for instance.
Develop photos in wallet size
When you are done shooting your pictures, they need to be uploaded from your device to a service business that prints photos. I chose to use Walgreens, but other businesses have this service as well.
What I love about Walgreens is that there is almost always a coupon online to make the order 50% off. Gotta love a bargain!
Choose to make 4x6 Wallet Prints which have 4 pictures per 4x6 inch photograph. You will automatically have 4 smaller pictures for each print you make.
Note: You could use the large 4x6 inch print size to make a very large poster sized project. That would be cool too!
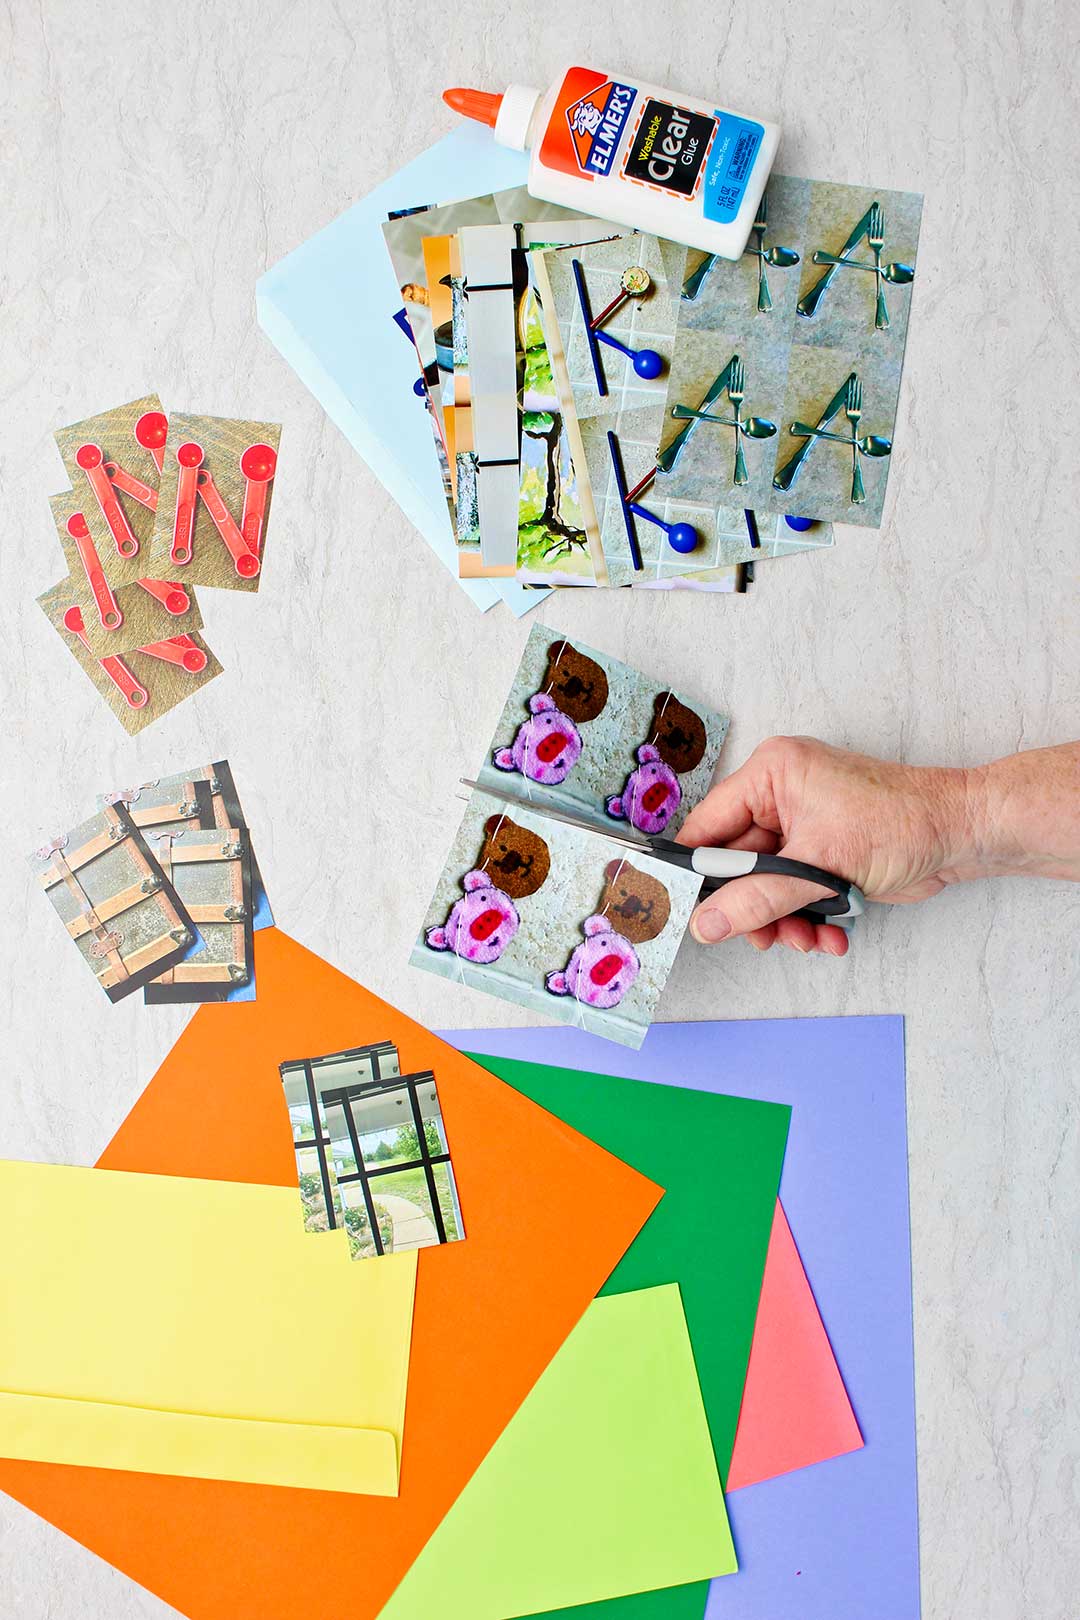
Cut the pictures into fourths
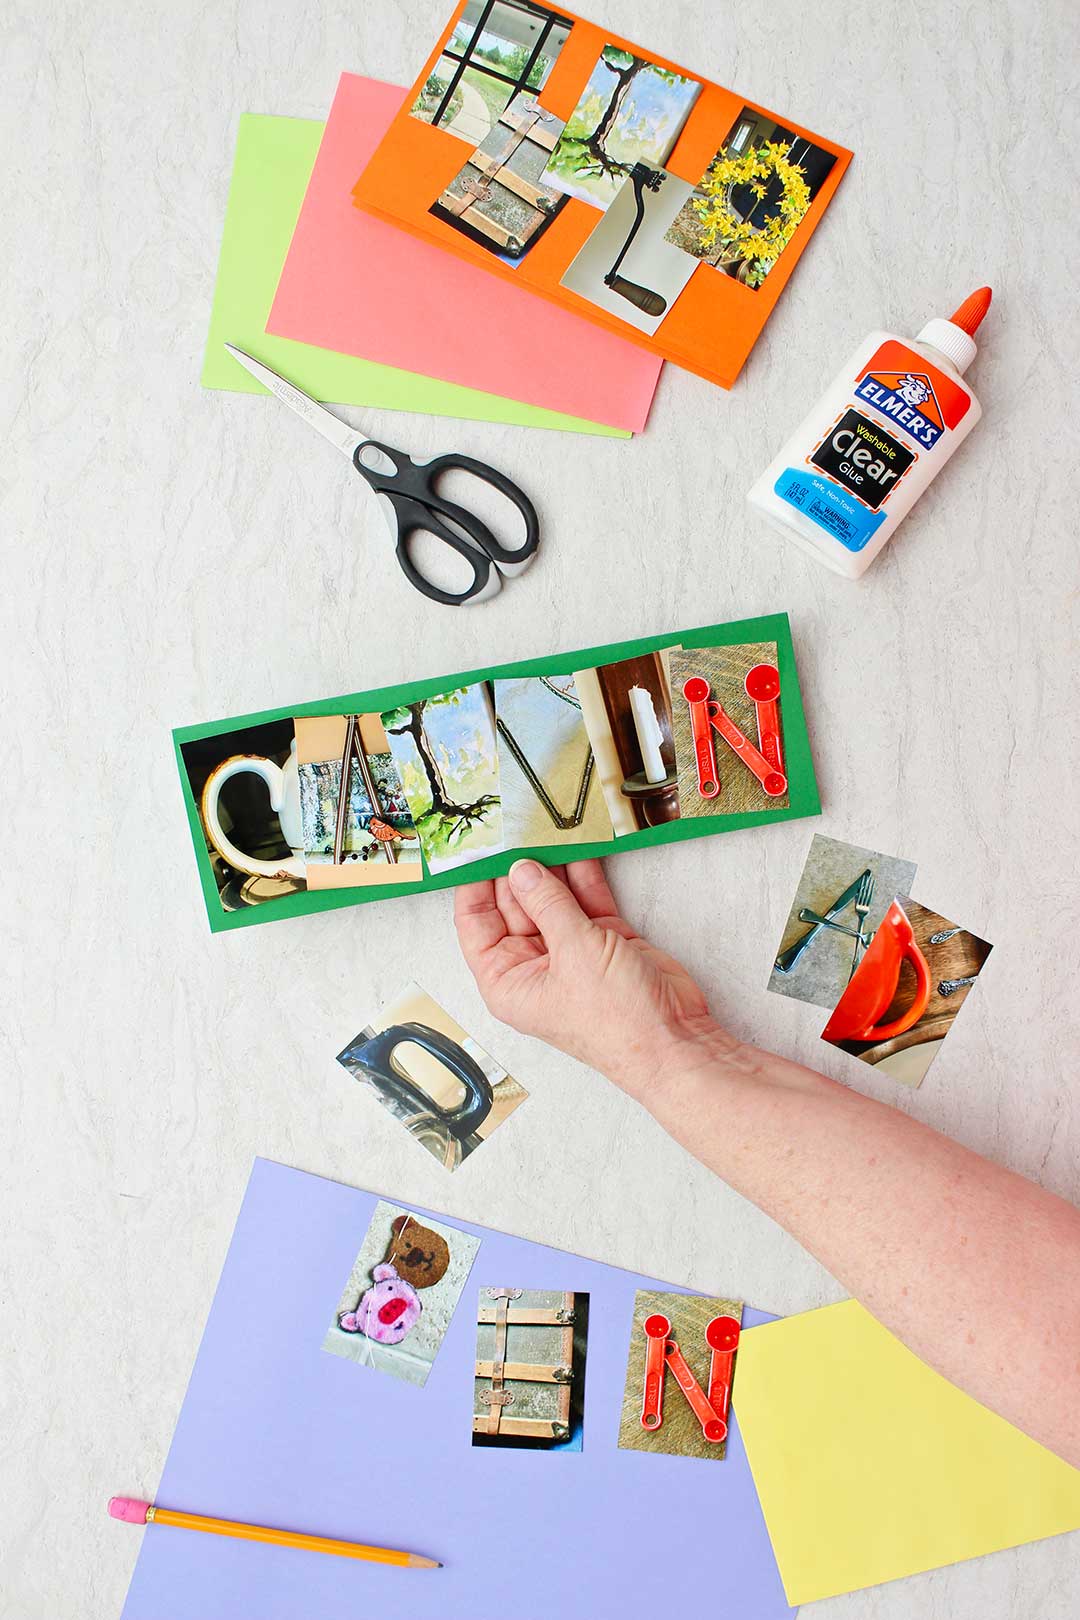
So when you get your prints home, cut them apart into the 4 wallet prints and start forming your words out of the letters.
This will let you see how much space you will need on your paper to hold all the letters.
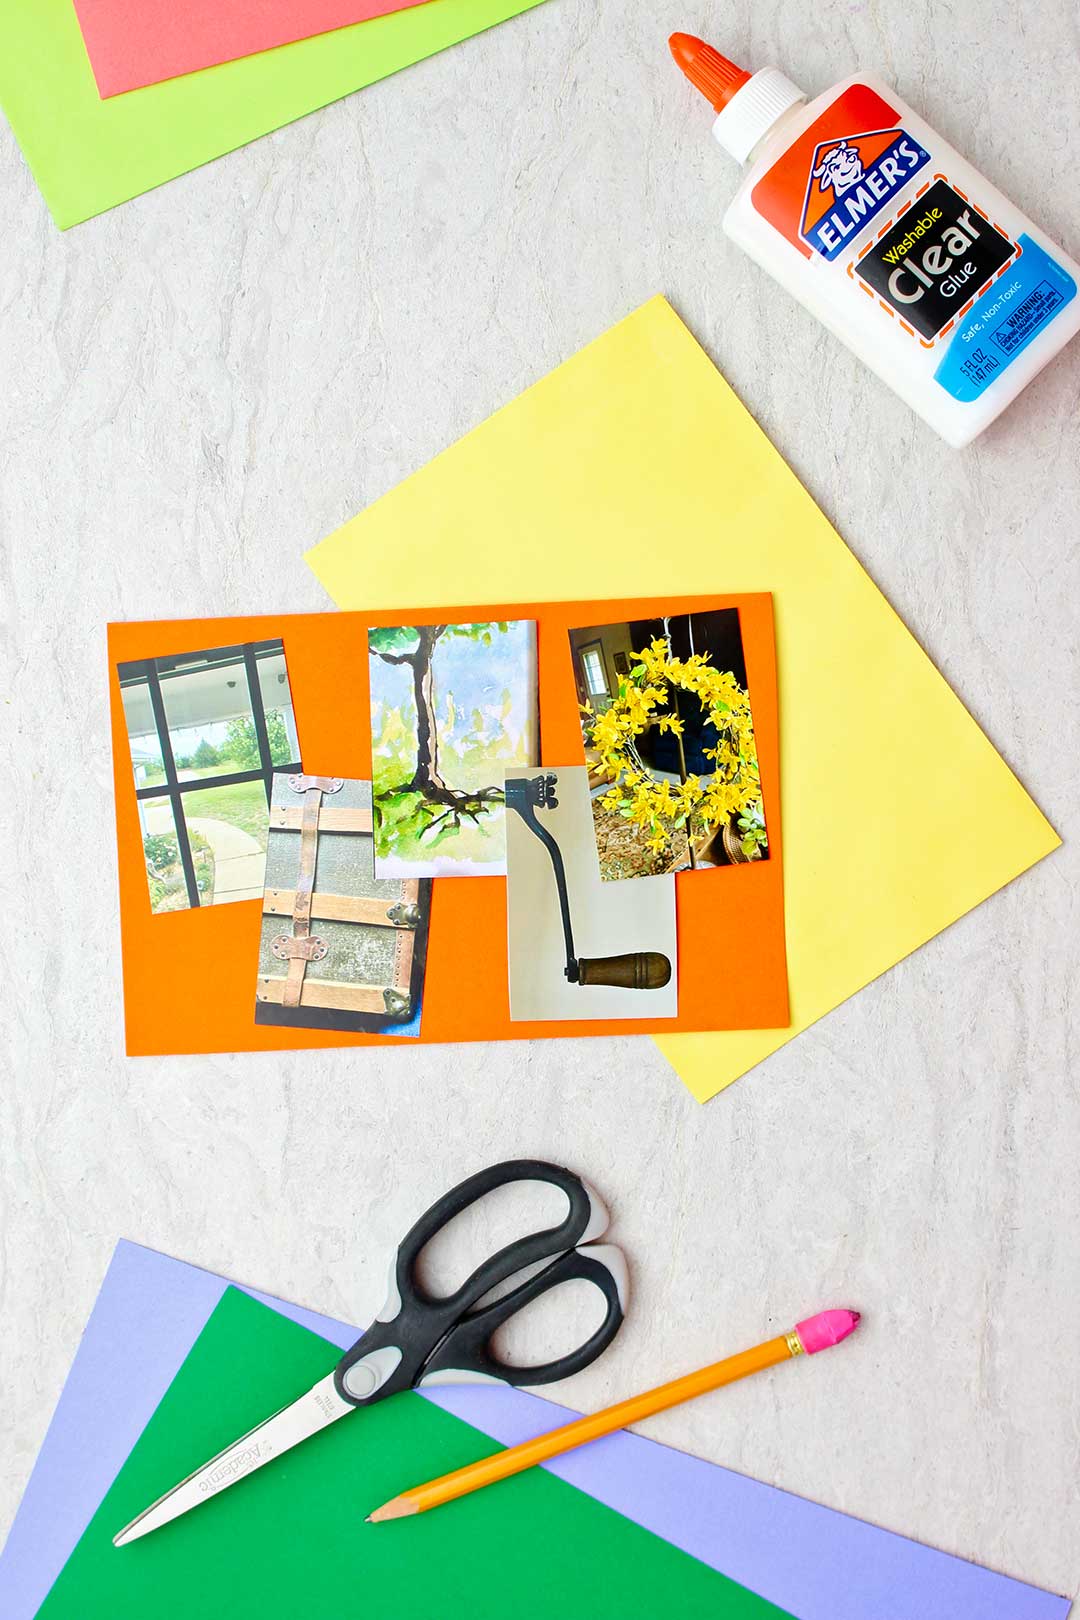
Card stock cut to size
Next, cut cardstock paper in the size needed for your art project or card.
Remember, the project needs to be large enough to fit the size of the letters you are putting into your word.
So I made cards in the video. But DIY Alphabet Photography could be used to make other art projects and gifts.
A word like “HELLO” or “LOVE” would look great in a frame and would work well for a gift or to put up in the child’s room.
How do I lay out the alphabet photography?
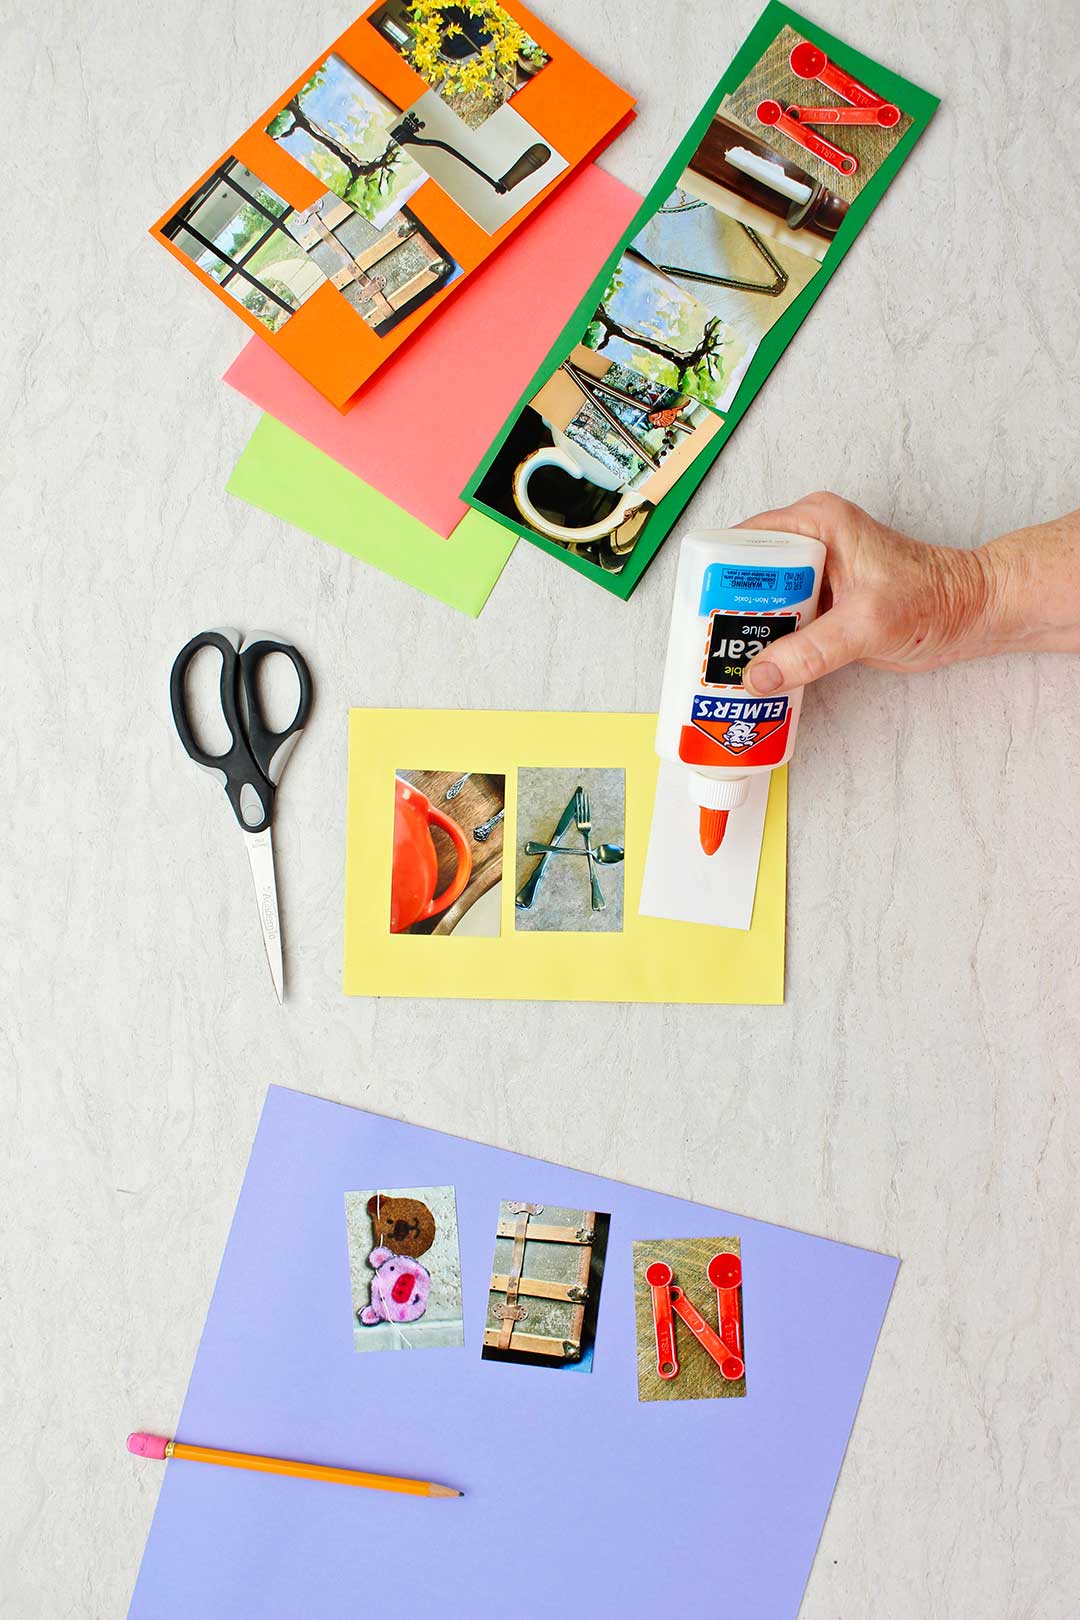
With your cardstock paper cut to size, take a moment to line up the letters of your word on top of the paper to see how to arrange them to fit well. The letters can be kept straight or tilt them different directions and let them overlap a bit.
Glue down the alphabet pictures
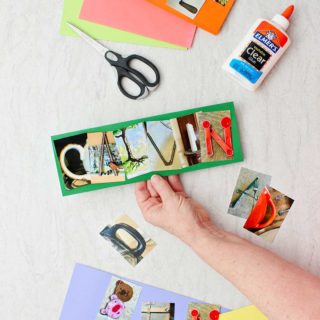
When you have an arrangement you like, use glue to glue each letter down on the project.
When done, it is a good idea to put a book on top of the project to let it dry. This keeps the photos from curling up as the glue dries.
Can I Make My Own Envelopes?
I made my cards to fit envelopes I had on hand, but you can make an envelope to size or just give the card without an envelope!
If you'd like to see a tutorial on how to create your own envelope to a custom size, check out this post on DIY Paper Envelopes! You'll find several unique envelope shapes that you can create on your own, made to fit the size of your card.
Or if you'd like to get creative with some fabric as well, you can learn how to make your own envelopes out of any fabric you'd like here in this post - How to Make Fabric Envelopes.
Can I Frame My Card?
If you made an art project, you could put it into a purchased 8x10 inch or 9x13 inch frame if you want. Or you could make your own frame from cardboard.
To make a frame: Cut the frame opening to fit your project size and then cut the outside dimension a couple inches wider. Cover the frame with craft paper, wrapping paper or paint before gluing it over the DIY Alphabet Photography art project.
Give or display your alphabet photography art!
Then you can give it as a gift or put it up on your wall!
Don’t you love how these turned out? I’m excited to give them as cards or gifts!
Let me see what you create- put up some pictures!!
For those of you who are YouTube fans, here is a link: YouTube DIY Alphabet Photography Art & Cards
Enjoy!
If you try this craft, let me know! Go ahead and leave a comment, rate it, and tag a photo with #WelcometoNanas wherever you post.
Come join the fun at https://welcometonanas.com
DIY Alphabet Photography Art & Cards
Equipment
- Scissors
Instructions
- First, decide what word you want to spell. It is important to mention that shorter words work better than longer ones. The projects I show are 3-6 letters long.
- Make a list of the letters needed to spell those words. Then tally up how many of each letter you will need.
- Take your list of letters and go around your house and yard to find objects that have that letter shape, or objects you can make into that letter shape. It works best to take vertical pictures. This will allow for more letters to fit on your project.
- If you want, you can go ahead and shoot pictures of all the letters in the alphabet. Then you will have them to make more DIY Alphabet Photography Art and Cards in the future!
- When you are done shooting your pictures, they need to be uploaded from your device to a service business that prints photos. I chose to use Walgreens, but other businesses have this service as well. What I love about Walgreens is that there is almost always a coupon online to make the order 50% off. Gotta love a bargain!Choose to make 4x6 Wallet Prints which have 4 pictures per 4x6 inch photograph. You will automatically have 4 smaller pictures for each print you make.
- So when you get your prints home, cut them apart into the 4 wallet prints and start forming your words out of the letters.This will let you see how much space you will need on your paper to hold all the letters.
- Next, cut cardstock paper in the size needed for your art project or card.Remember, the project needs to be large enough to fit the size of the letters you are putting into your word.
- With your cardstock paper cut to size, take a moment to line up the letters of your word on top of the paper to see how to arrange them to fit well. The letters can be kept straight or tilt them different directions and let them overlap a bit. When you have an arrangement you like, use glue to glue each letter down on the project.
- If you made an art project, you could put it into a purchased 8x10 inch or 9x13 inch frame if you want. Or you could make your own frame from cardboard. To make a frame: Cut the frame opening to fit your project size and then cut the outside dimension a couple inches wider. Cover the frame with craft paper, wrapping paper or paint before gluing it over the DIY Alphabet Photography art project.
Video
Notes
Supplies for DIY Letter Photography Art or Cards:
- Photographs of letter shaped objects (wallet size 4x6 inch prints)
- Glue
- Cardstock
- Envelope or frame (optional)
- Scissors


Leave a Reply