
How to Sew a Pillowcase project inspiration
When my son was young one of his aunts made him a pillowcase for his birthday. The fabric had camping gear on it which was a perfect choice for him.
I still have and use that pillowcase and it is still brings me a smile after all these years! That’s what made me think of the Easy How to Sew a Pillowcase Tutorial as a project to share with you.
PS- This will also help me remember to give that pillowcase to my son the next time we are together!
Making a pillowcase- for a gift or for yourself!
Wouldn’t this be a cute birthday gift for your child to give to a friend? Or maybe you need a special gift for someone going off to college! There are quilting fabrics and flannels with all kinds of patterns. There’s sure to be one that matches their interest- dinosaurs, ballerinas, bugs, or sports logos.
Note: This could be made from fleece as well but I’m not including instructions on sewing with knits in this lesson. We will learn more about that in the future!
Easy pillowcase pattern
This project takes one yard of fabric for a standard sized pillow so it is also a great way to use up pieces of fabric you may have stashed away. Admit it, you have some fabric in a box or closet somewhere, right? I can’t be the only one! Ha.
Note: I will include the fabric measurement needed for queen and king sized pillows in the supply list.
Learn how to sew project
Lastly, this is a perfect learn to sew project. It uses straight seams and can be completed in a short amount of time. What a good way for your budding sewer to learn about straight seams, pivoting at a corner while sewing, and making a hem!
Once you have your sewing skills up this project can be finished in 15-20 minutes. I'm making them for stocking stuffers for all the grands this year!
So let’s get to it- Easy How to Sew a Pillowcase Tutorial!

To sew a pillowcase:
This pillowcase will be made from one piece of fabric and will be wide hemmed at the opening.
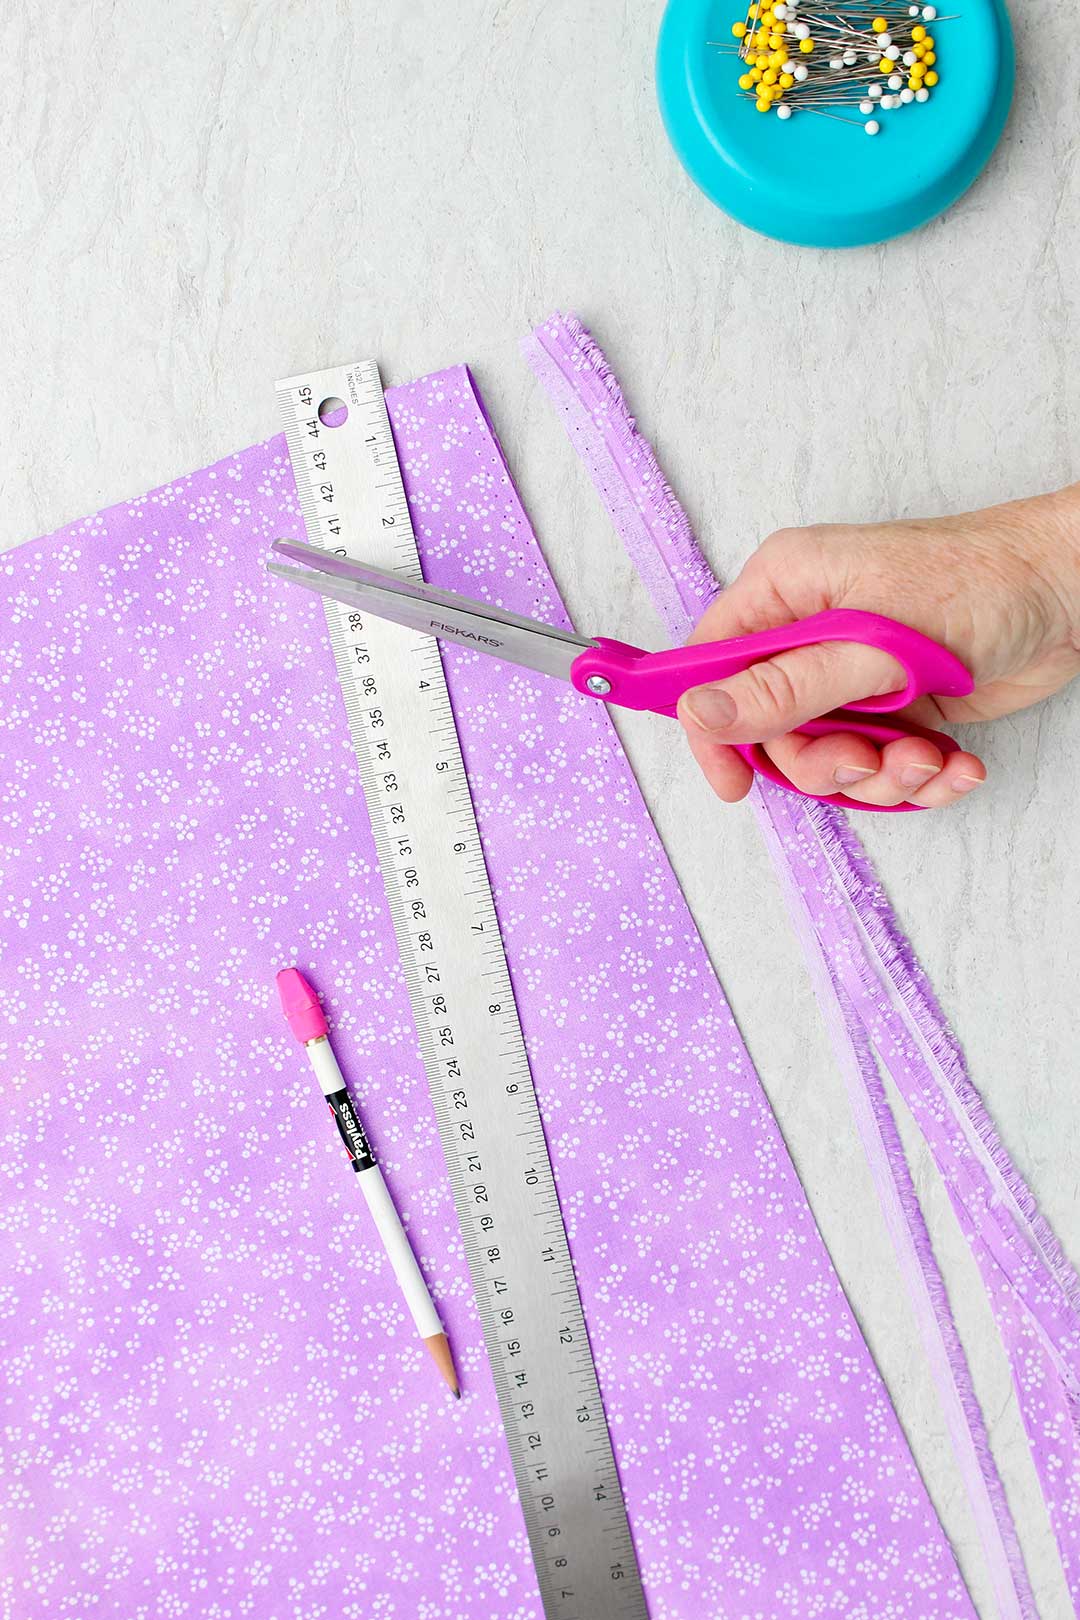
Start by cutting the selvages off the full length of your piece of fabric.
Selvages are the finished edges of the fabric (not the cut ends) and they run parallel to the folded edge. You will cut off about ½ inch or so to do this. Selvages sometimes pull funny over time and can twist or draw up your project.
Easy pillowcase tutorial- press up the hem
Next, we are going to do some prep work for the hem…although actually sewing the hem is the last step we will do. This will make sense in the end, I promise!
Prepping for the pillowcase hem will require an iron. A what? You heard me, an iron! Hopefully you didn’t give yours away while decluttering!
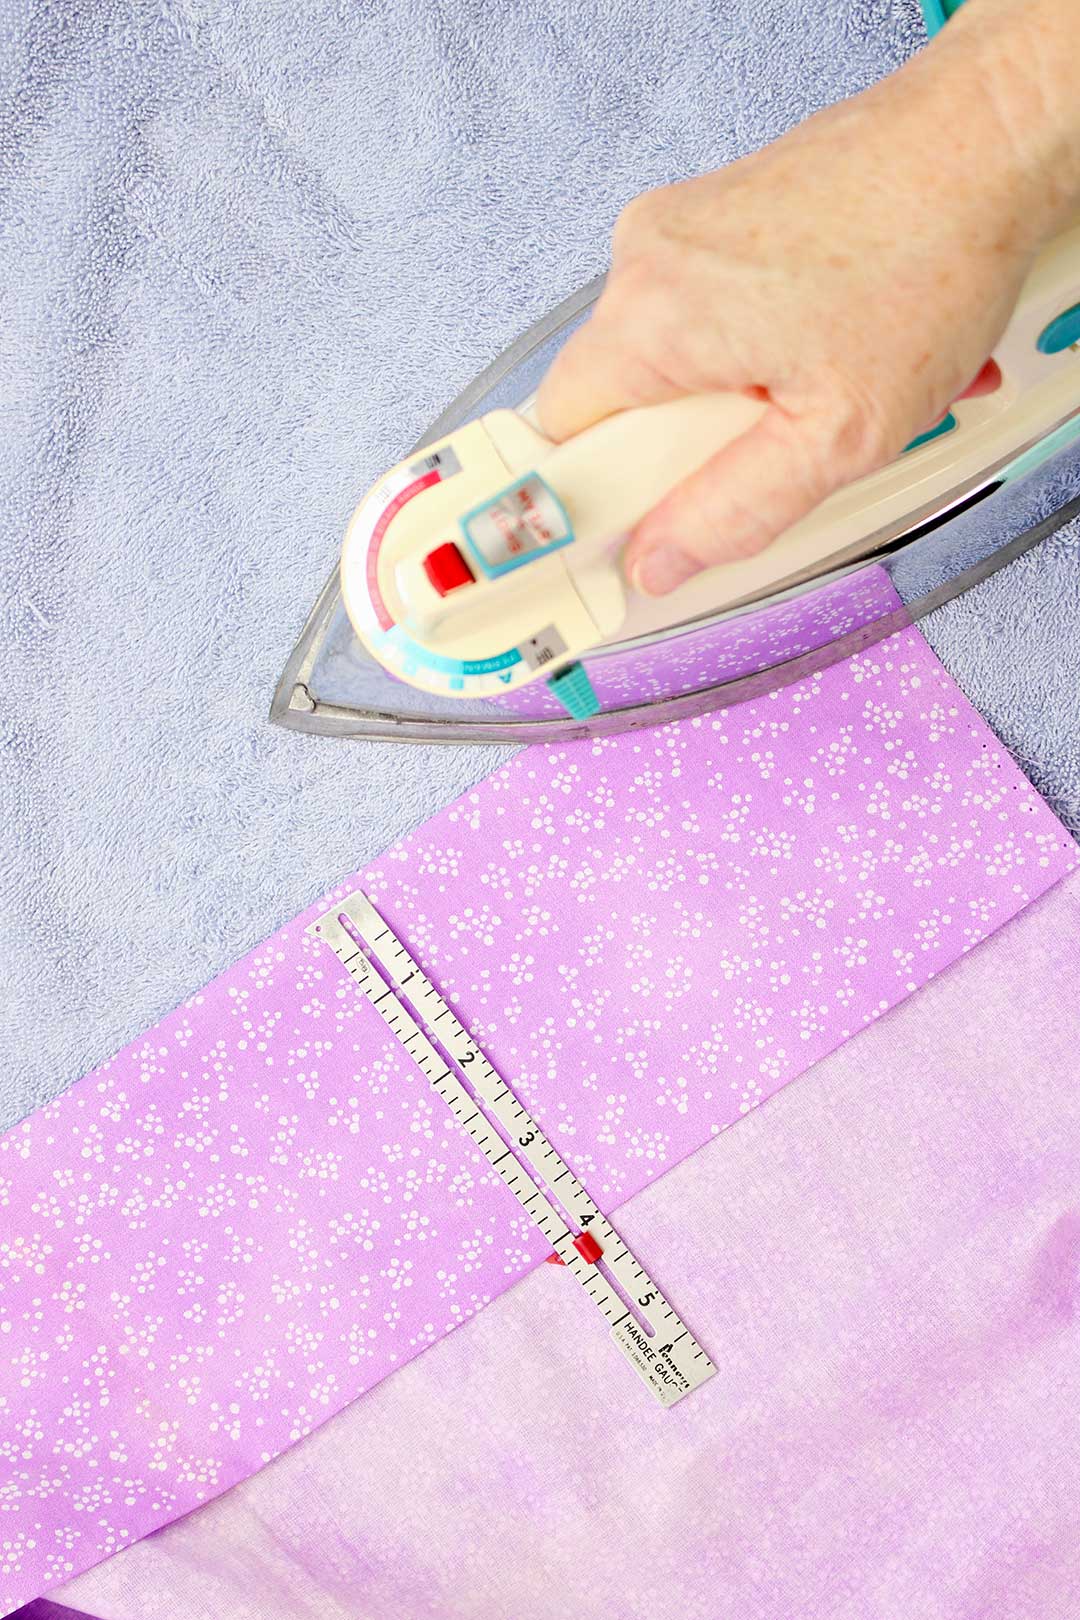
The hem is going to be on one end of the pillowcase. So we are going to choose one end and then open up the fabric flat with the wrong side of the fabric up.
Turn up 1 inch along this entire side of the fabric and press it in place. (It will be turned up towards the wrong side of the fabric.)
I use a seam gauge to do this. A seam gauge is basically a 6-inch ruler with a sliding gauge that sets the size of the measurement. So I can set the gauge for one inch and use that to measure accurately and consistently. But you can use a ruler if you want.
With the wrong side of the fabric still up, this time turn up 4 inches of fabric and press. The 1-inch folded edge will now be hidden under this new folded edge.
Sewing a pillowcase
After all that work, I want you to open the fabric up flat again. We will come back to the hem later and the pressing will be worth it.
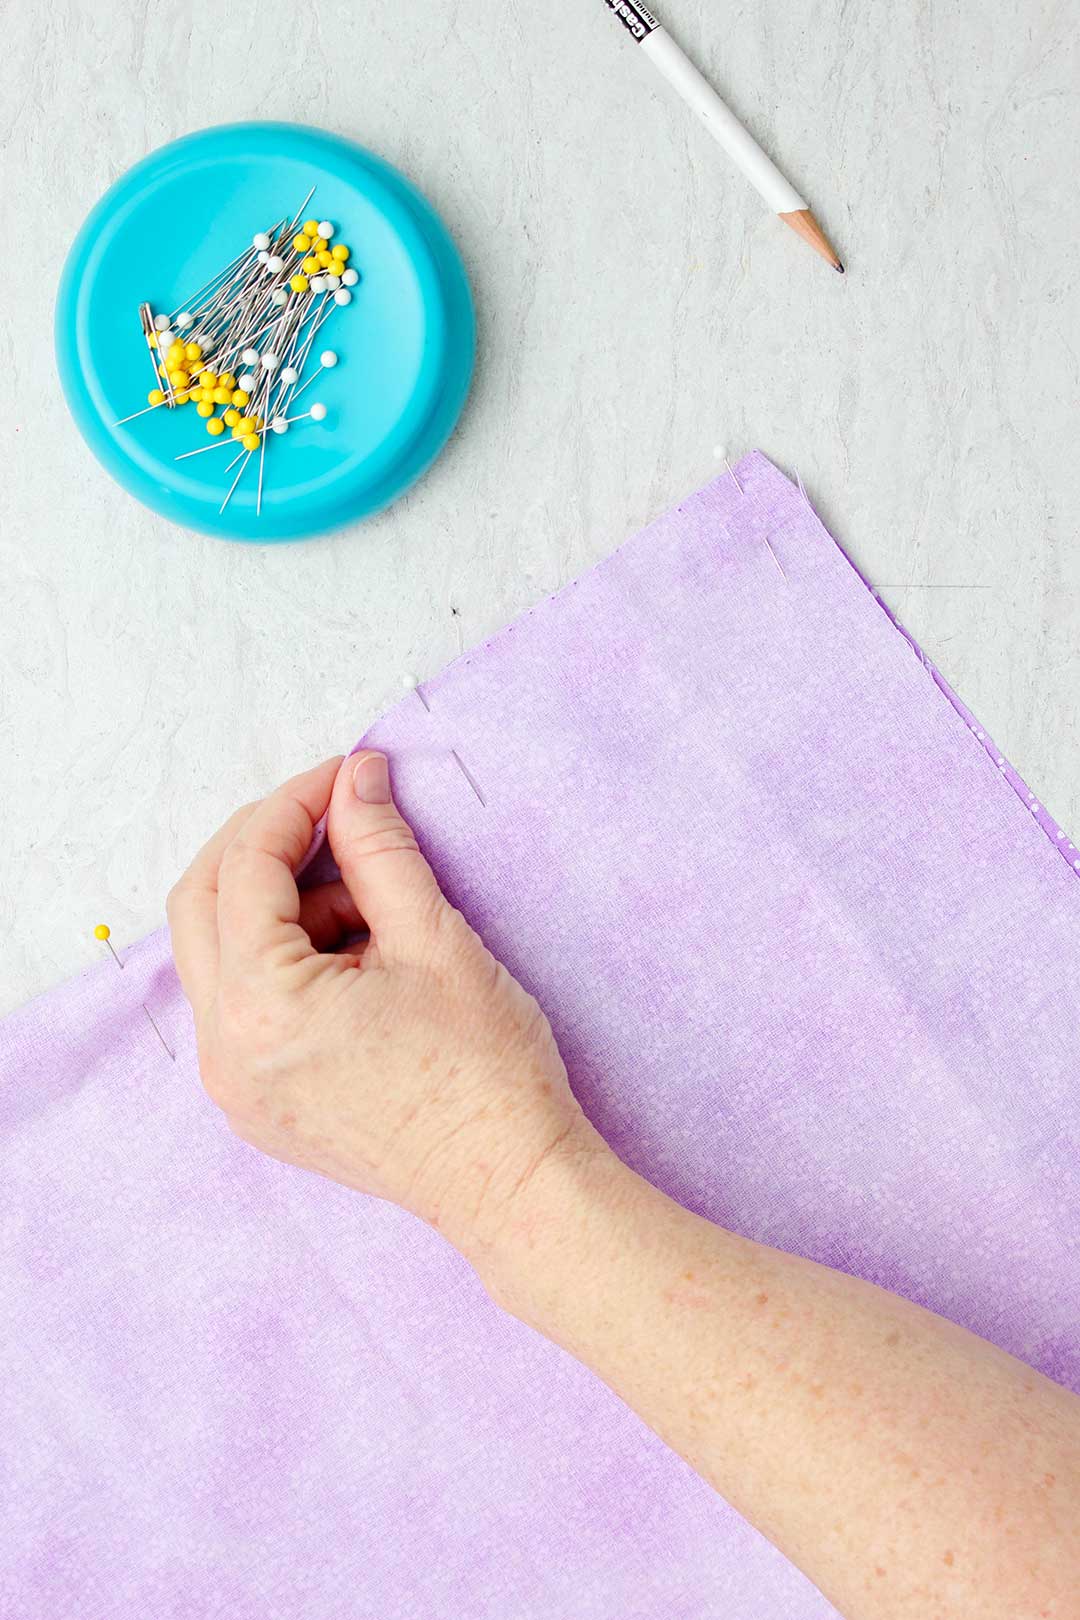
Refold your fabric along the existing fold line so the right sides are together this time.
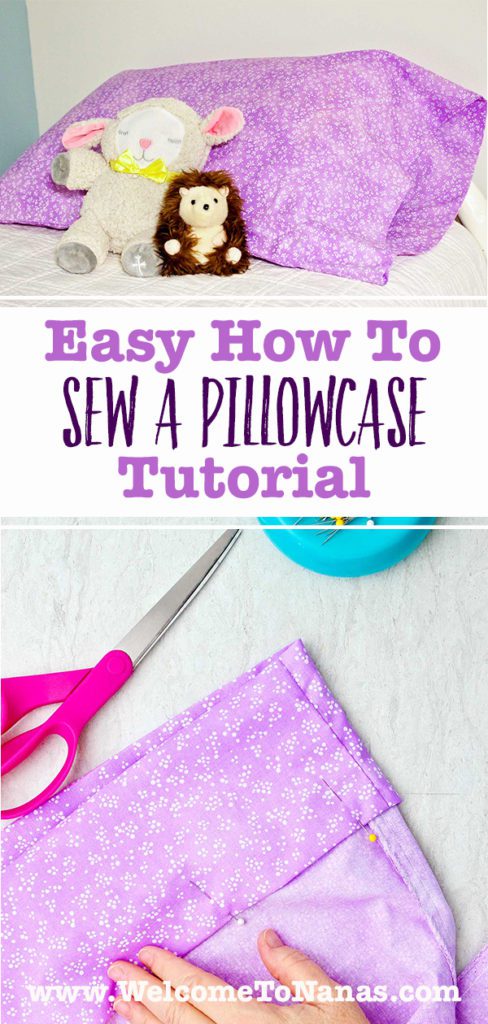
Pin your fabric, right sides together, on two adjoining sides (leaving the end you will use for the hem unsewn). Go to your sewing machine and sew a ½-inch seam on those two edges, making an “L” seam. Back stitch on both ends and pivot turn on the corner.
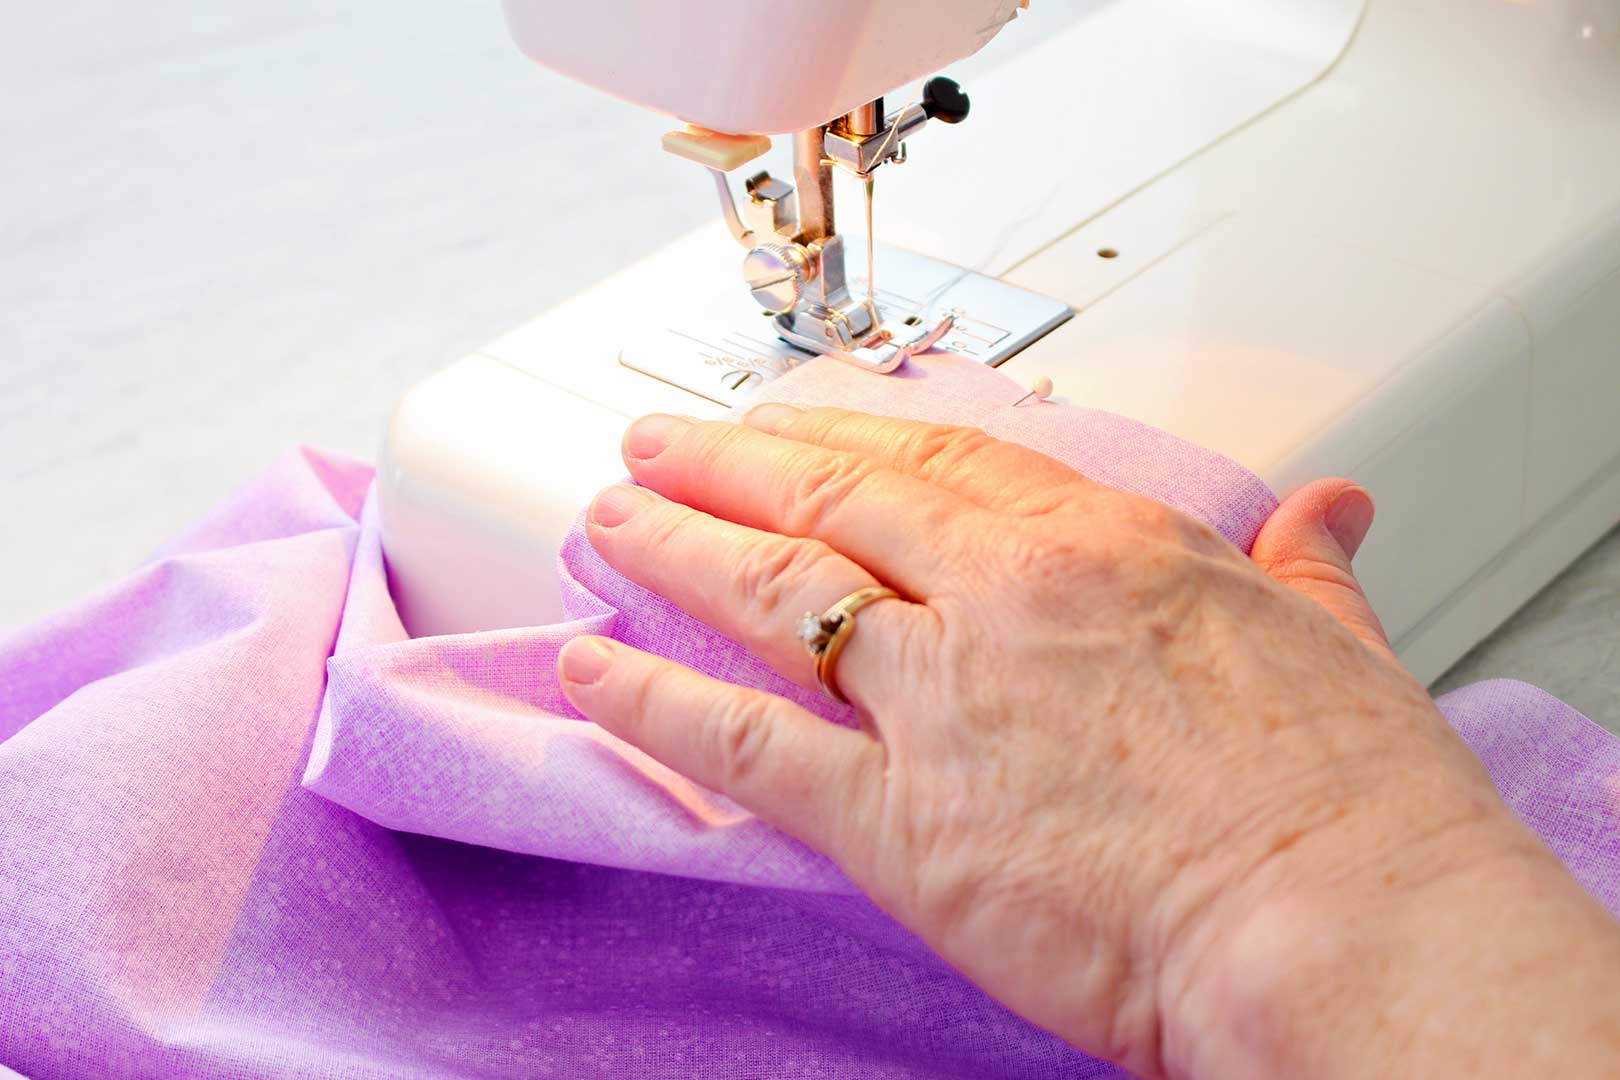
Note: Take the pins out as you sew, don't sew over pins.
To make a pivot turn, sew one edge seam till you get ½ inch from the end. Leave the needle down in the fabric, lift the presser foot, turn the fabric, then set the presser foot down again. Continue sewing a ½-inch seam down the second pinned side.
See, you made an “L” seam! Way to go.
The third side of the pillowcase is already connected because of the fold.
Finish the edges of the seams
Zig-zag the edges of your two seams to finish the edges. Set the sewing machine stitch length on 2 and the width on 4. Zig-zag right on the unfinished edge of the seams. This will keep the fabric from unraveling.
So let’s get back to that unsewn side that is going to be hemmed.
How to sew a pillowcase- finish the hemmed edge
The creases are still in the fabric from the pressing you did earlier. See them?
Refold the one inch toward the wrong side of the fabric.
Then refold the 4 inches toward the wrong side of the fabric.
This is going to be your pillowcase hem.

Pin the edge down that is four inches from the pillowcase edge. This is what you will be sewing down next.
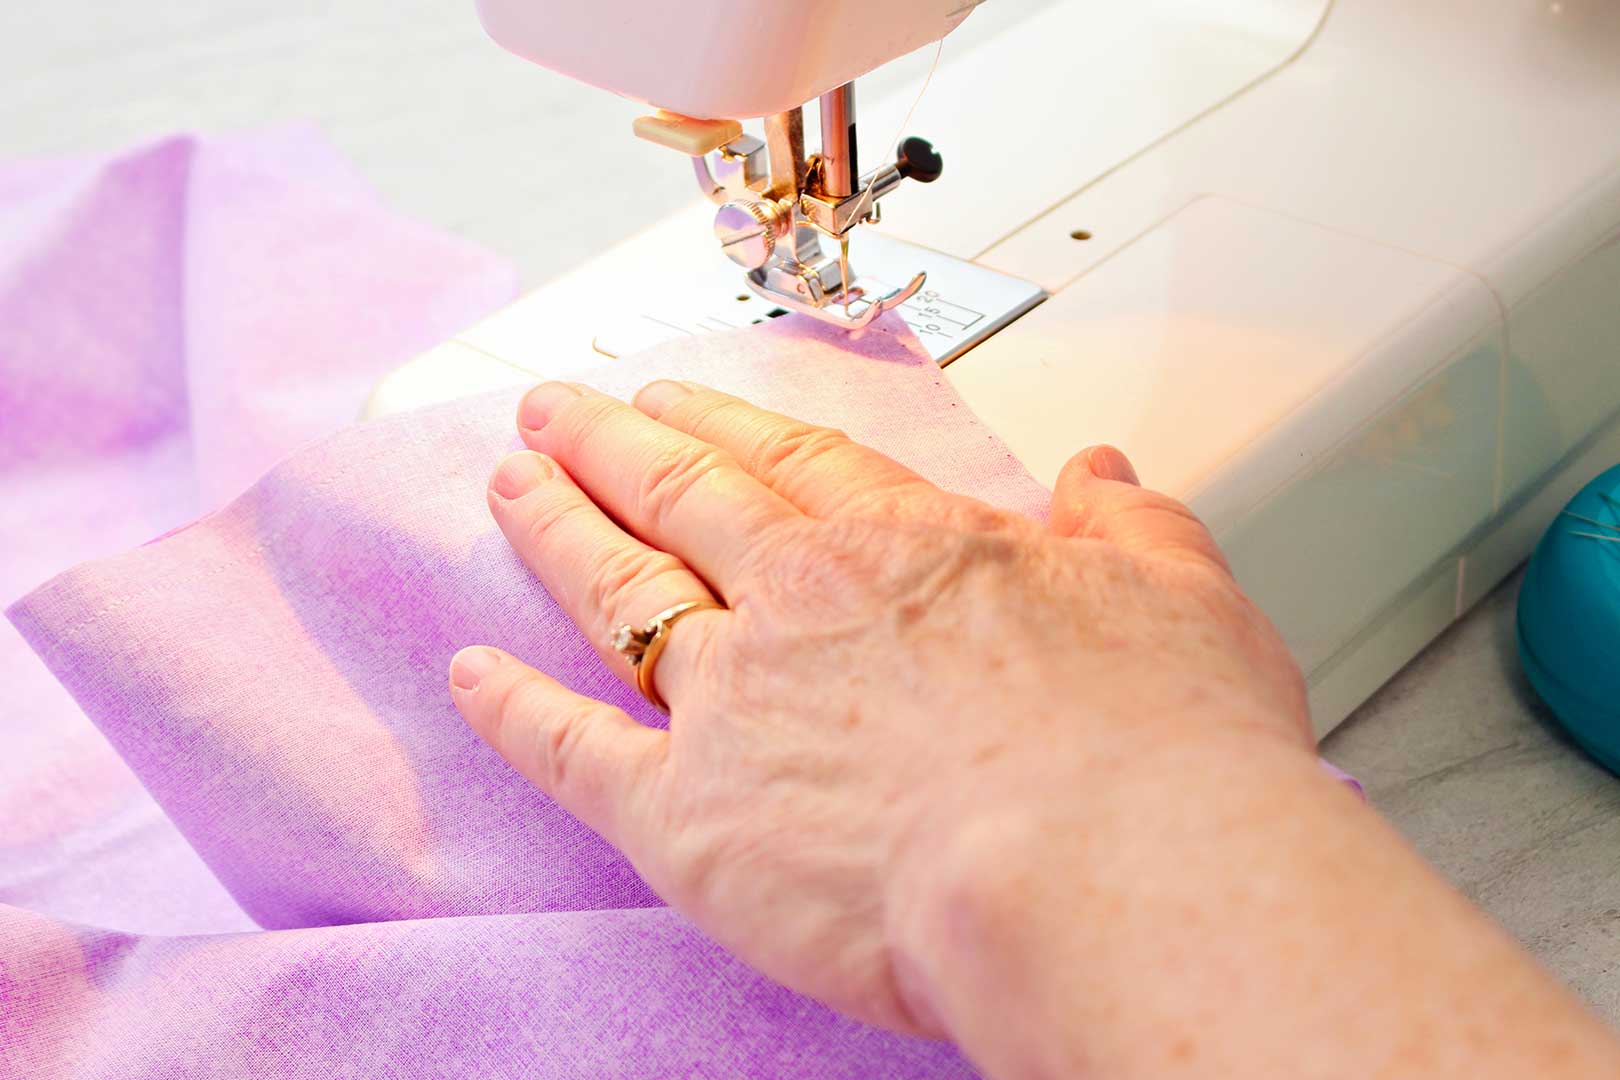
Go to the sewing machine and sew a ⅛th inch seam along this pinned edge. Try to make it as straight as possible, close to the edge but not sewing off the edge.
You will be moving the pillowcase kind of in a circle until you sew all the way around to where you started sewing. Be careful not to sew through both edges of the opening and sew the pillowcase opening shut!
Sew over the first stitching for about an inch. Clip off the extra thread strings.
Note: If you have a sewing machine that has a free arm, take off the piece covering that free arm. Then the pillowcase opening can go around it, making it easier to sew.
You are done! Wasn't that fast?
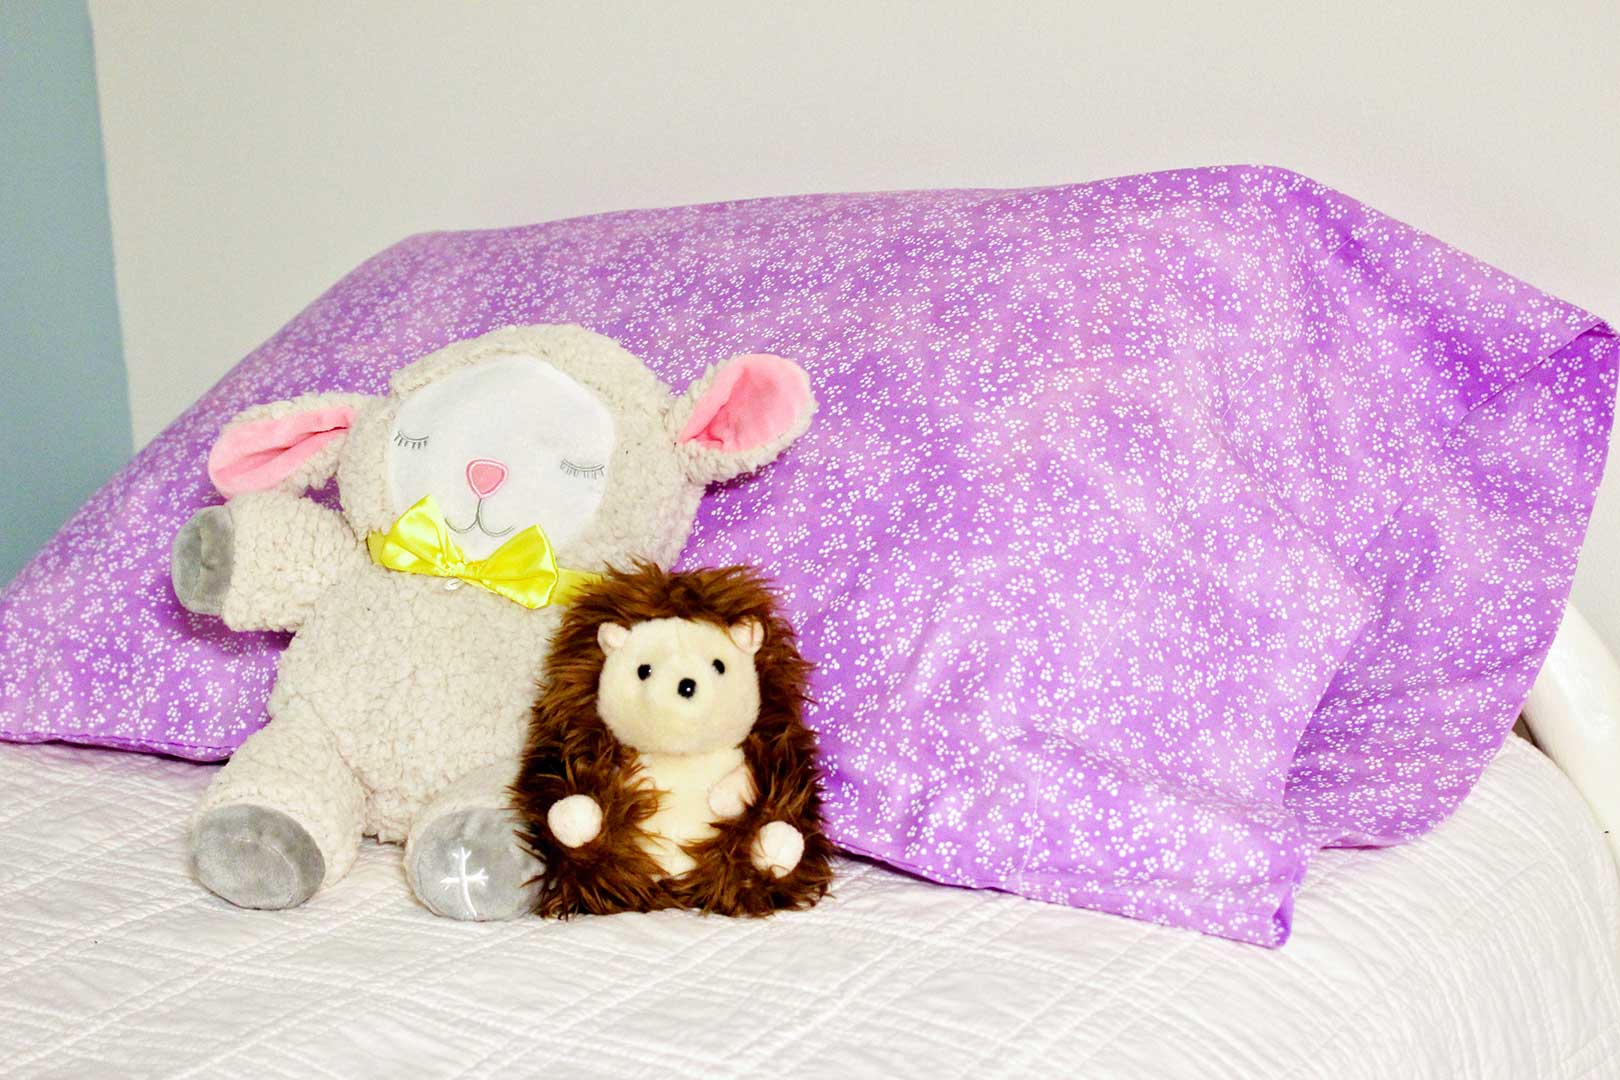
Turn the pillowcase right side out and pull the corners out well so they look square. You may want to press it before folding it up if giving it as a gift.
I just had to try mine on a pillow right away. It is a roomy but well-fitting pillowcase.
Sew a pillowcase for every holiday!
I don’t know why I’ve never thought to sew up a few holiday sets of pillowcases. I’m not one to spend extra on sets of holiday sheets and store them all year just to use for a week or two.
But I certainly could buy a couple yards of cute Christmas fabric or Valentines themed fabric and make pillowcases! They take very little space to store and are inexpensive. What fun!
I’m so excited to see the pillowcases you sew up. Are they for a gift or for the pillow on your own bed? Be sure to post a picture.
More Easy Sewing Projects from Nana!
Looking for more easy sewing projects for the kids? Check out these ideas from around the blog!
- How to Make a Scrunchie
- How to Make a Fabric Book Cover
- DIY Microwaveable Rice Pack
- How to Make T-Shirt Tote Bags
- Easy Sew DIY Fleece Hat
Enjoy!
If you try this craft, let me know! Go ahead and leave a comment, rate it, and tag a photo with #WelcometoNanas wherever you post.
Come join the fun at https://welcometonanas.com
Easy How to Sew a Pillowcase Tutorial
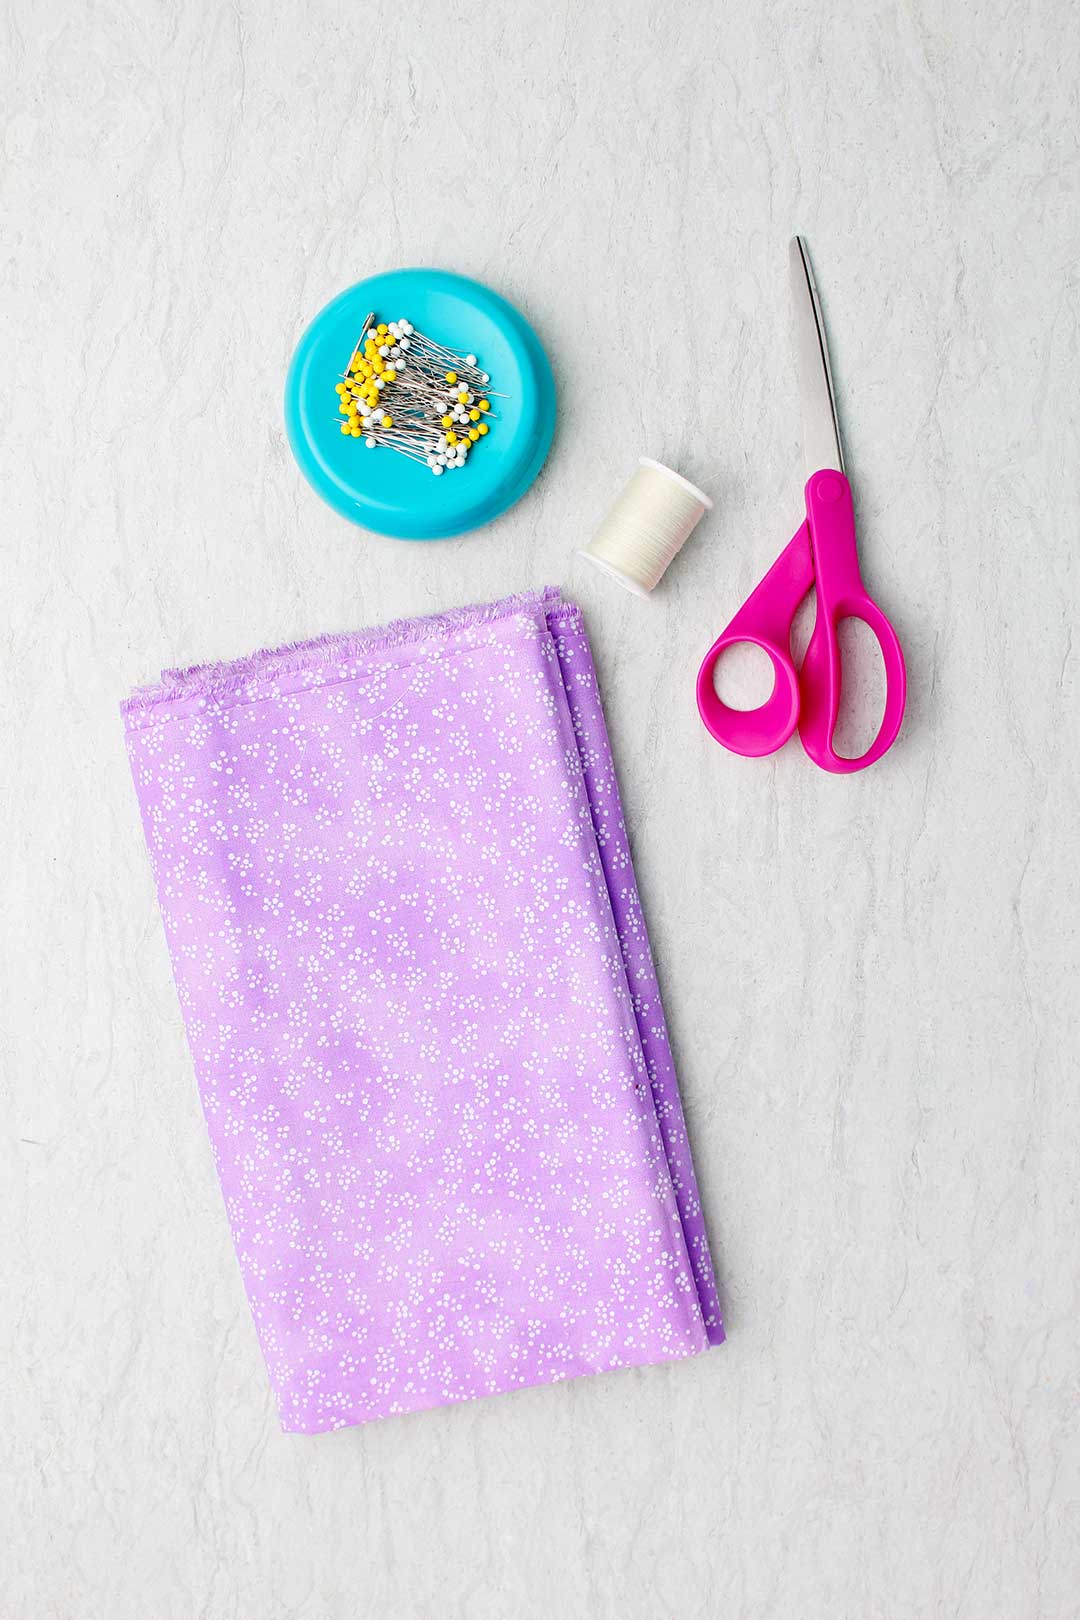
Equipment
- Pins
- Seam gauge or ruler
- Fabric scissors
- Iron
- Sewing machine
Items Required
- Fabric: 1 yard for a standard pillowcase 40" for a queen pillowcase (about 1 ¼ yd) ; 46" for a king pillowcase (about 1 ½ yd)
- Thread that coordinates with the fabric’s dominant color
Instructions
- Start by cutting the selvages off the full length of your piece of fabric.
- The hem is going to be on one end of the pillowcase. So we are going to choose one end and then open up the fabric flat with the wrong side of the fabric up.Turn up 1 inch along this entire side of the fabric and press it in place. (It will be turned up towards the wrong side of the fabric.)With the wrong side of the fabric still up, this time turn up 4 inches of fabric and press. The 1-inch folded edge will now be hidden under this new folded edge.
- After all that work, I want you to open the fabric up flat again. We will come back to the hem later and the pressing will be worth it.Refold your fabric along the existing fold line so the right sides are together this time. Pin your fabric, right sides together, on two adjoining sides (leaving the end you will use for the hem unsewn). Go to your sewing machine and sew a ½-inch seam on those two edges, making an “L” seam. Back stitch on both ends and pivot turn on the corner.
- Zig-zag the edges of your two seams to finish the edges. Set the sewing machine stitch length on 2 and the width on 4. Zig-zag right on the unfinished edge of the seams. This will keep the fabric from unraveling.
- The creases are still in the fabric from the pressing you did earlier. See them?Refold the one inch toward the wrong side of the fabric. Then refold the 4 inches toward the wrong side of the fabric.This is going to be your pillowcase hem.Pin the edge down that is four inches from the pillowcase edge. This is what you will be sewing down next.
- Go to the sewing machine and sew a ⅛th inch seam along this pinned edge. Try to make it as straight as possible, close to the edge but not sewing off the edge.
- Turn the pillowcase right side out and pull the corners out well so they look square. You may want to press it before folding it up if giving it as a gift.That's it!! Enjoy!!
Video
Notes
Supplies for the Easy How to Sew a Pillowcase Tutorial
- Fabric: 1 yard for a standard pillowcase; 40" for a queen pillowcase (about 1 ¼ yd) ; 46" for a king pillowcase (about 1 ½ yd)
- Thread that coordinates with the fabric’s dominant color
- Pins
- Seam gauge or ruler
- Fabric scissors
- Iron
- Sewing machine


Sally says
Thank you so much for this as it is the best I have found in my searching!
Shelly says
Hey Sally! I'm so glad to hear it - hope you enjoyed making it as much as I did!