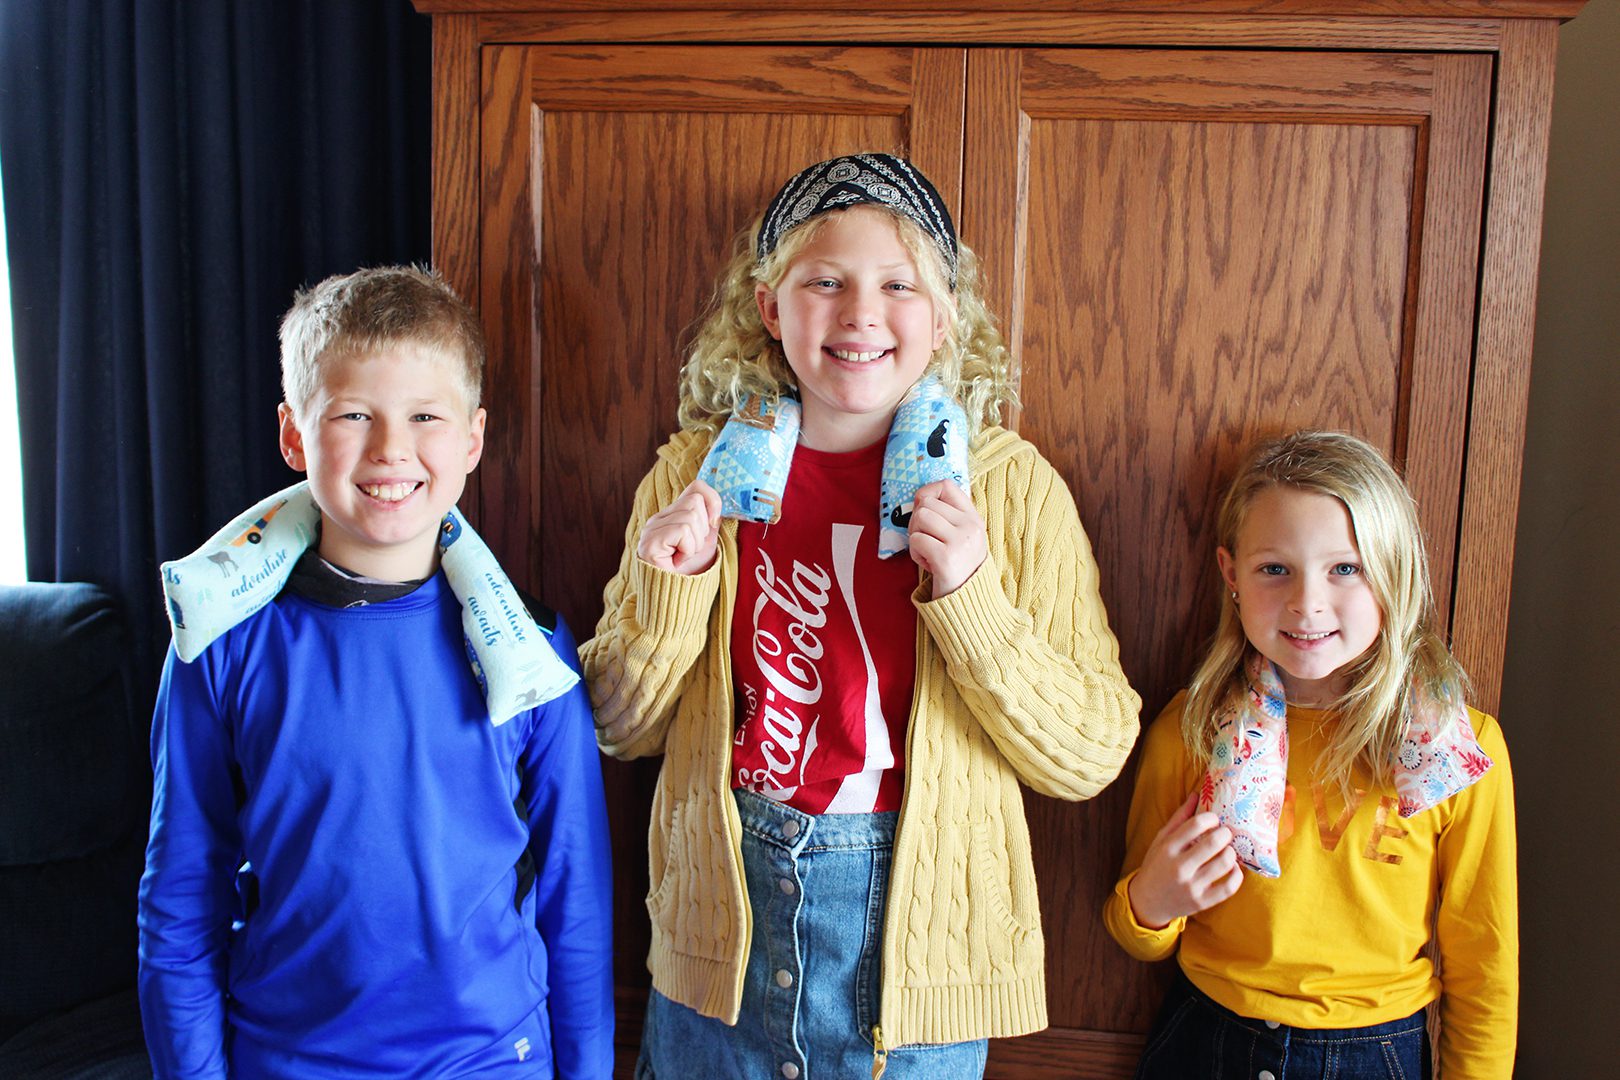
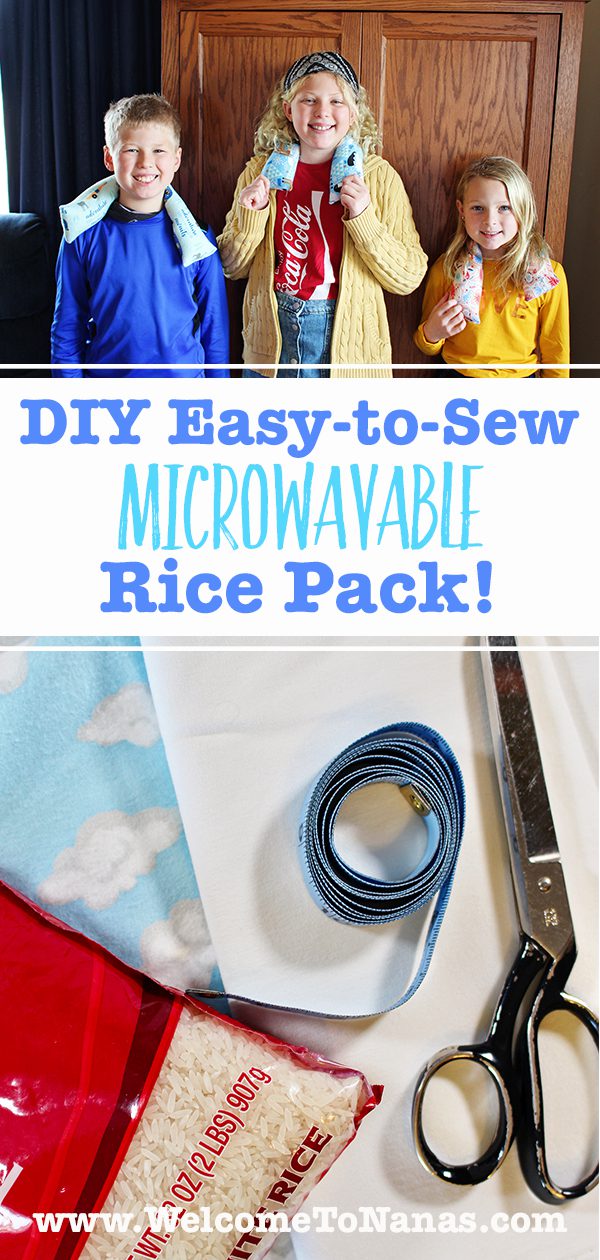
Christmas flannel mystery!
Each grand received a little square of folded flannel in their Christmas stocking this year. “What is this for, Nana?” came from several directions as the contents of the stockings were emptied. I explained that each child would get to sew their own rice bag, a DIY Easy-to-Sew Microwavable Rice Pack! Choosing the different fabrics for each of the kids was a blast.
Teaching Kids How to Sew!
I wasn’t sure if all of them would be excited about learning more about sewing, but they were. You will need to use your discernment about whether your little sewer is coordinated and ready to use the electric sewing machine. But, with help, these 8, 9 and 11 year old’s nailed it!
How to Practice Sewing for Beginners
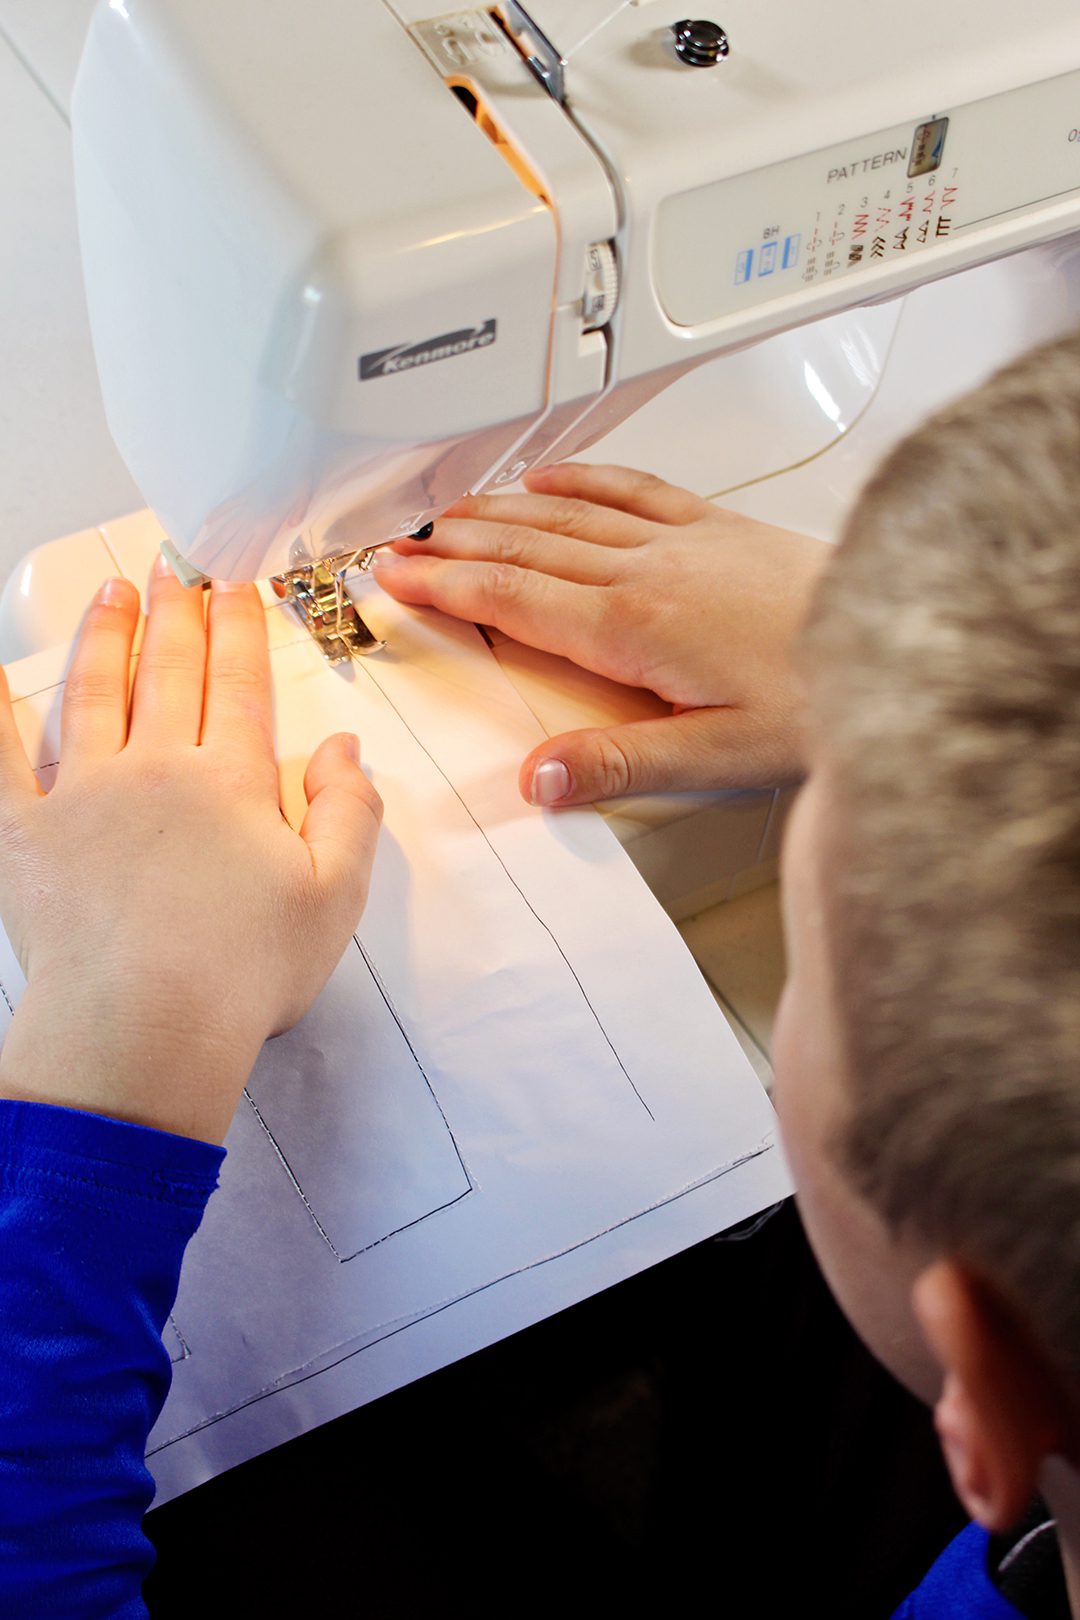
We started with a bit of sewing on paper. What? Sewing on paper? Yep.
Paper sewing works really well for a new sewer (the dictionary says that boy and girls that sew are sewers or seamsters, I looked it up). Sewing on paper is easy to control and there is a drawn line to sew on.
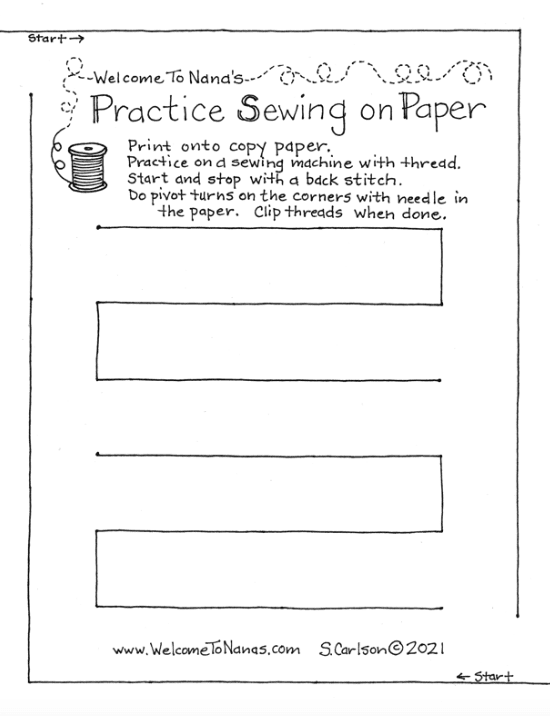
Here is a free paper sewing pattern for you to use to teach your little sewers how to sew. Download your WTN Free Paper Sewing Pattern for a DIY Easy-to-Sew Microwavable Rice Pack here. Let me know how you like it.
Teaching Sewing Safety
First we talked a bit about how a sewing machine works. I’m still intrigued with that part of sewing.
Next came some safety instruction about the needle movement and how to keep their fingers to the side, out of the way of the needle. I stayed right by their side as they worked and continued to coach them about this part.
Lastly with a demonstration by me, they learned about starting the seam, backstitching, and sewing a straight line.
How to Sew a straight seam
Each child was eager to give it a whirl and diplomatically decided to take their turns from youngest to oldest. Most of the pictures were of the 9 year old, FYI.
The paper sewing has a straight line that goes around the paper at 4/8 inches from the edge. This is the seam size of this project, 4/8 inch (½ inch).
The seamsters soon discovered that they had to direct the paper or the machine would sew willy-nilly. This is a key skill.
How to Sew with a pivot and turn
The second skill is to pivot and turn on the corners. Slow down the machine and then stop stitching a short distance from the corner. Use the hand wheel to stitch till at the corner, put the needle down in to the paper, lift the presser foot, pivot the paper to the new direction, put the presser foot down, and begin to sew once again.
The kids were really excited to learn this and they were able to do a pivot-turn on their own after being shown.
How to Backstich
Lastly, they learned to backstitch at the beginning and the end of their seam and clip the threads.
Tip: I held the backstitch lever while they sewed. To sew and hold the lever took quite a bit of coordination.
How to Sew a DIY Easy-to-Sew Microwavable Rice Pack
We were already having fun, but the grands were really excited about getting started on the real thing, their very own DIY Easy-to-Sew Microwavable Rice Pack!
Cut and fold the fabric
The piece of flannel for each child was ¼ yard of flannel, cut in half at the center fold. So, each ¼ yard made two DIY Easy-to-Sew Microwavable Rice Packs.
Tip: If you purchased a fat quarter, just cut it in half.
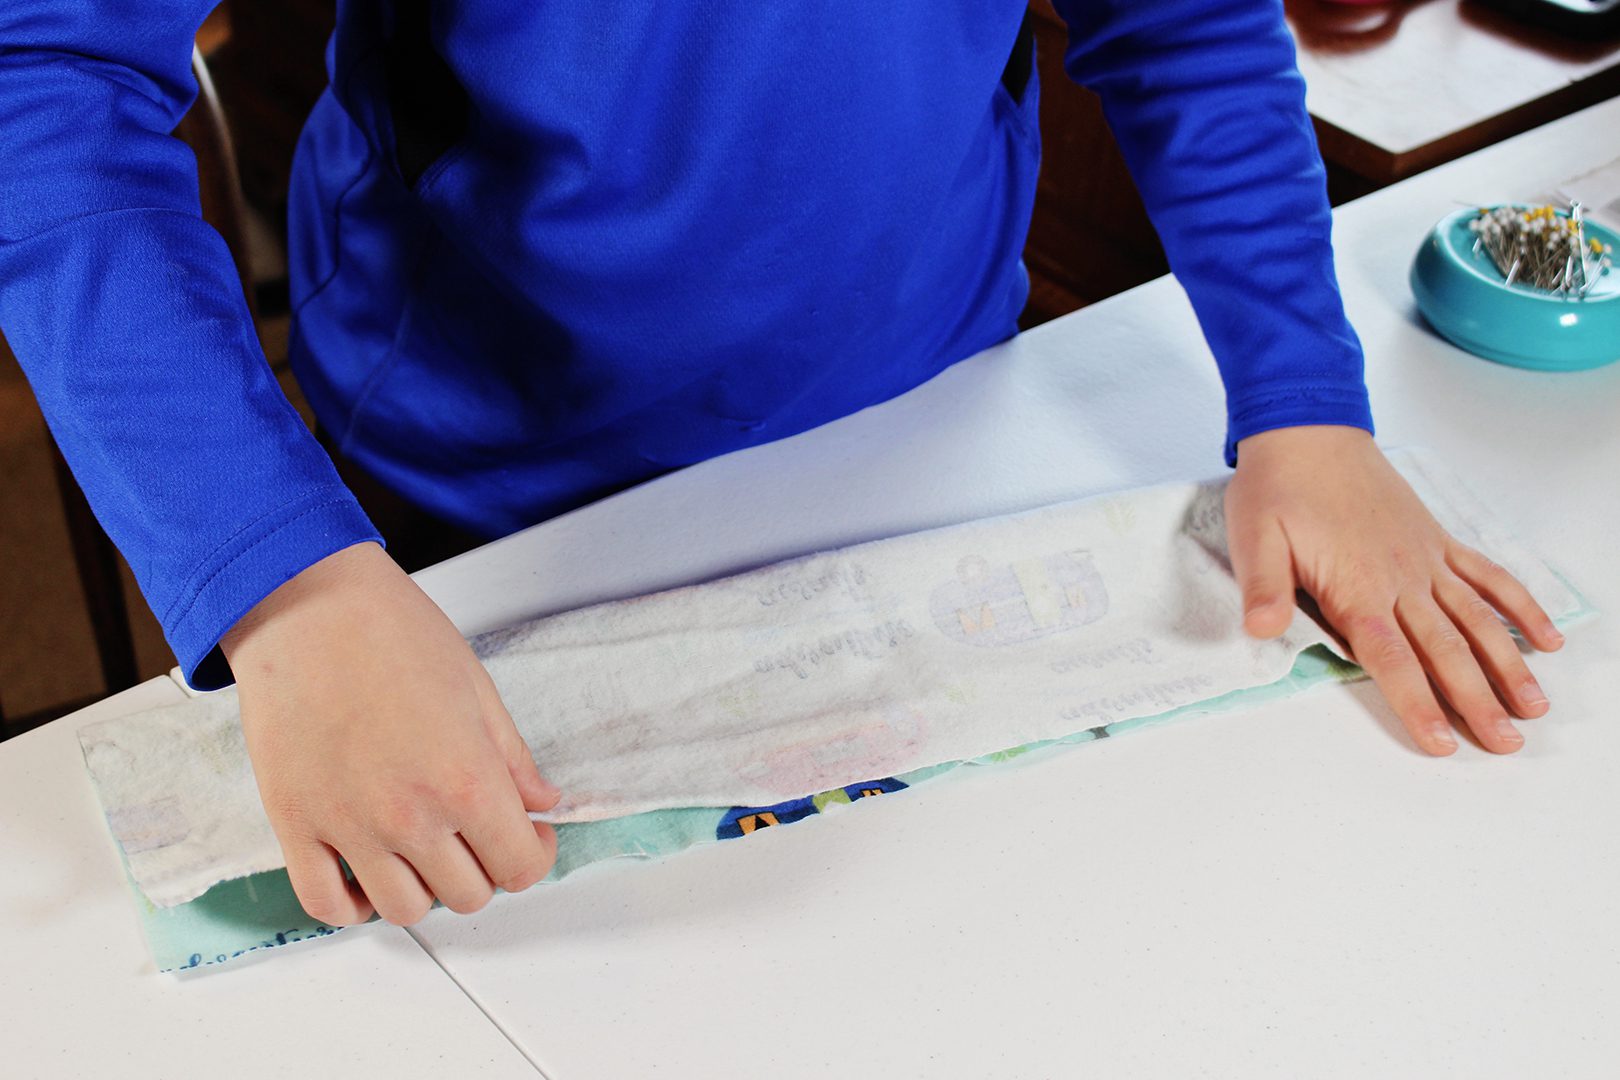
Each seamster (that word makes me laugh, it sounds like gangster) folded the flannel in half the long way, a hot dog fold. In this step, don’t forget to fold the fabric with the right sides of the fabric together.
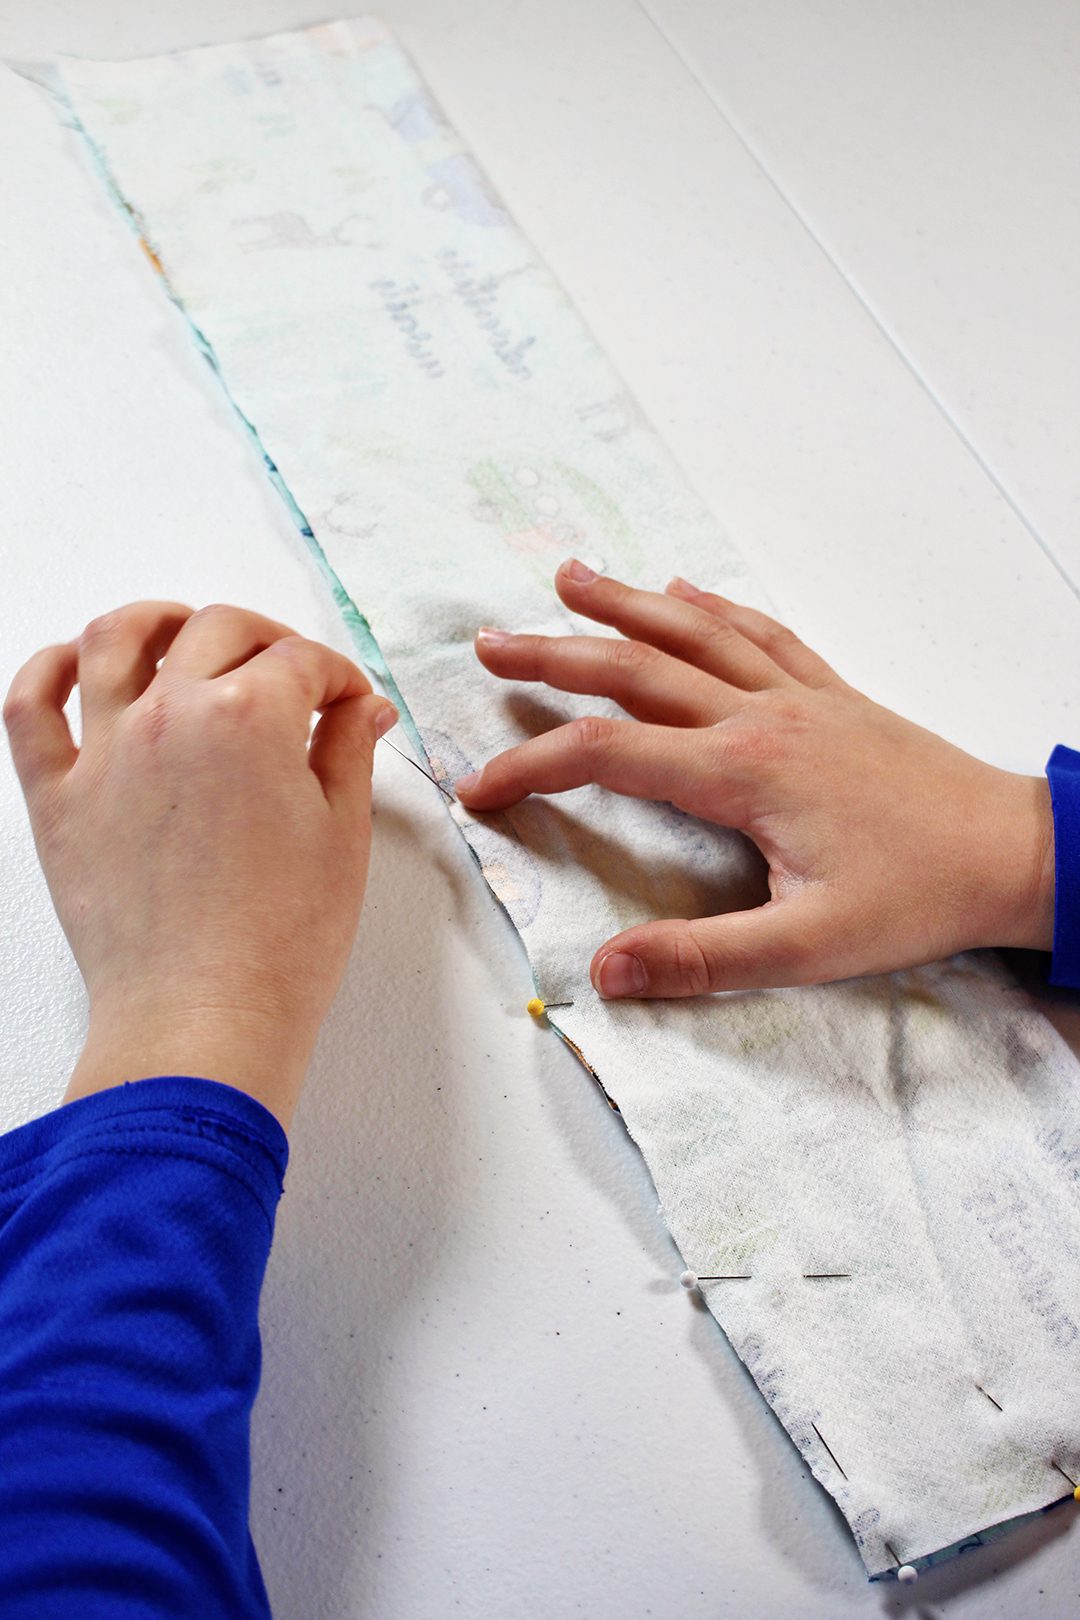
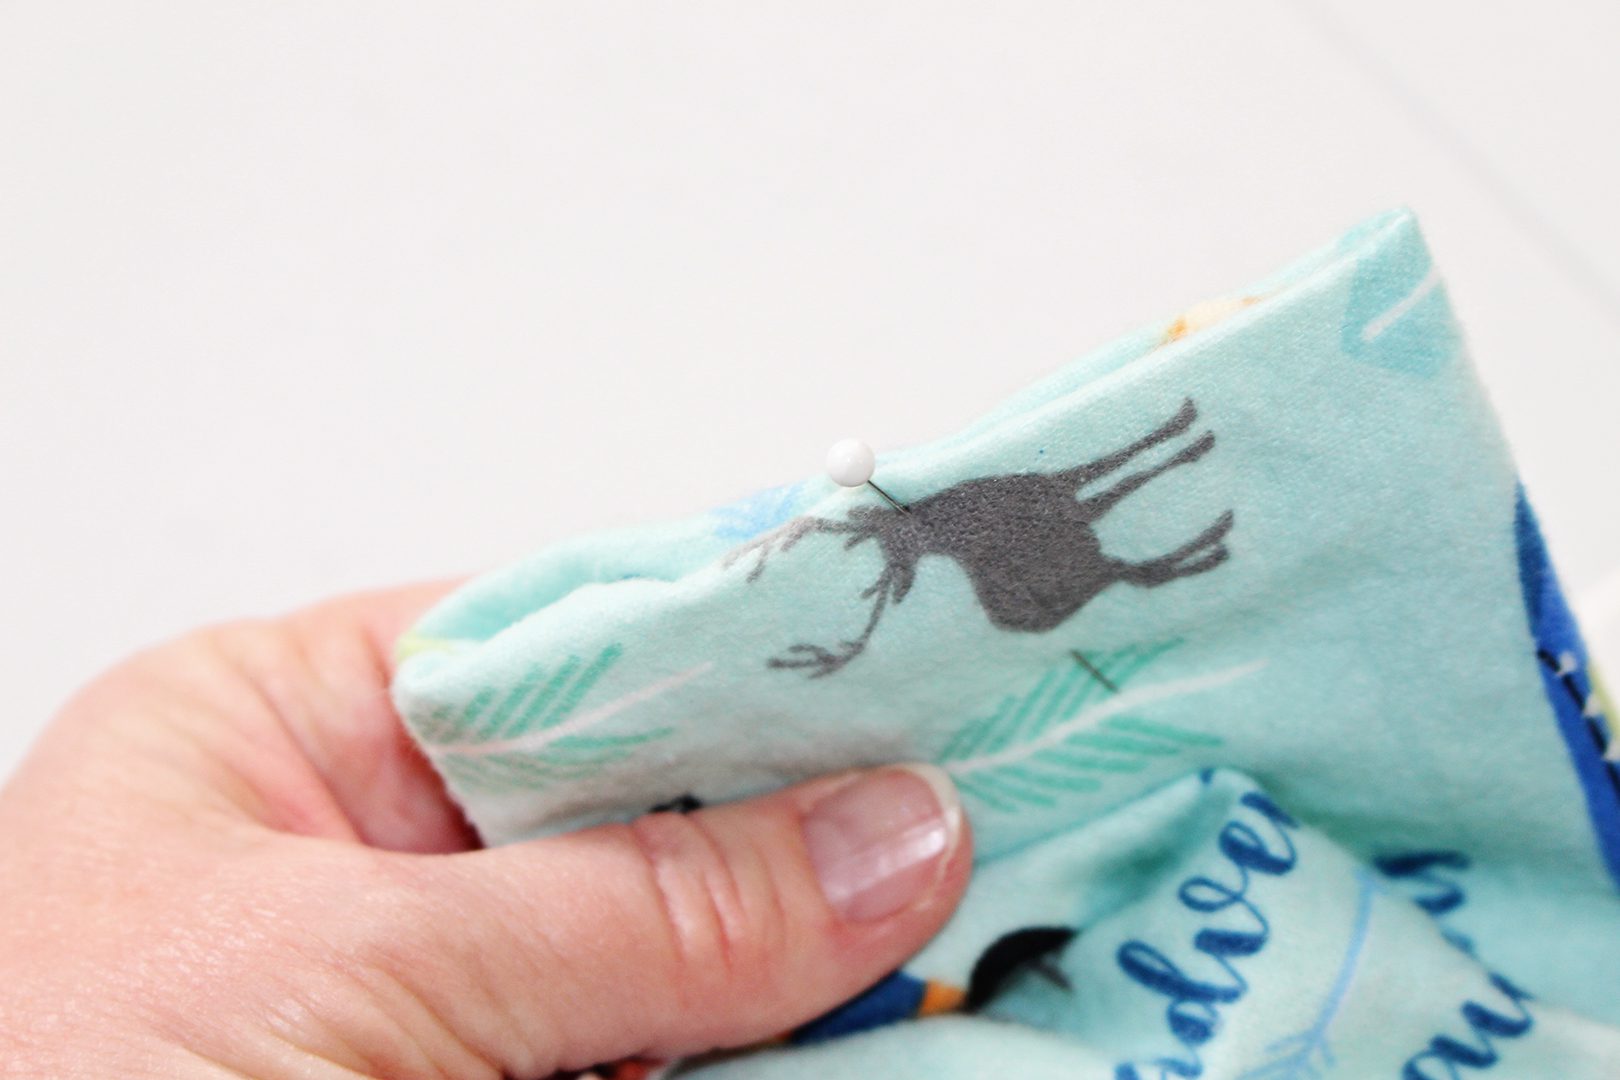
Pin the seam
Next, they pinned around the edge to hold the fabric in place as they sewed.
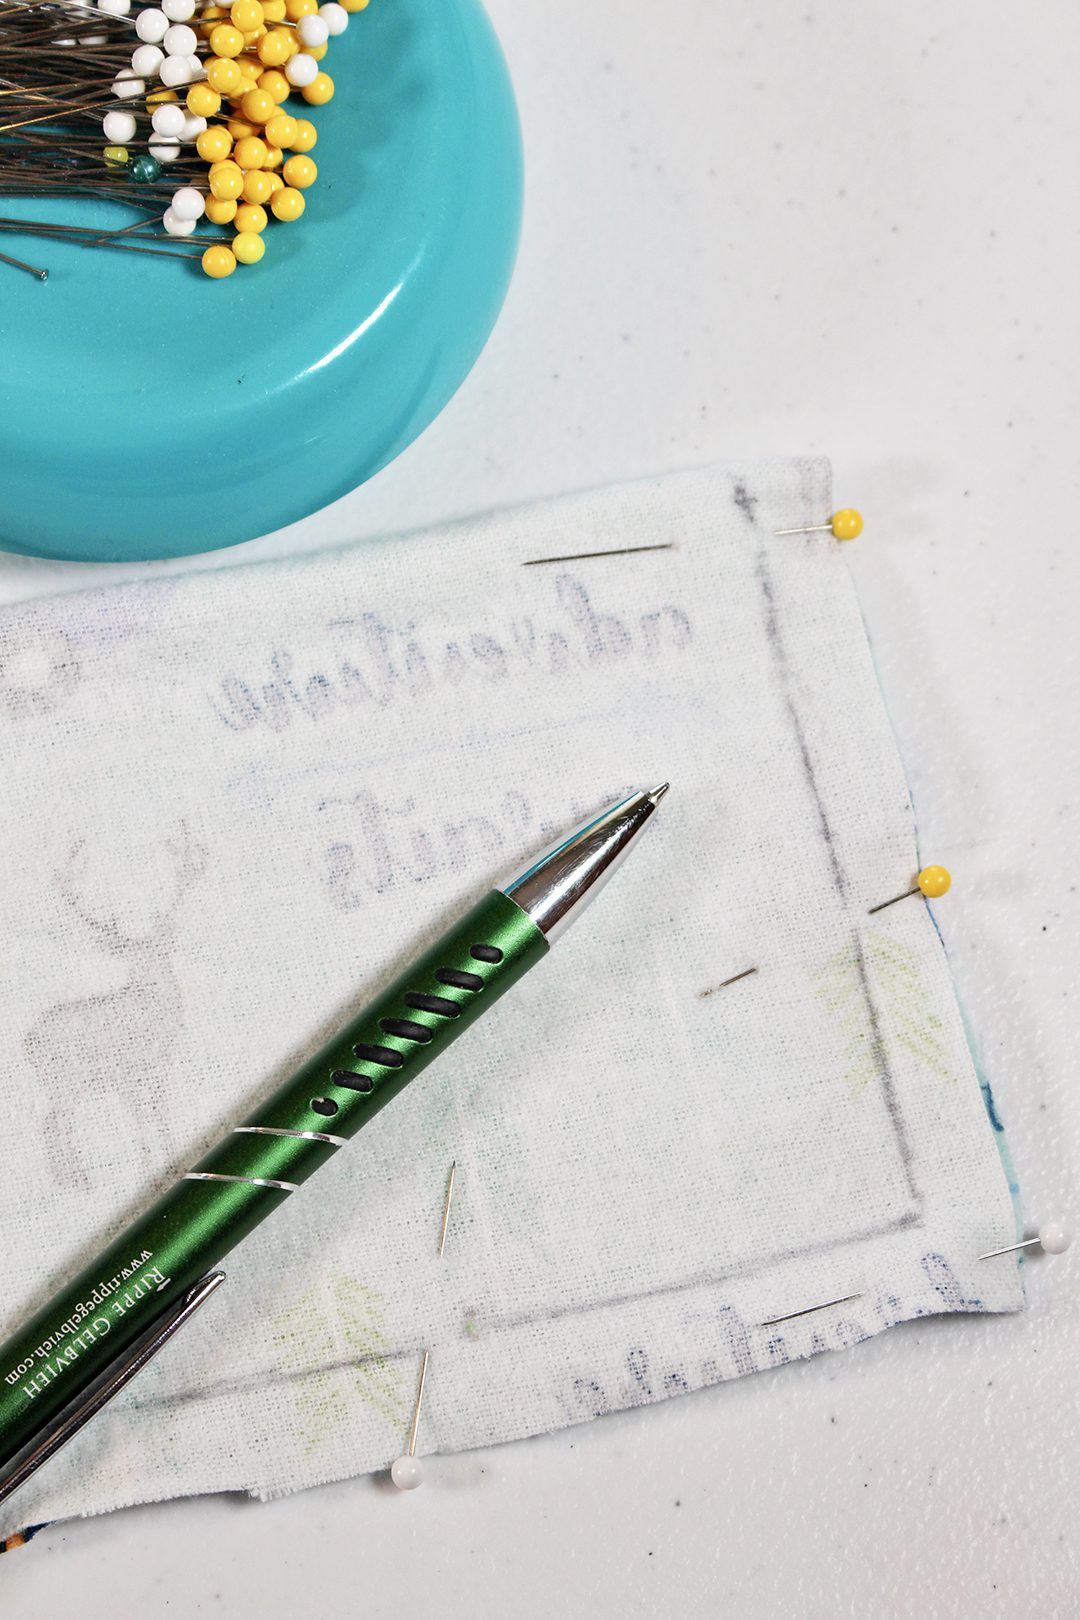
Draw a seam line on the flannel
I used a pen and drew a line ½ inch from the edge around two sides of the rice bag. This allowed them to sew on a line like they did on the paper. They will learn about seam width on a future project.
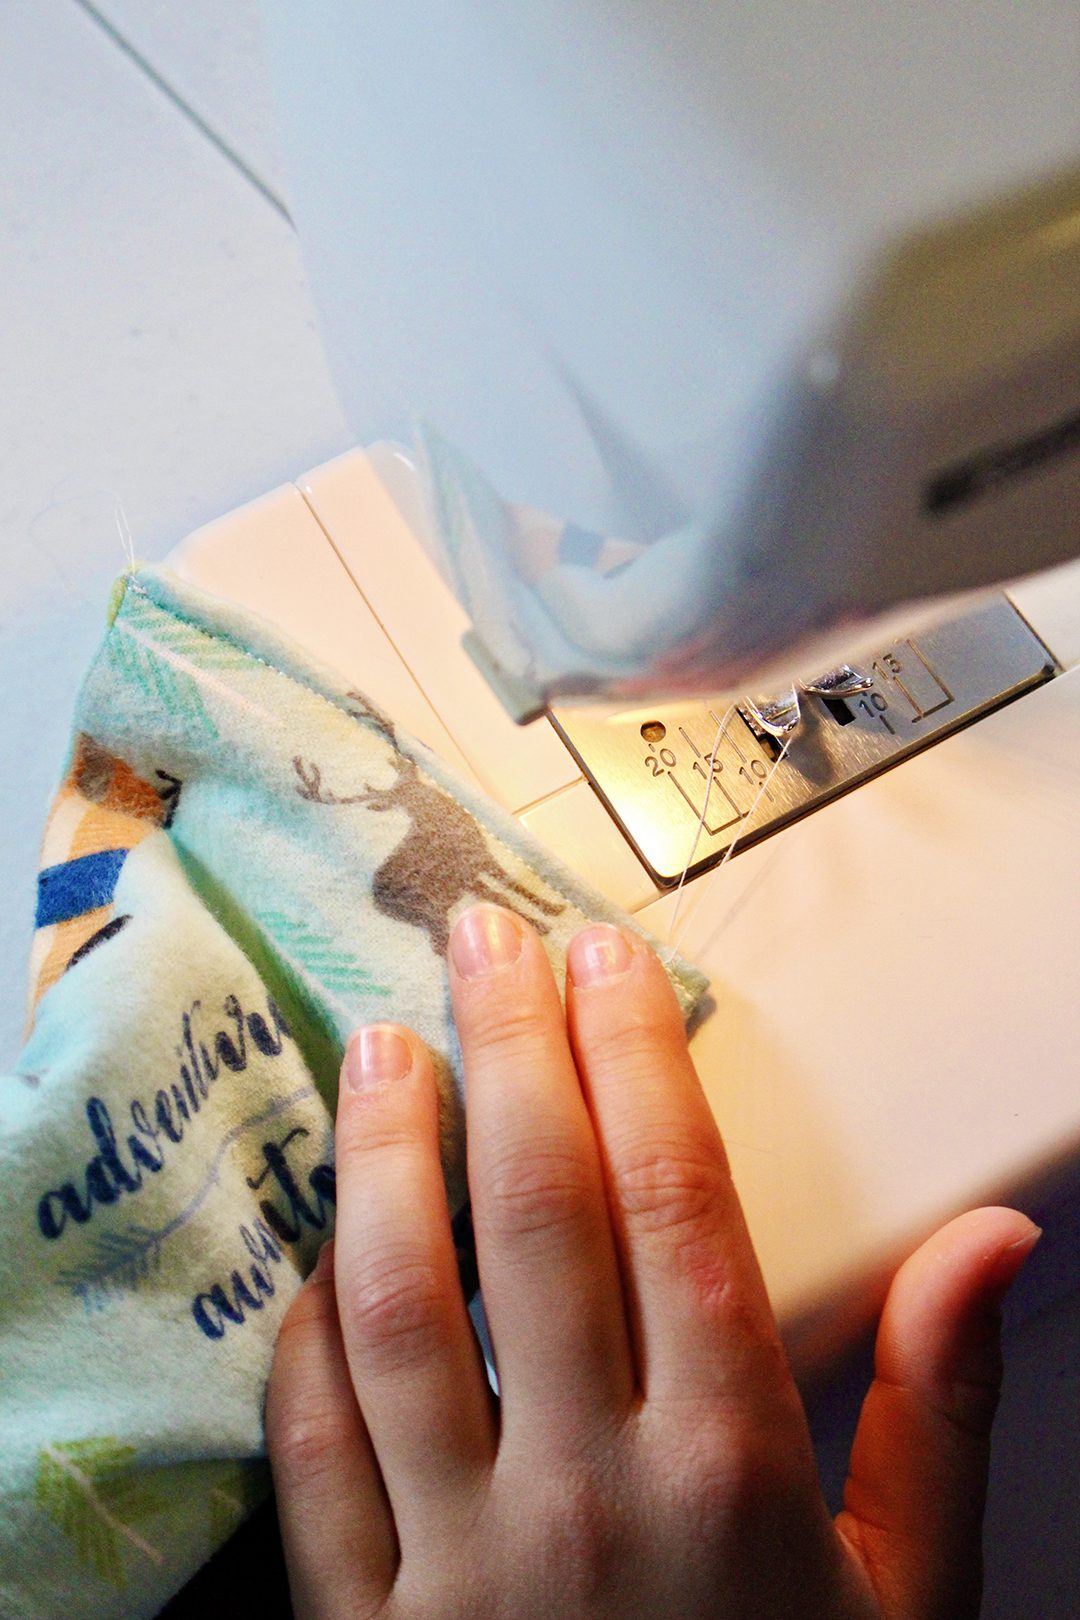
Sew the seam
The kids thought the real sewing was easier after the paper sewing practice.
They stitched a seam on the line down the long edge, pivot and turned, and sewed one short end.
Remember to backstitch on each end so the seam does not unravel. You don’t want rice leaking out of a hole in the DIY Easy-to-Sew Microwavable Rice Pack all over your house!
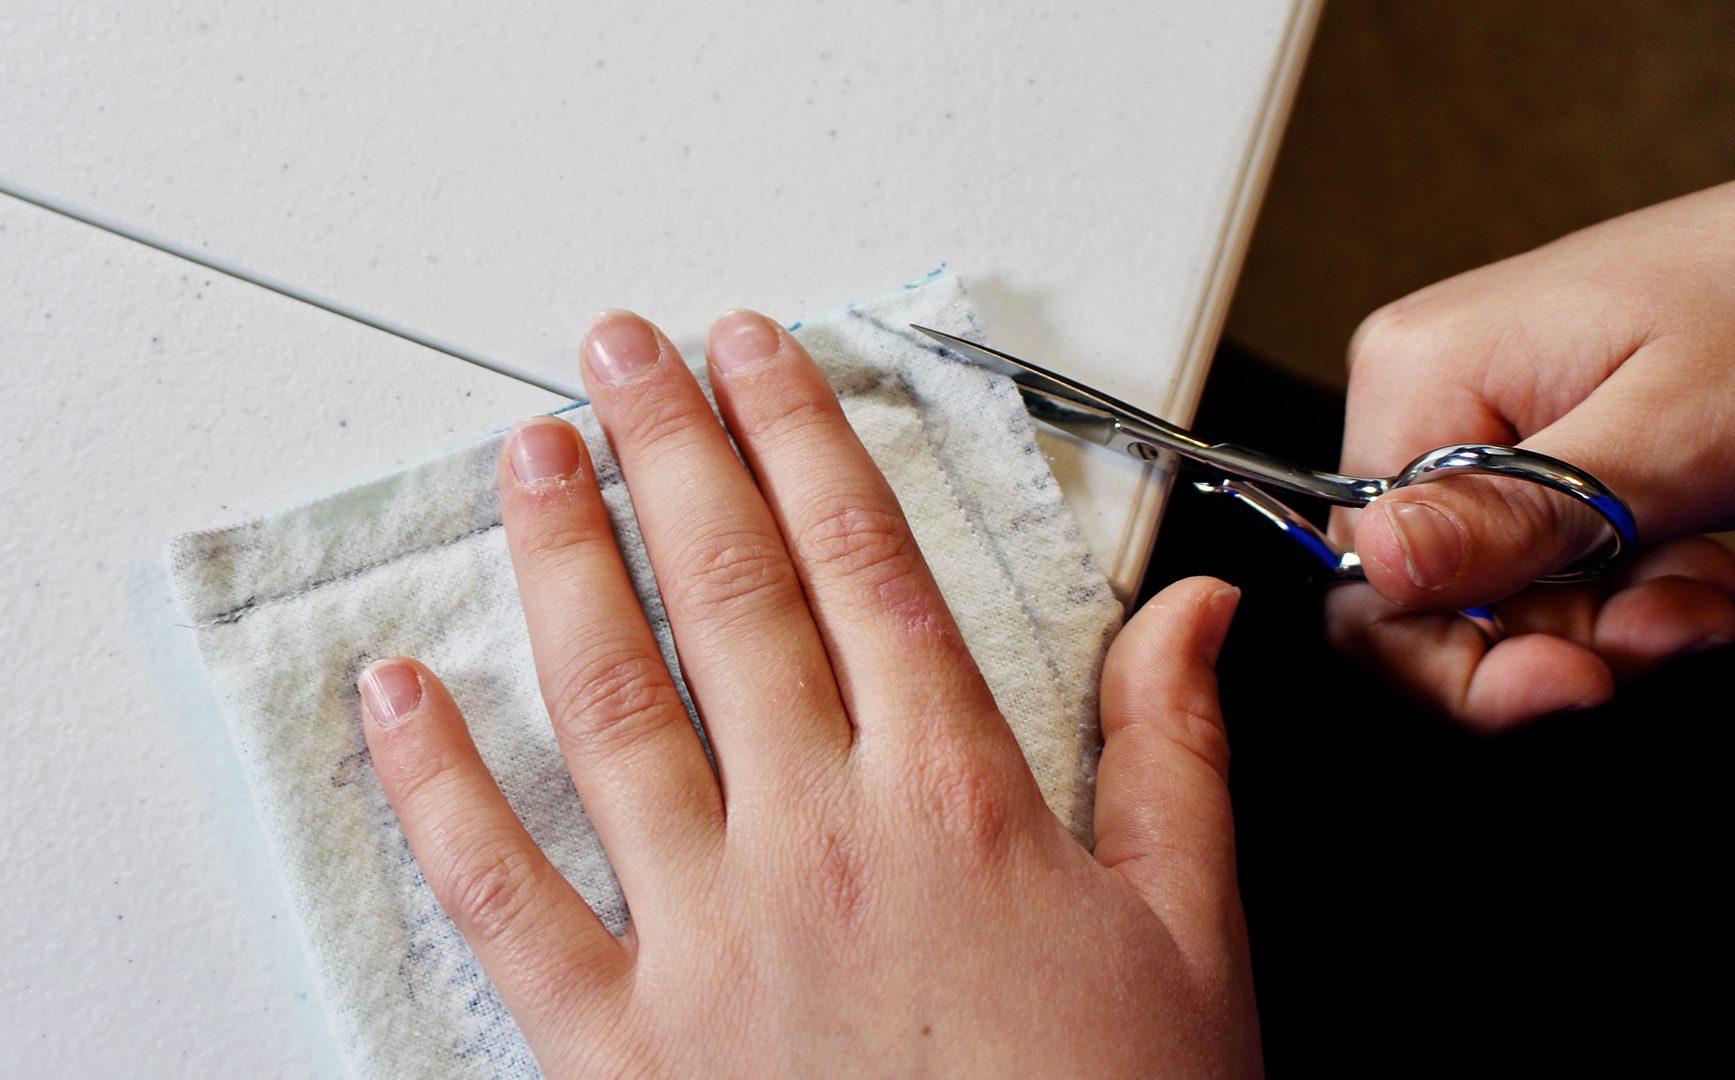
Tip: Clip off the pivot turned corner at an angle, careful to not clip the seam. This makes the corner less bulky when turned inside out.
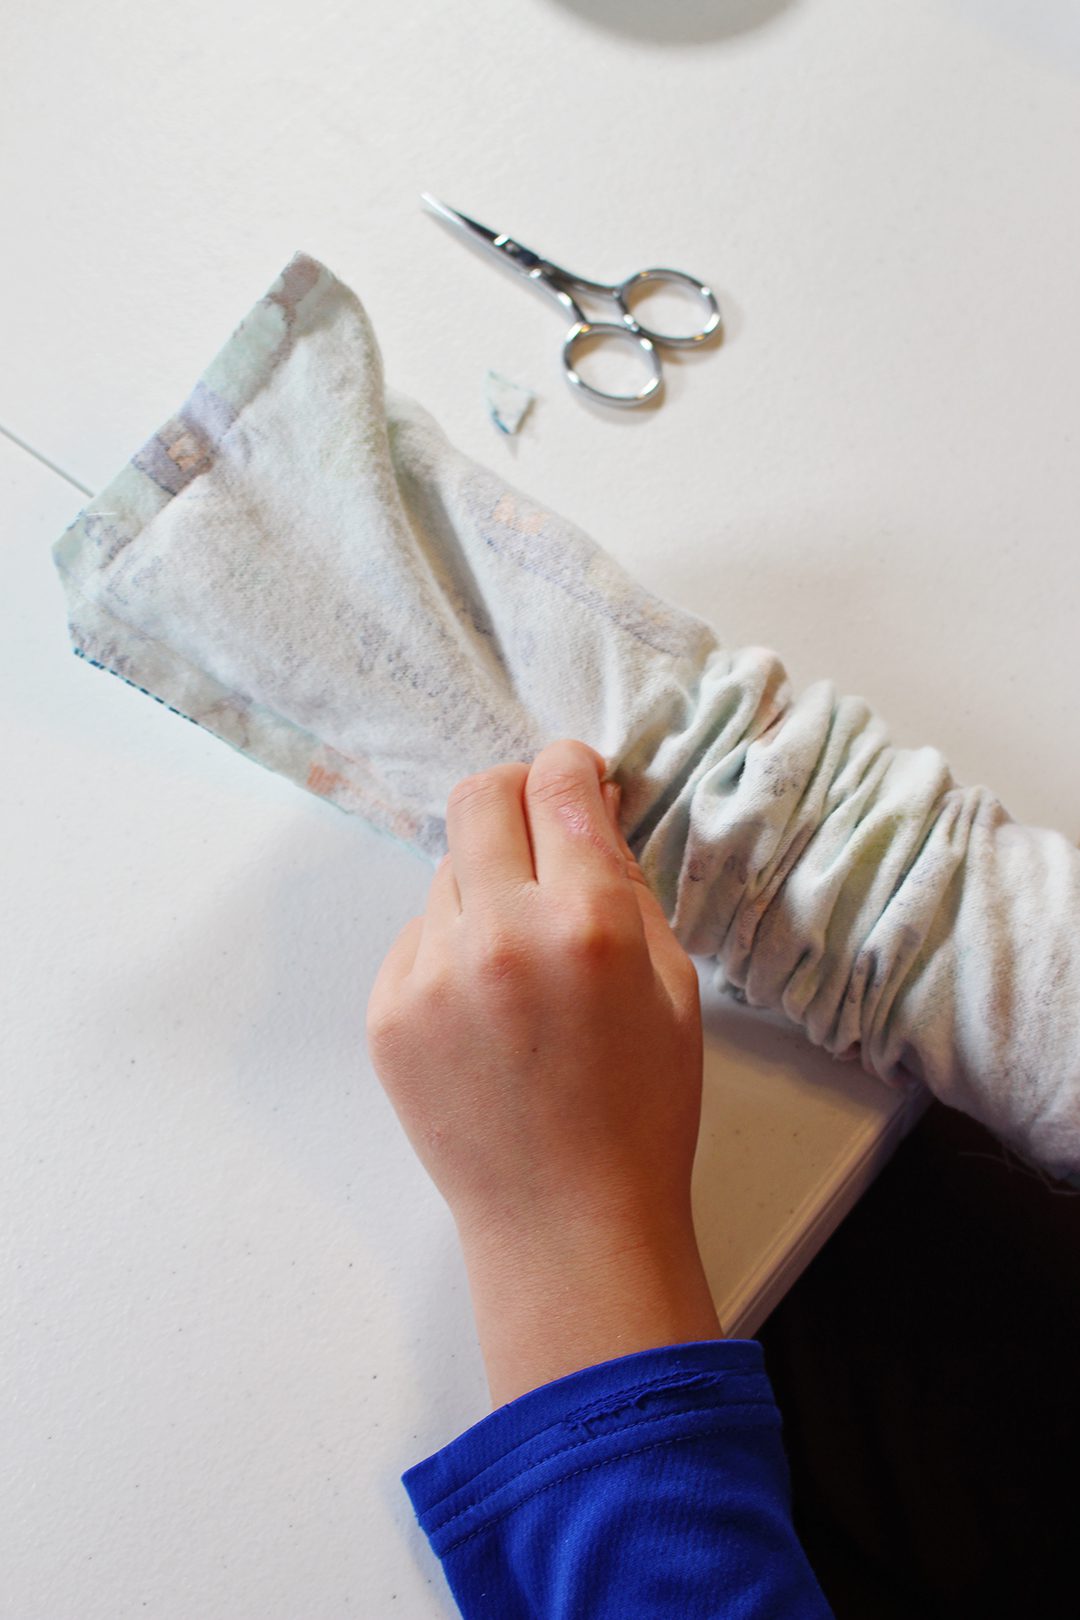
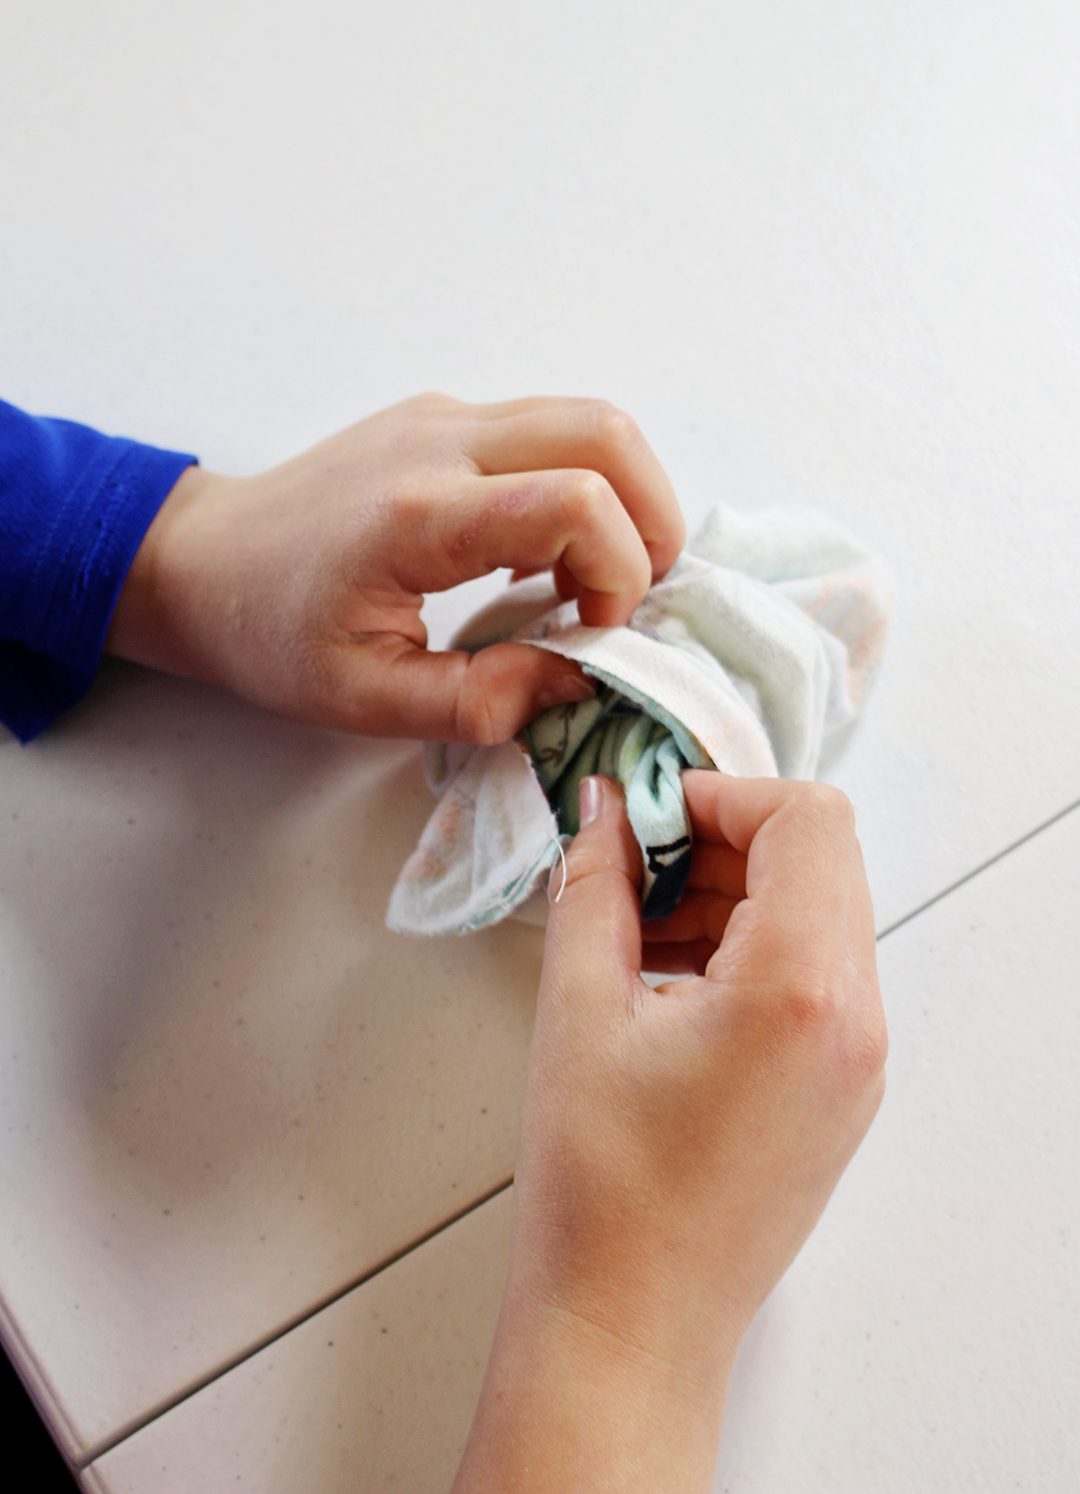
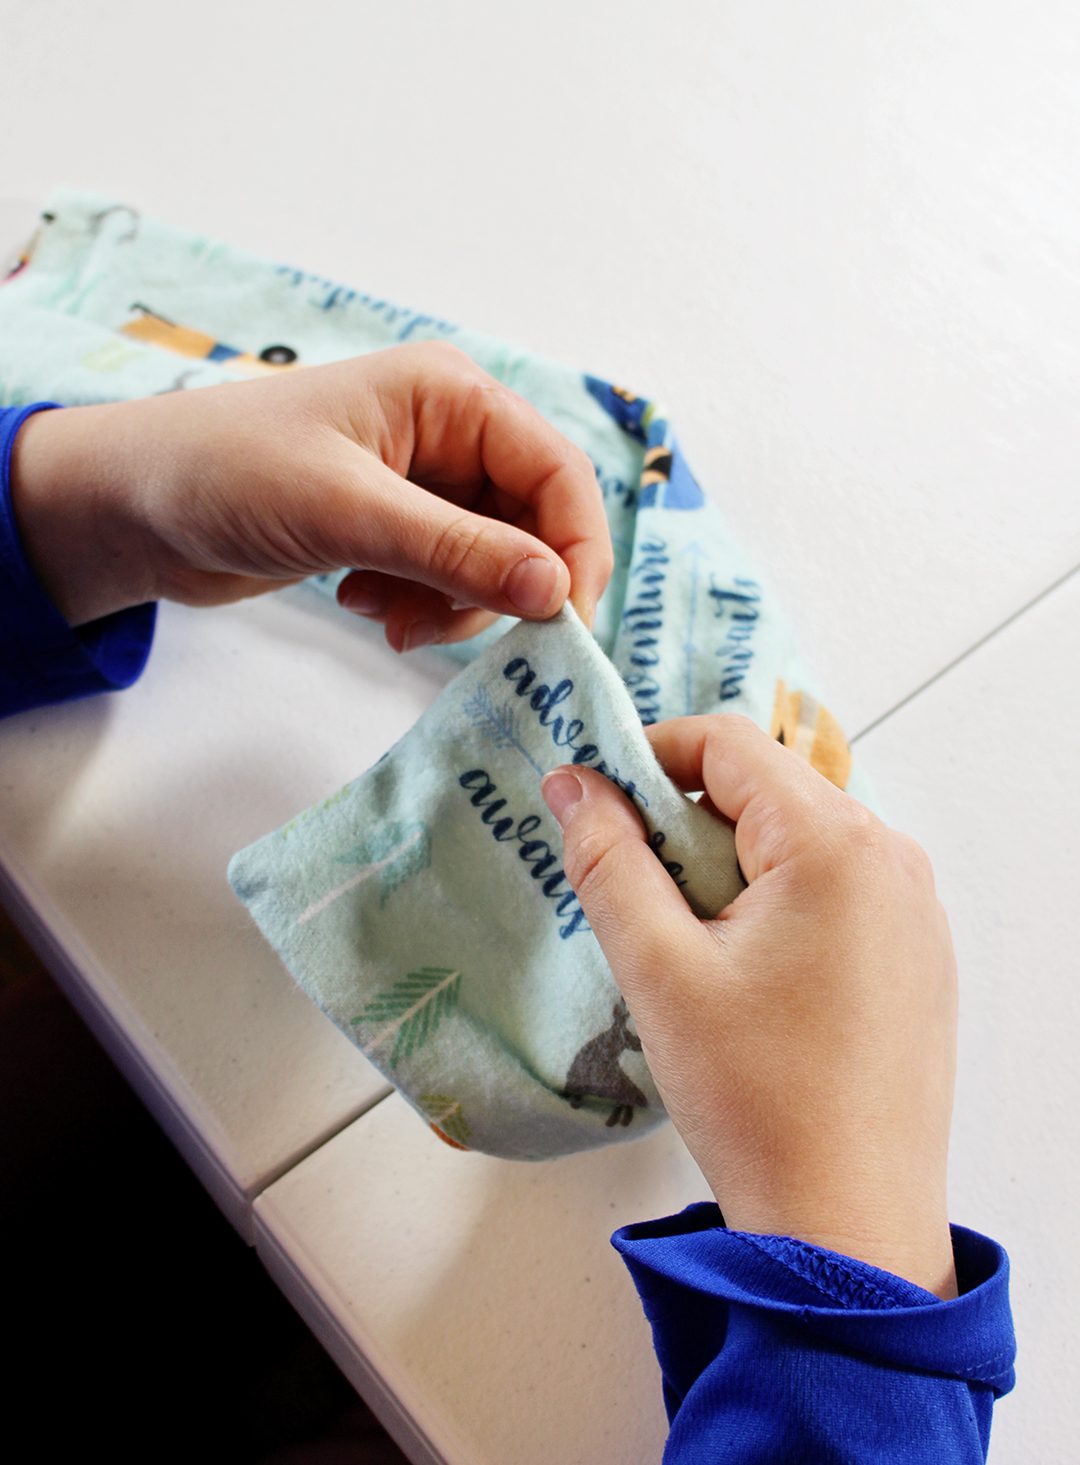
Turn the rice pack "right-side-out"
Kid’s hands and arms are small so it worked for them to reach down into the bag, grab the other end and pull the DIY Easy-to-Sew Microwavable Rice Pack right side out.
Tip: Work at the corners to make them as square as possible.
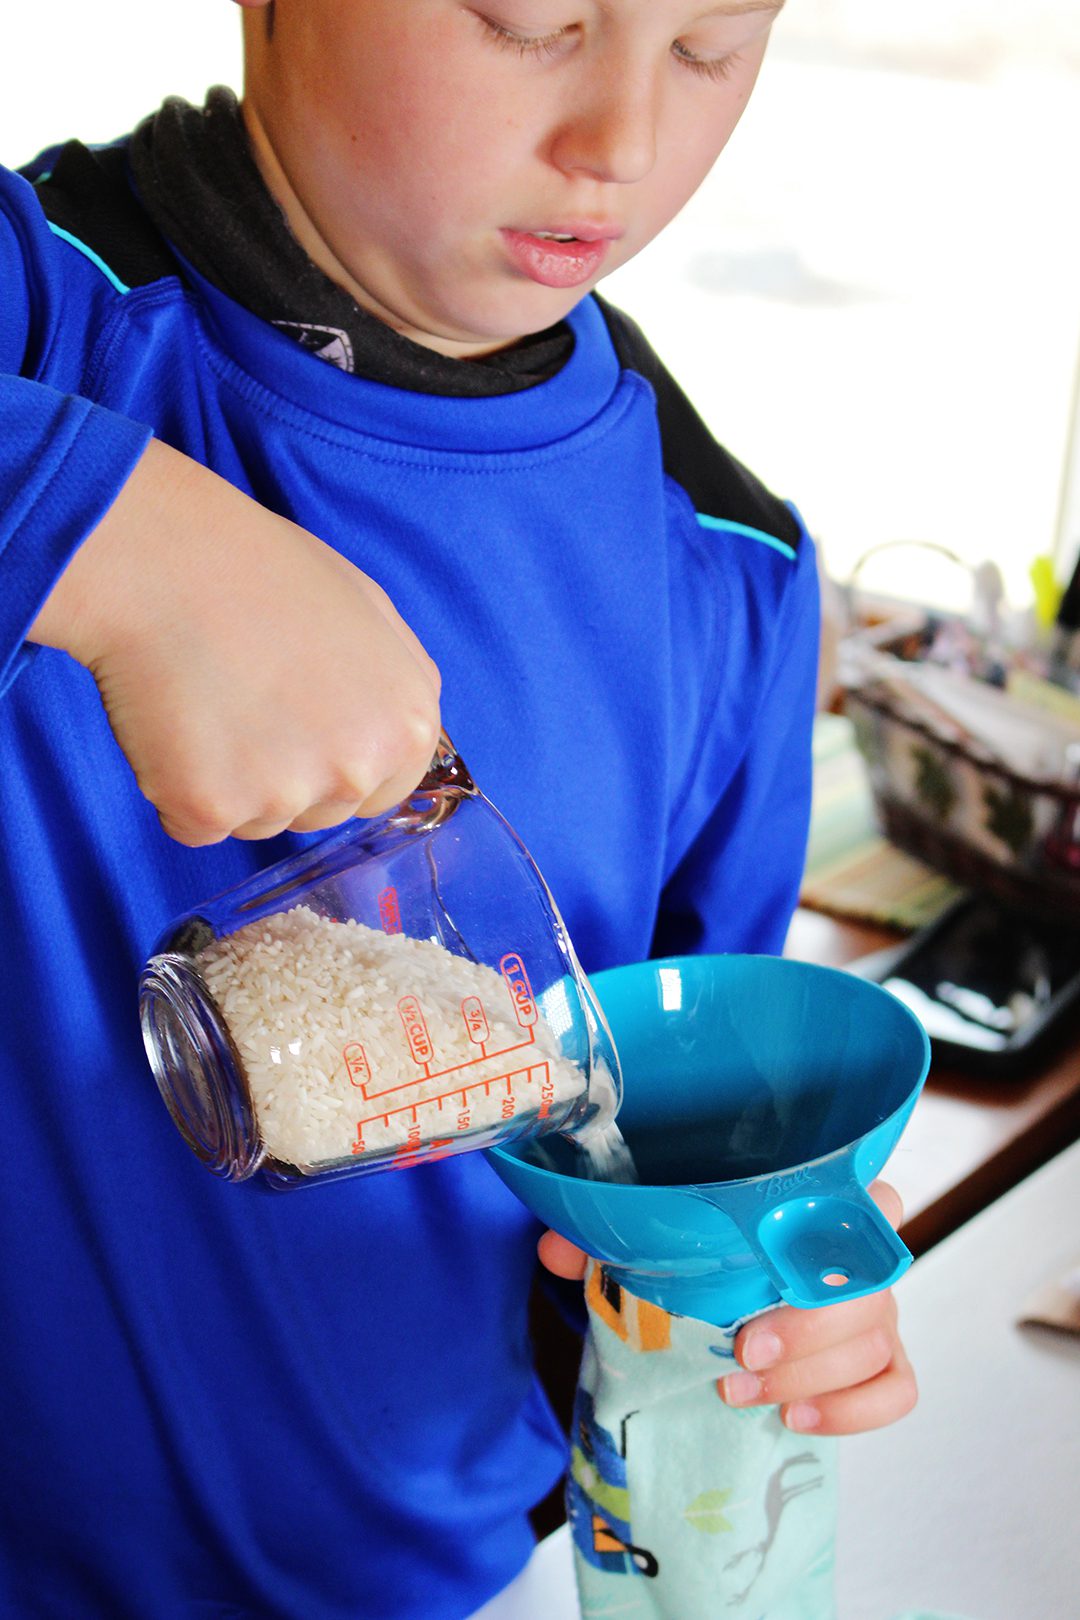
Fill the bag with rice
We discovered that about 5 cups of rice was a good amount in the rice bag. We are using my canning funnel to guide the rice into the bag, but with help they can just pour it in with the measuring cup.
Sew the unsewn end shut
Lastly, tuck the unsewn end of the rice pack inside the bag and pin it in place.
Stitch the end, not very far from the edge, backstitching at each end. Clip the threads.
Boom. You are done!
How to Heat a DIY Rice Pack in the Microwave
These bags may be heated in the microwave for 2 minutes on high for warming up. The kids use them all the time as they read or watch a movie on a cold winter evening.
Tip: Do not heat the bag for longer than two minutes in the microwave and always test the temperature before use.
Other uses for the rice pack
The warm rice bags are also great to use as warm heat on sore shoulders. You can place one in the freezer and used it as a cold pack for 15 minutes or so as well.
I must admit that nana made one for herself when the sewing lessons were over. I love this little camper print flannel, don’t you? The hardest part of this project was choosing the flannel, there were probably 100 choices at the fabric store!
Send a picture of your projects, I can’t wait to see what you make!
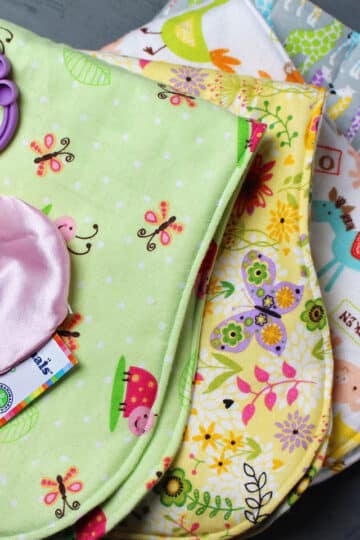
MORE SIMPLE SEWING PROJECTS FOR KIDS
Are you teaching your kiddos to sew, or they are learning on their own? Give these additional sewing ideas a try!
You’ll find a range of sewing techniques, as well as patterns and step-by-step instructions that make it easy and entertaining for any level of experience.
How to Make a T-Shirt Tote Bag
Enjoy!
If you try this craft, let me know! Go ahead and leave a comment, rate it, and tag a photo with #WelcometoNanas wherever you post.
Come join the fun at www.WelcomeToNanas.com

DIY Easy-to-Sew Microwavable Rice Pack
Equipment
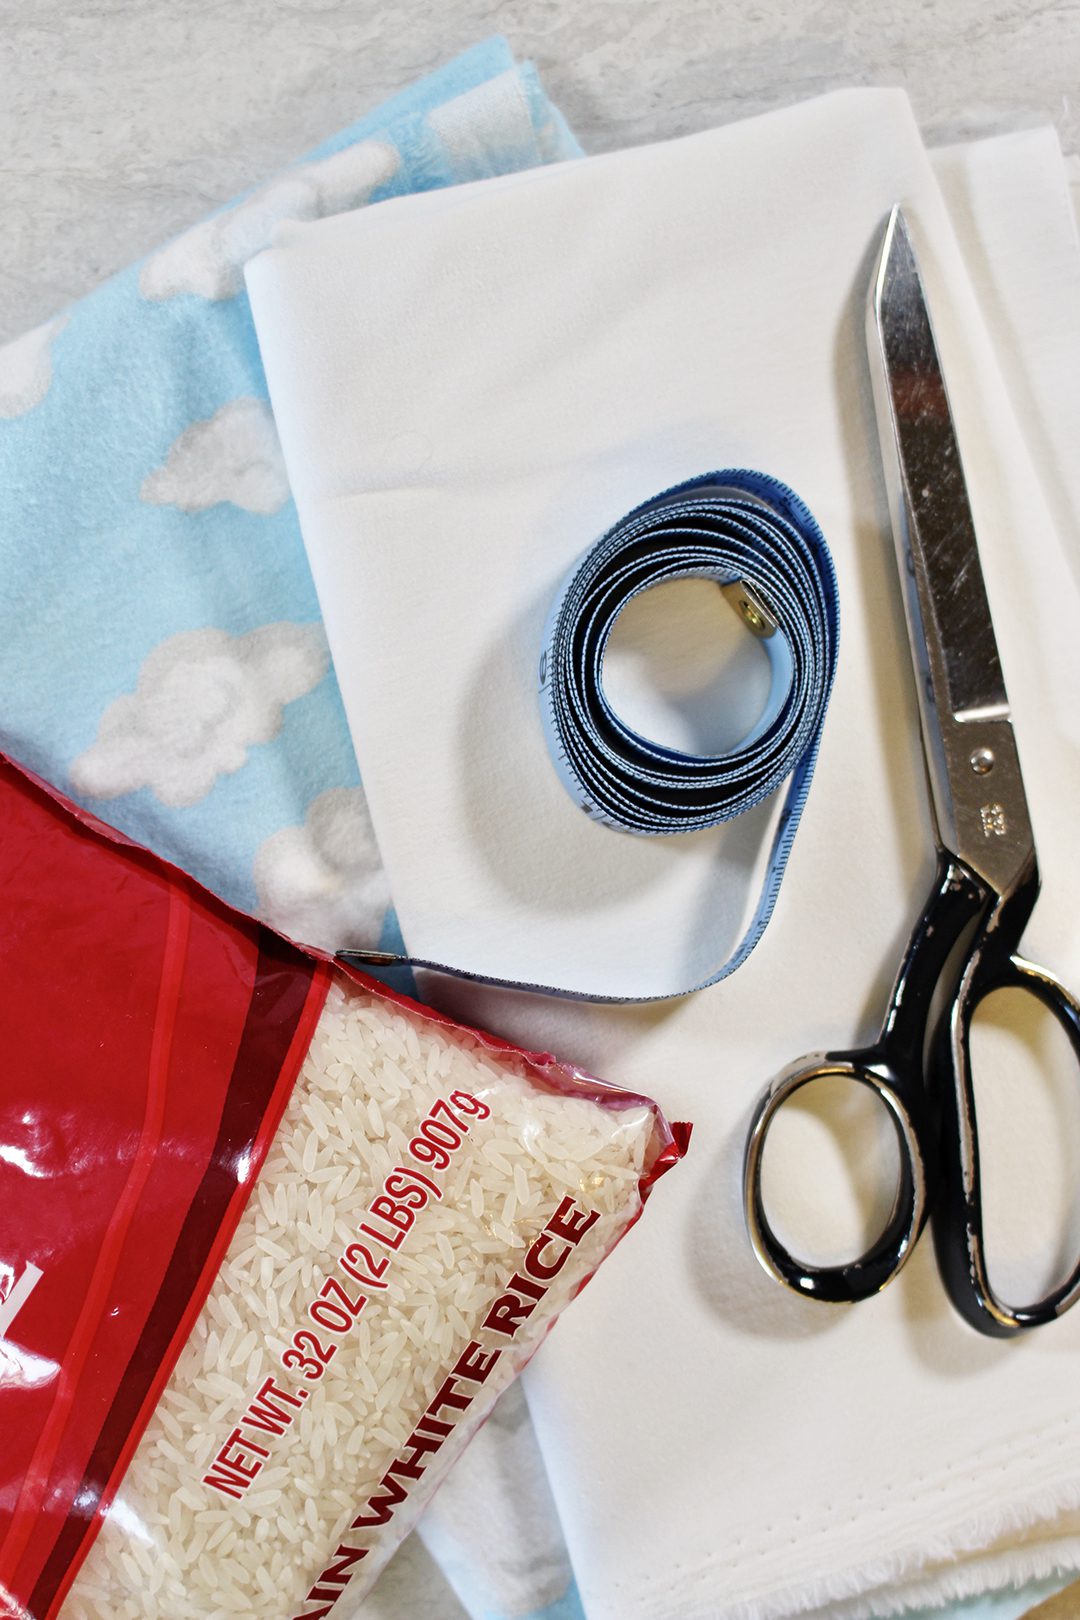
- Fabric scissors
- Sewing machine
- Measuring cup (glass with a pour spout works well)
- Canning funnel (optional)
Items Required
- ¼ yard flannel, OR one fat quarter of flannel (Cut the fabric evenly, you need the full ¼ yard)
- Thread
- Rice (5 cups for each bag, about 2 pounds)
Instructions
- Start by giving the kids a chance to practice their stitching on paper using Nana's free sewing pattern! Download your WTN Free Paper Sewing Pattern for a DIY Easy to Sew Microwavable Rice Pack here.
- The piece of flannel for each child was ¼ yard of flannel, cut in half at the center fold. So, each ¼ yard made two DIY Easy to Sew Microwavable Rice Packs.
- Each seamster folded the flannel in half the long way, a hot dog fold. In this step, don’t forget to fold the fabric with the right sides of the fabric together.
- Next, they pinned around the edge to hold the fabric in place as they sewed.
- I used a pen and drew a line ½ inch from the edge around two sides of the rice bag. This allowed them to sew on a line like they did on the paper. Let them stitch a seam on the line down the long edge, pivot and turn, and sewed one short end. Remember to backstitch on each end so the seam does not unravel.
- Reach down into the bag, grab the other end and pull the DIY Easy to Sew Microwavable Rice Pack right side out. Work at the corners to make them as square as possible.
- We discovered that about 5 cups of rice was a good amount in the rice bag. Use a canning funnel to guide the rice into the bag.
- Lastly, tuck the unsewn end of the rice pack inside the bag and pin it in place. Stitch the end, not very far from the edge, backstitching at each end. Clip the threads.
- These bags may be heated in the microwave for 2 minutes on high for warming up. Do not heat the bag for longer than two minutes in the microwave and always test the temperature before use. You can place one in the freezer and used it as a cold pack for 15 minutes or so as well.
Notes


Phyllis Kaufman says
I like to add bits of cinnamon sticks for a nice smell
Shelly says
What a wonderful idea! Thanks for sharing
Pat says
Love how you explain each step along the way. Thank you so much xx
Shelly says
My hope is to make things easy to do!! Glad it was a help.