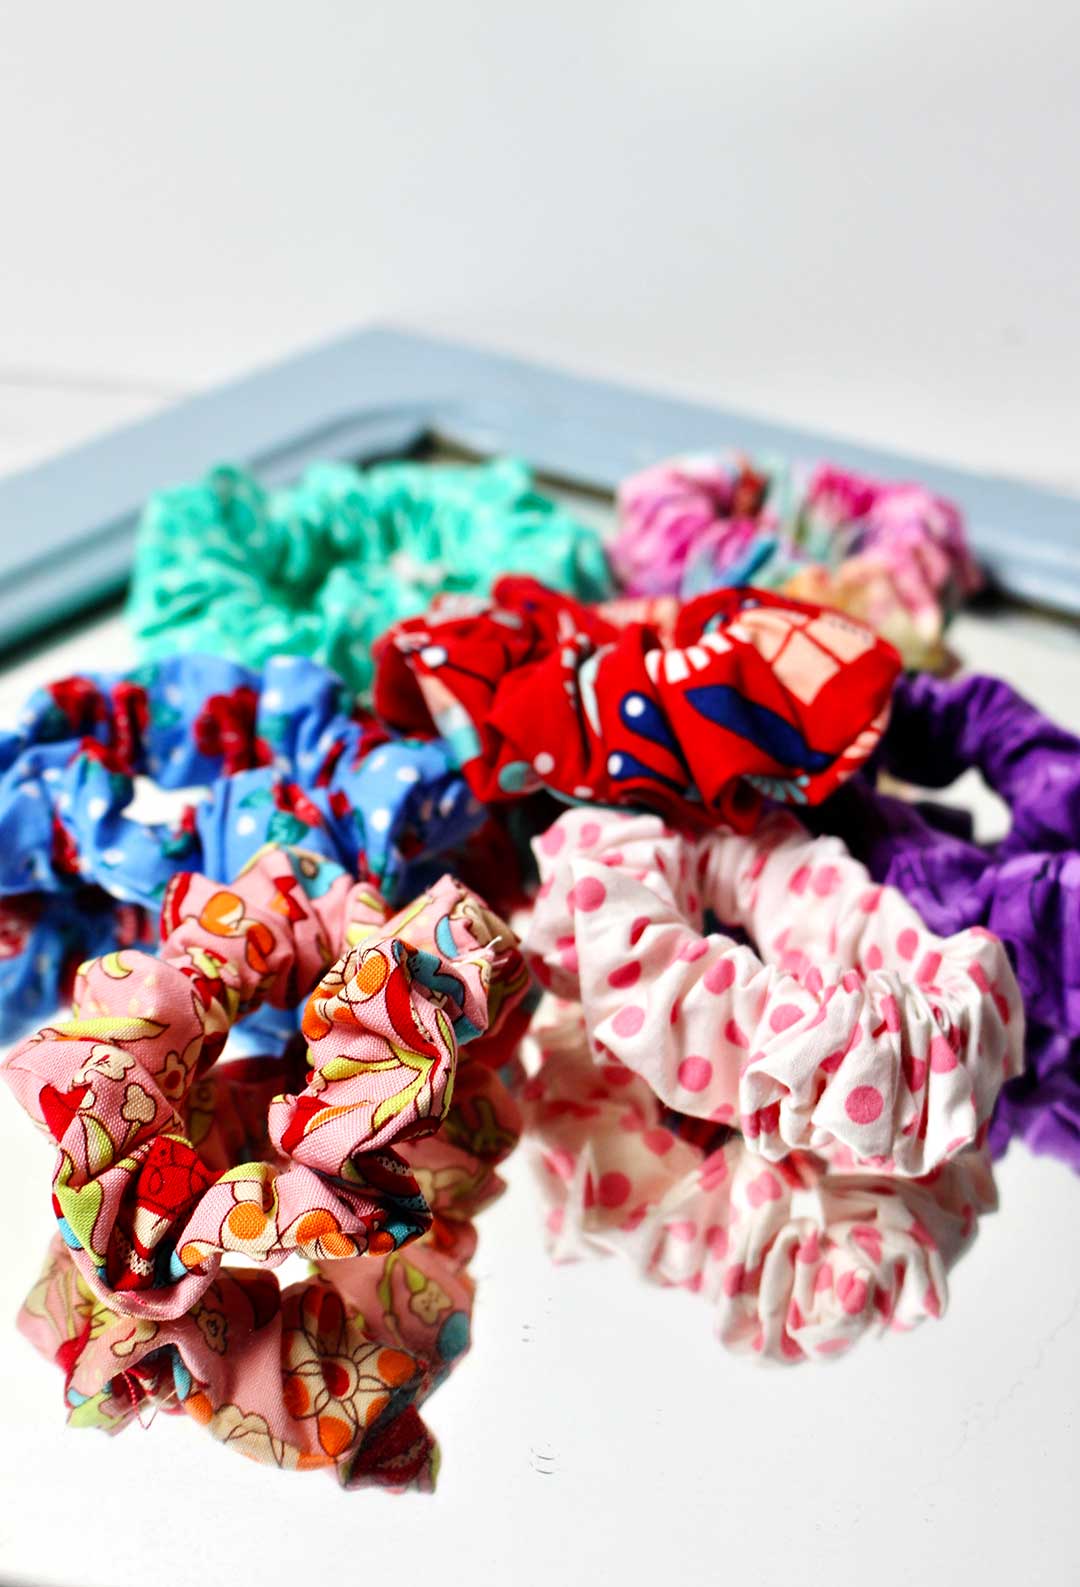
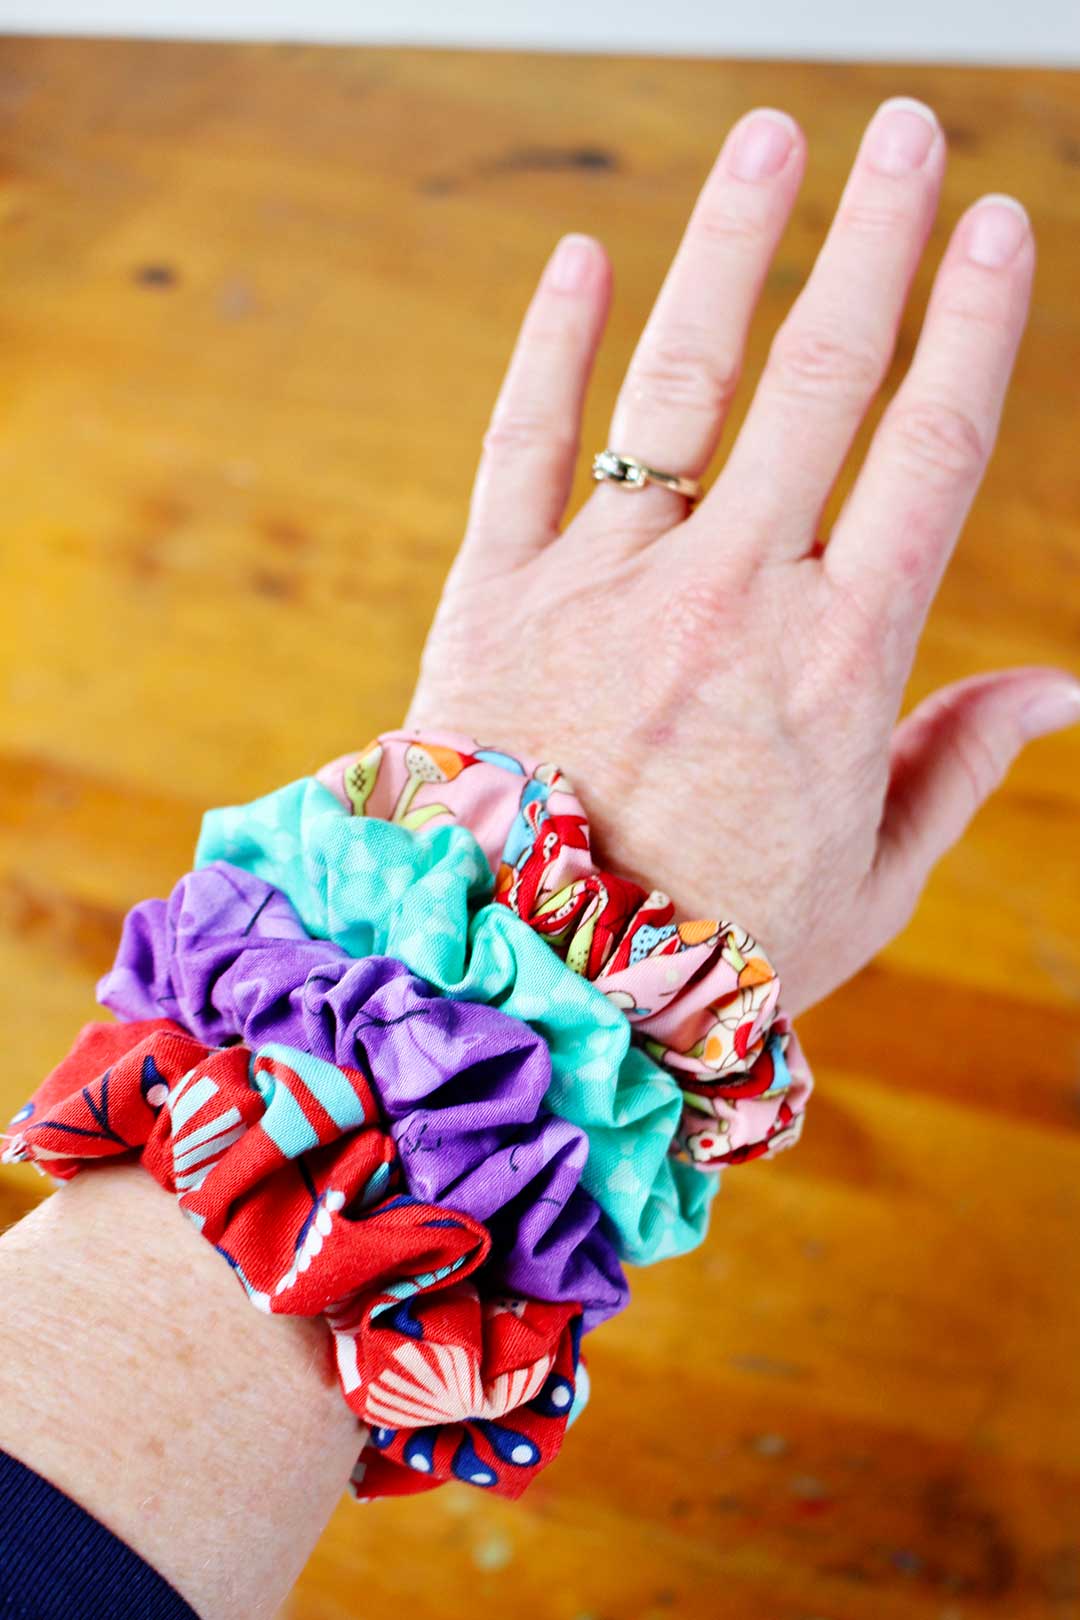
Scrunchies are back!
Scrunchies have made their comeback from the eighties!! They fell out of favor for a couple decades and have re-emerged, as popular as ever. Who can resist these little hair ties of colorful fabric covered elastic? Plus, they are much easier on the hair, causing less breakage.
I guess the girls are wearing them on their hair and on their wrists, even giving them to the boys they like who then wear them on their wrists. Who knew?
A Great Beginner's Sewing Project or Gift
Are you looking for a cute and inexpensive stocking stuffer for the grands, or a fun “learn to sew” project to teach sewing skills? Then scrunchies are it! Learn How to Make a Scrunchie and make some gifts or perhaps uncover a small business opportunity for the grands!
Watch How to Make a Scrunchie

How to make homemade scrunchies
So, a scrunchie is just a fabric tube with elastic run through the center. I guess the inspiration came to the inventor from thinking about the elastic in her pajama bottoms! That makes me laugh.
What fabric is best for scrunchies?
In theory, any fabric could work to make a scrunchie. But slick fabrics slide out of the hair easily, so I’d avoid them. I used brightly colored cotton and cotton blend fabrics. They are easy to sew on, don’t stretch (makes learning to sew easier), aren’t slick and can be washed if needed.
This is a great way to use fabric scraps, so look in your “stash” before you go buy more.
Most fabric is 45 inches wide. Scrunchies can be made with as little as a 3-inch wide strip of fabric. So, you don’t need to purchase very much fabric!! ¼ yard of fabric can make 4 scrunchies.
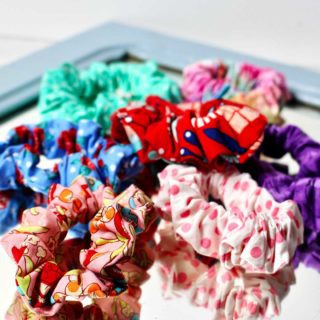
The scrunchies in the pictures are made with a 3-inch strip of fabric that is 22 inches long. The next time I make them I will make 5 inch or 6 inches strips instead. They will be fuller that way.
Another way you can get fabric is to purchase what is called a “fat quarter”. A Fat Quarters is a yard of fabric cut into 4 squares (a quarter of a yard). You can make about 4 scrunchies from a fat quarter.
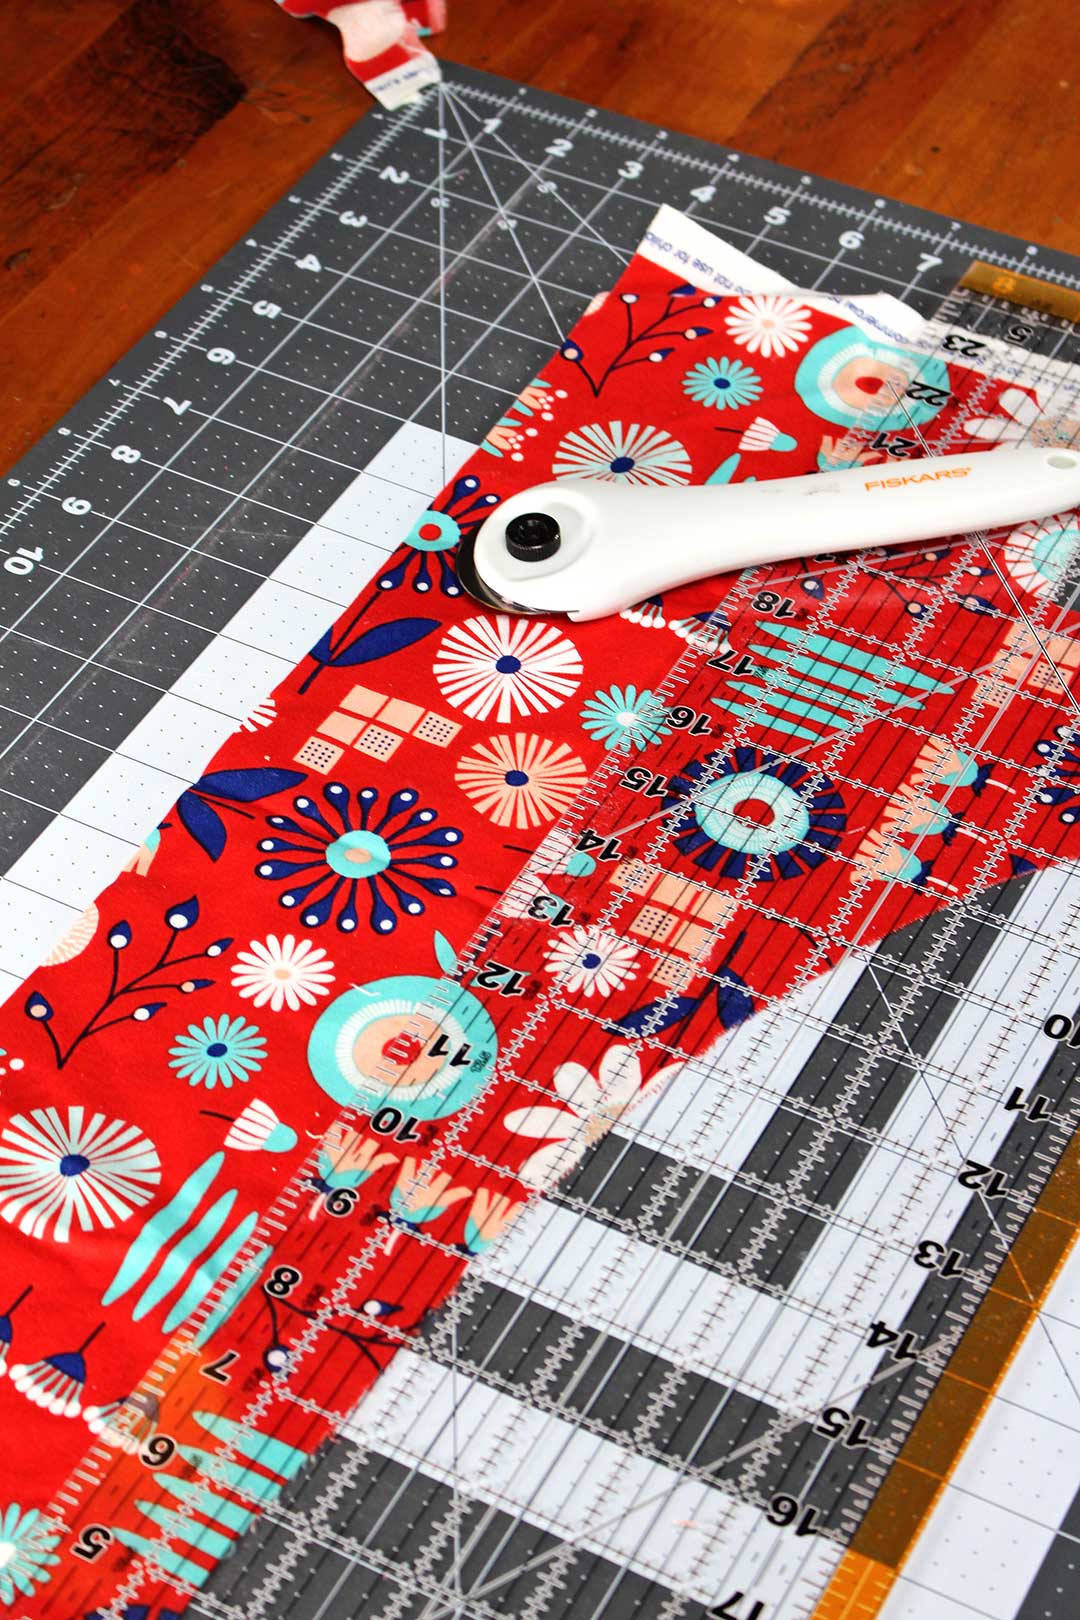
Cutting your fabric
Cut the fabric all the way across into strips that are between 3-6 inches wide. The wider the strip, the fuller the scrunchie. If your strip is 42-45 inches long, cut it in half so it is 21-22.5 inches long.
How to make a scrunchie with a sewing machine
A scrunchie made on a Singer | Heavy Duty 4432 Sewing Machine![]() is stronger and made faster than one that is hand stitched. That is what I prefer, so here is that process first.
is stronger and made faster than one that is hand stitched. That is what I prefer, so here is that process first.
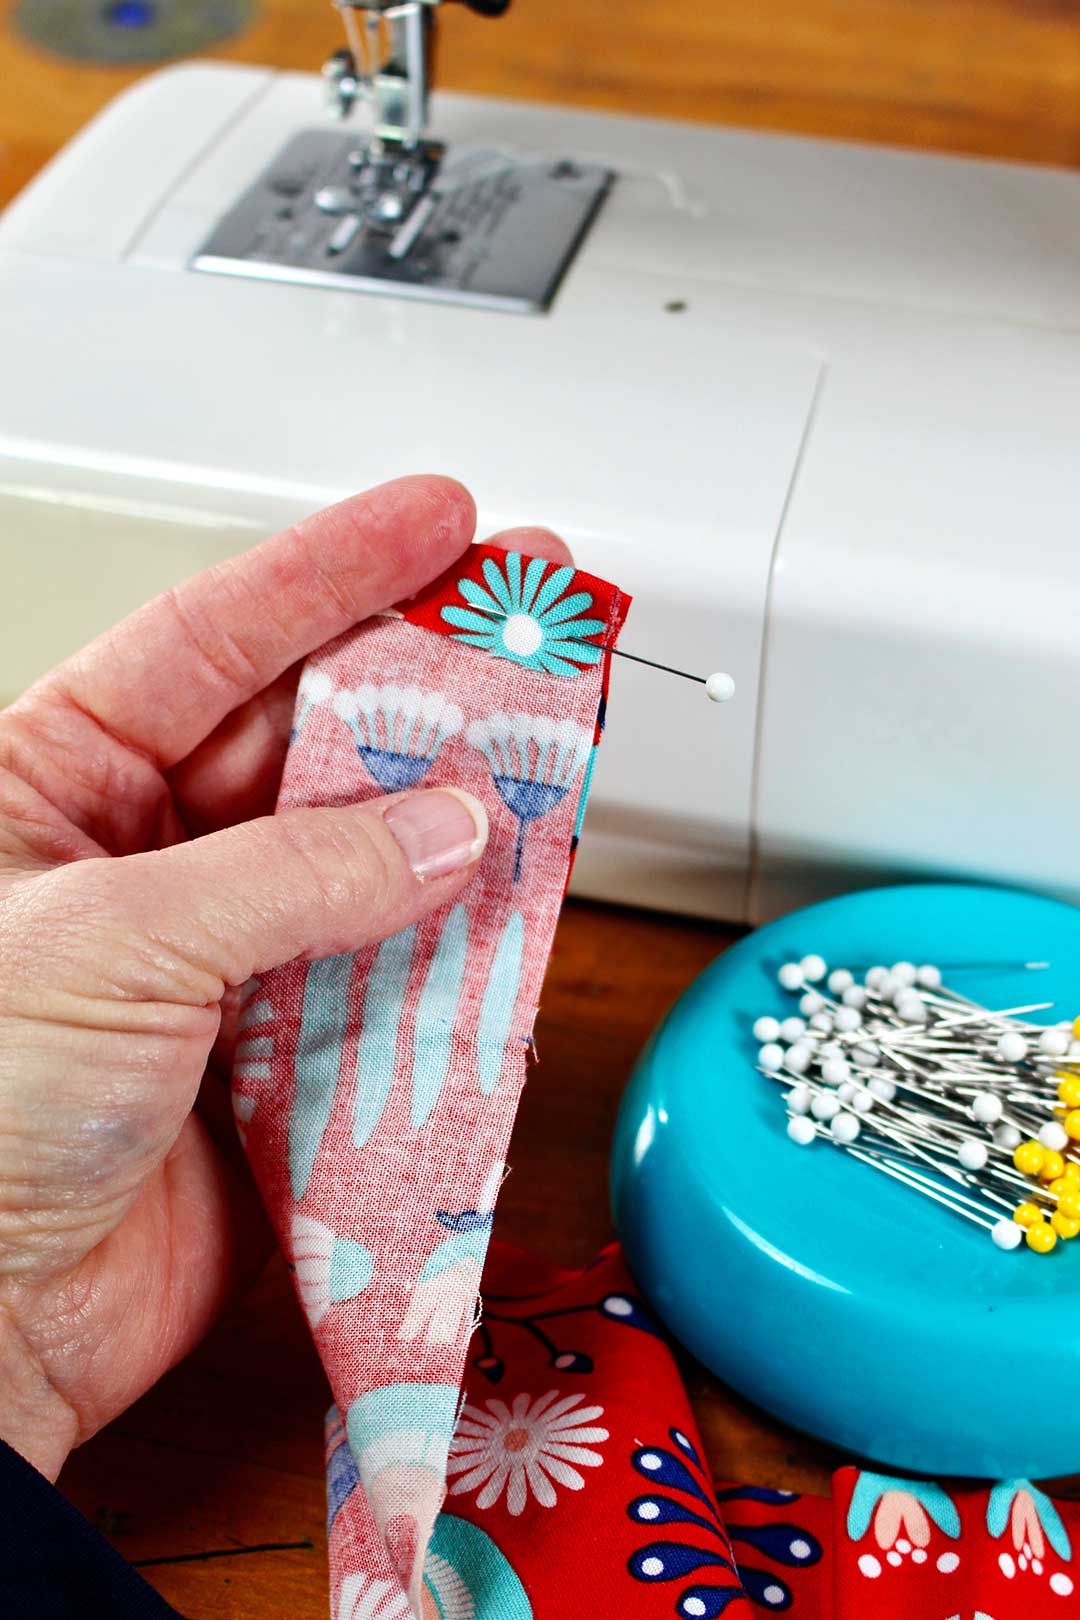
Fold one end of the strip down ½ inch towards the wrong side of the fabric.
Then, fold the strip of fabric in half the long way with right sides together. Pin the long edge.
Sew a ¼-inch seam down the long edge.
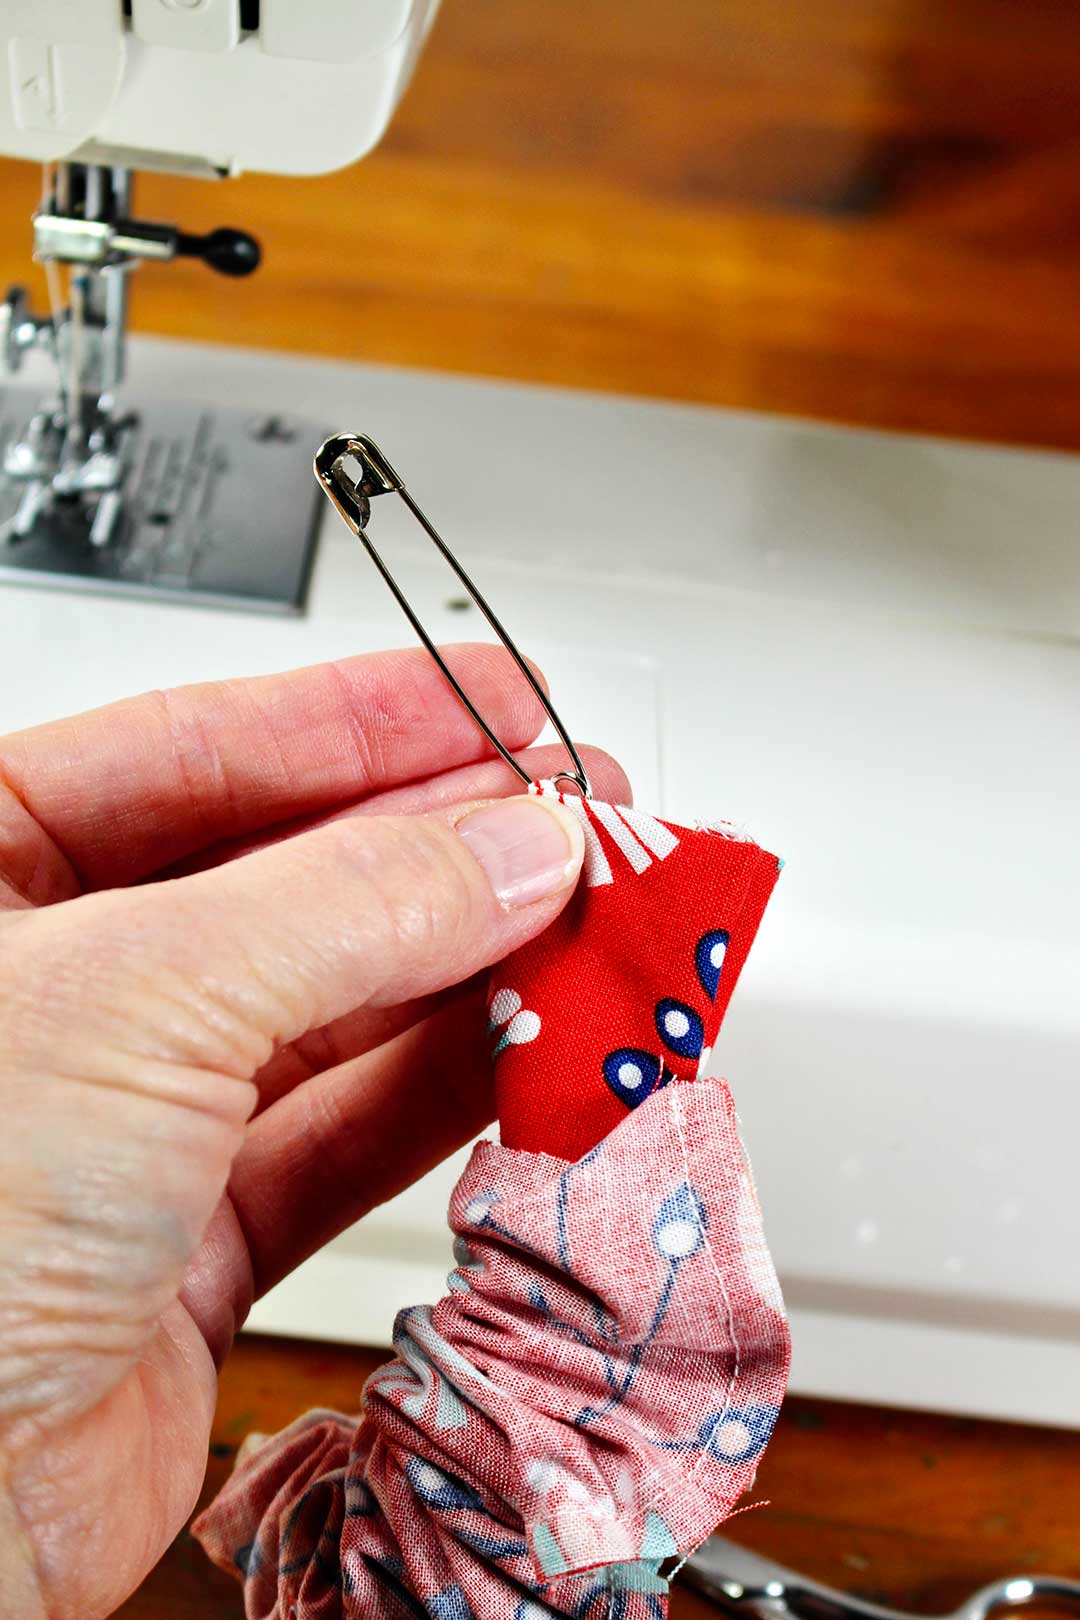
Next, use a Safety Pin to turn the long tube right side out. This is a great sewing skill to learn.
Scrunchie made with elastic
Some people use a hair tie in their scrunchie, but I've found that one made with elastic lasts much longer because it doesn't break as easily.
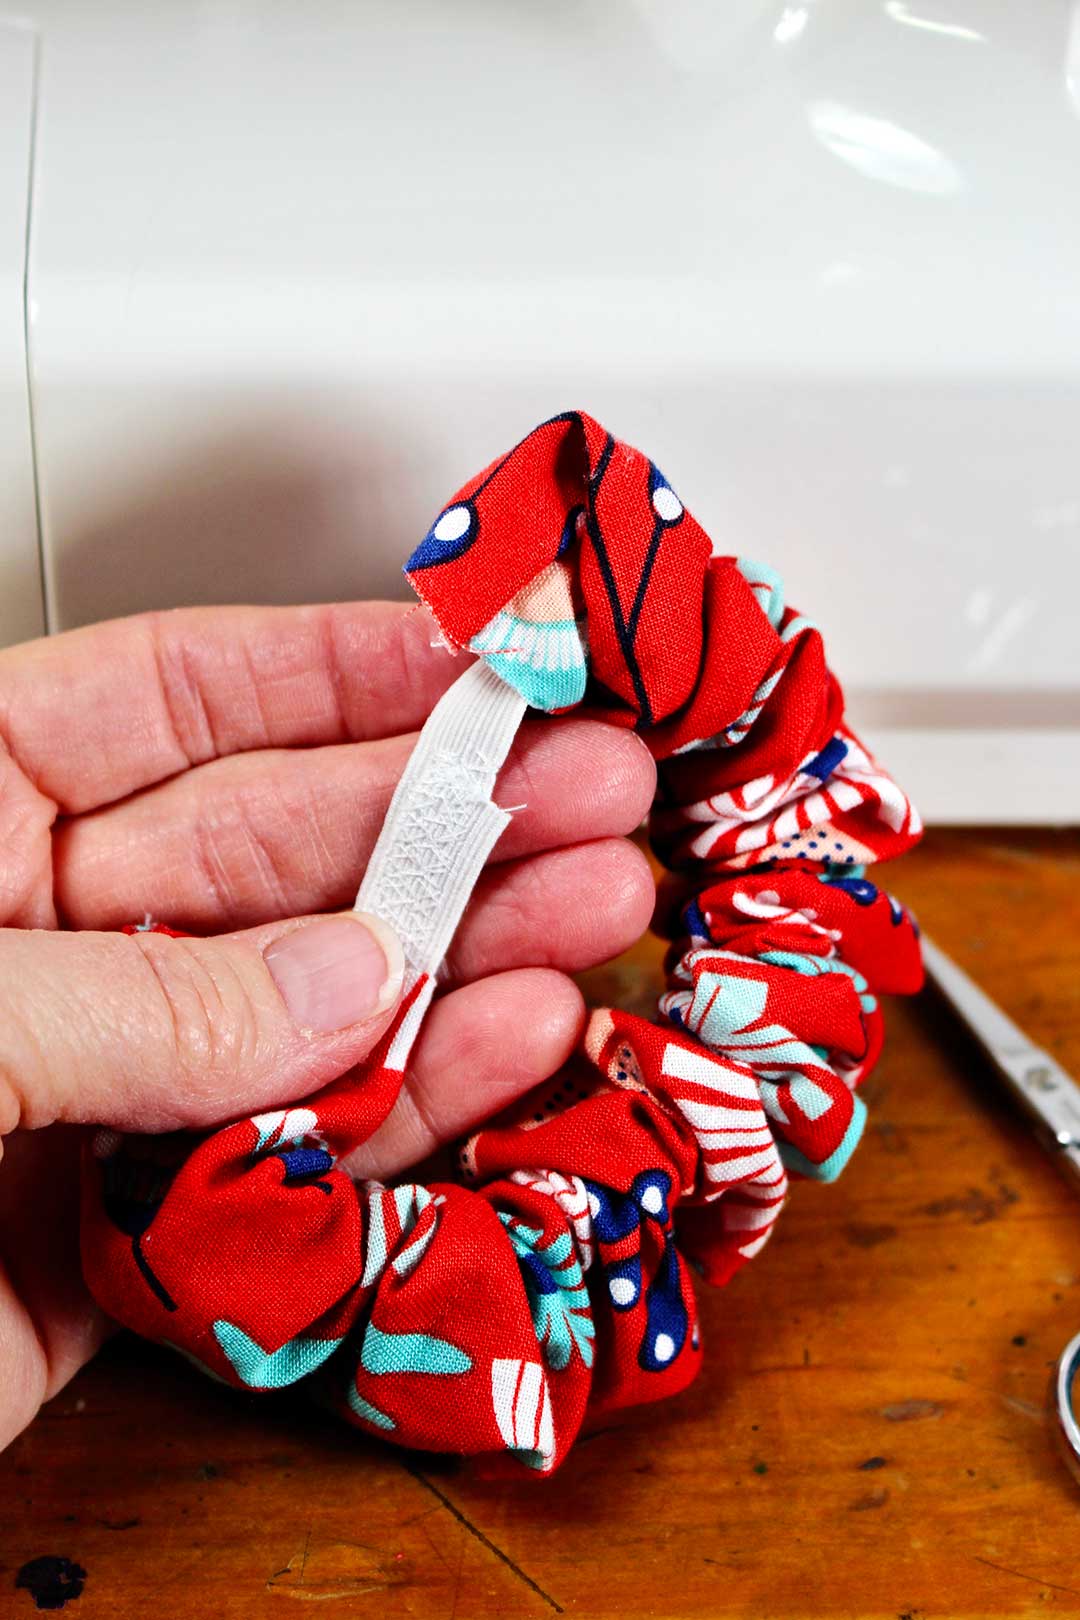
Cut a piece of ⅜-Inch Elastic 7 inches long. Thread it through the tube using that handy-dandy Safety Pin again. Pin one end of the elastic so it doesn’t pull all the way through. The fabric will scrunch up on the elastic.
Overlap and pin the two ends of the elastic together and sew them together using a zig zag stitch. Take care not to sew through the fabric at the same time.
Tuck the unfinished end of the fabric tube about ½ inch into the end that you folded under.
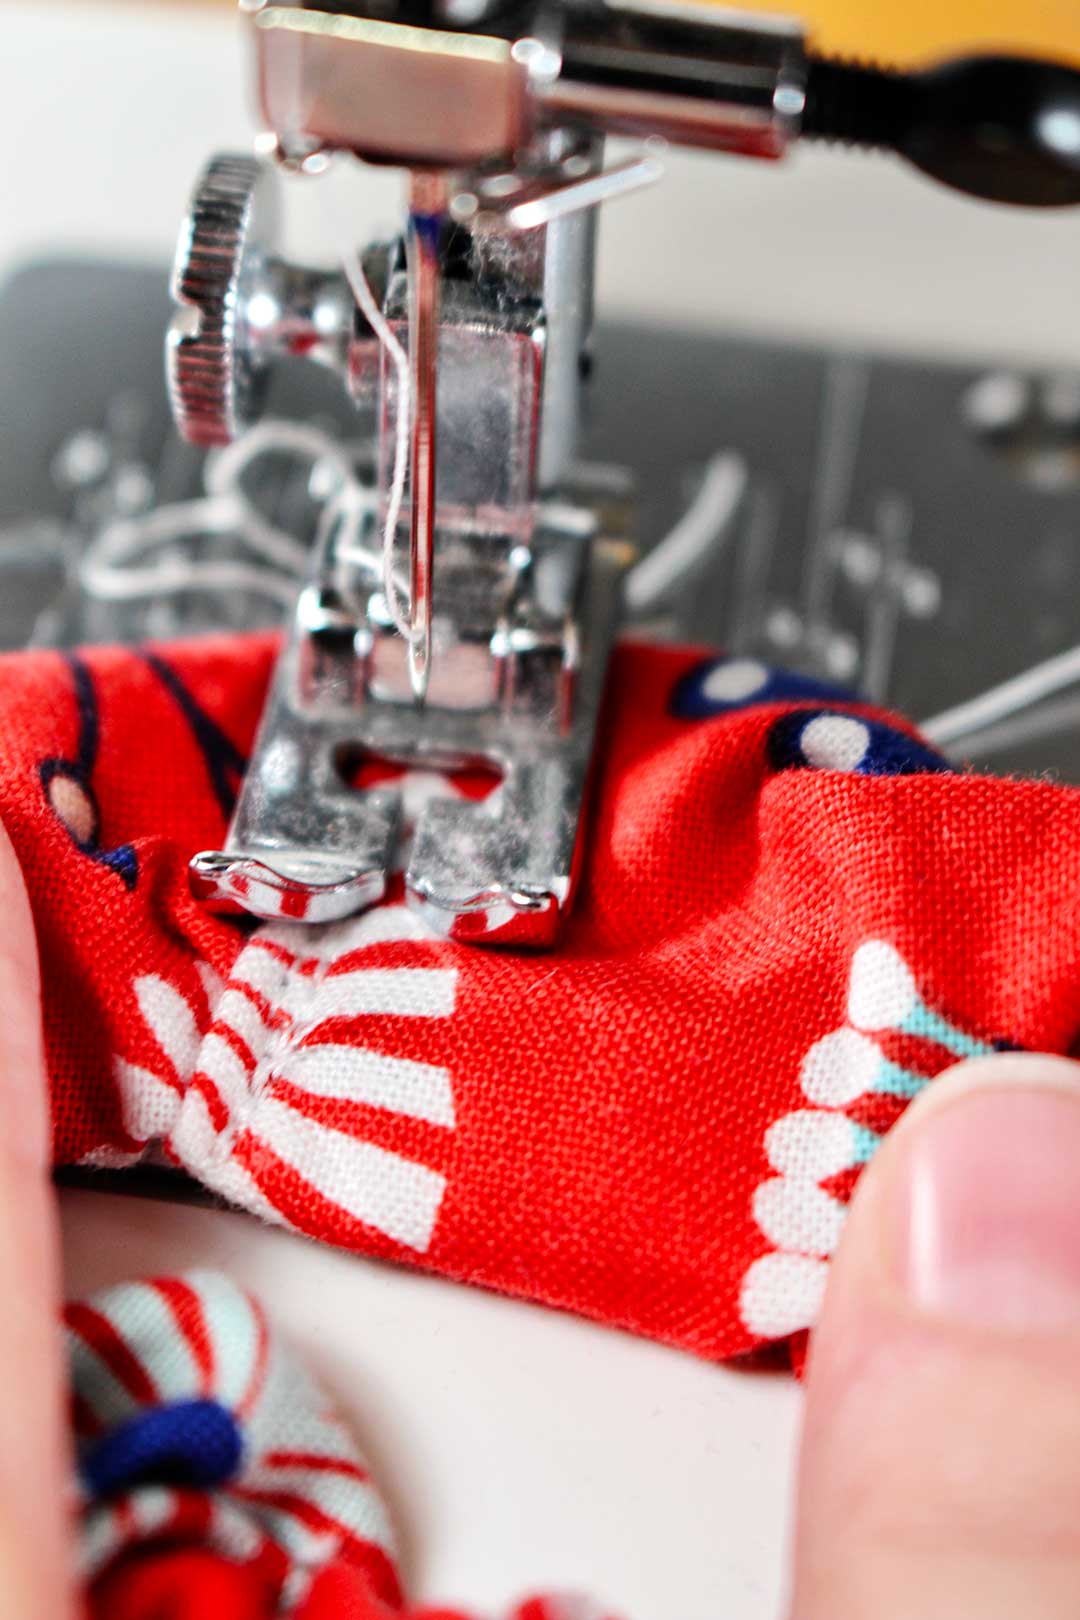
Finally, sew over the overlapped edge with a straight stitch. You will be sewing over the elastic inside at the same time, that’s ok.
Boom, you are done! See why I said this was easy and a good learn to sew project?
How to make scrunchies without a sewing machine
If you don’t have a sewing machine, then you can do this entire process by hand.
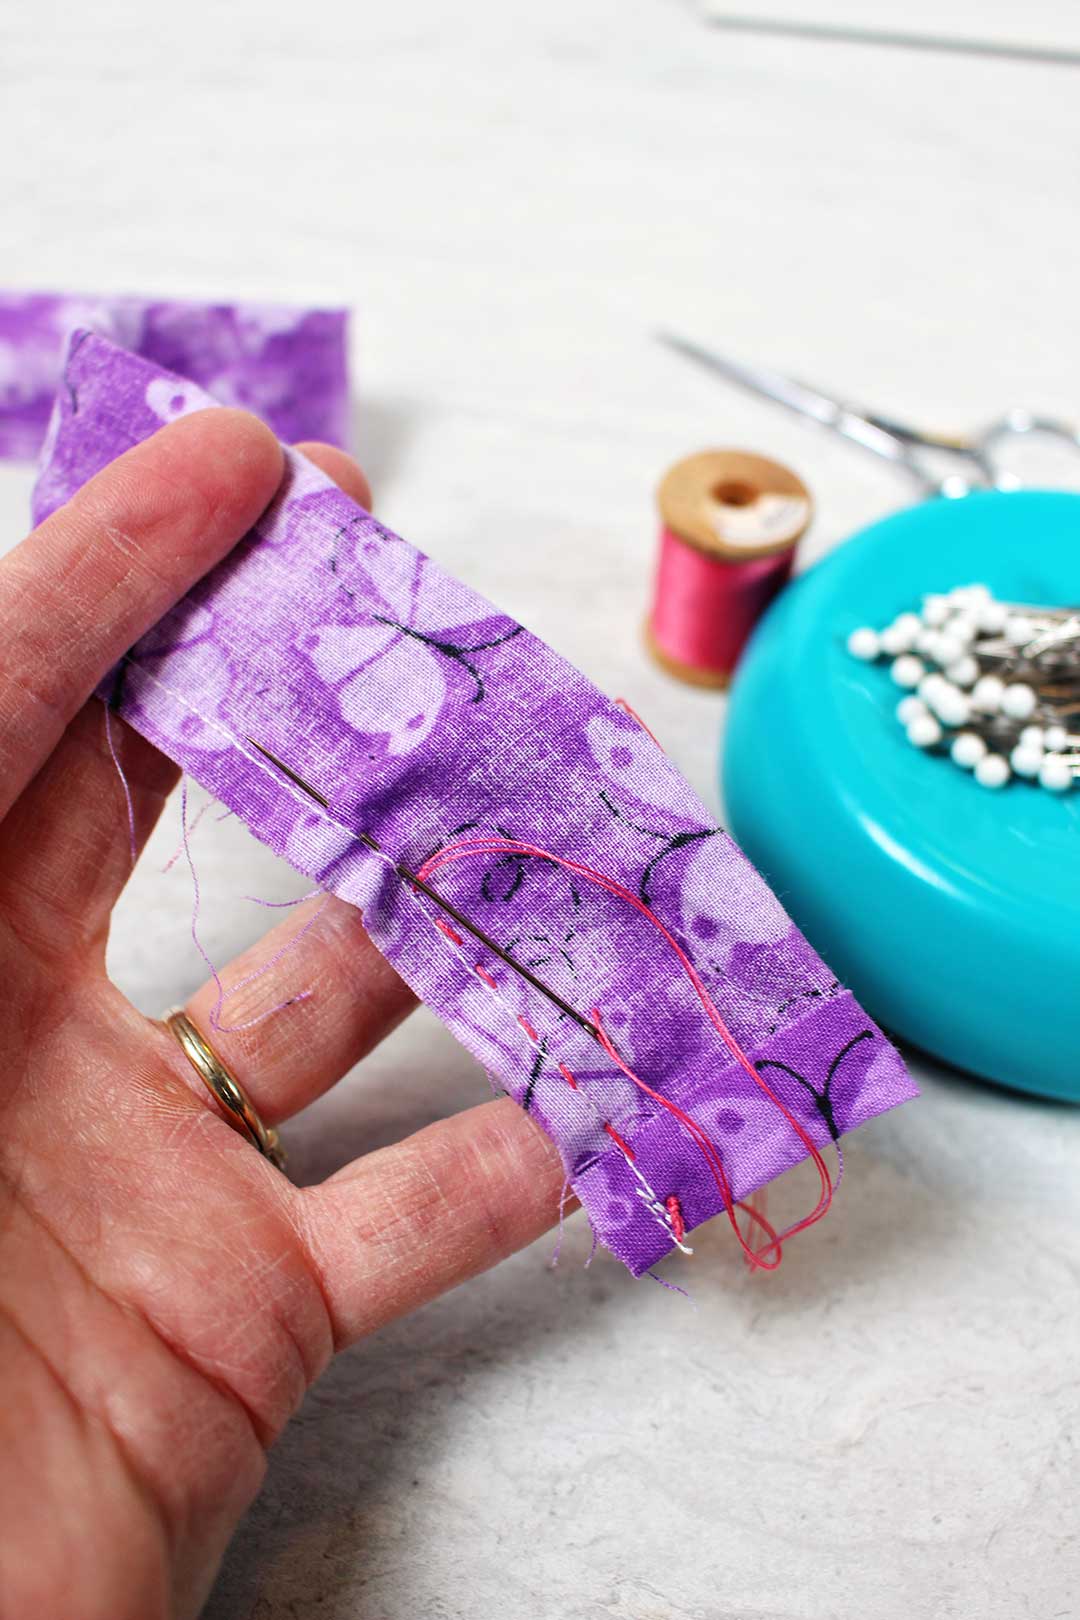
Using a Hand Needle and thread, sew the long edge by hand with a running stitch, as shown in the picture. Take your time and make small running stitches for a stronger and more nicely made product.
The two ends of elastic are sewn together making an “X” with your stitches. Sew over this several times in an X so it is held together firmly.
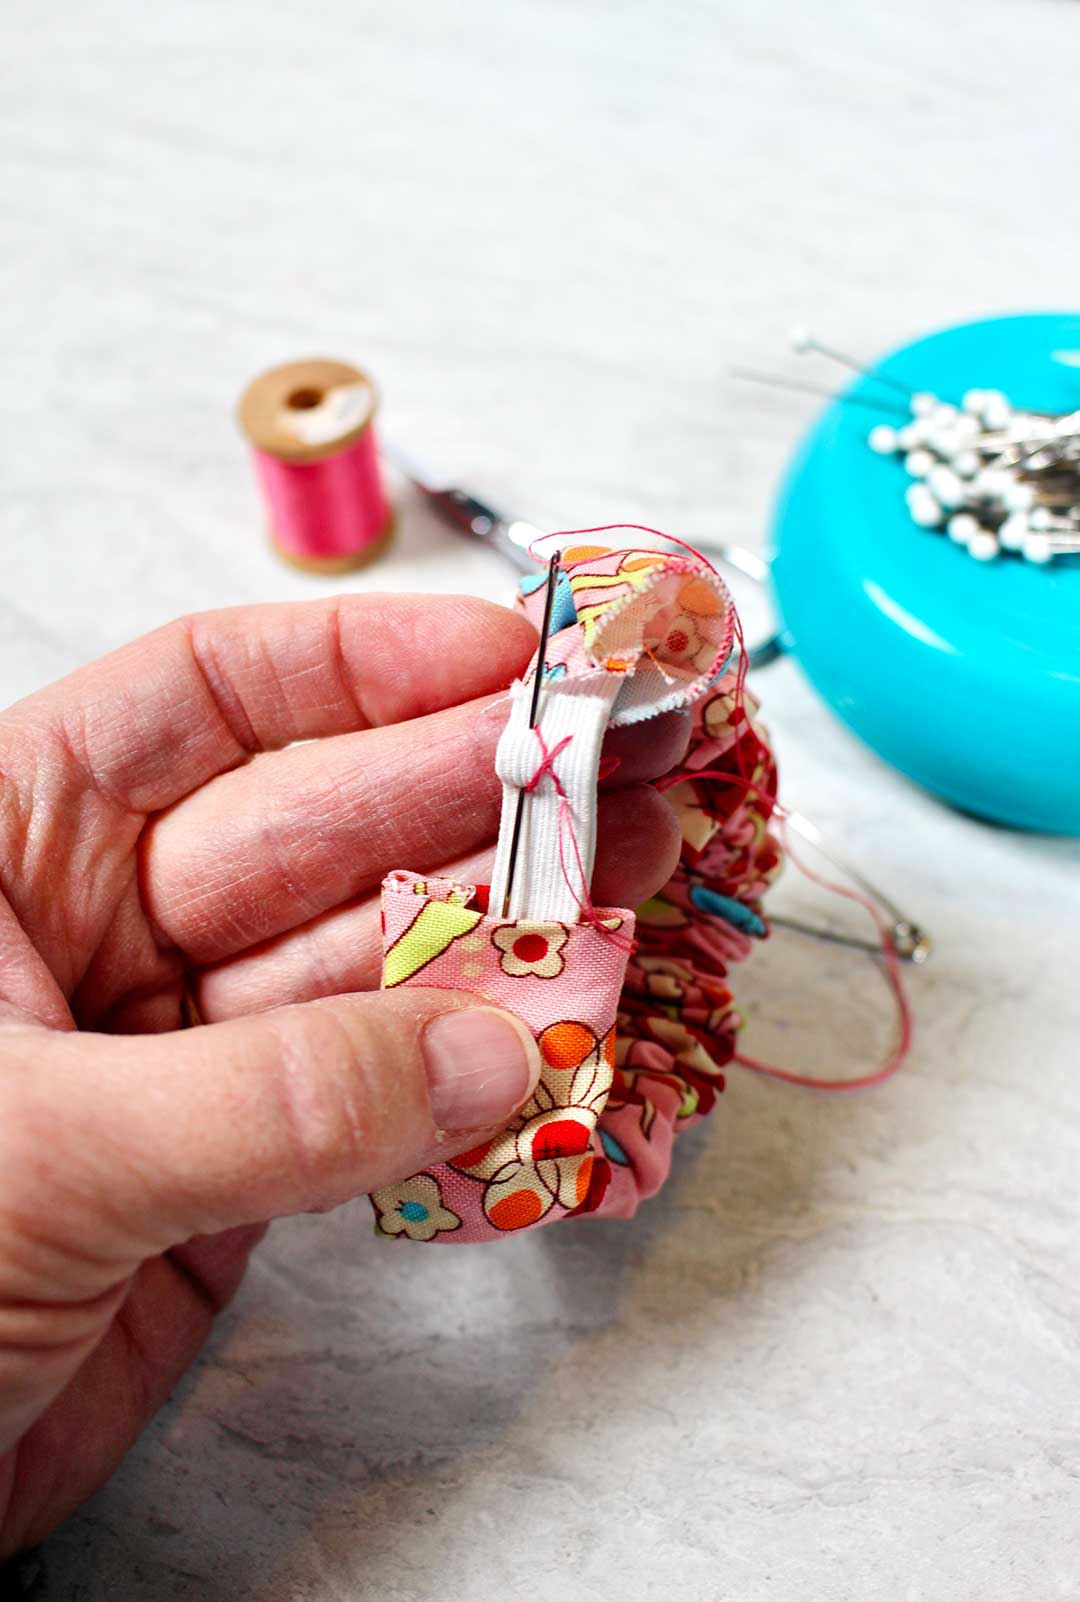
Sew the two ends of the fabric tube together with a small whip stitch. It is not difficult to do by hand either.
I made enough to give each granddaughter 3 in their stocking. I’m excited to see how they look and work in their hair!
Let me know how this works for you! Seriously, lots of kids get their first entrepreneurial experience doing something like making scrunchies!! You might make the suggestion!?
More Simple Sewing Projects for Kids
Are you teaching your kiddos to sew, or they are learning on their own? Give these additional sewing ideas a try!
You'll find a range of sewing techniques, as well as patterns and step-by-step instructions that make it easy and entertaining for any level of experience.
- Easy-to-Sew Microwaveable Rice Pack
- Easy DIY T-Shirt Dress
- DIY Hand Puppets for Kids
- How to Make a T-Shirt Tote Bag
- Sew a Simple Super Kid Cape
- Simple to Sew Apron
What You'll Need to Make Your Own Scrunchie
- Fabric- ¼ yard or less, OR a Fat Quarter, OR fabric remnants from other projects
- ⅜-Inch Elastic
- Safety Pin
- Thread
- Scissors

- Singer | Heavy Duty 4432 Sewing Machine OR sewing Hand Needle
DIY scrunchie pattern
If you try this craft, let me know! Go ahead and leave a comment, rate it, and tag a photo with #WelcometoNanas wherever you post.
Enjoy!
How to Make a Scrunchie
Equipment
- Scissors
- Sewing machine
Items Required
- 1 yard fabric cotton, cotton blend woven fabric
- 1 spool thread
- 1 large safety pin
- 1 package ⅜ inch elastic
Instructions
- Cut fabric into strips that are 3-6 inches wide and 20-22 inches long.
- Fold down one end of the fabric strip ½ inch.
- Fold strip in half lengthwise, right sides together. Pin.
- Sew a ¼ inch seam along the long edge of the strip.
- Use the safety pin to turn the fabric tube right side out.
- Cut an 8 inch piece of elastic.
- Use the safety pin to run the elastic through the tube.
- Overlap, pin and sew the ends of the elastic together.
- Tuck the unfinished end of the fabric tube into the finished end of the tube.
- Sew along the overlapped ends of the tube.
- This process can be done by hand as well using a needle and thread and hand sewing instead of machine sewing each step.
Video


Leave a Reply