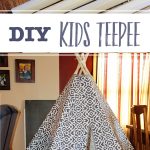
This Easy DIY Teepee Tent is one of those fun projects that will bring about hours and hours fun for kids! Follow the free pattern and step-by-step guide to sew a teepee-style tent that is perfect for a kids room, outdoor play place, or play room.

Jump to:
- A Second Chance Teepee!
- Necessary Materials for the Teepee Frame
- Choosing the Right Fabric
- Free Printable Kids Tent Pattern
- Love this DIY Kids Teepee- woot-woot!
- Variations on the DIY Kids Teepee!
- More Sewing Project Ideas
- Enjoy!
- Supplies to Make a DIY Teepee Tent
- More from Welcome To Nana's
- Easy DIY Teepee Tent for Kids
A Second Chance Teepee!
I was eager to try making a DIY Kids Teepee for several reasons. I’d made a variation of one of these for our kids many, many years ago and was never quite happy with the outcome.
The kids played in it a lot and we still have it (so many fond memories), but I knew it could be better! That made this project a quest for improving the design and for making another one for the grandkids!
Kids can use their teepee for hours of fun both inside and outside. It's easy to put up and take down to carry where ever the fun takes them!
This project requires straight seam sewing skills and the use of a drill and drill bit. (Or it takes some sweet talking to those who have power tools and that have these skills! Ha!)
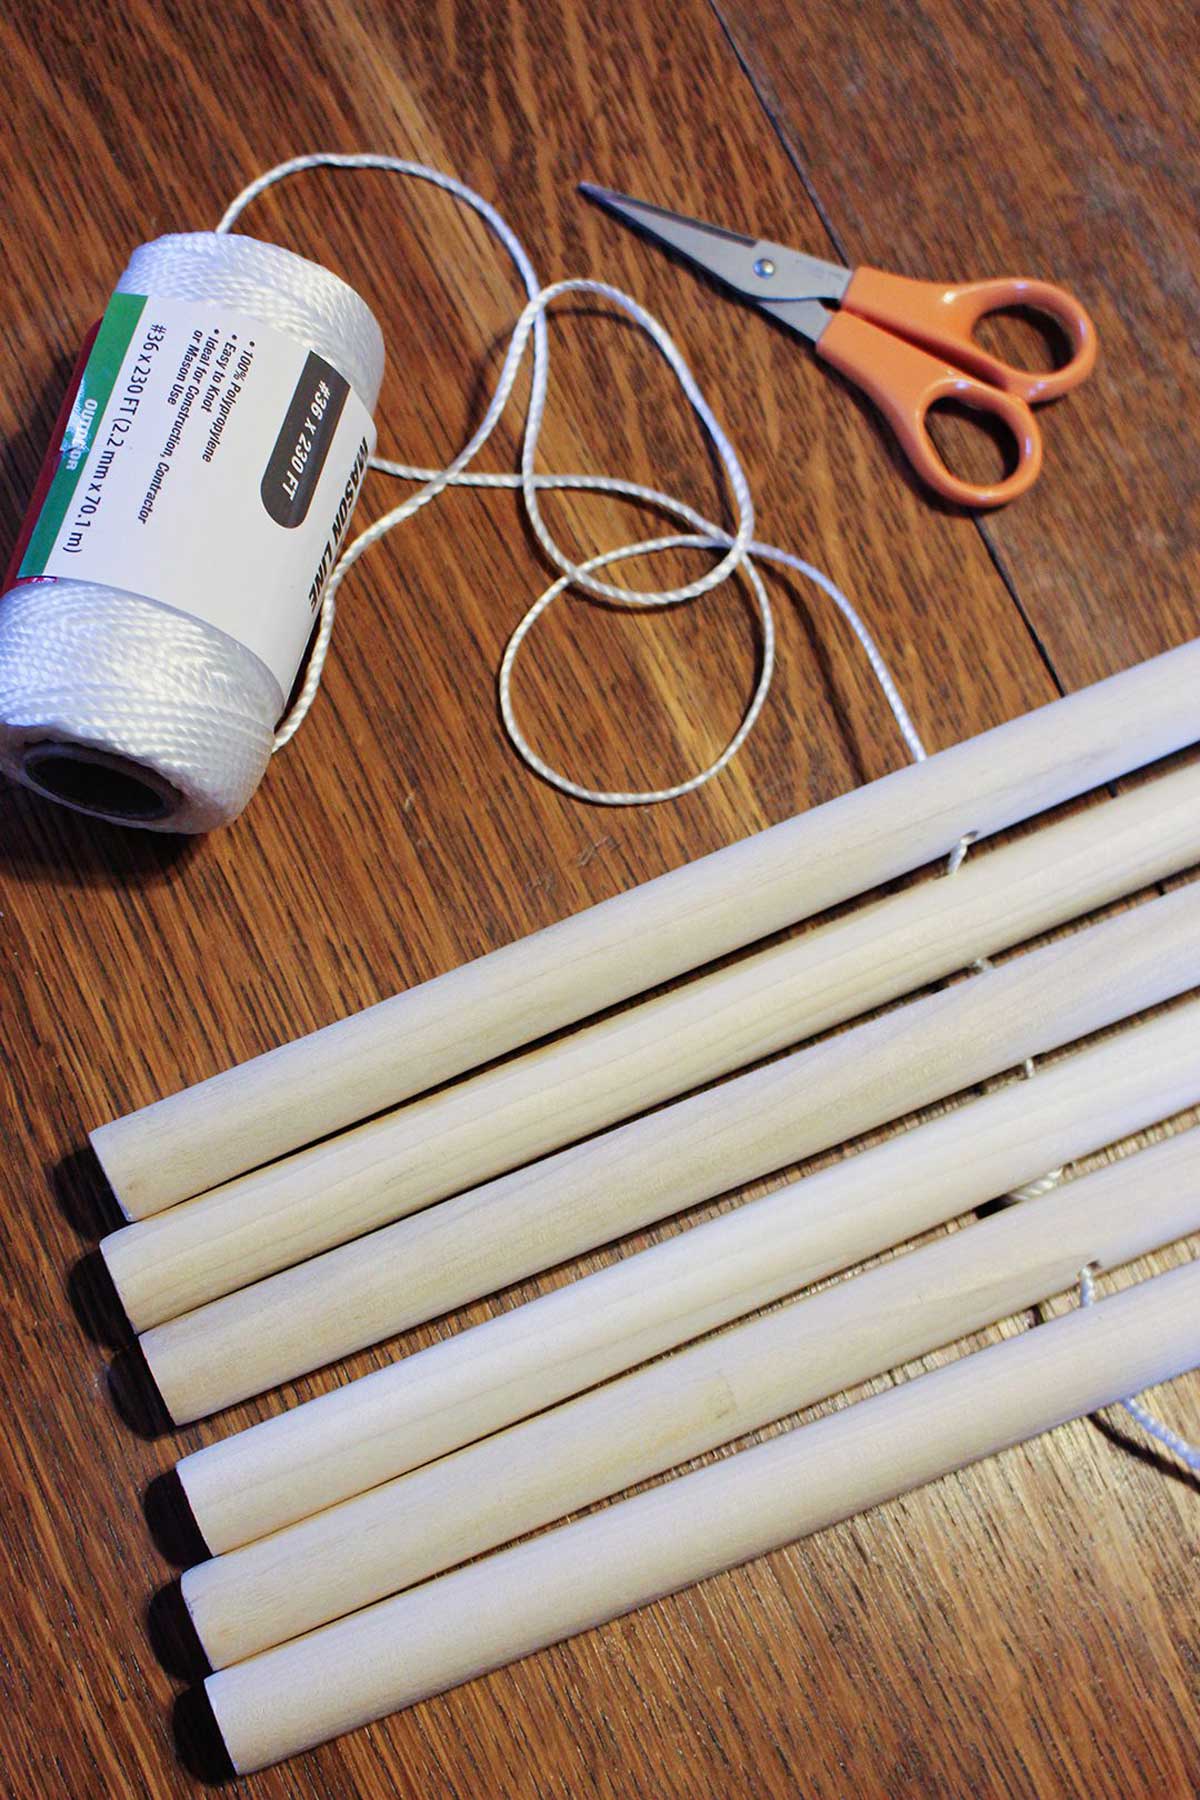
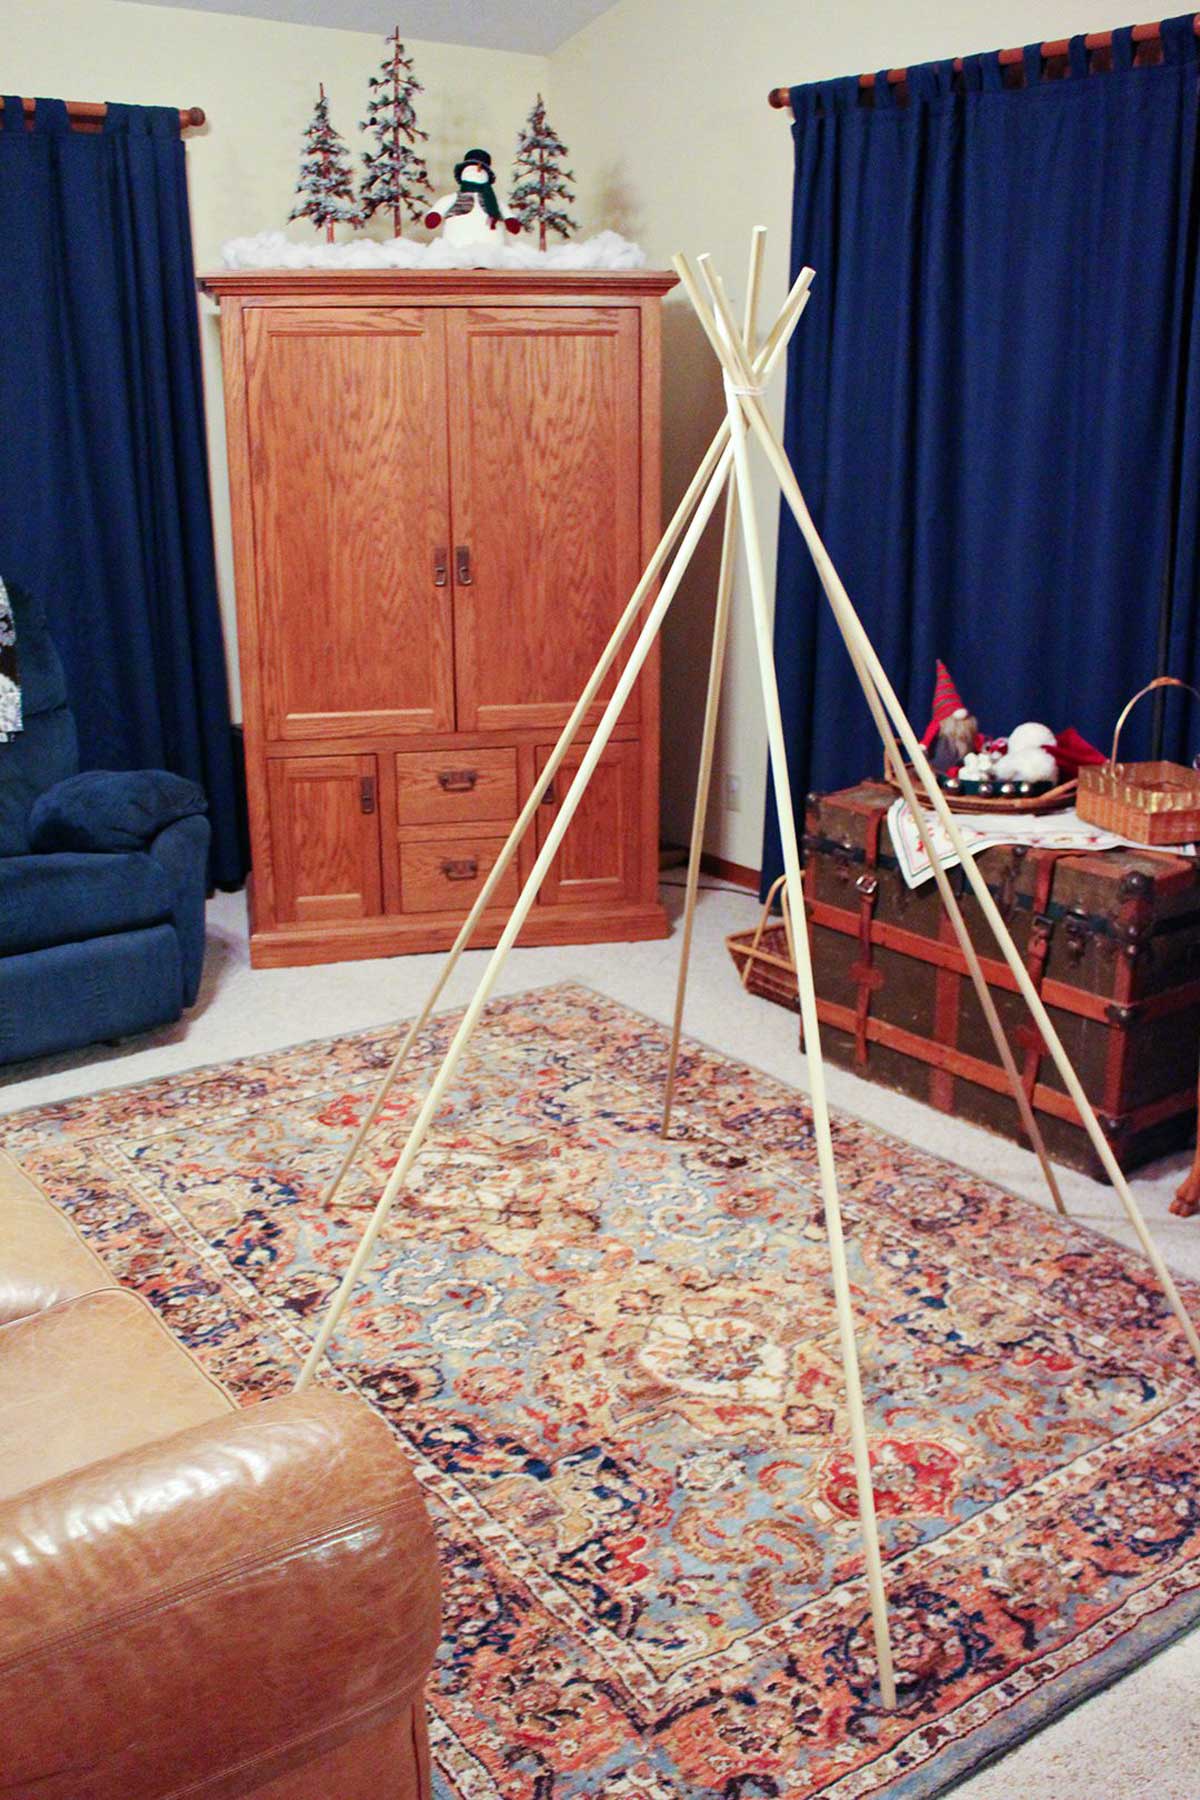
Necessary Materials for the Teepee Frame
This DIY tent features a simple frame to hold the teepee shape, made from 6 foot long wooden dowels. The ¾” dowels were less expensive and were still sturdy.
You can find different sizes of wooden dowels at your favorite hardware store. I think I got mine at Lowes, but you might try Home Depot or your local shop as well!
If you are looking to lower the cost, I’ve seen a DIY Kids Teepee made using white plastic PVC pipe as well. I have not tried making the tent frame this way so I don’t know how a piece of PVC pipe would compare in strength to the wooden dowels. But again, it would be less expensive.
Choosing the Right Fabric
Next we need to choose the right kind of fabric for your DIY play tent! You'll end up needing 4 ½ yards 56-60” wide fabric for this project.
You can use any fabric you'd like, but I would recommend a heavier weight for durability.
However, use what suits you best! This might be a fun way to use up old sheets or extra fabric from other DIY projects. I've even thought of using a large drop cloth.
If you are looking to place the tent outside, choose pieces of fabric that will hold up against direct sunlight and other weather wear.
Just one extra note - it's a good idea to use a fabric without a definite “one way design”, or the design will be sideways on the tent!
Free Printable Kids Tent Pattern
Ready to jump in to the step-by-step tutorial? Let's do it!
Here is the link for the DIY Kids Teepee pattern for your personal use.
This free pattern will give you a cutting guide, measurements, and list of supplies!
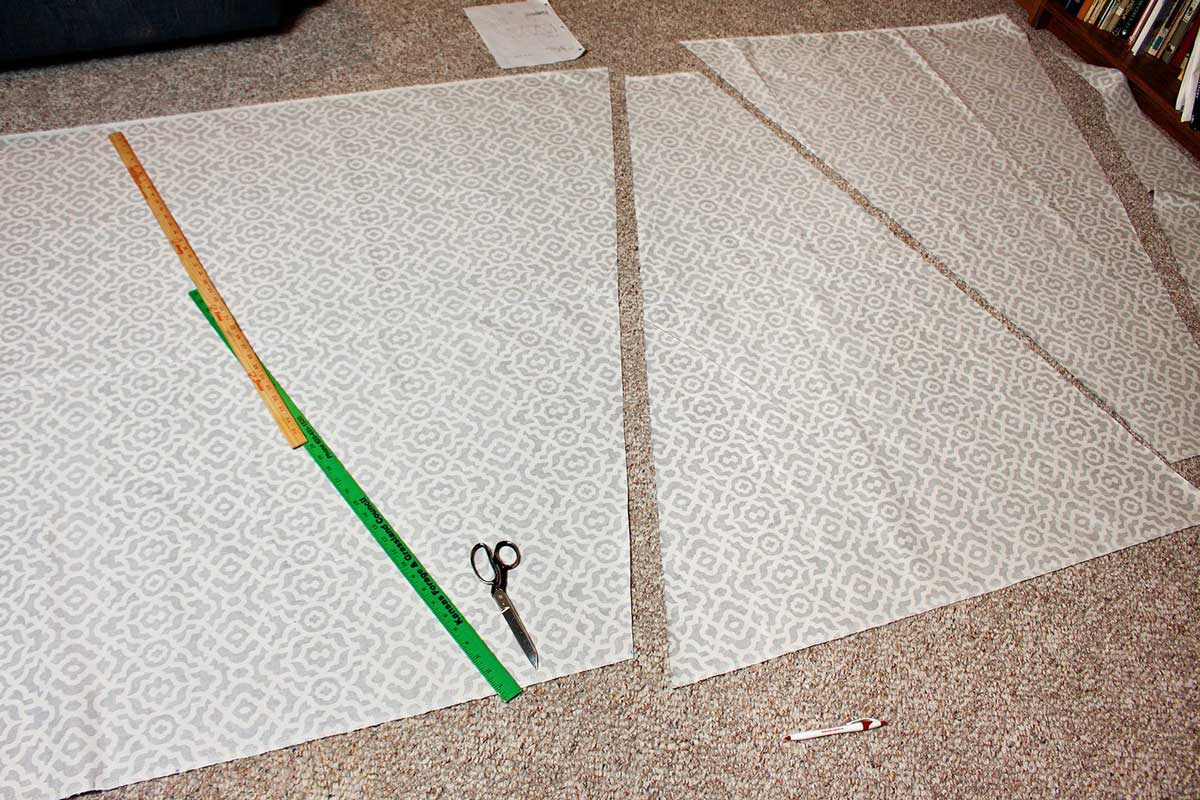
Laying Out and Cutting Teepee Fabric
First things first, start by laying your fabric out on the floor, wrong side up. Using the DIY Kids Teepee pattern found at this link, use a yard stick or measuring tape to draw the solid lines of the pattern onto the fabric. A Sharpie or a ball point pen works well for this step.
The dotted lines on the pattern are there to give you center lines if that helps you draw the pattern more accurately on the fabric. Don’t cut on the dotted/dashed lines!!!
Cut out the pieces on the solid lines you drew on the fabric. The 6 panel pieces are cut to be 7.5” at the top edge, 40” at bottom of each panel.
A teepee needs a door!
On ONE panel piece only, cut a slit up the center of the panel from the bottom (wide edge) up about 38”. This will be the front panel door of the tent.
Using a zig-zag stitch, sew bias tape around the side edges of this door slit. The bias tape encloses the raw edges and keeps the fabric from unraveling…plus it looks really cute!
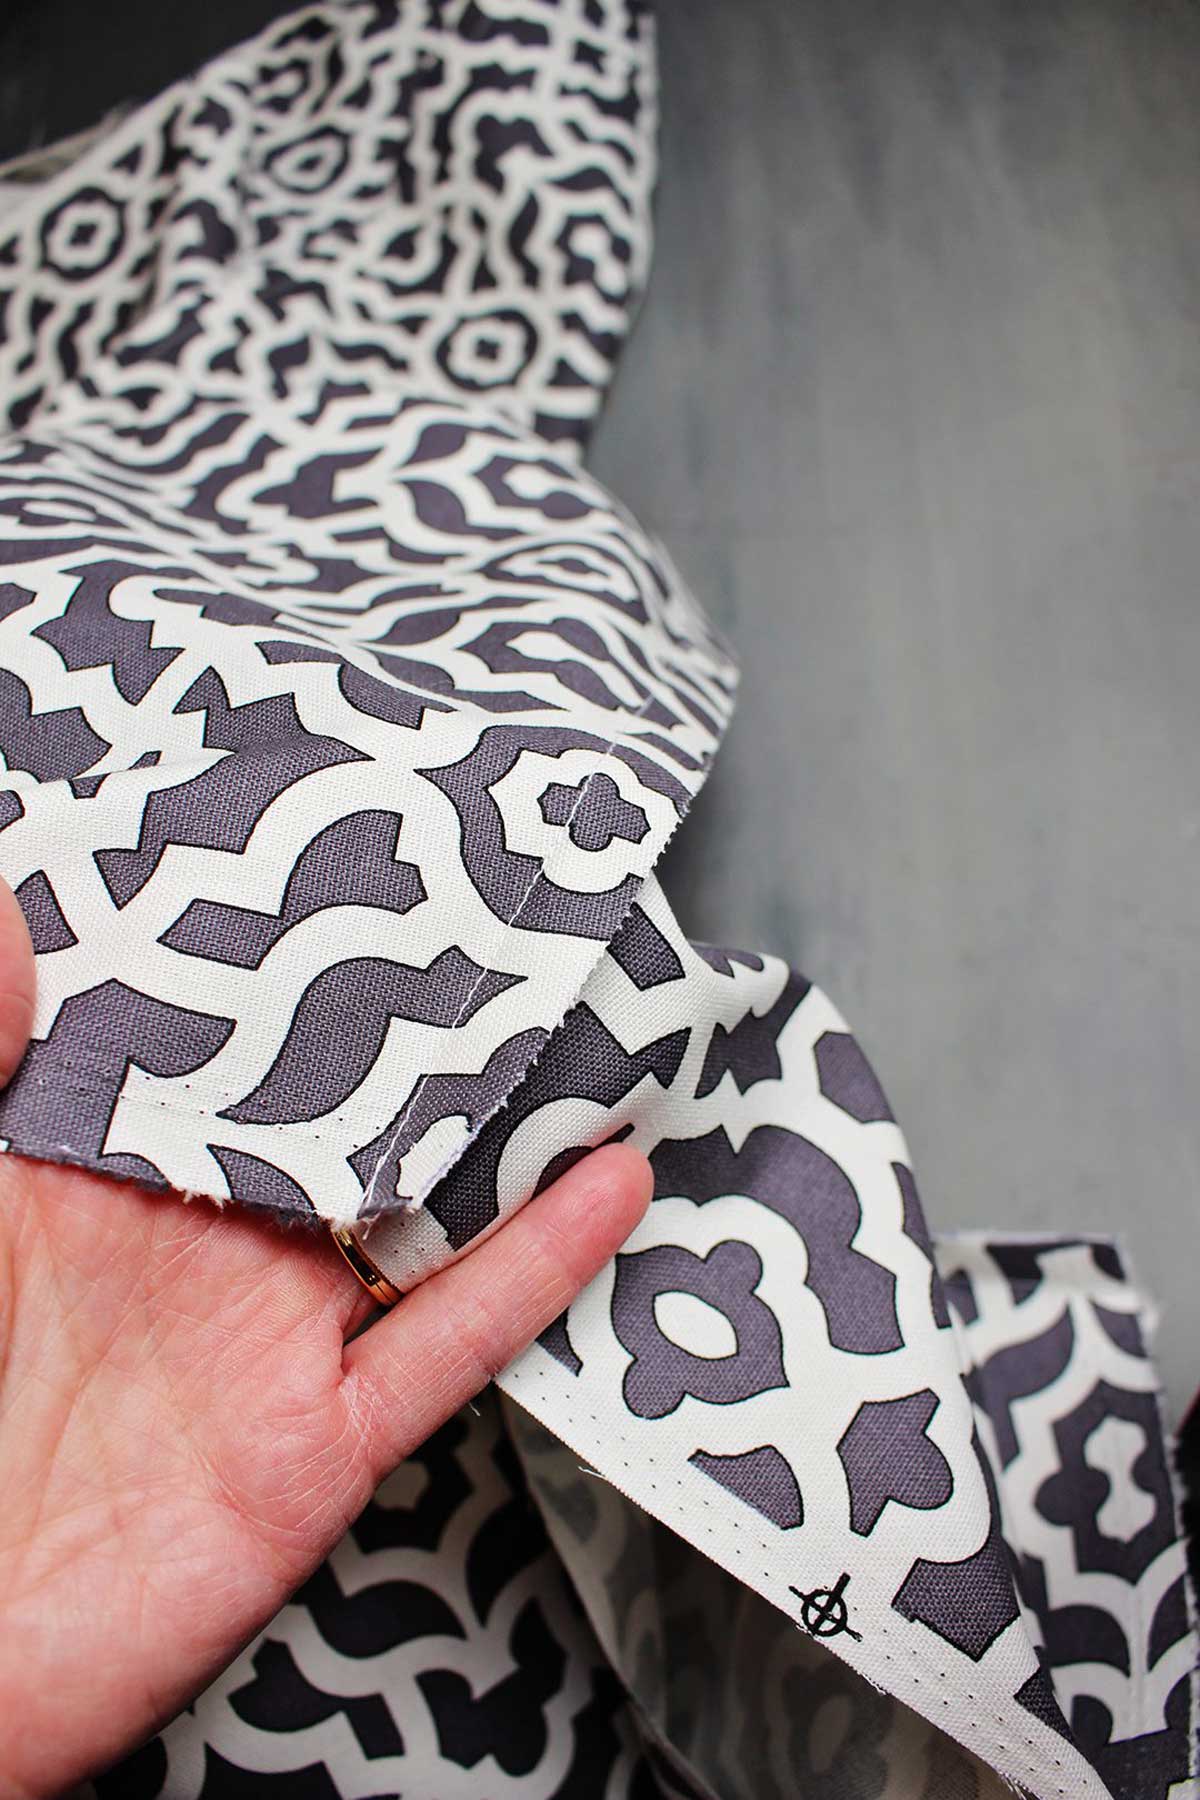
Sew teepee fabric panels together
Pin the triangle panels together one at a time, WRONG sides together, with the wider edges together and the narrower edges together.
Sew the panel pieces together, WRONG sides together, with a ⅜” seam. The wide edges will be around the bottom edge of the teepee when finished.
After all of the panel pieces are sewn together, sew the 6th panel to the 1st panel in the same manner, WRONG sides together.
Bias tape to finish the edges
Get out the bias tape and sew it around the top and around bottom edges of the teepee cover with a zig-zag stitch to finish the edges off so they don’t ravel.
Again, the bias tape encloses the raw edge, instead creating a nice finished edge of the fabric that keeps the fabric from unraveling.

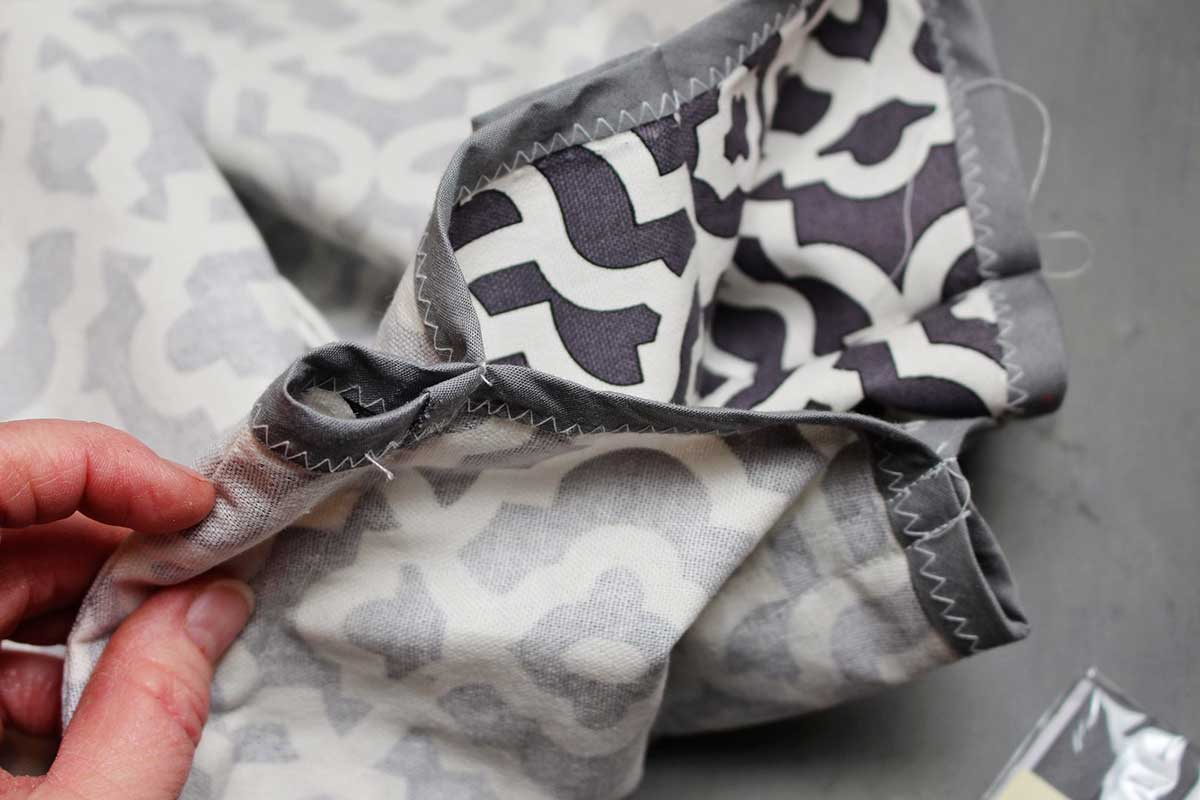
Sew tube seams to hold the dowel rods
For this next step, turn the fabric inside out and sew along each of the vertical seam lines a second time. Sew the pieces together, now with the RIGHT sides together, with a 1 ½” seam.
Your first seam will be inside of this seam. (Weird, I know!) This will make a tube seam for the dowels to fit through.
These straight line tube seams will end up on the inside of the teepee.
Attach the dowels for the teepee
Drill holes in the dowels 9-10” from one end of each pole.
Slip the dowel rods down the tube seams made at the seam of each panel.
All of the ends of the dowels with the drilled holes should be at the TOP of the teepee when you are finished.
Lash the dowels together with the cord
Thread the cord through the holes in the dowels and leave the cord untied for now.
Set the teepee up in the tent shape and spread out the rods.
Adjust the cord at the top. Tie off the cord while the teepee is in its standing position so there is room for the dowels to spread as needed.
Wrap some cord around where the dowels intersect if you want and double knot again. Cut off the extra cord.
Tip: You will need to tie knots in the ends of the cord so they don’t unravel. You can also wrap a small piece of tape around them, kind of like the tips of shoe strings. Or use a hot glue gun to seal up the ends of each tie.
Finish the dowel ends
The last step is to slip the rubber chair leg tips on the bottom of each dowel rod. This helps the dowels "stay put" on various floor surfaces and keeps them from scratching your flooring. You're welcome!! 🙂
If you used PVC pipe, you could also try PVC caps, just be careful again with anything that will scratch!
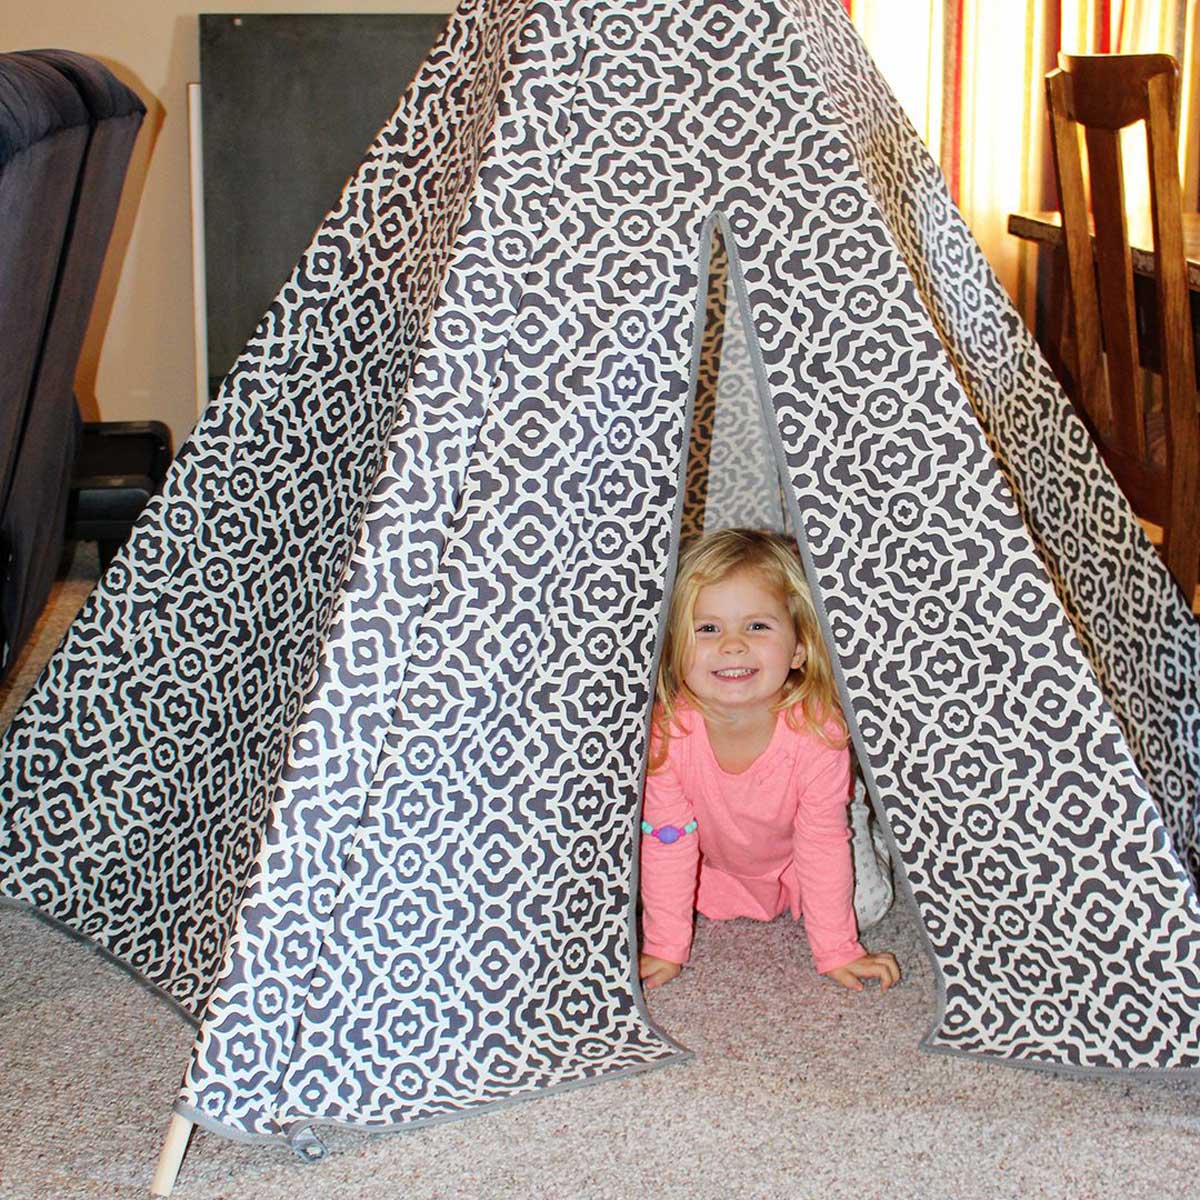
Love this DIY Kids Teepee- woot-woot!
And there you have it, your own teepee that's the perfect size for young children!
I’m thrilled with how this DIY Kids Teepee turned out. I think it does the original source justice, and levels it up exactly how I was hoping!
The cute designs of available fabric are so fun. The grands liked it too and have spent a lot of time in it!!
The awesome thing is that this kids teepee tent is so easy to move around! To do so, simply pick up the whole thing by the dowel rods, I like to use the top portion. Small children may need an extra pair of hands for this.
Once you've placed it on a flat surface, rearrange the legs of the frame to make sure your front flaps are facing where you would like it to open.
Variations on the DIY Kids Teepee!
There are many easy ways to enjoy this cute tent!
Place in a child's room and it's their own little place to play or relax. Add a few pillows and it's a little reading nook that would be a great place for kids to curl up with a good book, don't you think?
Or I think it could be a great idea to make a larger teepee for outdoor playf!
Someday I’d like to make a teepee out of beige canvas material (maybe a canvas drop cloth) and let the kids paint designs on it with fabric paint. Wouldn’t that be cool?
Let me see a picture of your DIY Kids Teepee when you’re done- and don’t forget to take the picture with a cute grand peeking out from inside!
You can make your very own teepee using 6 dowel rods and a fabric tent sewn using this free pattern! Following the tutorial, you will sew the panels together, creating interior loops to secure the dowel rods. Lash together the rods at the top of the tent, then arrange the frame to support the fabric tent.
If you are making a teepee tent for kids, you will need 6 dowel rods to create the frame. You will lash these sticks together at the top to hold the shape of the teepee.
For this DIY teepee tent for kids, you'll need 6 wooden dowel rods. For my tent, I used ¾” dowels that were each 6 feet long.
More Sewing Project Ideas
If you want another easy project that turns a little sewing into a lot of fun, check out these ideas from around the blog!
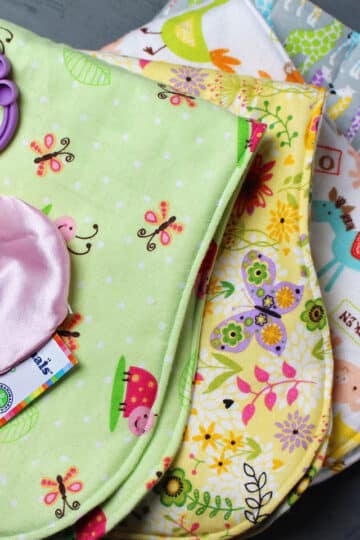
- How to Sew a Hooded Towel for Kids
- How to Sew a Pillowcase
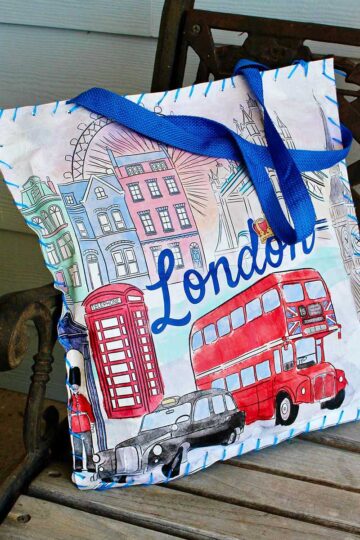
- How to Make a Fabric Book Cover
- Simple to Sew Apron DIY
Enjoy!
If you try this craft, let me know! Go ahead and leave a comment, rate it, and tag a photo with #WelcometoNanas wherever you post.
Come join the fun at www.WelcomeToNanas.com
Supplies to Make a DIY Teepee Tent
- DIY Kids Teepee printable pattern
- 6- ¾” dowels, 6 feet long
- 6- Chair leg tips in the ¾" size
- 4 ½ yards 56-60” wide fabric (heavier weight)- Use a fabric without a definite “one way design” or the design will be sideways on the tent.
- 3 packages of coordinating double fold bias tape
- Thread
- Cord to tie dowels together
- Sharpie, Black 4-Count

- Scissors
- Sewing machine
- Drill
More from Welcome To Nana's
Easy DIY Teepee Tent for Kids
Equipment
- Drill
- Sewing machine
- Scissors
- Sharpie, Black
Items Required
- DIY Kids Teepee Printable Pattern
- 6 ¾” dowels, 6 feet long
- 6 Chair leg tips in the ¾" size
- 4 ½ Yards 56-60” wide fabric (heavier weight) Use a fabric without a definite “one way design” or the design will be sideways on the tent.
- 3 Packages Double fold bias tape Coordinating color
- Thread Coordinating color
- Cord to tie dowels together
Instructions
- Start by laying your fabric out on the floor, wrong side up. Using the DIY Kids Teepee pattern found at this link, use a yard stick or measuring tape to draw the solid lines of the pattern onto the fabric. A Sharpie or a ball point pen works well for this step.
- The dotted lines on the pattern are there to give you center lines if that helps you draw the pattern more accurately on the fabric. Don’t cut on the dotted/dashed lines!!!
- Cut out the pieces on the solid lines you drew on the fabric. The 6 panel pieces are cut to be 7.5” at the top edge, 40” at bottom of each panel.
- On ONE panel piece only, cut a slit up the center of the panel from the bottom (wide edge) up about 38”. This will be the front panel door of the tent.
- Using a zig-zag stitch, sew bias tape around the side edges of this door slit.
- Pin the triangle panels together one at a time, WRONG sides together, with the wider edges together and the narrower edges together.
- Sew the panel pieces together, WRONG sides together, with a ⅜” seam. The wide edges will be around the bottom edge of the teepee when finished.
- After all of the panel pieces are sewn together, sew the 6th panel to the 1st panel in the same manner, WRONG sides together.
- Get out the bias tape and sew it around the top and around bottom edges of the teepee cover with a zig-zag stitch to finish the edges off so they don’t ravel.
- For this next step, turn the fabric inside out and sew along each of the vertical seam lines a second time. Sew the pieces together, now with the RIGHT sides together, with a 1 ½” seam. Your first seam will be inside of this seam. (Weird, I know!) This will make a tube seam for the dowels to fit through. These straight line tube seams will end up on the inside of the teepee.
- Drill holes in the dowels 9-10” from one end of each pole.Slip the dowel rods down the tube seams made at the seam of each panel. All of the ends of the dowels with the drilled holes should be at the TOP of the teepee when you are finished.
- Thread the cord through the holes in the dowels and leave the cord untied for now. Set the teepee up in the tent shape and spread out the rods.Adjust the cord at the top. Tie off the cord while the teepee is in its standing position so there is room for the dowels to spread as needed.
- Wrap some cord around where the dowels intersect if you want and double knot again. Cut off the extra cord.
- Tie knots in the ends of the cord so they don’t unravel. You can also wrap a small piece of tape around them, kind of like the tips of shoe strings.
- The last step is to slip the rubber chair leg tips on the bottom of each dowel rod so they don't scratch your floor!
Notes
This post was originally published in November 2019 and has been updated to add more relevant and detailed content.


Marian Keenan says
I make it for my grands. a little fine tuning with the bottom legs using 3/4 inch corners will keep it from sliding. Your directions were right on. They did not have enough fabric on clearance so I did alternate fabric and it looks good for boys or girls,
Shelly says
Good deal! Great idea to alternate fabric!!
Debra says
Hi, how is the teepee attached to the poles?
Shelly says
The instructions explain how to sew pockets in the fabric where you slide in the poles. I hope as you read the sewing instructions this will be more clear! The poles remain in these pockets and so you just pick it all up and put it up again without a need to reposition the poles.
Laura says
This would be so fun for sleepovers for kids!
Shelly says
Yes! And also for dress up play and tea parties!
Annie Saberwal says
I would like to make this a little taller by having 7 foot. Dowels. I don’t know how to adapt the fabric to fit however. I intend to get 72” cotton canvas but don’t know how to measure the top and base dimensions. - any clues? I love the Teepee you’ve done but my grandchild is tall and already almost five so I don’t think he’s get enough use out of the one you’ve published to warrant the palaver of making it and thus I’d rather make it bigger if possible. Thanks anyway.
Shelly says
So sorry for a late response. The triangle panels would be enlarged to having a longer set of sides (7 feet) and a wider base to the triangle by at least 6 inches or so. Then the instructions for putting it together are the same. I'm sure you figured that out yourself. Blessings!