Learn How to Stitch Valentines Cards for Kids to make cute cards while learning some sewing skills. A free printable pattern makes it easy and fun!

Jump to:
Cute Craft Alert: How to Stitch Valentines Cards!
I love to sew and these Stitched Valentines Day Cards let me share that sewing love with you! Your kids can learn to do some hand stitching while creating a card.
This is great way to build hand eye coordination too. Give the card as a gift or mount it in a small frame to sit on the counter for the holiday.

Supplies for Stitched Valentine's Day Cards
You don’t need many supplies to bring these cute Valentine’s Day cards to life!
- Free Printable Pattern- Stitch Valentine Cards Free Printable Pattern
- Cardstock paper- Use white cardstock or colored cardstock paper.
- Crochet thread- Crochet thread or embroidery floss, yarn, string
- Sewing needle- You’ll need a needle with a larger eye (like an embroidery needle).
- Scissors, tape, white copy paper, colored markers.

Steps to Stitch Valentines Cards
Start with a free pattern
Print off the Stitch Valentine’s Cards Free Printable onto cardstock paper.
With the needle, poke a hole through each dot on the pattern. You may want to do this step for the child. Be careful not to poke your finger! This allows you to see the pattern on both sides of the card.


Stitch a heart
Thread the needle and then pull the needle up through one of the holes. Tape the end of the string to the back of the card.
Pull the needle down through a hole that's across the card, then up through the hole next to it.
Repeat this over and over until the heart shape becomes obvious from the crossing yarns. You may need to rethread your needle more than once before finished.


Finish the Valentine
You can stitch through the same hole in the heart more than once.
When finished, tape the end of the thread to the back of the card and clip the end of the thread.
Draw around the card on a piece of white copy paper and then cut it out. With a colored marker, write a message on the paper like “Happy Valentine’s Day!” (that’s original).
Glue this to the back of the stitched card. Add any extra decorations that you'd like, such as drawings, messages, or cute paper clip hearts!
Did you know you can make an envelope for your card from scrapbook paper? Find instructions at this link: Handmade Envelopes 3 Ways.

Craft Tips
- Yarn needle- A yarn needle isn’t as sharp and may be better for younger kids.
- Turn card over- With holes poked in the card you can use the back side of the card for your stitching and then you won’t see the black dots from the pattern.
- Cross threads- Keep watching for an area that needs another thread to fill it in and take your stitch across that area.
- Pulling- Don’t pull hard on the thread, pull gently and just until the thread is tight. If you keep pulling the card will bend and bow.
- Patience- If the thread gets caught on the corner of the card, gently pull the thread off and then continue. If the thread gets a little knot in it, don’t pull hard! Gently pull on the little loops in the knot and it will usually come out. If not, cut the thread and tape it on the back. Start again.
- Add a thread- If you run out of thread, tape the end to the back and trim it off. Start a new piece of crochet thread and continue stitching the heart.

Craft Variations
Want to switch things up as you stitch Valentines Day cards? Here are a few ways you can customize and play with this craft.
- Colored cardstock- Use colored cardstock and a different color of crochet thread.
- Variegated crochet thread- Variegated thread changes colors and looks nice on the card.
- Frame the heart- Put the finished card into a small frame to display during the holiday.


FAQ- How to Stitch Valentine’s Day Cards
The instructions on the post make this easy. Stitching on paper is just like stitching on fabric. Thread a needle and come up from the back of the card. Then go down with the needle from the front to the back again. Repeat this.
This post includes a stitched heart template (stitched heart pattern) for you to use. The heart design in the pattern makes it easy to get started. Just print the pattern on cardstock paper for your project.


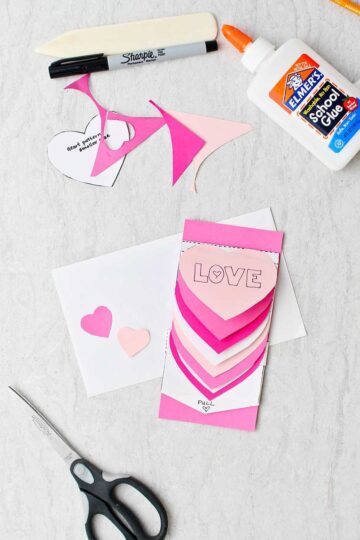
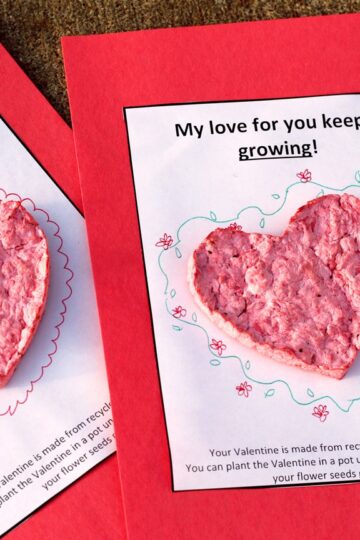
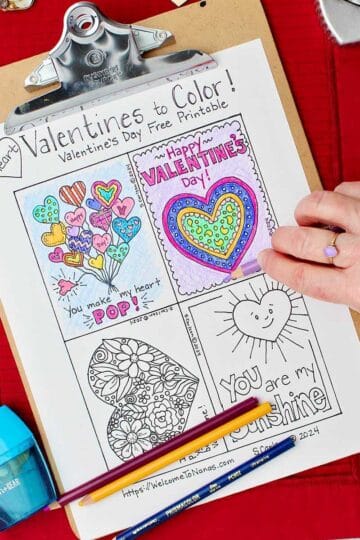
More DIY Valentines for Kids
Looking for more great DIY Valentine Cards for kids? Here are a few favorites for you to try:


Come join the fun!
Try this craft, leave a comment, rate it, and tag a photo with #WelcometoNanas wherever you post.
Loving the crafts?
Get a free crafty gift and a weekly email with the newest crafts from Welcome To Nanas for signing up!


How to Stitch Valentines Cards for Kids
Equipment
- none needed
Items Required
- Free Printable Pattern Stitch Valentine Cards Free Printable Pattern
- Cardstock paper Use white cardstock or colored cardstock paper.
- Crochet thread a needle with a larger eye
- Scissors, tape, white copy paper, colored markers.
Instructions
- Print off the Stitch Valentine’s Cards Free Printable onto cardstock paper.With the needle, poke a hole through each dot on the pattern. You may want to do this step for the child. Be careful not to poke your finger! This allows you to see the pattern on both sides of the card.
- Thread the needle and then pull the needle up through one of the holes. Tape the end of the string to the back of the card.Pull the needle down through a hole that's across the card, then up through the hole next to it. Repeat till heart shape is clear.Tape end of thread to back of card when finished
- Draw around the card on a piece of white copy paper and then cut it out. With a colored marker, write a message on the paper like “Happy Valentine’s Day!” (that’s original).Glue this to the back of the stitched card.


Leave a Reply