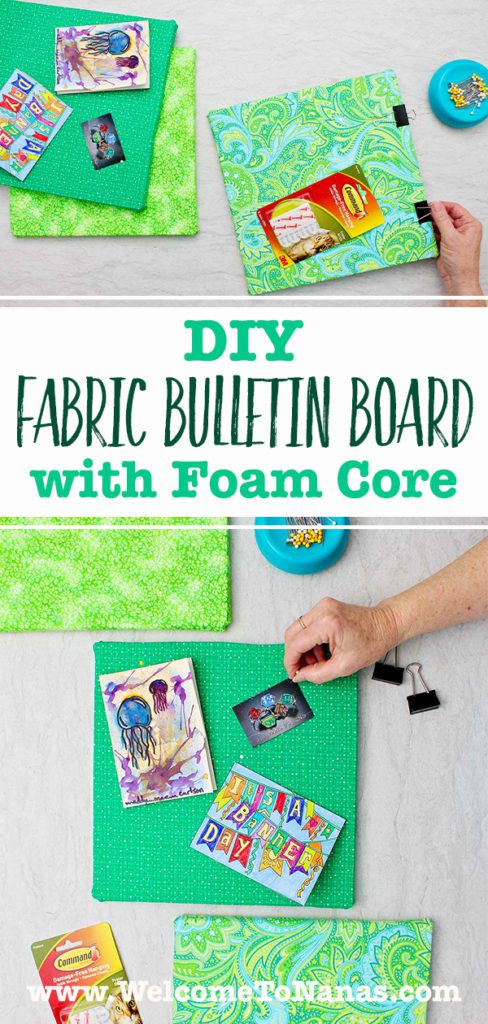
DIY Fabric Bulletin Board Project
I love the DIY Fabric Bulletin Board with Foam Core project. This pin board is perfect for a room at home or at school (for you teachers).
It is a DIY pin board that does not use a cork board as its base. It uses a foam insulation board from a lumber yard so it is very light weight and can be up to 4x8 feet in size! Did I mention that I love this project???
DIY Pin Board without cork!
When I was teaching Home Ec (FACS as it’s called today) I had a huge room with a lot of blank wall space. I made a series of these DIY Fabric Bulletin Board with Foam Cores.
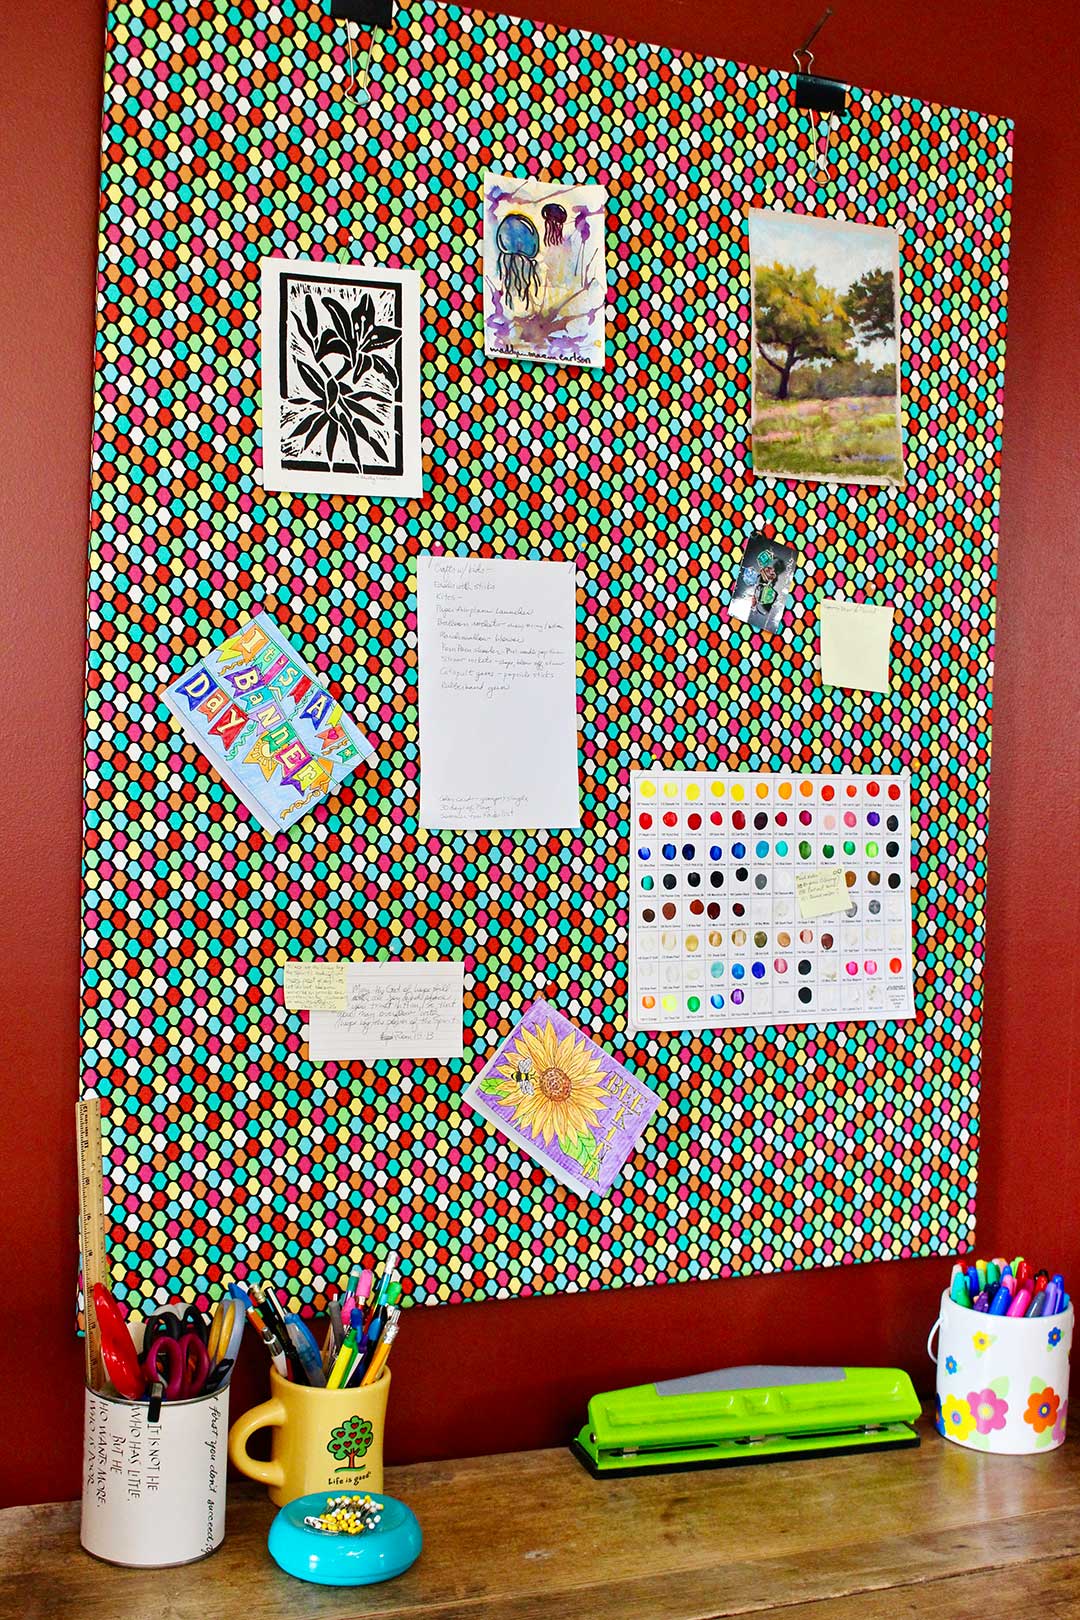
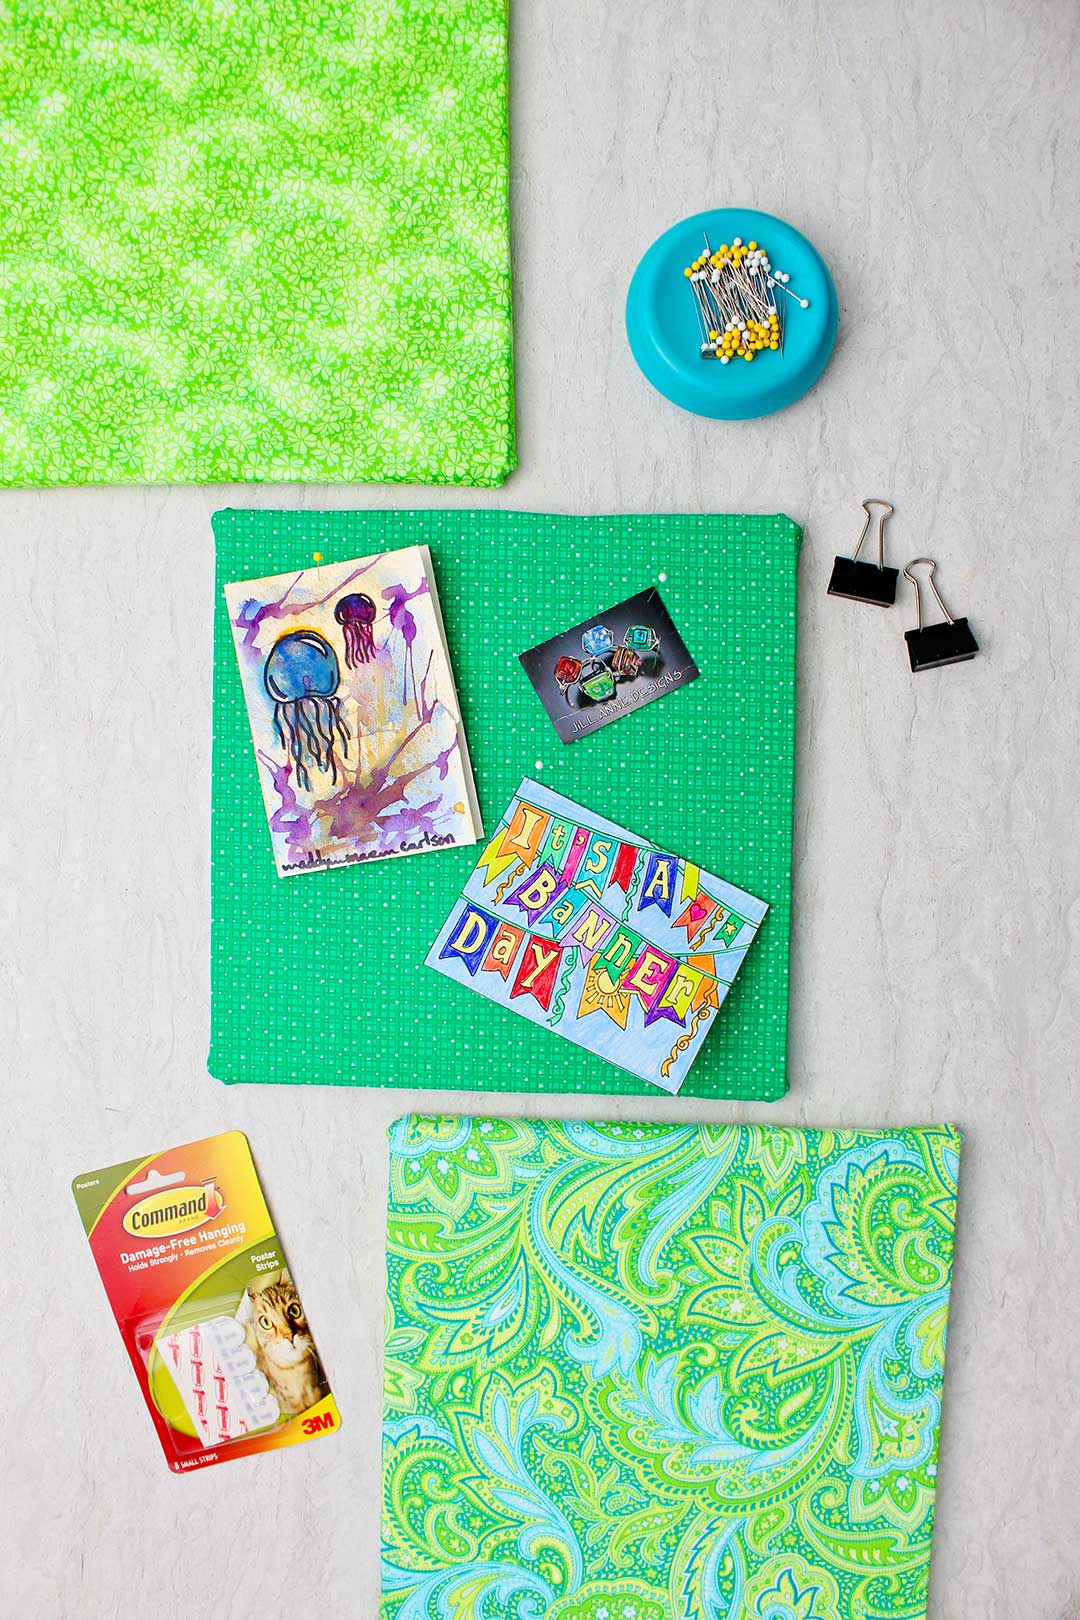
When covered with the set of coordinating fabrics the fabric bulletin boards brought wonderful color and pattern to the room even before anything was pinned to them!!
They could be easily hung since they were so light weight. I could use pins, push pins or staples to put up posters and projects without hurting the walls.
They work great in my studio now and would also be awesome in a bedroom to hang artwork and posters.
Make a DIY bulletin board in a size for your needs!
You could make them in whatever size you want. In this video I made a series of three smaller one foot by one foot sized boards. They turned out so cute!!
You won’t believe how easy these are to make- seriously friends, SO easy.
The hardest part of the project is deciding what size to make your DIY Fabric Bulletin Boards and how MANY to make! Ha.
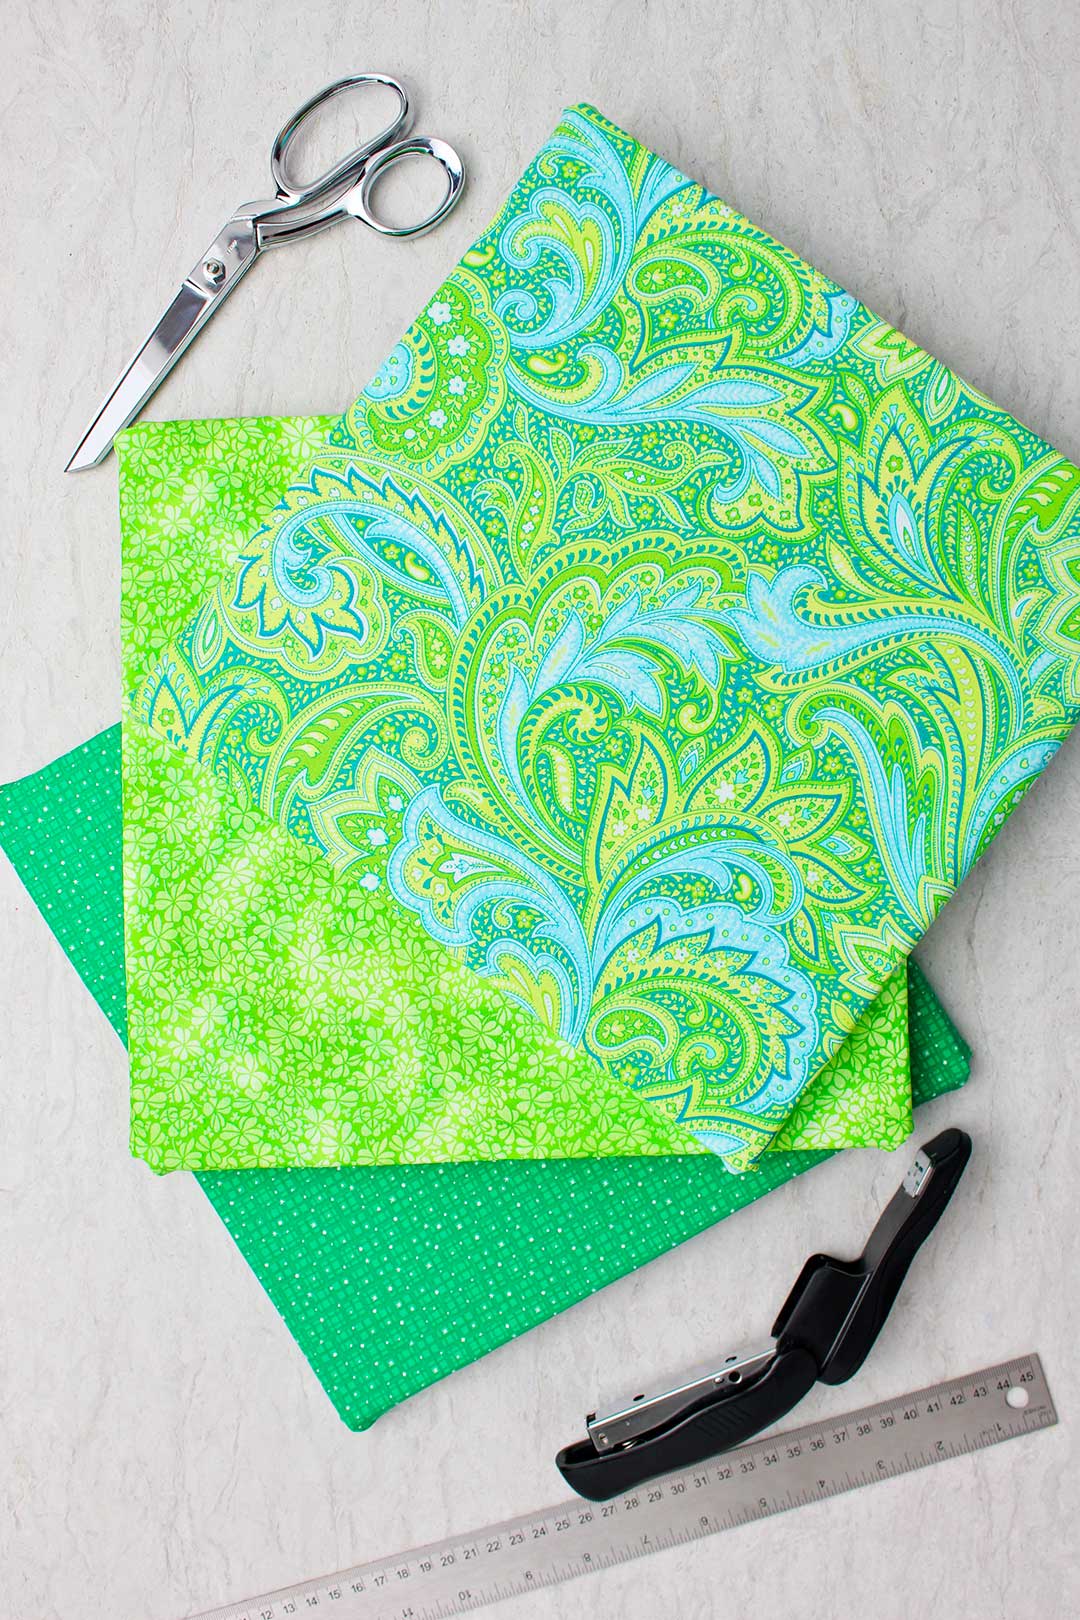
Fabric for your DIY fabric bulletin board
Choose your fabric in the size of your board plus 4 extra inches in each direction. So for the one foot by one foot board that I made, I needed a half yard of fabric (18” long by 44” wide) which gave me the 16x16” amount of fabric I needed.
If I’d wanted two boards of the same fabric I could have made two of this size boards from one yard of fabric.
I used some fabric remnants that I had to make these 1 foot boards which was nice. I like using up supplies that I have on hand.
The boards I used at school were 3 feet by 4 feet in size. When measured in inches this is 36”x48” in size. So I needed a piece of fabric that was 40”x52” in size.
I purchased 1 ½ yard fabric for each board (44”x 54” in inches). Hope that makes sense!!
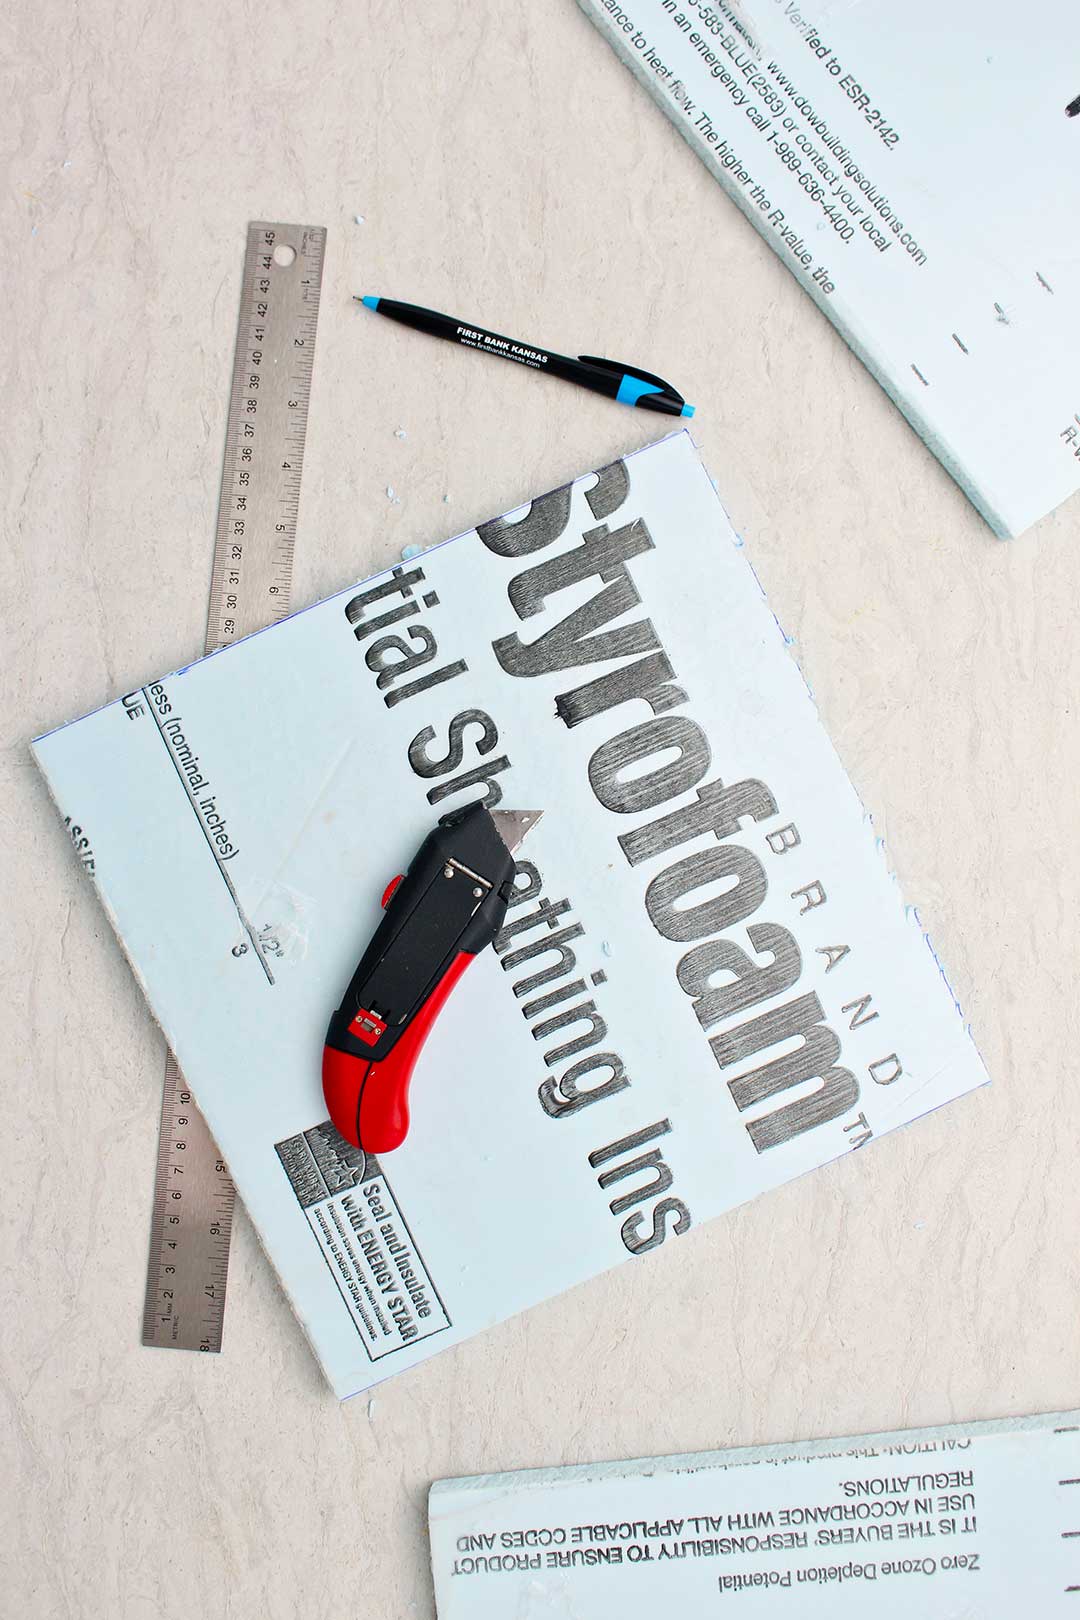
Foam board for making a pin board
The foam board is purchased at a lumber yard and is found in the building materials section. It is commonly used to place against the concrete walls of a basement to add insulation. This is not Styrofoam, it is a more dense foam.
If you don’t have a vehicle to get a 4 foot by 8 foot piece of foam board home with you, the lumberyard is usually kind enough to cut it down in size for you.
If you know the size of your board you can cut the board into two or three pieces that will fit in your vehicle and then cut them specifically to size at home.
Note: Be careful to cut these pieces LARGER than the finished size pin board you want so it’s big enough to cut down to size later.
How do I make a DIY fabric bulletin board with foam?
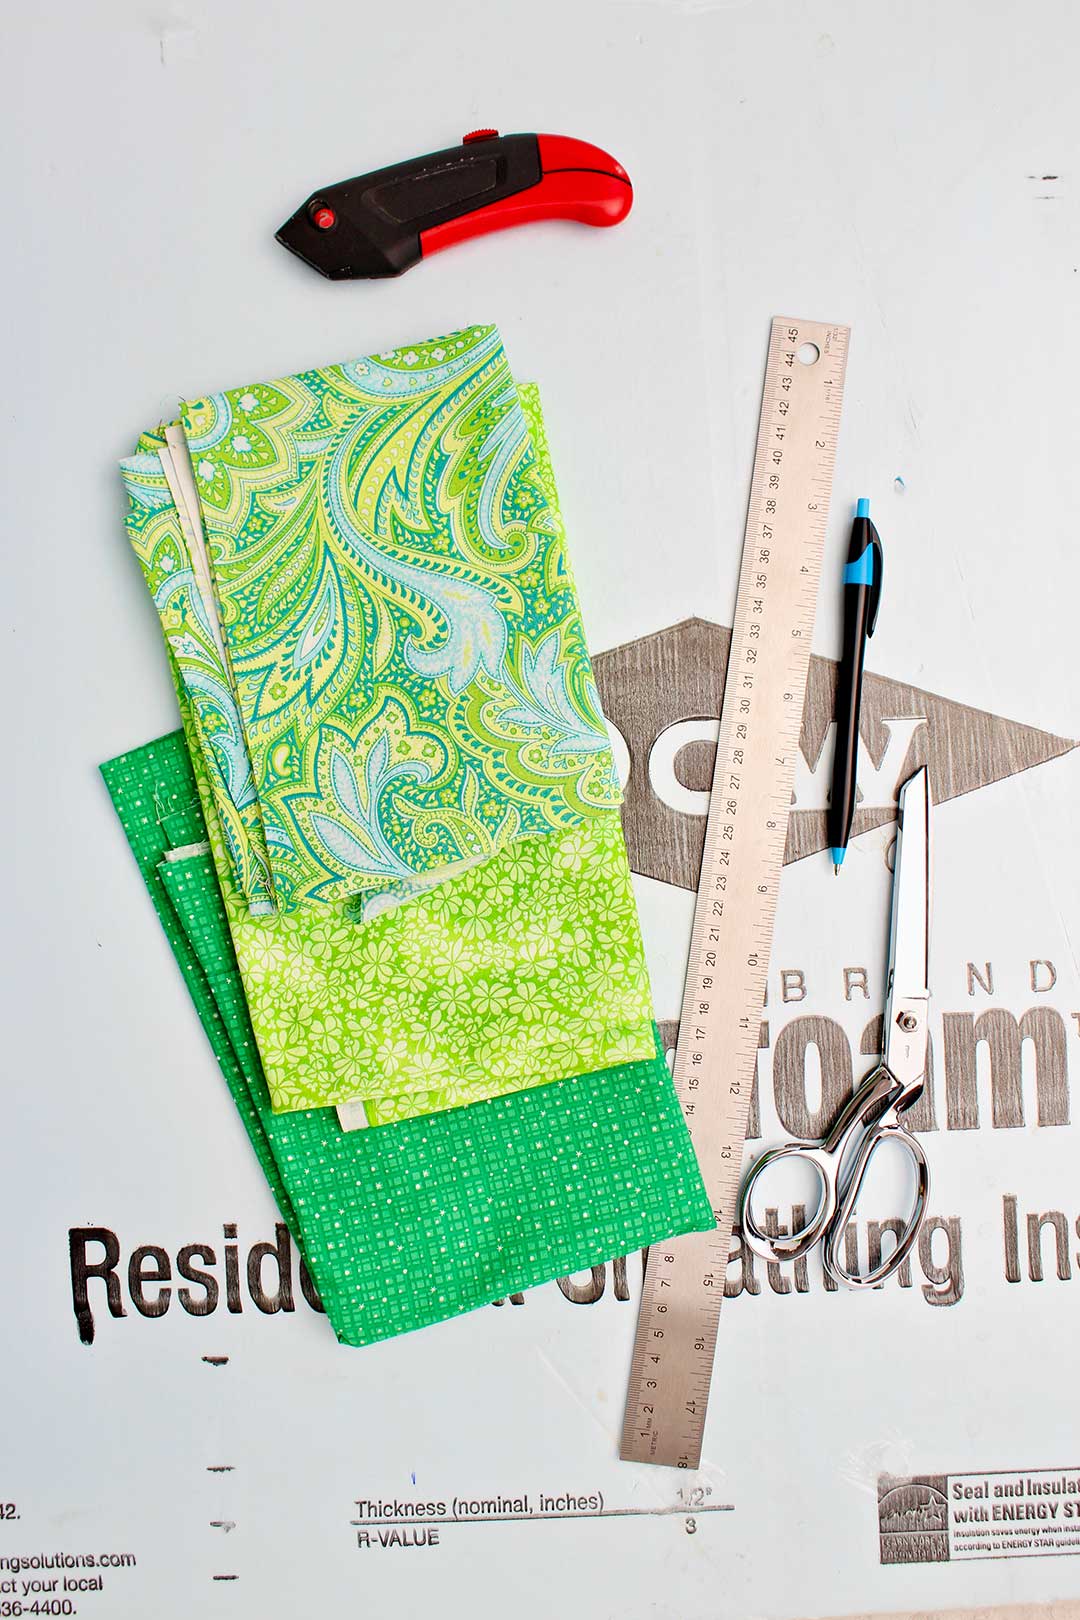
Use a Ruler or yardstick and a pen to measure and draw lines on the printed side of the board in the size you want to make your DIY Fabric Bulletin Boards.
A Utility knife works well to cut the board along the line. If you are making this with kids, you may want to do this yourself depending on the age and ability of the child.
It works well to use the metal edge of the Ruler as a guide while cutting the foam board. But, only cut about halfway down through the foam board!!
Note: Don’t press all the way through the board as mentioned above or it will cut your table surface.
Gently bend the board. It will fully break along the cut line! Turn the board over and use the utility knife to carefully cut the plastic on this side of the board so it comes fully apart. Cool, huh?
Fabric for your DIY bulletin board
Before attaching the fabric it is good to give the material a good press with an iron. Not everyone has an iron anymore (declutter and minimalize, right?), but it helps get the creases out of the fabric.
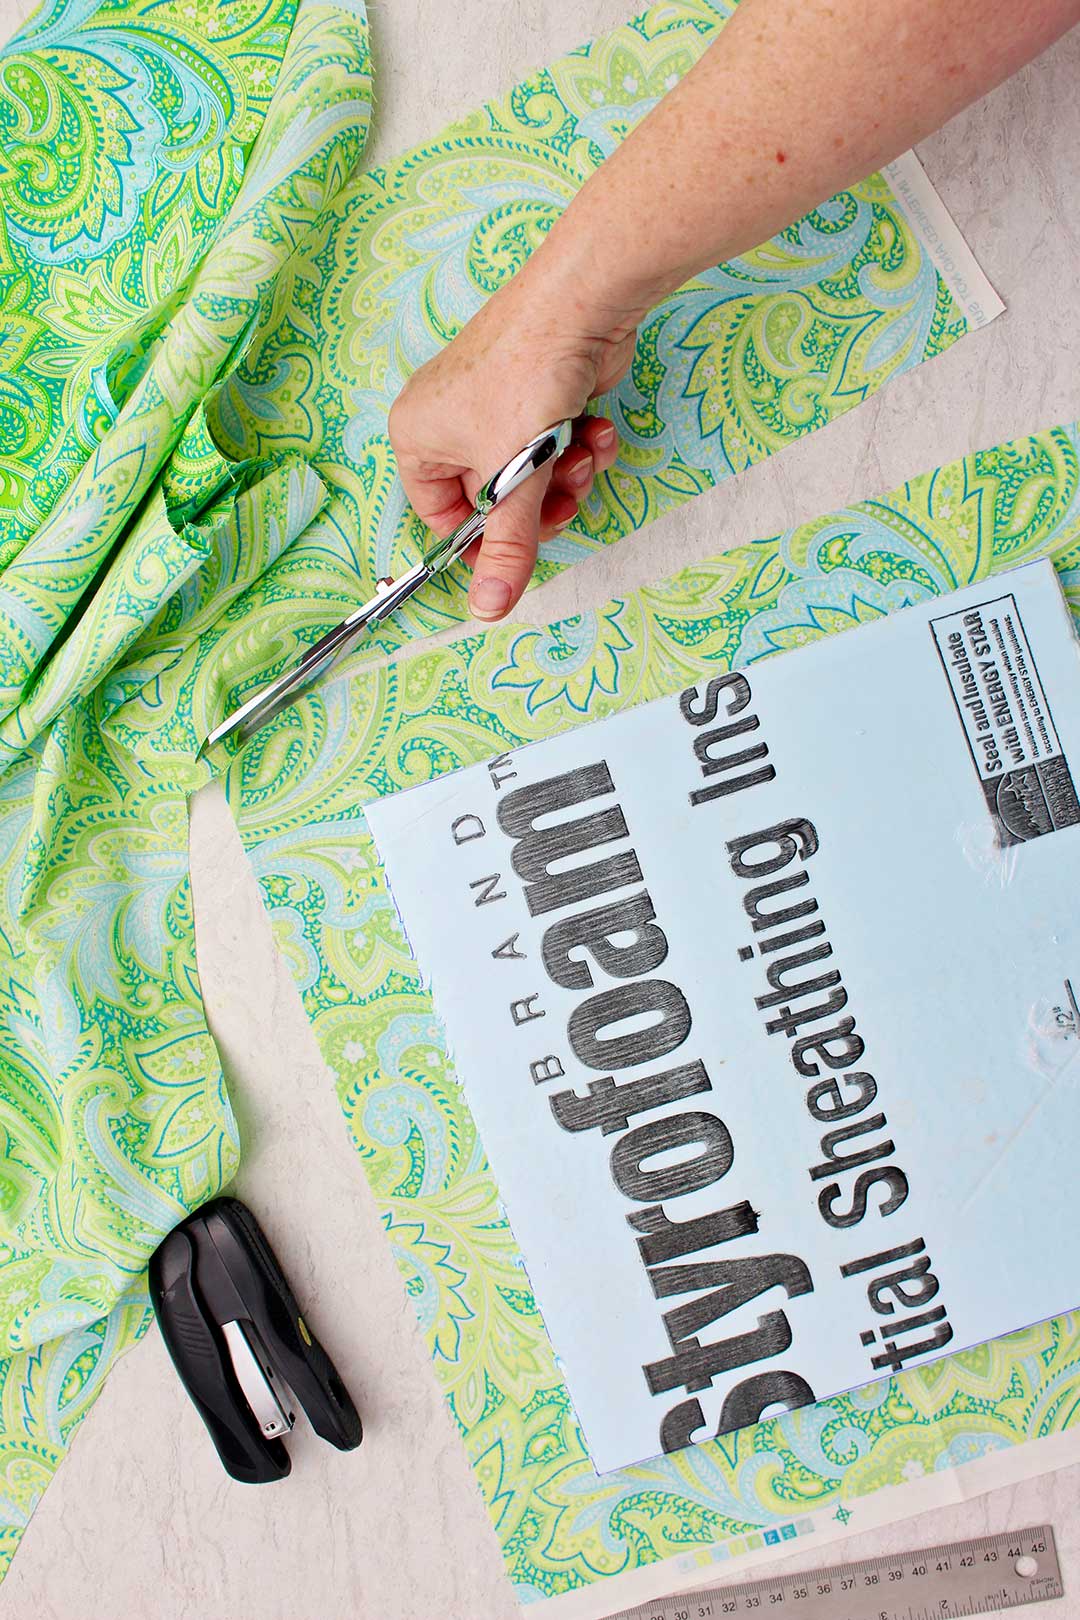
Lay the fabric right side down onto the table top. Set your piece of foam onto the fabric.
Make sure that the foam board is placed on the fabric with the blank side down. The black printing on the board can sometimes be seen through the fabric!
You want a 2-inch edge of fabric all around the foam board. So measure and draw lines on the fabric to cut on or be brave and just go ahead and cut the fabric approximately two inches around the foam board.

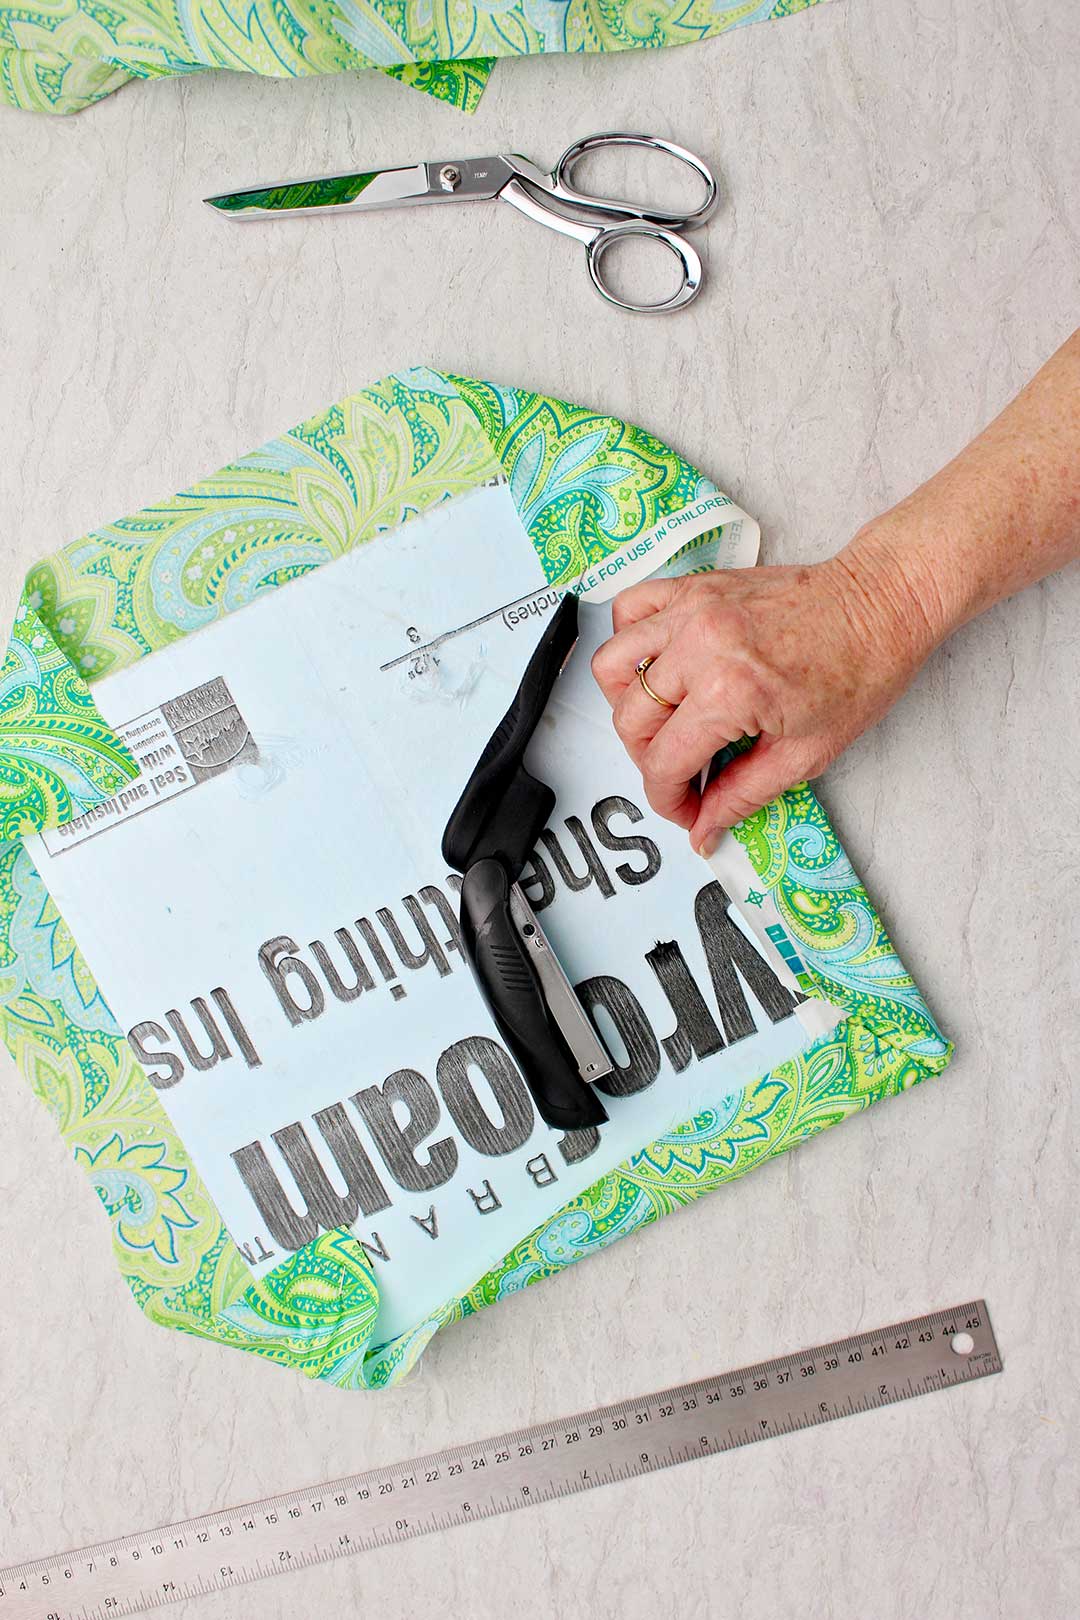
Staple the fabric in place
Fold the corner of the fabric up onto the foam board and staple in place. You will need to open your Stapler up so it can press down onto the foam board and staple freely.
Do this with each of the four corners, very gently pulling the fabric so it is not wrinkly.
Note: Don’t pull the fabric very hard or the board will warp after it is on the wall.
Then fold each side up and staple them in place.
Boom! You are done with the pin board!
If you are making more than one DIY Fabric Bulletin Board with Foam Core, repeat this process for each one. It goes even faster the second time!!
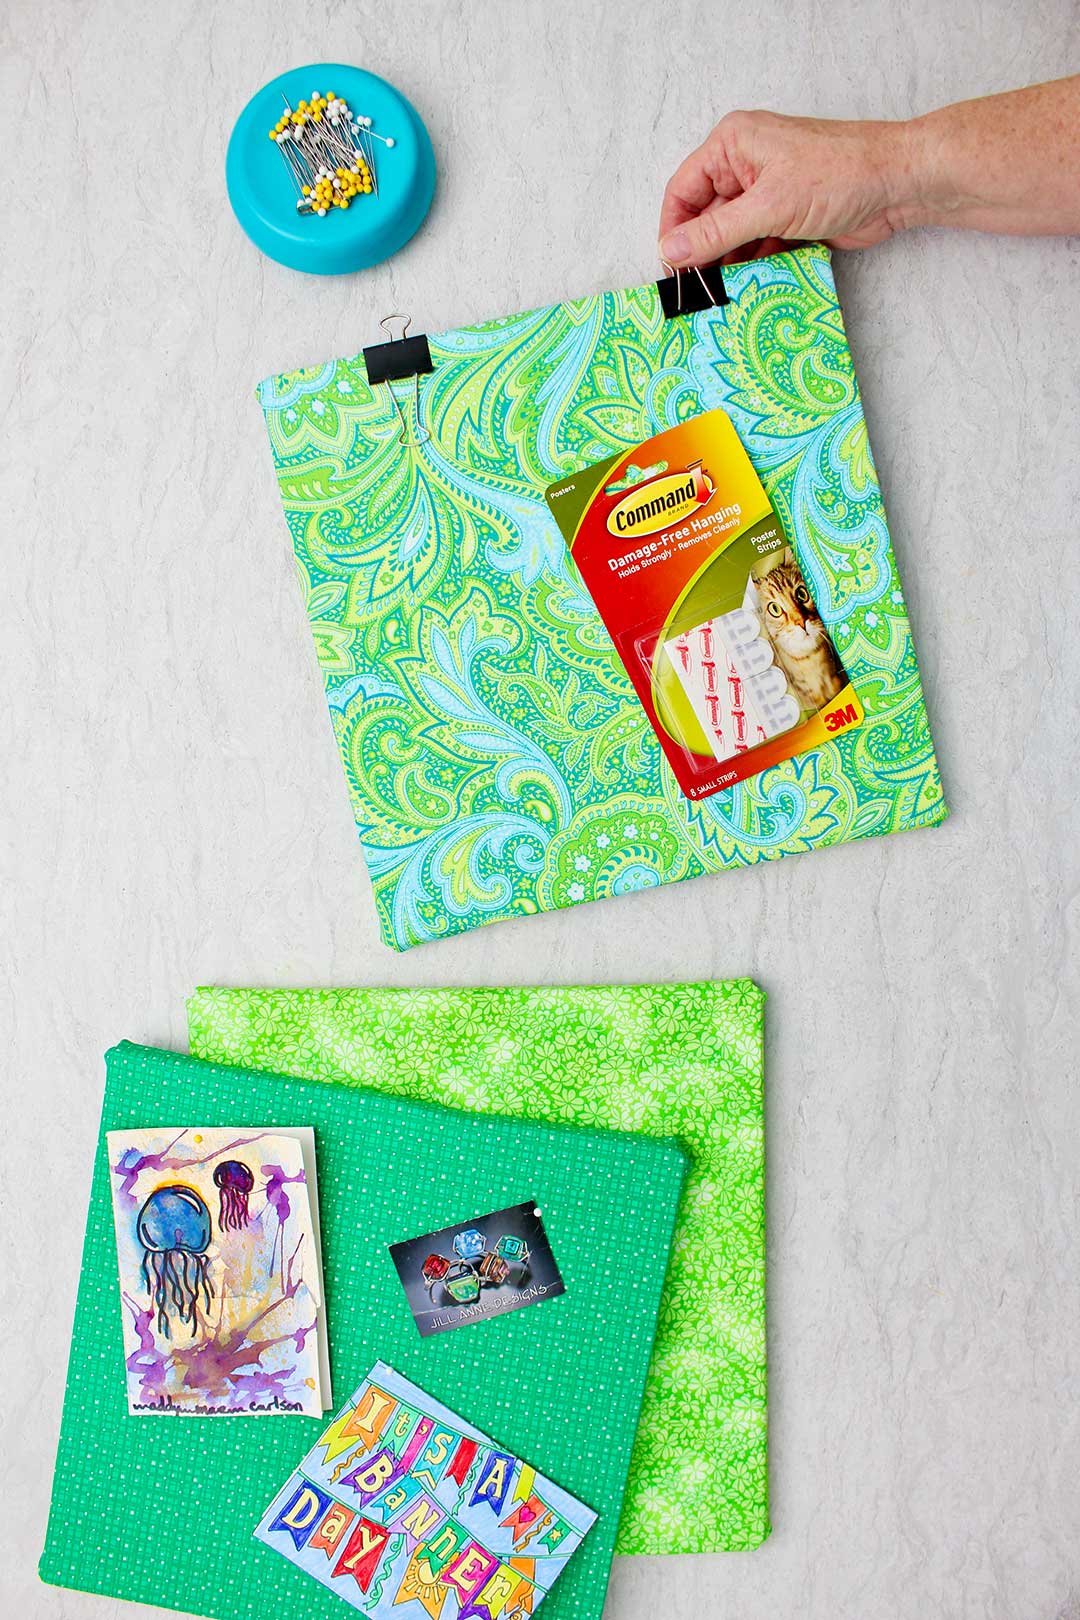
How do I hang my DIY Fabric Bulletin board?
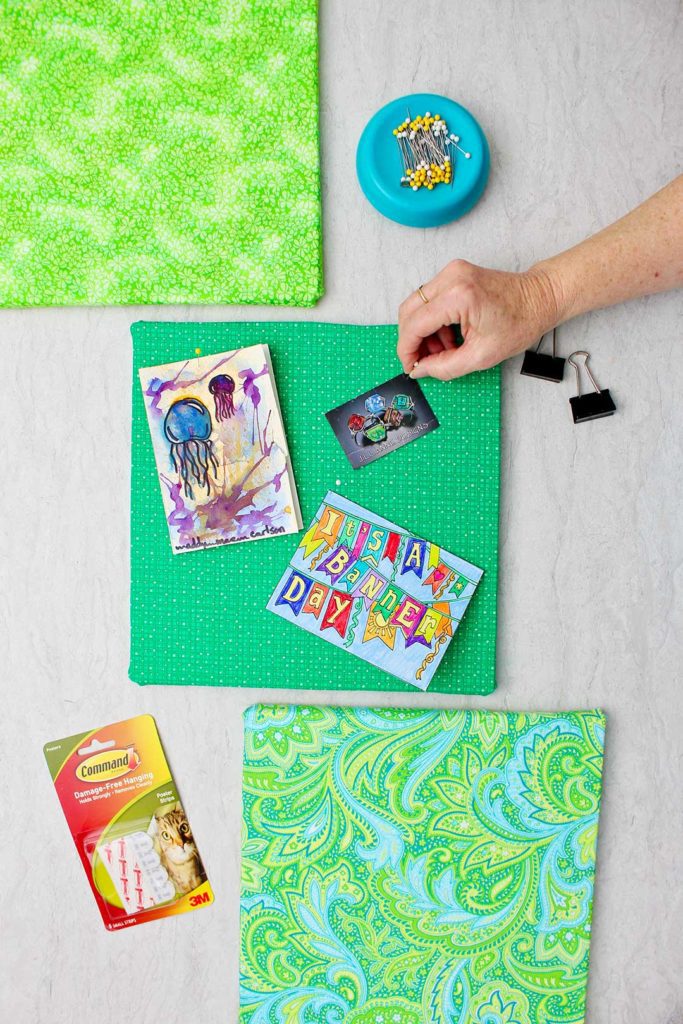
I used binder clips to hang my boards but you could use Command strips if you prefer
To hang my large DIY Pin Boards I used two 2-inch binder clips at the top. On the smaller pin boards use the 1.25" sized binder clips. Two nails in the wall will hold these in place. Or wires can be run up to the ceiling and attached there if is a false ceiling with panels like many schools have.
A second option is to use Command Strips on the back of the foam board and then place it on the wall.
After making your DIY bulletin board you can feel yourself how light weight they are so it doesn’t take much to keep them up!
A moment of happiness...
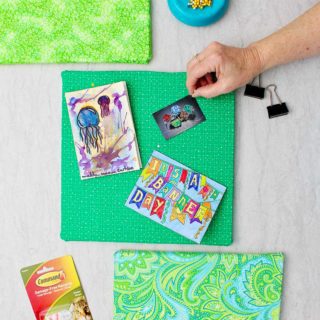
It just makes me happy to think of you and the kids in your life using these pin boards in rooms to put up notes and artwork that you create! Please post a picture of your DIY Fabric Bulletin Boards.
Use pins, push pins or staples to pin up your treasures onto the foam boards.
Note: Because these use pins for hanging up pictures and such, they should not be used for younger children.
Here are a few other ways to display pictures:
- Gratitude Photo Wreath
- Fast Upcycled Picture Frame
- Amazing Magnetic Chalkboard and DIY Glass Gem Magnets
- Nana's Grand Photo Picture Board
- DIY Art Portfolio to save kids art work
Enjoy!
If you try this craft, let me know! Go ahead and leave a comment, rate it, and tag a photo with #WelcometoNanas wherever you post.
Come join the fun at https://welcometonanas.com
DIY Fabric Bulletin Board with Foam Core
Equipment
- Ruler or yardstick and pen
- Utility knife (to cut the insulation)
- Stapler
- Scissors
Items Required
- 1 4x8 foot piece of insulation board (made of foam, often used on basement walls)
- Fabric- in the size that fits the board you are making plus four inches extra in each direction (to lap over on the back).
Instructions
- Choose your fabric in the size of your board plus 4 extra inches in each direction. So for the one foot by one foot board that I made, I needed a half yard of fabric (18” long by 44” wide) which gave me the 16x16” amount of fabric I needed. The boards I used at school were 3 feet by 4 feet in size. When measured in inches this is 36”x48” in size. So I needed a piece of fabric that was 40”x52” in size. I purchased 1 ½ yard fabric for each board (44”x 54” in inches). Hope that makes sense!!
- Use a ruler or yard stick and a pen to measure and draw lines on the printed side of the board in the size you want to make your DIY Fabric Bulletin Boards.A Utility knife works well to cut the board along the line. If you are making this with kids, you may want to do this yourself depending on the age and ability of the child. It works well to use the metal edge of the ruler as a guide while cutting the foam board. But, only cut about halfway down through the foam board!!Note: Don’t press all the way through the board as mentioned above or it will cut your table surface. Gently bend the board. It will fully break along the cut line! Use the utility knife to carefully cut the plastic on this side of the board so it comes fully apart. Cool, huh?
- Lay the fabric right side down onto the table top. Set your piece of foam onto the fabric.Make sure that the foam board is placed on the fabric with the blank side down. The black printing on the board can sometimes be seen through the fabric!You want a 2-inch edge of fabric all around the foam board. So measure and draw lines on the fabric to cut on or be brave and just go ahead and cut the fabric approximately two inches around the foam bo
- Fold the corner of the fabric up onto the foam board and staple in place. You will need to open your stapler up so it can press down onto the foam board and staple freely.Do this with each of the four corners, very gently pulling the fabric so it is not wrinkly. Note: Don’t pull the fabric very hard or the board will warp after it is on the wall.Then fold each side up and staple them in place.Boom! You're done!
- I used binder clips to hang my boards but you could use Command strips if you preferTo hang my large DIY Pin Boards I used 2- two-inch binder clips at the top. Two nails in the wall will hold these in place. Or wires can be run up to the ceiling and attached there if is a false ceiling with panels like many schools have.A second option is to use Command Strips on the back and then place on the wall. After making your DIY bulletin board you can feel yourself how light weight they are so it doesn’t take much to keep them up!
Video
Notes
Supplies for DIY Fabric Bulletin Board with Foam Core:
- 1 4x8 foot piece of insulation board (made of foam, often used on basement walls)
- Fabric- in the size that fits the board you are making plus four inches extra in each direction (to lap over on the back).
- Ruler or yardstick and pen
- Utility knife (to cut the insulation)
- Stapler
- Scissors


Leave a Reply