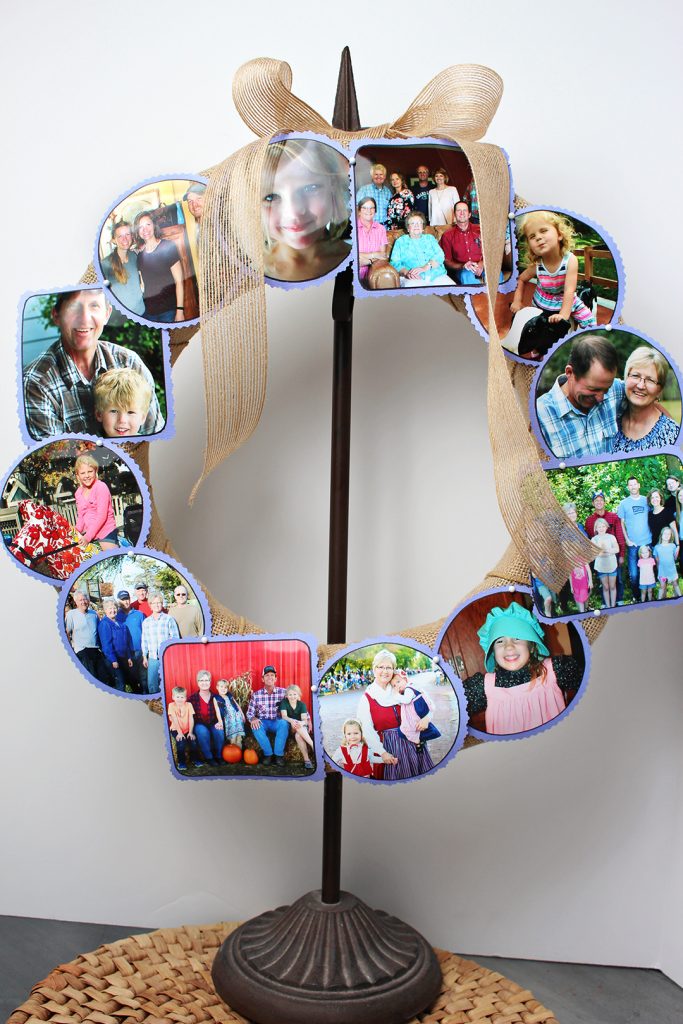
Needing a fun way to display a few favorite photos of your family and friends? This Gratitude Photo Wreath is perfect for doing just that. All month you can reflect, with gratitude, on the blessing of having family and friends in your life.
Thanksgiving Celebration
I love this project because it adds depth to the Thanksgiving holiday which seems to get swallowed up by Christmas. (You’ve noticed of course that all of the Christmas merchandise and marketing has already begun!) It’s a joy to spend time reflecting on our blessings.

I actually made my Gratitude Photo Wreath a couple months ago and have enjoyed watching the grands study the pictures and find themselves in the photos. “There’s a picture of me! And there YOU are!” they say as they stand in front of it.
The hardest part of this whole project is choosing which pictures to use! With a limited number of spots for pictures, that was harder than I thought it would be!!
How To Make Your Wreath
You will use twelve 4x6 inch pictures to make this size wreath. I decided to have each of the 5 grandkids in 2 pictures each (one that was a close up), to have papa and I in at least one of those photos, one of the entire immediate family, and a picture of each of our siblings/families. It’s really fun to go through the pictures to find those favorites.
You certainly don’t have to be that deliberate about choosing your pictures, but I just didn’t want to leave someone out accidentally!
I had the pictures copied so that I could cut them up a bit. I’ve never become a true scrapbooker that can cut up original pictures like a pro! The thought makes my heart beat really fast!! How DO you do that?? I regress…
A Little Decoration
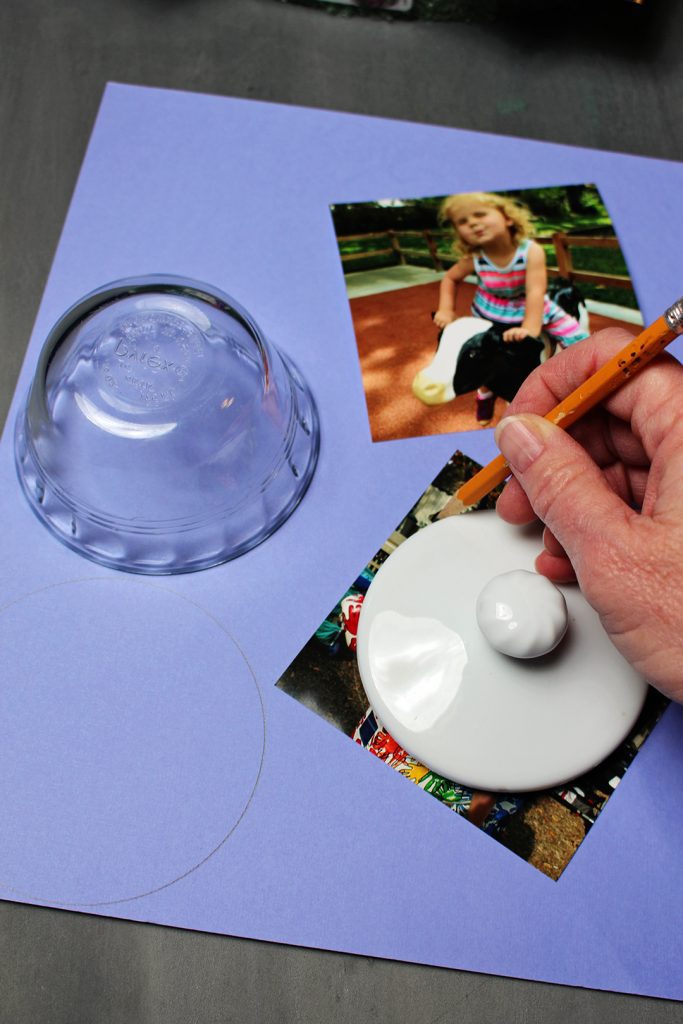
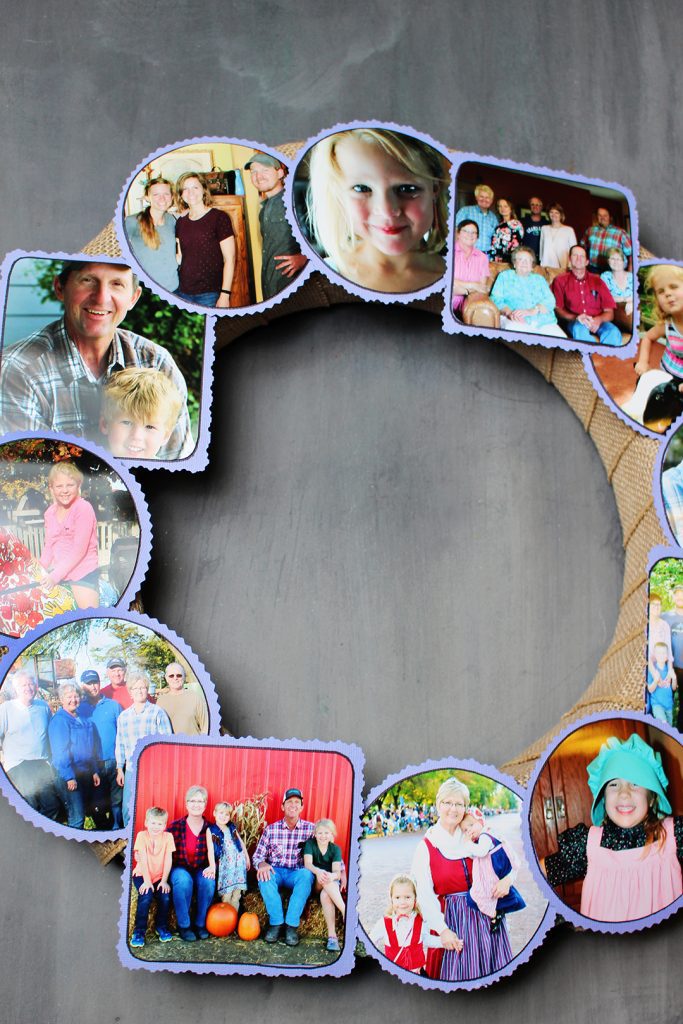
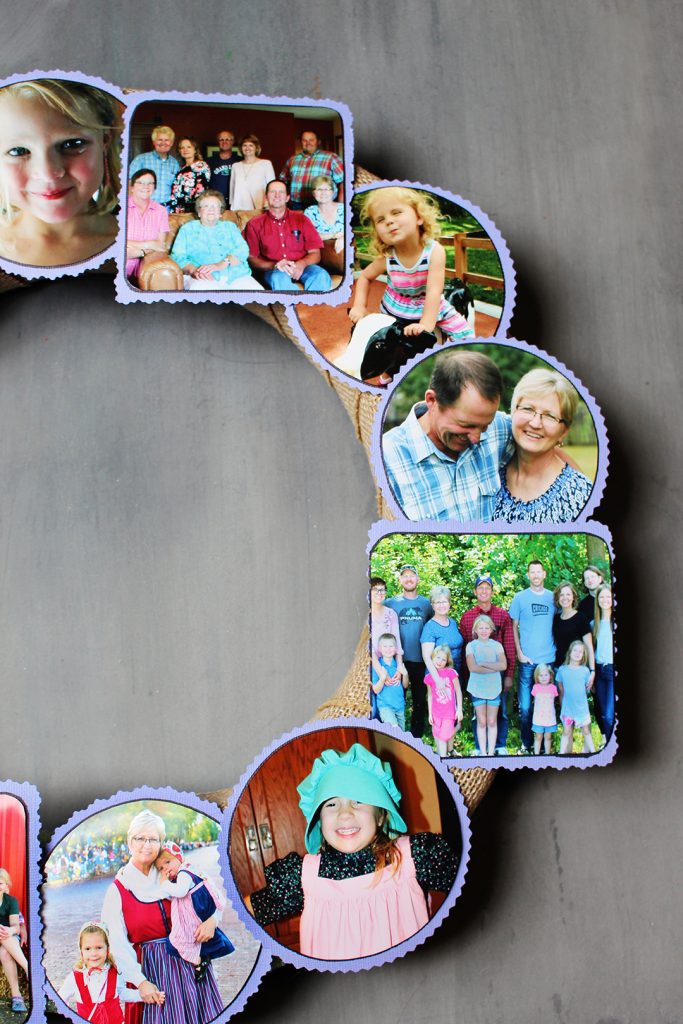
You may choose to copy my arrangement or go off on your own and come up with your own ideas. I squared off 4 of the pictures and drew around a coffee cup as a pattern to cut circles on the other 8. The pattern is two round pictures between each of the squares.
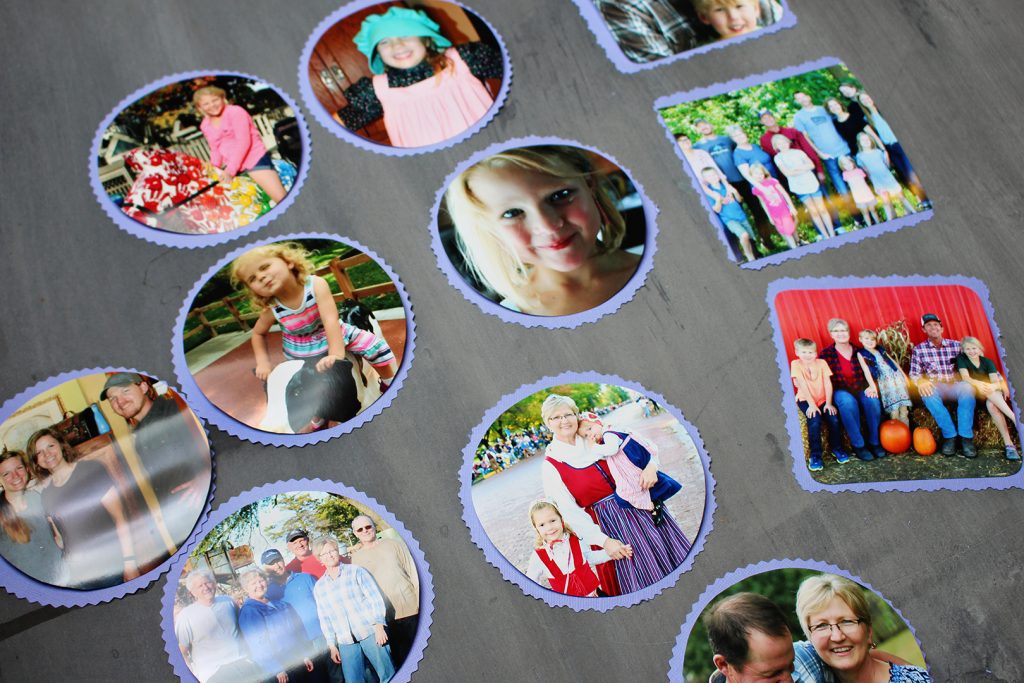
When the pictures got arranged they just needed a bit of color. So, each of the pictures got glued onto blue card stock. The card stock was cut with a decorative edge scissors to be about ¼ inch larger than the picture. You can use any color card stock you want but look to find the “theme” color in the pictures as a whole. Mine was blue.
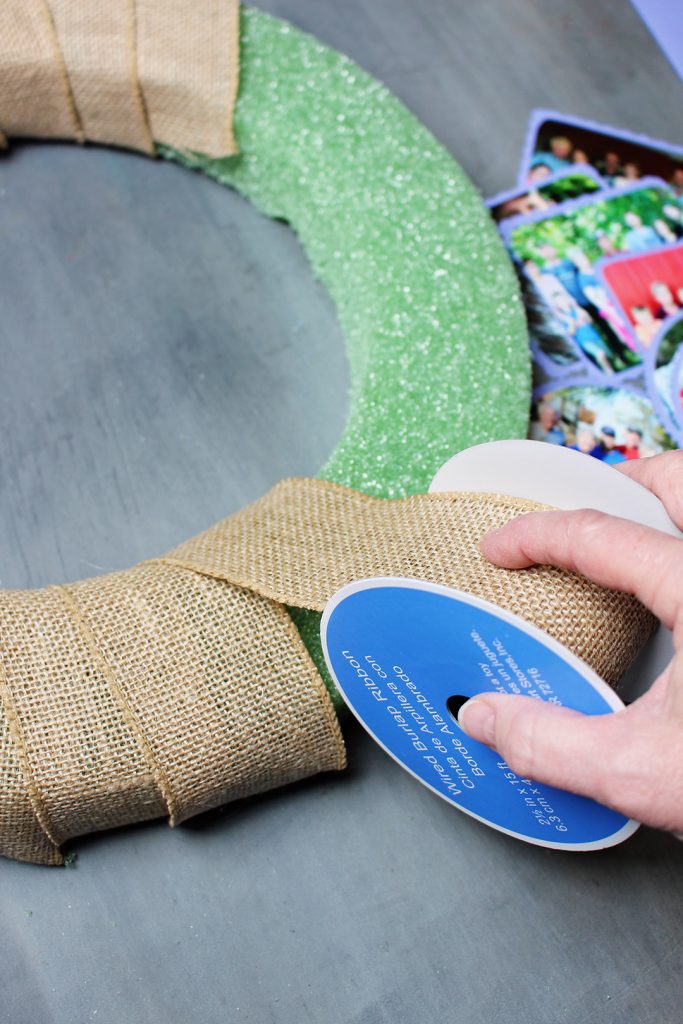
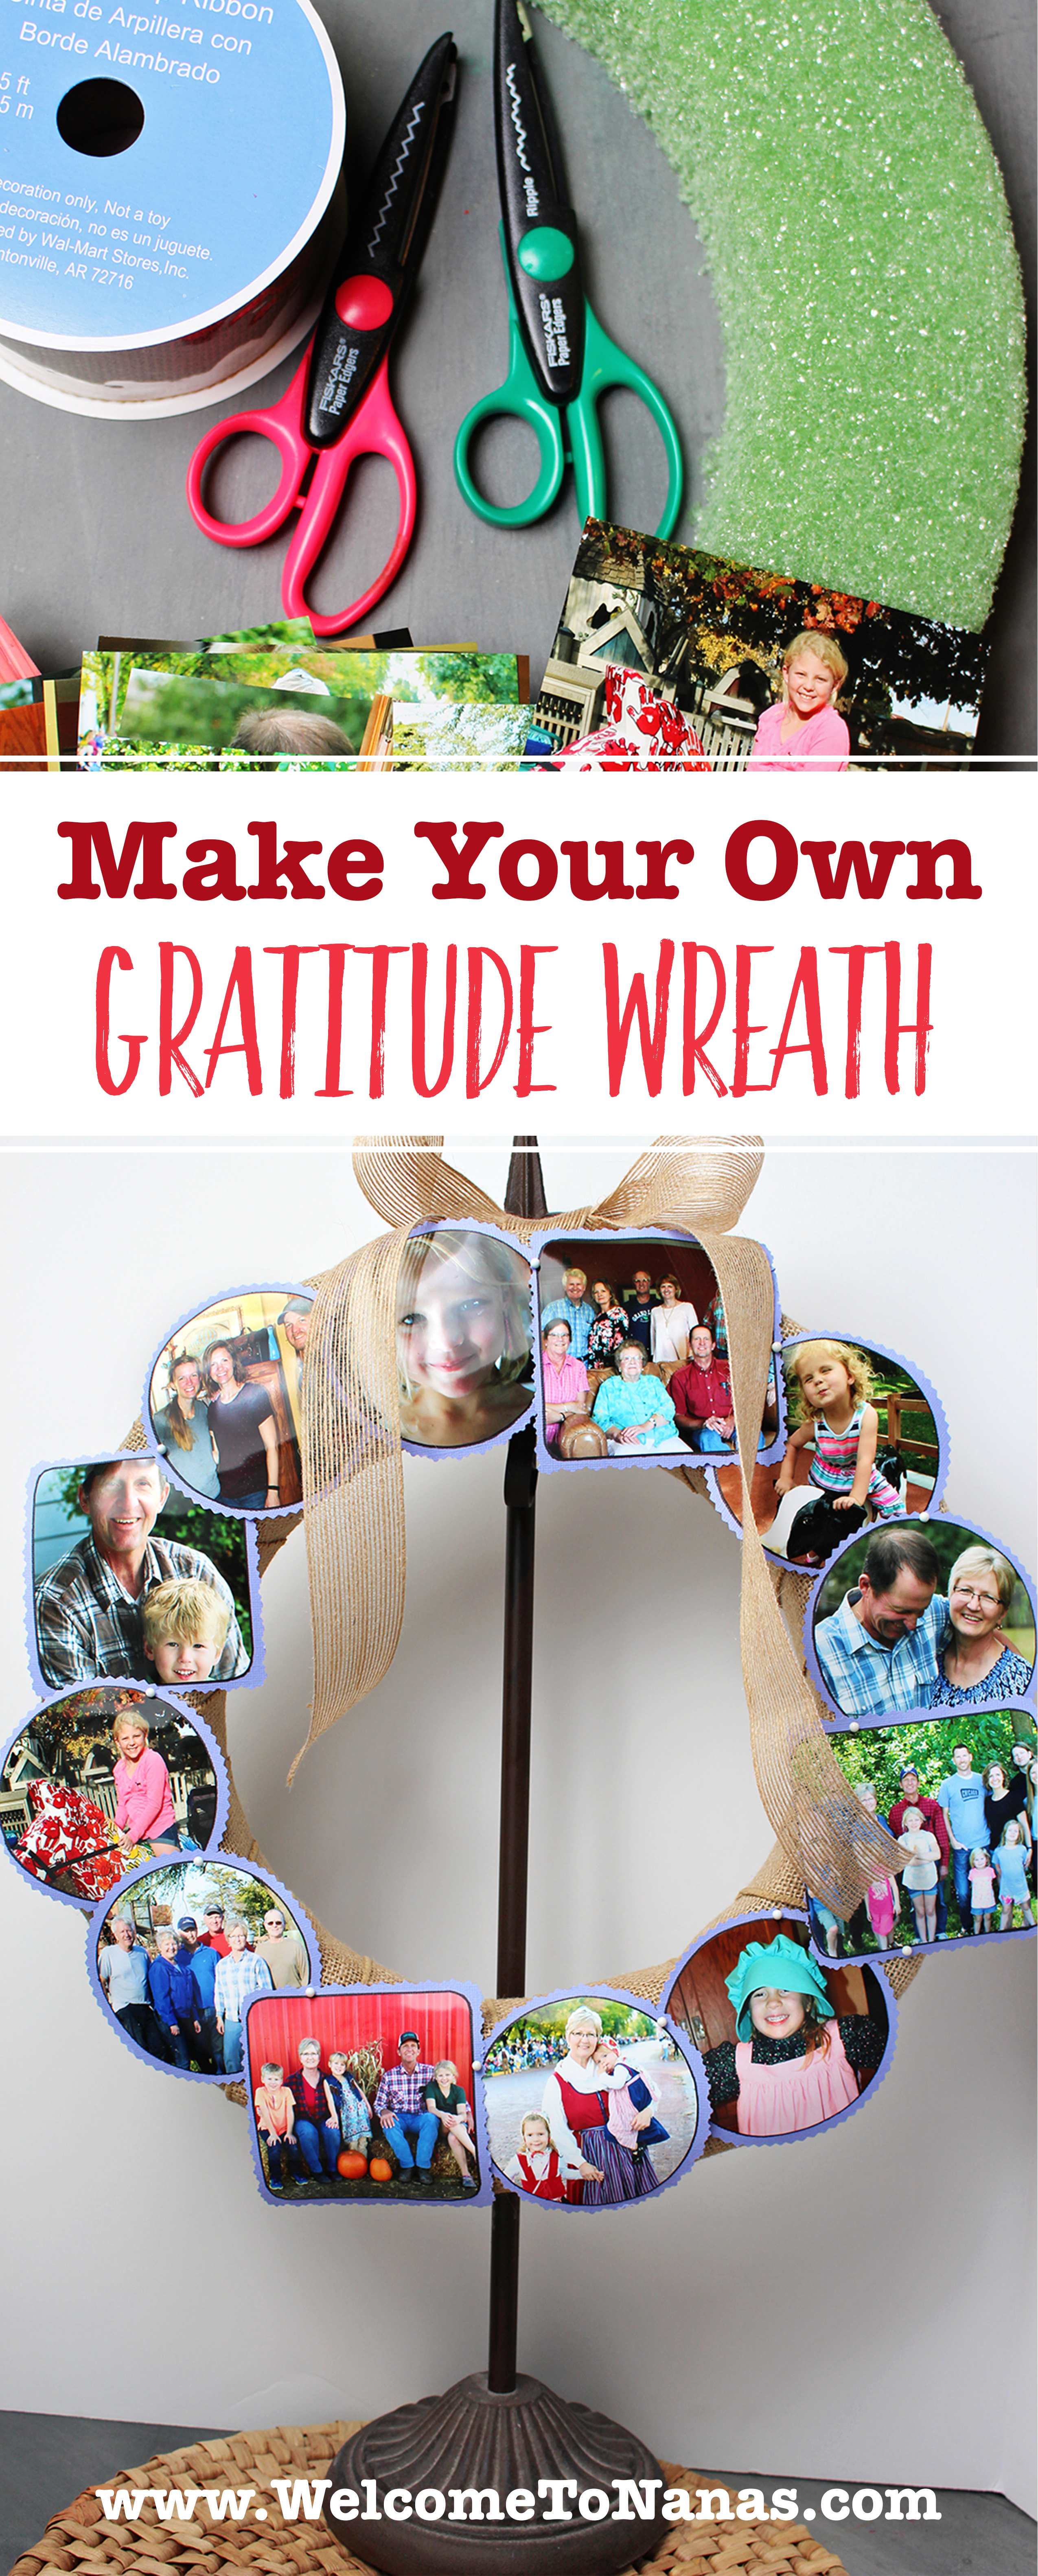
Use the burlap ribbon to wind around and cover the Styrofoam wreath, overlapping the ribbon so none of the wreath shows. Fasten the end on the back with some hot glue.
Tie a large bow and hot glue it to the top of the wreath.
Arrange the photos around the wreath as evenly as possible. Take time to lay the pictures out and arrange and re-arrange where you place them. When you’ve found the arrangement you like, hot glue each picture in place onto the Gratitude Photo Wreath.
Joy!
That’s it! It is such an easy project but doesn't it brings mounds of joy?
My wreath is hanging on a wreath stand but they can also be hung on the wall or set up on a mantel.
I would LOVE to see a photo of your wreaths!!
Note: Here are a couple other projects you may enjoy this time of year...
Another picture option is the photo board project from Welcome to Nanas. Mine is still up and I love it. I noticed that it’s time for me to switch the photos as the kids have grown so much!
The Count Your Blessings Jar project is one of my favorites and just got put up on the kitchen island. Write down one of your blessings and slip it into the jar. On Thanksgiving Day each person can take a turn reading a blessing. A thankful heart can be grown!!
Supplies
- Styrofoam Wreath, 16"

- 3" Wide Burlap Ribbon,10 Yards
- 16 photos
- Coordinating color of card stock paper
- TopElek Mini Glue Gun Kit with 30pcs Glue Sticks, High Temp
- Elmer's Clear Glue Stick (E4061), 6 count
Enjoy!
Welcome to Nana’s! Where there’s fun things to do with your “grand” kids!
Come join the fun at www.WelcomeToNanas.com


Leave a Reply