A Plethora of Artwork
Artwork has a way of piling up on in our homes, am I right, am I right? Ha! And what child doesn’t think that every piece is a masterpiece? Well, I think a lot of them are heartwarming if not masterpieces as well. What are we to do with the plethora of art that is created daily by children?
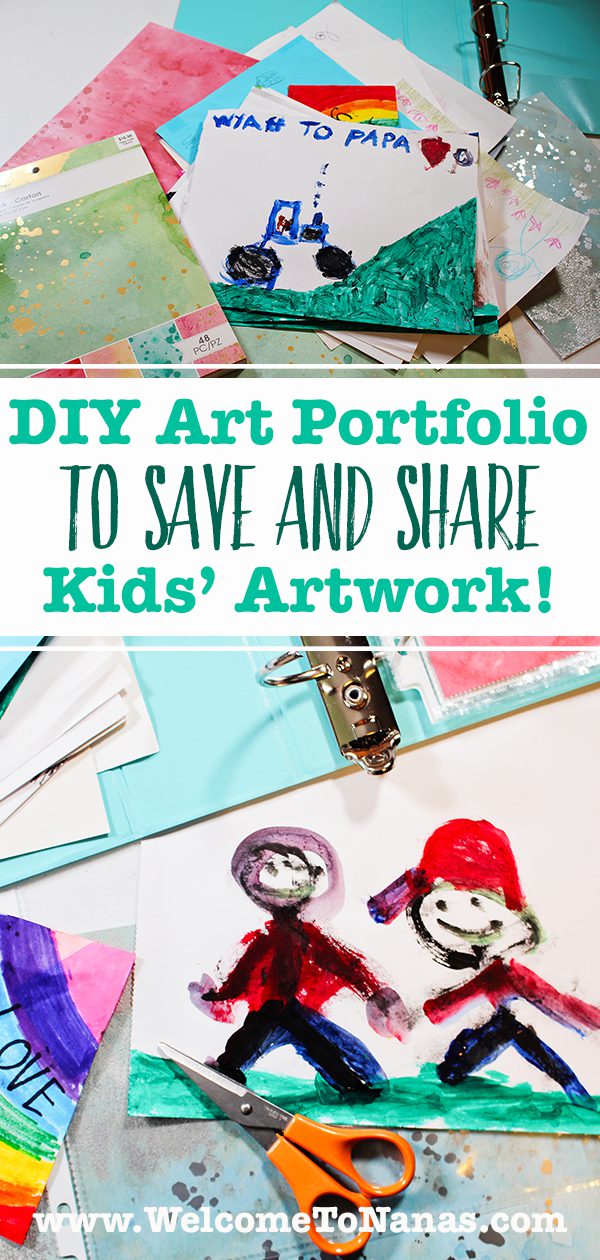
DIY Art Portfolio to Save and Share Kids Artwork!
Here is a simple method to make a DIY Art Portfolio to Save and Share Kids Artwork! Once done, the art will be stored safely on a shelf in your home to pull out, share and enjoy.
Do you want to make an art portfolio right now?
Maybe you want to make the DIY Art Portfolio to Save and Share Kids Artwork right away.
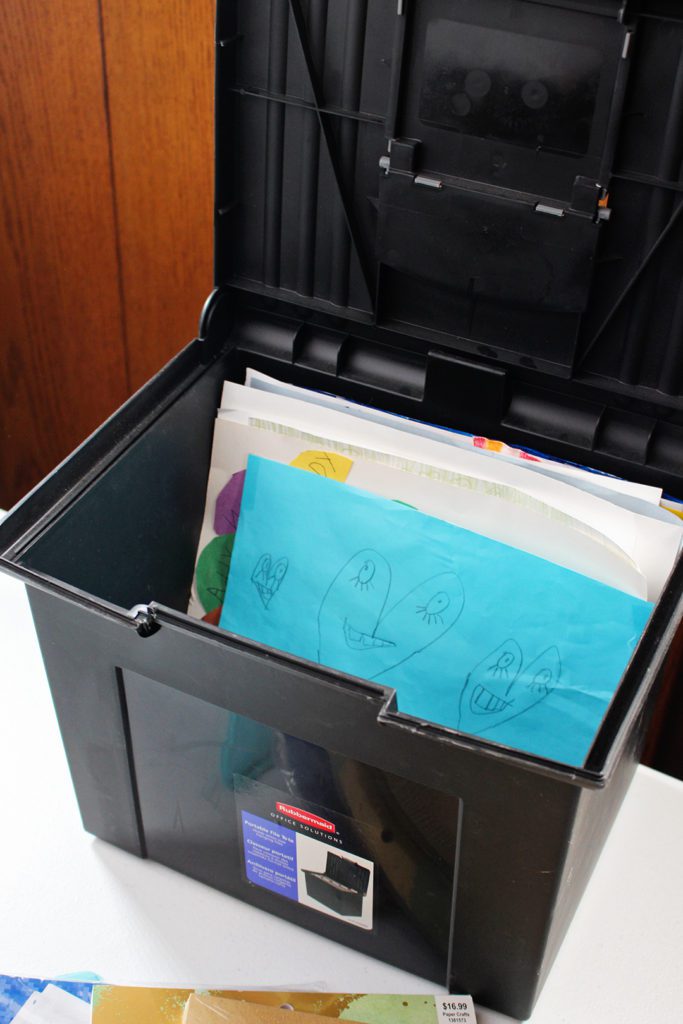
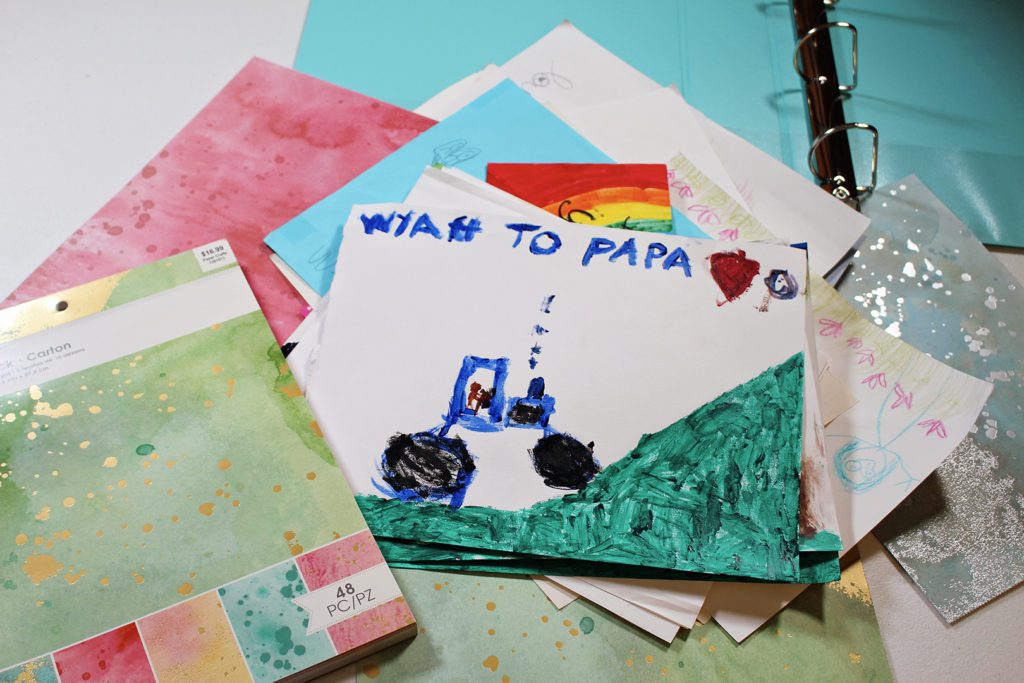
If so, you can make a trip around the house and pull out all the art work you can find (flat work and 3-D work). Place it all in a tub, box or even a brown paper grocery bag, one per child.
Choose the art treasures to keep
On a day when you have a bit of brain space and time, spread all of the artwork out on the floor, one child at a time. Explain to the little artist what you are doing. You are choosing the favorite pieces to make a type of museum. Not every piece of artwork can be placed in a museum, just the favorites!
They will get to choose their favorite 20 art pieces and then you will choose your favorite 20 pieces. These will go in the Art Portfolio that they can look at over and over again. They can also share with other people- like Nana!!
Note- of course you can decrease or increase the number of pieces you will use.
An Art Treasure Hunt
Try to lighten the time by making it a treasure hunt for the favorite art pieces. The extras go back in the box for later. Place the extra artwork boxes in your closet. You will decide what to do with them when they are out of sight.
This is harder for some little artists than others. You are teaching a skill here though, so hang in there.
Now, have some fun!
Prepare the notebook
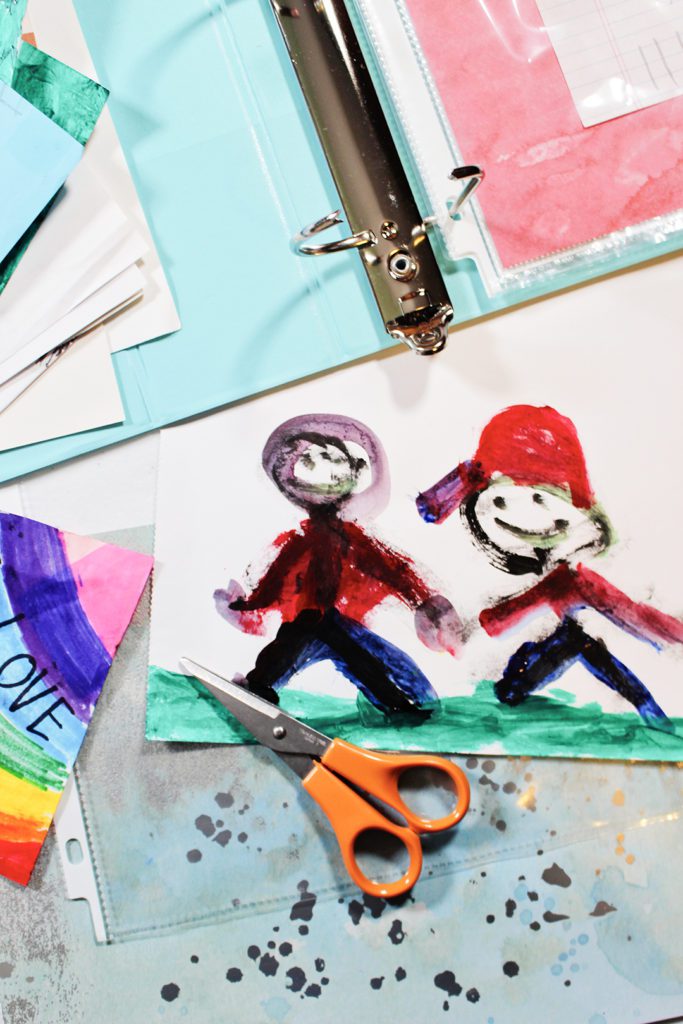
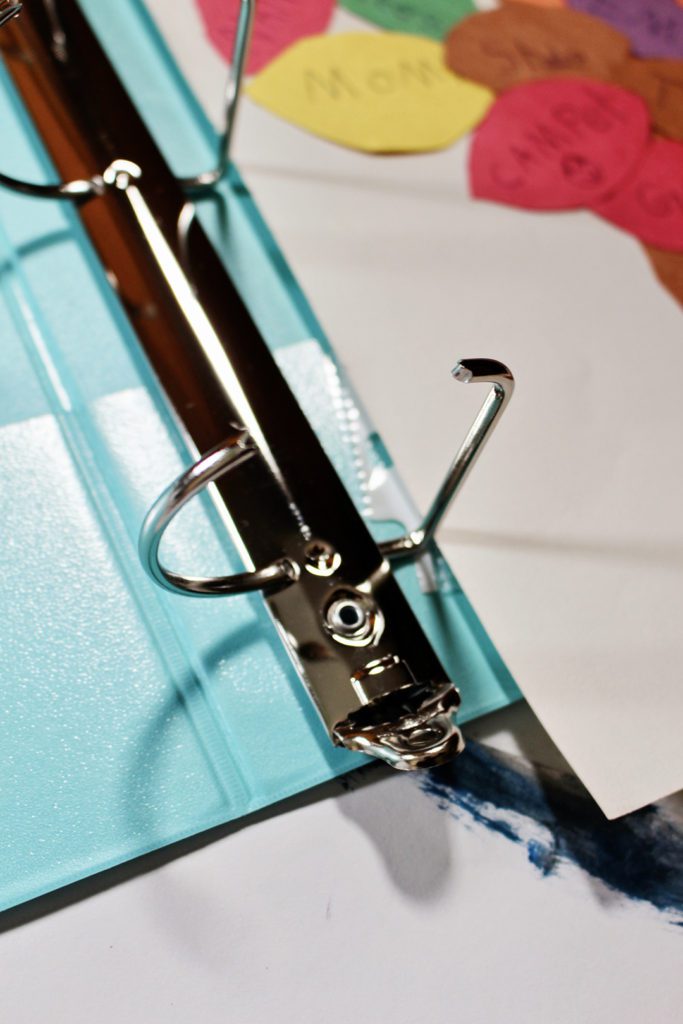
The notebook is a 2 inch D-Ring Binder![]() that holds 8.5 by 11 inch sized paper. The D-ring makes it easier to keep the artwork lying flat both on the shelf and while you look at it. I chose one with a clear pocket on the front to make a cover for the art portfolio.
that holds 8.5 by 11 inch sized paper. The D-ring makes it easier to keep the artwork lying flat both on the shelf and while you look at it. I chose one with a clear pocket on the front to make a cover for the art portfolio.
Put some 8.5 by 11 inch plastic sleeves![]() in the notebook
in the notebook![]() and begin sliding the artwork into the sleeves. You can be as particular as you want with this, but I recommend not getting bogged down in perfection. The point is to house the artwork and to get the project done in a simple manner.
and begin sliding the artwork into the sleeves. You can be as particular as you want with this, but I recommend not getting bogged down in perfection. The point is to house the artwork and to get the project done in a simple manner.
Make a cover
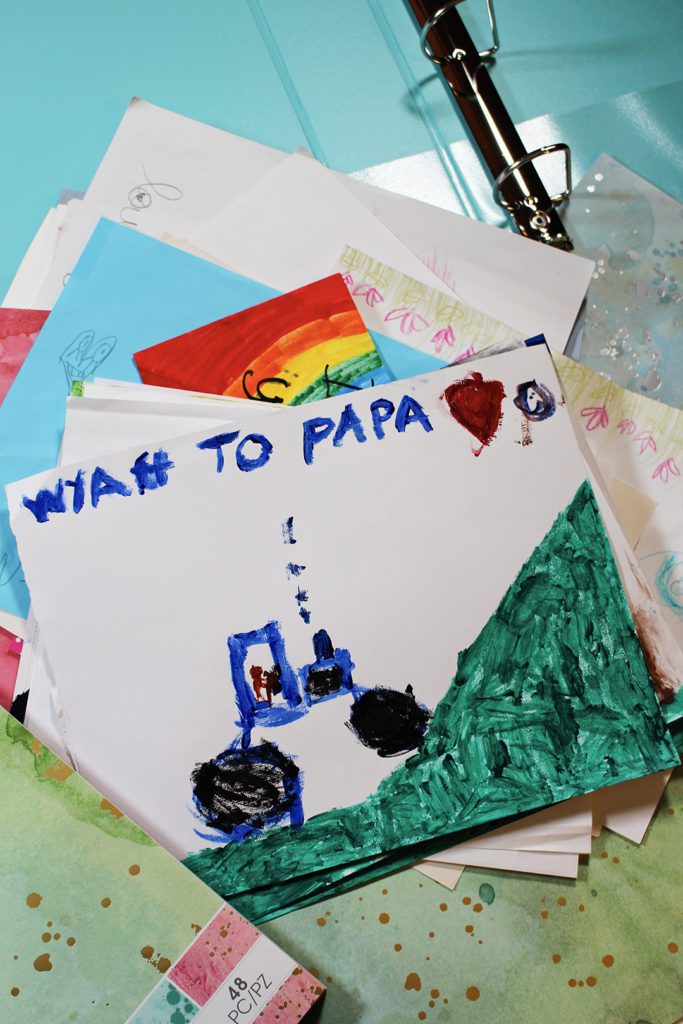
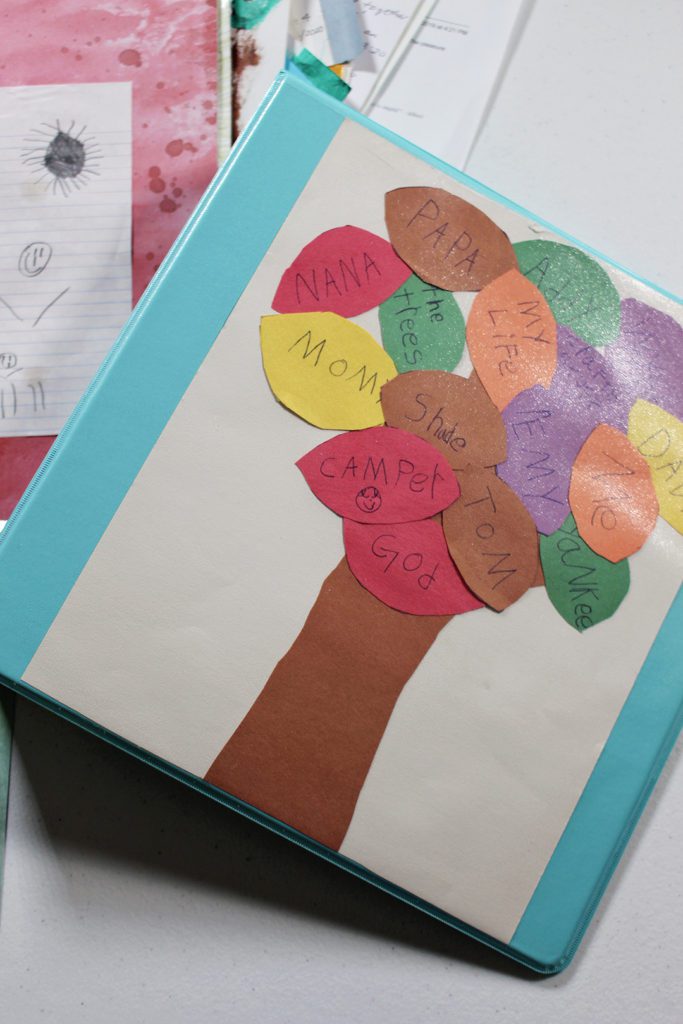
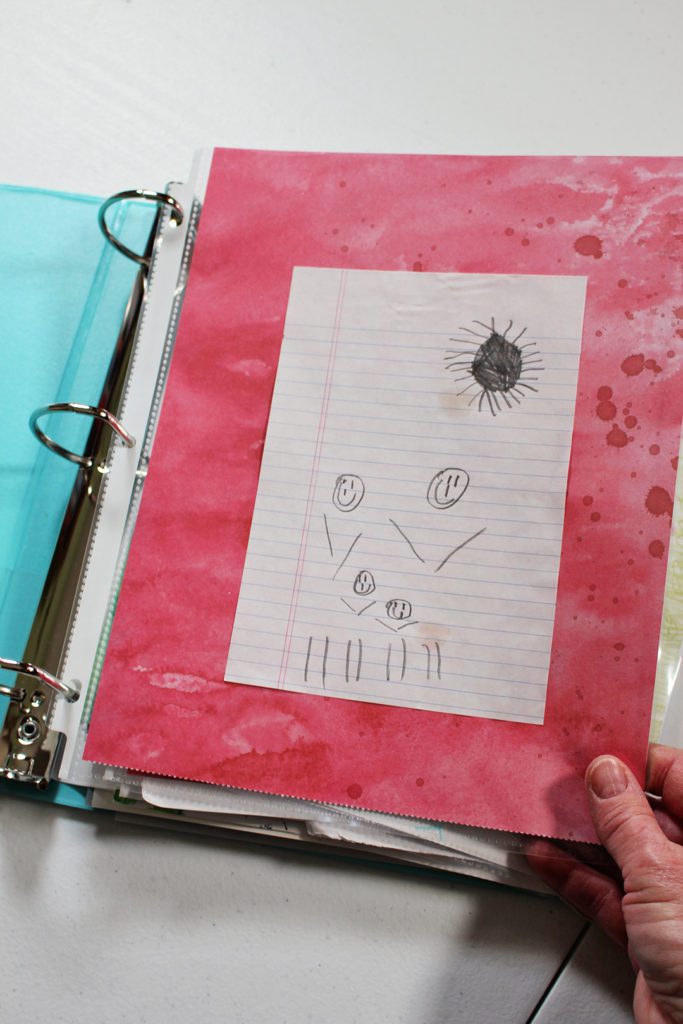
First off, choose the very favorite piece that can be used to slip into the front cover. Isn’t that pretty?
Now for the inside of the portfolio.
You may use a marker and label the pieces if you want, but they are beautiful as a plain picture book as well. Go with your gut, enjoy the process.
Slip the art into the plastic sleeves
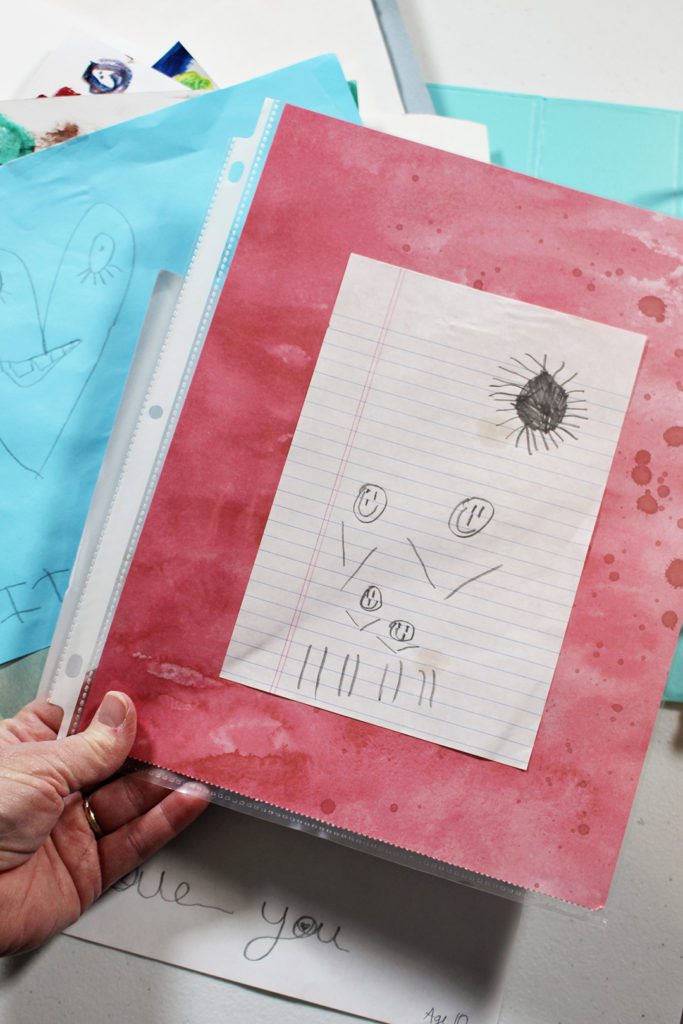
Some art pieces are too small to fit in the plastic sleeves. Have fun and place them on top of other pieces of art or on top of decorative paper![]() that will serve as a backdrop matting. I used some really fun card stock paper with a mottled design in a variety of colors. That made it easy to find a coordinating color and finish the project in one sitting.
that will serve as a backdrop matting. I used some really fun card stock paper with a mottled design in a variety of colors. That made it easy to find a coordinating color and finish the project in one sitting.
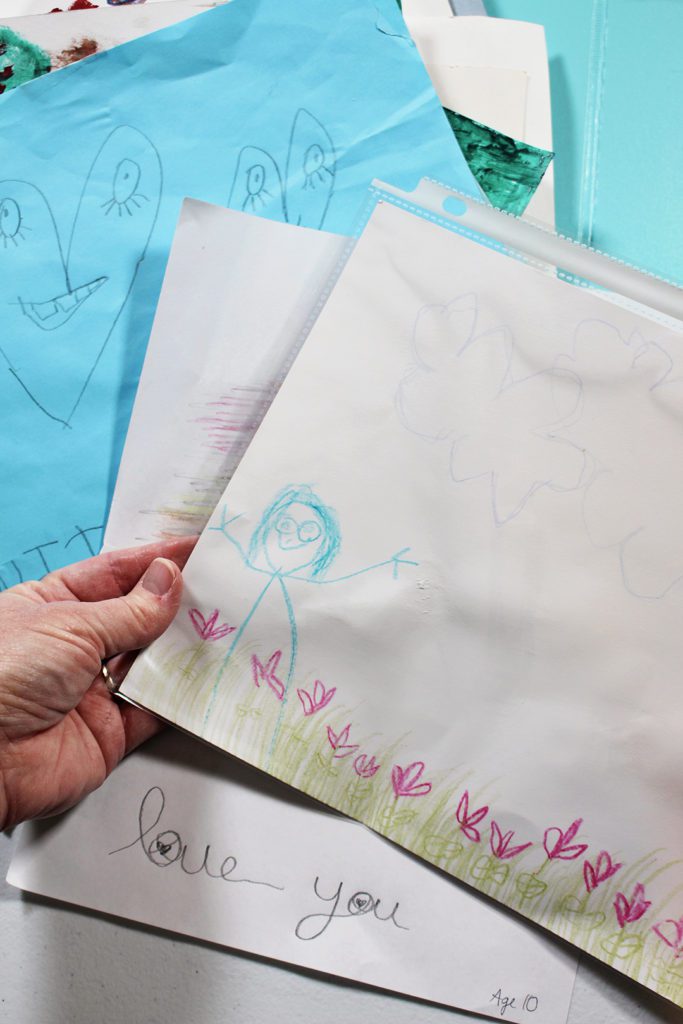
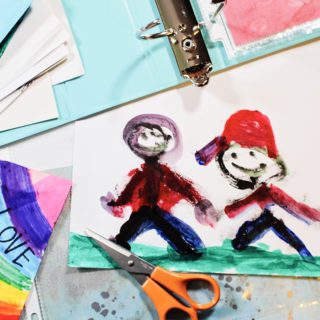
Some art pieces are too large for the plastic sleeves. Fold them so the nicest part of the piece is showing or trim them to the 8.5 by 11 inch size.
Some art pieces are just right for the plastic sleeves![]() . I just had to throw that in because it reminded me of Goldilocks and the Three Bears! Ha.
. I just had to throw that in because it reminded me of Goldilocks and the Three Bears! Ha.
Take photos of 3-D art pieces
Take photos of the 3D art. Set the 3D art on a table where the background is solid and shows off the piece as best as possible. Natural light from a window works really well. Again, do your best, don’t overthink it. Print the photos off in color as 8.5 by 11 inch prints on your home printer or at a store. Slip them into the plastic sleeves![]() as well.
as well.
Have an Art Showing!
When you are done, be sure to show off the DIY Art Portfolio to Save and Share Kids Artwork. Let dad or mom look at it when they get home or bring it to Nana’s or the neighbor’s house. The process of looking through the beautiful pictures is so satisfying. It is a great opportunity for the child to talk about what they like about the picture and how they created it. How special this is for a little artist?
Want to save up some artwork and make the art portfolio later?
Want to do this project later when you have a better stash of artwork? That will work great!! How about making one at the end of each school year as summer begins or at the end of the calendar year over Christmas break? What fun times for a reflective project like this.
Have a couple art display areas
Here are some suggestions.
First, have a place or two where new art is displayed in your home. It is impossible to beat the front of the refrigerator and a bulletin board as options. A cord between two nails can be used as a "clothes line" for clipping up art in a hallway![]() as well. Pinterest has a plethora of ideas if you want to get more creative. Keep it easy to start though.
as well. Pinterest has a plethora of ideas if you want to get more creative. Keep it easy to start though.
Store the art for later
As the new art is created, take down the old art work and place it in a tub, box or bag marked with the child’s name. Of course there are some pieces that don’t need to even make it into the container if you get my drift, but the point is to have a spot where they collect.
At the end of the school year or the end of the calendar year, follow the same directions as above.
As a child gets older it is easier to part with some of the artwork and you could save fewer pieces or discard some pieces in older notebooks to condense a bit.
What can you do with the extra artwork?
OK, let’s be honest here. You don’t have to do anything with it. It can be discarded with a heart full of love for the creative process that it provided. Boom.
But if you want, you can use it to:
- Wrap a gift
- Make a card
- Bring to a neighbor or friend
- Frame and place in the child’s bedroom
- Send to Nana or Papa
- Tear apart and use in a journal or mosaic
Other ways to save children's art
For those that don’t want a hand’s on project like this, there are other options to archive artwork.
You can take photos of the artwork during the year and then make a book with a photo company such as Shutterfly. The artwork does not need to be saved in that case. This takes some work on your part to place them digitally into the given format and have printed. But it makes a lovely book to treasure.
Or you can use a company such as Artkive or Plumprint that lets you send the artwork to them in a box. They take professional photos and send you a photo book. Way cool but more expensive of course.
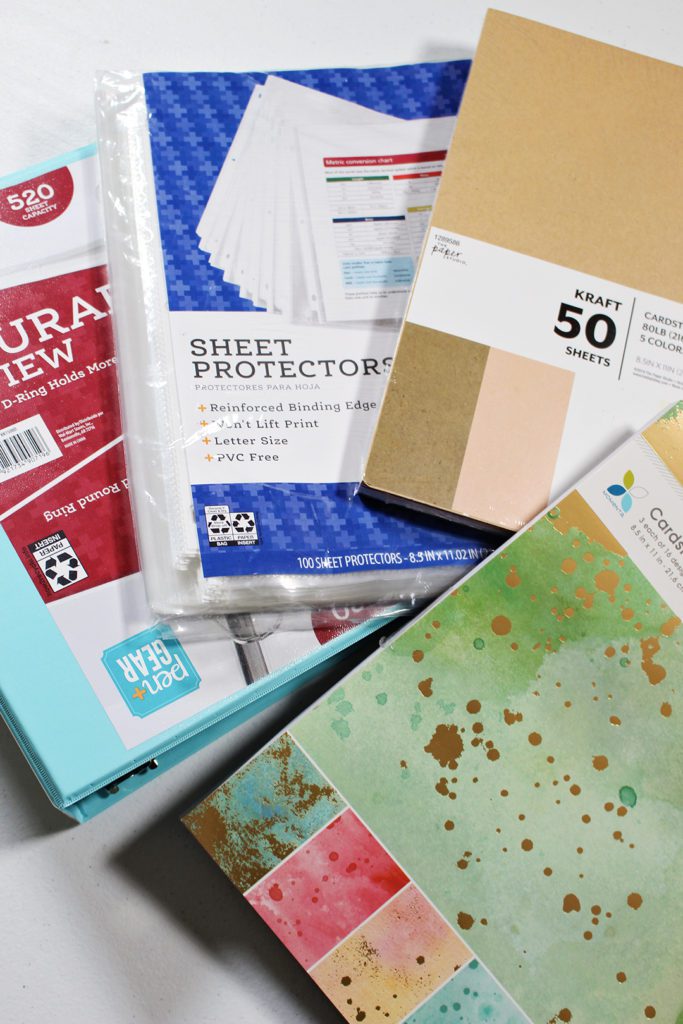
Supplies for the DIY Art Portfolio to Save and Share Kids Artwork
- 2 inch D-Ring notebook for 8.5 by 11 inch paper with clear view cover

- Plastic page protectors in the 8.5 by 11 inch size
- Background paper in various colors or patterns
- Scissors
DIY Art Portfolio to Save and Share Kids' Artwork
Equipment
- Scissors
Items Required
- Your child's artwork!
- 1 2 inch D-Ring notebook for 8.5 by 11 inch paper with clear view cover
- 1 package Plastic page protectors in the 8.5 by 11 inch size (or more to display more artwork)
- Background paper in various colors or patterns
Instructions
- Let your child help you choose their favorite 20 art pieces, and then you will choose your favorite 20 pieces. You may use a marker and label the pieces if you want, but they are beautiful as a plain picture book as well.
- Put some 8.5 by 11 inch plastic sleeves in the notebook and begin sliding the artwork into the sleeves.
- Choose the very favorite piece that can be used to slip into the front cover.
- Place smaller art pieces on top of other pieces of art, or on top of decorative paper that will serve as a backdrop matting.
- Fold larger art pieces so the nicest part of the piece is showing, or trim them to the 8.5 by 11 inch size.
- Take photos of the 3D art, print the photos off in color as 8.5 by 11 inch prints on your home printer or at a store. Slip them into the plastic sleeves as well.
- When you are done, be sure to show off the DIY Art Portfolio to Save and Share Kids Artwork. It is a great opportunity for the child to talk about what they like about the picture and how they created it!
Enjoy!
Welcome to Nana’s! Where there’s fun things to do with your “grand” kids!


Leave a Reply