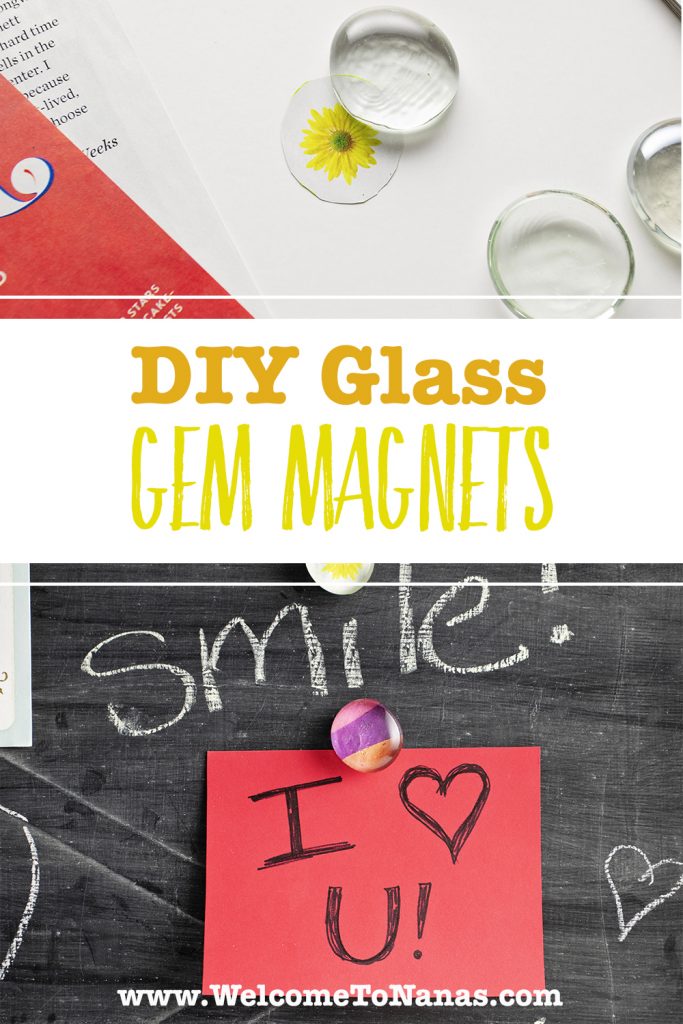
DIY Glass Gem Magnets- cute, colorful, cheerful
Aren’t these DIY Glass Gem Magnets so cute, colorful and cheerful? I’ve admired DIY Glass Gem Magnets for a long time. The DIY Amazing Magnetic Chalkboard project gave the perfect excuse to try and make a few.
Make for gifts or...and for yourself
The kids will enjoy making them for themselves or to give as gifts. You will want a few for yourself as well. Ready to see how easy they are to make?

Clear glass gems
The clear glass gems can be purchased at a number of places. I got some at Dollar Tree but have seen them at Hobby Lobby and many other stores. These are 1 ½ inches in diameter. I found that a couple had flaws that made a funny blur in the gem and one was chipped. They don’t cost much so I discarded those.
Clean the gems off with an antiseptic wipe (not a baby wipe). This will help the paper and magnet on the back to stick better.

Paper designs, patterns, pictures
Find some designs, patterns and pictures on scrapbook paper, magazines or stickers that make interesting designs and sayings for the backs of the magnets. This is such a fun step to do!
Cutting out the design
Lay the glass gem on top of the design, shifting it around until you like how it shows through the gem.
Draw around the clear glass gem to get the exact shape of designed paper. Each gemstone is a bit unique in its shape. Cut out the shape on the line you drew. Place the paper behind the gem and trim a bit if needed to fit.
If using a sticker or magazine paper, you can glue or stick it to a piece of scrapbook paper. This will make the back look nice. This is an extra step and isn’t a must.
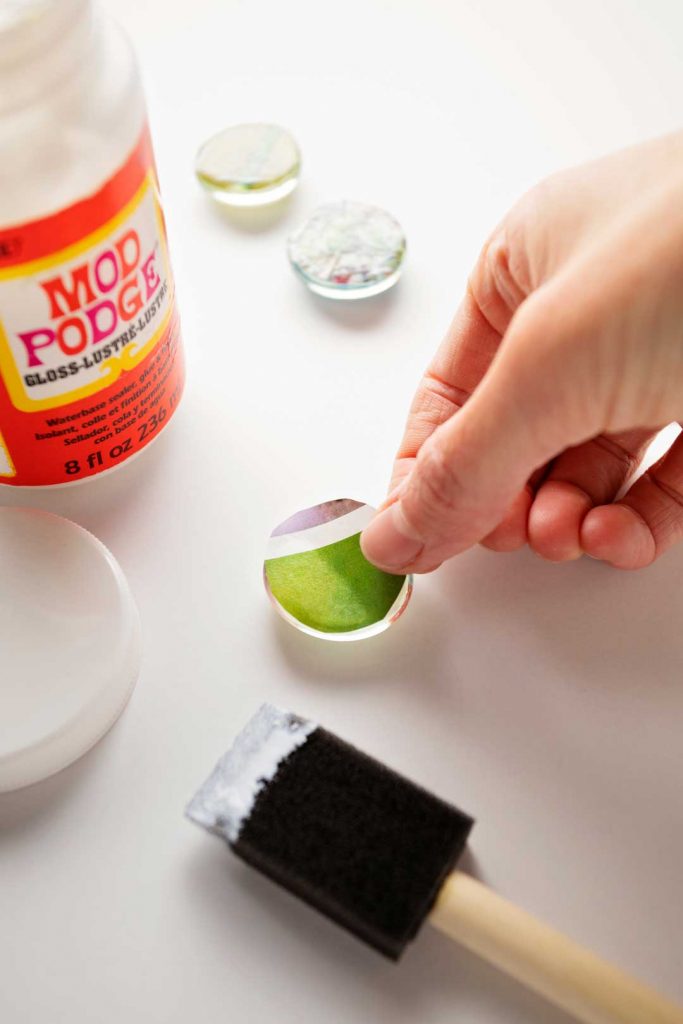
Mod Podge magic
Spread some Mod Podge on the back of the gem. Glue the matching paper to the back of the gem. The design will be seen through the glass.
Press down well to get out air bubbles.
Spread Mod Podge over the back of the paper to seal down the edges well.
Set aside to dry
Set the DIY Glass Gem Magnets to the side to let them dry. It is a good idea to set them on a piece of waxed paper or a plate to keep the Mod Podge from sticking to the counter.
Glue on the magnet
When the gems are dry, use a strong glue to attach the magnet to the back of the gem. Again, set the magnet aside to dry.
Woo-hoo!
Woo-hoo! These DIY Glass Gem Magnets are just so fun and easy to make. Do NOT tell the kids this, but they look good enough to eat!
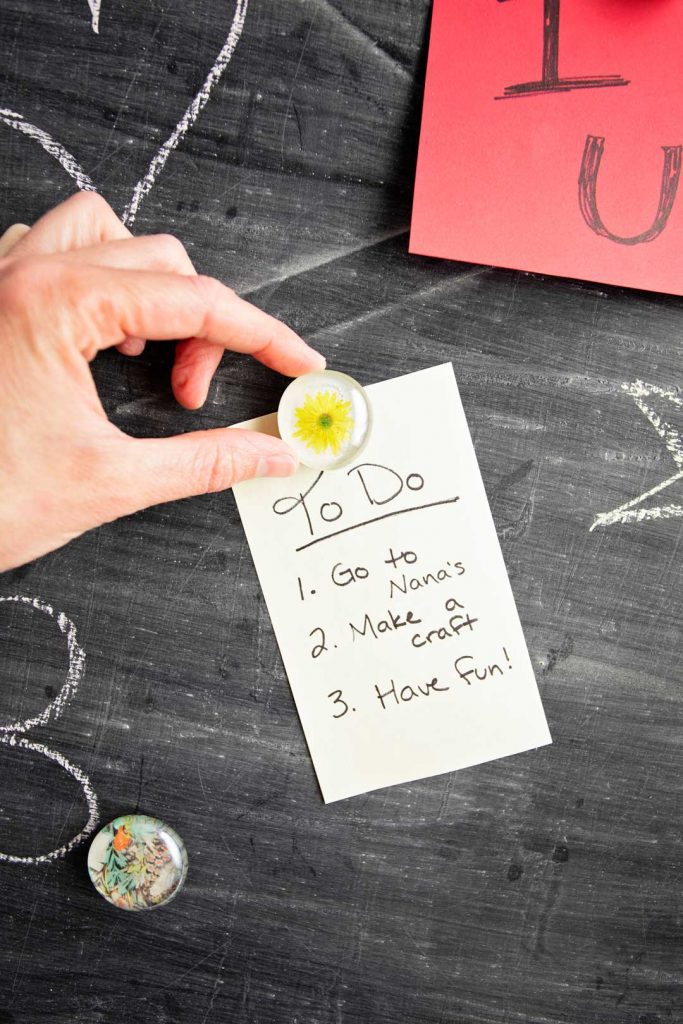
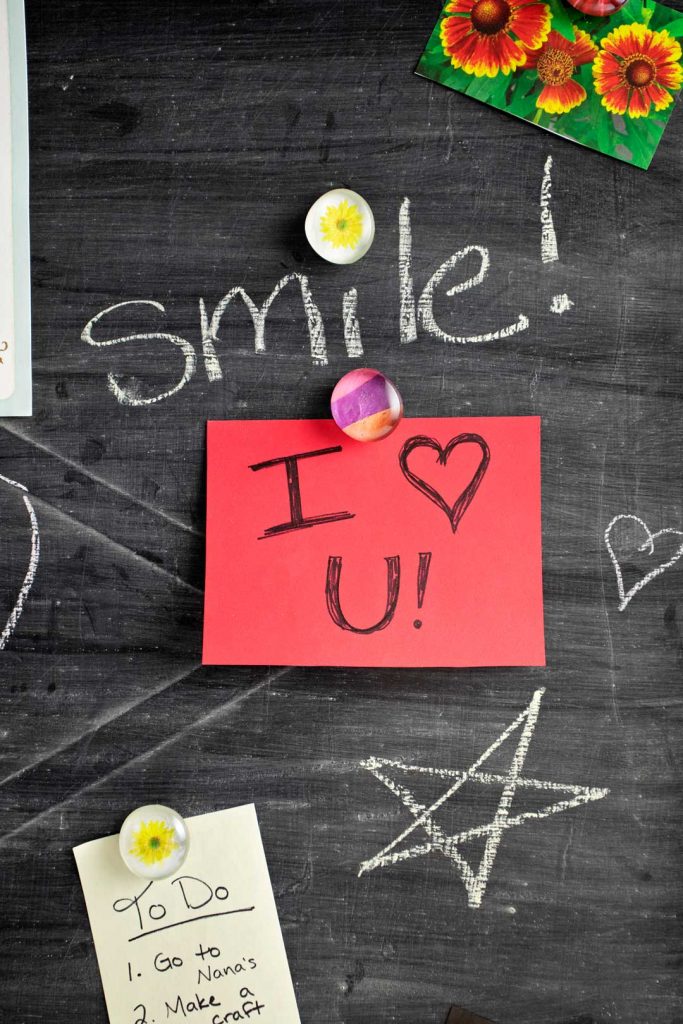
Try the DIY Amazing Magnetic Chalkboard project
If you would like a great place to use these magnets, perhaps you would like to try the DIY Amazing Magnetic Chalkboard project tutorial found here at Welcome To Nanas. It is a chalkboard painted metal tray that can be used for hanging the artwork from your creative kids or your to-do notes. These magnets are perfect of course.
Supplies for DIY Glass Gem Magnets
- 30 Glass Gems Round 1.57 inch
 diameter
 - Small printed pictures from stickers, magazines, pictures (Magazines in box)
- Mod Podge Waterbase Sealer, 8 oz, Matte (could use school glue that dries clear)
- Round Craft Magnets - 30 PCs
- Gorilla glue or other strong type of glue to attach magnets

DIY Glass Gem Magnets
Equipment
- Scissors
Items Required
- 30 Glass Gems Round 1.57 inch diameter
- Small printed pictures from stickers, magazines, pictures
- Mod Podge Waterbase Sealer, 8 oz, Matte
- 30 Round Craft Magnets
- Gorilla glue or other strong type of glue to attach magnets
Instructions
- Clean the gems off with an antiseptic wipe (not a baby wipe).
- Find some designs, patterns and pictures on scrapbook paper, magazines or stickers that make interesting designs and sayings for the backs of the magnets.
- Lay the glass gem on top of the design, shifting it around until you like how it shows through the gem. Draw around the clear glass gem to get the exact shape of designed paper. Each gemstone is a bit unique in its shape. Cut out the shape on the line you drew. Place the paper behind the gem and trim a bit if needed to fit.
- Spread some Mod Podge on the back of the gem. Glue the matching paper to the back of the gem. The design will be seen through the glass.
- Press down well to get out air bubbles. Spread Mod Podge over the back of the paper to seal down the edges well.
- Set the DIY Glass Gem Magnets to the side to let them dry.
- When the gems are dry, use a strong glue to attach the magnet to the back of the gem. Again, set the magnet aside to dry.
Video
Enjoy!
Welcome to Nana’s! Where there’s fun things to do with your “grand” kids!
Come join the fun at www.WelcomeToNanas.com


Leave a Reply