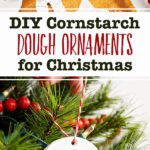
These easy DIY Baking Soda and Cornstarch Dough Ornaments are the perfect craft for kids this Christmas! Make the dough with just 3 ingredients, then decorate the ornaments with fun pressed patterns.
Jump to:
- Fun DIY Christmas Craft for Kids
- Supplies for Cornstarch Dough Ornaments
- Steps to Make Cornstarch Dough
- How to Press Designs Into the Cornstarch Dough Ornaments
- How to Bake Your Christmas Ornaments
- Adding the Finishing Touches
- Variations of Homemade Christmas Ornaments
- FAQ
- More DIY Christmas Ornament Ideas for Kids!
- Enjoy!
- DIY Baking Soda and Cornstarch Dough Ornaments for Christmas
Fun DIY Christmas Craft for Kids
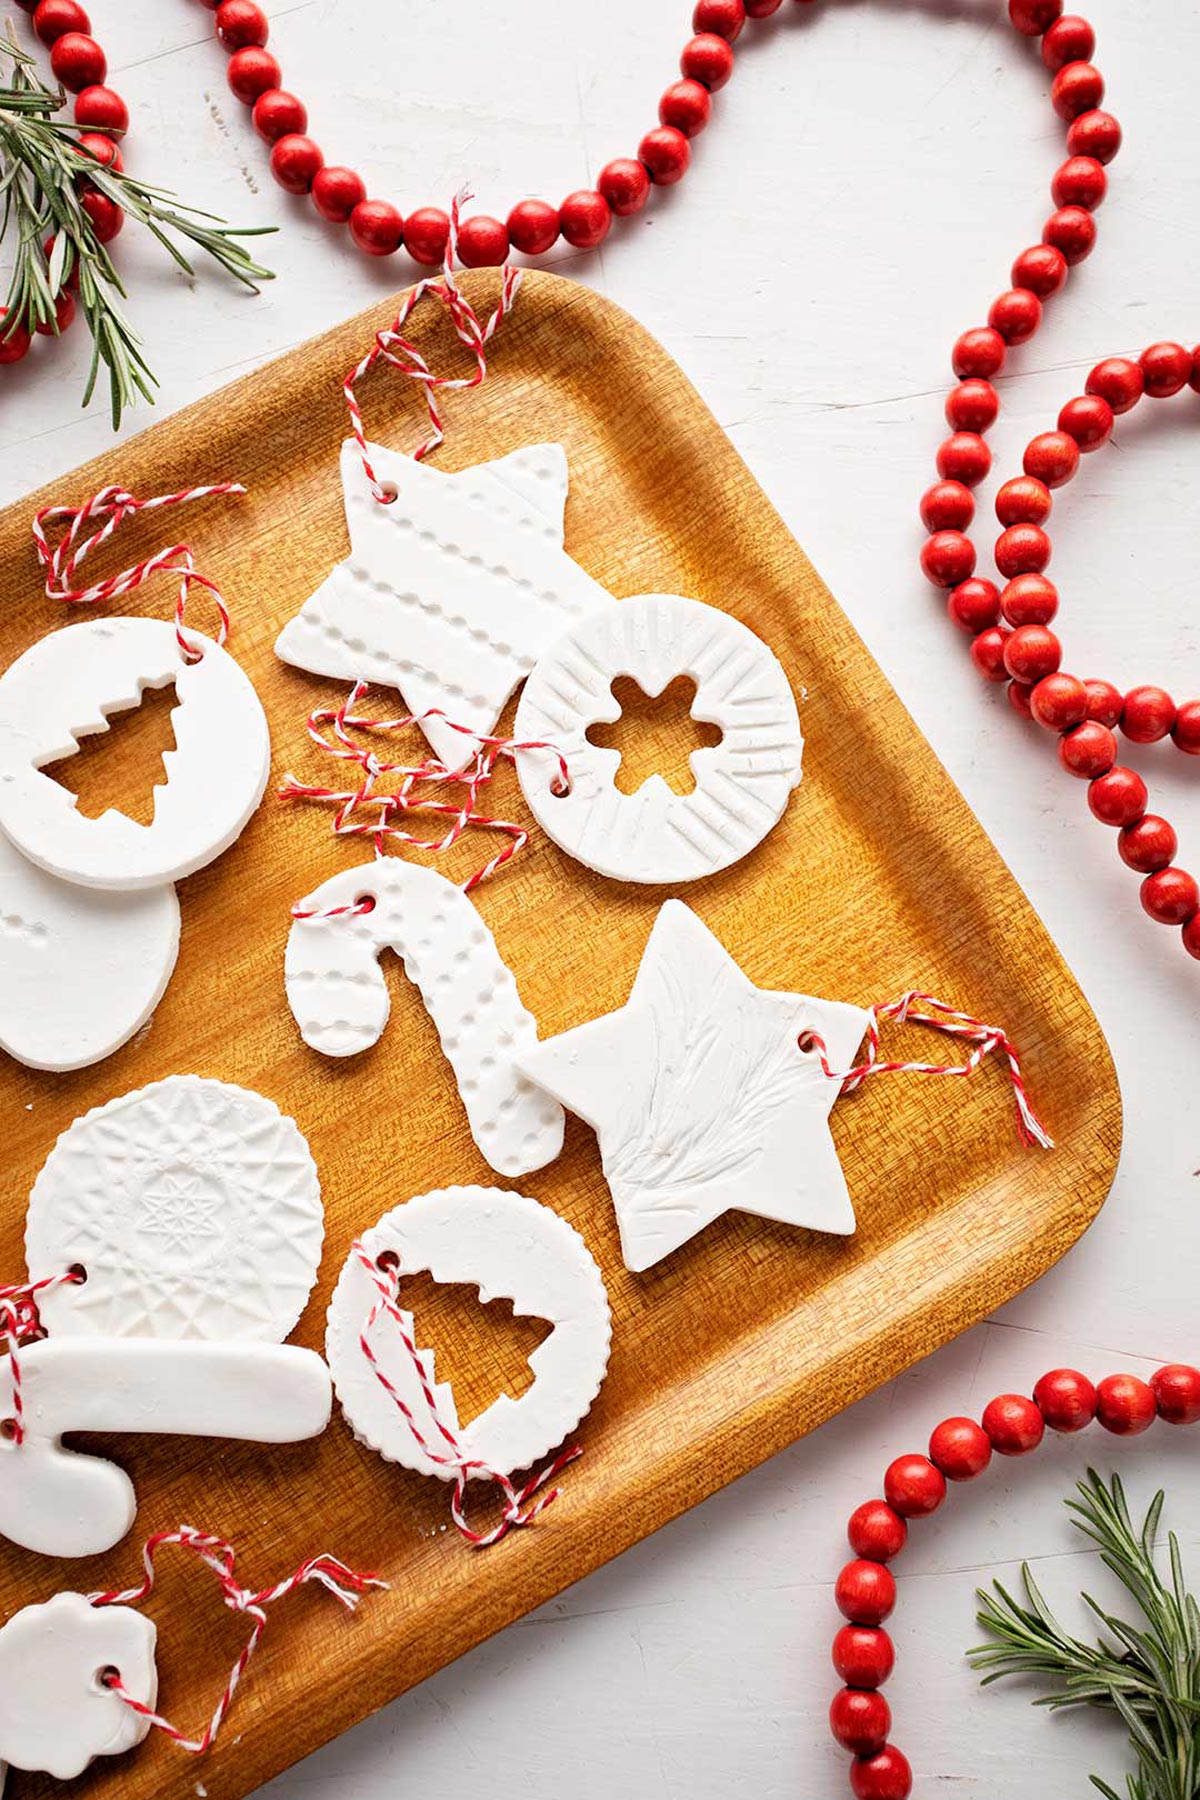
These beautiful white cornstarch and baking soda ornaments look so lovely on a green Christmas tree! My daughter made some for her tree and we thought it would make a perfect DIY for kids as well.
My favorite part of this craft is the pressed patterns. The kids will enjoy finding things around the house that can create a unique design!
This is a creative activity that brings the kids into decorating for Christmas. Make some homemade Christmas ornaments for your own tree, then create a few extras to give as DIY Christmas gifts as well!
Supplies for Cornstarch Dough Ornaments
- Cornstarch: The featured ingredient! And you've probably got some ready in your kitchen.
- Baking Soda: A simple second dry ingredient, also easily found in the kitchen!
- Water: Added to the dry ingredients to bring together the dough.
- Fragrance (optional): Add some essential oils for scented ornaments.
- Ribbon: Used to hang the ornaments once they are finished. You can also use a decorative string (like the photos).
Steps to Make Cornstarch Dough
Mix the dry ingredients (cornstarch and baking soda) in a 2-Quart Saucepan and then add in the water.
If you'd like to make scented ornaments, add in some fragrance now. An essential oil is a nice choice, maybe peppermint?
Cook the Baking Soda Cornstarch Mixture
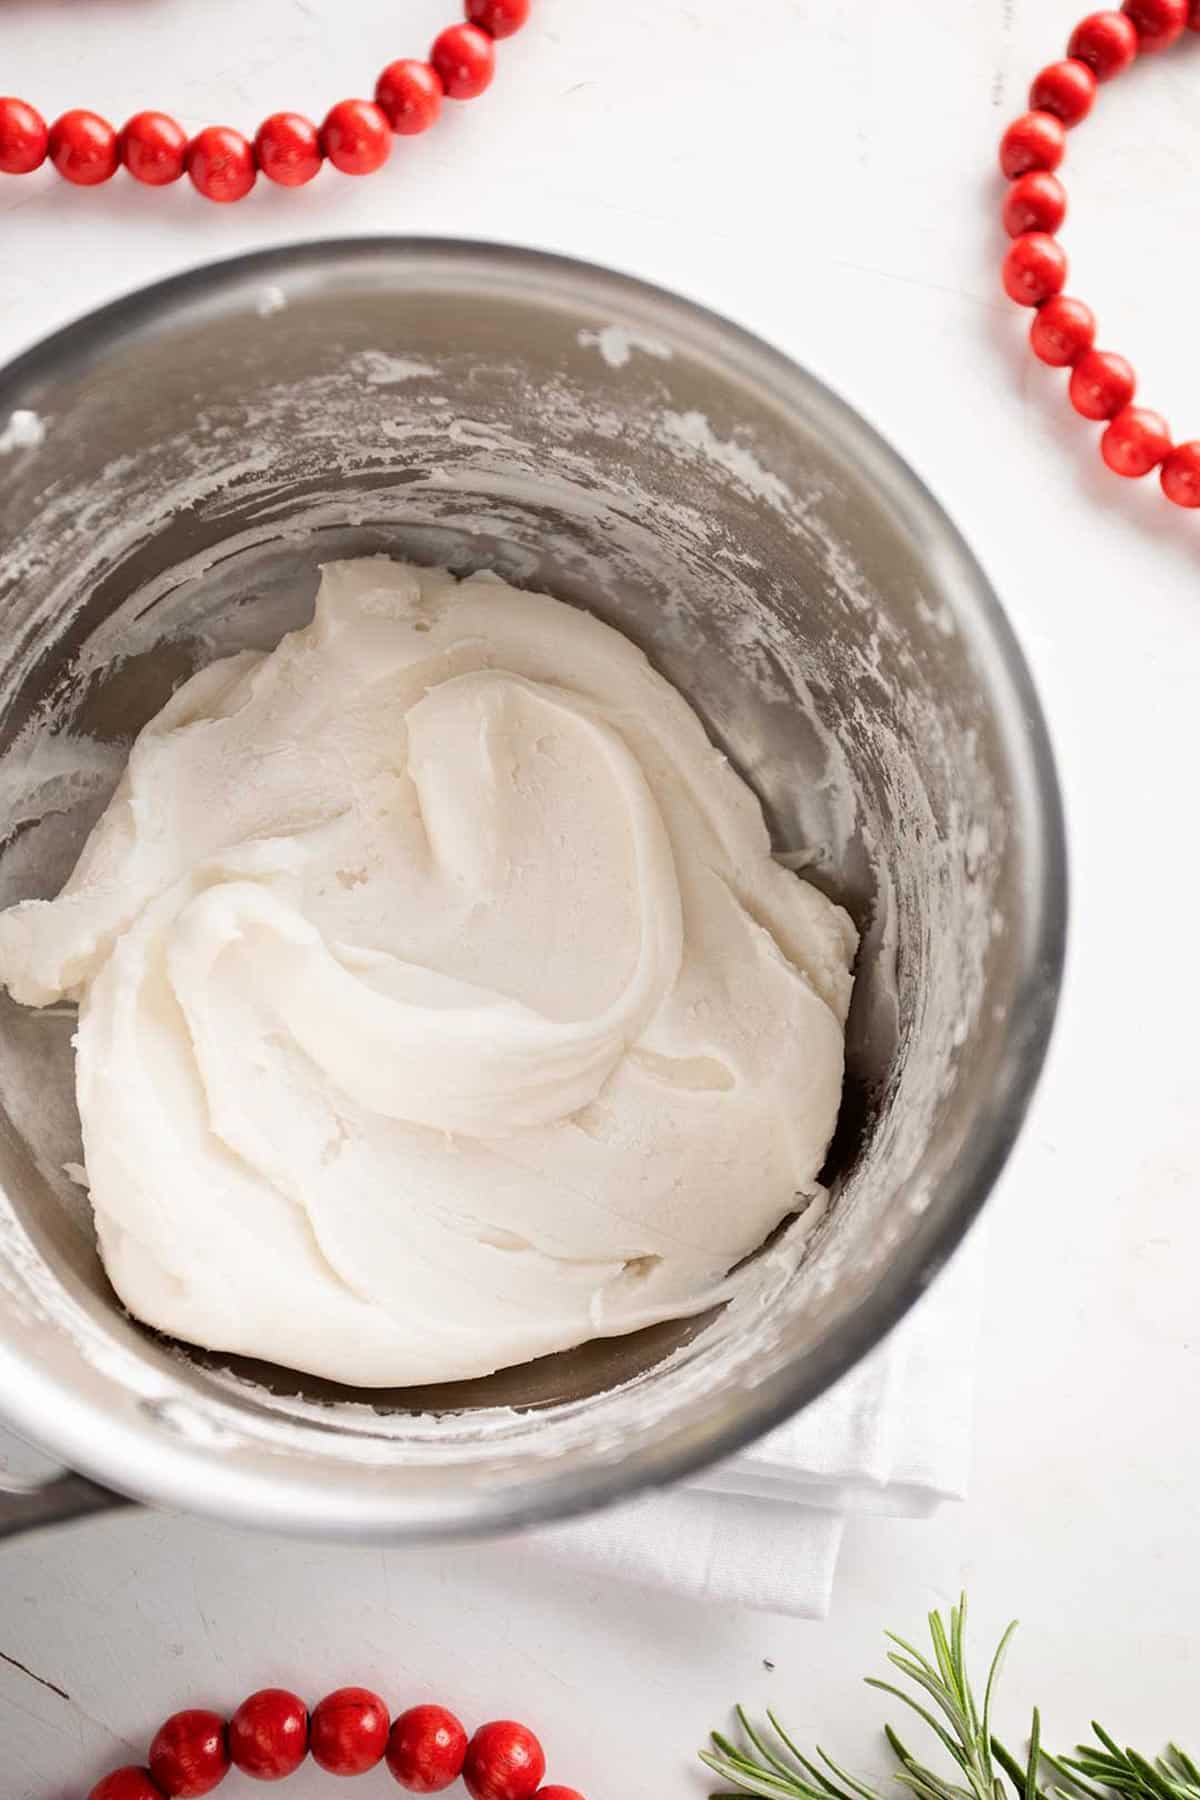
Put the mixture in the pan on the stove and set it on medium heat. Stir while the mixture thickens.
Cook about 3-4 minutes until it becomes a playdough or mashed potatoes consistency. This is like the our home-made playdough recipe in the way it thickens.
Let the mixture cool by sitting for a while until you can handle it in your hands. Put a damp cloth over the top of the pan to keep it from drying out while it cools.
Knead and Roll the Dough
Use a little bit of corn starch if needed to knead the dough a little. It should be soft and smooth, pliable like play dough but not sticky.
I like kneading on a cutting board, but you can also work it in your hands if you'd prefer.
Roll the baking soda dough out to about ¼ inch thick with a rolling pin. You may need a bit of cornstarch on the board for this as well but don’t use too much or the dough will get too dry.
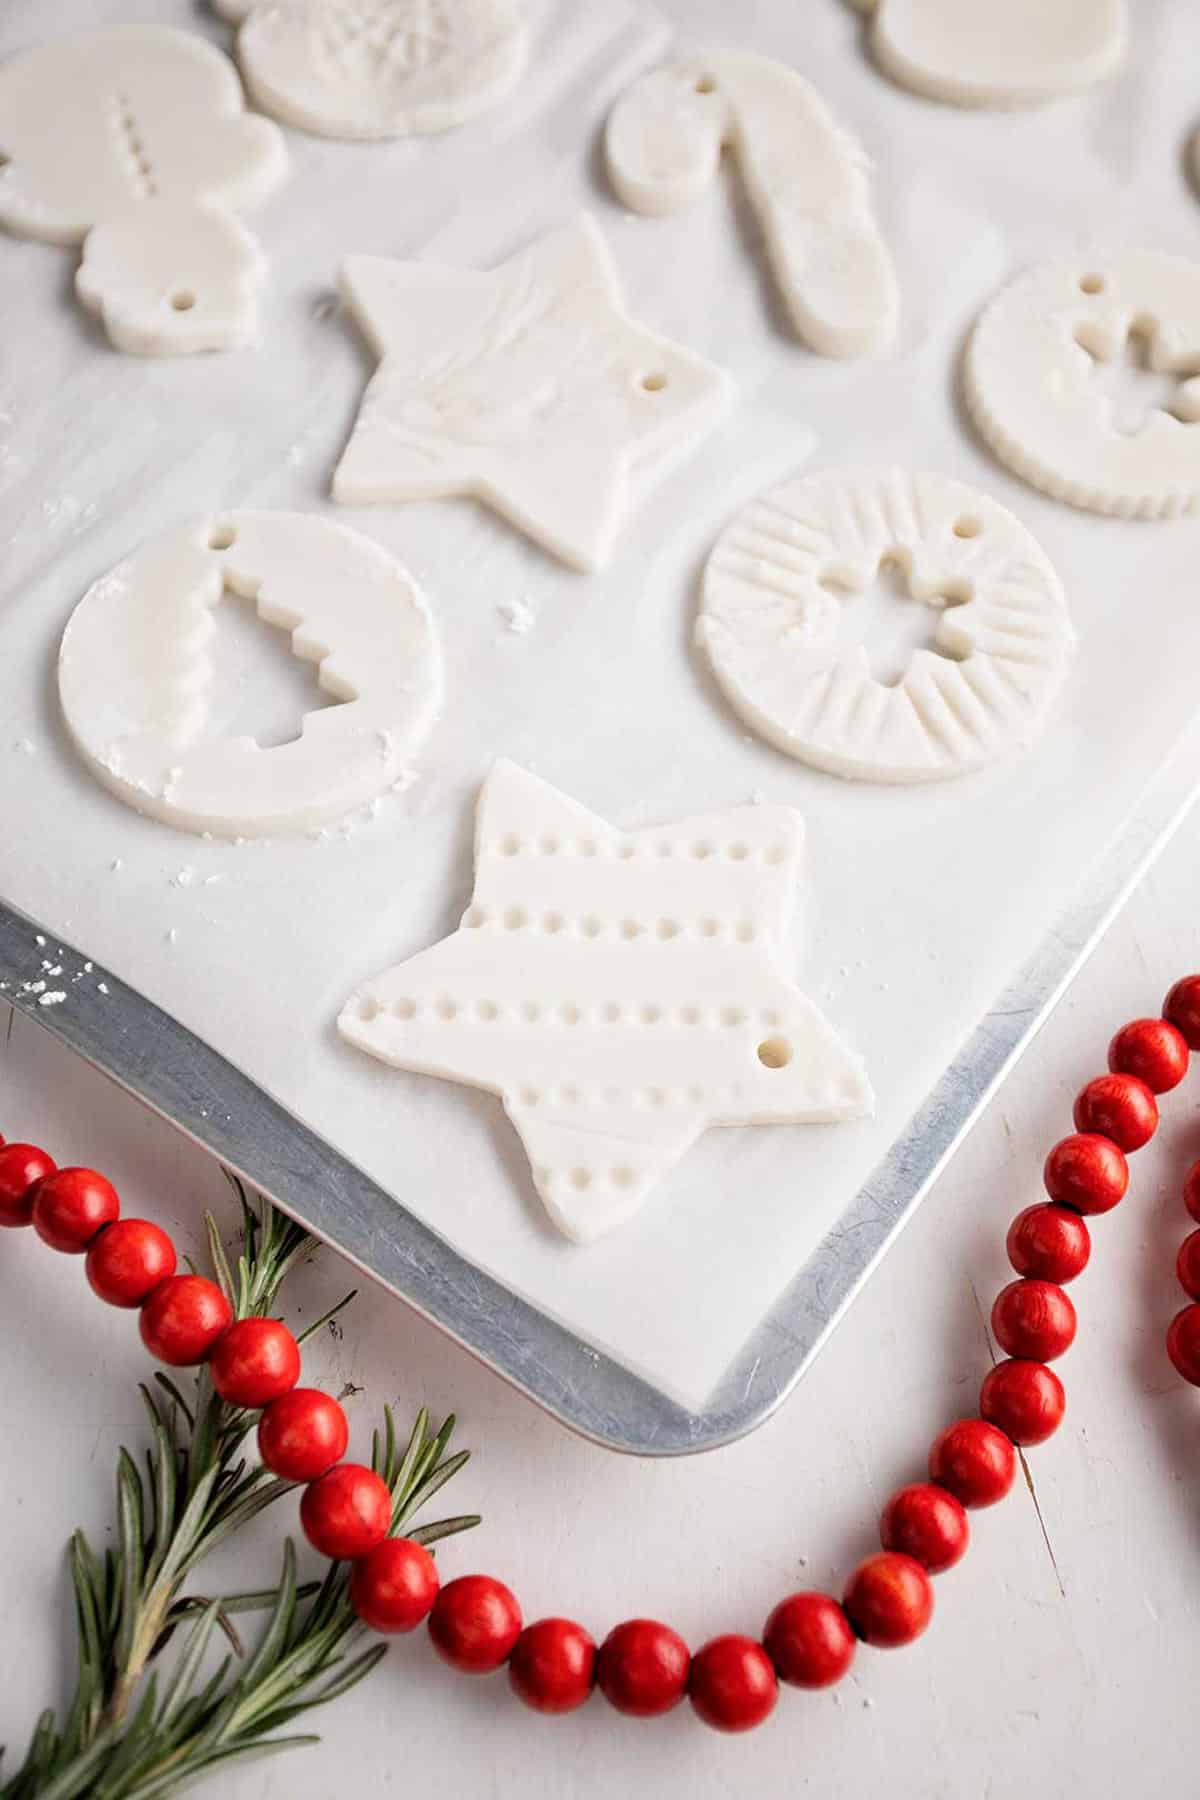
Create Ornament Shapes with the Dough
Cut ornaments out with cookie cutters dipped in cornstarch. Round, star, and tree shaped cookie cutters work well.
Place the cut outs on a baking sheet covered with parchment paper.
Use a drinking straw (or chopstick) to punch a hole for hanging in the top of each ornament, about ¼ inch from the edge.
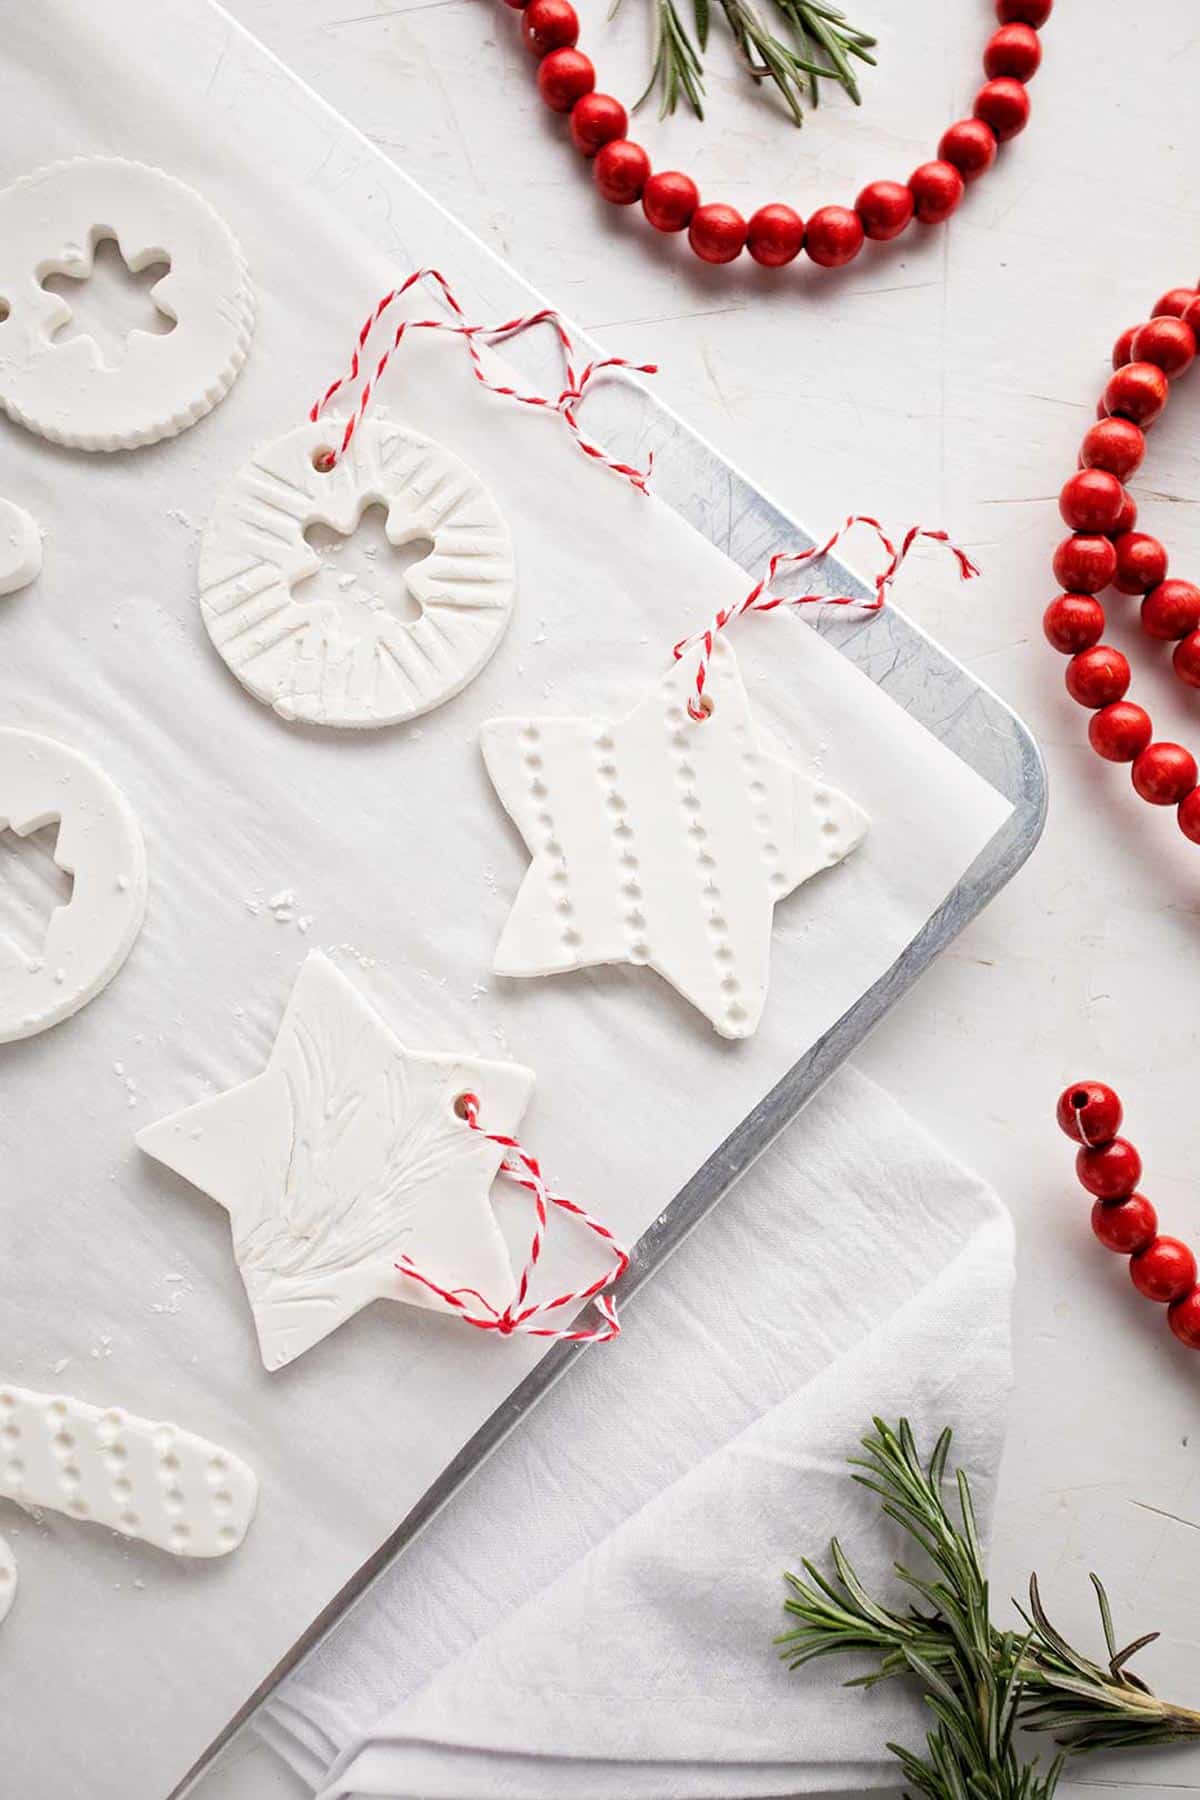
How to Press Designs Into the Cornstarch Dough Ornaments
Choose some items to use to press onto your ornaments. Greenery from the tree and bushes around your home are what we used.
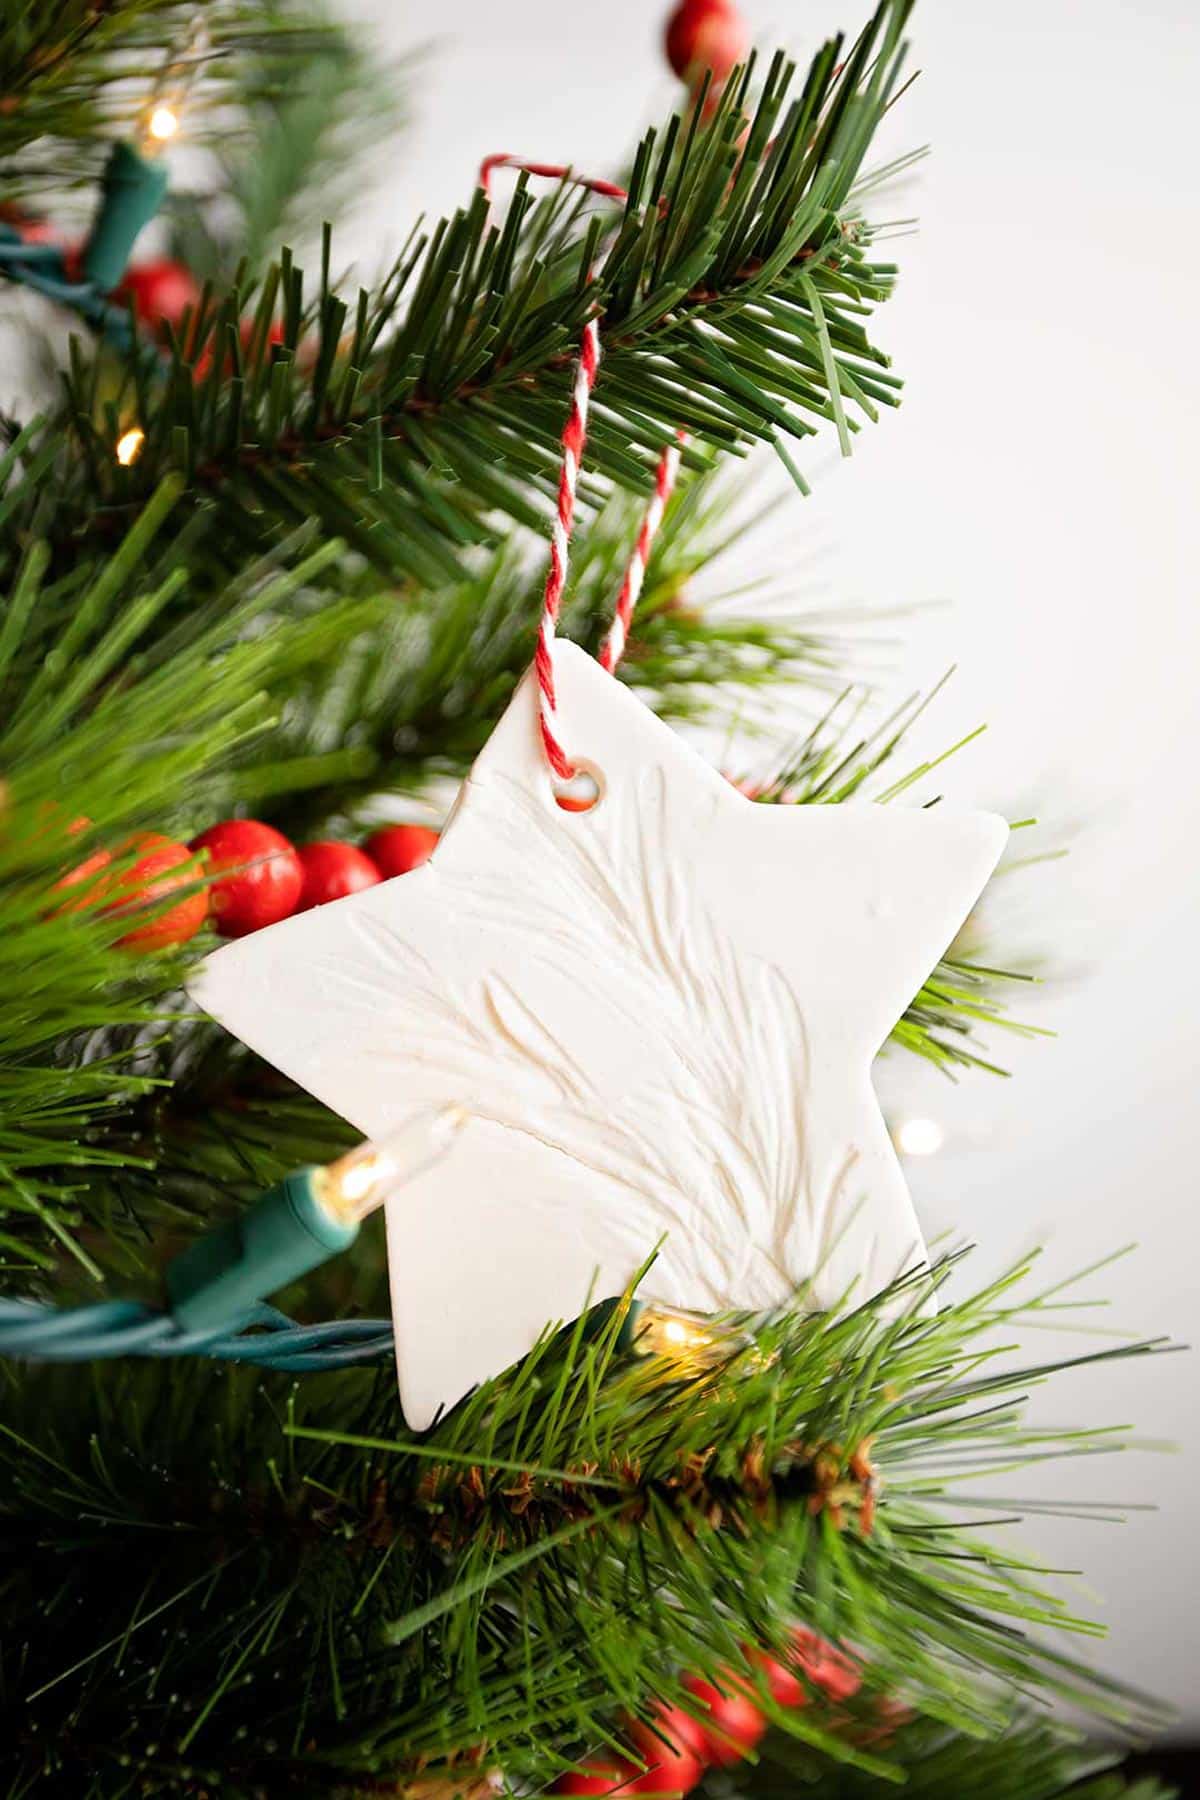
Press the greenery into the face of the ornament. It's a nice natural touch, don't you think?
Other things work well to press into the ornament, anything that creates a pattern. You can use lace or a doily, a comb to make lines, a strings of beads, stamps, or cooking utensils with a pattern.
Let the kids get creative here and have some fun!
How to Bake Your Christmas Ornaments
Once you are happy with your ornament designs, it's time to bake them!
Bake the ornaments at 175 degrees for 40 minutes, then flip them gently and bake for 30 minutes longer.
If they aren't quite dry, you can add an extra 10 minutes, but keep an eye on them so they don't brown. Let the ornaments air dry further if needed.
Adding the Finishing Touches
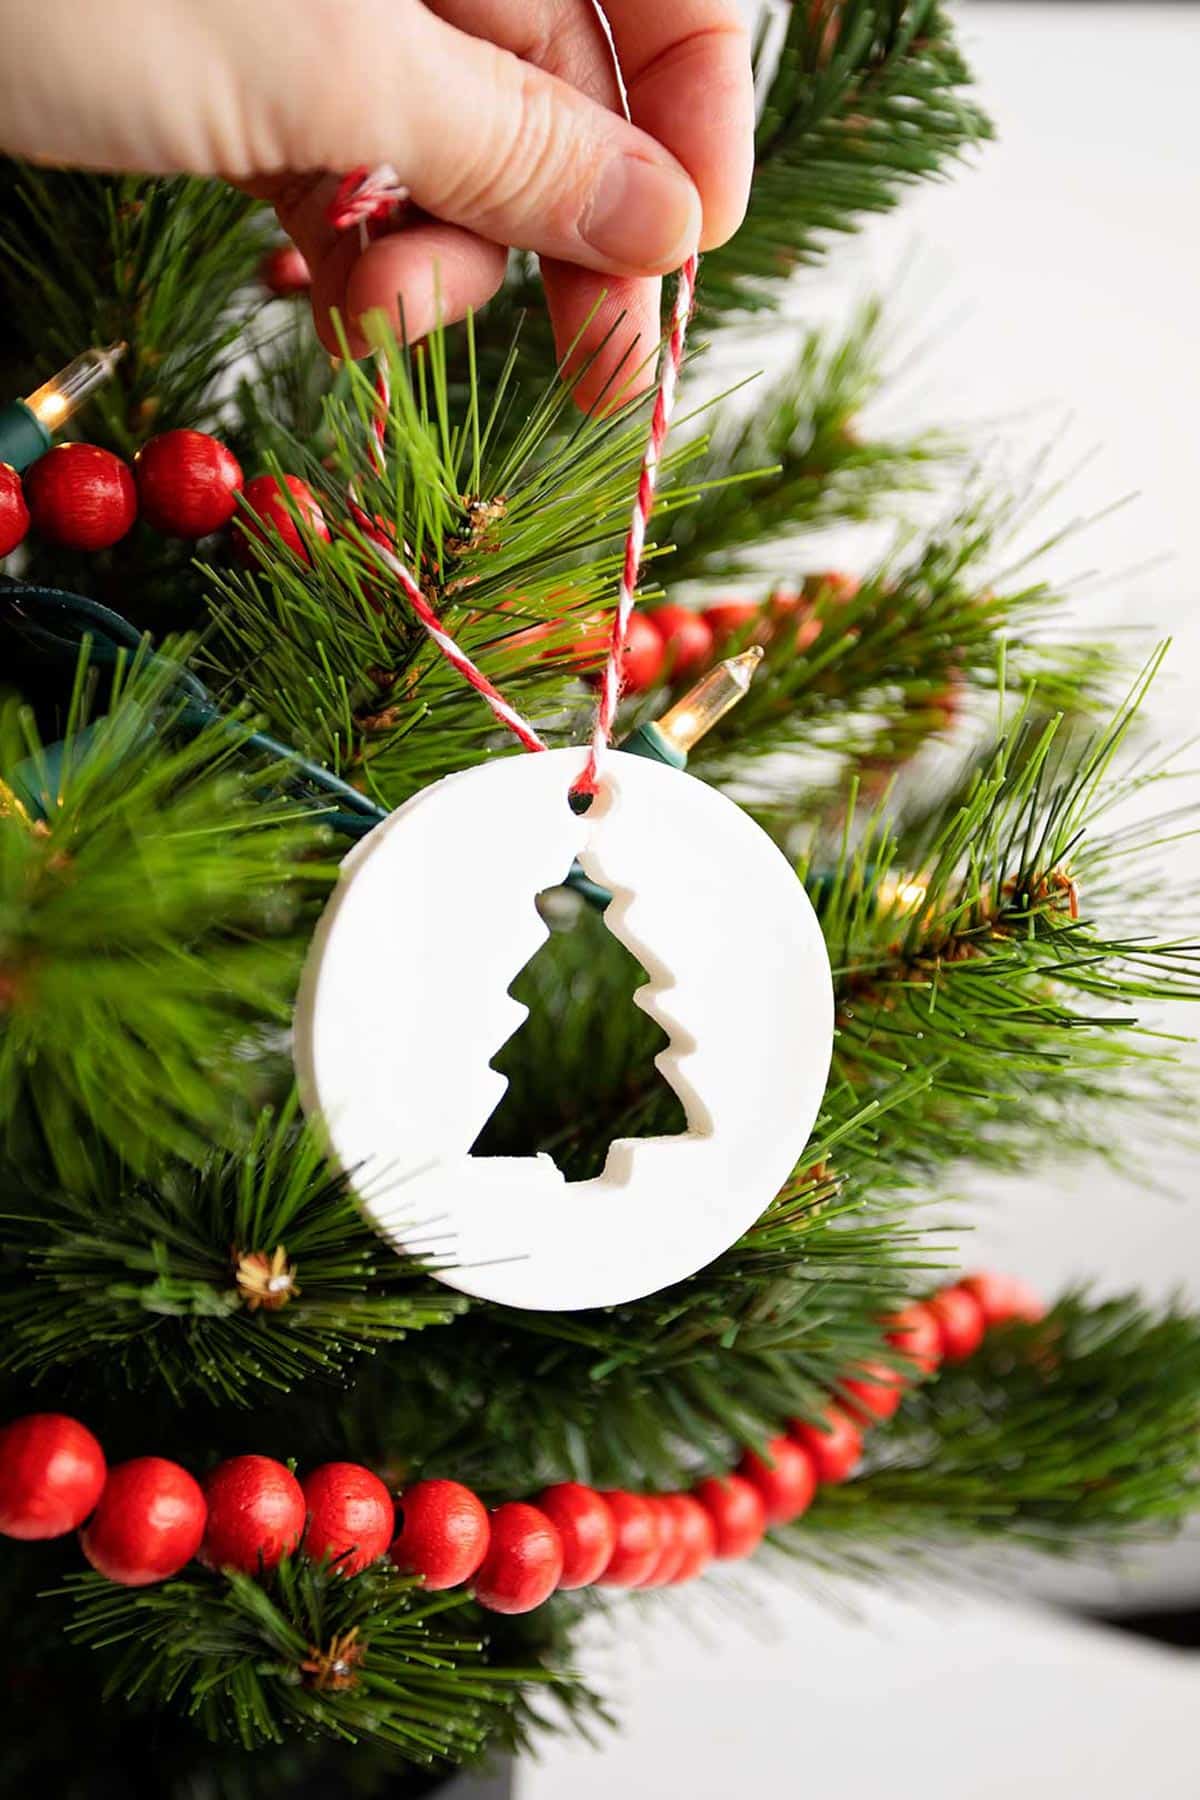
Once the ornaments are fully dry and cool enough to handle, it's time to hang them on the tree!
Tie ribbon or a decorative string through the hole in the ornament so that you can hang them. Be gentle while handling them as the ornaments can be tender for awhile.
Aren’t they lovely? And made with just baking soda, cornstarch and water!
Variations of Homemade Christmas Ornaments
- Color the Dough: Try adding some food coloring to your dough! I haven't tried this yet, but I would add mix it in at the same time as adding any scents.
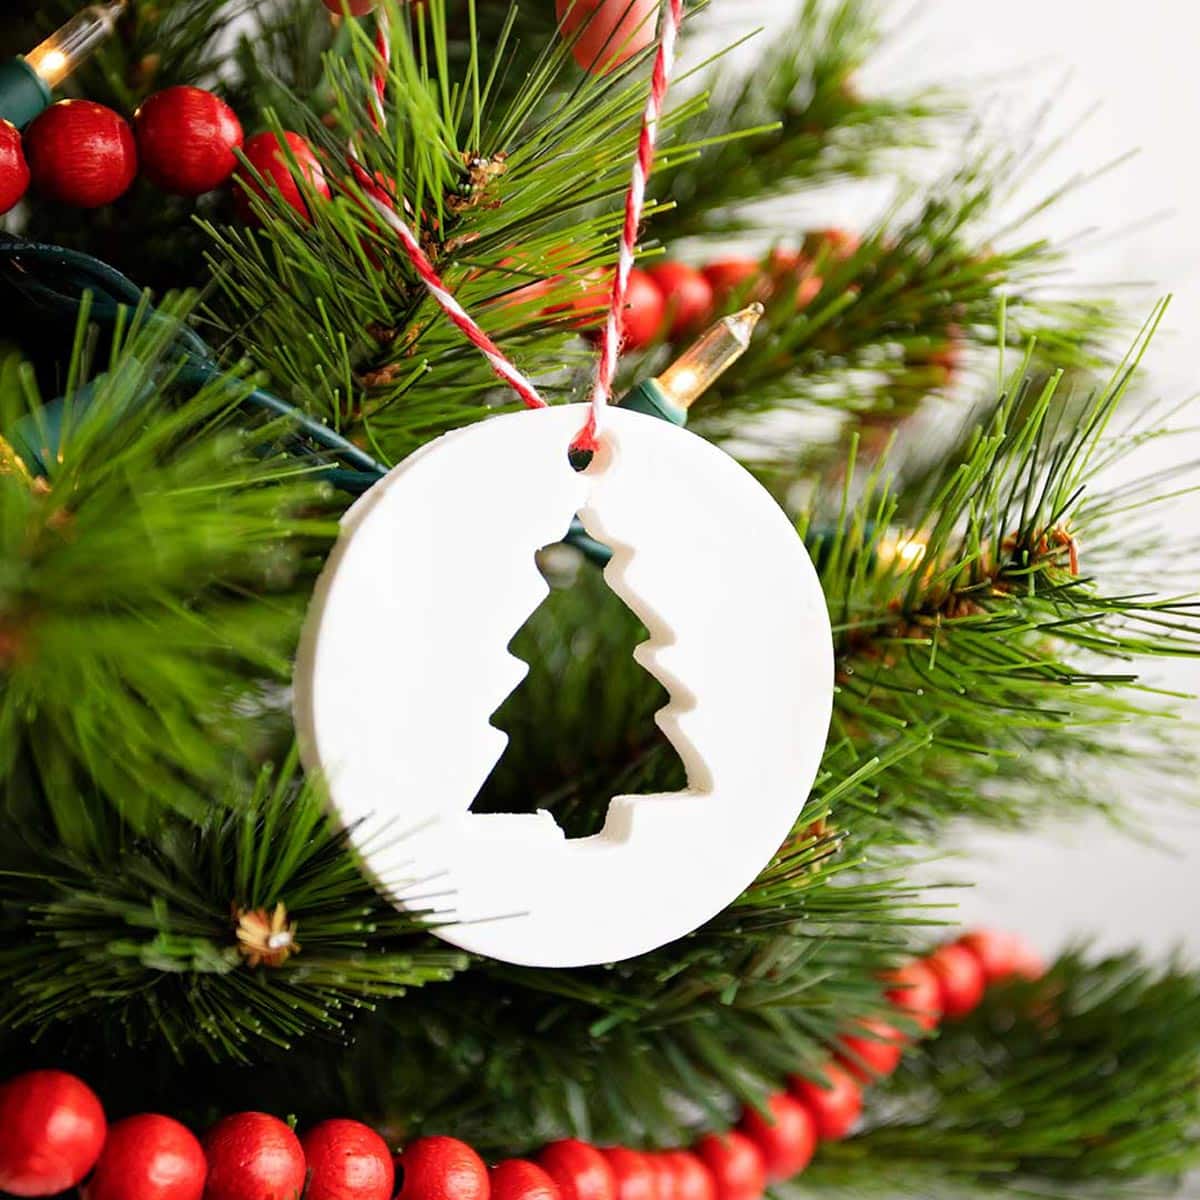
- Center Shapes: If you have small cookie cutters you can cut out shapes/holes in the center of the ornaments as well. This would leave a small cut out or series of cut outs inside the cookie shape.
- Decorate with Paint: I love the plain white ornaments, but you can paint them too! Use a gold pen or paint to write a word like “JOY” or a name on the front of an ornament.
- Use as Gift Decorations: Wouldn't it be cute to the one of these to the top of a gift? Or with a name written on them, they would make fun gift tags!
FAQ
Making cornstarch dough (or baking soda dough) is super simple! All it requires is baking soda, cornstarch and water. Simply mix them together, then cook to thicken to the correct consistency. Cool until it can be kneaded, rolled out, and cut to your ornament shapes!
Cornstarch ornaments can be very fragile, especially when they are not fully dry. It's very important to bake for the full time, then allow them to air dry completely. Once they've dried out fully, they are less delicate and easier to hang and store.
Before you pack away your ornaments after the holiday, make sure they are fully dry! This will help them crack less easily while stored. Once they are completely dry, you can store them in a box or bag, away from moisture. I would recommend storing them separate from other ornaments so they don't get bumped and break.

More DIY Christmas Ornament Ideas for Kids!
If you are looking for more fun holiday ornaments to make with the kids, check out these additional ideas!
- Easy Glass Pebble Christmas Ornaments
- DIY Salt Dough Ornaments
- Gingerbread Cookie Ornaments
- Sparkling Wire & Bead Ornament Stars
Enjoy!
If you try this craft, let me know! Leave a comment, rate it, and tag a photo with #WelcometoNanas wherever you post.
DIY Baking Soda and Cornstarch Dough Ornaments for Christmas
Equipment
- 1 2 quart saucepan
- 1 Cookie Sheet
- Cookie cutters
- 1 Drink Straw
- 1 sheet Parchment paper
- Ribbon
Items Required
- ½ cup Cornstarch
- 1 cup Baking soda
- ¾ cup Water
- Fragrance- like essential oil
Instructions
- Mix the dry ingredients and then add in the water.
- Add fragrance if desired.
- Cook on medium heat, stirring until thickened like playdough.
- Let cool, then knead until soft and smooth.
- Roll the dough out to about ¼ inch thick.
- Use cookie cutters to cut out shapes for ornaments.
- Press fresh greenery or other decorative items into the face of the ornaments.
- Use a drinking straw to punch a hole in the top of each ornament, ¼" from the edge.
- Bake at 175 degrees for 40 minutes, flip gently and bake for 30-40 min. Don't let the ornaments brown. Continue to air dry if needed.
- Tie a ribbon through the hole. Hang on tree!!
Video
This post was originally published in December 2021 and has been updated to add more relevant and detailed content.
Shary says
Does turn them mean flip them or turn the pan?
Shelly says
This means to flip them upside down!
Joan says
We tried this recipe to make handprint ornaments with our baby twins and some greenery prints with our older kiddo. It is probably the coldest day of the year here at -40 and the dough dried out very quickly and cracked before baking. For our next attempt, we wrapped the dough in a damp paper towel and squeezed some extra moisture into it before rolling it out. This worked much better and made for smoother ornaments. Worth the effort and trial and error. We plan to seal them and hope they will be preserved as lovely mementos.
Shelly says
Such a wonderful idea to indent with handprints! Thanks for adding your tips.
Laura says
I've got these for hanging on my tree and love the look! So much fun to make.