Homemade gingerbread ornaments are some of the most fun (and delicious) Christmas tree ornaments you will ever make! Gingerbread cookie ornaments were something I first tried when I was a young Home Ec teacher looking for a fun Christmas craft for my students. Now, 100’s of students, plus my kids and grandkids, have come to love this tried and true recipe.

Jump to:
Right out of the oven, these cookies are hard to resist with their spicy cinnamon smell. If the kids can keep from munching on them, they turn into the cutest gingerbread Christmas tree decorations. They also make perfect Christmas gifts for teachers and friends, and don’t forget to leave a couple cookies for Santa!
What You'll Need to Make Edible Gingerbread Cookie Ornaments
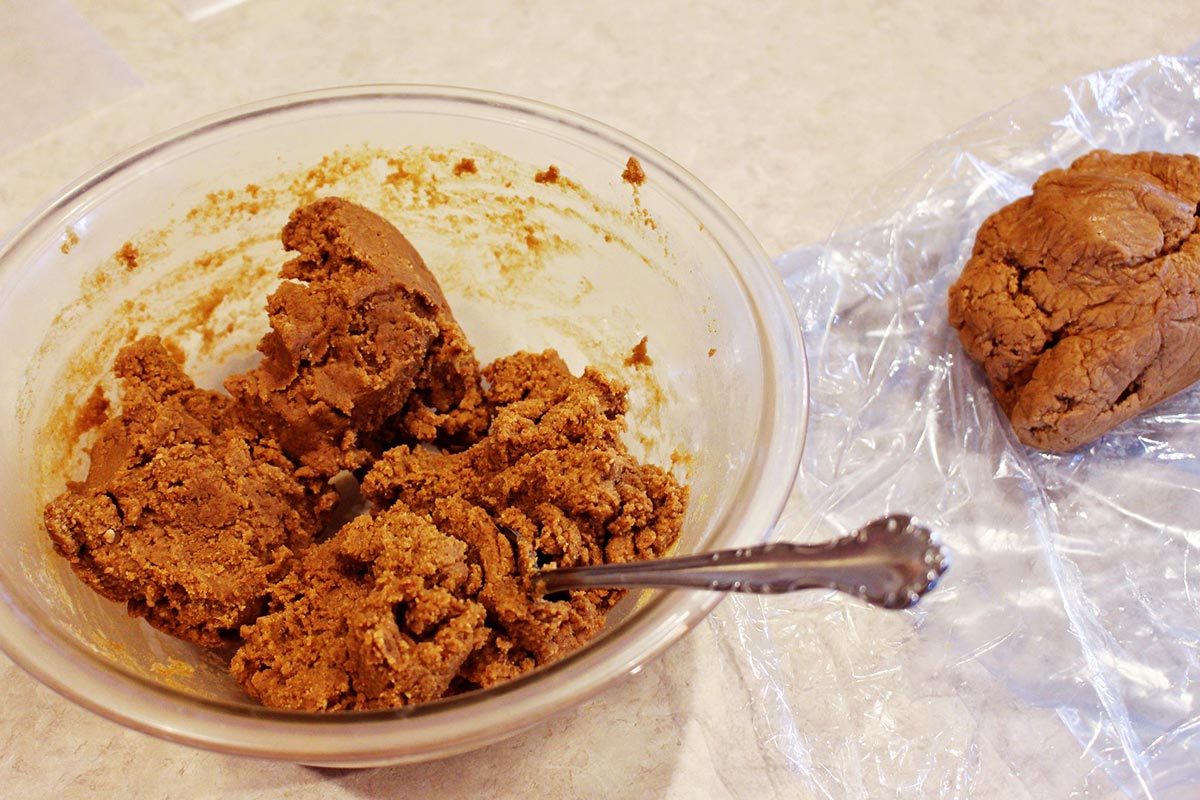
- Gingerbread cookie dough: Make dough from the recipe below and let it chill.
- Icing: This Cookie Icing is a purchased tube icing.
- Decorations: Red Hots (optional) as candy ornaments. You can choose other candies for decoration as well.
- Ribbon: Use a Gold Cord, red and white Ribbon or string or to hang the cookies as Christmas tree decor.
Equipment
There are a few items that make this craft much easier to make:
- Cookie sheets: AirBake Cookie Sheets make it less likely you will burn the cookies.
- Cookie cutters: Christmas Cookie Cutters work well (you will want a gingerbread man or woman, of course!).
- Wooden rolling pin: A Rolling Pin is used to roll out the cookies in this recipe, but you can also use a smooth glass.
How to Make Gingerbread Ornaments
If you would like to watch a video of the process, you can find it here on YouTube.
Be sure to like and follow while you are there, for more craft content!
1. An Easy Gingerbread Recipe
Mix up the simple dough according to the instructions below on the recipe. This is a simple recipe to have the little ones help you make.
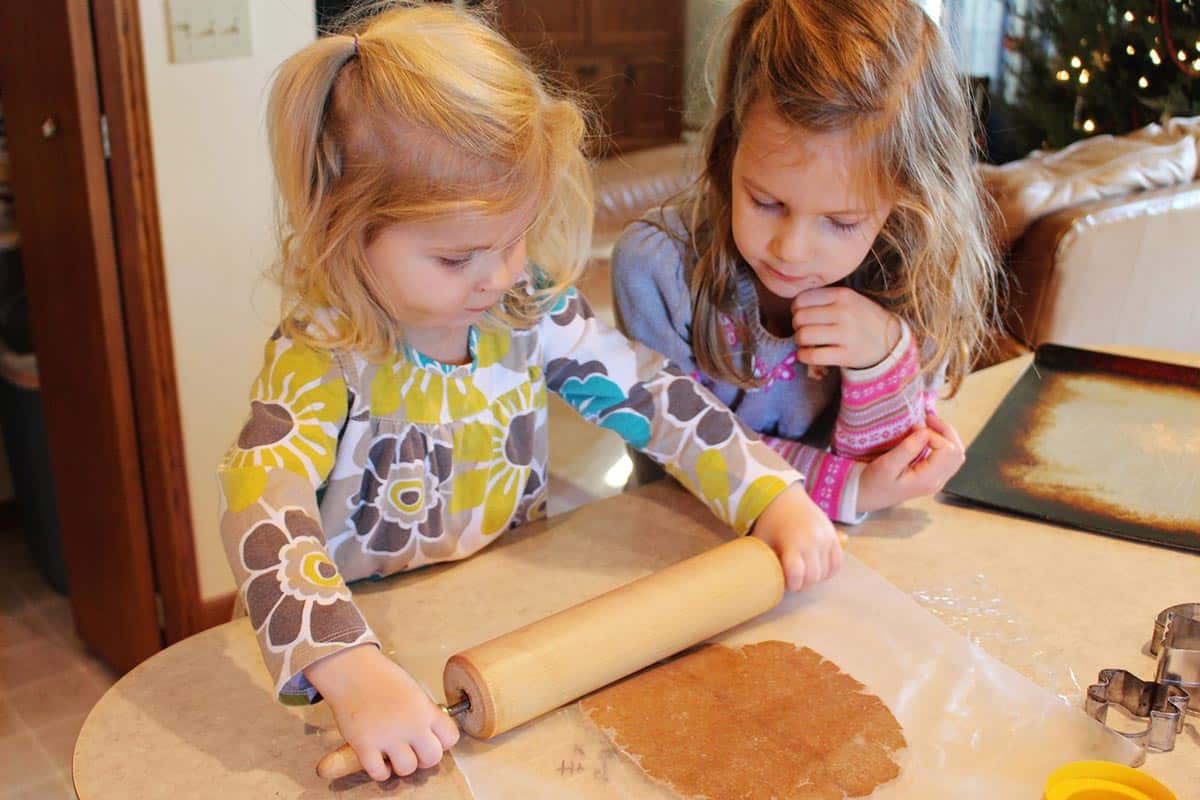
2. Roll out the dough
We put a piece of waxed paper down in front of each child and gave them each a chunk of gingerbread dough.
Let the children use a Wood Rolling Pin to roll out the dough after showing them how.
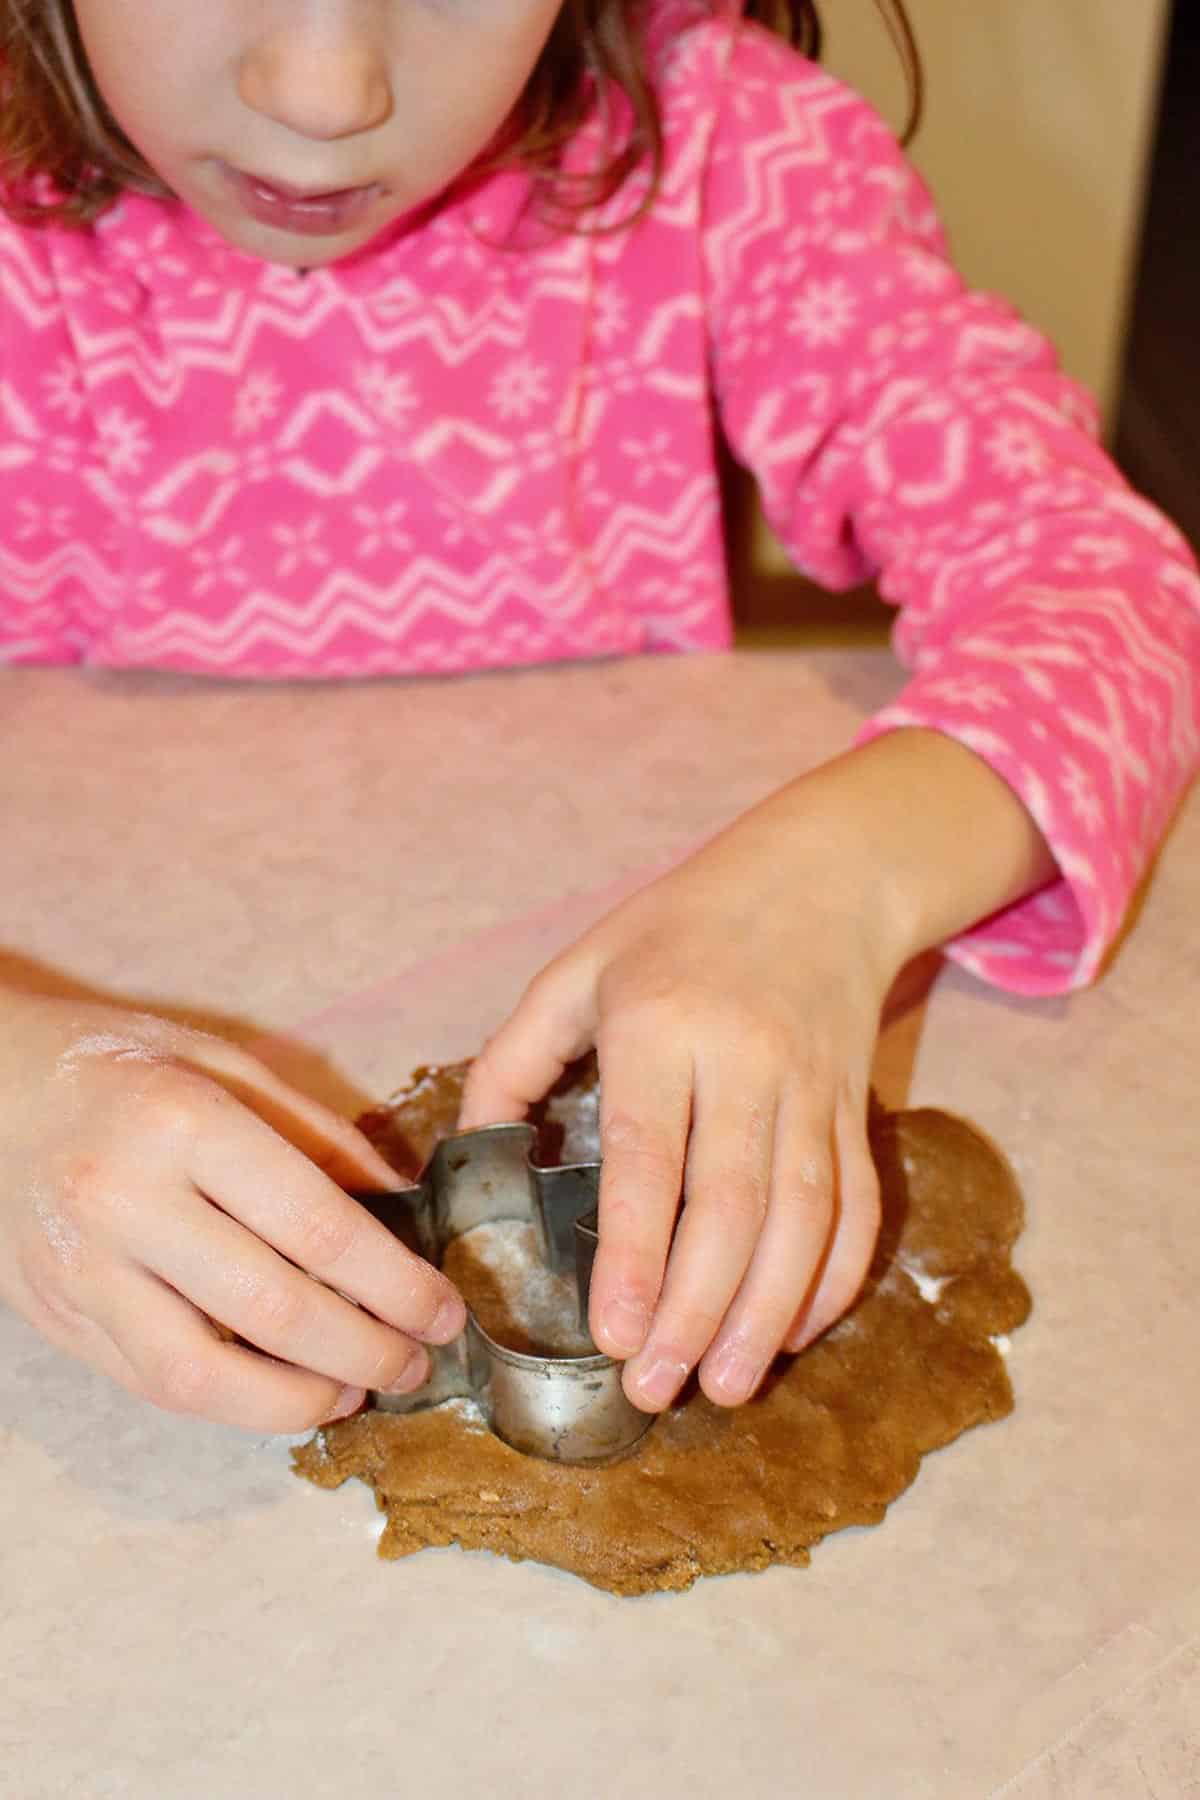
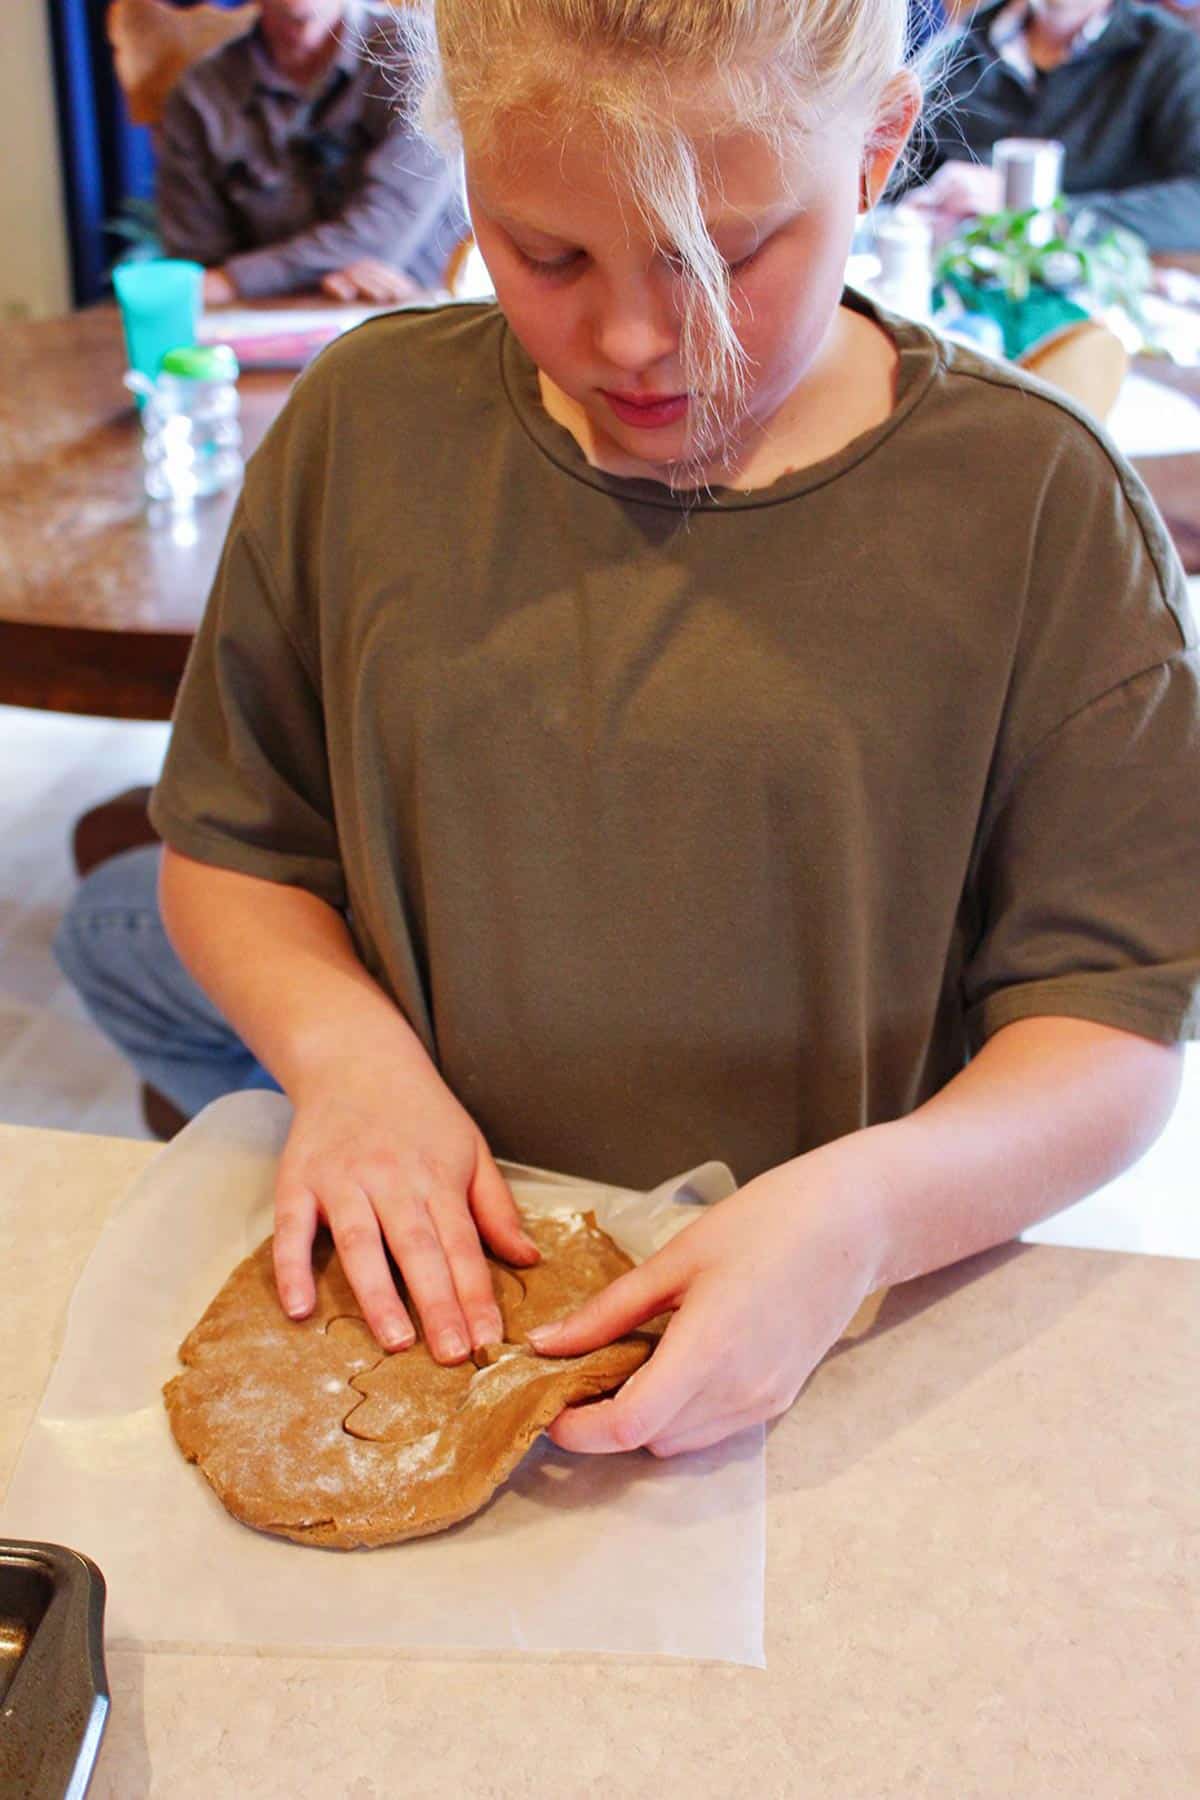
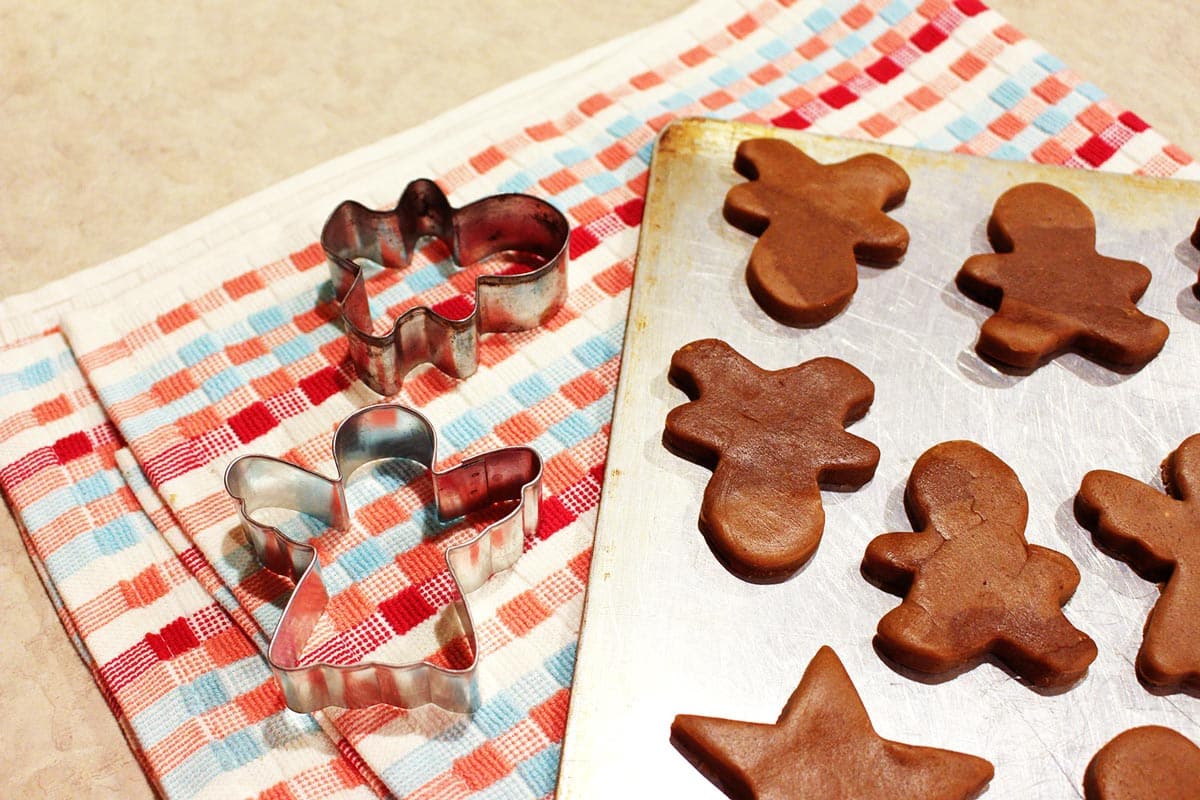
3. Choosing your Christmas ornament Shapes
Show the kids how to fit the Christmas Cookie Cutters shapes close together on the dough. Tell them it’s like fitting together a puzzle!
Smash up the unused dough and roll it out again. Place it back in the refrigerator if it is getting difficult to handle!
4. Baking the cookies
Peel the cookies off the waxed paper and place them on an ungreased cookie sheet. You may prefer using a thin spatula, but I kept mashing the cookie shape that way!
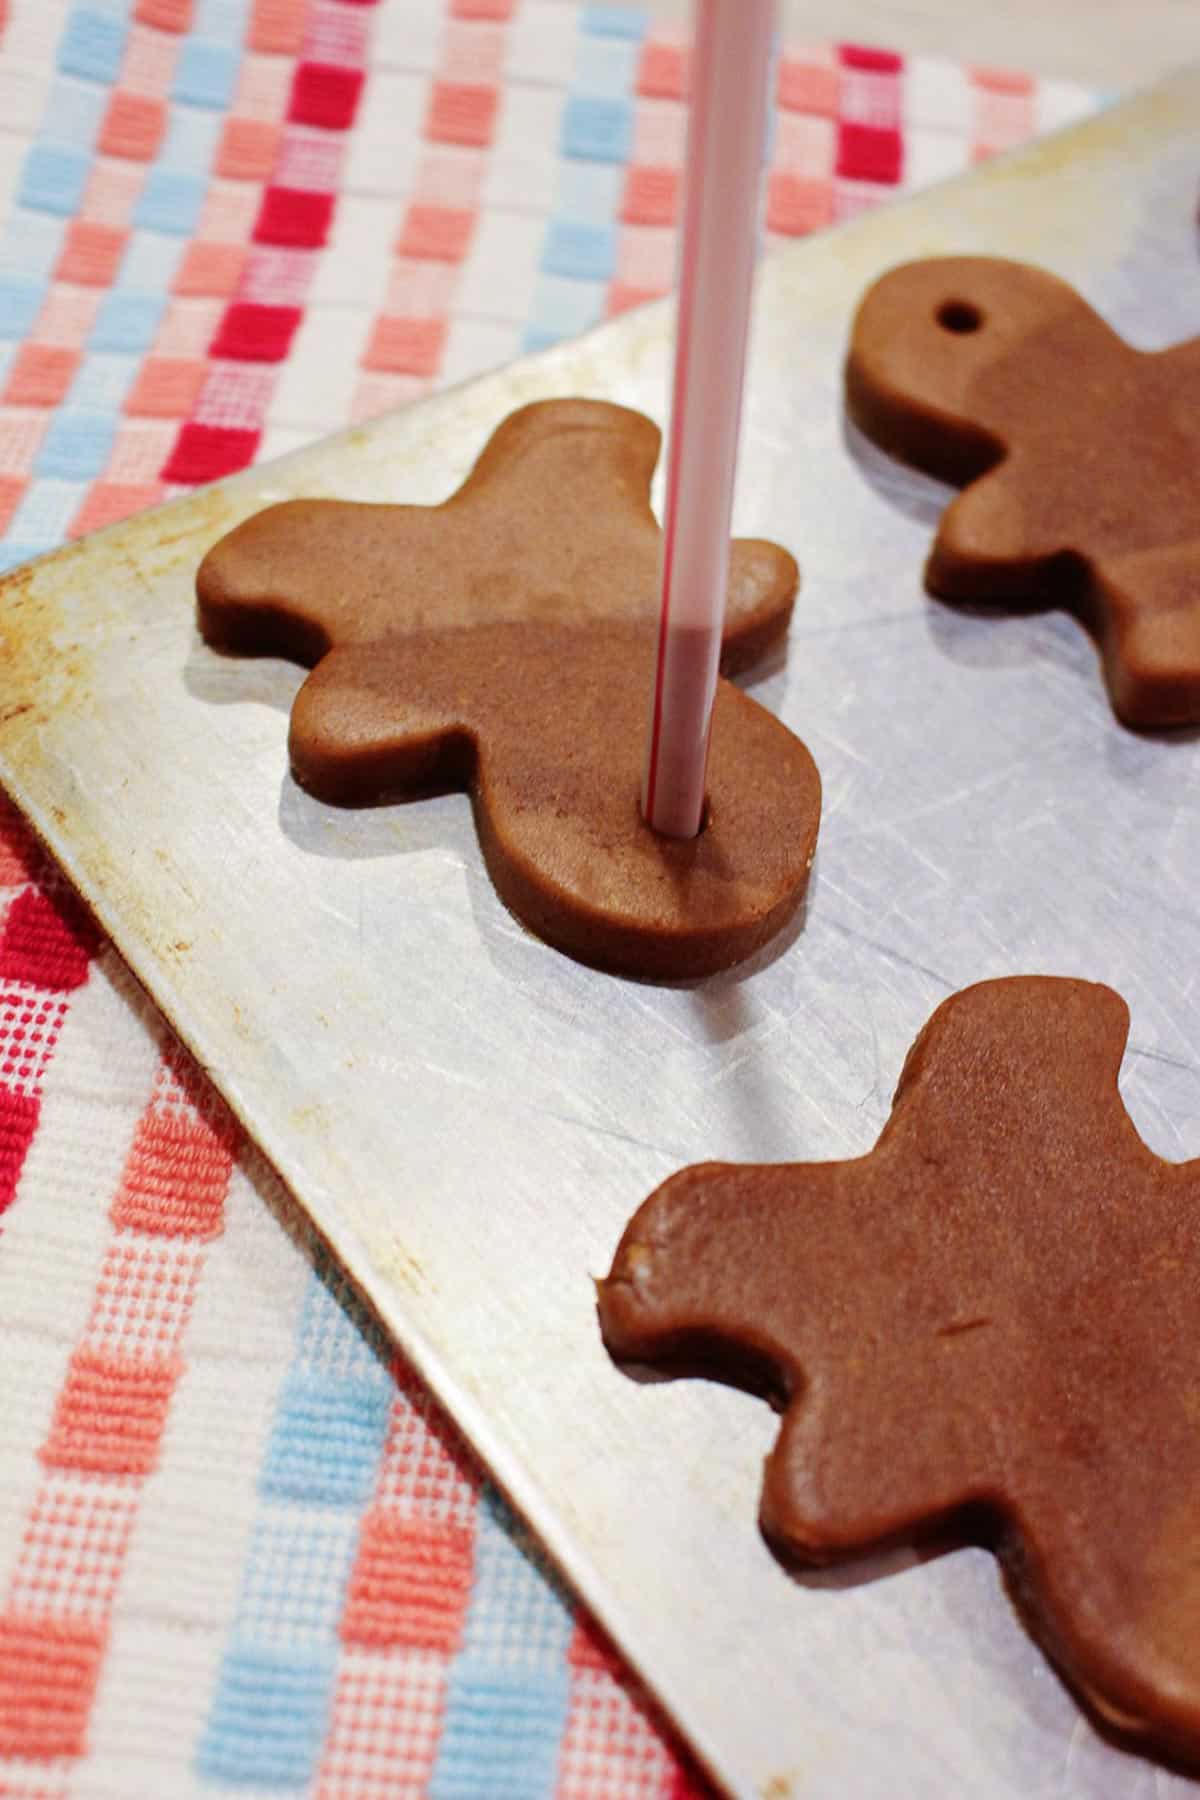
Once on the cookie sheet, use a drinking straw to make holes in the top of the cookies so we could add a ribbon and hang them. Place the holes at least ⅜ inch from the edge and centered on the top of the cookie.
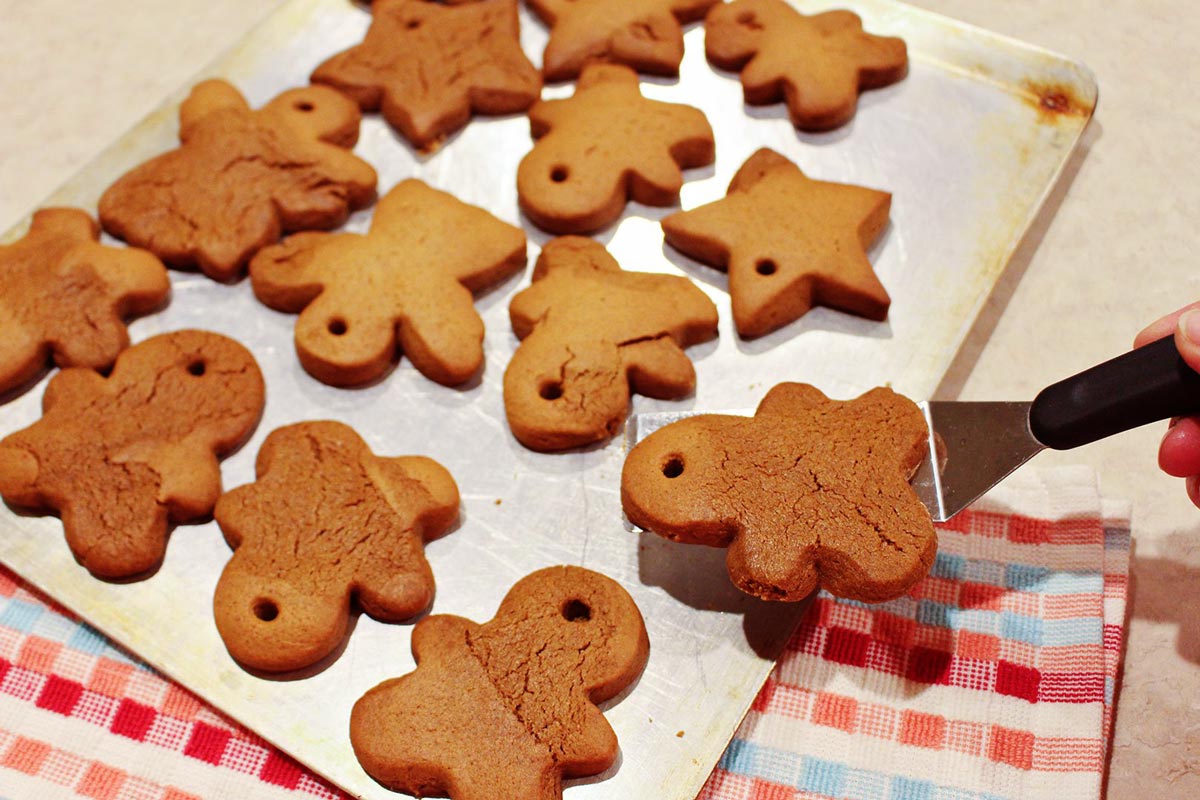
Bake the cookies at 350° for 8-10 minutes, or until the edges begin to brown. Allow them to cool completely on the cookie sheets.
How to Decorate Gingerbread Ornaments
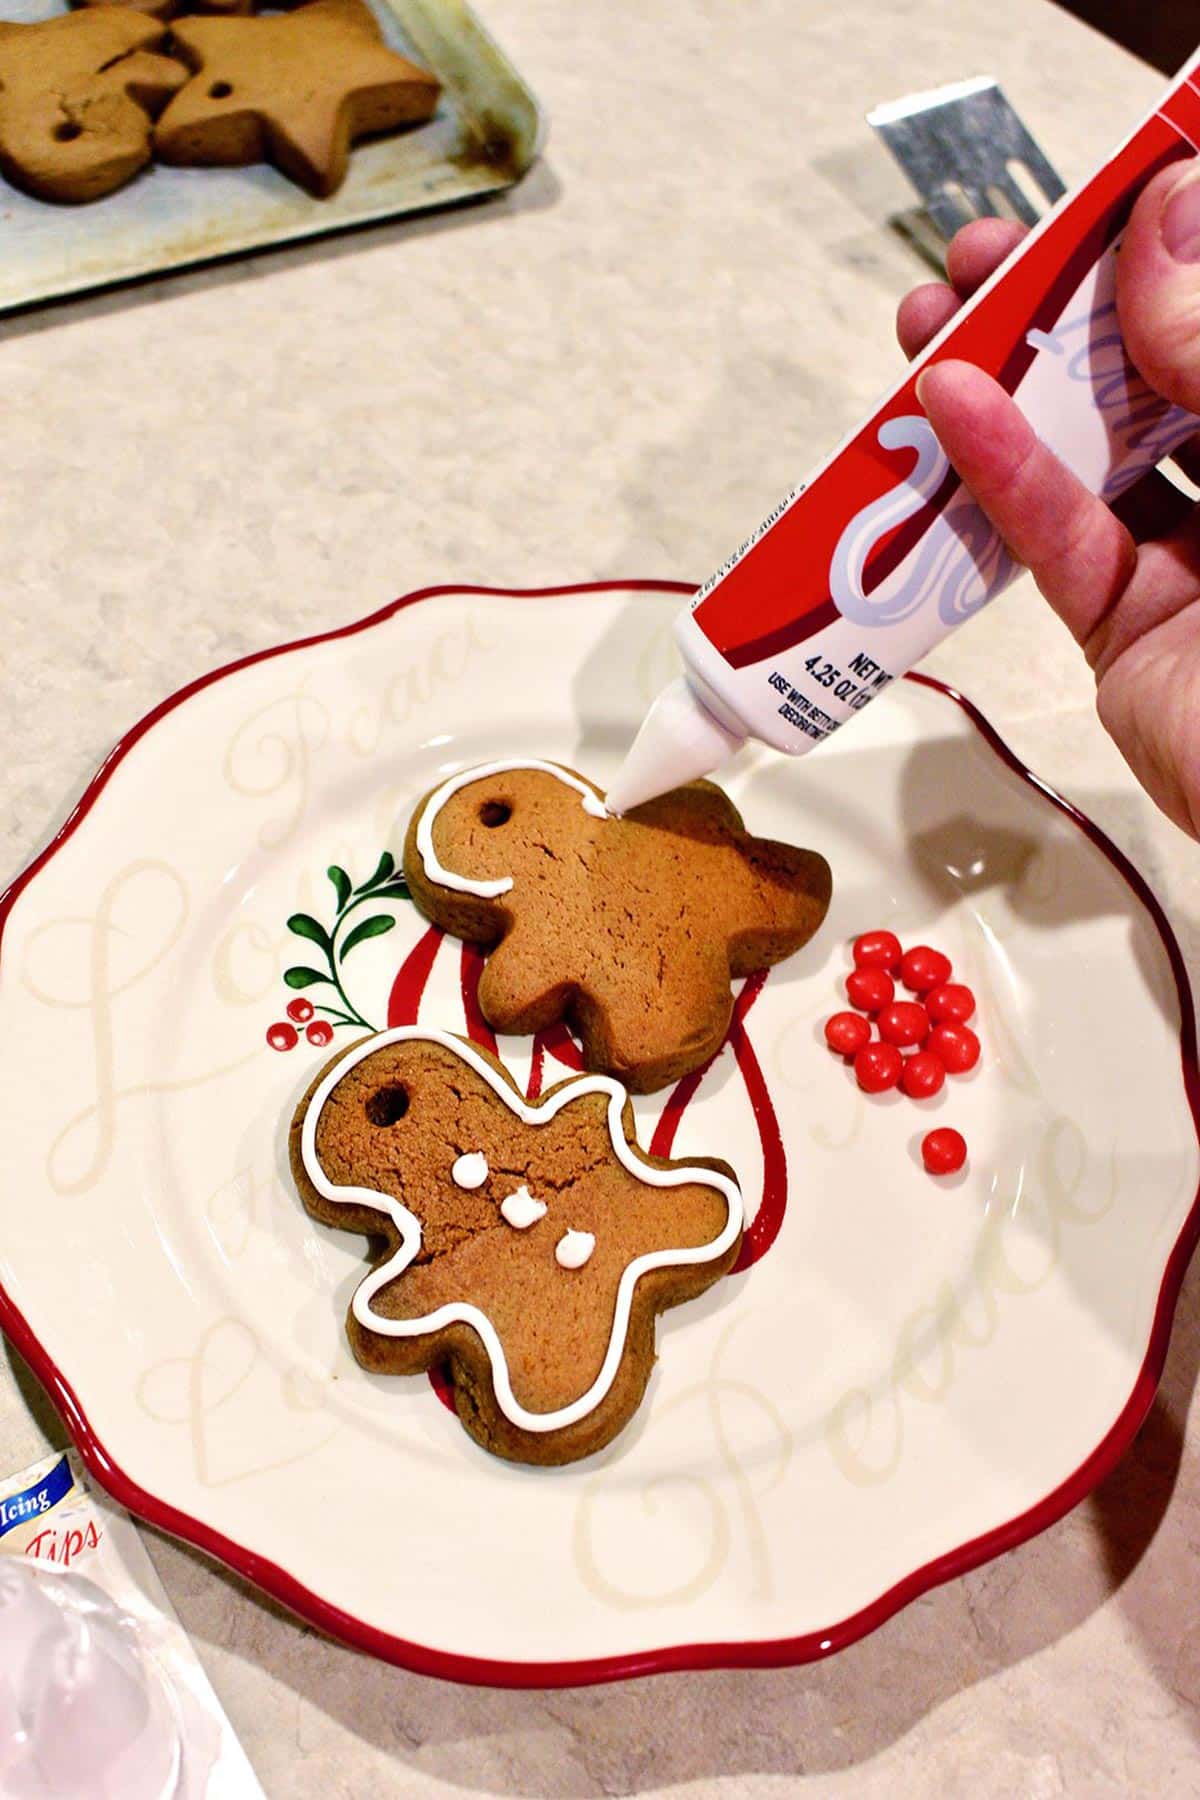
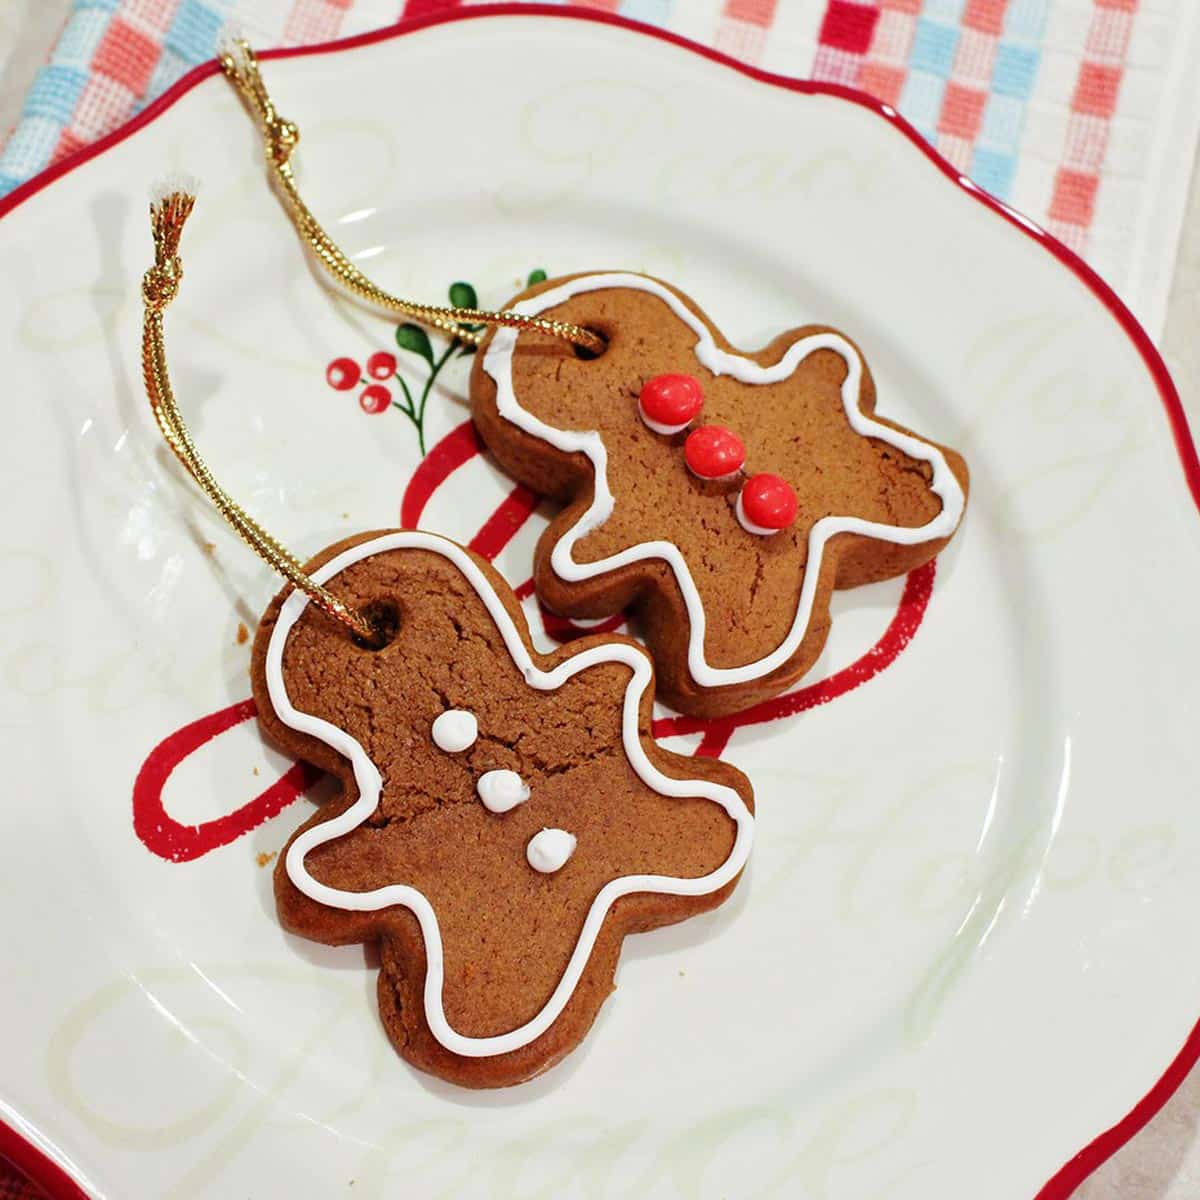
If you would like, the cookies can be decorated with cookie icing. The Red Hots made fun decorating as well (gingerbread men buttons).
I would suggest using icing in a tube with a tip to make edging these cookies with icing even easier. You can also make your own decorator icing and use a piping bag.
After the icing has had some time to dry, run a ribbon through the hole at the top of the cookie.
Gingerbread Ornament Recipe Tips
- Cookie dough mix: There are packaged Gingerbread Cookie Mixes. I’m sure they would work fine if you are needing to save some time.
- Chilled dough: Put the dough in the refrigerator to chill for awhile as it gets softer and stickier as it is handled. The recipe calls to refrigerate the dough for 2 hours, or overnight.
- Holes baking shut: Some of the holes baked shut and I used the straw to make them bigger again as soon as they came out of the oven and were still soft.
Craft Variations
- Hand crafted ornaments: Create hand crafted ornaments instead of rolling out the dough. May have to experiment with the dough and add a bit more flour so you can handle it with your hands. If you choose this option, try to keep the cookies from getting too thick or they don't bake evenly. Baking time will be longer because the ornaments are thicker.
- No rolling pin: It worked well to pat the dough down into a flat pancake about ⅜ in thick.
- Icing: The whole cookie surface can be iced. Also, you can use craft paint in place of icing if you do not eat the cookies.
- Old fashioned tree: Hang these cookies and dried orange slices on a gingerbread Christmas tree for an old fashioned look.
Cookie Ornaments FAQs
You can hang gingerbread ornaments on the tree for the whole holiday season (several weeks). Do not eat them after the season is over!
If you don't have a rolling pin you can pat the dough out by hand. You can also try rolling with the sides of a smooth drinking glass, or laying out parchment paper on the dough and pressing with the bottom of flat item (like a glass storage container).
Purchased icing in a tube with a tip makes edging these cookies with icing easy. You can make your own decorator icing and use a piping bag as well.
More DIY Christmas Ornament Ideas for Kids
If you are enjoying making your own homemade ornaments, you may enjoy trying these options too!
- Salt Dough Ornaments for Christmas
- DIY Cornstarch Dough Ornaments for Christmas
- Easy DIY Applesauce Cinnamon Ornaments
- Easy Glass Pebble Christmas Ornaments
- DIY Sparkling Wire & Bead Ornaments
Come Join the Fun!
Try this craft, leave a comment, rate it, and tag a photo with #WelcometoNanas wherever you post.

DIY Gingerbread Ornaments Recipe
Equipment
- AirBake Cookie Sheets
- Christmas Cookie Cutters
- Wood Rolling Pin (optional)
- Icing tips for decorating (if needed for your tubed icing)
Items Required
- 1 cup Margarine (or butter)
- ⅔ cup Packed Brown Sugar
- ⅔ cup Molasses (or corn syrup)
- 1 ½ teaspoon Vanilla
- 1 Egg beaten
- 4 cups All Purpose Flour
- ¾ teaspoon Baking Soda
- 1 ½ teaspoon Cinnamon
- 1 teaspoon Ginger
- ½ teaspoon Cloves
- Cookie Icing- tube icing
- Red Hots (optional)
- Ribbon or Gold Cord for hanging cookies as ornaments
Instructions
- In a saucepan, combine the margarine (or butter), sugar, and molasses (or corn syrup.
- Cook and stir over medium heat until the margarine is melted and sugar dissolves. Pour into a mixing bowl.
- Stir in vanilla, then cool 5 minutes. Add the egg, mix well.
- In a separate bowl, stir together the flour, baking soda, cinnamon, ginger, and cloves. Add the dry ingredients to the egg mixture, mix well.
- Cover and chill 2 hours, or overnight.
- Put a piece of waxed paper down in front of each child and give them each a chunk of gingerbread dough.
- Roll or pat the dough down into a flat pancake about ⅜ in thick, then use cookie cutters to cut as many shapes out of the dough as will fit.
- Peel the cookies off the waxed paper and placed on an ungreased cookie sheet.
- Once on the cookie sheet, we used a drinking straw to make holes in the top of the cookies so we could add a ribbon and hang them. Place the holes at least ⅜ inch from the edge and centered on the top of the cookie.
- Bake the cookies at 350° for 8-10 minutes, or until the edges begin to brown. Allow the cookies to cool on the cookie sheets.
- Decorate the cooled cookies with white icing and red hots, or use your favorite icing colors and candy!
- Thread string through the holes in the cookies, and tie into a loop. Hang on your Christmas tree and enjoy all season long!
Video
Notes
This post was originally published in November 2021 and has been updated to add more relevant and detailed content.


Alison says
What’s the oven temp and how long do you bake them?
Shelly says
Bake the cookies at 350° for 8-10 minutes, or until the edges begin to brown!
Laura says
Love the idea of these on an "old fashioned" decorated Christmas tree