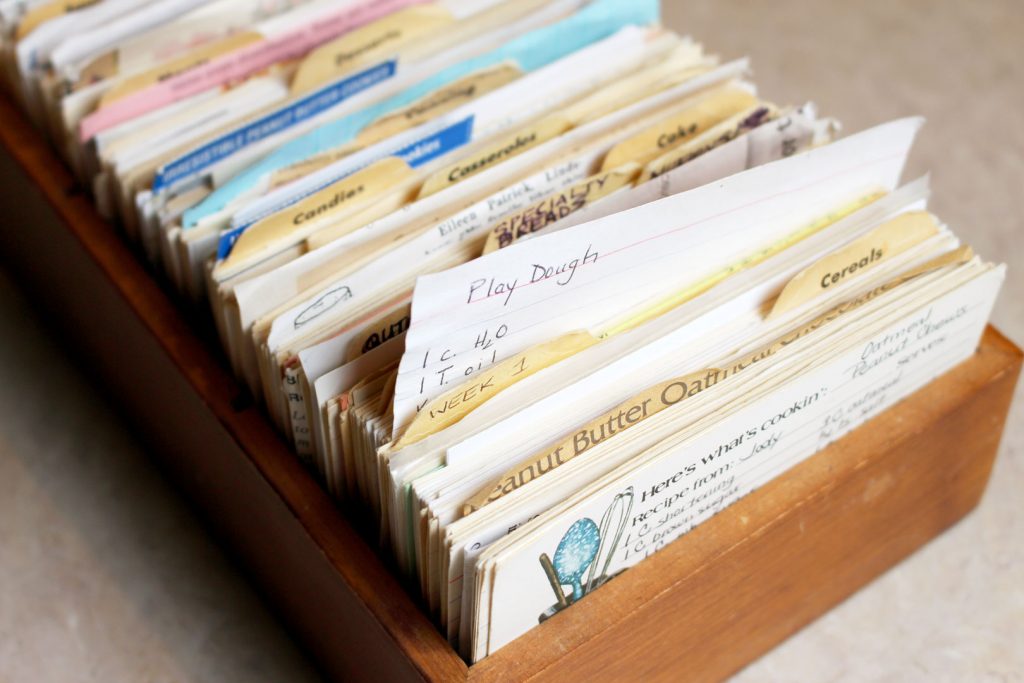
This Amazing Homemade Playdough Recipe has been in my recipe box for almost 35 years! It is hands down the favorite kids recipe I have ever used. I much prefer this playdough to the purchased type. It stays soft and pliable for months if it is stored properly.
Nana always has a batch in the closet on the toy shelf and it is brought out on the table almost every time the grands come to visit. I even pack it up and bring it with me to their house occasionally.
So easy to make!!
The ingredients are things that I have on hand all the time which is a real plus (salt, cream of tartar, flour, oil and Food Colors![]() …oh, and water, ha). The grands thought that it was pretty cool to make their own playdough. A bonus is that it only takes about 15 minutes to make.
…oh, and water, ha). The grands thought that it was pretty cool to make their own playdough. A bonus is that it only takes about 15 minutes to make.
Enough talk, let me show you just how easy (and fun) this is to make!
How to make playdough
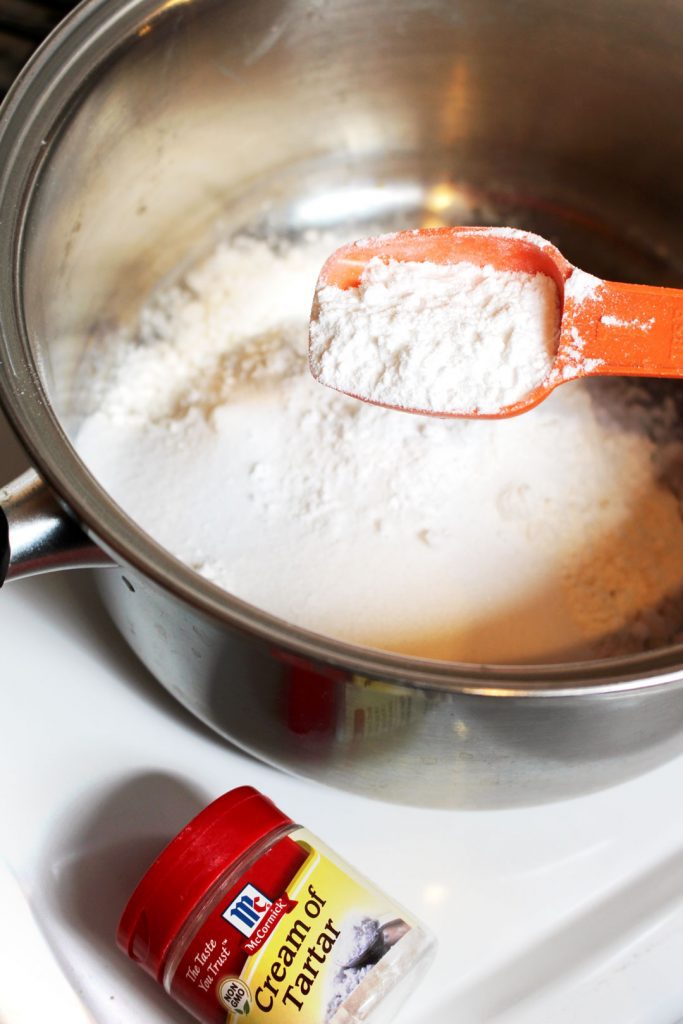
Put all of the dry ingredients into a 2 quart saucepan and mix with a spoon.
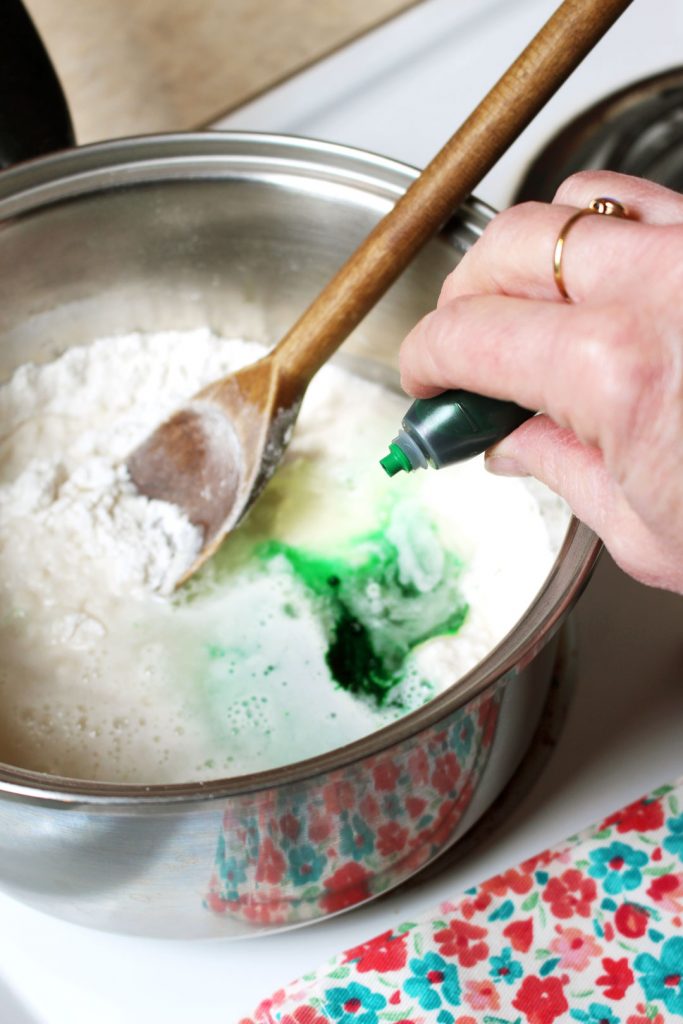
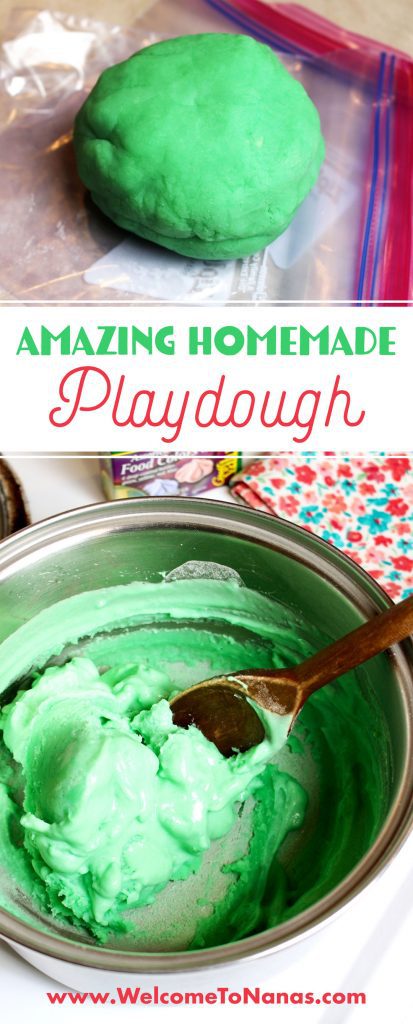
Add the water and oil and mix it all together. You can add the Food Color![]() in now if you are only making one color of play dough. It’s so hard to choose just one color! My last batch was red so let's try green this time.
in now if you are only making one color of play dough. It’s so hard to choose just one color! My last batch was red so let's try green this time.
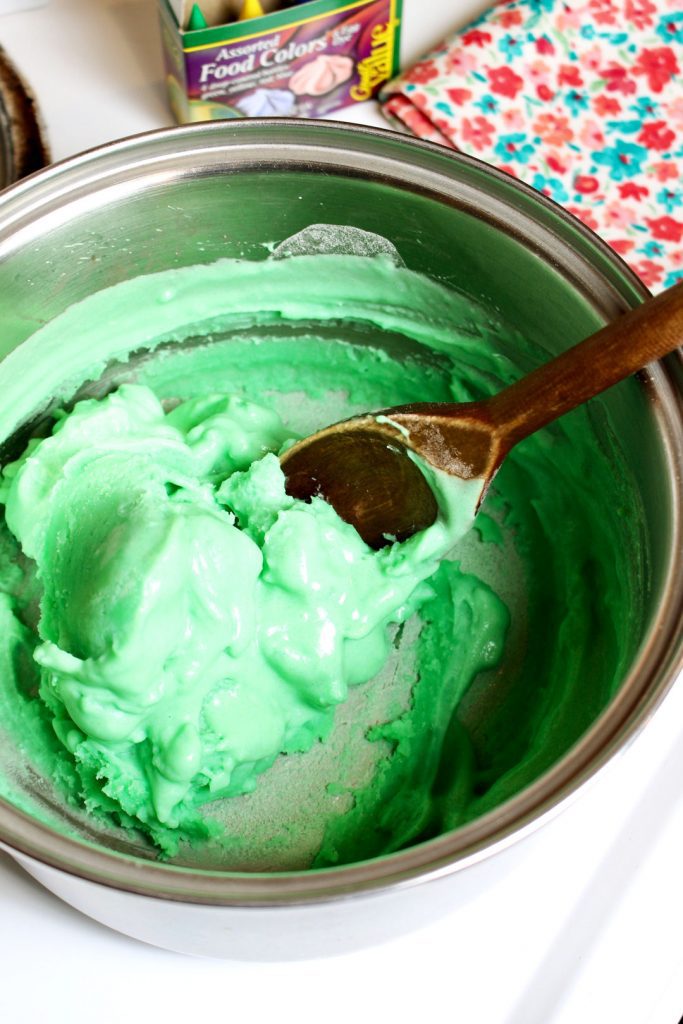
Turn the heat on medium and begin to heat the mixture, stirring constantly.
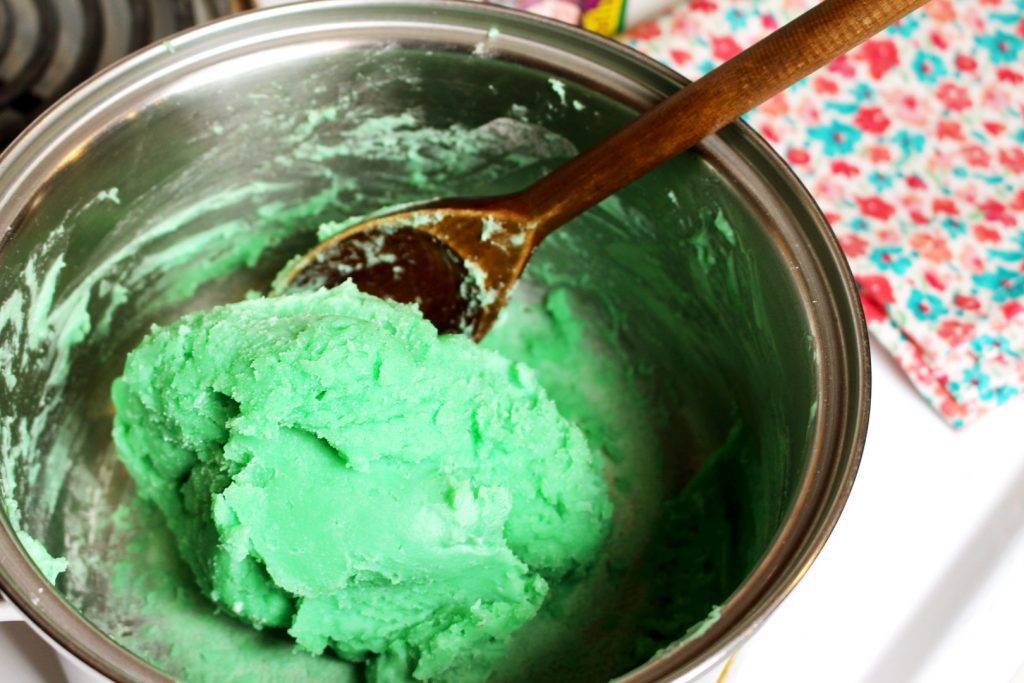
As you cook the mixture it will thicken, clump, and then form a ball. The dough will be...well it will be a good playdough consistency!
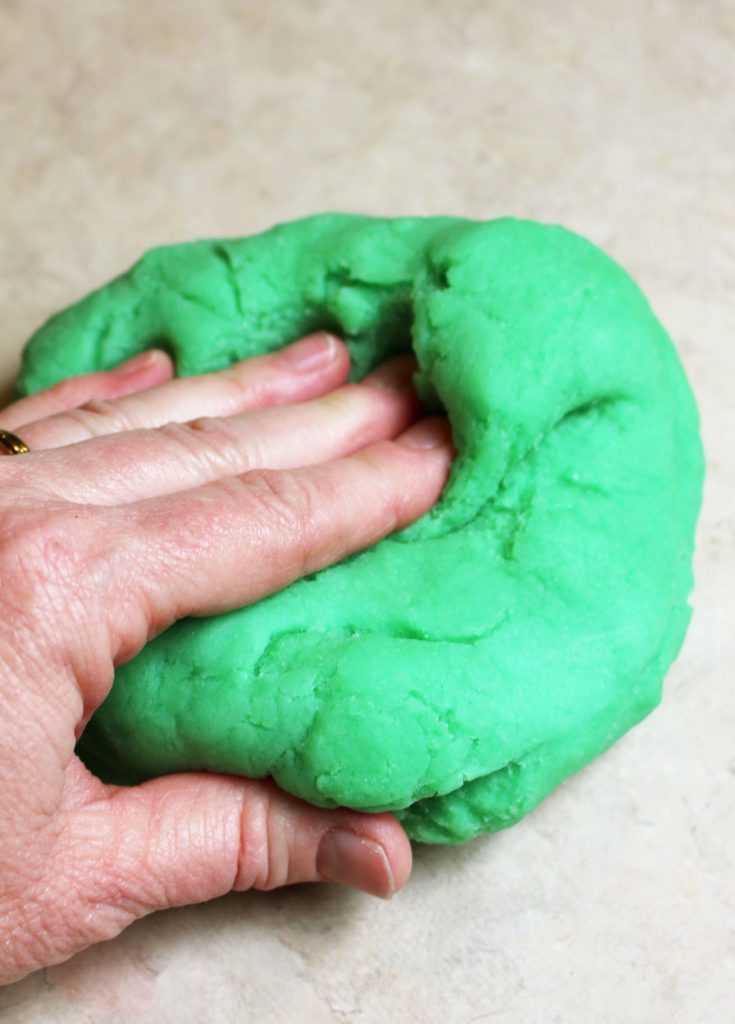
Knead the playdough
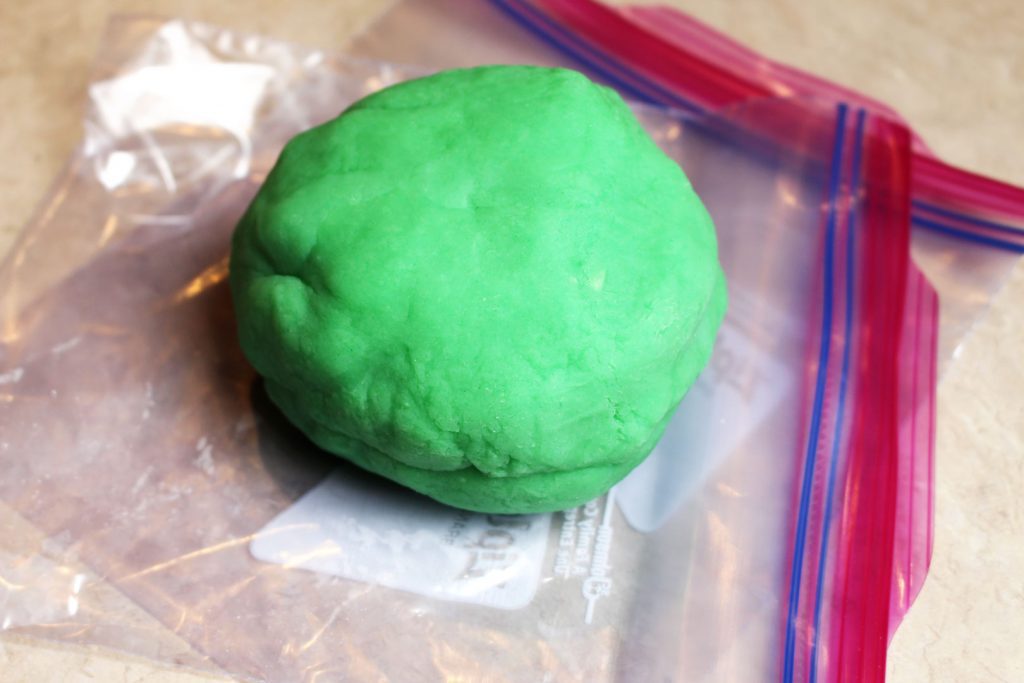
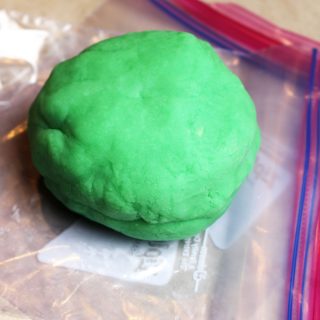
Place the playdough on a cutting board and after it cools off a bit, knead it until it is nice and smooth. I may try kneading in some glitter sometime, that would be cool!
If you haven’t added the food coloring in yet, divide the dough into several parts and add the Food Color![]() of choice to each lump of playdough. You may want to slip each lump into a resealable bag and knead the playdough while in the bag so you don’t get the food coloring on your hands (it stains).
of choice to each lump of playdough. You may want to slip each lump into a resealable bag and knead the playdough while in the bag so you don’t get the food coloring on your hands (it stains).
Doublebag to store
So the key to getting the Amazing Homemade Playdough Recipe to last a long time is to double bag it immediately after the grands are done playing with it. Place it inside a Resealable Freezer Bags![]() , get as much air out of the bag as possible and then seal the bag. Place this inside a second resealable freezer bag and make sure it is sealed well too.
, get as much air out of the bag as possible and then seal the bag. Place this inside a second resealable freezer bag and make sure it is sealed well too.
The extras, so important!
Having another bag of cookie cutters and other toys for playing in the playdough is helpful. I store them together on the toy shelves in the closet.
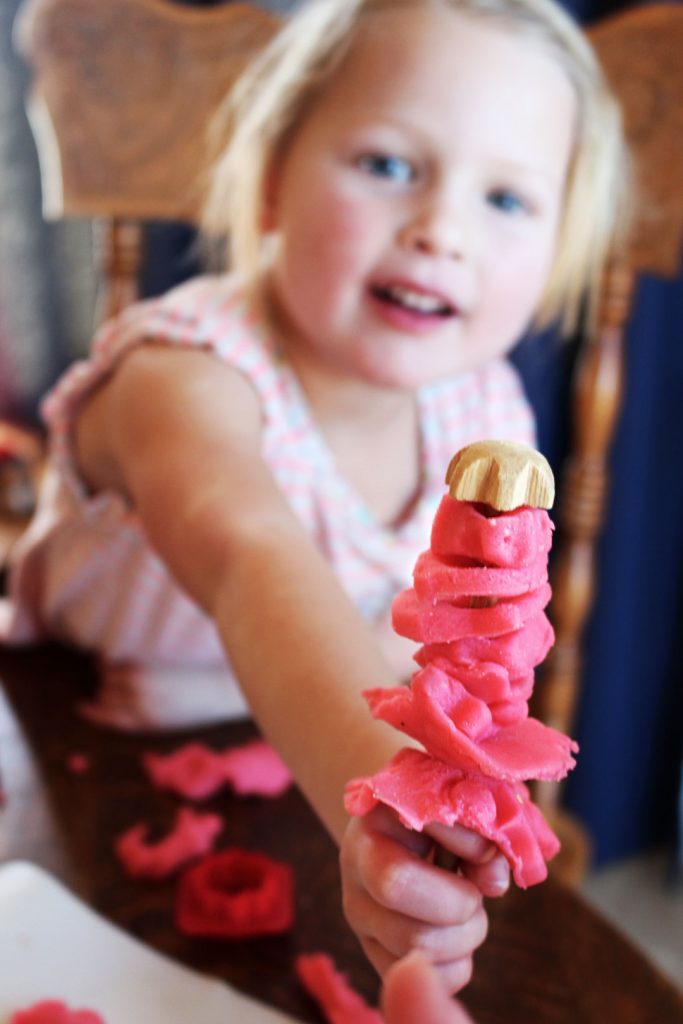
The grands of every age spend much time playing with this soft and pliable playdough made from this Amazing Homemade Playdough Recipe. You may want to double the recipe to have enough for everyone!
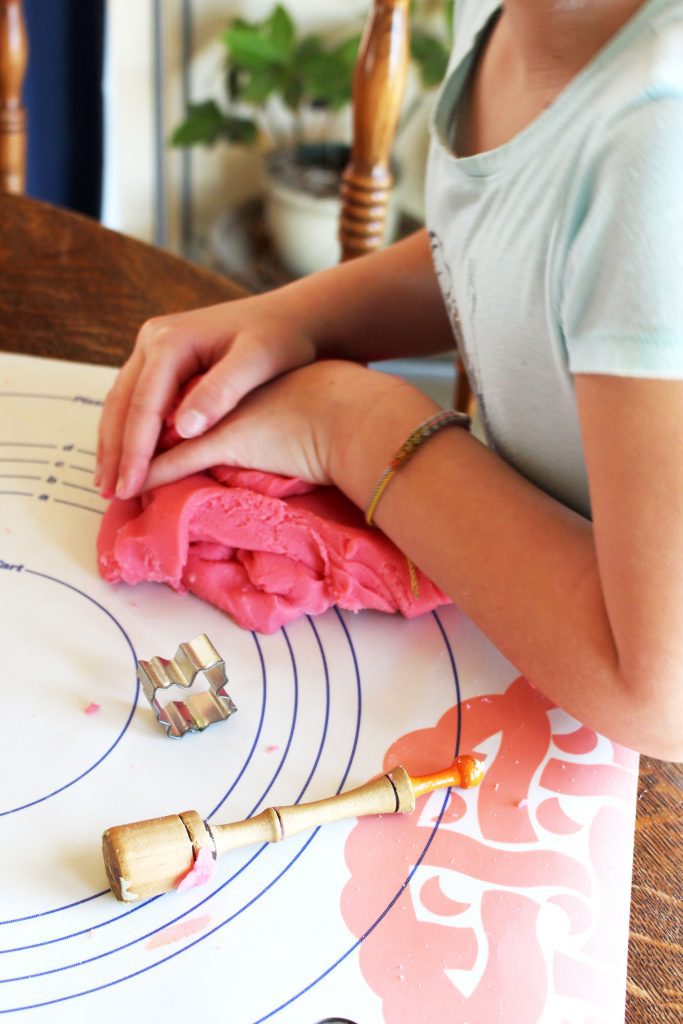
Tip: I cut up an old plastic table cloth into 1 ½ by 2 foot pieces. The grands grab one of these and put it on the table when they get out the play dough. That way the majority of the mess stays on this place mat and they can use cookie cutters and rolling pins all they want without damaging the table. Works pretty slick.
Oh, and the rule is that the play dough always stays on the kitchen table. There’s nothing worse than play dough mashed into the carpet! (Hmm…unless it’s Sticky Putty, that was awful! Ha!)
Makes a great gift!
My friend, Jane, used to make a recipe of playdough, divide it into fourths and make each of the fourths a different color- red, yellow, green, and blue. She packaged each color in an individual resealable bag and let her children give them as a set to friends for a birthday gift. Great idea, don’t you think?
Enjoy!
Welcome to Nana’s! Where there’s fun things to do with your “grand” kids!
Come join the fun at www.WelcomeToNanas.com
Amazing Homemade Playdough Recipe
Equipment
- Saucepan
Items Required
- ½ cup Salt
- 1 tablespoon Cream of tartar
- 1 cup Flour
- Food coloring (optional)
- 1 cup Water
- 1 tablespoon Oil
- Resealable bags
Instructions
- Place all dry ingredients into a 2 quart saucepan, mix.
- Add water and oil to the dry ingredients.
- Add food coloring now if you want to make one color of playdough.
- Turn heat on to medium and stir constantly.
- Cook until mixture thickens and then forms a ball.
- Allow to cool for awhile and then knead until smooth.
- If you haven't added food coloring yet, divide dough into the desired number of pieces and add the color of choice to each lump of playdough.
- Double bag the playdough into a tightly sealed reusable bags to store.


RoJean says
Have you ever tried heating the water/oil mix in the microwave and adding it to the dry ingredients? You can add the liquid food color at this stage, too. My recipe uses alum instead of cream of tartar. Made many batches of this wonderful stuff!
Shelly says
I've heard of both of these things, heating the water/oil mix and the alum. I've not tried either of those options but have heard good things about them. I got this recipe first and just stuck with it since I liked it so very well. So cool to think of you making this too!!!
Bill says
I can’t tell you how many times I’ve made play dough fir my wife’s classroom. The key is in the kneading.
Your recipe or one like it is the one I use.
Shelly says
That is so cool. I'll bet your wife loved the help and the kids loved the playdough! I agree with you, too- it's important to knead it well.
Emily Wimer says
So fun! The boys have a snow day today so Carter and Beckett can't wait to make their own! Thanks for sharing.
Shelly says
Hope they enjoyed it! Great activity for a snow day. Love you!