Painting Wooden Easter Eggs Craft is a great thing to do when the price of eggs is high! The kids will have fun creating wooden egg designs and the eggs last all year long.

Jump to:
Cute Craft Alert: Decorating Wood Easter Eggs
I've loved decorating Easter eggs since I was a young child! Egg decorating is a fun tradition to pass on to children and we've had fun with unique decorating methods over the years (like these fun shaving cream eggs!).
Since eggs are so expensive I thought painting wooden eggs was a great option for this year. The side benefit to this fun project is they last all year long!
In fact, you could paint over them with white paint and repaint them again year after year! Pick up some wooden eggs at your craft store and come join me for some Easter egg decorating fun.

Supplies
Here are a few quick notes about the supplies you will need to paint wooden Easter eggs!
- Wooden eggs- Wooden eggs can be purchased at your craft store. Look for half off sales.
- Acrylic craft paint- Acrylic craft paints are handy to have on hand and you can use yours on this and many more projects.
- Paint brushes- Small round paint brushes work well for decorating eggs with acrylic paints.
- Sharpie marker- A permanent Sharpie marker can make design outlines on your egg.
- Push pins- Place a push pin in the bottom of the wooden egg to make it easier to hold onto while you paint.
- Other materials- Plastic wrap or plastic bag, Water container, Paper towels, paper plate.


Steps for Painting Wooden Easter Eggs
Prepping for the project
Cover your workspace with plastic (such as plastic wrap or a plastic bag). You can set your egg down to dry on this surface without it sticking.
Take a push pin and push it into the bottom of the wooden Easter egg. This will give you something to hold onto while you're painting your egg. If it goes in fairly straight you can even use it to twirl your egg around to make designs while you paint. The push pin does not have to go all the way into the egg, just until it's firm.
Squirt a small amount of your acrylic craft paints (in the colors of your choice) onto a paper plate as a pallet.
Paint the Easter egg wood a solid color for the background of your design. I chose white and I experimented with black. I would like to try other colors next time.


Painting wooden egg designs
Draw your design onto the egg if this is helpful for you. Your design can be flowers, a design, faces, anything that you would like to try!
Use the small paint brushes to paint your design onto the egg. Be sure to clean out your brushes between colors. Set the egg down on the plastic to dry. You may need to do this between colors in your design.
A painted egg doesn't need a finish. But if you would like to do so you could use a clear polyurethane spray or liquid. Some people use a wax and wax the surface of the painted wooden Easter egg.
A full length video tutorial is found here: Painting Wooden Easter Eggs Tutorial Video


Craft Tips
Decorating wooden easter eggs is easy with these tips.
- Plastic wrap- Plastic under your work surface lets you set the eggs down to let dry. The painted wooden Easter eggs don’t stick to the plastic like they do to paper.
- Young kids- Push pins may be too difficult for young children to hold onto. Just let them hold the eggs in their hands as they paint or set them on a toilet paper tube (cut down in size). It may smudge the paint some but it will be less frustrating.
- Paint amounts- Only squirt out about a dime to a nickel size amount of paint onto the plate.It goes much further than you think. You can always add more to the plate.
- Shake the paint- Always shake the bottle well before squirting out paint. The paint separates out slightly and this helps it mix.
- Brushes- Clean out your brushes well after having them in paint. Dry them on a paper towel.
- Mixing paint colors- Children can mix colors together to get new colors. It works well to use a darker color with a lighter color to get the medium value of that color. You will see that on the video.


Craft Variations
Here are a few variations you’re welcome to try with this painted wooden eggs craft:
- Stencils- If you have small stencils they could be used to draw designs on the egg.
- Sponges- A child may enjoy using sea sponge or a small dot sponge brush to put dots on their eggs.
- Jewels or bead decorations- Why not bejewel the egg when you are finished painting it?
- Felt, paper, or craft foam- You can glue cut out pieces of felt, paper or craft foam to add features to your egg.
- Easter eggs wooden- It would be fun to try leaving the Easter egg wooden, plain wood, not painting it a solid color.
- Create a collection- Once you've created a grouping, put them together in a collection. You could even display them in a string egg on a table or shelf!

FAQ
I use acrylic craft paints to paint on this wooden eggs craft. You can purchase the colors individually or in a set. I promise you, if you do crafts you will enjoy having a set on hand. I also keep a Sharpie permanent marker handy to make small details in the design.
You don't need to seal your painted wooden egg Easter decorations. But if you want to seal them, you can use a polyurethane spray or liquid over the surface. Another option is to use wax and wax the surface.

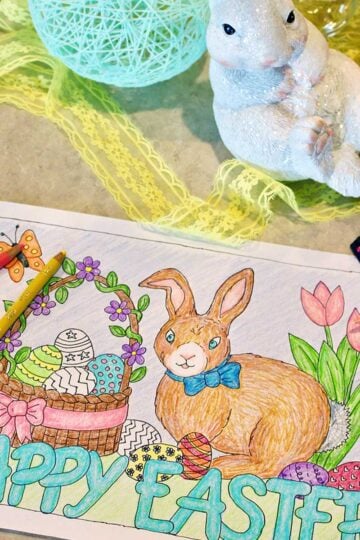
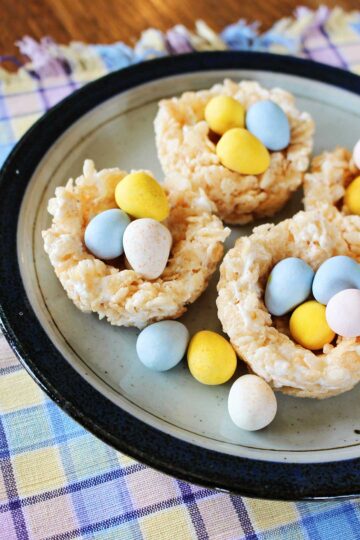
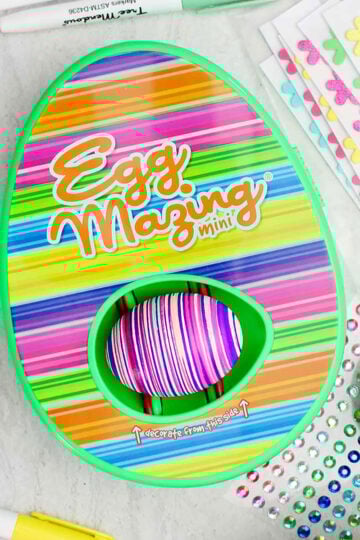
More Fun Easter Crafts for Kids
Looking for more easy Easter crafts to try? Here are a few of our favorites:


Come Join the Fun at WTN!
Try this craft, leave a comment, rate it, and tag a photo with #WelcometoNanas wherever you post.
Get More Crafts!
Love getting crafts straight to your inbox? Sign up to receive a weekly email and get a free craftsy gift!


Painting Wooden Easter Eggs Craft
Equipment
- Small round paint brushes Small round paint brushes
Items Required
- Wooden eggs at your craft store
- Acrylic craft paints
- permanent Sharpie marker
- a push pin
- Other materials- Plastic wrap or plastic bag, Water container, Paper towels, paper plate.
Instructions
Prepping for the project
- Cover your workspace with plastic (such as plastic wrap or a plastic bag). You can set your egg down to dry on this surface without it sticking.Take a push pin and push it into the bottom of the wooden Easter egg. This will give you something to hold onto while you're painting your egg. If it goes in fairly straight you can even use it to twirl your egg around to make designs while you paint. The push pin does not have to go all the way into the egg, just until it's firm.Squirt a small amount of your acrylic craft paints (in the colors of your choice) onto a paper plate as a pallet.Paint the Easter egg wood a solid color for the background of your design. I chose white and I experimented with black. I would like to try other colors next time.
Painting wooden egg designs
- Draw your design onto the egg if this is helpful for you. Your design can be flowers, a design, faces, anything that you would like to try! Use the small paint brushes to paint your design onto the egg. Be sure to clean out your brushes between colors. Set the egg down on the plastic to dry. You may need to do this between colors in your design. A painted egg doesn't need a finish. But if you would like to do so you could use a clear polyurethane spray or liquid. Some people use a wax and wax the surface of the painted wooden Easter egg.


Leave a Reply