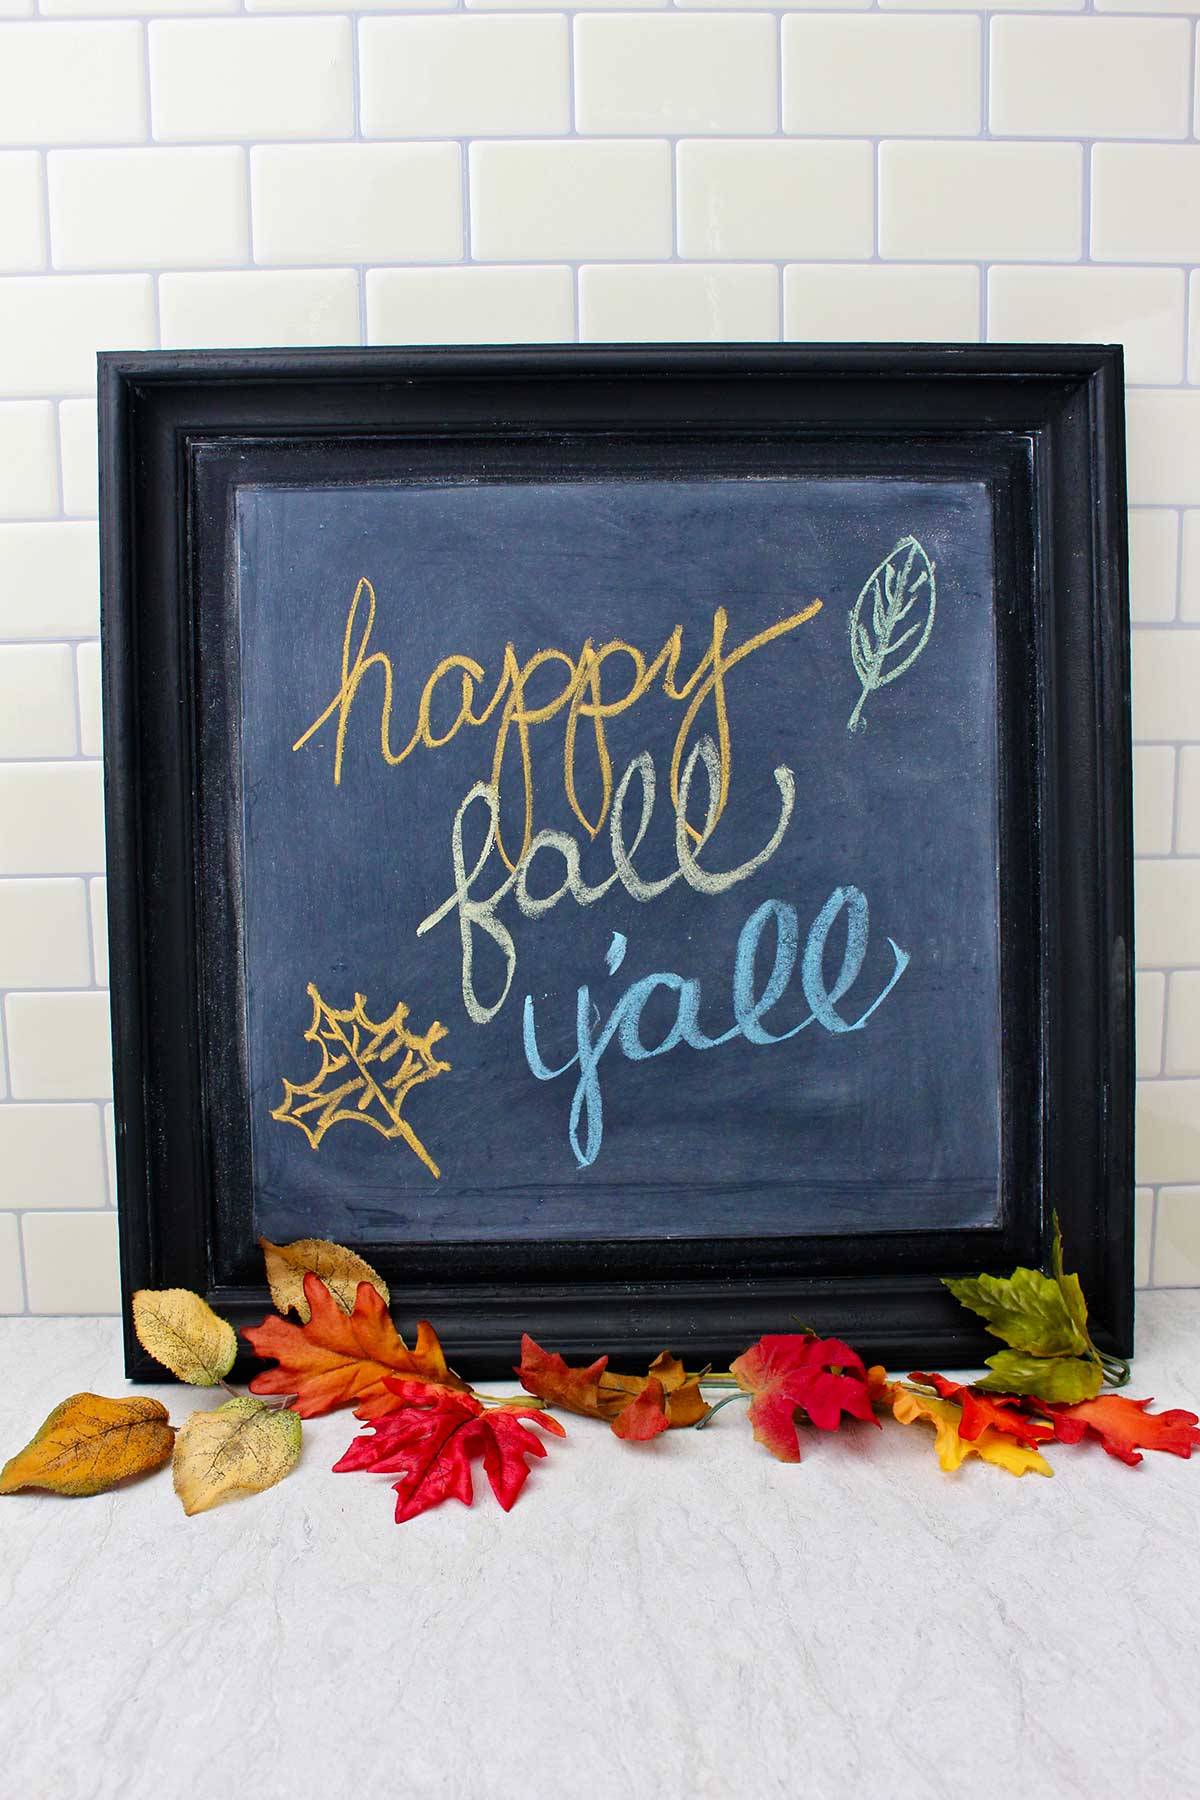
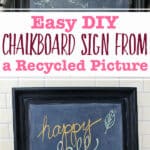
Follow the easy tutorial and make a DIY Chalkboard Sign from a recycled picture! This simple upcycled craft for kids makes a cute room decoration, DIY gift, or a spot to write holiday messages!
Jump to:
Cute Craft Alert: A Frame Chalkboard Sign
I love seeing chalkboard signs in people’s homes on the wall, porch, or in their coffee bar area. The sayings they write on them may be funny, thoughtful, or a private joke.
So when I was pondering a craft that could foster gratefulness and family in the fall and Thanksgiving season, a chalkboard sign came to mind. I'm excited to give it a try!
Supplies for Making Chalkboard Signs
Here are a few quick notes about the supplies you will need to make this upcycled craft!
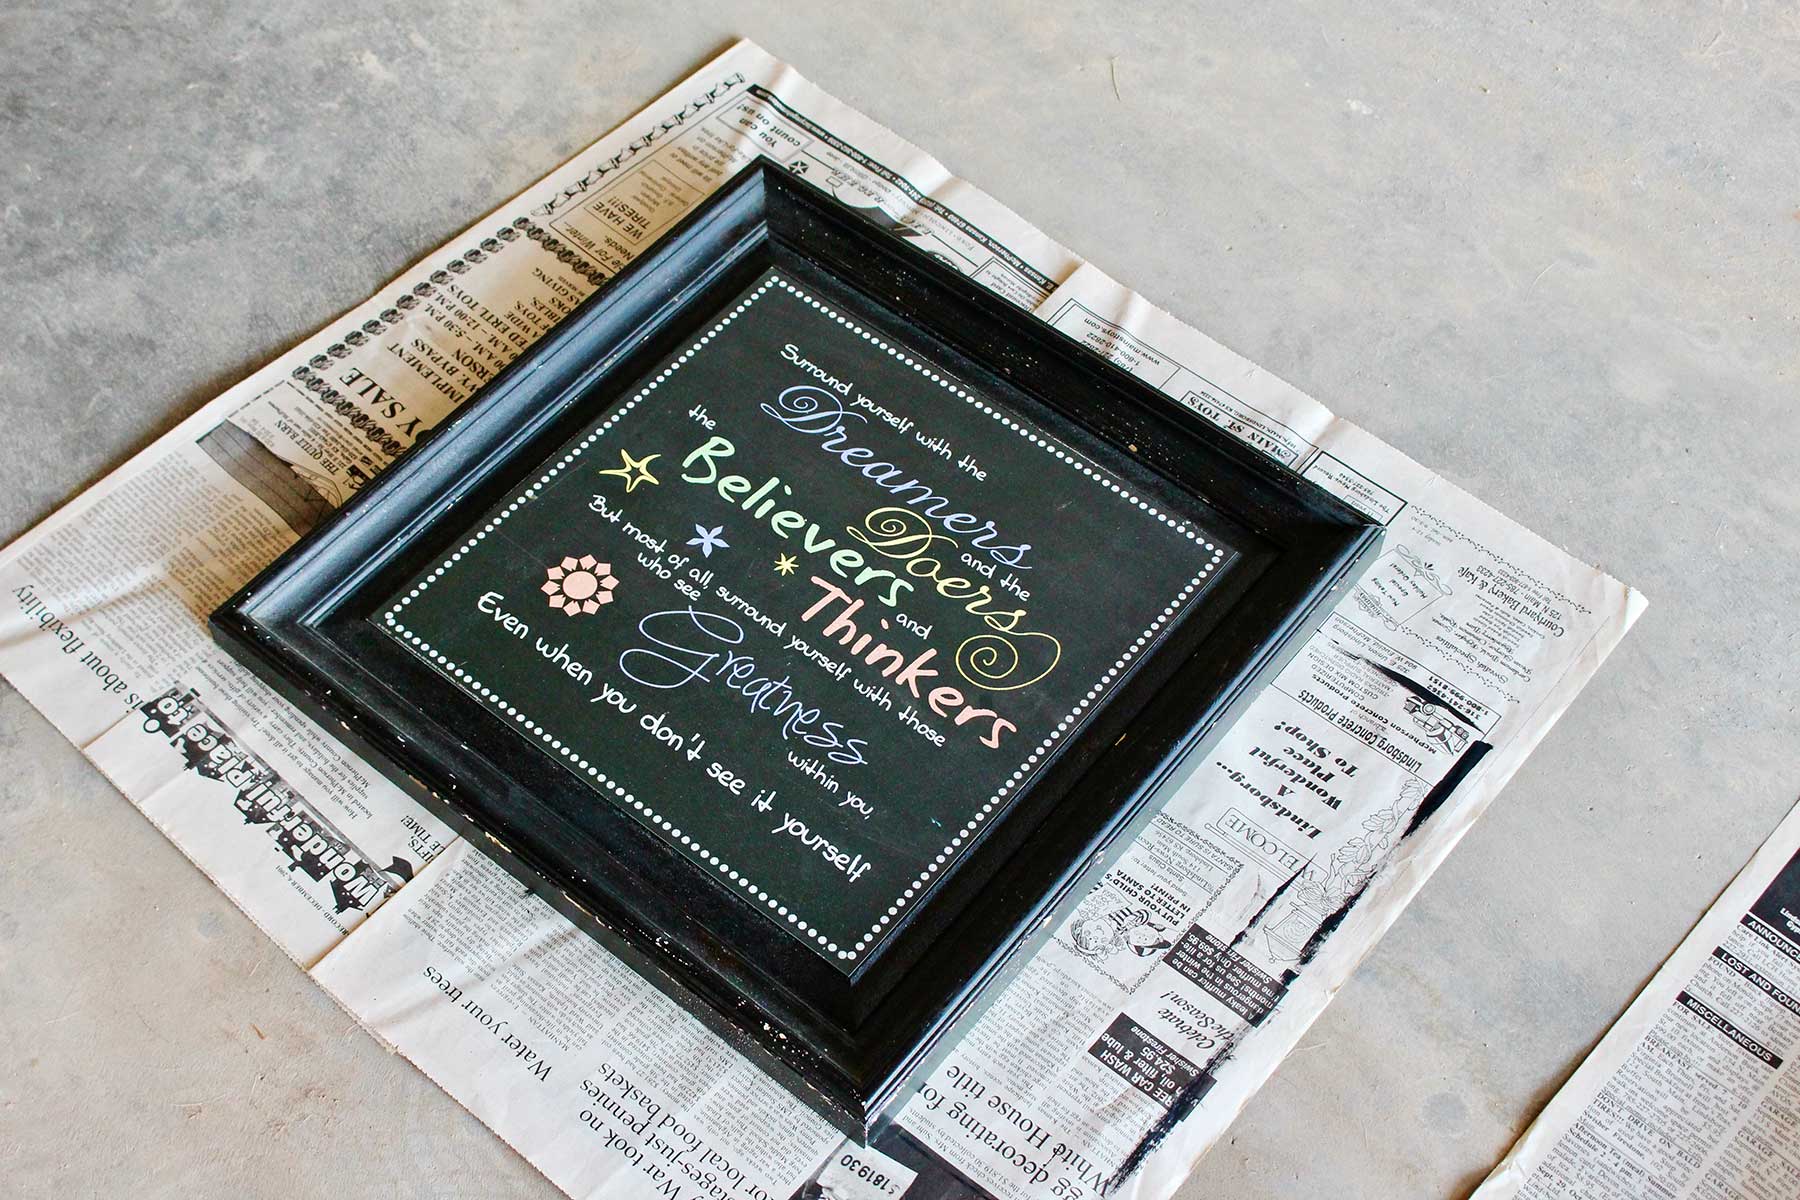
- Thrifted plaque, picture, or board- Look for a thrifted picture to upcycle before heading to the store. They have a lot of character, and you can give that picture a second life! Purchase a picture if needed.
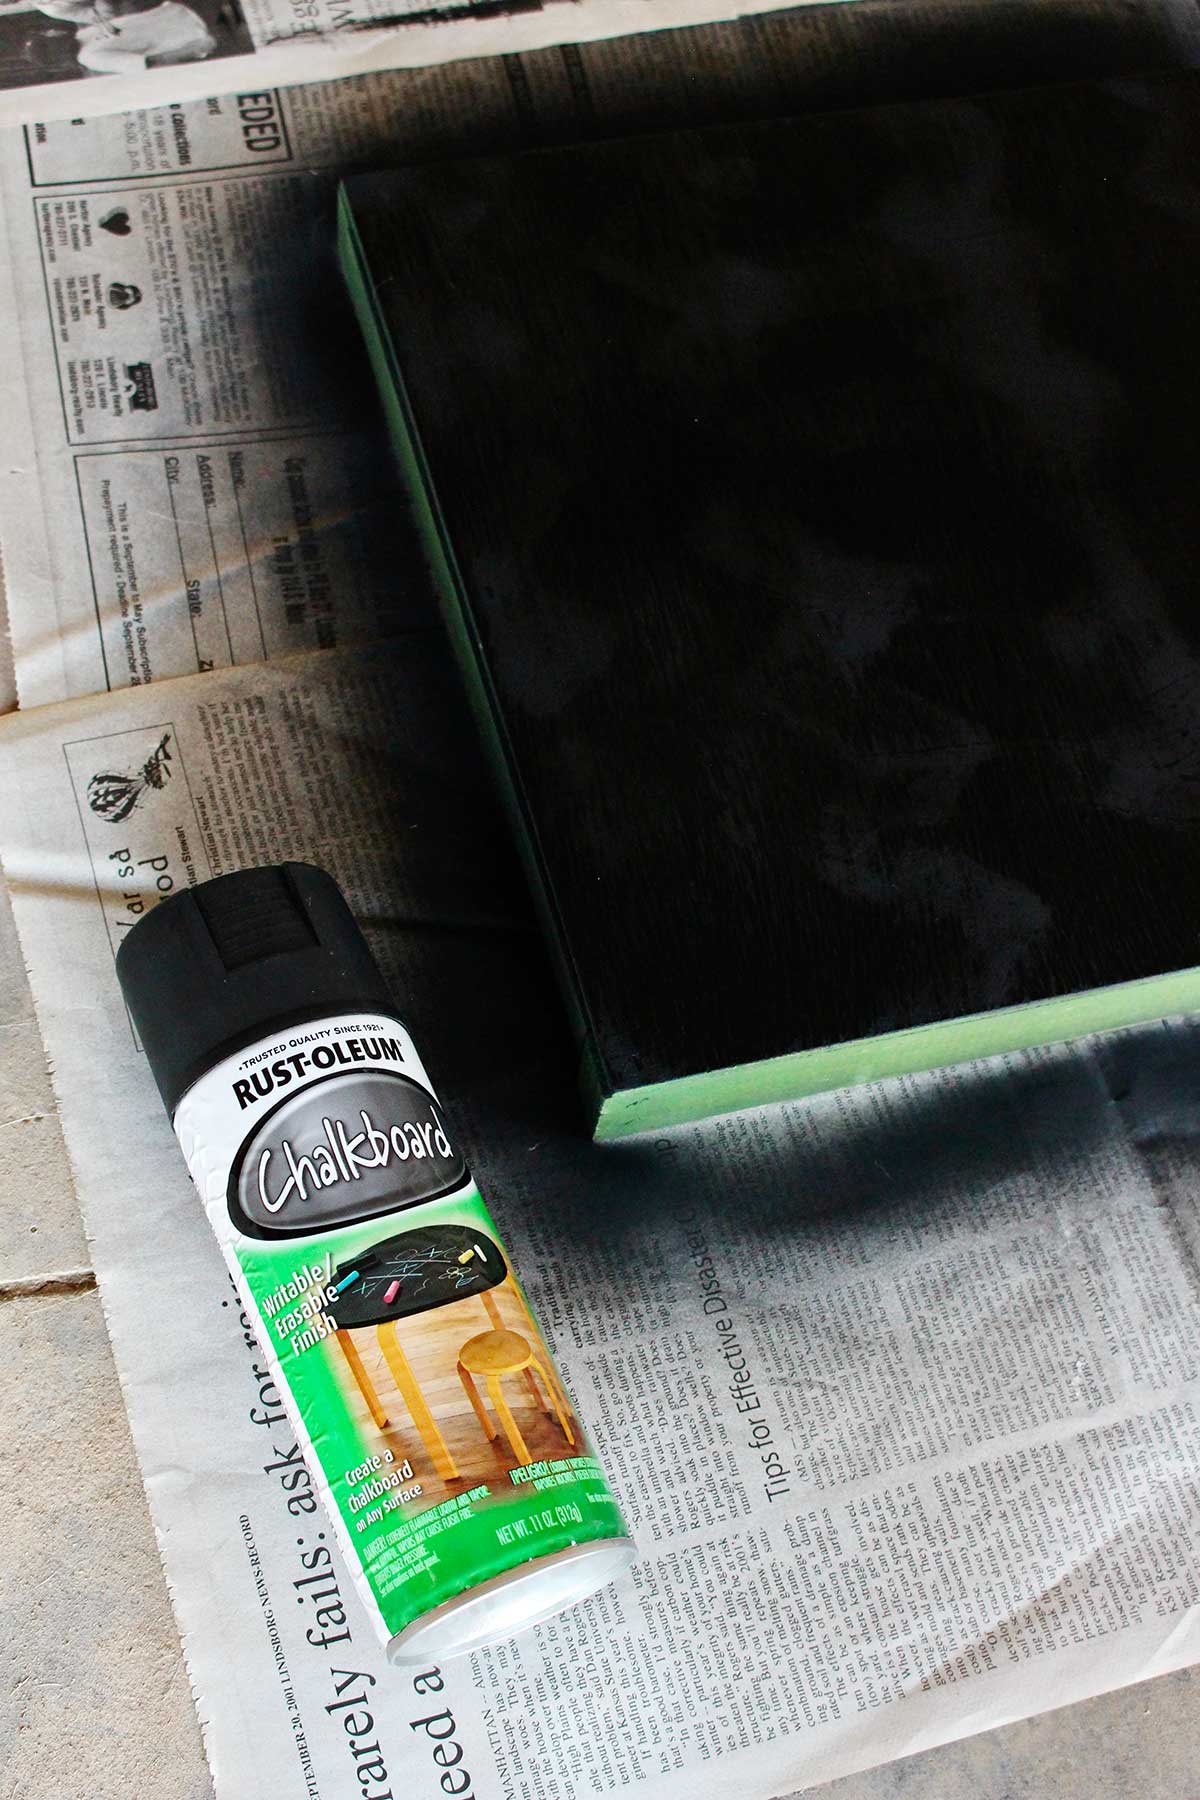
- Chalkboard paint- Chalkboard paint comes in a spray paint or a liquid paint to brush on. I like the spray paint. Make sure you buy chalkboard paint, not chalk paint (which is for making a paint effect on painted wood surfaces).
- Chalk- Your project needs old fashioned white chalkboard chalk to finish it. You will write on the board with it as well (in white or colored chalk).
- Acrylic paint- Use acrylic craft paint to paint the frame. This covers nicks in a recycled frame.
Steps to Make a Frame Chalkboard Sign
Paint the chalkboard
This upcycle project gives an old picture a new purpose. Look in your own closet or a thrift store for a plaque, picture, or board to make into a chalkboard sign. I found a solid wood plaque with a framed edge and a wooden sign to use.
Sand the surface of boards or surfaces that have lettering that may keep the chalkboard surface from being smooth.
Use painters’ tape to tape off the frame when painting the chalkboard area.
Use chalkboard paint to paint the area you will be drawing on. I chose black chalkboard spray paint.
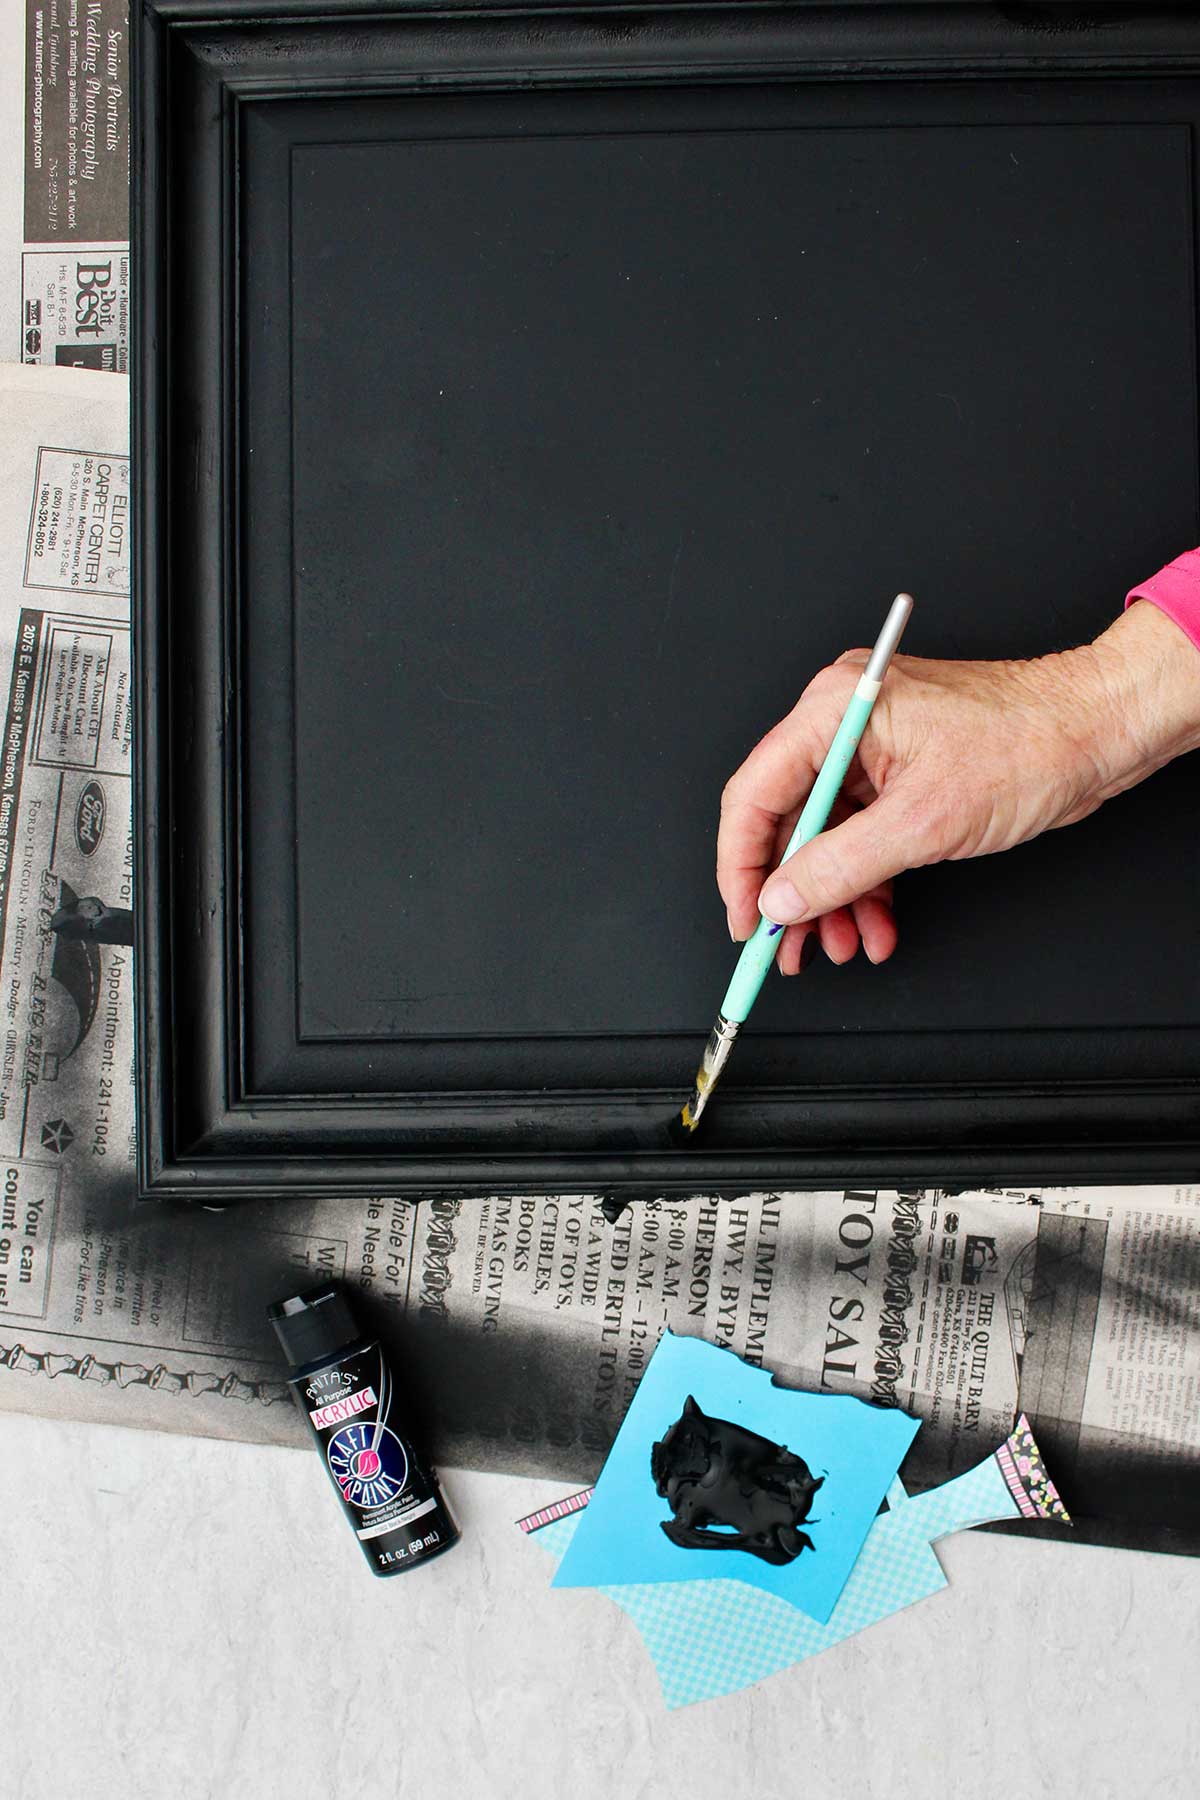
Painting the frame
Use painters’ tape to tape off the chalkboard area while painting the frame.
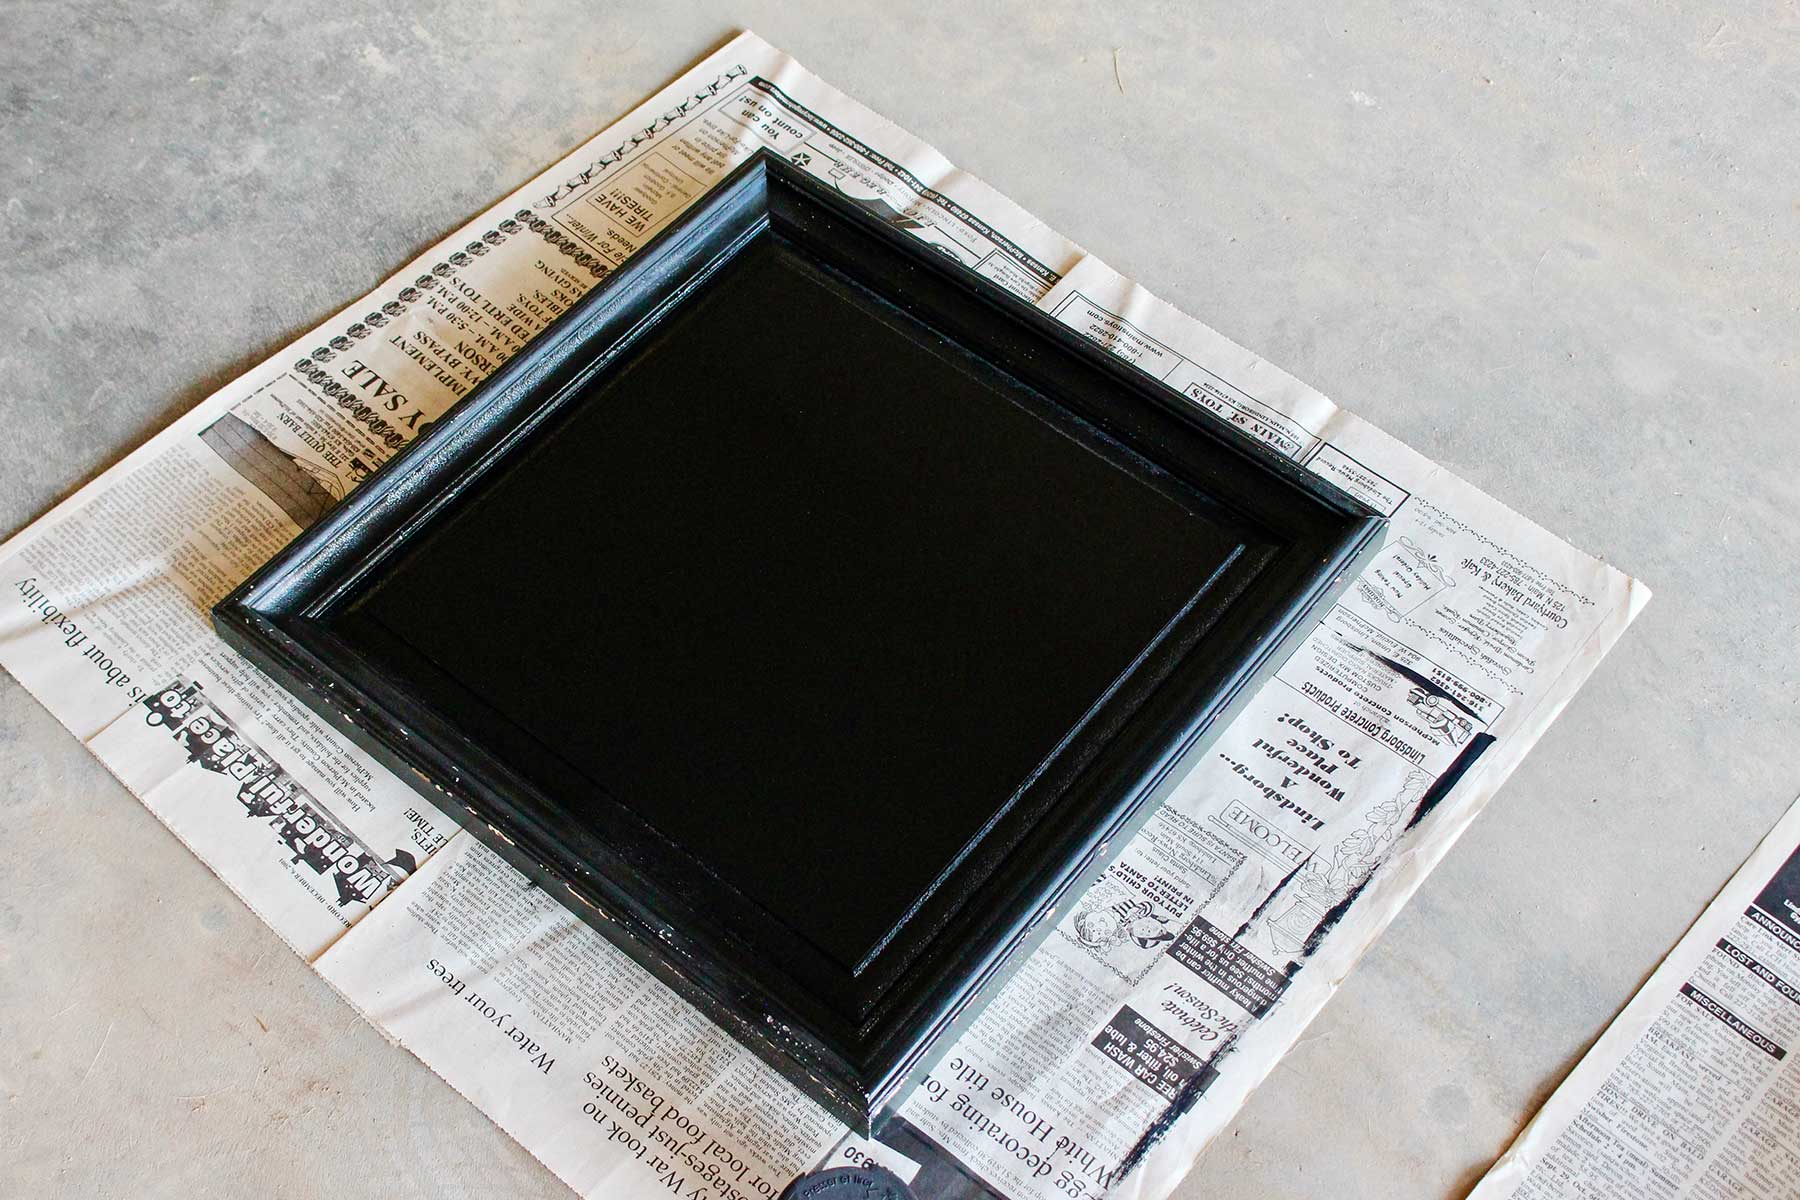
Paint the frame the color acrylic craft paint of your choice. It may take more than one coat to cover well so make sure the first coat is dry before applying the second coat.
Seasoning the chalkboard
Before writing on the board it needs to be seasoned.
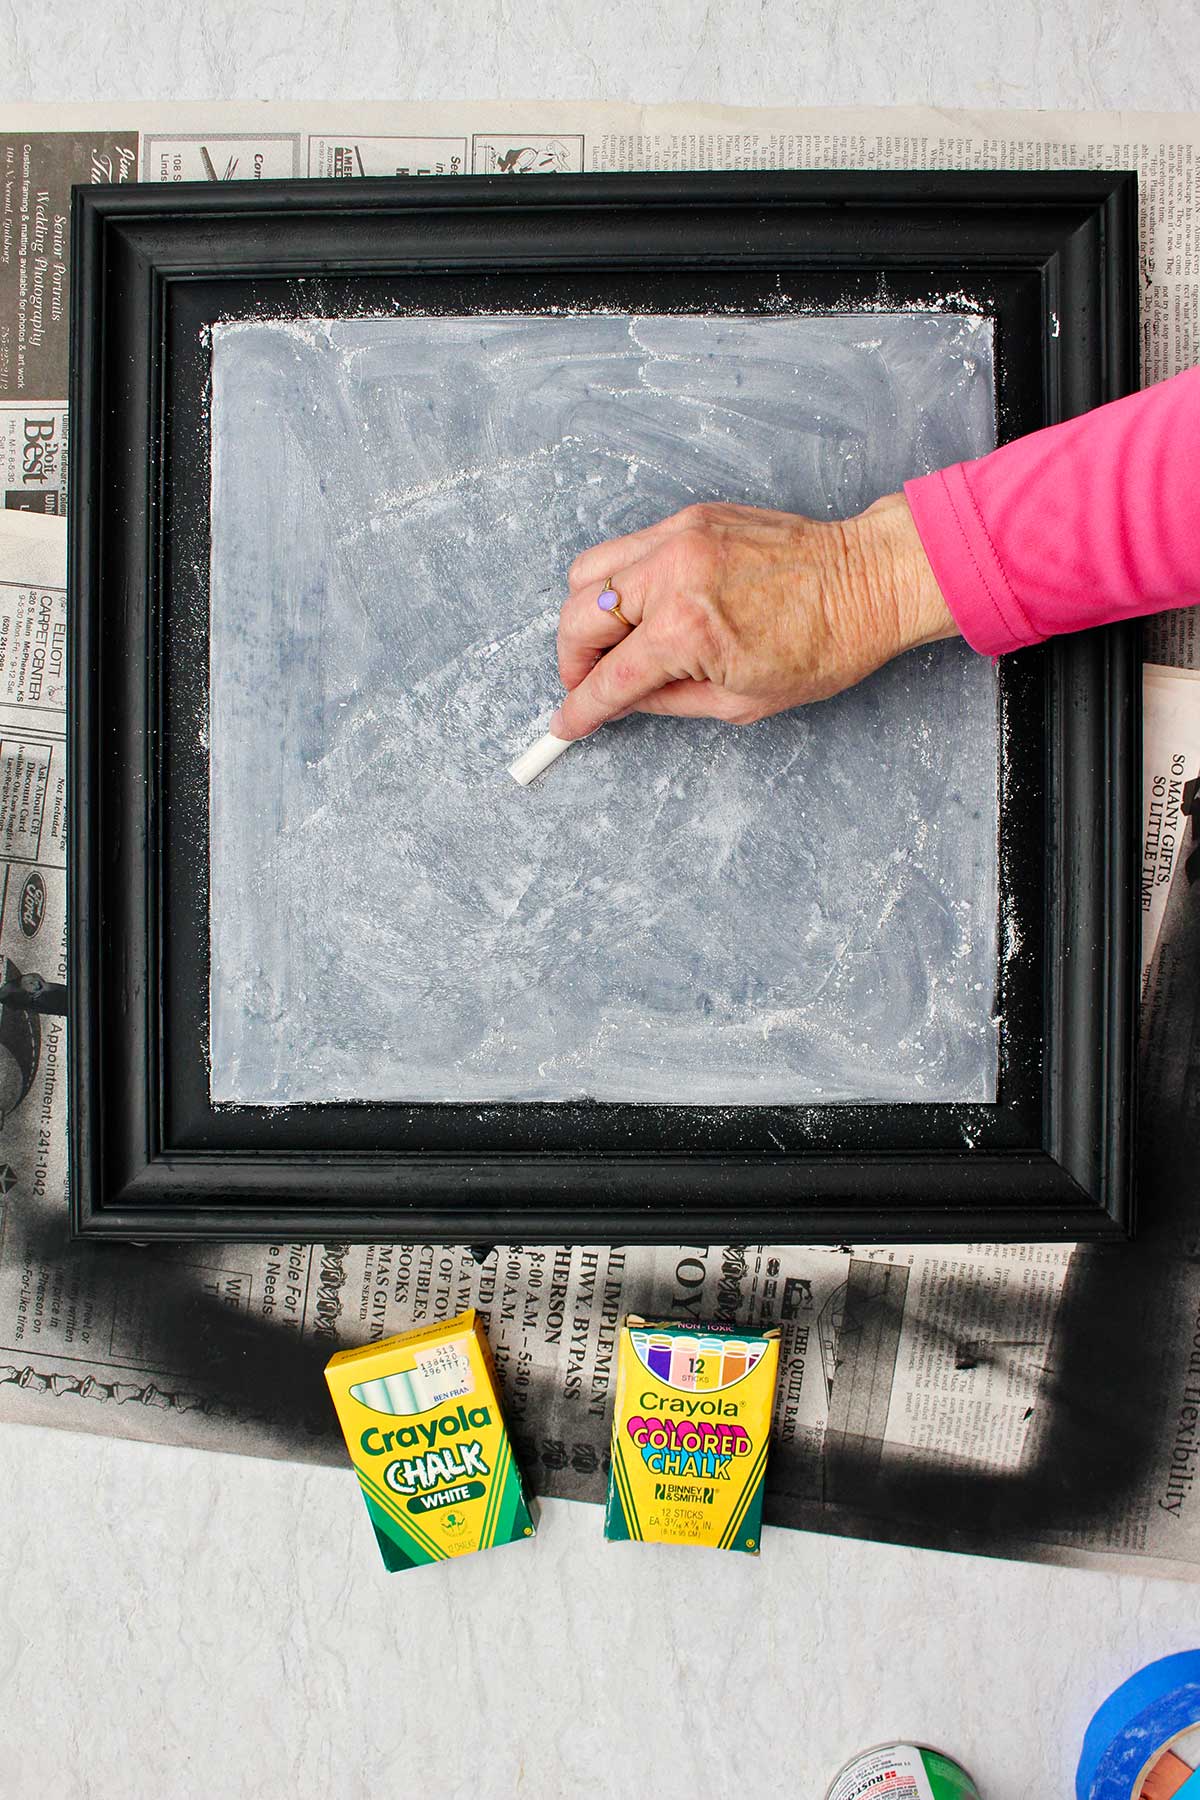
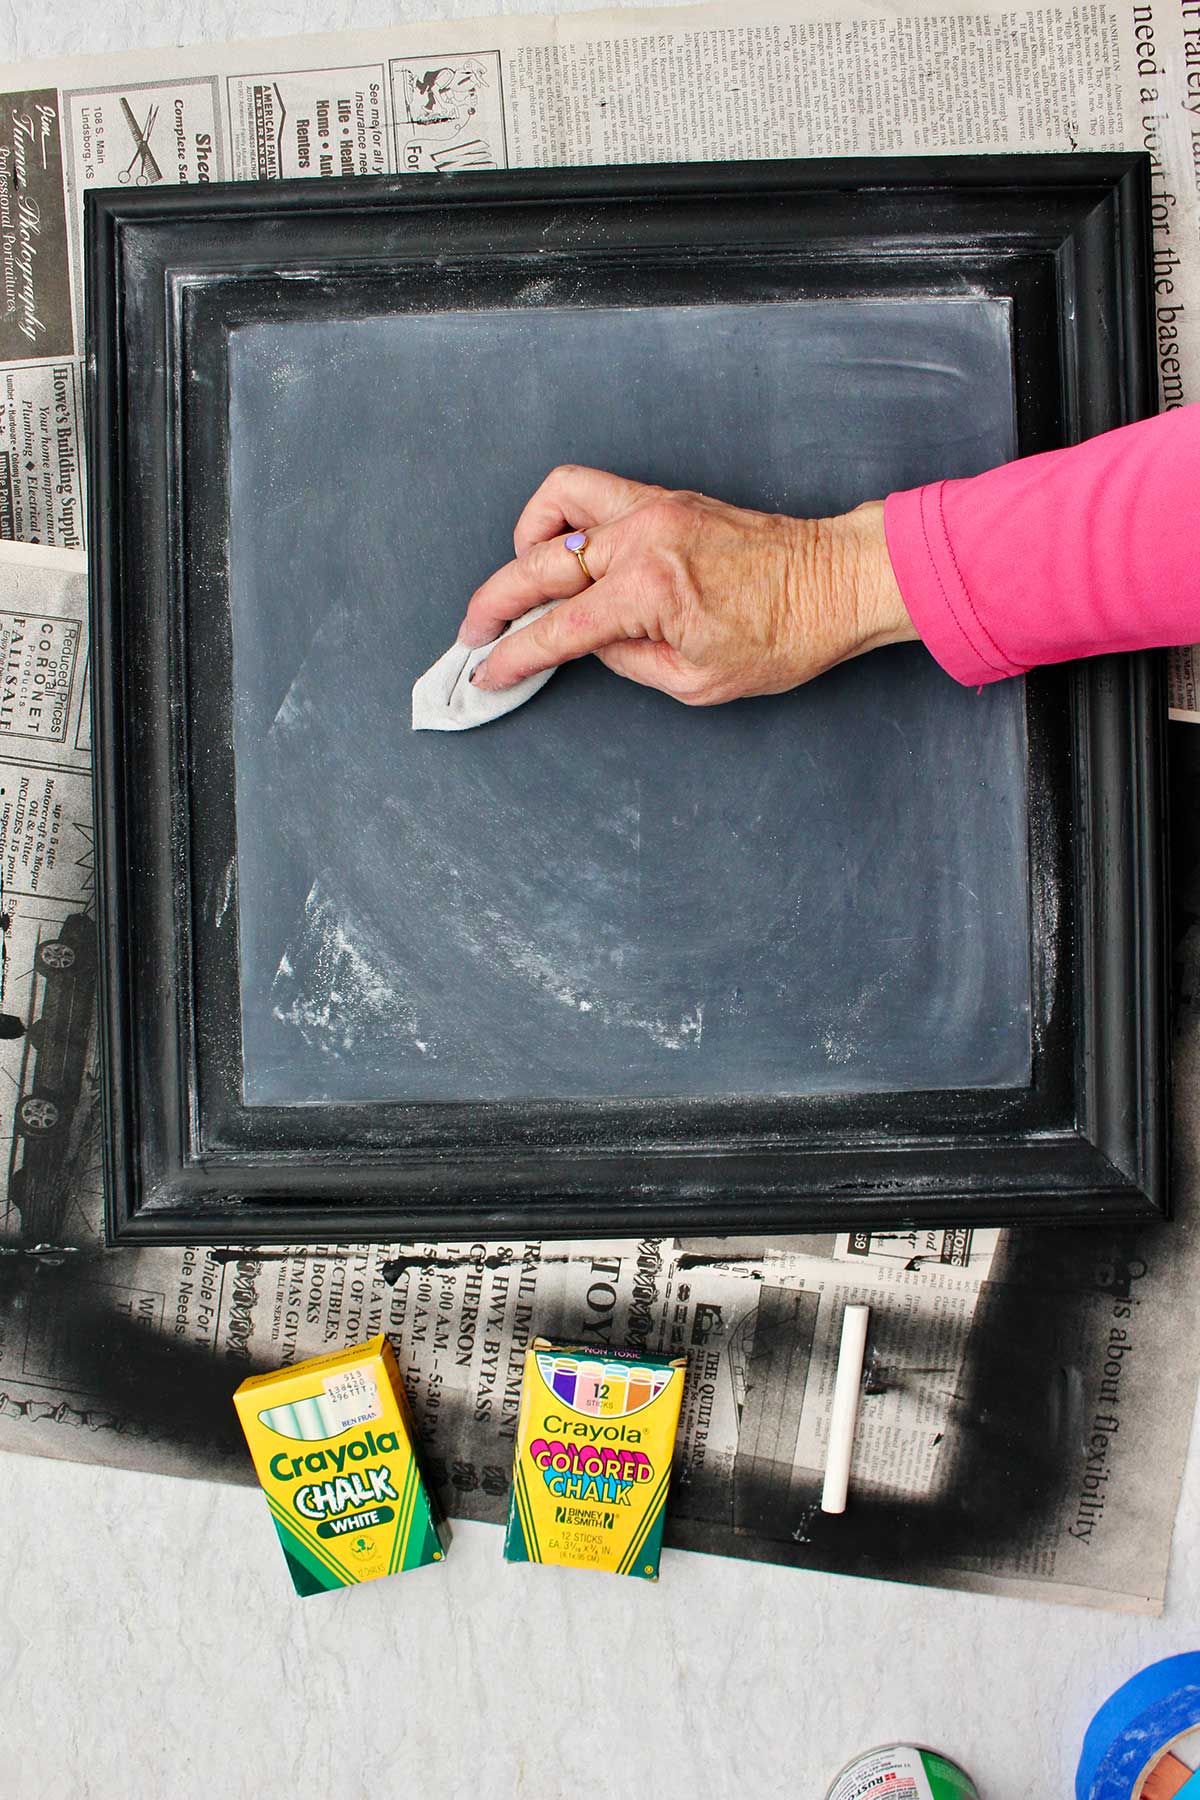
Use the side of a piece of white chalkboard chalk to cover the board area in chalk. I used my finger to kind of rub it smoothly onto the surface. Use a dry cloth to wipe off the chalkboard.
Your board has now been seasoned. This makes it less likely to leave ghost marking on the board- which is a remnant of your writing even when you wipe the writing off.
I wiped the chalk smudges off the frame with a damp cloth.
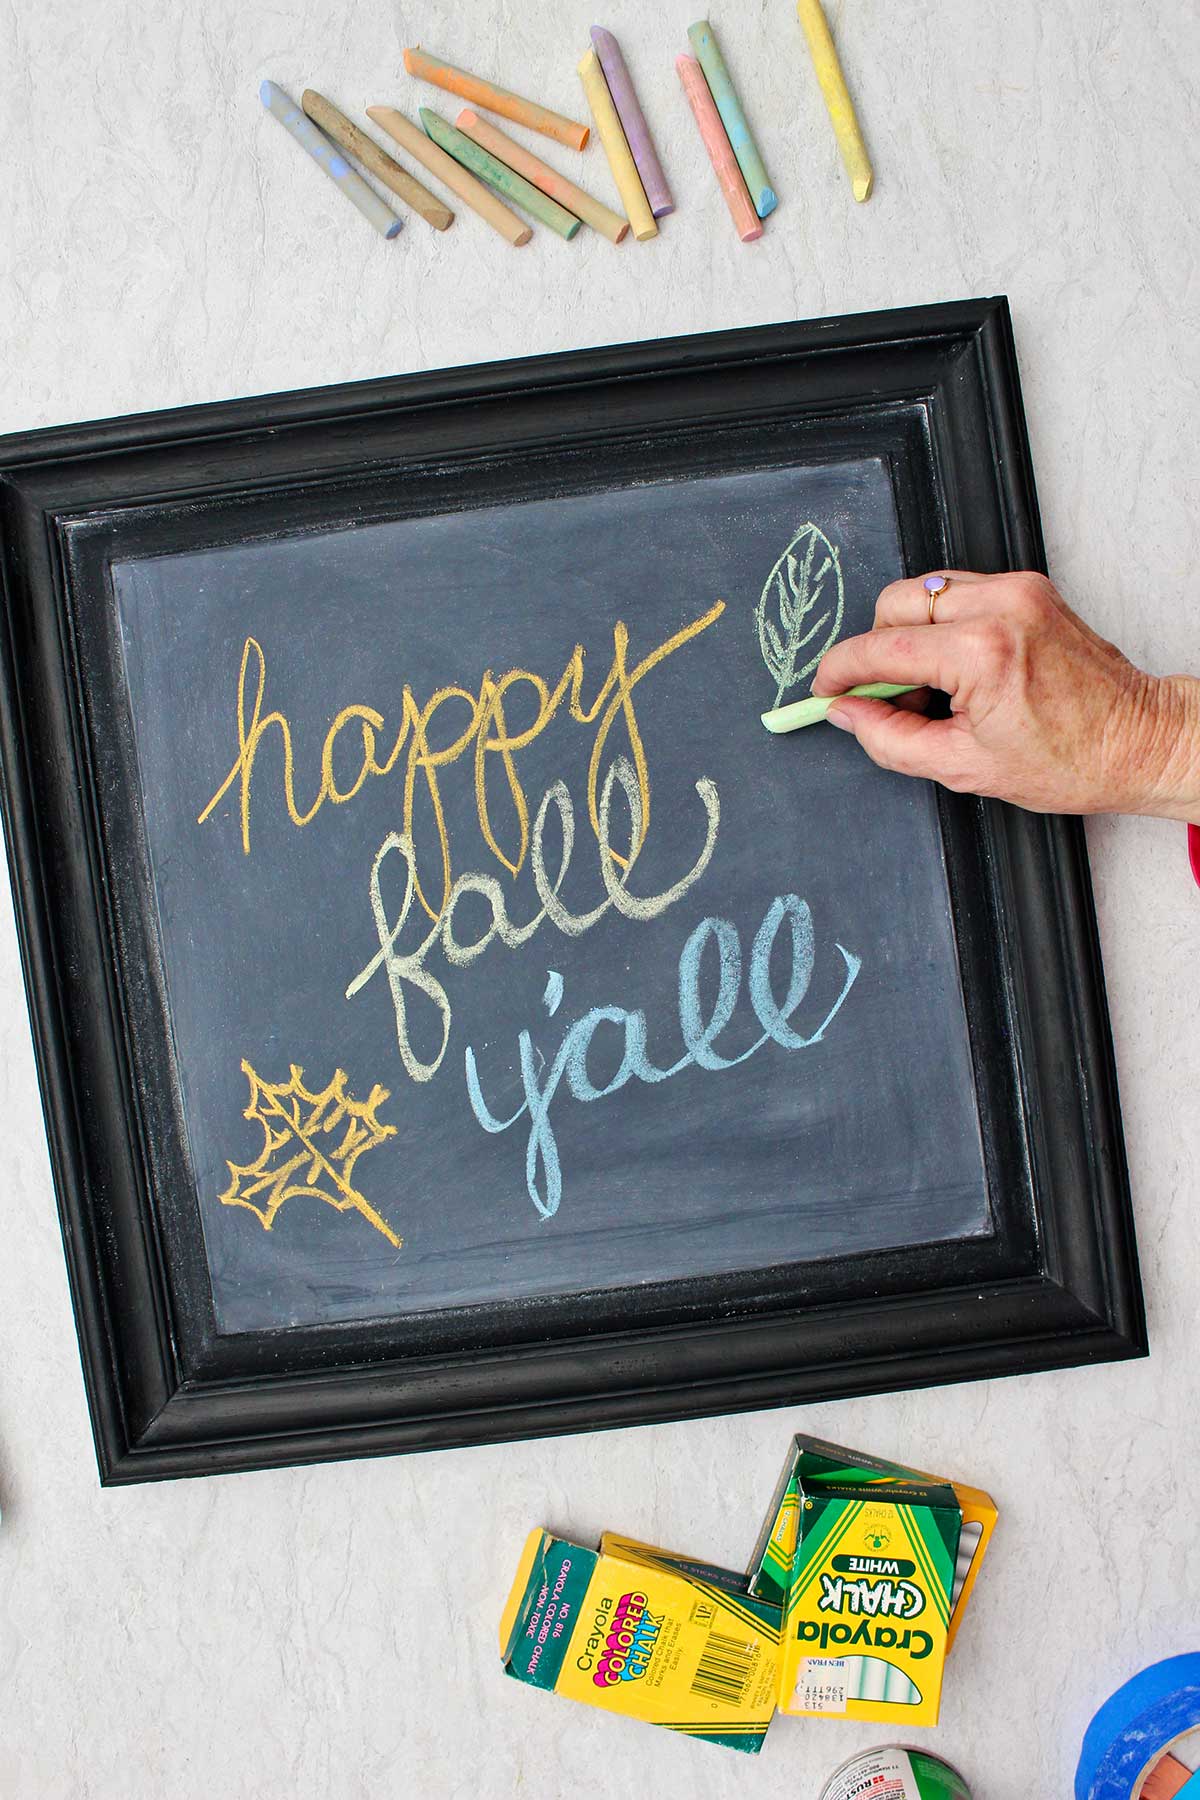
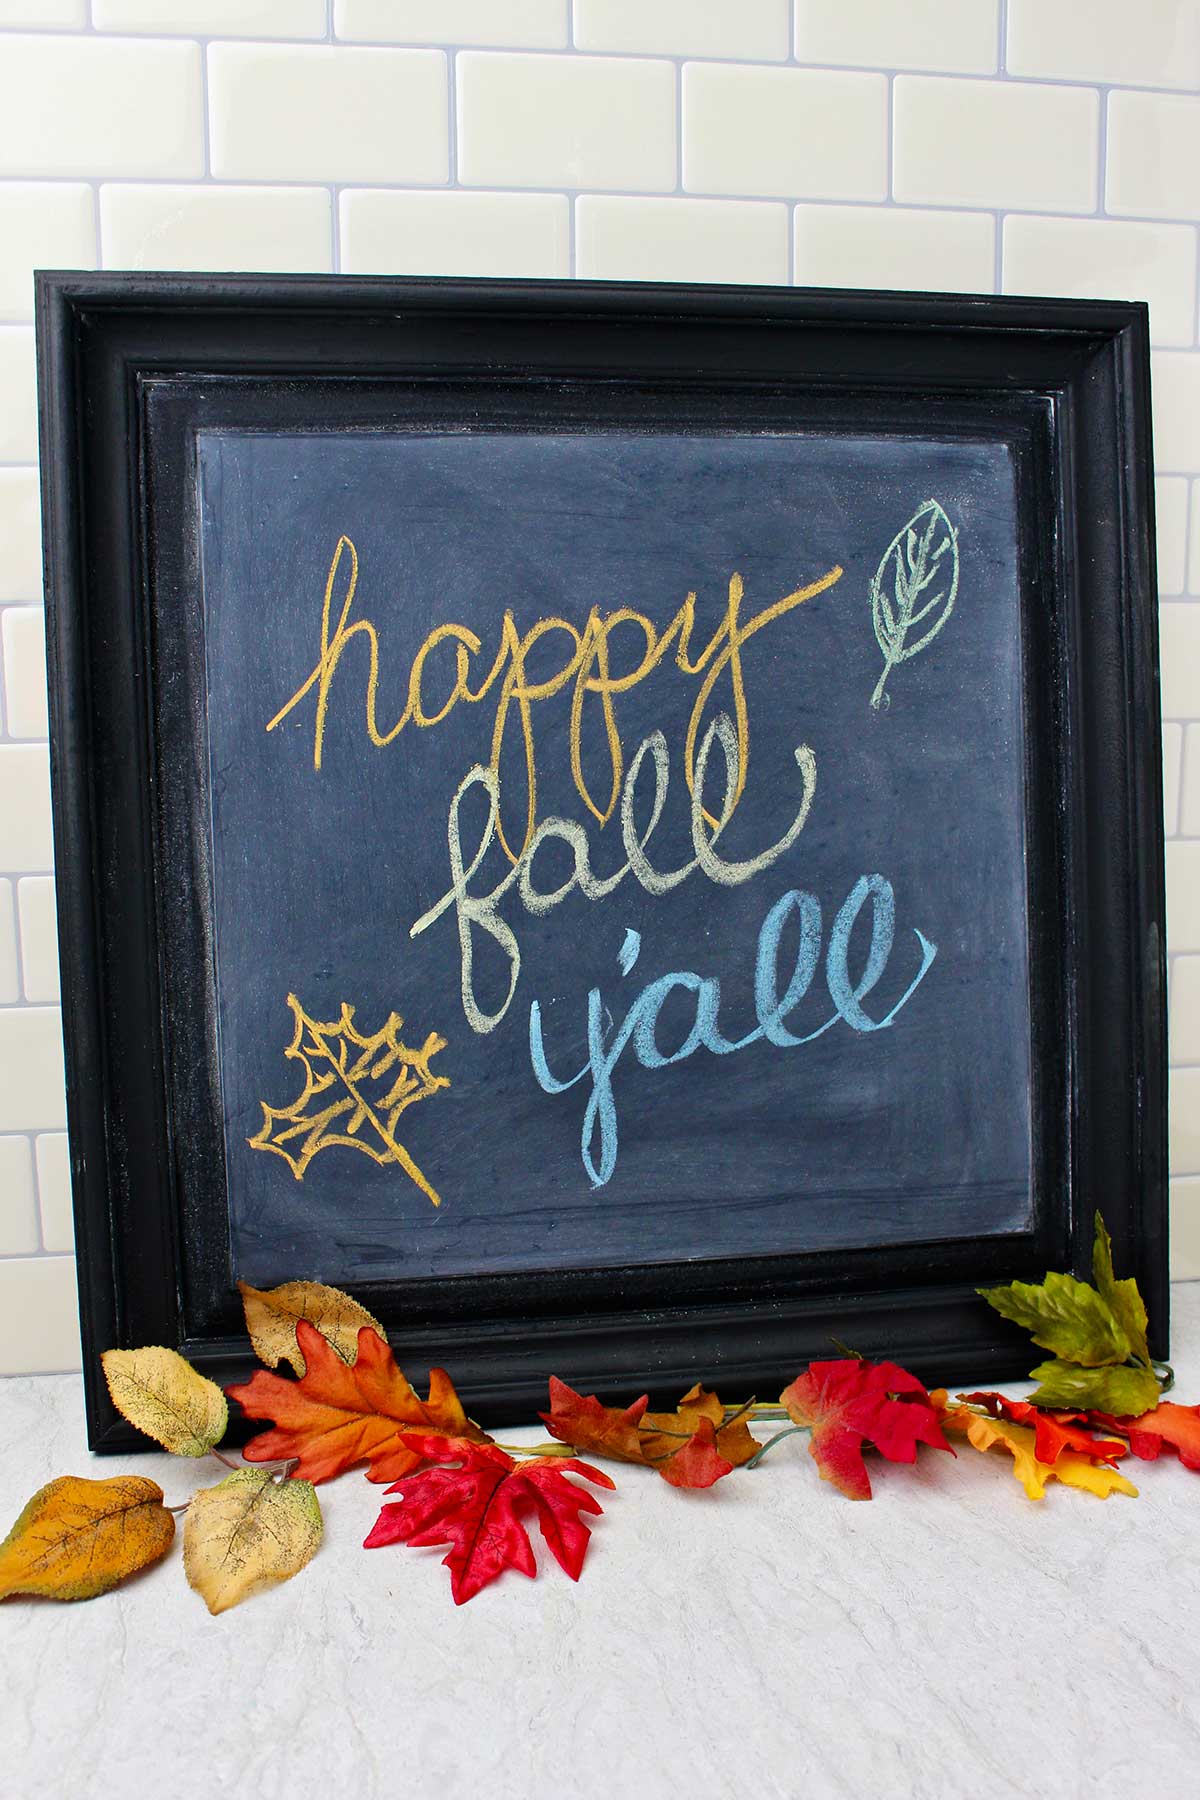
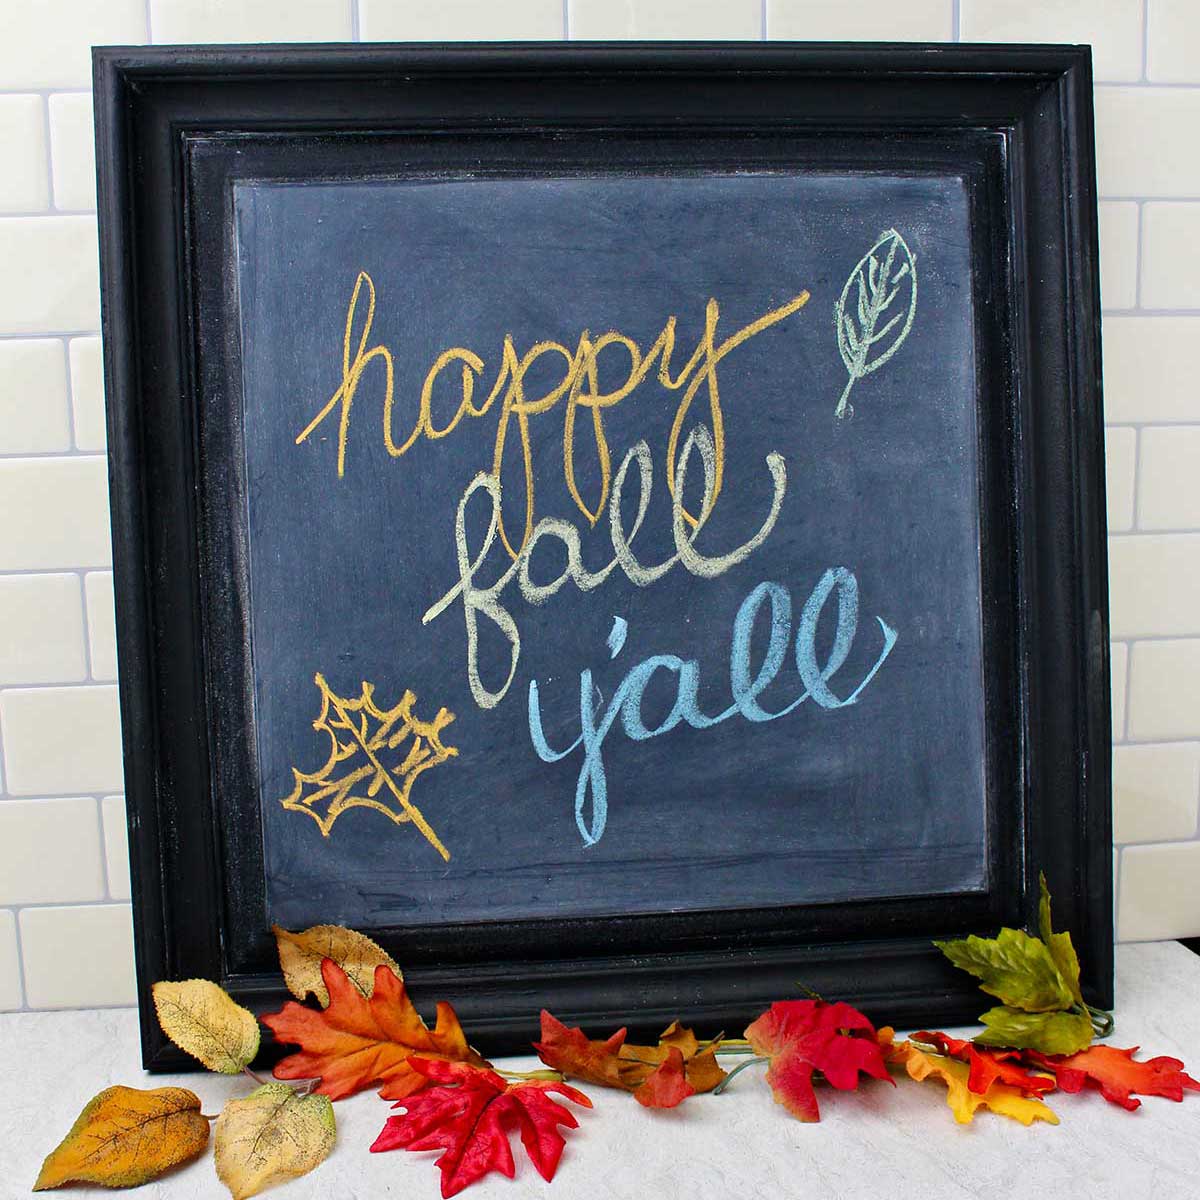
Now set the board on an easel or hang it on the wall and write a message. Change your message as often as you would like.
Chalkboard sign ideas:
Here are some chalkboard sign ideas just to get you started writing messages.
- Happy Fall Y’all!
- I love fall most of all!
- I won’t ever leaf you!
- Hi there pumpkin!
- Always be kind!
- Time to turn over a new leaf!
- Be like Humpty Dumpty and have a good fall!
- Be-leaf in yourself!
- Trick or Treat!
- Boo-who?
- I’m grateful!
- Be great-full!
- I’m grateful for ___! (change each day)
- Happy Thanksgiving!
- Give thanks!
- Welcome!
- Glad you’re here!
- Write a joke one day and the answer the next day.
Craft Tips for a DIY Chalkboard
- Chalkboard paint- Chalkboard paint is what you want to purchase. Chalkboard paint is not the same as chalk paint which is available for adding a chalky surface effect to painted surfaces.
- Spray paint- The spray paint coats the surface without brush marks. Use several light coats instead of one heavy coat. Put paper down under your project and spray paint on a calm day.
- Painters’ tape- Painters’ tape prevents spray paint or acrylic paint from spreading where it should not be. Make sure all paint is dry before removing the tape.
Craft Variations on a Chalk Sign
Here are a few variations you’re welcome to try with this chalkboard sign craft:
- Glass or mirror surfaces- I’ve been told that you can paint a framed picture or mirror. But I have not had personal experience doing it.
- Paint colors- Choose a different color of chalkboard paint for the writing surface. And/or choose a different color of acrylic paint for the frame. What color combo would you like?
- Mini chalkboard sign- Find a small wooden plaque to paint with chalkboard paint.
FAQ
This simple craft involves painting the surface of a picture (be sure to upcycle!) with chalkboard paint. After seasoning the writing area it is ready to write upon. The complete instructions are in this post!
Yes, chalkboard paint works on a variety of surfaces. You can then write on that area with chalk. Make sure you purchase chalkboard paint and not chalk paint. These have two different purposes.
Use a dry cloth to clean your sign. If you use a wet cloth then go through the process of seasoning the board again.
More DIY Crafts for Kids
Looking for more easy DIY crafts for kids? Here are a few of our favorites:
Come join the fun at WTN!
Try this craft, leave a comment, rate it, and tag a photo with #WelcometoNanas wherever you post.
Easy DIY Chalkboard Sign from a Recycled Picture
Equipment
- Paint brush
Items Required
- Thrifted plaque, picture, or board Purchase a picture if needed.
- Chalkboard paint- In a spray paint or a liquid paint
- chalkboard chalk
- acrylic craft paint
- painters’ tape optional
Instructions
Paint the chalkboard
- Sand the surface of boards or surfaces that have lettering that may keep the chalkboard surface from being smooth.Use painters’ tape to tape off the frame when painting the chalkboard area. Use chalkboard paint to paint the area you will be drawing on. I chose black chalkboard spray paint.
Painting the frame
- Use painters’ tape to tape off the chalkboard area while painting the frame.Paint the frame the color of your choice. It may take more than one coat to cover well so make sure the first coat is dry before applying the second coat.
Seasoning the chalkboard
- Use the side of a piece of white chalk to cover the board area in chalk. I used my finger to kind of rub it smoothly onto the surface. Use a dry cloth to wipe off the chalkboard. I wiped the chalk smudges off the frame with a damp cloth. Now set the board on an easel or hang it on the wall and write a message. Change your message as often as you would like.



Leave a Reply