Plantable Seed Paper Valentines
So, I’m pretty excited about this one. These seed paper Valentines are so pretty that I have to keep telling Papa that they aren’t to eat!
The grands will enjoy making recycled seed paper Valentines with real flower seeds in them. When the lucky recipient is ready, they can plant them to get the seeds to grow. How cool is that?

Recycled Paper
Collect some paper that's heading to the recycle bin. The less ink on the paper the better since we want the seed paper Valentines to be pink, not the color of the ink. I used some old notebook paper that had gotten wet, a few pieces of red and pink construction paper and a few sheets from an old drawing pad that was ruined.
Note: Don’t use glossy paper because it doesn’t break down easily. Avoid brown paper because it will darken the Valentine.

Tear or clip the paper into small pieces, the smaller the better. This was a bit tedious I must admit. Next time I might try running them through a shredder. I wouldn’t have the younger grands do that though. Keep their fingers safe by doing this ahead of time!
Pour some hot water over the paper shreds to soak. Let the this soak for a couple hours. Some people soak it overnight.
Hmmm…what can you do with the grands while you’re waiting? Here are a couple ideas. This could be a good time to make some of those pancake pictures for lunch or supper to pass the time as the paper soaks! Or it may be a good time to color the February color sheet you that you can print off if you click here. That will make the time go quickly.

Paper Pulp Puree
After a couple hours, "ding"- time’s up. Place a cup or so of the paper scraps along with a couple cups of water into your blender. Blend until the paper is pretty much a pulp. There can still be some small paper chunks too, that can look pretty cool in the Valentines.
Repeat this until all the scraps are blended.
Note: This could dull the blades of the blender over time. Don’t put a lot of paper in the blender at once as it could be hard on the motor. Add some more water if needed. I got a food processor so I kept my old blender for this kind of project. It worked great.

Adding Color and Seeds
Add red food coloring to the water and stir it into the paper pulp.
I hand squeezed the pulp, getting a large part of the water out, and placed it into another bowl. Sprinkle the flower seeds into the mixture and gently stir them in. Flatter and smaller seeds work best. You do NOT want to place the seeds in the mixture early and then put it through the blender. This will ruin the seeds.
Again, squeeze more water out of the pulp mixture.

Forming the Valentines
Place a screen you purchase for this or a spatter guard from cooking on an old towel (it will ruin the towel so choose well!) Make the seed paper Valentines on top of this screen.
Use heart shaped open topped cookie cutters to form Valentines. I used my hands to take a wad of the pulp and push it down flat inside the cookie cutter. This was kind of like working with play dough, the kids will love it. I loved it!
Gently pull the cookie cutter off and leave the Valentine on the screen. Continue this till all the pulp is gone.

Let the Seed Paper Valentines Dry
I set my spatter screen up on three glasses to dry the seed paper Valentines more quickly. The trick here is to get them to dry without it taking so long that the seeds sprout! You could use a fan on them if you want.
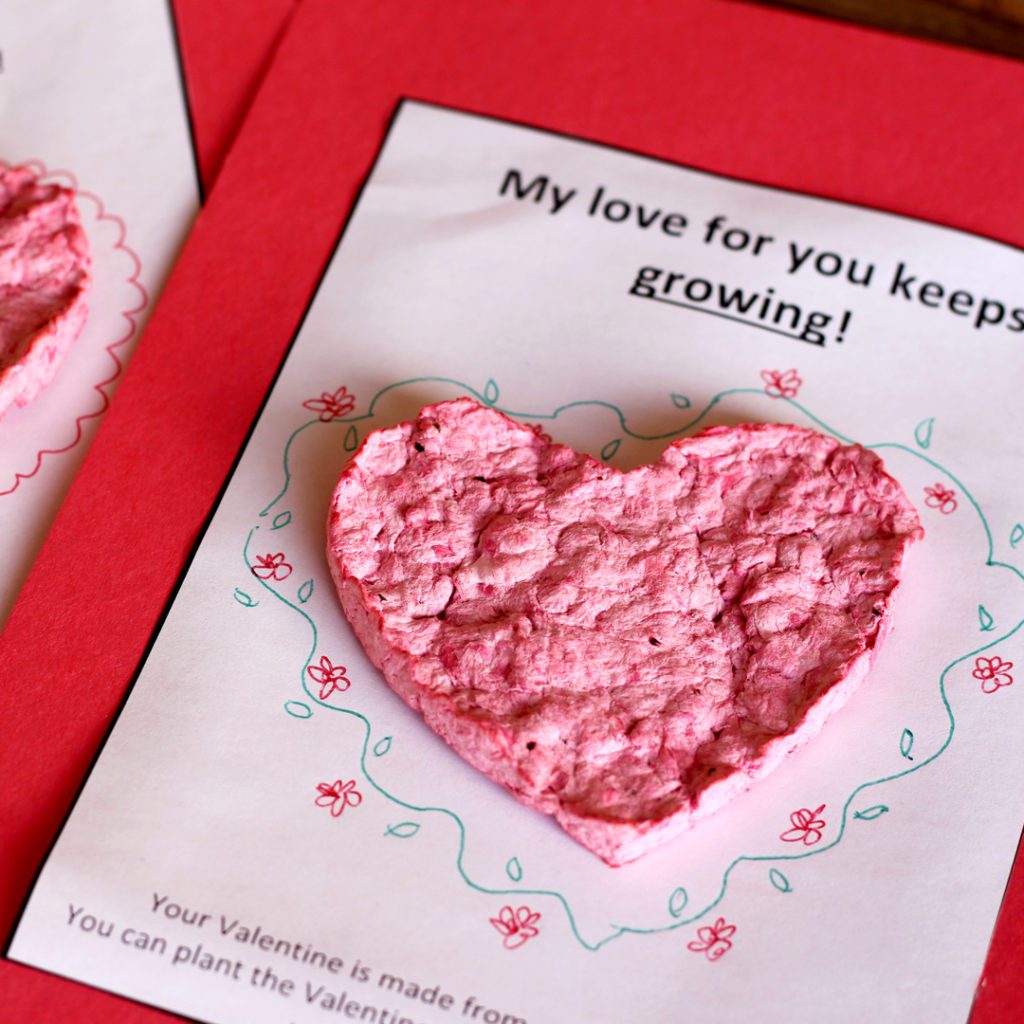
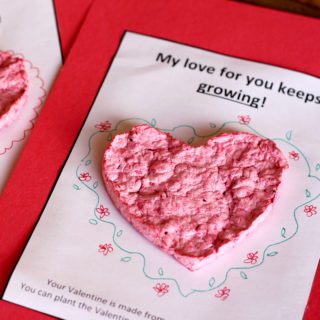
Once dry, use a couple spots of glue or some tape to stick the Valentines onto a sheet of construction paper cut in fourths. Write your message, something to do with growing. “I like how we have grown to be such good friends” or “My love for you keeps growing”. Let your Valentine recipient know that they can plant the Valentine in a pot under ½” of soil and see their flower seeds grow!
Click here for a printable background with these sayings that you can use to mount your Valentines.- Welcome To Nana's: Printable Valentine!
I truly enjoyed making these. It just made my heart happy! I'm traveling to see grandkids this weekend and plan to bring the supplies to make them together.

Don't Eat the Valentines, Papa!
Poor Papa. I’d better make some cookies soon...He’s got his eye on these colorful Valentine's 🙂
Enjoy!
Welcome to Nana’s! Where there’s fun things to do with your “grand” kids!
Come join the fun at www.WelcomeToNanas.com
Plantable Seed Paper Valentines
Equipment
- Blender (an old one would be best)
Items Required
- Recycled paper
- Red food coloring
- Spatter screen or piece of screen door screen
- Heart shaped cookie cutter
- Construction paper
- Markers
Instructions
- Tear or clip the paper into small pieces, the smaller the better.
- Pour some hot water over the paper shreds to soak. Let the this soak for a couple hours.
- Place a cup or so of the paper scraps along with a couple cups of water into your blender. Blend until the paper is pretty much a pulp. Repeat this until all the scraps are blended.
- Add red food coloring to the water and stir it into the paper pulp.
- Hand squeeze the pulp, getting a large part of the water out, and placed it into another bowl. Sprinkle the flower seeds into the mixture and gently stir them in. Again, squeeze more water out of the pulp mixture.
- Place a screen you purchase for this or a spatter guard from cooking on an old towel. Make the seed paper Valentines on top of this screen.
- Take a wad of the pulp and push it down flat inside the cookie cutter.
- Gently pull the cookie cutter off and leave the Valentine on the screen. Continue this till all the pulp is gone.
- Let the Valentines dry on the screen.
- Once dry, use a couple spots of glue or some tape to stick the Valentines onto a sheet of construction paper cut in fourths (or print off the attached Valentine background shown above).
- Write your message, something to do with growing. “I like how we have grown to be such good friends” or “My love for you keeps growing”.
- Let your Valentine recipient know that they can plant the Valentine in a pot under ½” of soil and see their flower seeds grow!


Lizzy Butterfield says
This one was so fun! My three oldest (ages 6, 4, and 2) really enjoyed making this Valentine for their grandma. They thought the idea of a “paper smoothie” was hilarious! I wonder if I used too much water because I had to poor the mixture through coffee filters to get the paper pulp out so I could pick it up. We will definitely be making this one again!