Learn all about growing crystals at home with this detailed step by step tutorial that merges science with arts & crafts! Fortunately, with my 45 years of teaching experience I’m experienced with both and have put all my tips together in one place.
Follow along to watch these beautiful crystals grow bit by bit each day. This experiment would make a wonderful science fair project or homeschool project to learn more about evaporation and salt crystals. Read on for all my tricks to make this project turn out great every single time, plus learn more about how it all works!
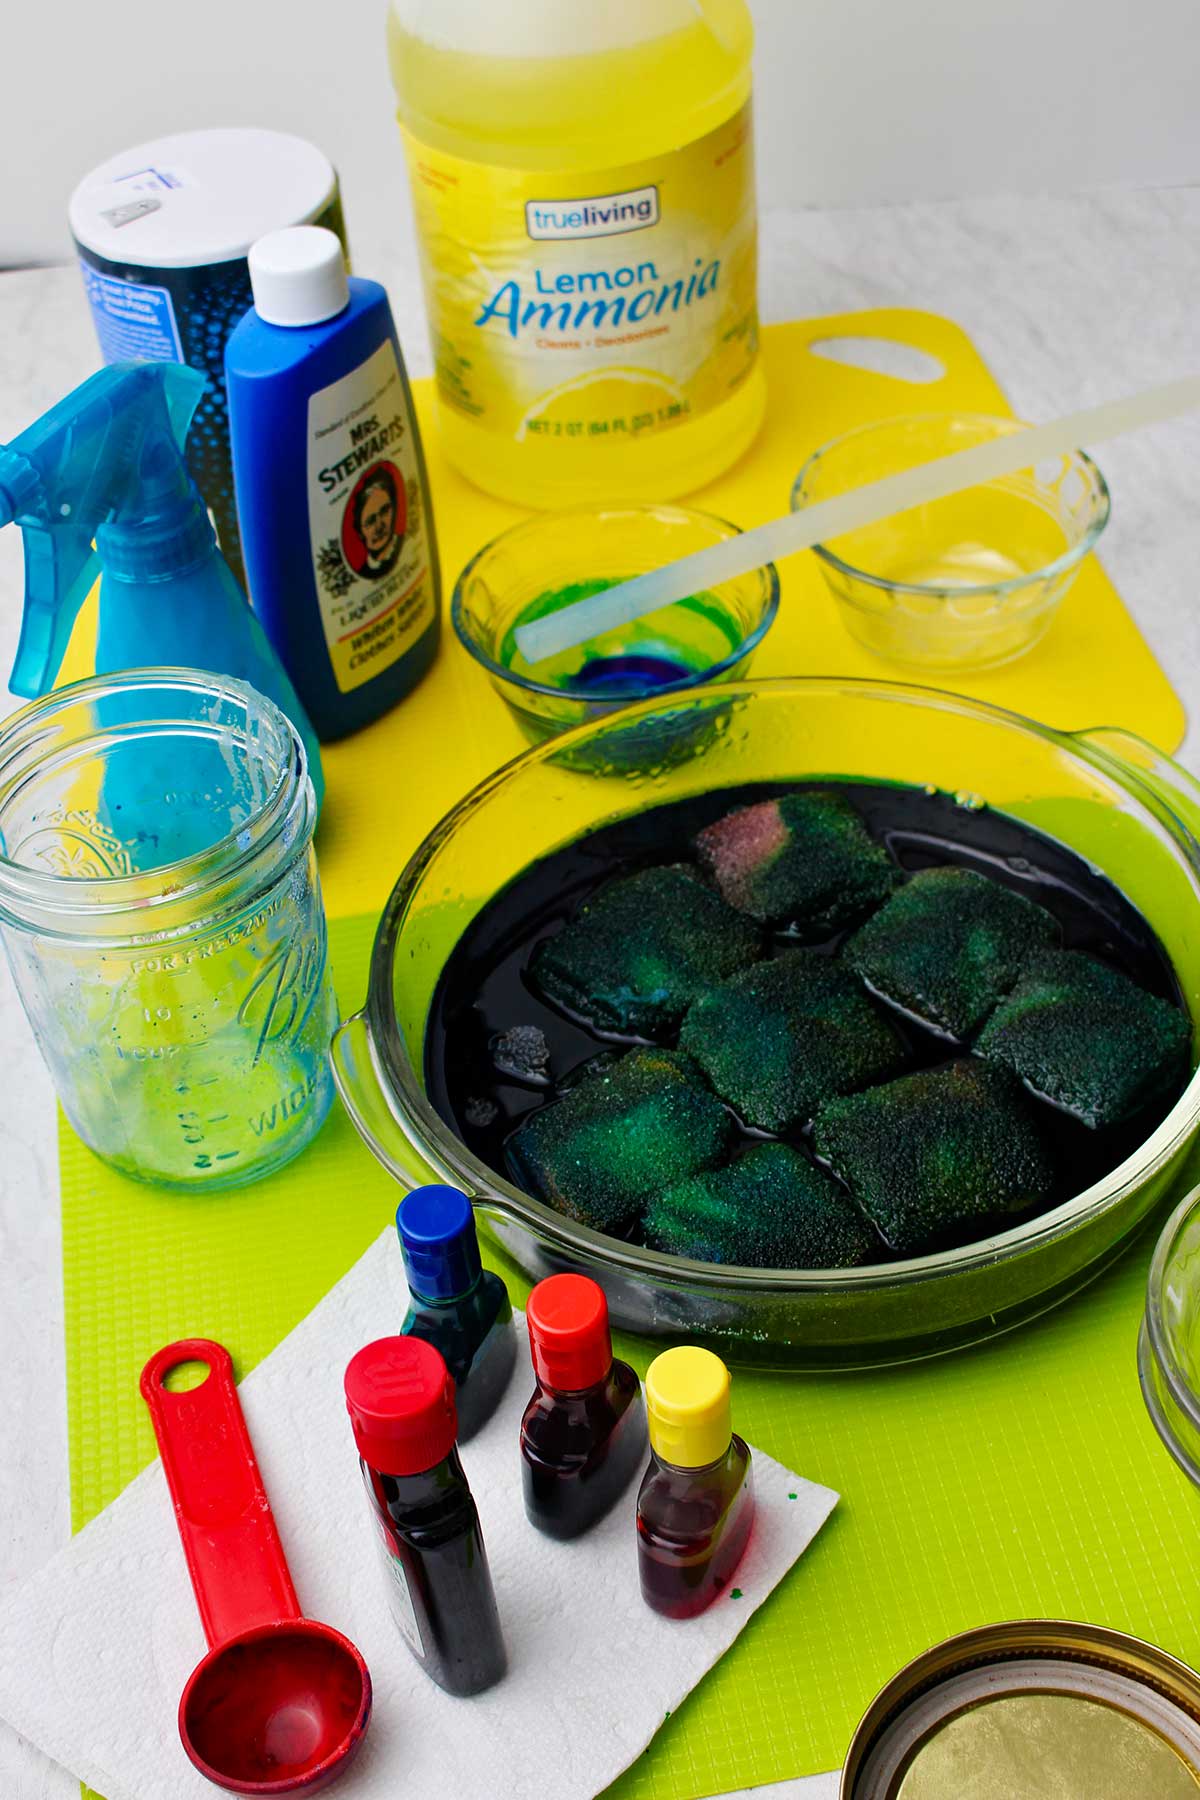
Supplies for growing crystals
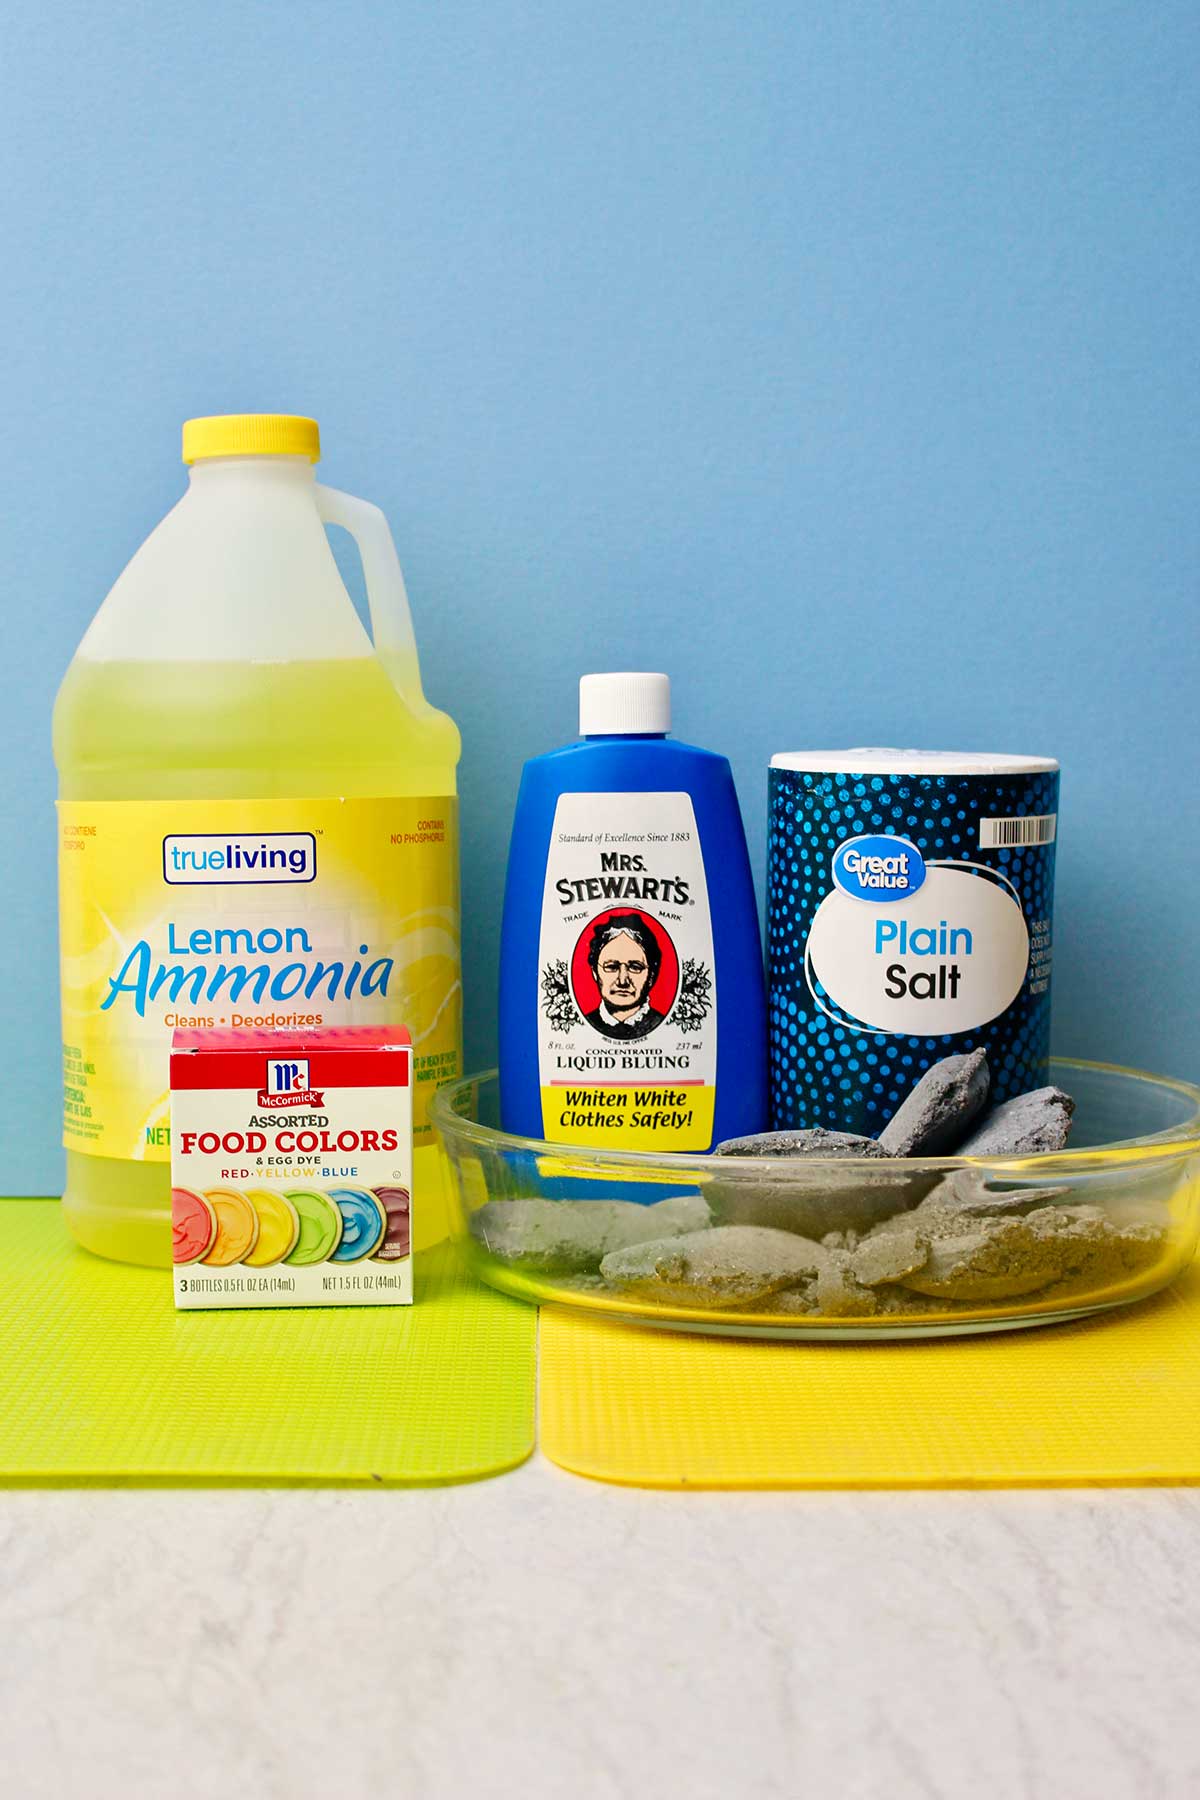
Gather up your supplies before you begin, of course. Most of them will be able to be purchased at a local grocery store if you don’t have them already.
- Non- iodized salt (plain salt)
- Mrs. Stewart’s liquid bluing (found in the laundry section)
- Ammonia (found in the cleaning section)
- Distilled water
- Liquid food coloring
- Charcoal briquettes, or some other porous item like a sponge
- Glass pie plate
- Mason jar (or other glass jar)
- Nonmetal string utensil
Tips for Growing Crystals
- The salt that I used is un-iodized salt or plain salt. Most of the time we have iodized salt as our table salt. So I had to purchase some plain salt without iodine.
- The Mrs. Stewarts Liquid Bluing is found in the laundry section of the store and I bought some at my local market.
- Liquid bluing was more commonly used used in older types of washing machines to make dingy white clothes look more white. It’s a visual thing and it’s confusing because liquid bluing is bright blue! You can read up on it if you want.
- I got a bit of liquid bluing on my fingers but it washed off my hands with some dish soap.
Liquid ammonia is a household cleaning product. It has a very strong smell so make sure that you have good ventilation when you open it.
Water is also an ingredient. It’s best to use distilled water just to prevent there being other minerals and such in the water.
The crystals grow upon something that is porous. One of the best things for this purpose is charcoal briquettes that you would use in your grill.
I happened to have a few in my garage that I had been saving for who knows what. Those eight briquettes were just what I needed for this project! It's things like this that encourage me to keep stuff way too long, because I use a few of those stashed away items...eventually!
Note: Another porous item that can work instead of briquettes is a sponge cut into pieces.
VERY Important Note: The ingredients in this activity are toxic and are not safe to have around young children. I recommend doing this experiment with older children and under adult supervision.
This activity will last for several days so it’s important to continue to keep it away from young children and your pets, too, of course.
Recommended Equipment for Growing Crystals
Use a glass pie plate to hold the briquettes. It’s best to use glass items for everything that you do in this experiment.
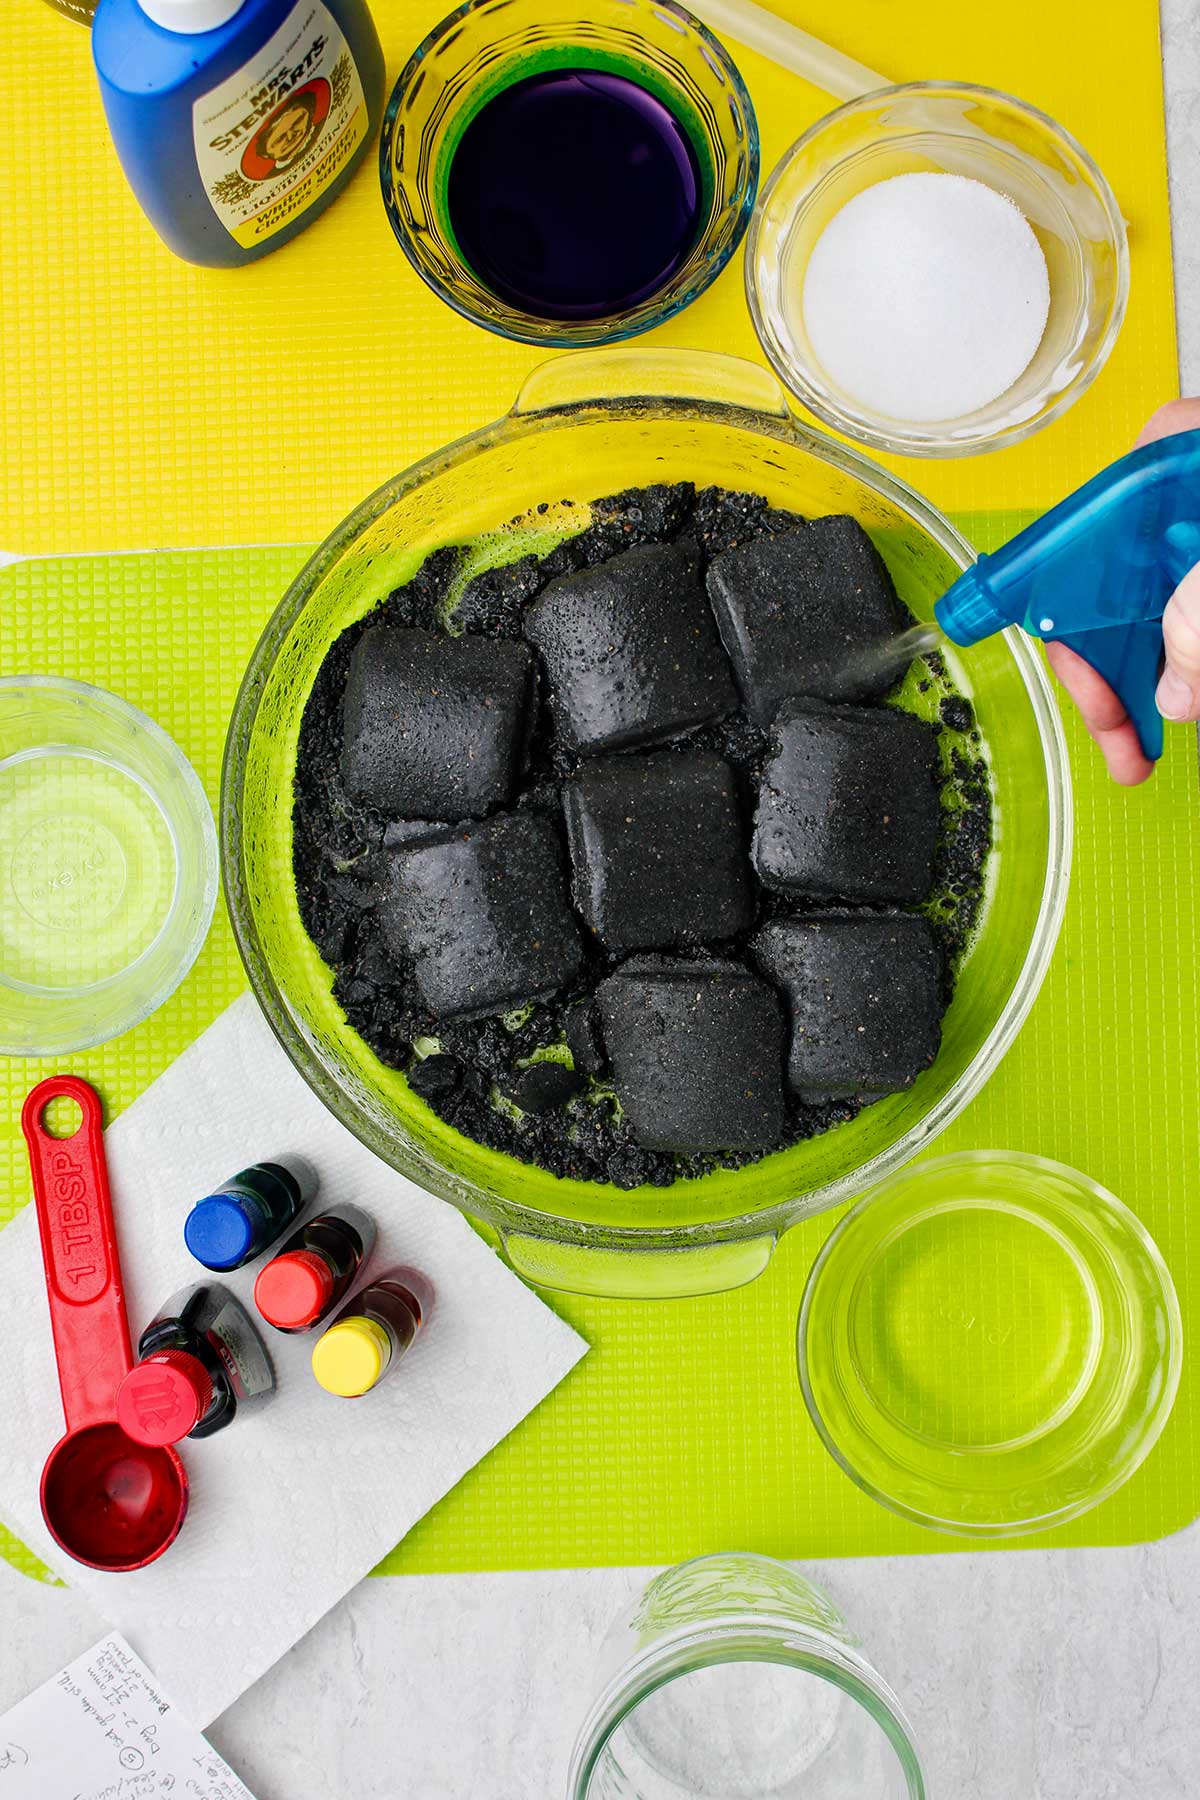
Spread the charcoal out in one layer over the bottom of the container.
Use a little bit of water either from a glass or from a spray bottle to lightly wet down the briquettes. I used a spray bottle and it worked really well. Spray until they are wet, but not sitting in water. If you get too much water, pour it out of the pie plate.
How to Make Crystals
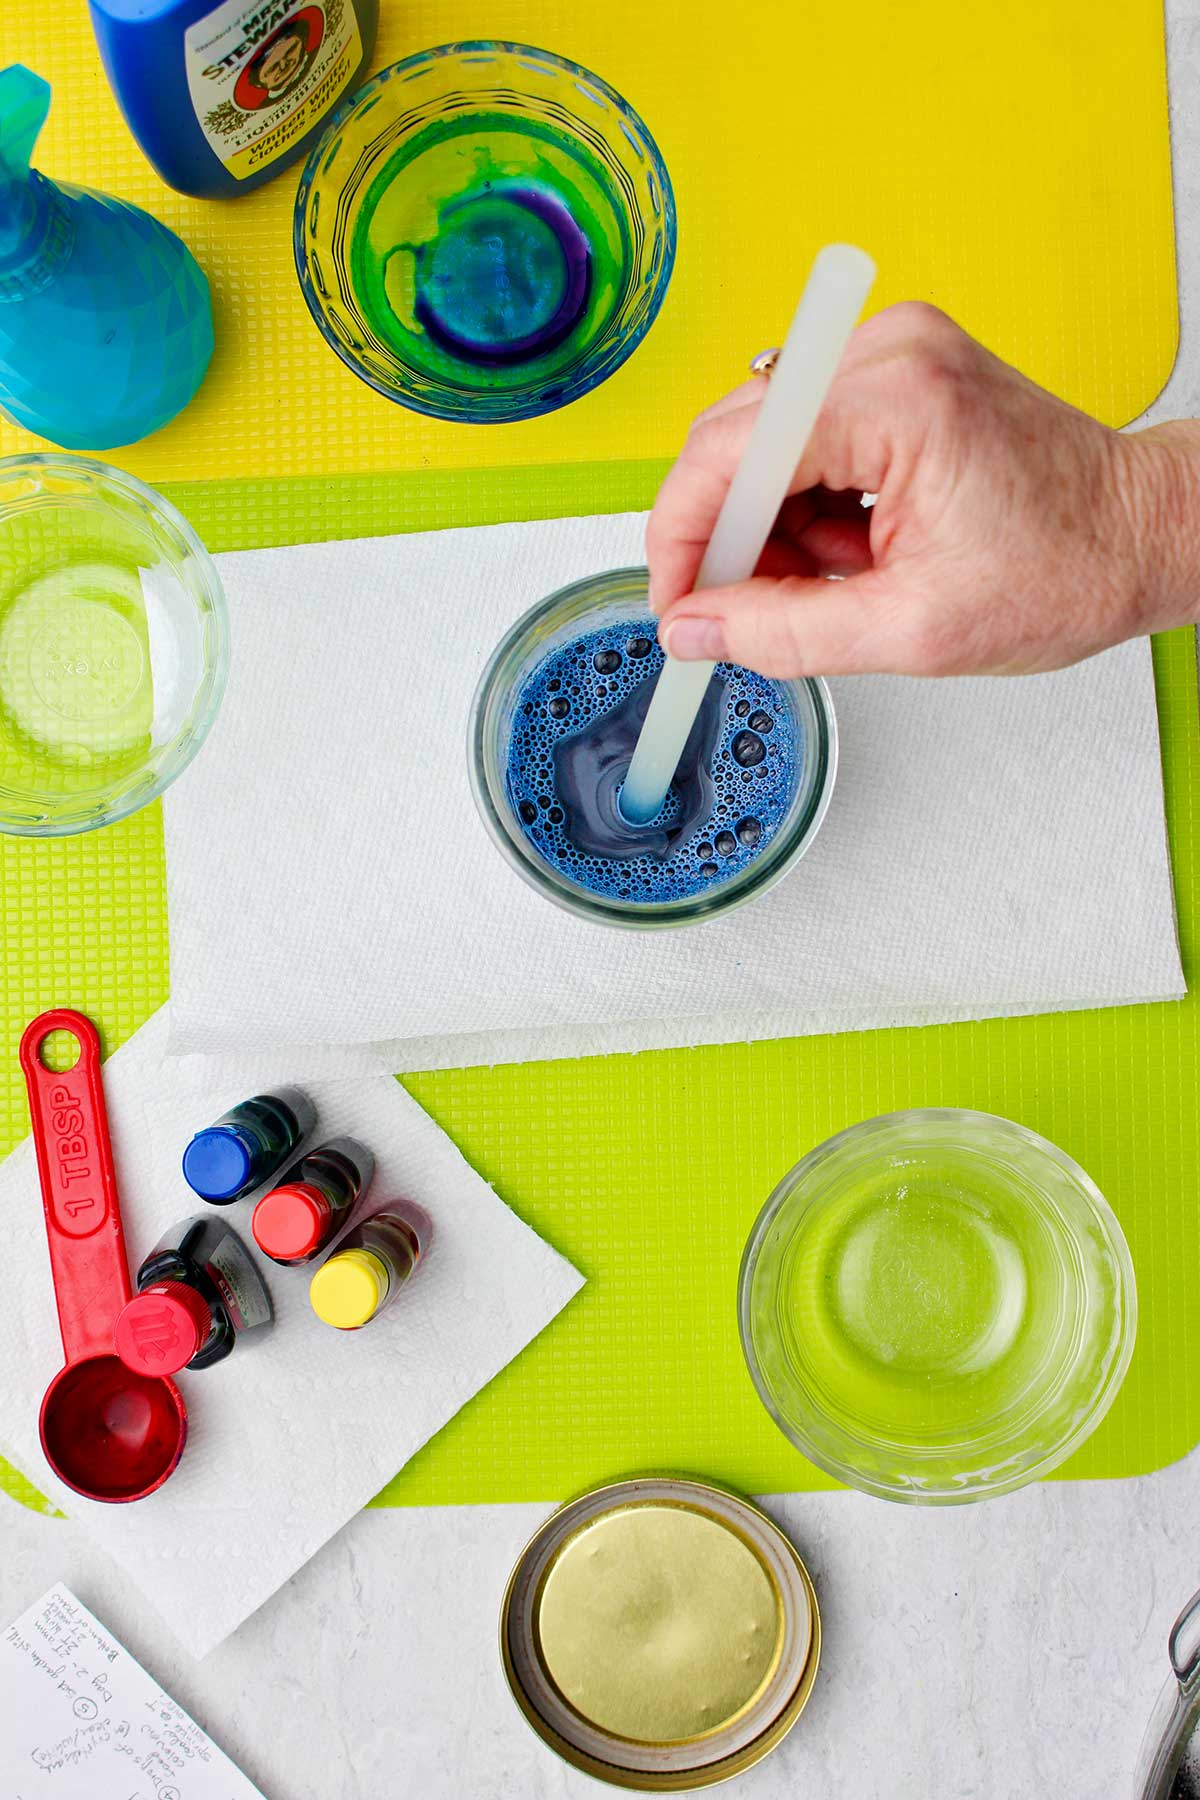
- You will take 3 tablespoons of each of your ingredients and measure them into a mason jar or other clean glass container. (That is 3 tablespoons each of salt, liquid bluing, ammonia, and distilled water.)
It's a good idea to place the glass jar on a paper towel to protect the counter.
Note: it is easiest if you use hot water as it will help the salt to dissolve. The hot water may result in bigger crystals as the water cools. - Stir the hot solution with a nonmetal stirring item until the salt is dissolved. I used a glue stick for this as I did not want to use one of my metal spoons nor did I want to use a wooden spoon and dye it blue with a liquid bluing.
Pour solution over briquettes
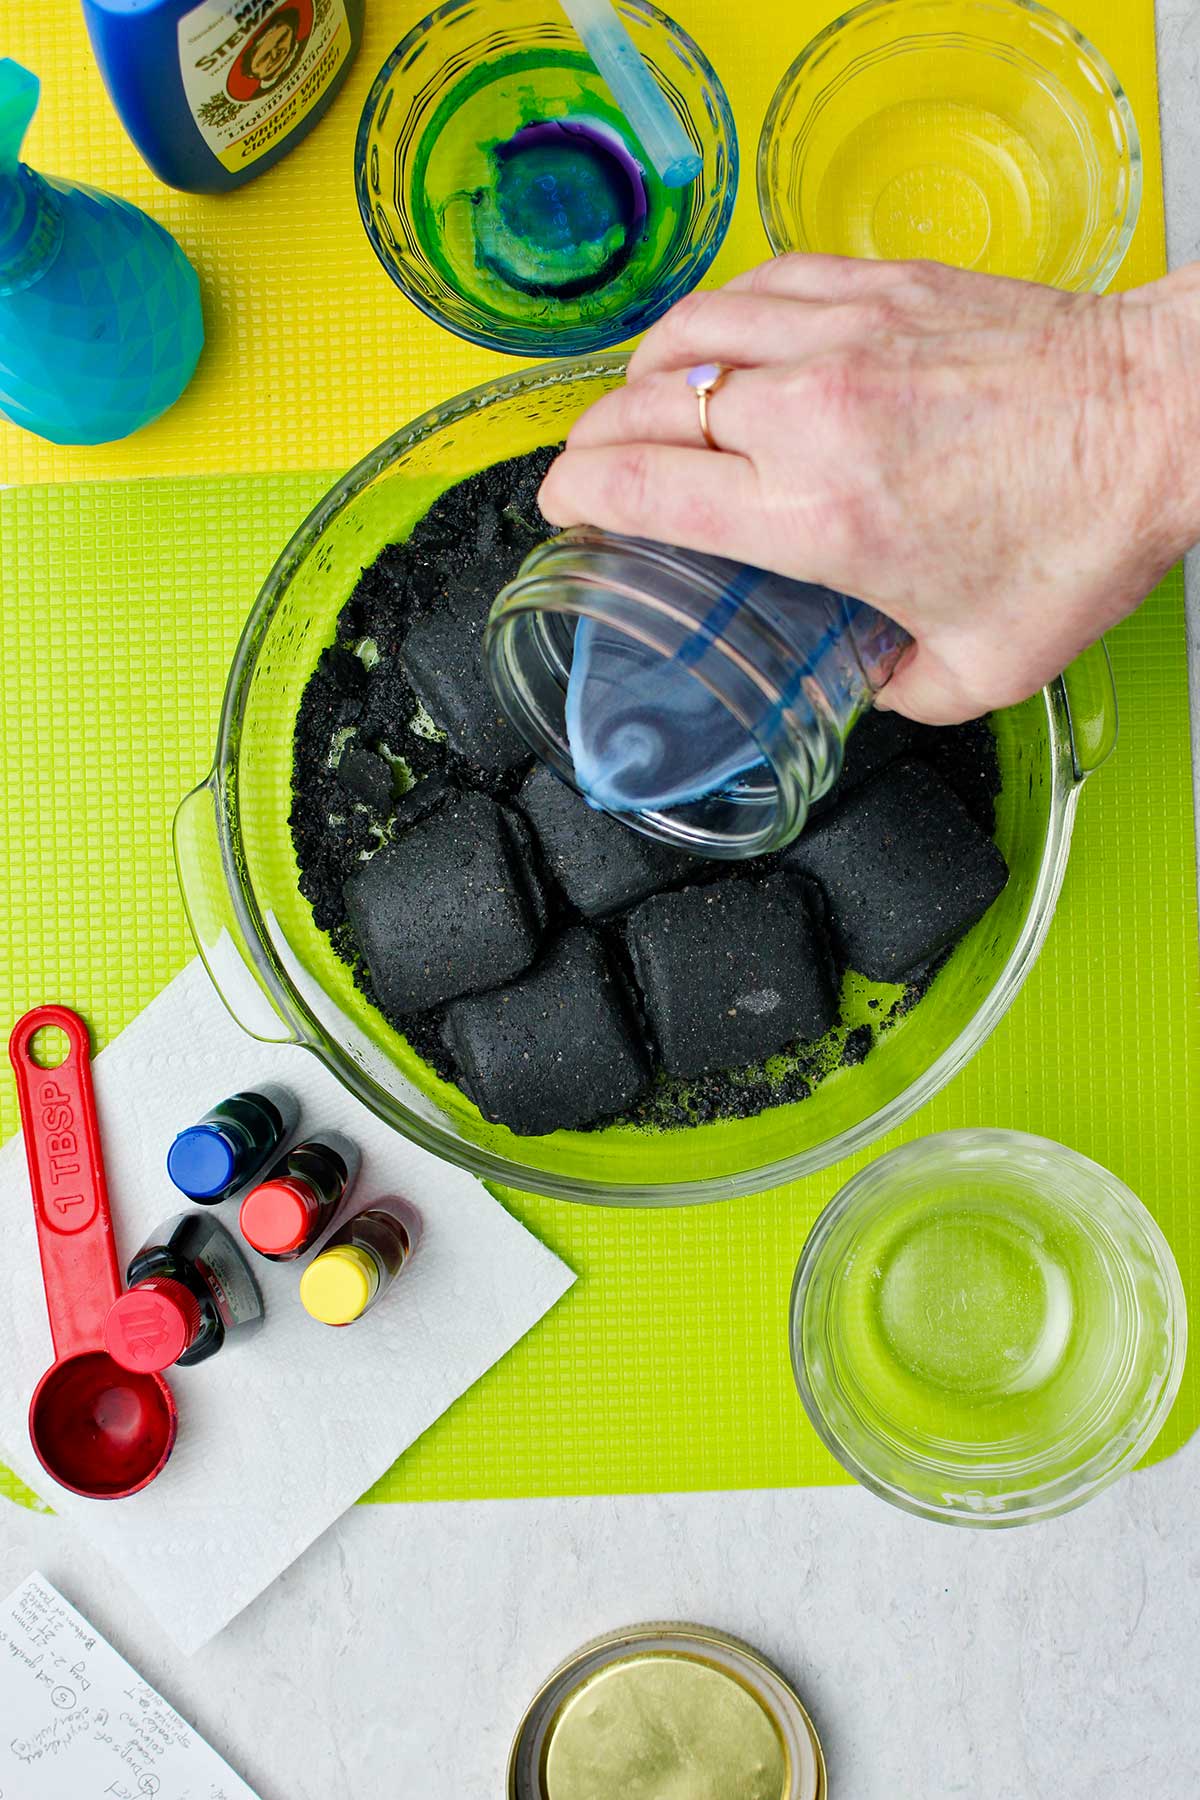
3. When the salt is dissolved, pour the solution over the charcoal briquettes.
4. Take a little bit more of the distilled water and pour it into the Mason jar. Stir it around to dissolve any of the extra ingredients or undissolved salt that might have been left in the bottom of the jar. Pour this over the briquettes as well.
Add color for your crystals
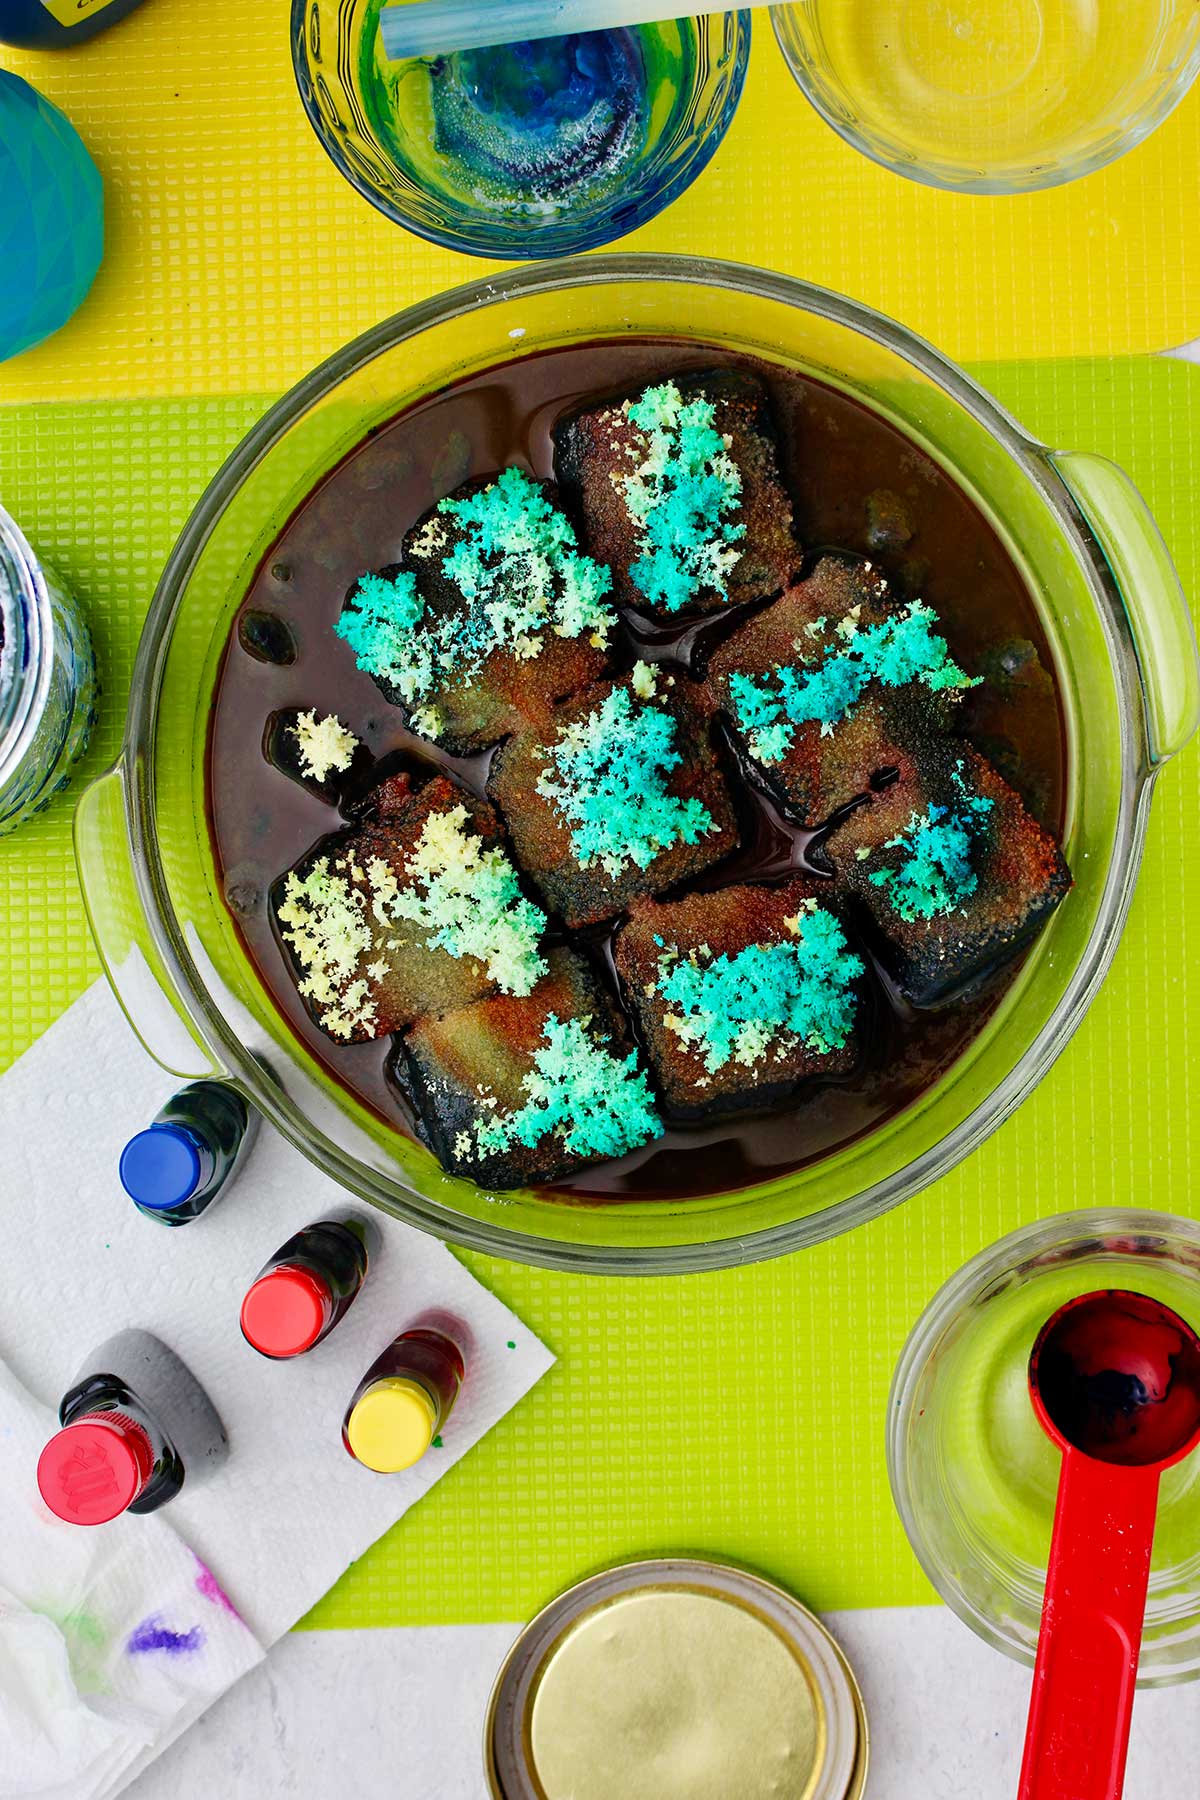
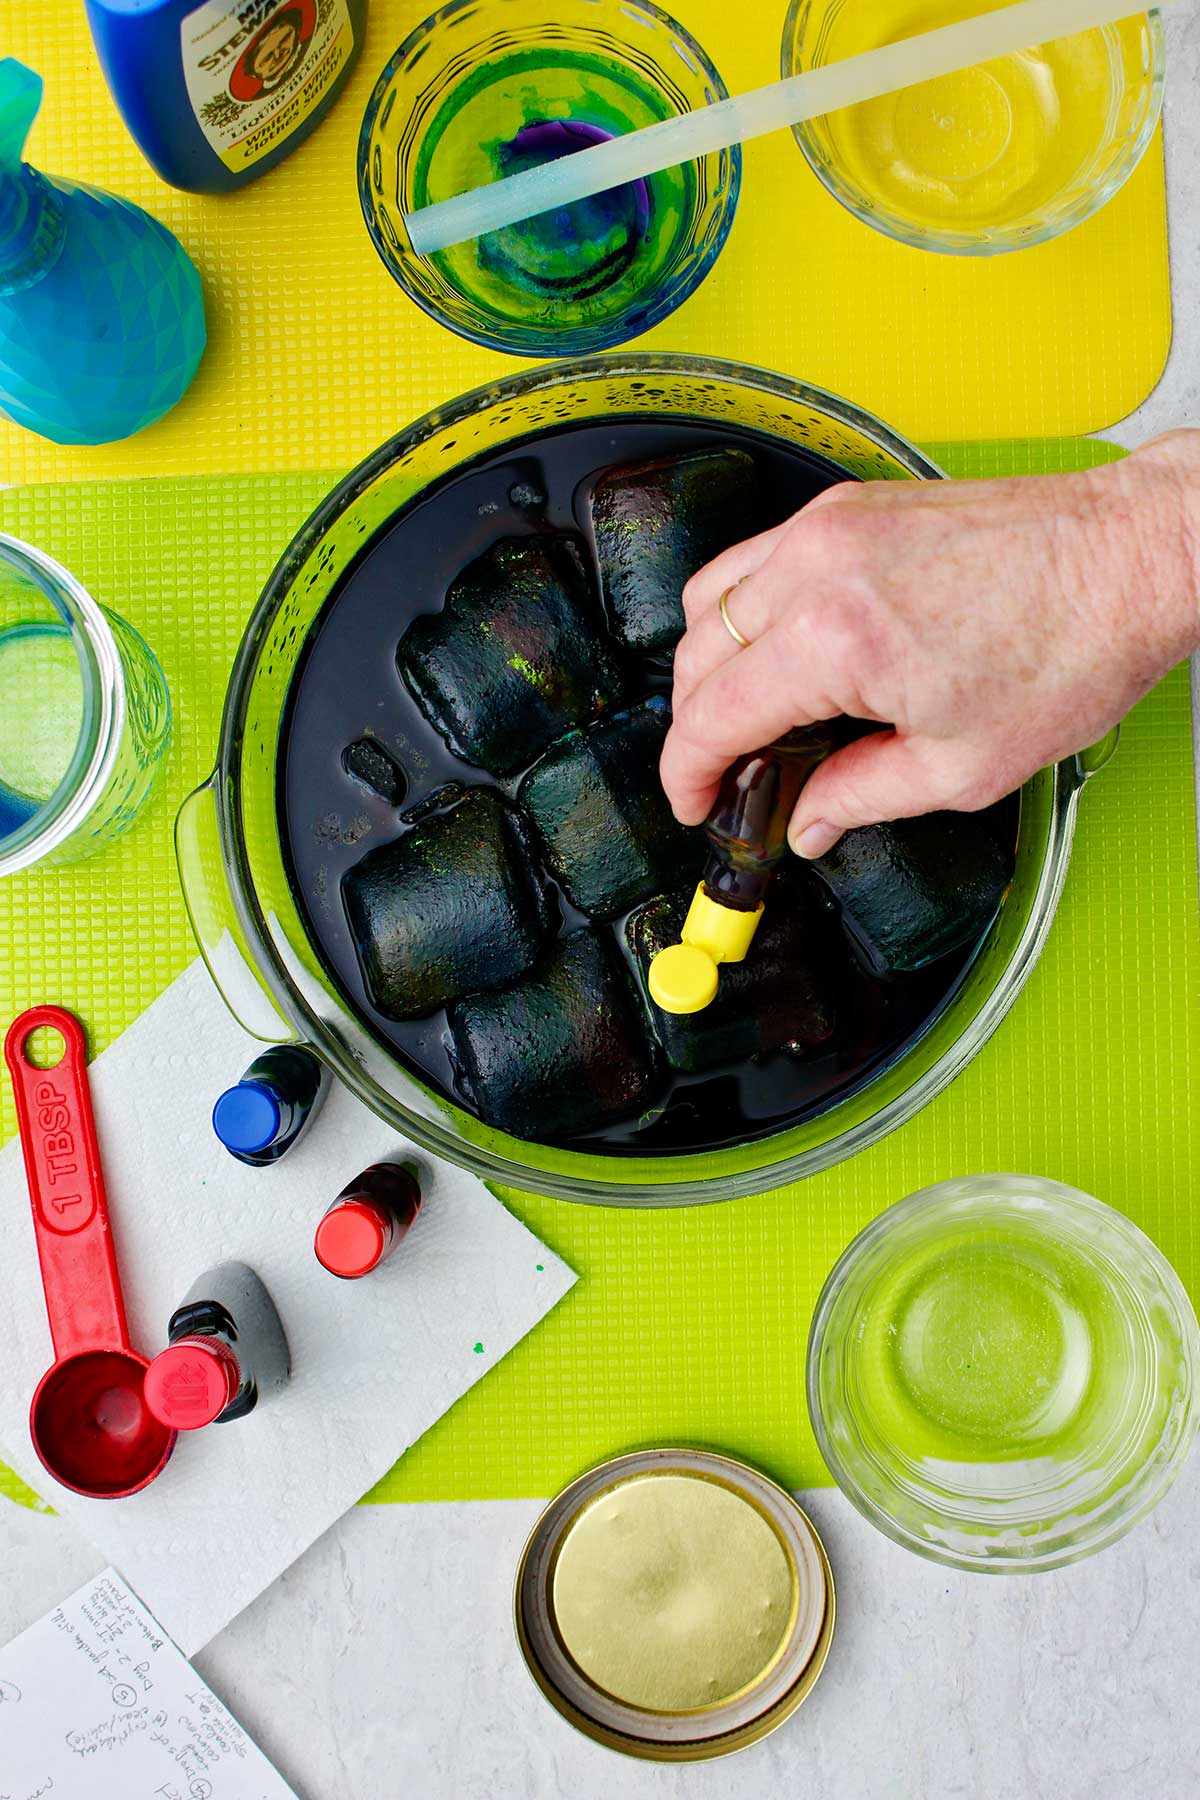
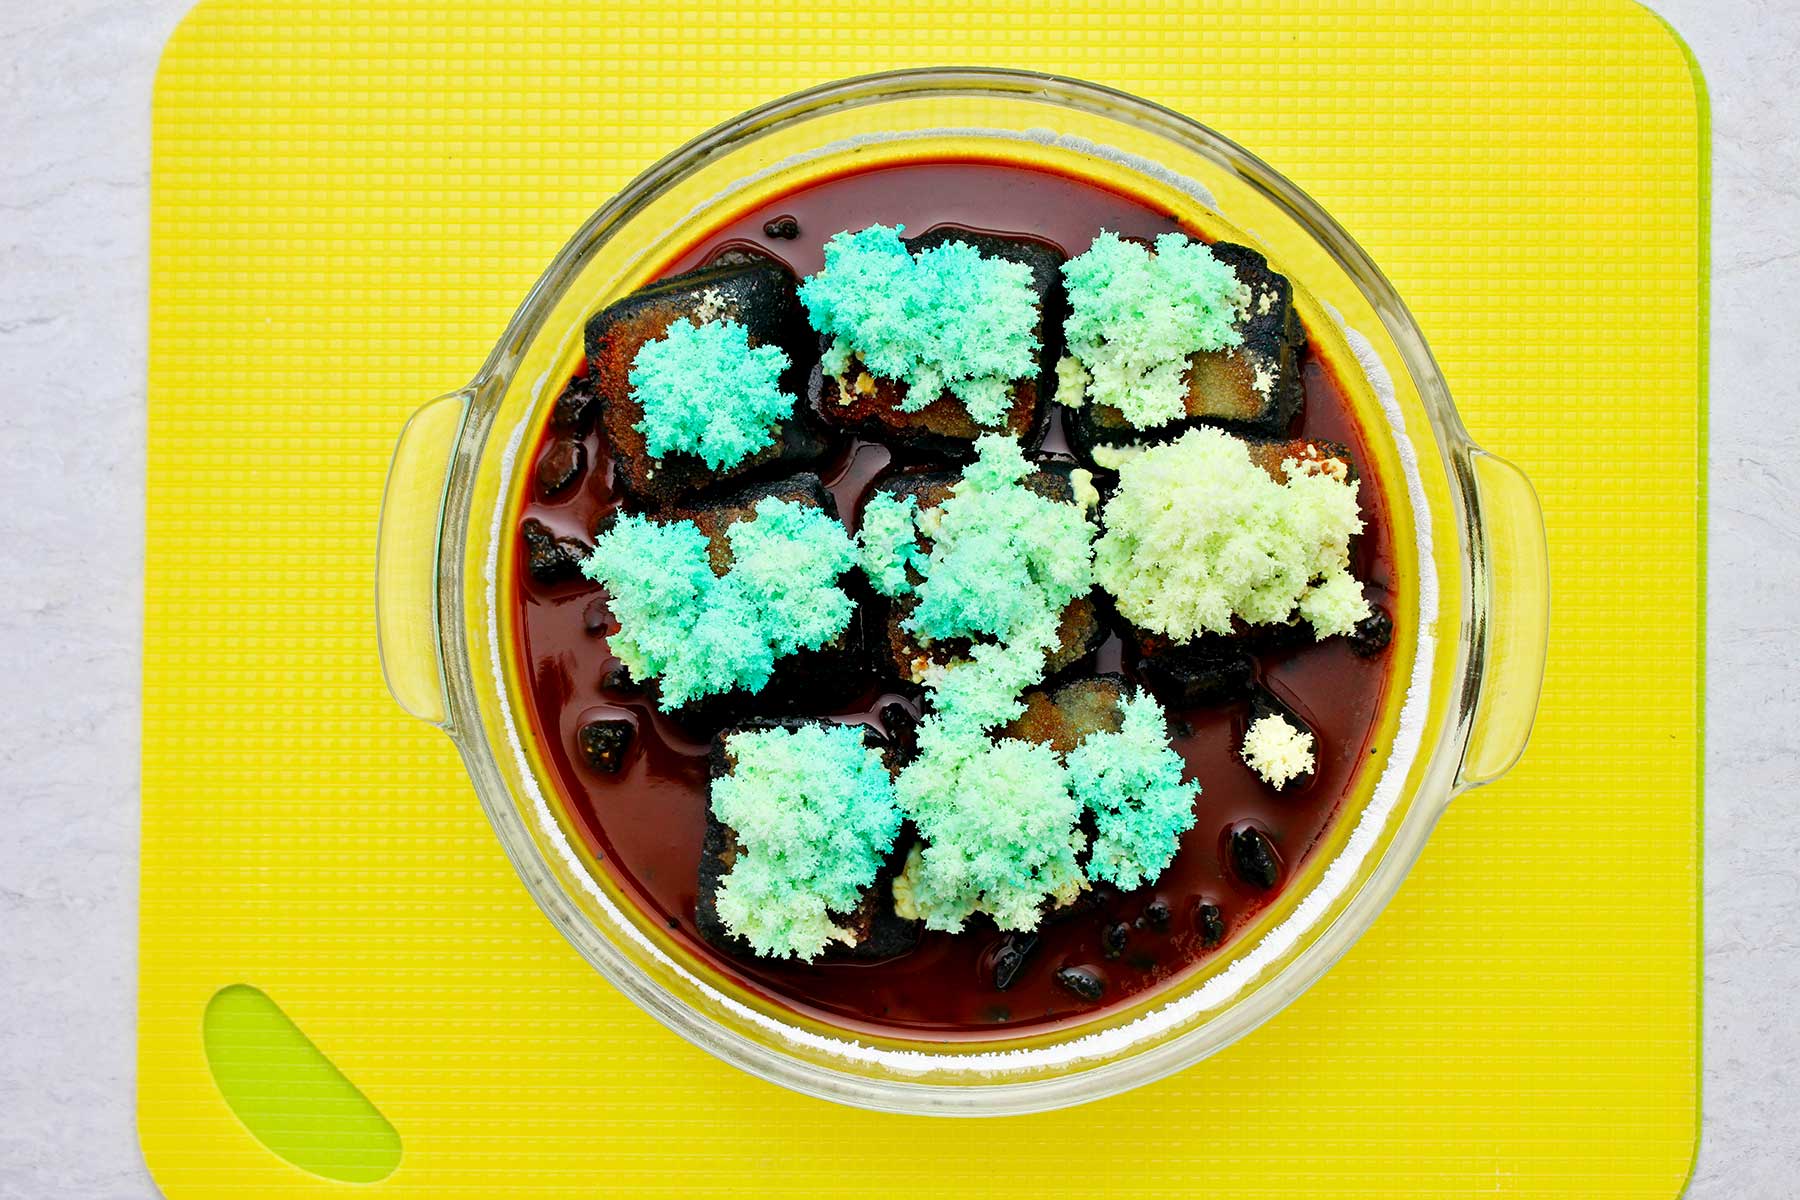
5. Next, take the liquid food coloring and add drops of food coloring to the briquettes. I used red, yellow, and blue, because they all came in a small box together.
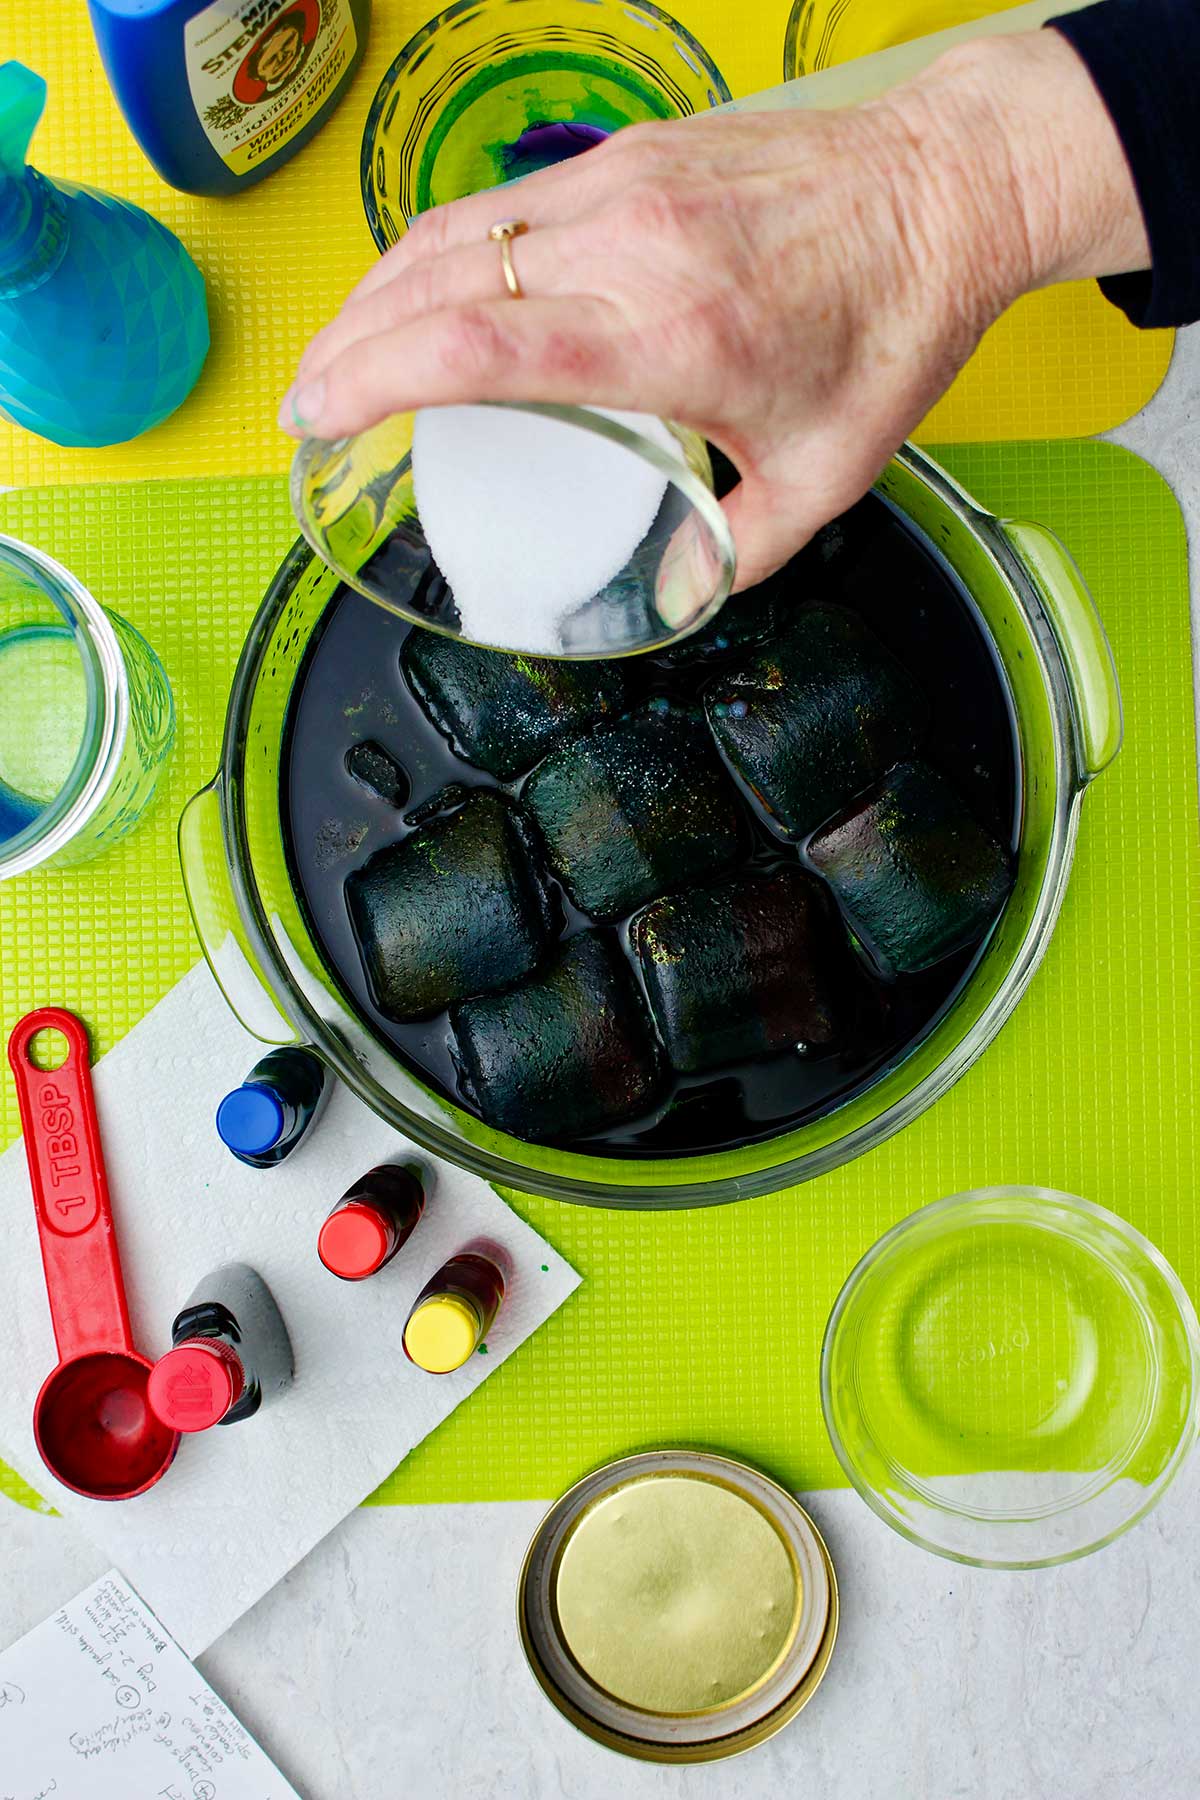
6. Lastly, take two more tablespoons of salt and sprinkle it over the top of the briquettes.
White or clear crystals form on the areas of the charcoal that are left without drops of food coloring.
Set crystal garden in a safe place to watch
The briquettes will be sitting in this solution for the next several days as you watch your own crystals grow.
So carefully set your pie plate in an area where it will not be disturbed and where it is safe from young children and pets.
If it’s disturbed and bumped, it may disturb the crystals growth. It might also slosh some of the liquid back up on the briquettes and dissolve the crystals that have already grown.
Now Watch Your DIY Crystlas Grow!
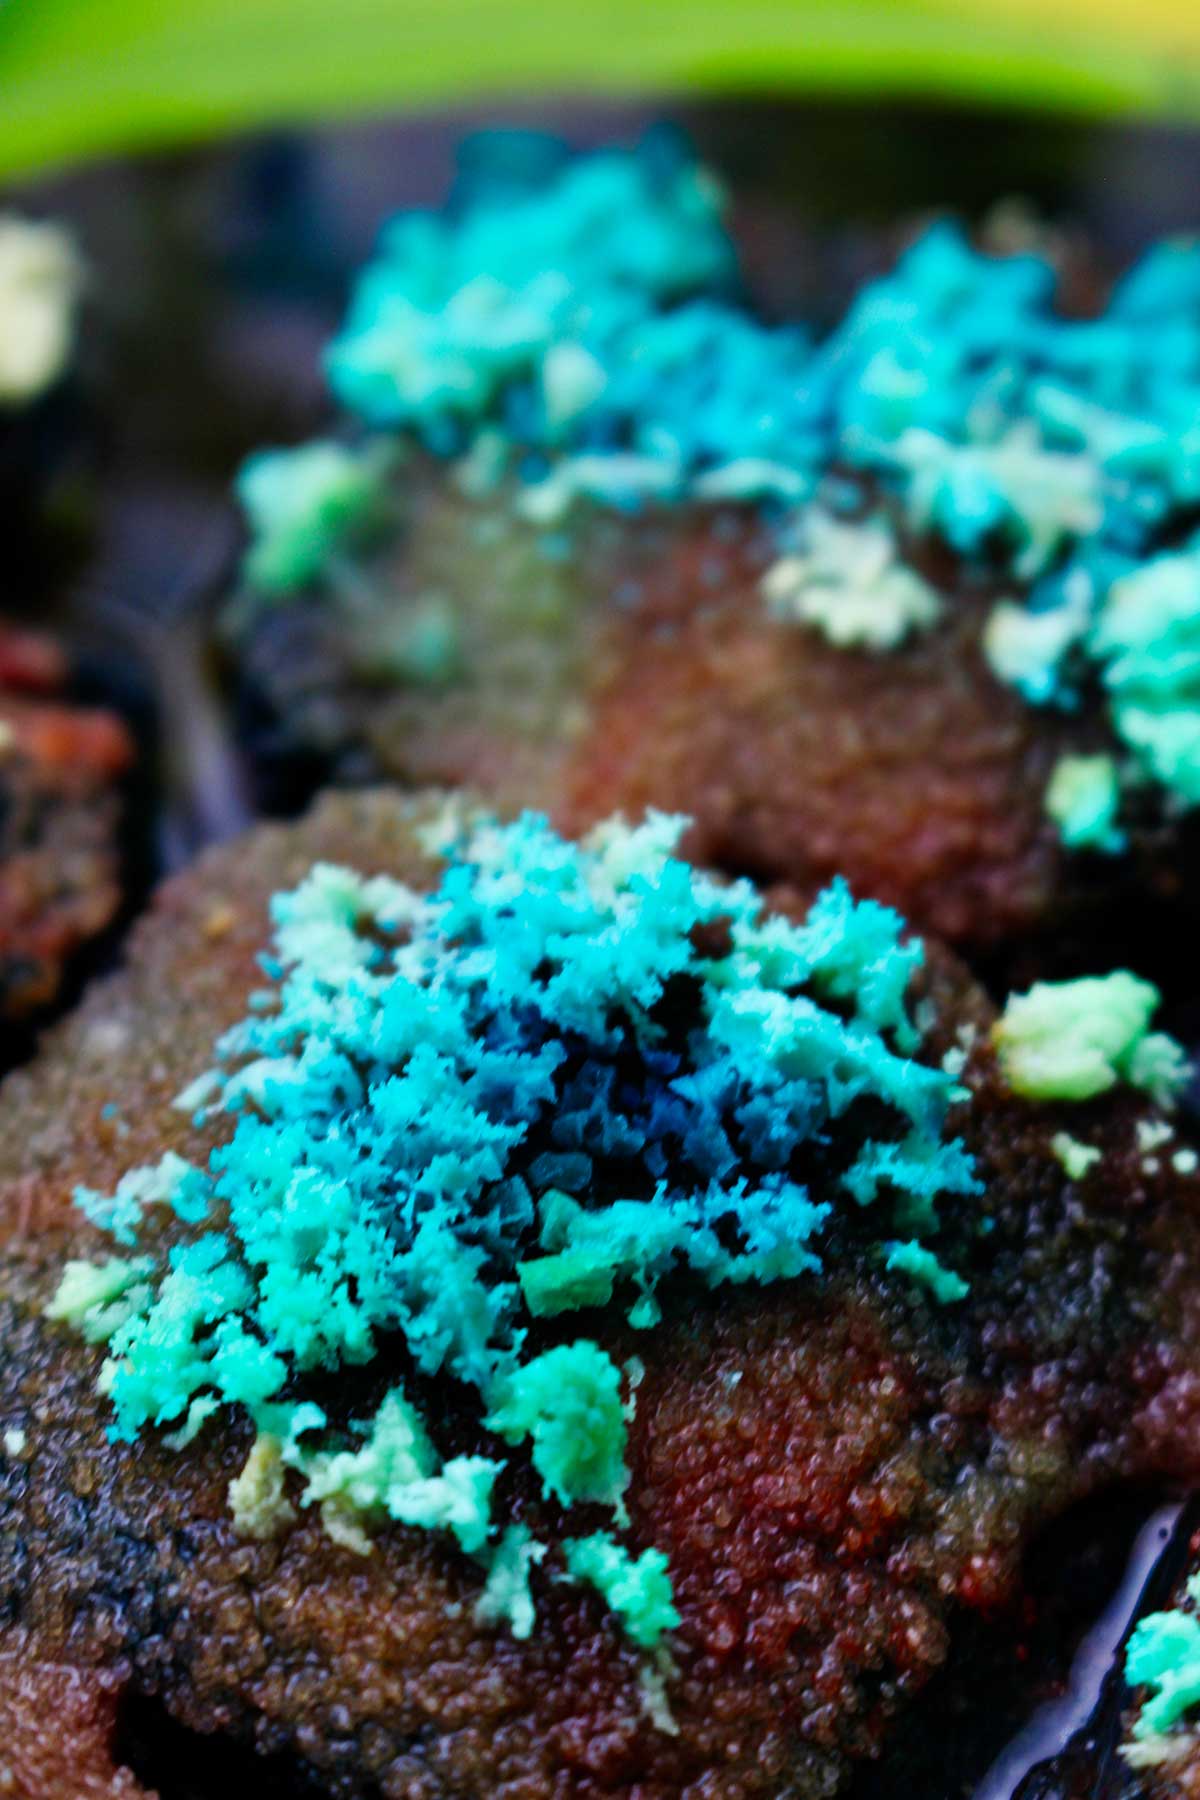
I couldn’t wait till the next day to go see the crystals and checked it every few hours or so. New crystals were growing within 12 hours.
I left mine sitting for about 72 hours and the last picture is the growth at 72 hours of time. I love the shape of crystals.
All of my crystals were yellow, green and blue. None of them were red from the red food coloring. I’m not sure why that happened. I’d like to try it again sometime and only use red food coloring and see what happens.
Now you can see why I call it an artsy science activity!
The Science Behind Growing Crystals
Let me tell you a little bit about why this works. When you mix the ingredients together and the salt dissolves, you’ve made a salt solution. That is what the water in the ocean is- saltwater (that's where we get sea salt).
If you use boiling hot water even more salt can dissolve (than in cold water or even hot tap water). It can create a supersaturated solution which contains more salt than it would at room temperature. This will produce the best crystals and possibly larger crystals.
The Mrs. Stewart’s bluing is called a colloid. It dissolves in the water too, and to our eye it looks like it’s completely dissolved. But there’s actually little particles of the bluing that are floating in the water.
Those little particles make it easier for the salt crystals to form as these bits of bluing start the small seed crystals developing.

Lastly, the ammonia helps the evaporation process happen. This is key to this whole experiment. Capillary action draws the salt solution is drawn up through the porous briquettes, then the salt evaporates.
The crystals are actually salt that has evaporated out of the water. The other two ingredients are just helping that process.
The crystals are the same salt that you put into the liquid- it just looks different in the shape of the crystals. That’s why, with no food coloring the crystals are white, because they’re white salt crystals.
How to Continue Growing Crystals
If you want to continue growing your salt crystals, you can make another solution of 2 tablespoons each of the salt, ammonia, liquid bluing, and distilled water. When you pour this into the pan it will re-energize the crystal growth.
The tricky part is pouring it into the pie plate so that you don’t accidentally get the existing crystals wet and dissolve them.
You can pour the solution very carefully onto the edge of the pie plate. And pour it so that it doesn’t go more than about ⅔ of the way up the briquettes. If it gets too close to the top of the briquettes, it will dissolve the existing good crystals.
You could keep going for a couple weeks doing this if you would like.
Growing Crystals FAQs
Yes you can, and it might be easier than you think! This is a great artsy and educational project to learn about how crystals grow. All you will need is the correct chemical solution, some salt, something porous (like a sponge or charcoal briquette), and a container. Find the full tutorial here!
Using the method outline in this post, you should start seeing the growth of your crystals within just about 12 hours! Keep watching them every day, you'll keep seeing them grow and grow. Mine were full crystals within about 72 hours.
More science activities for kids!
If you would like more fun science and learning activities and crafts for kids, check out these ideas!
- How to Grow a Tree from a Pinecone
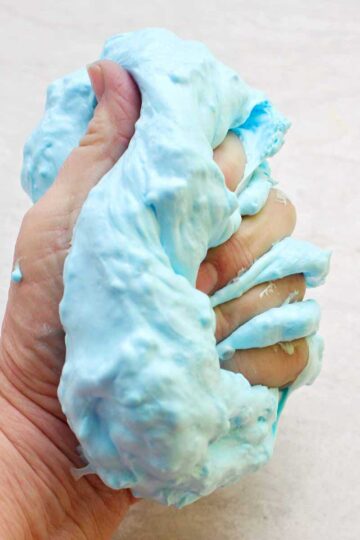
- How to Make the Best Fluffy Slime
- DIY 2-liter Bottle Ecosystem Project
- How to Grow Spring Flower Bulbs Inside
- Tree Leaf Identification Journal
Enjoy!
If you try this craft, let me know! Go ahead and leave a comment, rate it, and tag a photo #WelcomeToNanas wherever you post.
Come join the fun at http://welcometonanas.com

How to Make Crystals: DIY Crystals Home Science Project
Equipment
- Glass pie plate
- Mason jar (or other glass jar)
- Nonmetal string utensil
Items Required
- Non- iodized salt (plain salt)
- Mrs. Stewart’s liquid bluing (found in the laundry section)
- Ammonia (found in the cleaning section)
- Distilled water
- Liquid food coloring
- Charcoal briquettes, or some other porous item like a sponge
- Glass pie plate
- Mason jar (or other glass jar)
- Nonmetal string utensil
Instructions
- Use a glass pie plate to hold the briquettes. It’s best to use glass items for everything that you do in this experiment.Spread the charcoal out in one layer over the bottom of the container.Use a little bit of water either from a glass or from a spray bottle to lightly wet down the briquettes. I used a spray bottle and it worked really well. Spray until they are wet, but not sitting in water. If you get too much water, pour it out of the pie plate.
- You will take 3 tablespoons of each of your ingredients and measure them into a mason jar or other clean container of glass. (That is 3 tablespoons each of salt, liquid bluing, ammonia, and distilled water.)It's a good idea to place the glass jar on a paper towel to protect the counter.Note: it is easiest if you use hot water as it will help the salt to dissolve. The hot water may result in bigger crystals as the water cools.Stir with a nonmetal stirring item until the salt is dissolved. I used a glue stick for this as I did not want to use one of my metal spoons nor did I want to use a wooden spoon and dye it blue with a liquid bluing.
- When the salt is dissolved, pour the solution over the charcoal briquettes. Take a little bit more of the distilled water and pour it into the Mason jar. Stir it around to dissolve any of the extra ingredients or undissolved salt that might have been left in the bottom of the jar. Pour this over the briquettes as well.Note: The ingredients in this activity are toxic and are not safe to have around young children. I recommend doing this experiment with older children and under adult supervision.This activity will last for several days so it’s important to continue to keep it away from young children and your pets, too, of course.
- Next, take the liquid food coloring and add drops of food coloring to the briquettes. I used red, yellow, and blue, because they all came in a small box together.Lastly, take two more tablespoons of salt and sprinkle it over the top of the briquettes.The crystals will be white or clear on the areas of the charcoal that are left without drops of food coloring.
- The briquettes will be sitting in this solution for the next several days as you watch your own crystals grow.So carefully set your pie plate in an area where it will not be disturbed and where it is safe from young children and pets. If it’s disturbed and bumped, it may disturb the crystals growth. It might also slosh some of the liquid back up on the briquettes and dissolve the crystals that have already grown.
- Check your crystals every day.I couldn’t wait till the next day to go see the crystals and checked it every few hours or so. New crystals were growing within 12 hours. I left mine sitting for about 72 hours and the last picture is the growth at 72 hours of time. I love the shape of crystals.All of my crystals were yellow, green and blue. None of them were red from the red food coloring. I’m not sure why that happened. I’d like to try it again sometime and only use red food coloring and see what happens.Now you can see why I call it an artsy science activity!


Leave a Reply