
Children's Stilts
This How to Make Stilts post sprung out of a fun discussion over supper with Papa.
We were talking about the fun things we did when we were young to occupy the lazy days of summer vacation from school.
What did you do on summer vacation from school?
We began the list with the common activities of summer like playing with the neighbor kids, bike riding, swimming and fishing.
But what got us laughing was some of the games or toys we had that occupied so many of our hours. We did things like walked on stilts, jumped on a pogo stick, played with the Skip Ball or Skip It toy, and killed our knuckles with Clackers.
We really laughed about that last one! How could anyone think that was a safe toy for kids? I put some links on those toys if you want to see what they are. They still sell Clackers!
How do I make homemade stilts like the ones I had as a kid?
One thing this got me thinking about was walking everywhere on stilts one particular summer! I literally walked around the neighborhood on them and even got my picture in the newspaper (wish I could find that picture). I was in my lime green swimsuit from the early 70s, my blonde hair was in pigtails, and I had a smile from ear to ear.
Crazy, I know. But can you imagine how much balance, coordination and exercise I got that summer? Great memories.
You know where we’re going with this, of course…we have to make stilts for the grands!
Watch the process on video if you prefer!

How to Make Stilts out of Wood
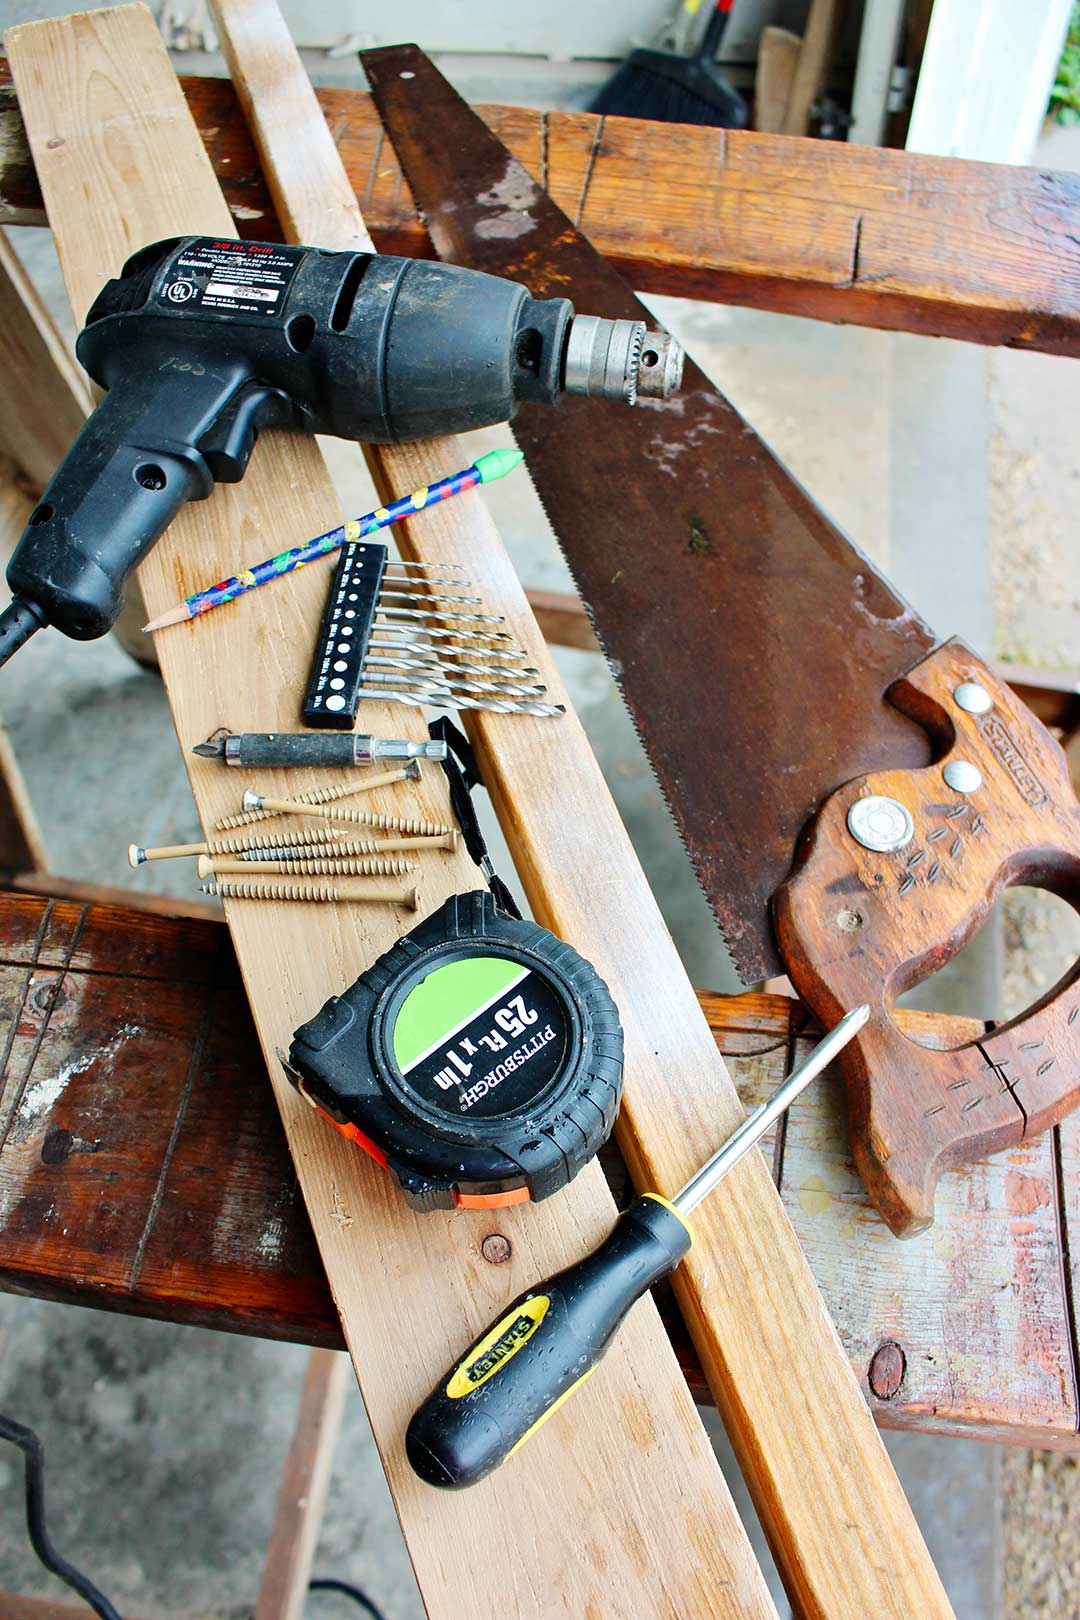
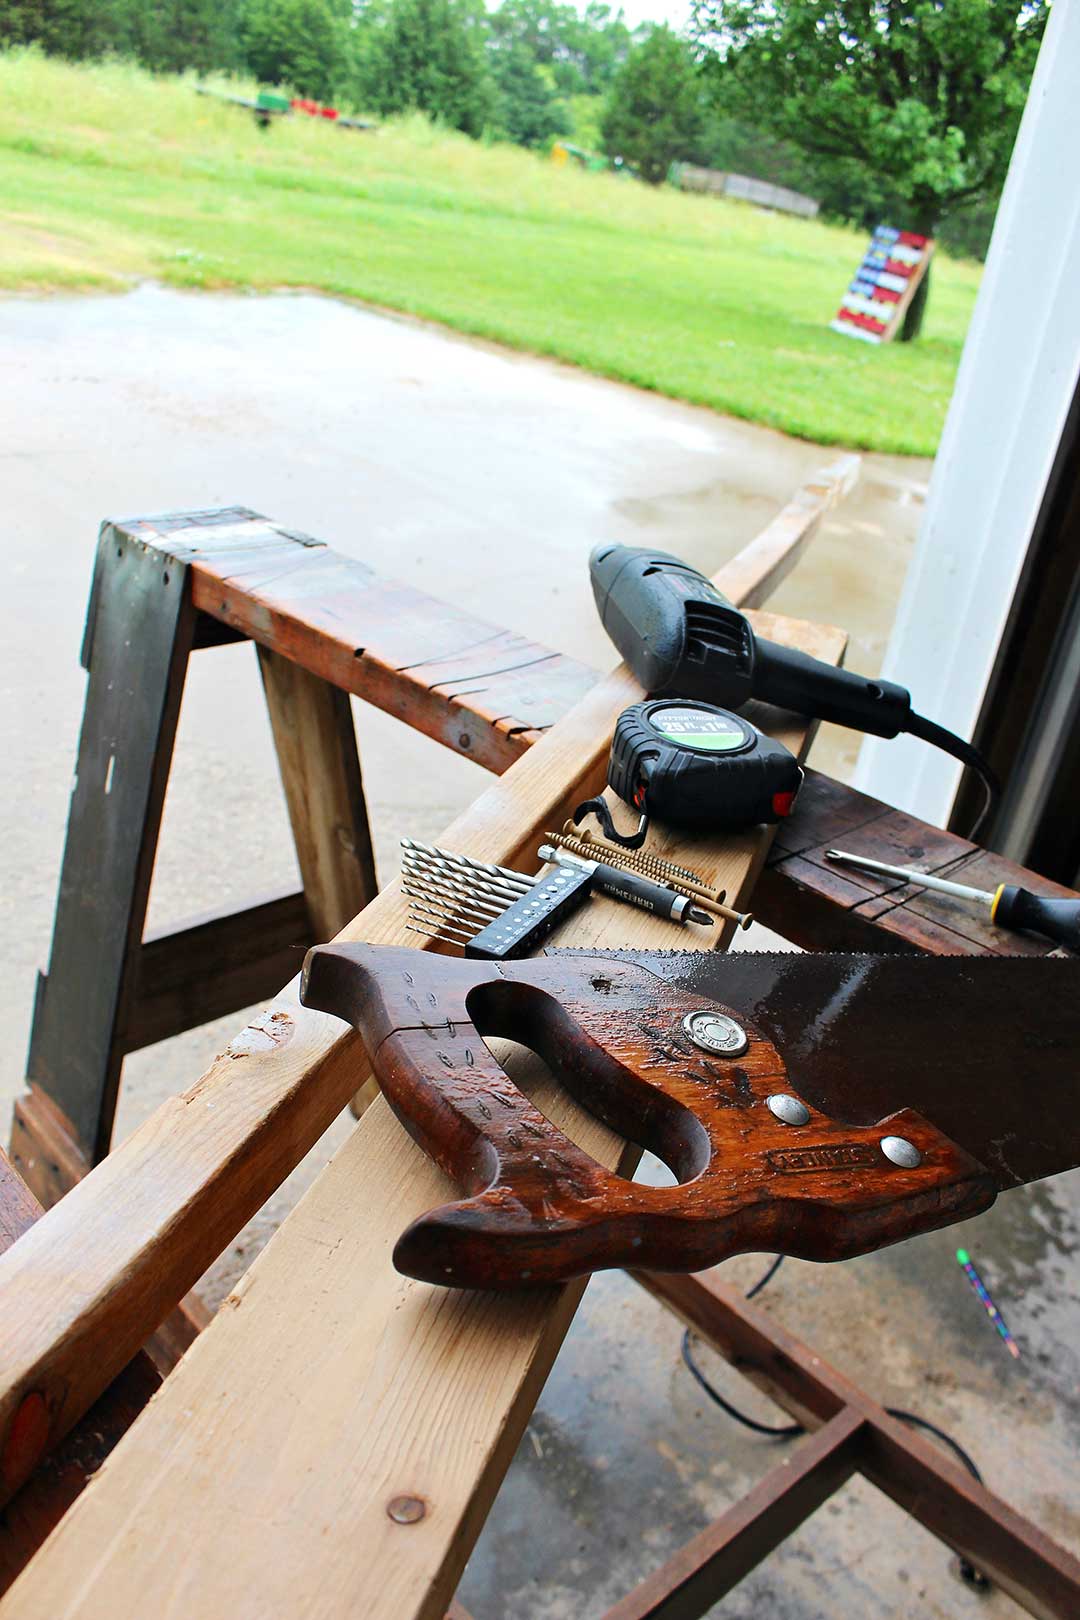
This involves the use of a few tools so grab a hand saw or power saw, a drill and a few supplies to make this happen.
Tip: If you don’t have tools ask a favor from a friend or relative-it is a small project. Make a trade for some baked cookies perhaps.
Wooden stilts- Measure twice, cut once 🙂
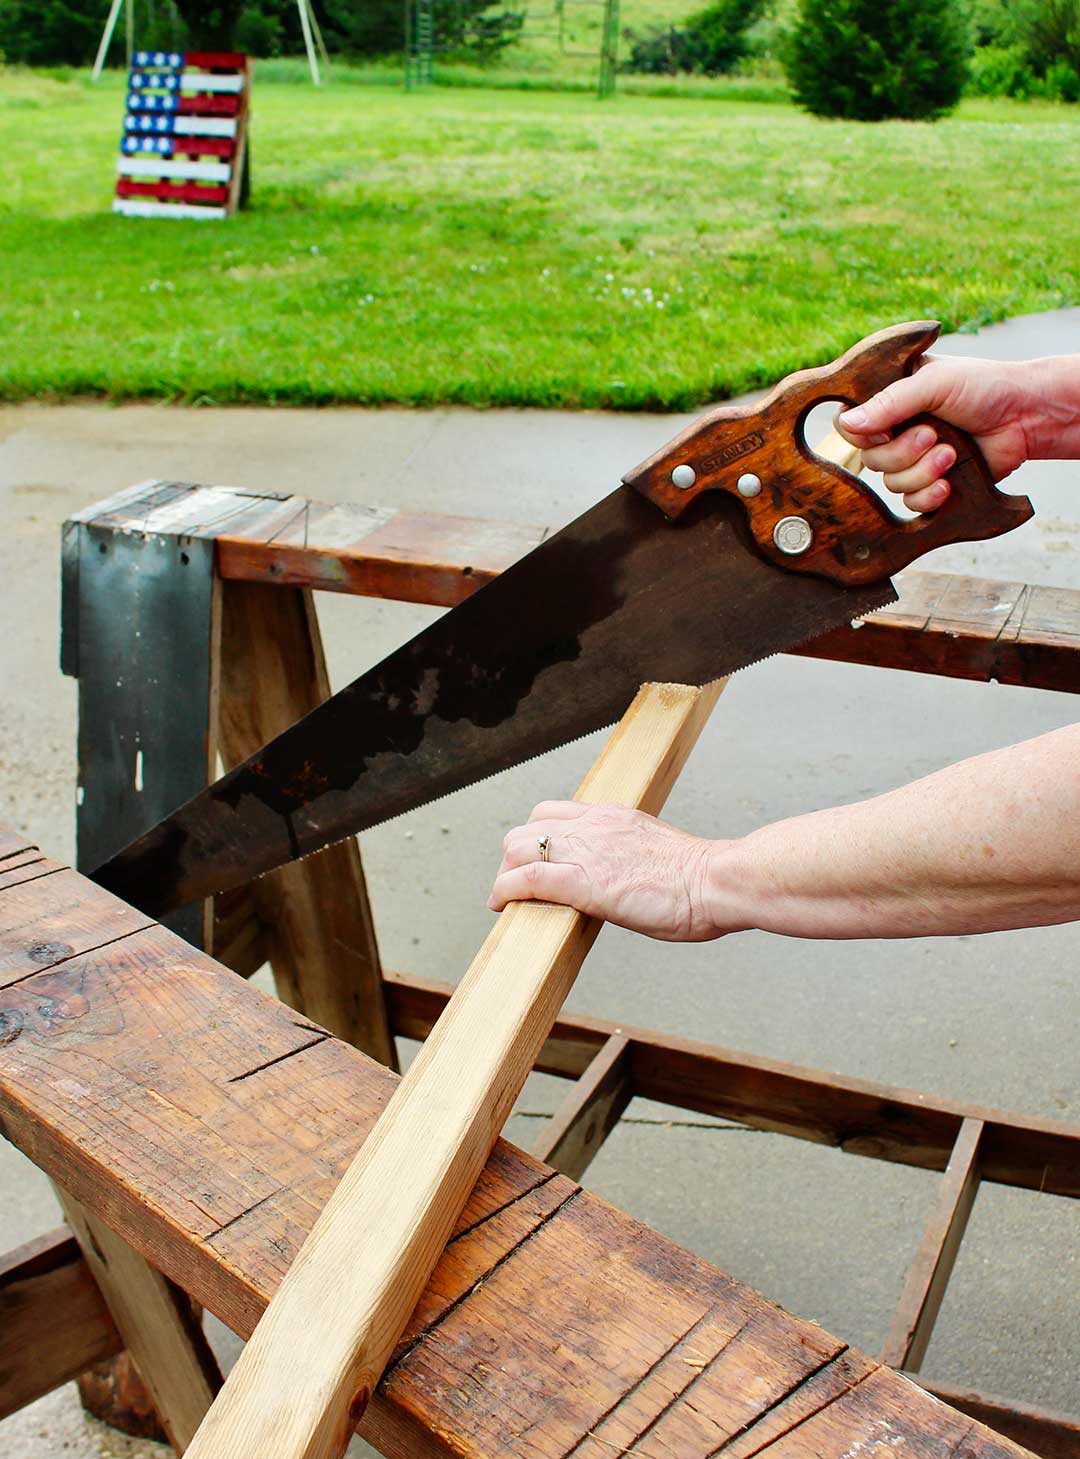
Measure and mark 6-foot lengths on your 2 inch by 2-inch lumber to prepare for cutting.
Use your hand saw or power saw to cut the 2x2” lumber into two- 6-foot lengths for kids stilts.
Note: If you are making these for adults or if you want to eventually make these stilts higher for the kids start with two- 8-foot lengths.
Cut 2- 6” pieces from the 12” of 2x4. These will be for the foot holds on the stilts.
Sand the lumber a bit so no one gets splinters.

Mark and drill pilot holes
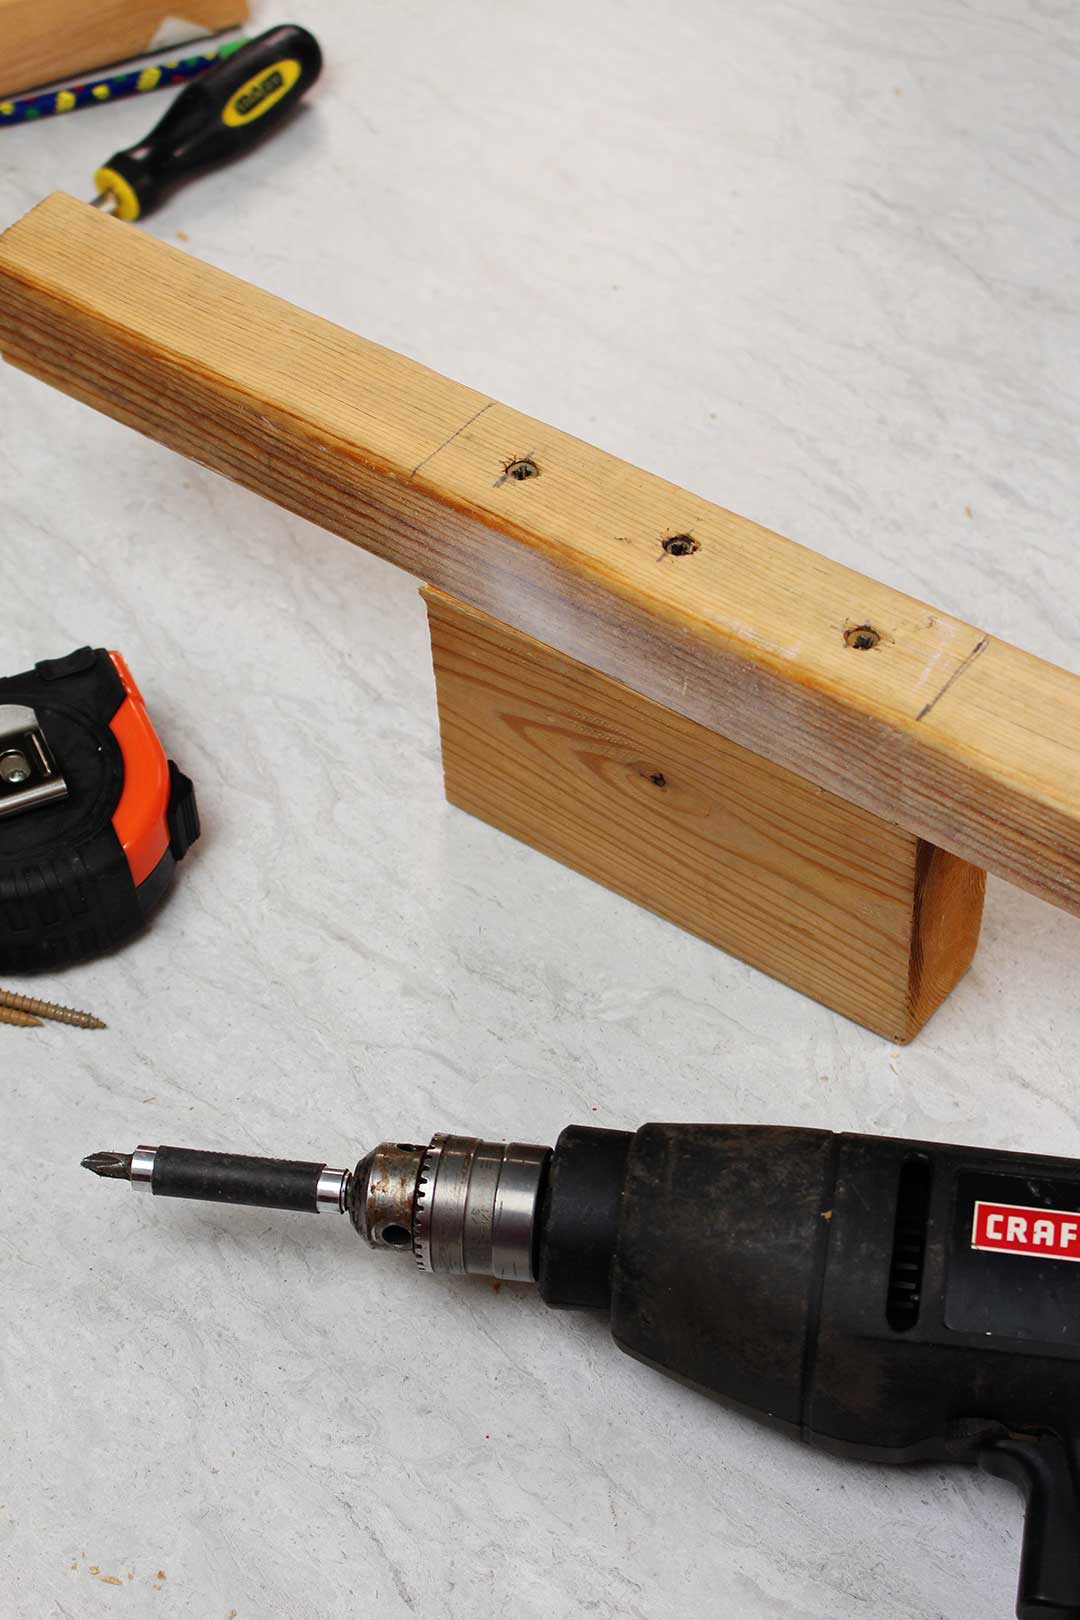
Lay the 2x2 stilt pieces on your work surface. Measure and make marks at 12 inches and 6 inches from one end of each stilt. This marks the location of the foot hold on each stilt (it's 6" long).
Mark three approximately equal distance crosses at 11”, 9” and 7” between the two previous marks (in the center of the 2x2). This is where the screws will go through the 2x2s and into the foot hold blocks.
Using the drill, drill three holes in the 2x2 in the crosses you just marked out for the foot holds to attach.
Tip: Be sure to place a scrap piece of lumber underneath the 2x2s as you drill to prevent drilling holes into your work surface.
Placement of the footholds
Place one foot hold block underneath one 2x2 and use the drill or a screwdriver to screw 3 of the screws through the 2x2 and into the side of the foot hold block.
Repeat for the other stilt and you are done! I told you this was a fast project.
Now for the fun part!
How do I walk on stilts?
I recommend learning to walk on stilts in a grassy area. It takes some practice to get your balance and concrete isn’t very forgiving!
Be sure there is no one close by because the stilts can slip out of your hands and flop over various directions. You don’t want a sibling bonked in the head accidentally.
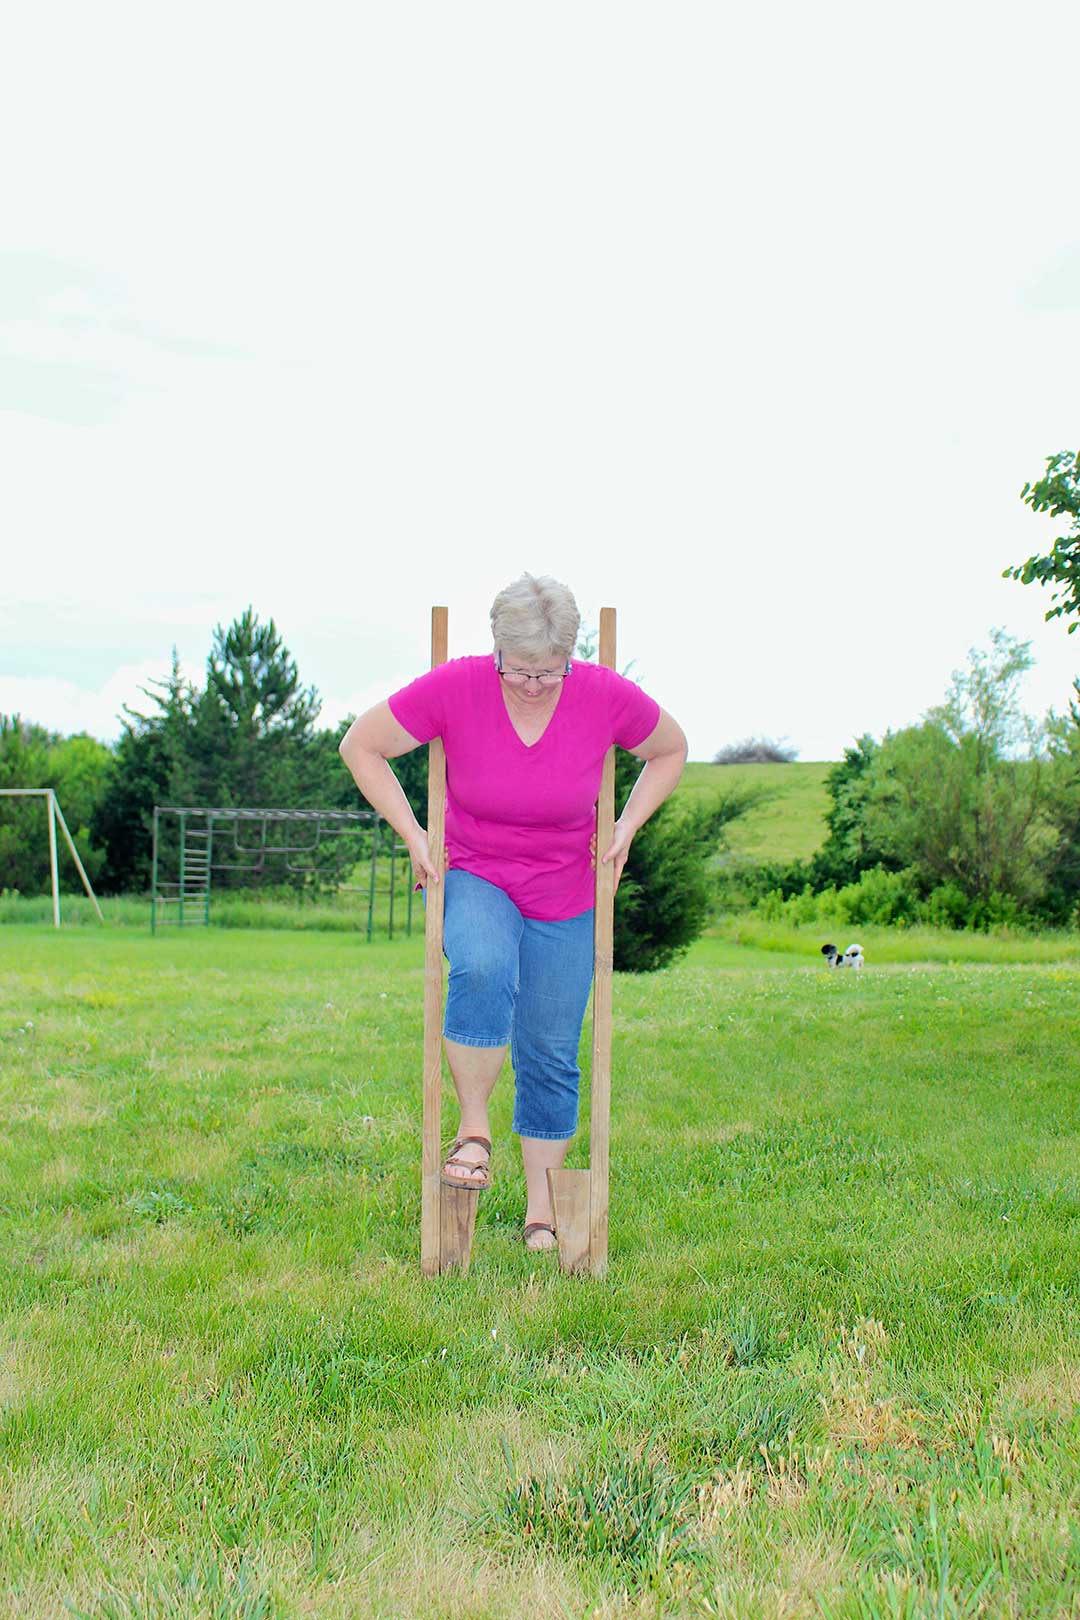
Hold the stilt handles one in each hand with the foot holds to the center. Tuck the stilt handles under your arm pits, hold onto the handle by your hip area, and step one foot up onto a foot hold. Try stepping forward on one stilt and rocking up and forward a bit to practice getting your balance. Then as you step forward on the one stilt bring your second foot up onto the second foot hold.
To actually walk on stilts, you kind up pull upward with your hand on the stilt you are going to move forward on as you step forward. You will understand what I mean as you practice. This helps to draw the stilt forward as you step forward, so you don’t step off the foot hold.
This takes some practice, but most kids will get it fairly quickly. It’s kind of like learning to ride a bike, once you learn you never forget!
Can I make my stilts taller? YES!!
If your grands master this stilt height, you can take the foot hold off and move it up 12 inches.
Make the taller stilt length of 8 feet if you want this as an option.
How to Make Stilts- just like when we were kids
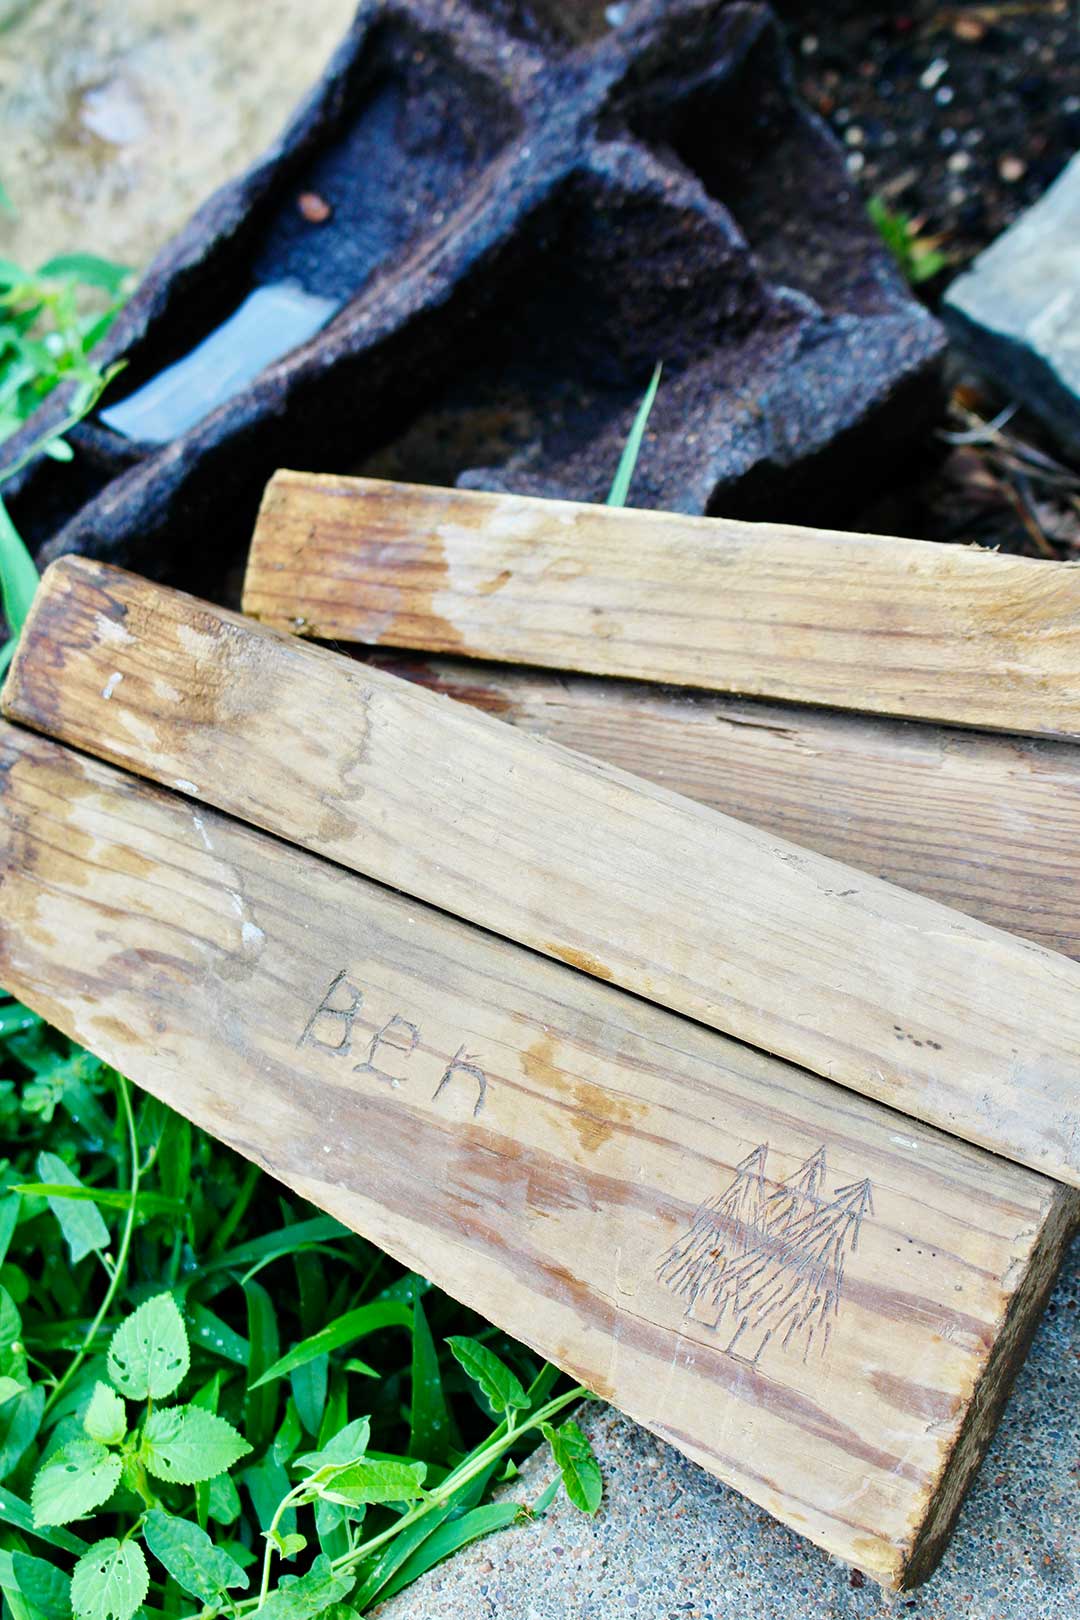
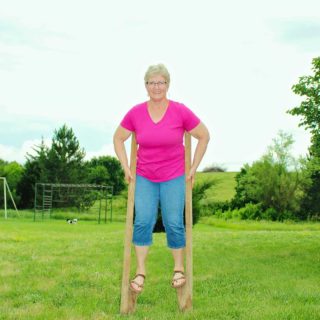
So, the stilts I’m walking on are not the ones I had as a kid. Those are long gone. But they are the ones that our son made when he was young. They have his name scratched onto the side (plus a couple pine trees- he still loves Colorado).
I didn’t have any trouble getting back into the groove of walking on stilts. I couldn’t believe it- guess it IS like learning to ride a bike!
Now we have two pairs of stilts for the grands when we are together on the Fourth of July!! You need some too!
Hope you love this project as much as I do. Take pictures, I want to see you and your grands walking on stilts!!
More Woodworking project ideas!
While you have the drill out and some extra pieces of wood around, here are a few more easy Welcome To Nana's projects using wood!
- How to Make a Flower Press from Wood
- DIY Wooden Charcuterie Board
- Beginning Wood Burning
- DIY Wooden Picture Frame Loom
Enjoy!
If you try this craft, let me know! Go ahead and leave a comment, rate it, and tag a photo with #WelcometoNanas wherever you post.
Come join the fun at https://welcometonanas.com
How to Make Stilts
Equipment
- Saw (hand saw or power saw)
- Drill (to drill pilot holes and to screw in screws)
- Tape measure or ruler or yardstick
- Screwdriver (optional if you have a drill)
Items Required
- 12 feet 2”x2” lumber- 12 feet for young kids, 16 feet for older kids or adults
- 1 feet 2”x4” lumber- 12 inches
- 6 3” long screws
- Sandpaper
Instructions
- Measure and mark 6-foot lengths on your 2 inch by 2-inch lumber to prepare for cutting.
- Cut 2- 6” pieces from the 12” of 2x4. These will be for the foot holds on the stilts.
- Sand the lumber a bit so no one gets splinters.
- Lay the 2x2 stilt pieces on your work surface. Measure and make marks at 12 inches and 6 inches from one end of each stilt.
- Mark three approximately equal distance crosses at 11”, 9” and 7” between the two previous marks (in the center of the 2x2).
- Using the drill, drill three holes in the 2x2 in the crosses you just marked out for the foot holds to attach.
- Place one foot hold block underneath one 2x2 and use the drill or a screwdriver to screw 3 of the screws through the 2x2 and into the side of the foot hold block.
- Repeat for the other stilt and you are done!
- Learn to walk on the stilts!!
Video
Supplies for How to Make Stilts-
- 2”x2” lumber- 12 feet for young kids, 16 feet for older kids or adults
- 2”x4” lumber- 12 inches
- 6- 3” long screws
- Sandpaper
- Saw (hand saw or power saw)
- Drill (to drill pilot holes and to screw in screws)
- Tape measure or ruler or yardstick
- Screwdriver (optional if you have a drill)


Leave a Reply