Remember Pot Holder Looms?
Since we made a loom from cardboard with an easy cardboard weaving loom I’ve wanted to make a DIY Wooden Picture Frame Loom. Weaving is so amazing. I’ll never tire of it.
We had a pot holder loom when I was little and my brother and I used it to make many colorful pot holders for our mother and aunts. It provided hours of fun.

Textiles Class at KSU
I majored in Home-Ec and my favorite class was Textiles. We studied fabrics and how they were made with weaving being the first method we studied. Though much more complicated, the technique was basically the same as we used with that simple pot holder loom.
This DIY Wooden Picture Frame Loom is a more advanced form of the cardboard weaving loom we made earlier. I started this loom then, but set it aside for other projects.
Choose a wooden picture frame
You can make this loom from any size wooden picture frame, my frame was 9x13 inches large. I wish that I’d made it larger to try some more weaving techniques.
This is a project for the older grands. They will need to be able to use a hammer and smaller nails. They will also need more patience for both hammering the nails and the actual weaving. Don’t forget the easy cardboard weaving loom can keep the younger grands busy while the older ones do this project.
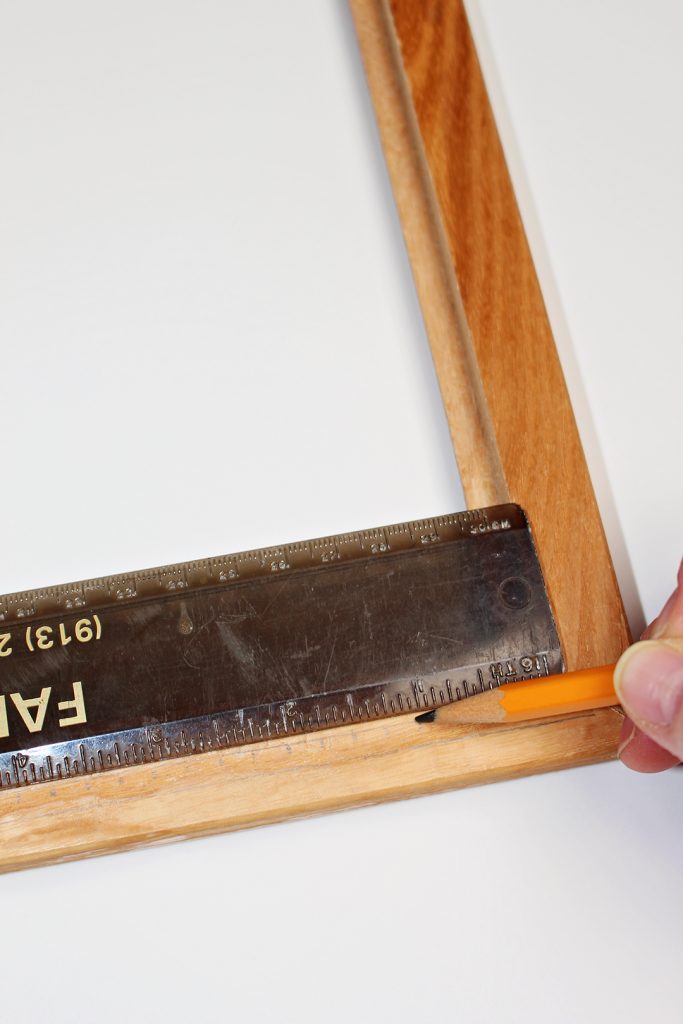
Choose your picture frame size. Make the same number of markings ¼ inch apart on opposite ends of the frame to use as markers for where to hammer in the nails.
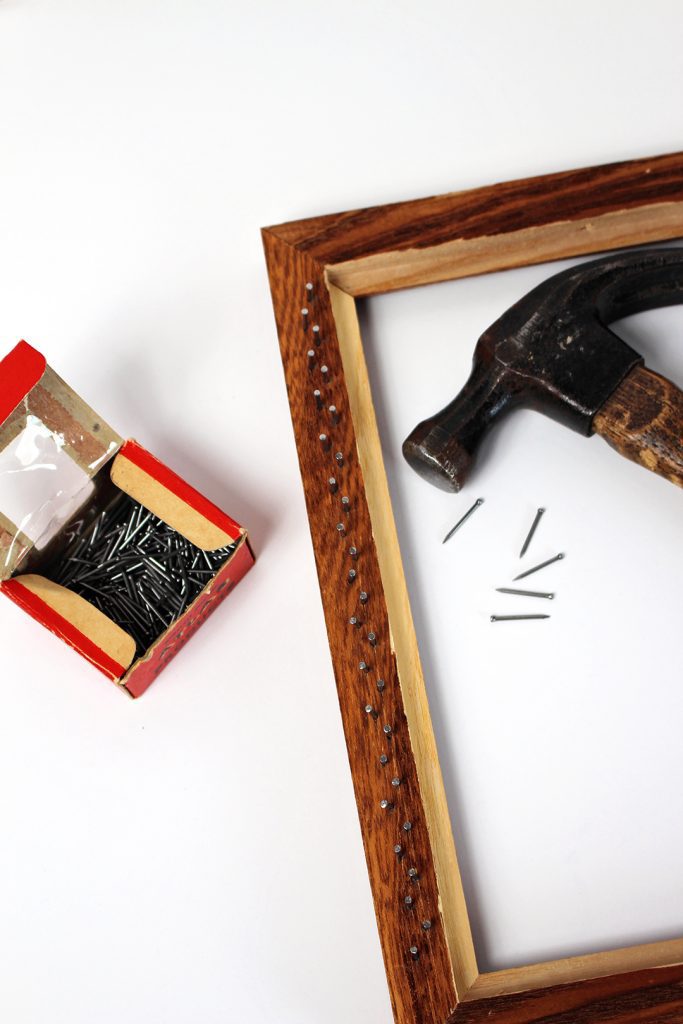
Hammer in the nails
Use small nails with a small head on them. It is kind of hard to hold them as you hammer.
Tip: Push the nail through a light weight piece of cardboard. Use the cardboard to hold the nail in place while you hammer. This moves fingers a distance from the hammer! I use this technique when putting in small nails in other projects as well. Such a help!
Hammer in all the nails on each end of the frame. We hammered them in on the two shorter ends. If I do this again I’d put the nails in a straight line.
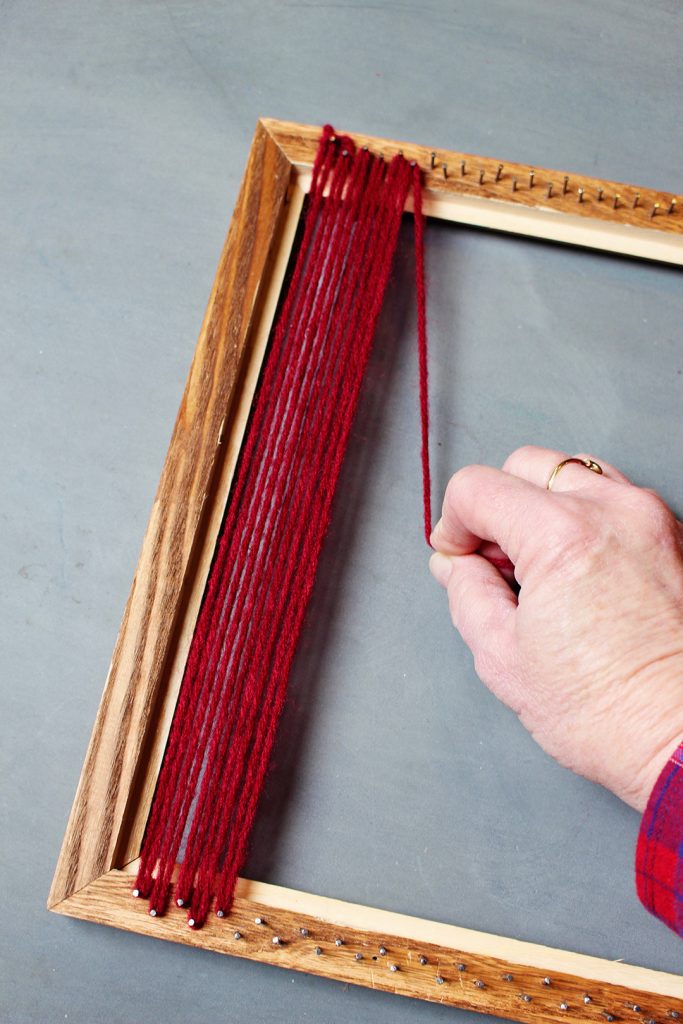
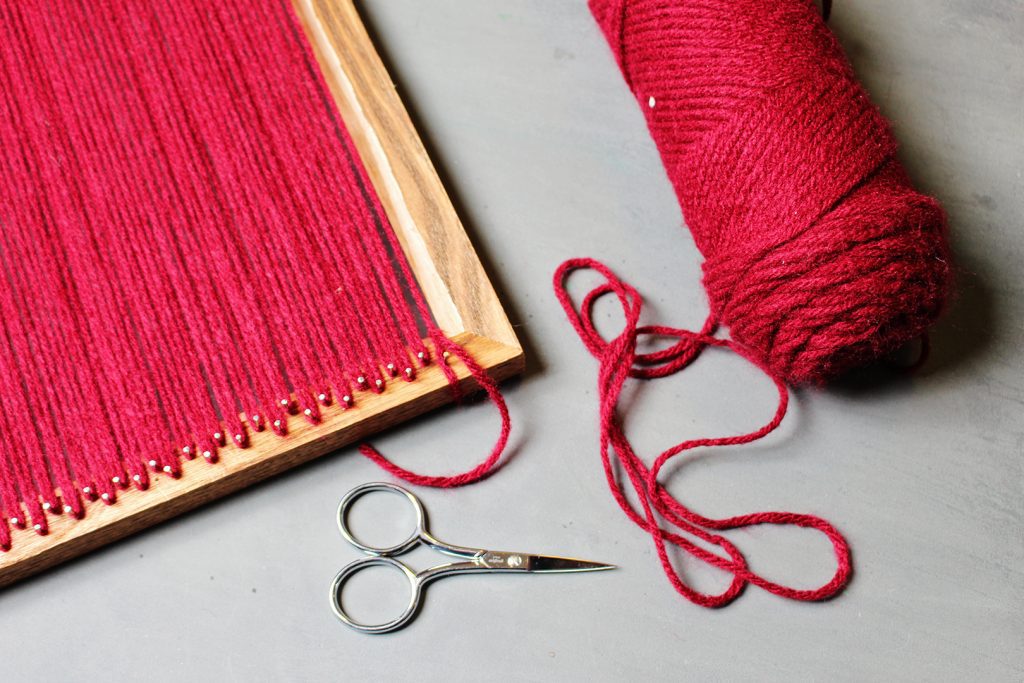
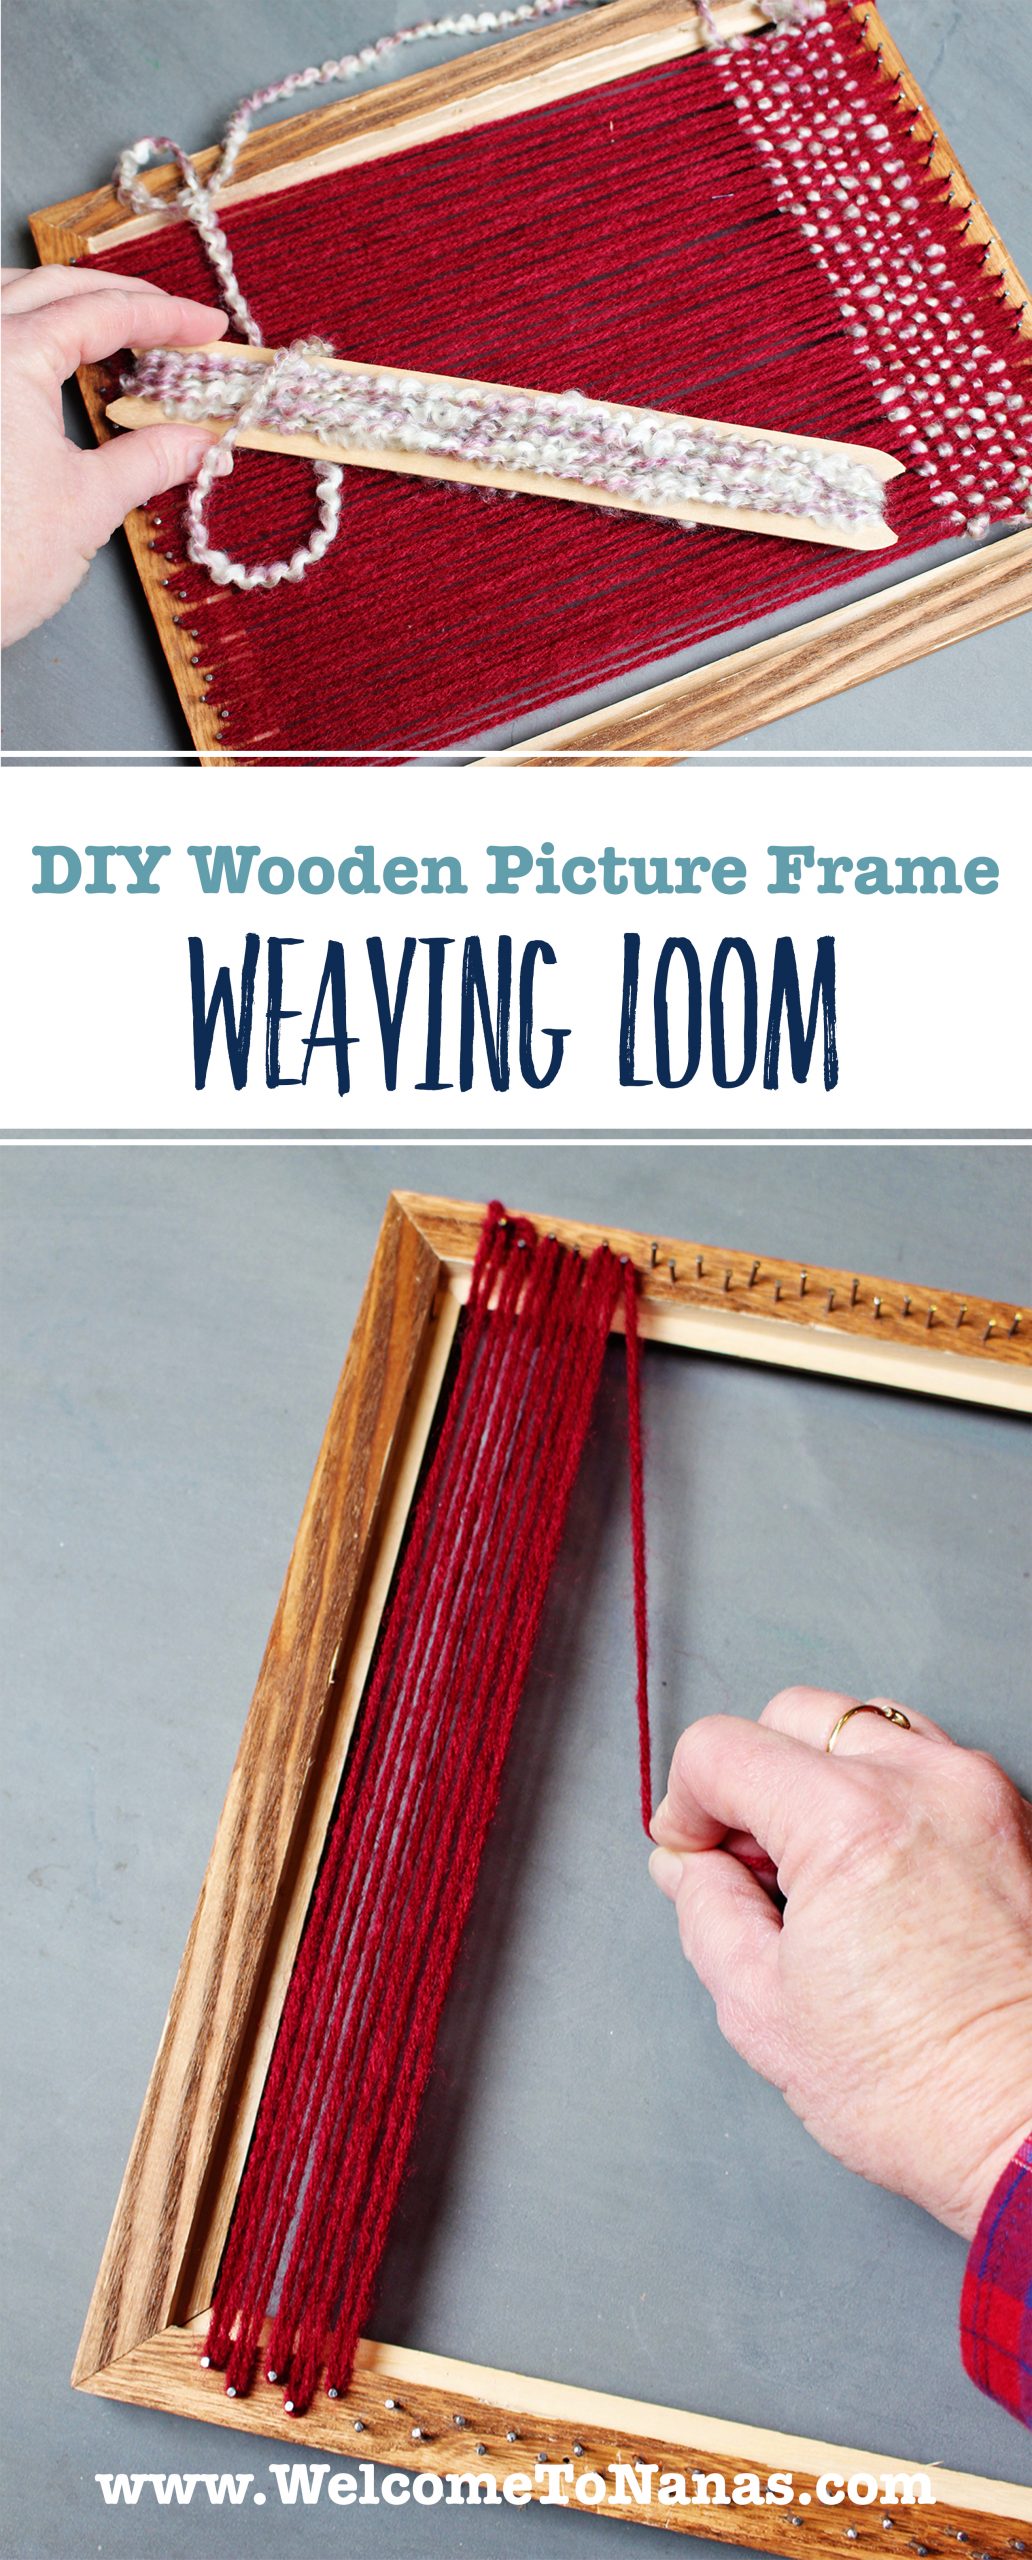
Warp the loom
The first set of yarns are called the warp yarns. To warp the loom you tie the end of the yarn onto the loom at one corner. Go across the loom, around one nail and then back to the other end of the loom and around a nail, across the loom, around the next nail and so forth till the whole loom is warped. Tie the end of the yarn to the loom.
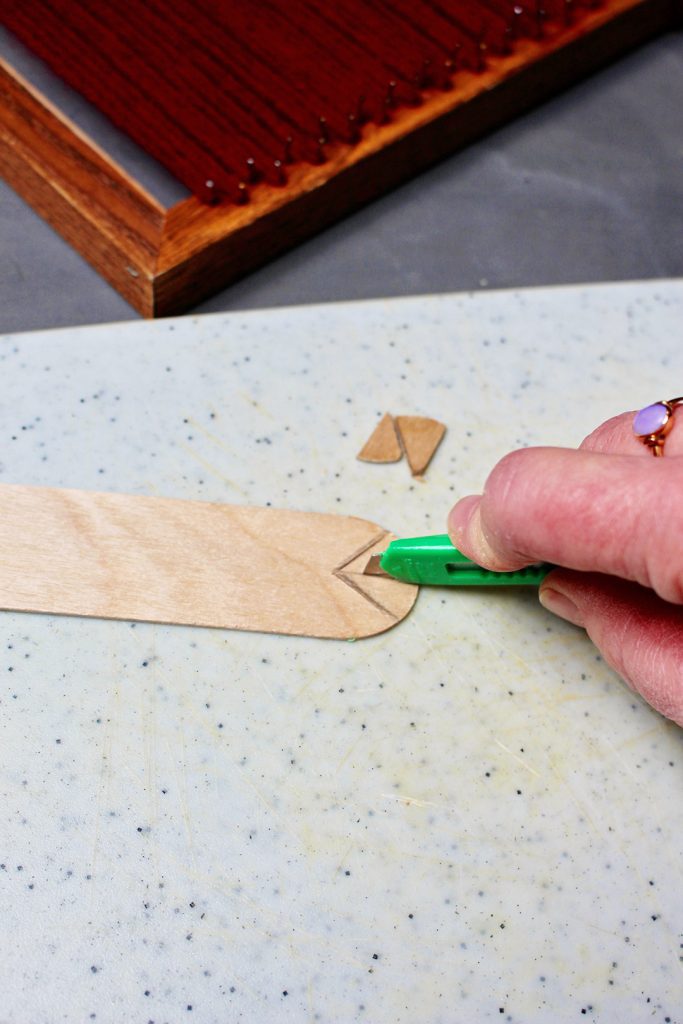
Make a heddle
We need to make a heddle, a device to hold the yarn we will use to weave back and forth on our warp yarns. This is called the weft yarn.
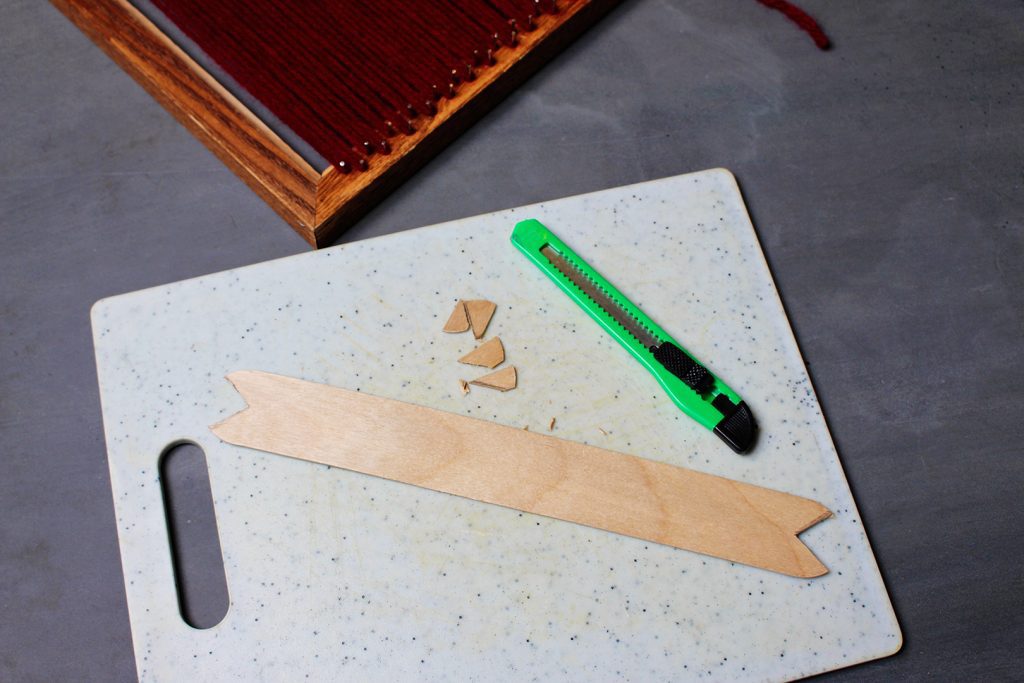
I used a large craft stick that looks like a large flat tongue depressor. Using a utility or exacto knife, cut a V out of each end of the stick. It is easier if you make a cut into the end and then cut the V so it doesn’t split the stick. Round off the sharp ends. This is a step that should be done by an adult. Use a cutting board and be very careful.
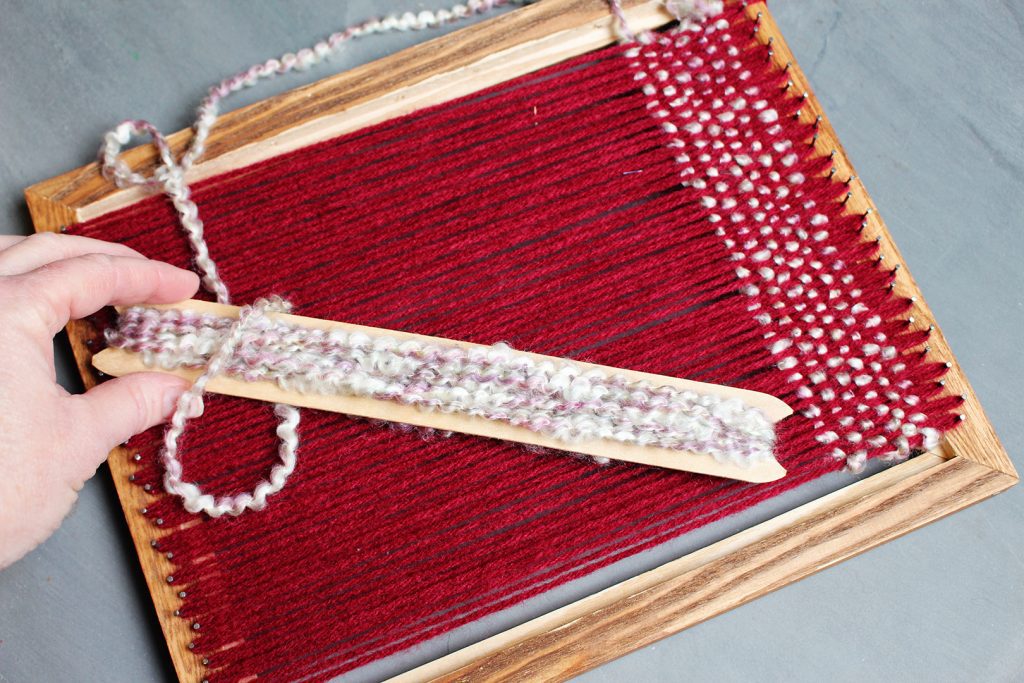
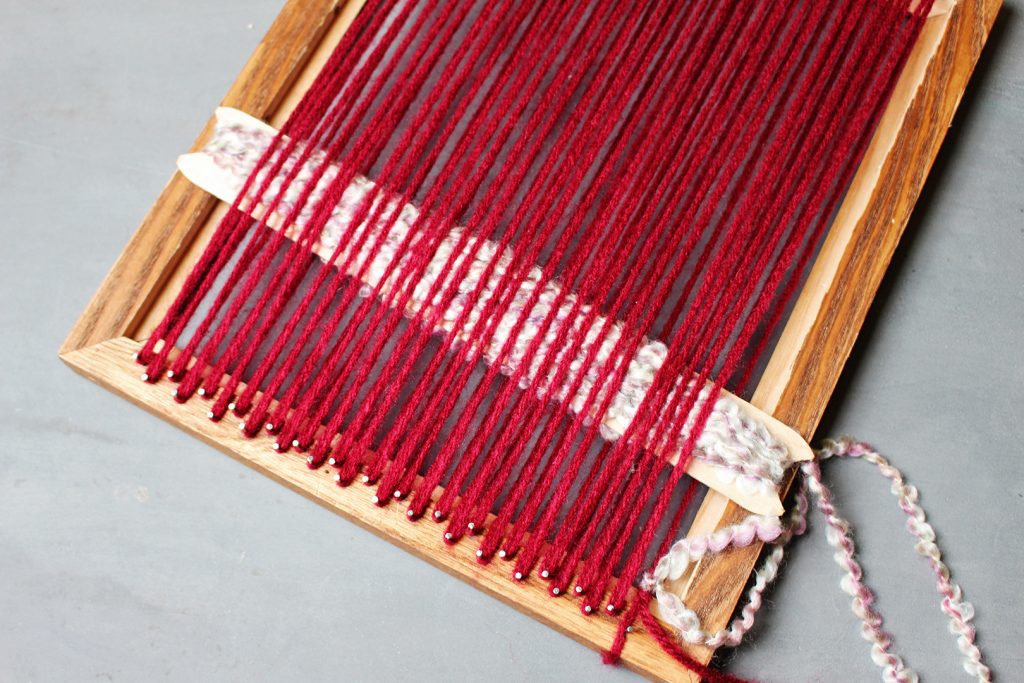
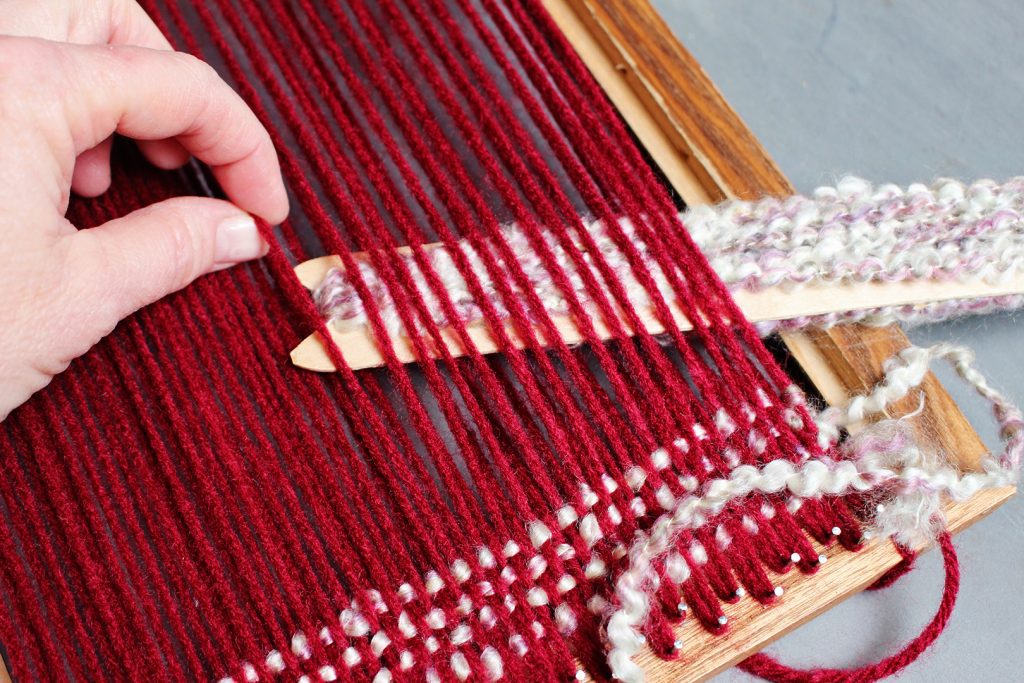
Wind yarn around the heddle that you just made.
Weave weft yarns
Tie the end of the weft yarn to one of the yarns at the corner of the loom.
Use the heddle to weave over and under, over and under each warp yarn all the way across the loom.
Then use the heddle to weave under and over, under and over back across the loom.
Note- Weave over and under the warp yarns one direction and then under and over the warp yarns the other direction.
Tip: Don’t pull the weft yarns tightly or it will distort the shape of the weaving.
Plain weave variations
This is called a plain weave, a simple over and under weave. There are other weaves we could make, but this is enough for now!
You can change the color of the weft yarn and make stripes or use other thicker yarns to add texture. Use your imagination!!
When finished weaving, tie the weft yarn to the last warp yarn. Take the weaving off the loom by lifting each warp yarn off each nail.
What will you weave next?
Supplies for the DIY Wooden Frame Loom
- Wooden picture frame (choose the size you want)
- Small nails with small heads
- Hammer
- Large craft stick
- Utility knife or exacto knife
- Cutting board
- Yarn- one color or a variety of colors and textures
Enjoy!
Welcome to Nana’s! Where there’s fun things to do with your “grand” kids!
Come join the fun at www.WelcomeToNanas.com


Luna says
Thanks for this tutorial ! Just noticed that the tool you call a heddle is actually a shuttle (sounds similar!), while a heddle is that part of the loom that separates different strings within the warp. The more you know !