Fuel the imagination with puppets
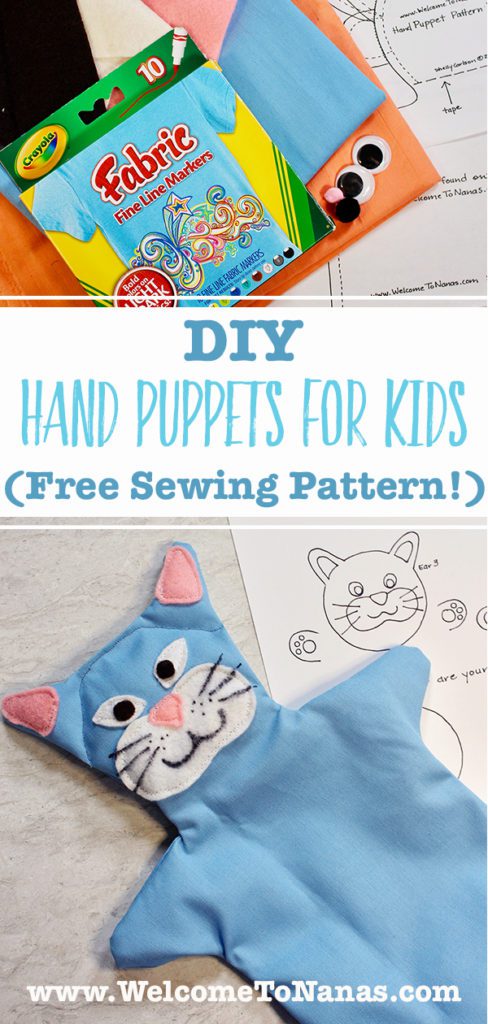
How about a DIY Hand Puppets For Kids Free Sewing Pattern to help create puppets that can fuel the imagination of the young dramatics in your life?
Make a Christmas gift?
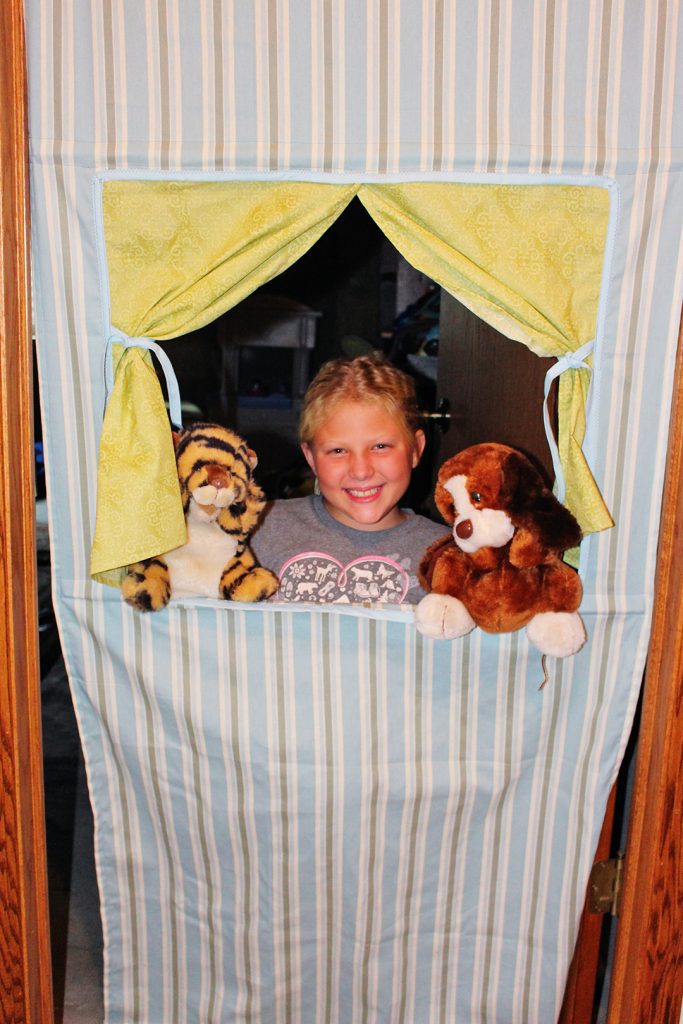
A group of puppets would make a wonderful Christmas gift (along with a Portable Puppet Stage for a Doorway as a backdrop) to bring children's stories to life.
Get out the sewing machine
This craft will take some machine sewing.
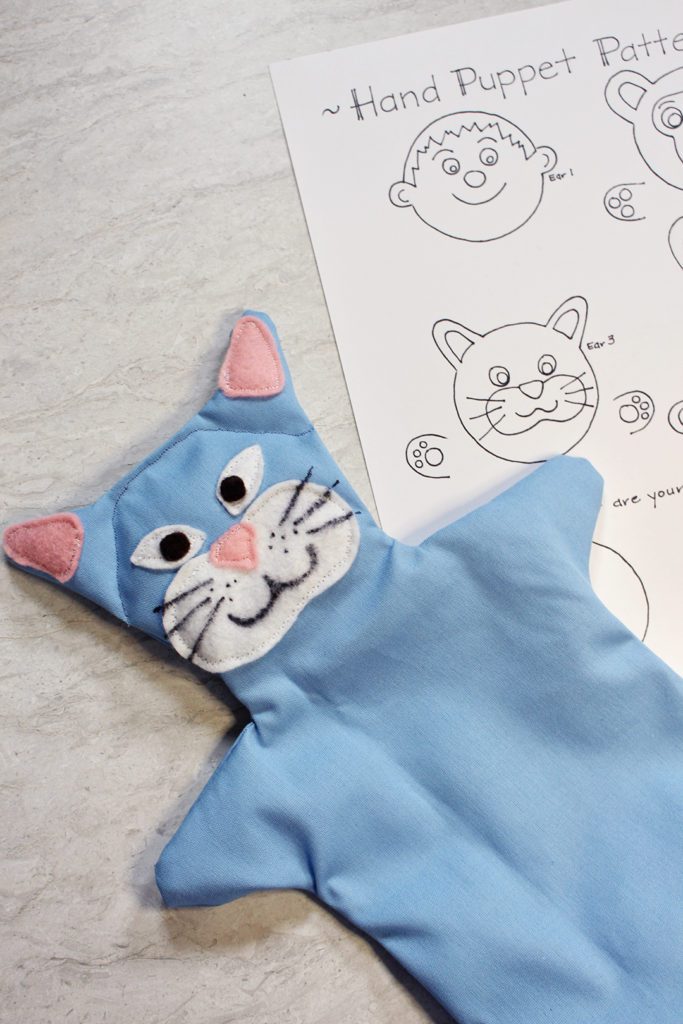
Copy off the pattern
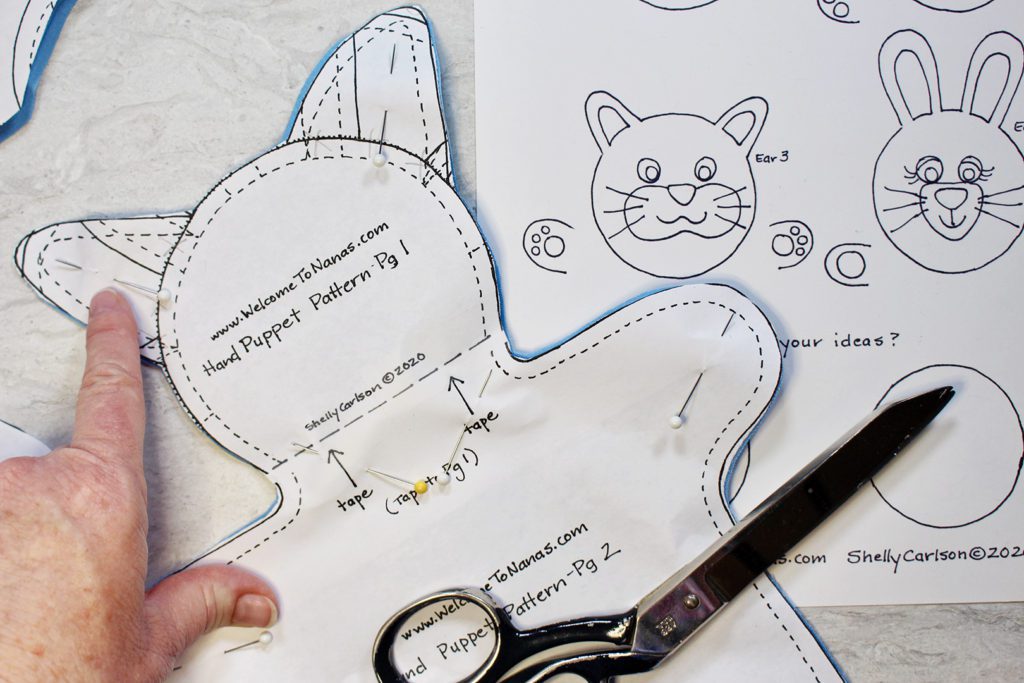
Make a copy of the DIY Hand Puppets for Kids Free Sewing Pattern. Hand Puppet Pattern piece #2 tapes onto piece #1 as shown by the arrows.
Download the DIY Hand Puppets for Kids Free Sewing Pattern here.

Pick your Puppet(s)
What puppets would you like to make? A person, bear, kitty or rabbit? Use the pictures page to choose the type of ears you will cut and use for your puppet. There are spaces to design your own puppets too.
- Ear 1 works well for a person- boy or girl.
- The Ear 2 works well for a bear.
- Ear 3 works well for a cat or lion.
- Finally, Ear 4 works well for a rabbit.
- You can also cut other ear shapes for other puppet ideas you may have in mind- like a mouse or puppy.
Cut the puppet out of fabric
Lay the pattern onto your fabric. Remember, the fabric doesn’t have to be the actual color of the real animal. Puppet animals can be blue, green, yellow, striped or polka dot! Have fun with this.
Pin the pattern on the fabric and mark on the pattern which ears you will cut.
Cut AROUND the ears
Cut AROUND the ear of choice as you cut out the pattern.
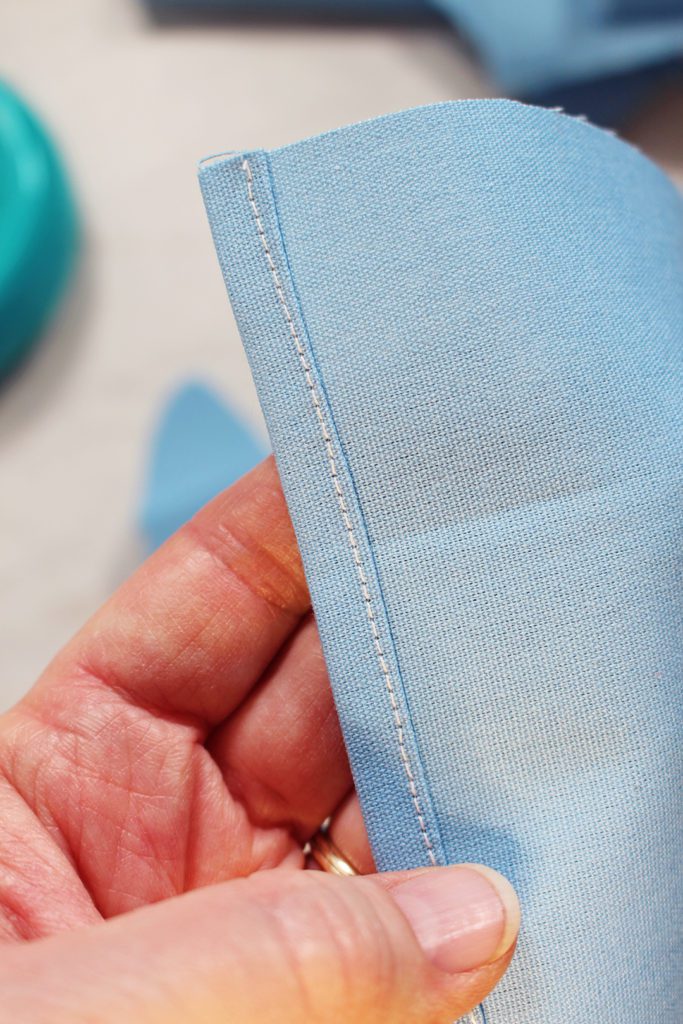
Sew a hem
Sew a shirt tail hem at the bottom of each of the puppet pieces. Turn up just the bottom edge to the wrong side of the fabric ¼ inch and then turn up again ¼ inch. Stitch this hem close to the upper folded edge to hold it in place.
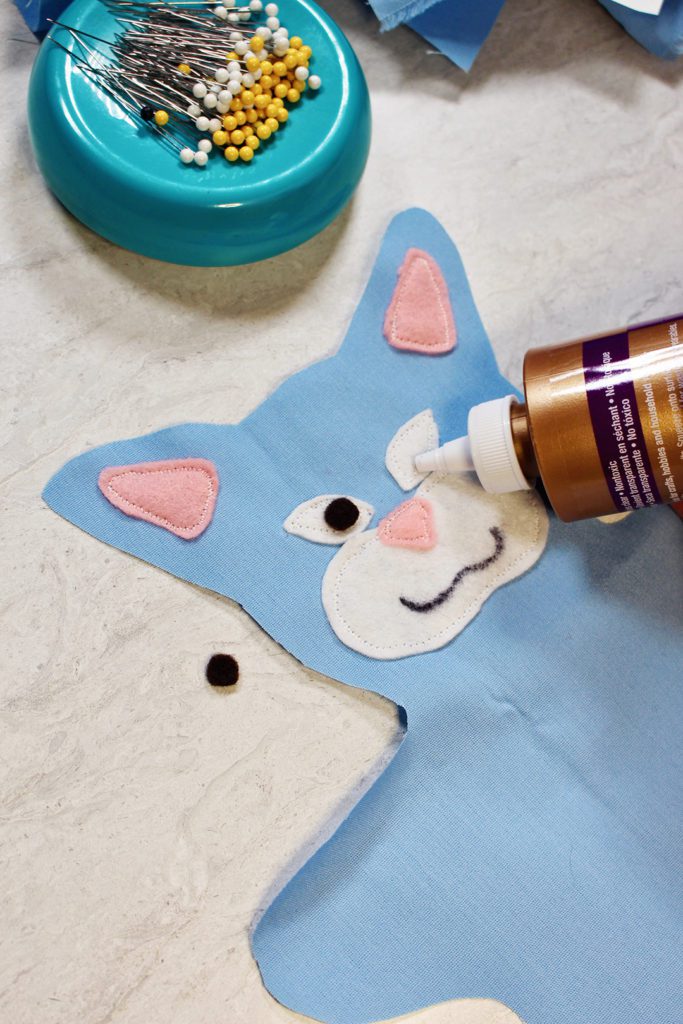
Make the features
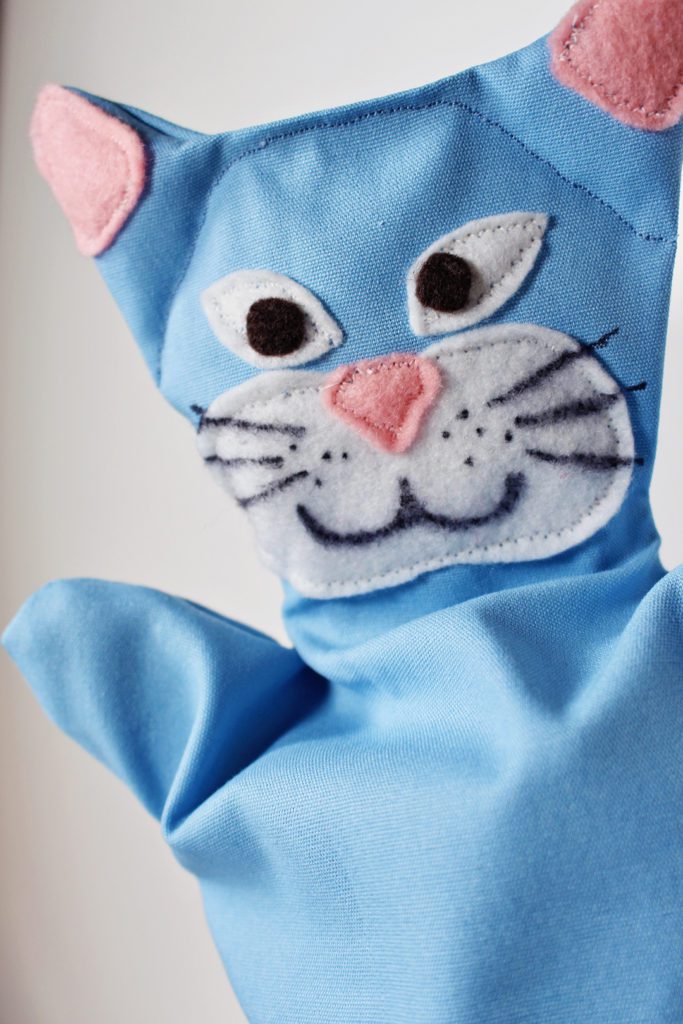
On the right side of one of the puppet pieces glue or sew pieces of contrasting felt or fabric to make the facial features, ear centers, paws, and clothes if you want. You can add an contrasting oval on the animal tummies if you want. I chose to sew my felt pieces onto the puppet.
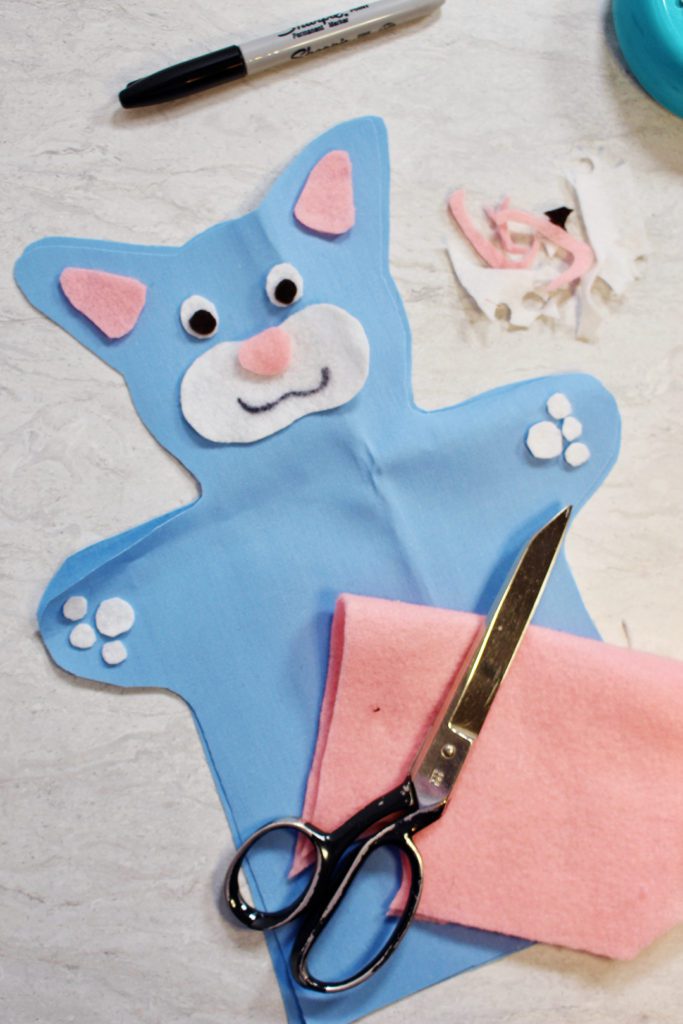
Note: I forgot to sew on the little pads on the paws of the kitty puppet. I'll glue them on later. I'm also going to add a tail.
It could be fun to add large google eyes, small pompoms, ribbon bows and decorations of choice. The sky is the limit.
The picture options shows a boy, but girls hair could be added to make a girl, of course. If you are adventurous you could sew yarn on for hair as well.
Sew the two puppet pieces together
When done decorating the front piece of the puppet, place the two puppet pieces right sides together. Tuck in any decorations and pin the outside edge.
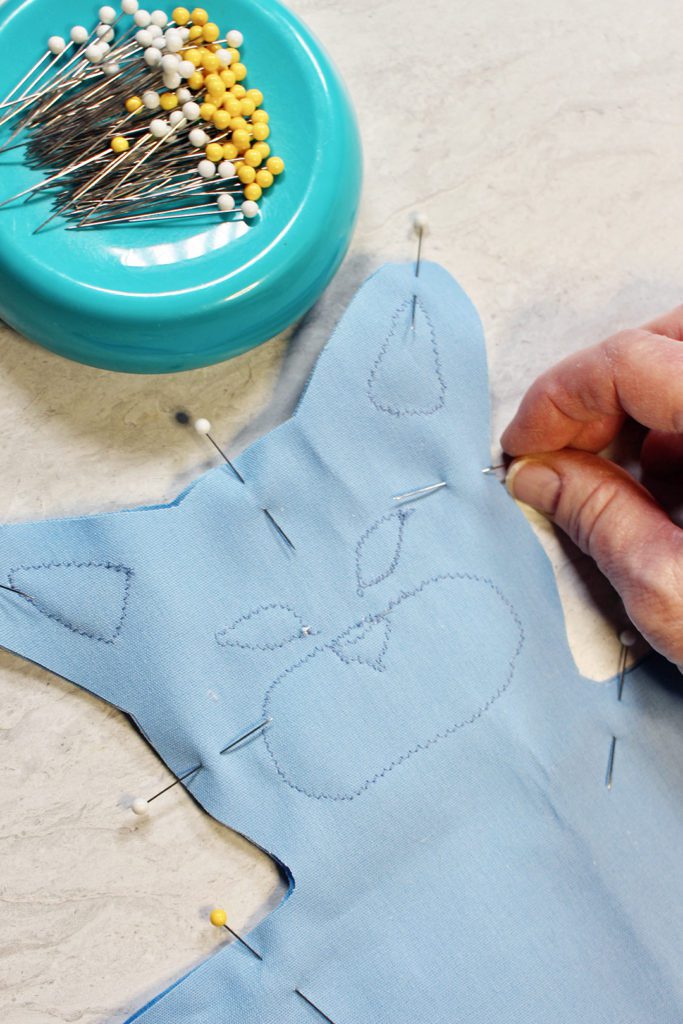
Sew around the entire puppet with a ¼ inch seam. Zig-zag the seam to keep it from raveling.
Turn right sides out.
Stuff the ears
Stuff a little fiberfill into the ears. Stitch through both layers of fabric along the line that is the edge of the head and will hold fiber fill in the ear of the puppet.

Rinse and repeat!
There you have it. Now, use the Free Hand Puppet Pattern to make several more fun figures for your young storyteller to use in their next production.
Make some puppets for you too
Maybe you need a few for your play room as well!
Here's the link for the DIY Hand Puppets For Kids Free Sewing Pattern one more time!
How about a puppet stage?
Don’t forget that WTN has a free pattern Sew a Portable Puppet Stage for a Doorway. It fits in a doorway and has a curtain to open for a stage.
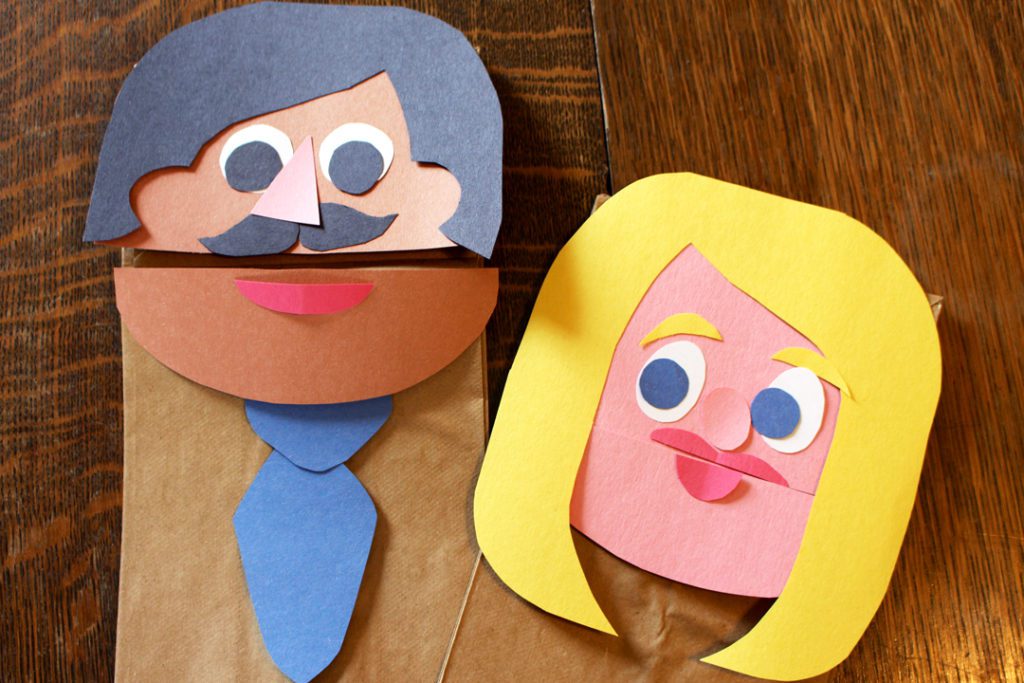
Paper Bag Puppets are great too-
And if you are wanting a simple and fast way to make puppets with the kids, don't forget this Paper Bag Puppet options!
Time for a puppet show
What fun the kids (and you) will have. Make and some tickets, pop some popcorn and get ready for a show.
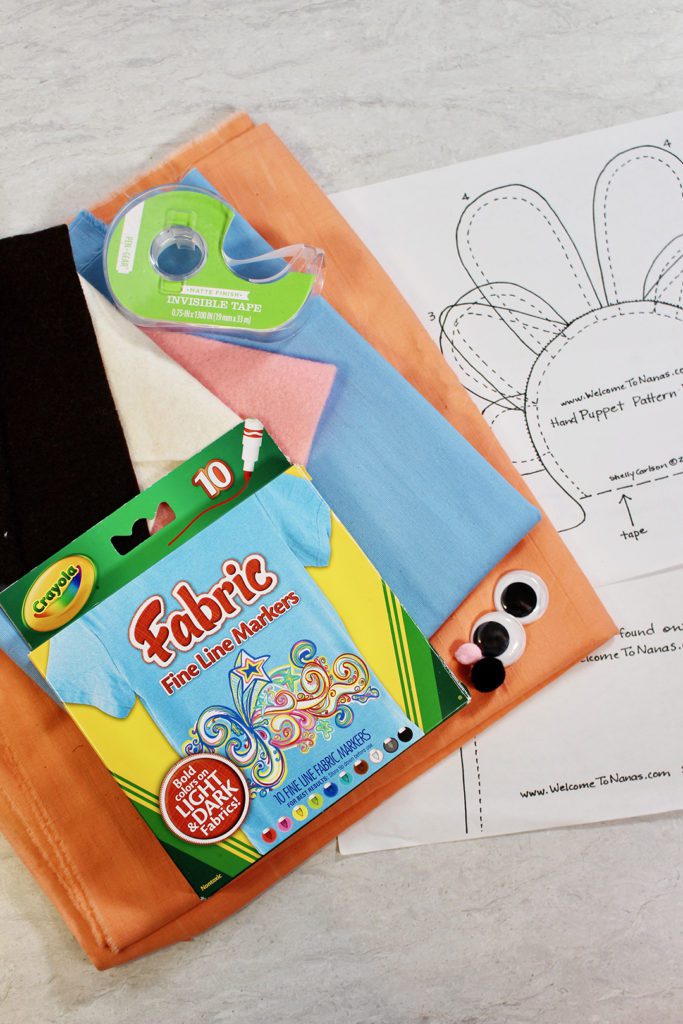
Supplies for the Free Hand Puppet Pattern
- Fabric- ⅓ yard of fabric of choice
- Contrasting scraps of felt or fabric
- Google eyes, pompoms, ribbon, decorations (optional, of your choice for decoration)
- Small amount of fiberfill
- Sewing machine
- Thread
Enjoy!
Welcome to Nana’s! Where there’s fun things to do with your “grand” kids!


Julie says
Thank you for the puppet pattern. It was easy to sew and turned out cute. I used the bunny pattern to make a dog with floppy ears.
Shelly says
You are so clever! What a great idea! I love it when people use the pattern and then tweak it to fit their needs!