
Mix up a spooky Halloween Slime Recipe with this easy, no-fail step-by-step tutorial! This glue and contact solution slime is stretchy, gooey, filled with fun Halloween mix-ins like glitter and eyeballs. It's ready for sensory play in just a few minutes and only requires 5 supplies to make!
Jump to:
- Easy Halloween Slime Recipe
- Fun Ahead!: DIY Halloween slime
- The Science Behind the Slime
- Supplies- Easy Halloween slime
- Steps to Make This Saline Solution Slime Recipe
- Craft Tips foR DIY Halloween slime
- Craft Variations
- FAQ about Slime
- More Hands on (in?) crafts for Kids
- Come join the fun at WTN!
- More Crafts Please!
- Halloween Slime Recipe: Spooky Slime Fun!
Easy Halloween Slime Recipe
O-o-o-o-o-o! Ready for some spooky slime fun? I wanted to share this Halloween Slime Recipe with you to learn how to make slime with contact lens solution. This recipe is the best I’ve tried yet and it is now the go-to favorite slime recipe. It created a soft and easy to handle slime that gelled to the perfect consistency.
In my 55 plus years of crafting I can say this is one of my favorite science craft combos! This slime sets up like magic and is a great sensory experience. Kids will love this one and will want to make several batches so be ready with plenty of supplies!
Fun Ahead!: DIY Halloween slime
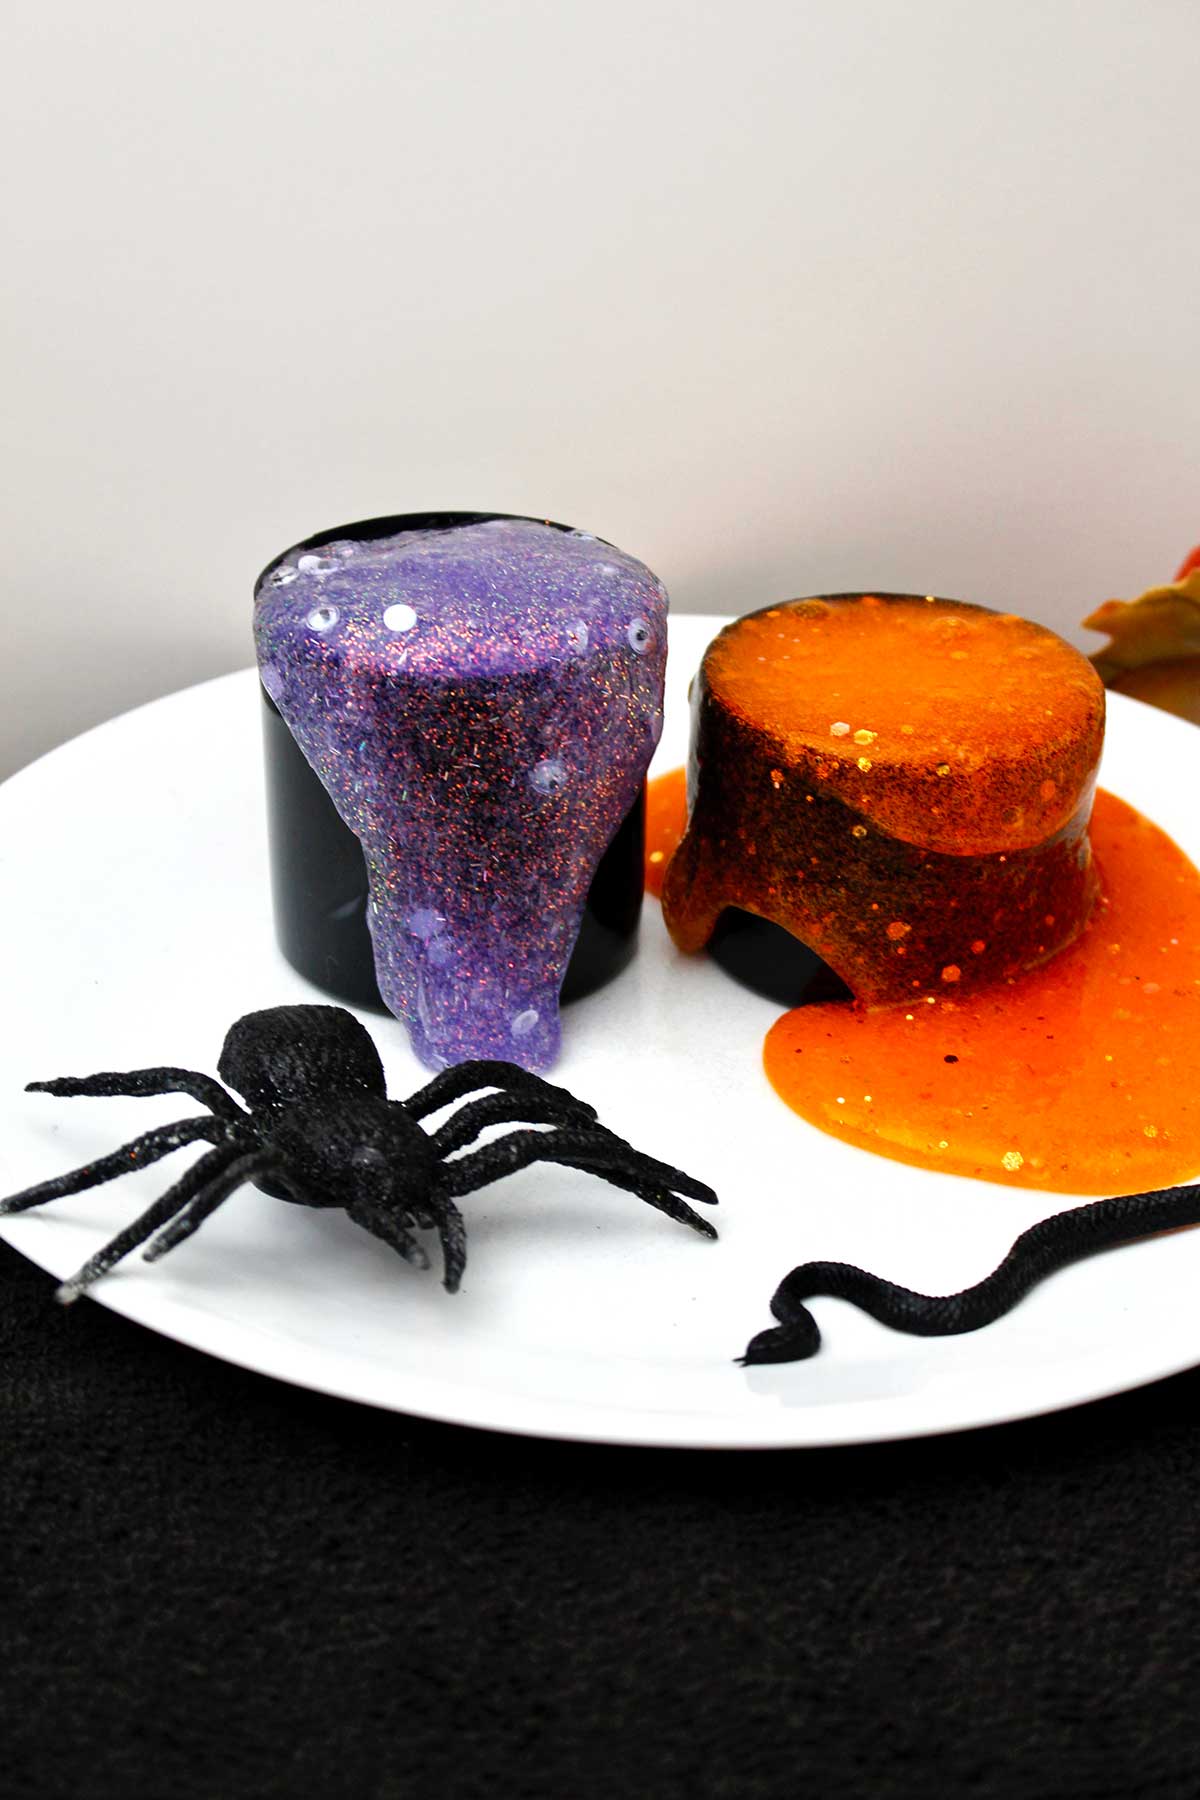
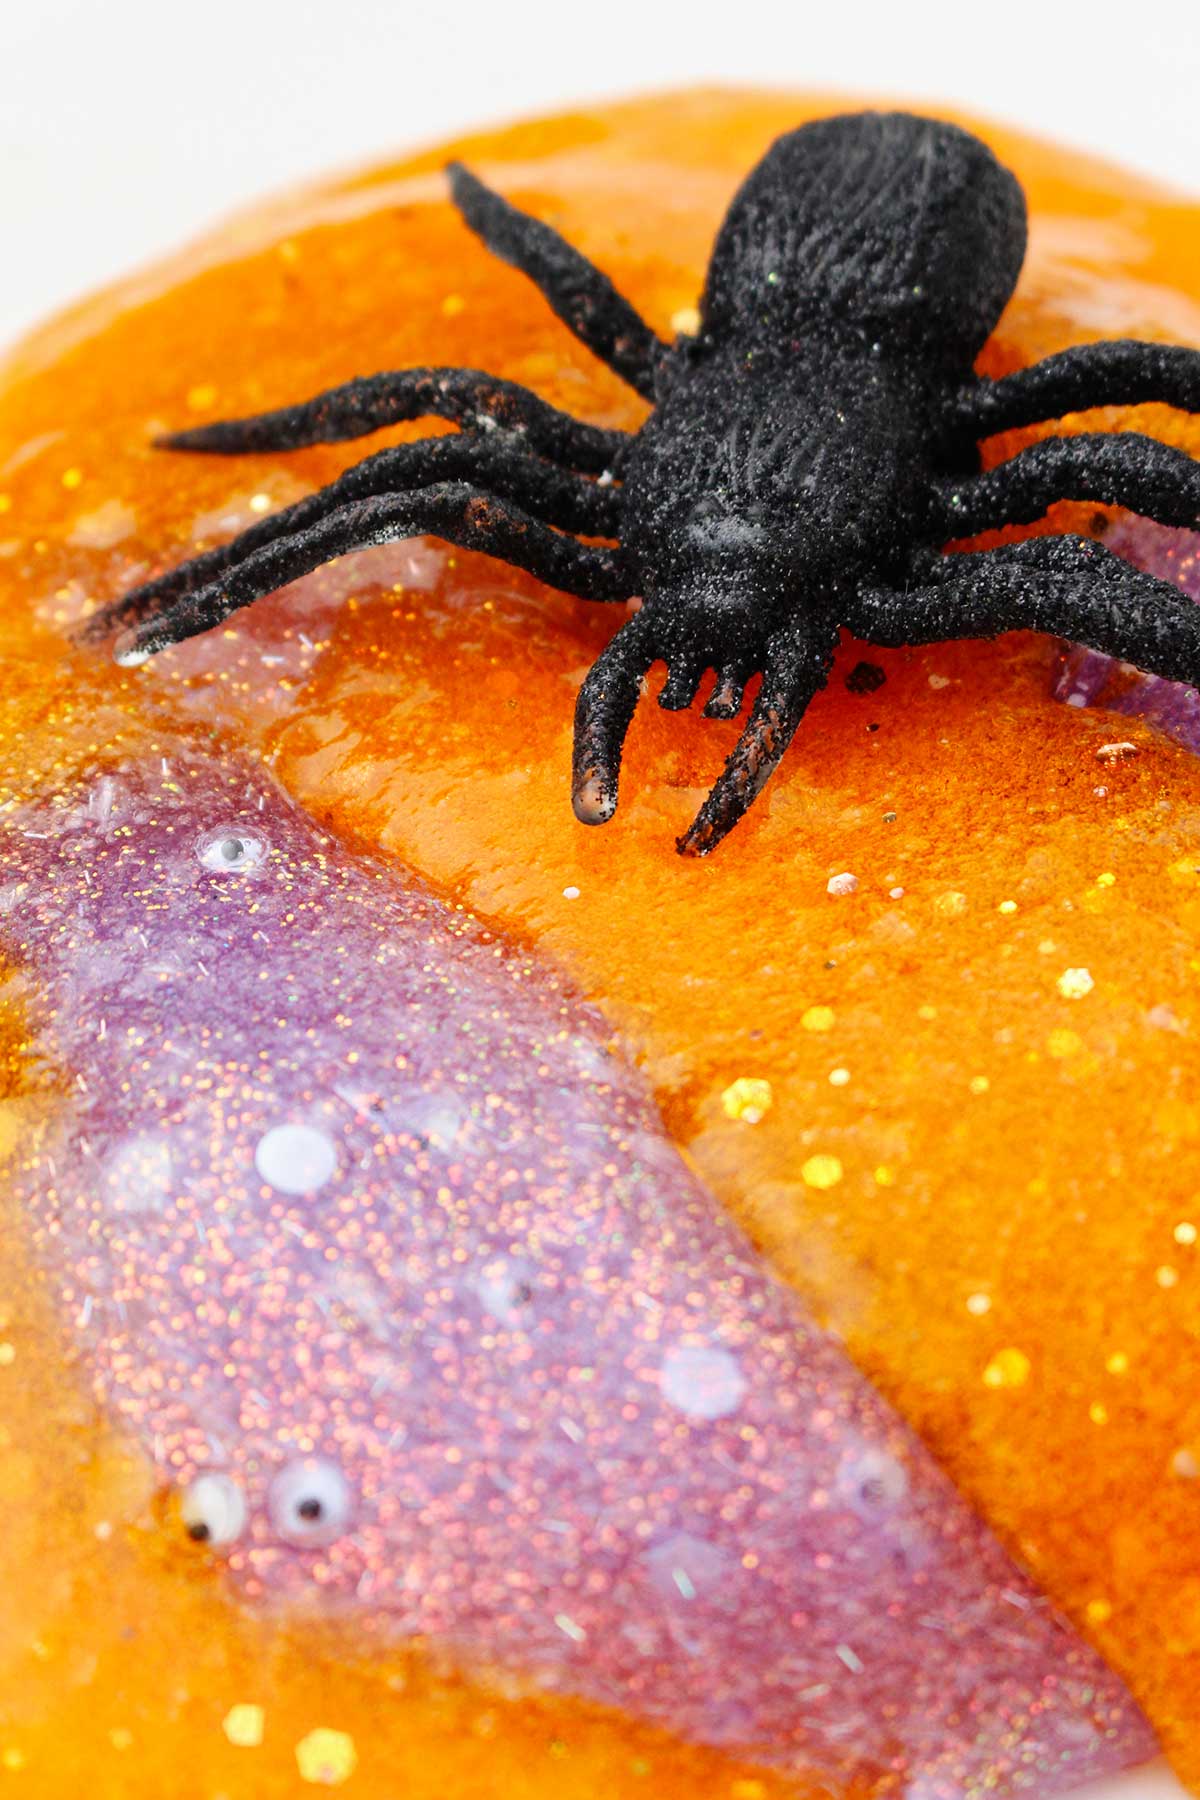
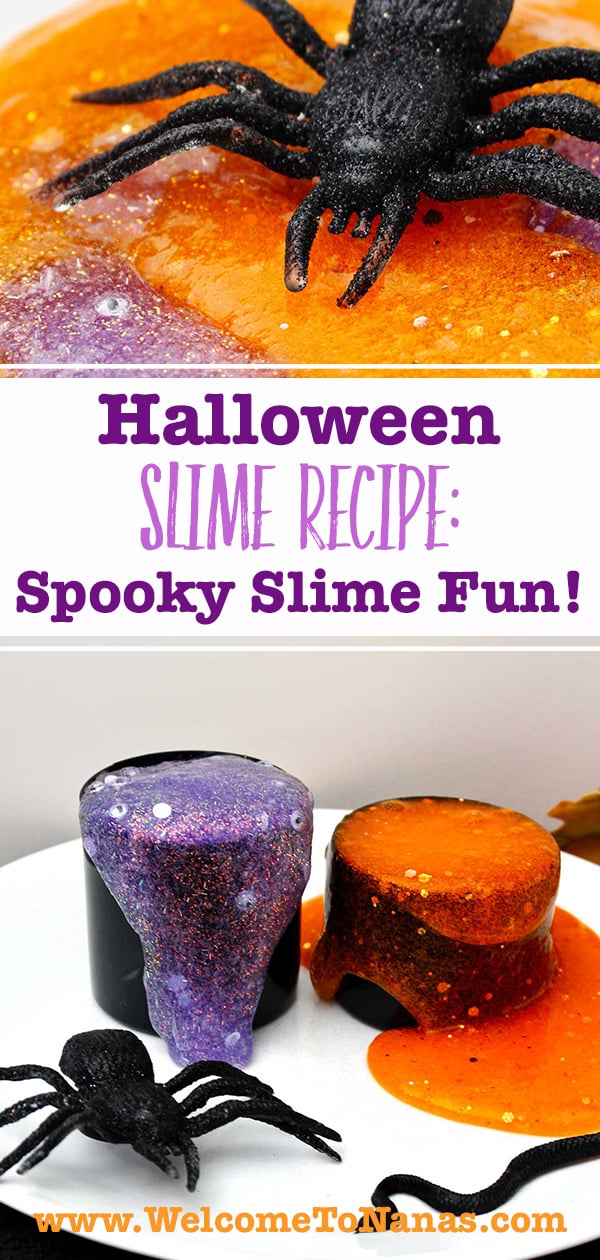
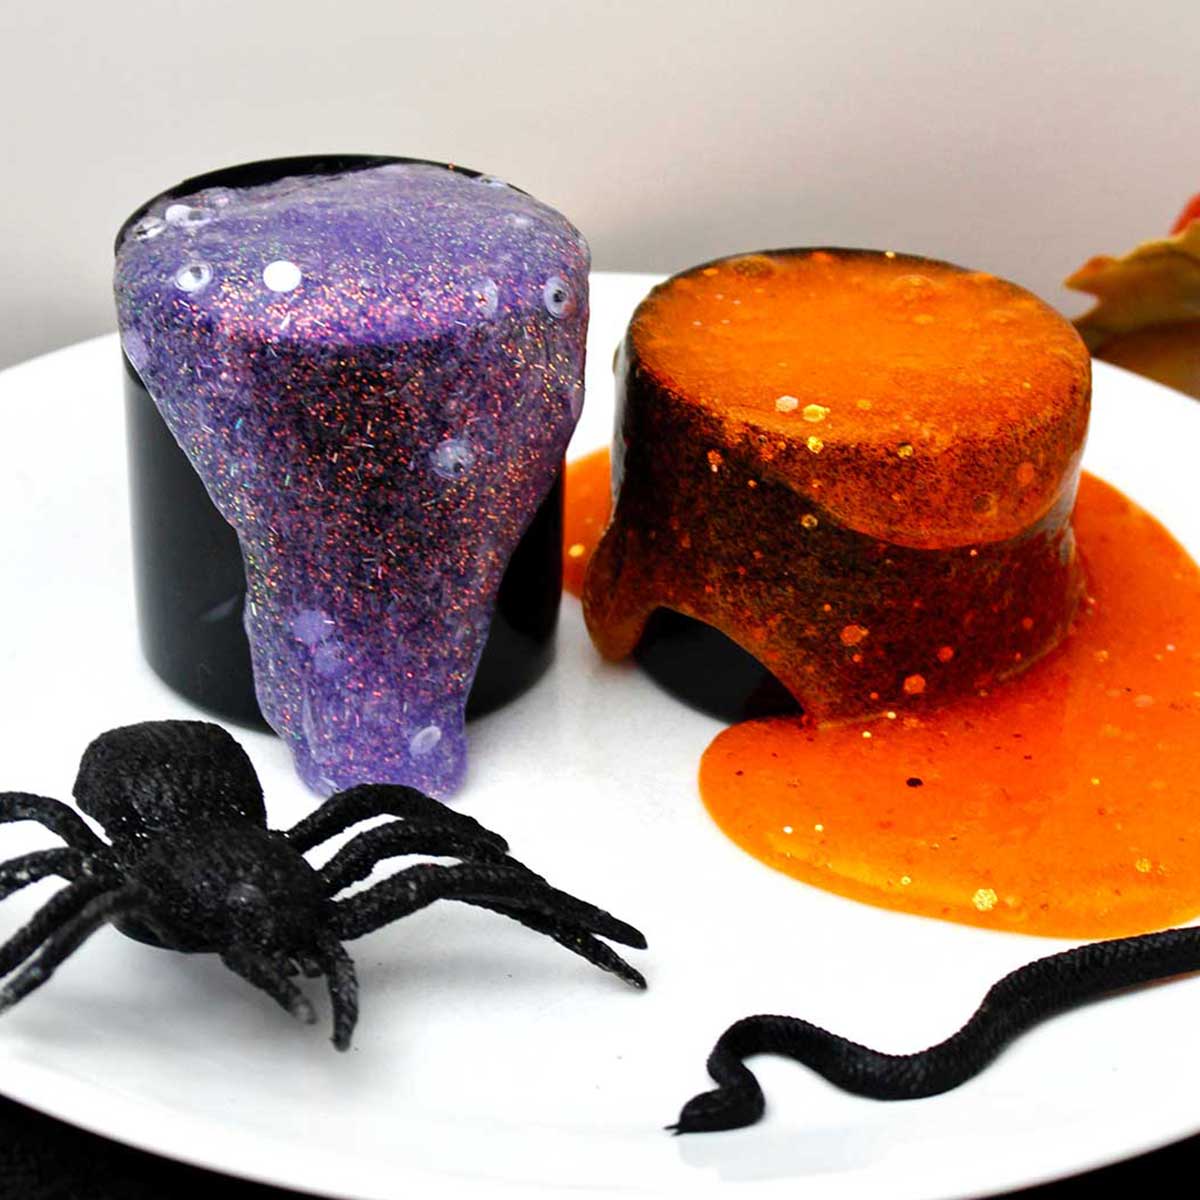
Purple glitter glue and googly eyes made great spooky slime. A wonderful variation was to add orange coloring and glitter that made another batch of spooky and sparkly slime. It looks cool to see it ooze and drip from these mini cauldrons next to a spider friend! Don’t you want to pick it up and play with it? So did I…and I did!
Halloween Party Craft or favor
This would be a perfect craft project for your Halloween party this year. Let the kids make their own Halloween Slime Recipe and choose the color and add-ins for their own spooky slime fun. It would be a great party take-home favor to send home in an airtight container. Next time I want to make Green Halloween Slime.
You will love how easy and stretchy this saline slime is to make and play with! Once you have your desired slime consistency it's time to have fun! How big of a stretch can you get without the slime breaking?
The Science Behind the Slime
Speaking of a favorite science craft combo, let’s talk a minute about the science behind the slime. I’m not a scientist (although I did teach Food Science) but wanted to give a simple explanation of how this process works.
What's in the glue?
The first ingredient in the bowl was glue, a PVA glue (polyvinyl acetate). Glue is a thick liquid that can pour out of the bottle at a sometimes frustratingly slow speed. What you can’t see in the glue is that the PVA is long polymer molecules that slide past each other. Think of it like spaghetti.
The slime activator
Remember how I said it was important to read the label on the saline solution to make sure it has boric acid and sodium borate in the ingredient list? Well those ingredients in the solution mix with the baking soda to make what is called an activator. To activate something is to set it into motion.
In this case what is set into motion is a chemical reaction between the PVA glue molecules and the activator. This reaction causes the PVA molecules to form links between the polymer chains in the glue causing it to become long, stringy, and stretchy . As you mix, you’ll actually see the reaction take place as the slime forms. It is SO COOL!!
Becoming slime
The mixture will then become a new substance that is between a liquid and a solid. It will have new ways of acting and will feel differently. It’s called a non-Newtonian fluid. When you hold the mixture it is stretchy and gel-like. It will move over and through your fingers. It will also “pour” into a container and take the shape of the container. But if you pull it quickly it will “break” into pieces with the force.
And that, my friends, is how school glue becomes this wonderful new stretchy substance we call SLIME
Supplies- Easy Halloween slime
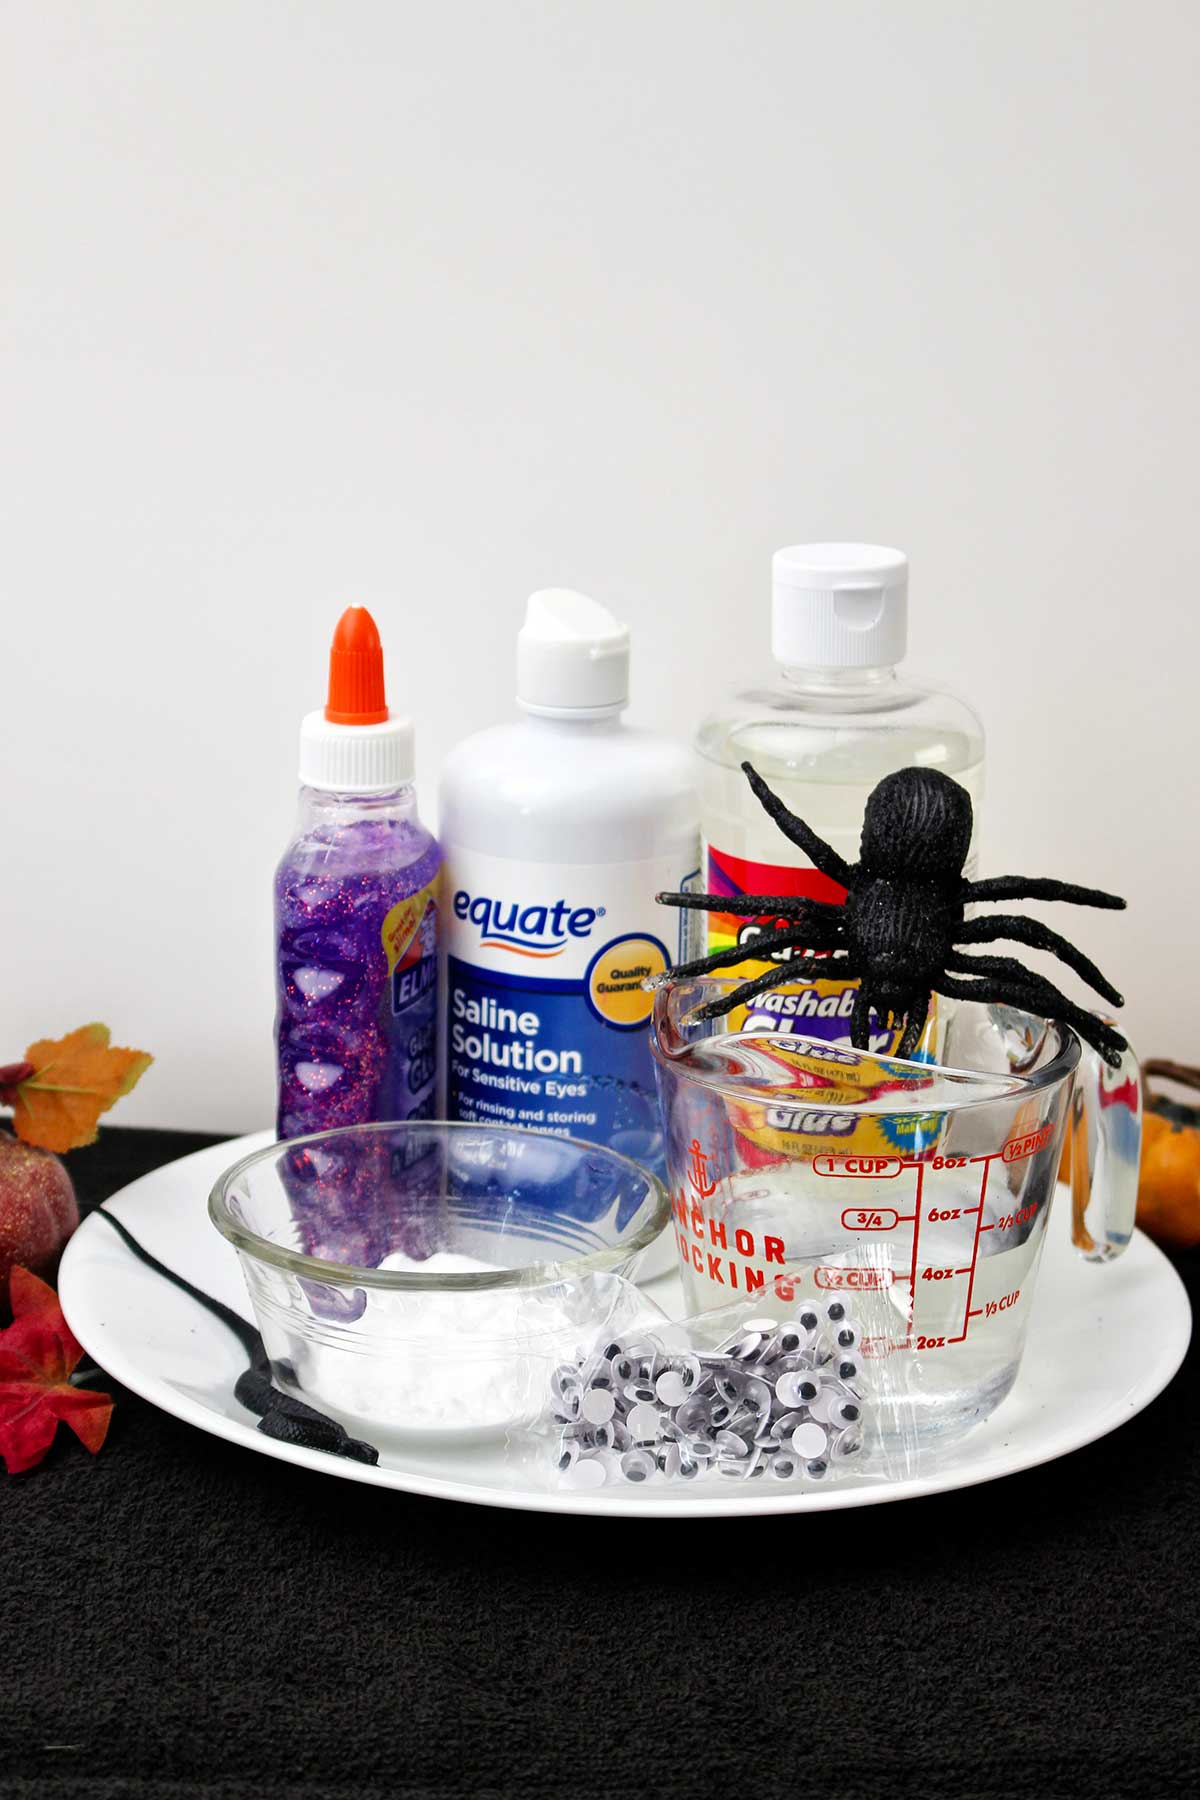
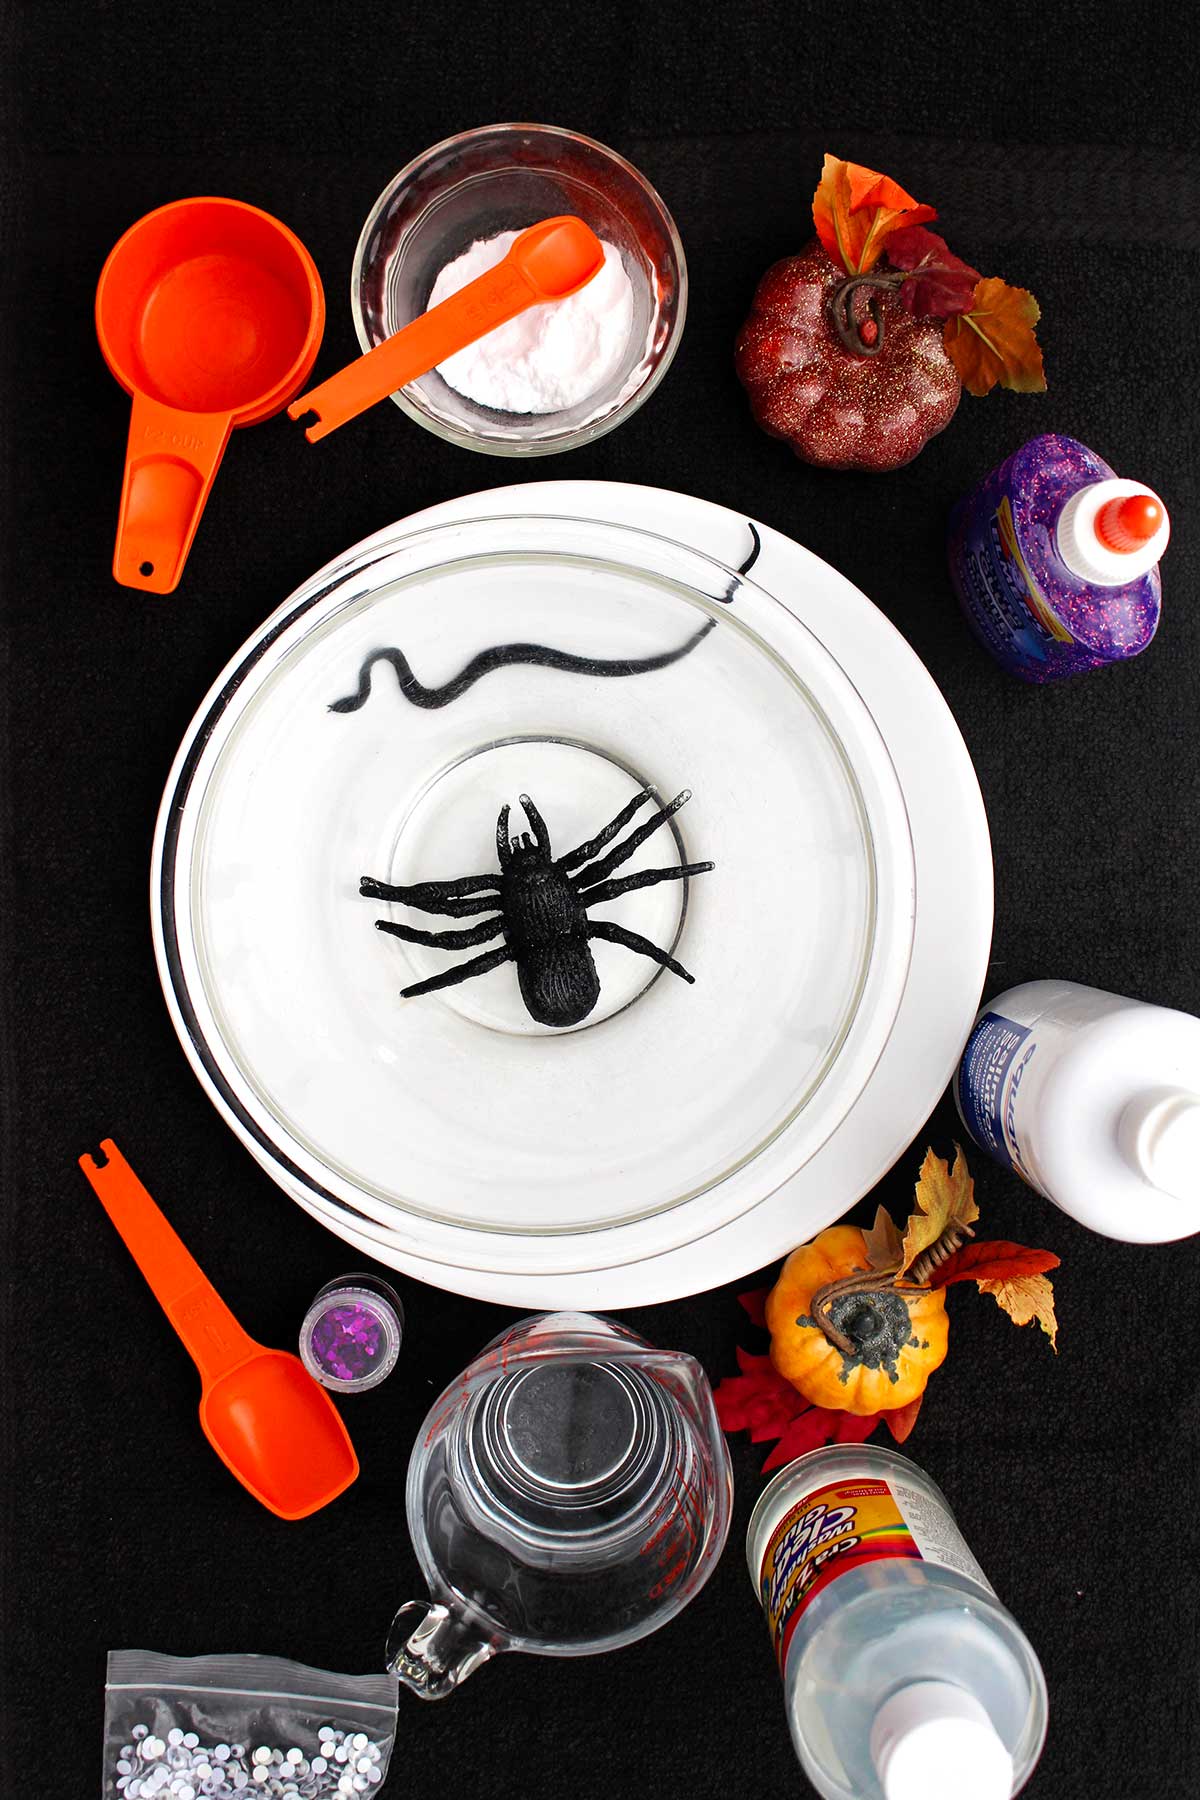
Let me tell you a bit about the supplies you will need to make this slimy science craft.
Ingredients
- ½ cup water
- ½ cup Elmer’s Clear Glue (can be glitter glue)
- ½ teaspoon Baking Soda
- 1 Tablespoon Contact Lens Solution or Saline Solution (must contain boric acid and sodium borate)
- Add ins (optional) like googly eyes, small beads, sequins, pom-poms, little plastic spiders, food coloring, glitter, buttons
Remember: Not every contact lens solution works for making slime. Check the ingredient label carefully to make sure it has the ingredients needed. As always, carefully follow the product's instructions for safety.
Equipment
Remember: Be sure to use a bowl, spoon, and measuring equipment that can be cleaned easily and are not used for food preparation later. Always wash your hands after you make and play with slime.
If you want to watch the full length YouTube video here is the link: Halloween Slime Recipe Full Length Video
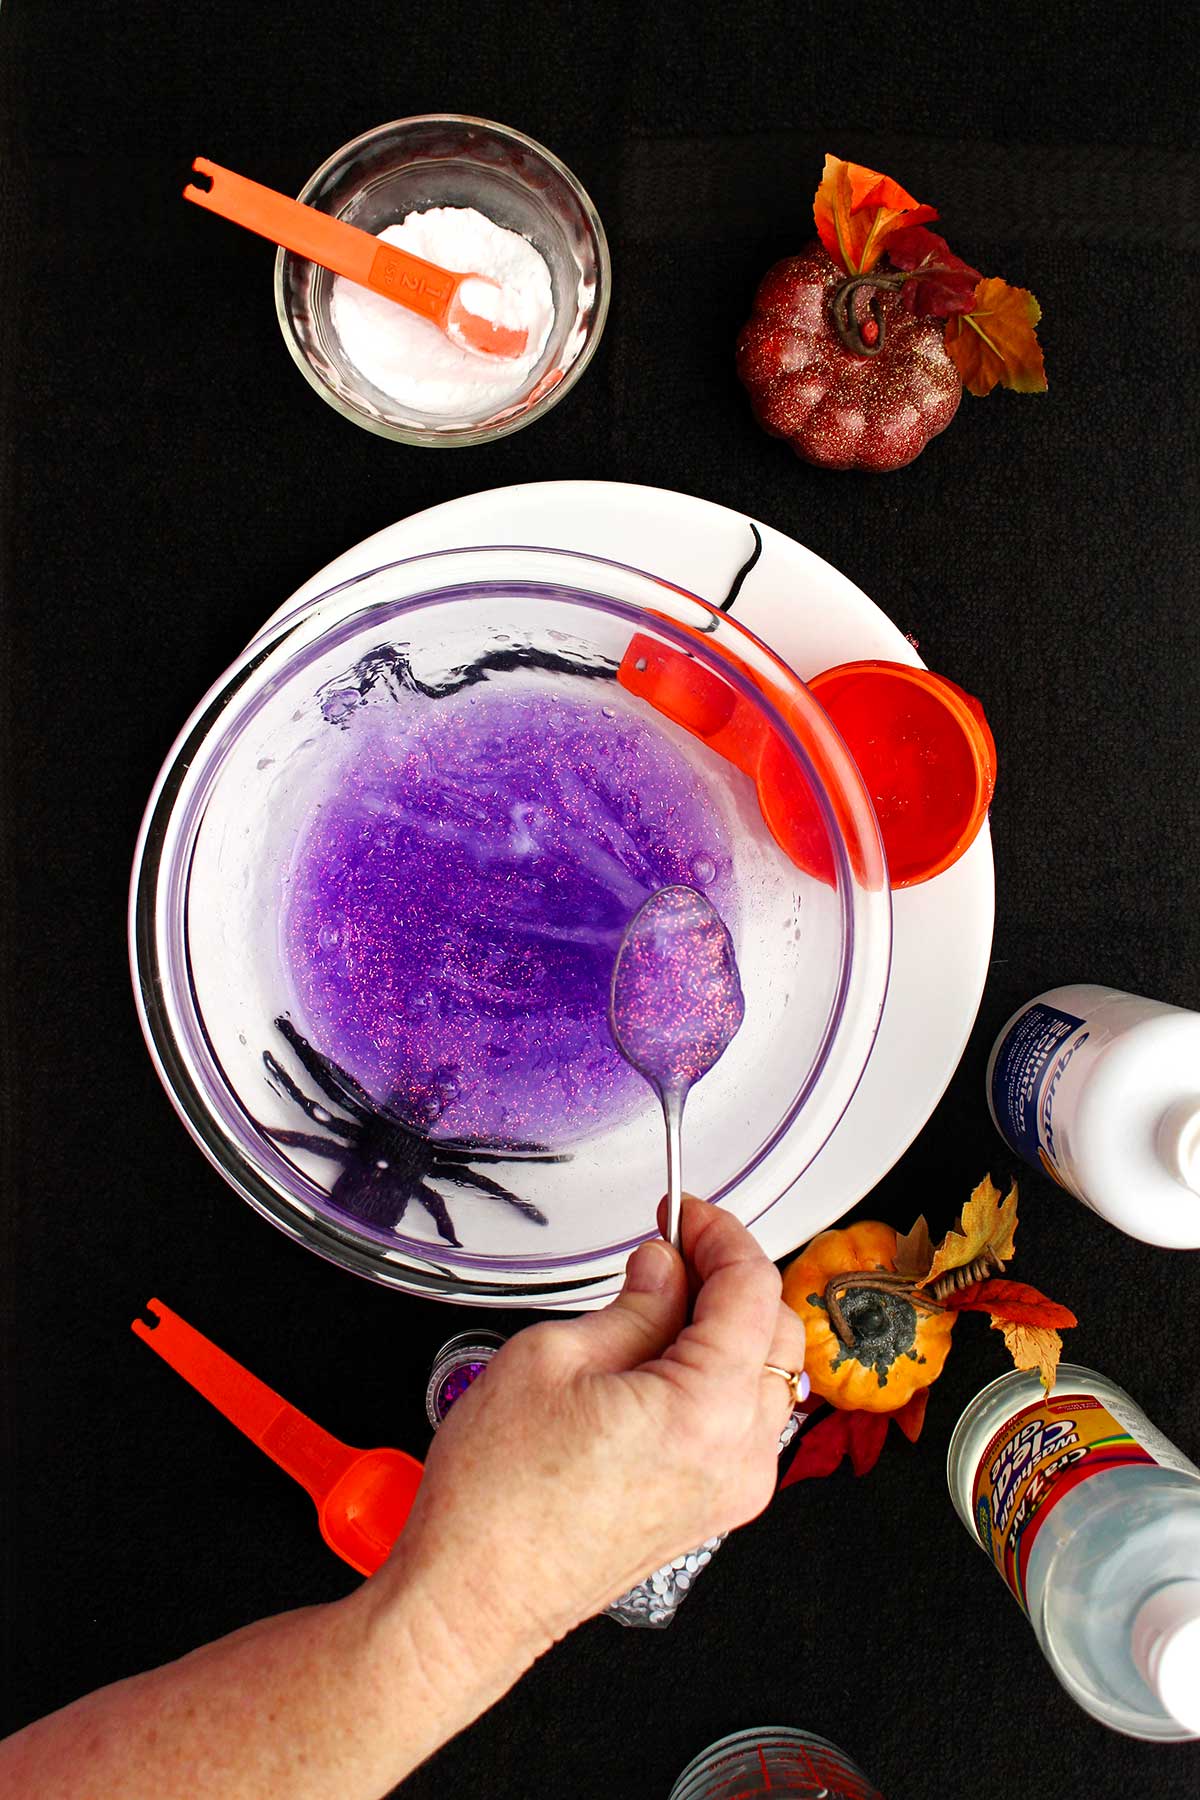
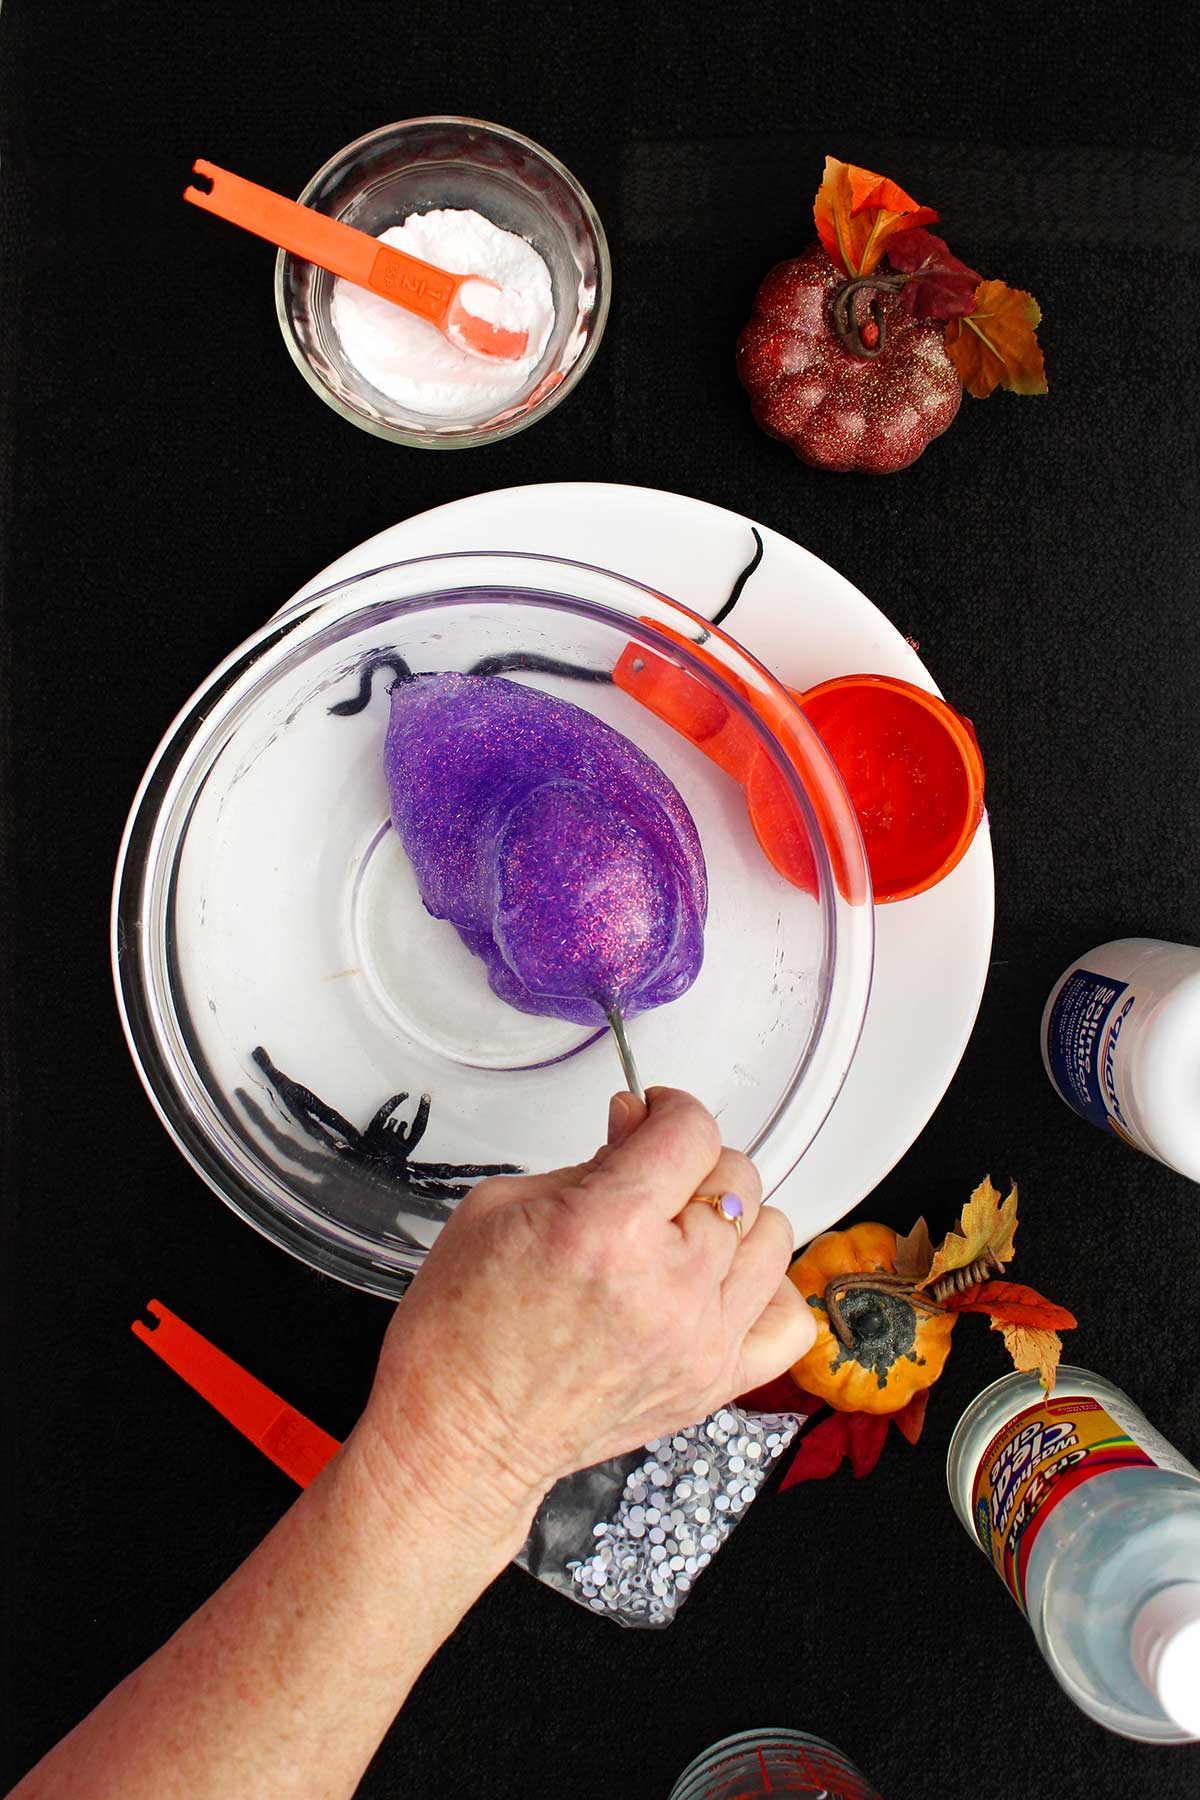
Steps to Make This Saline Solution Slime Recipe
Here's the easy steps for how to make slime.
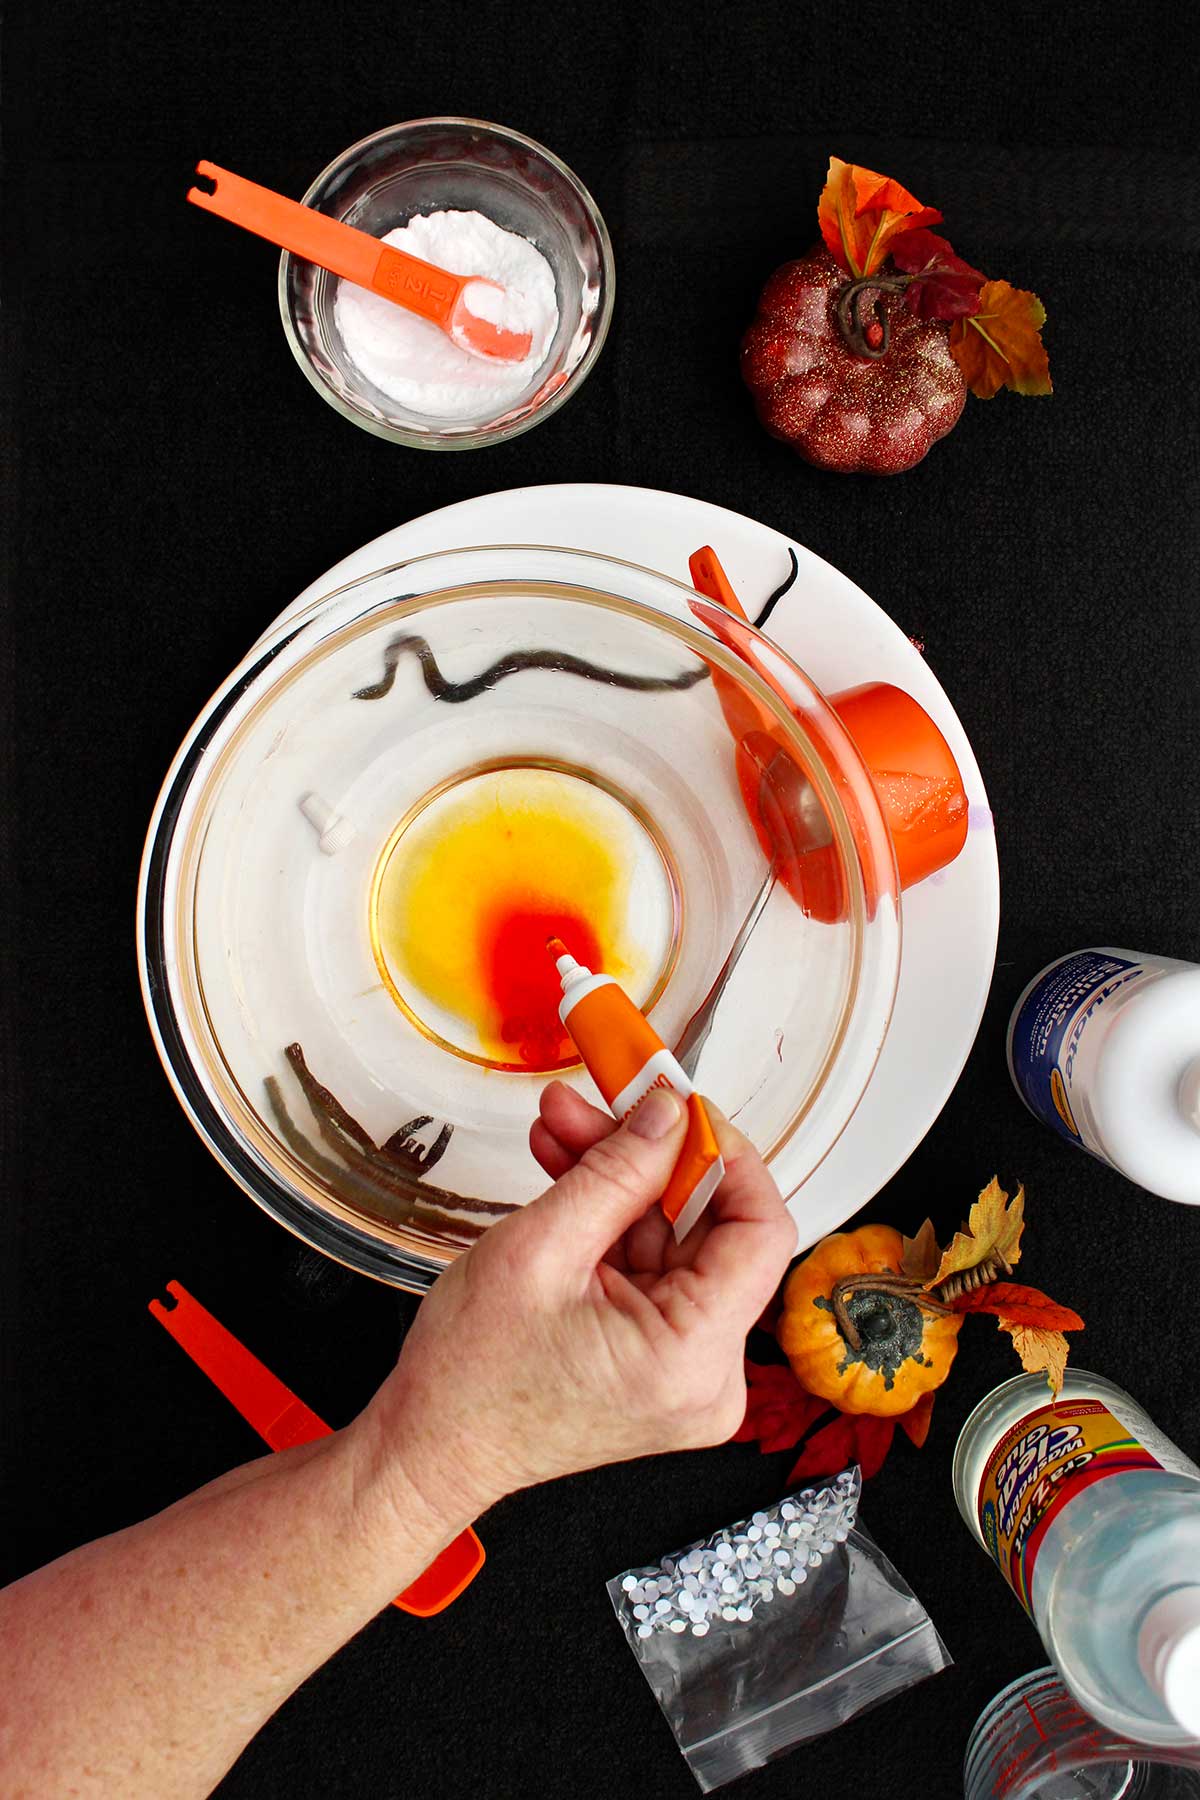
Step 1: Measure the water and pour it into the bowl.
If you want to add food coloring to color the glue, add it to the water and mix it in (you can put add-ins in at this point or at the end, I put them in at the end).
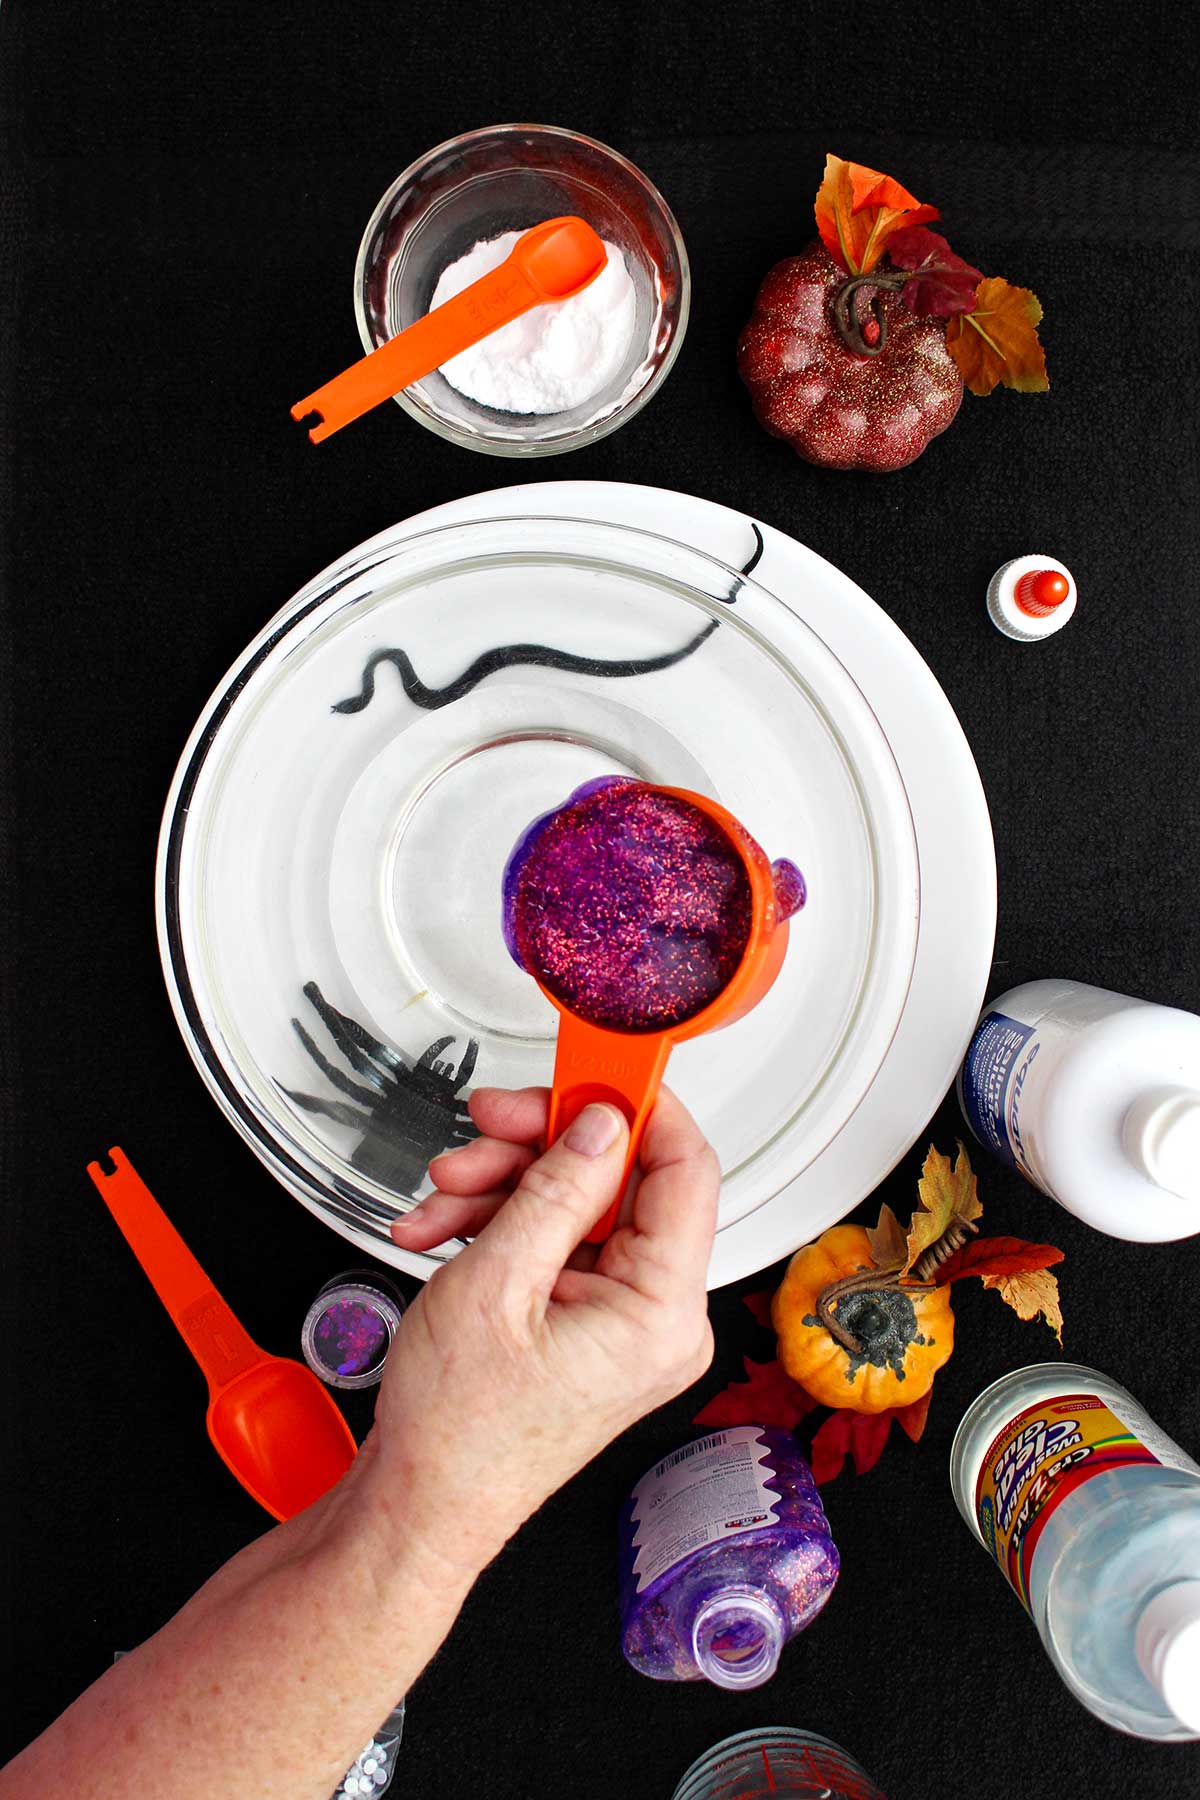
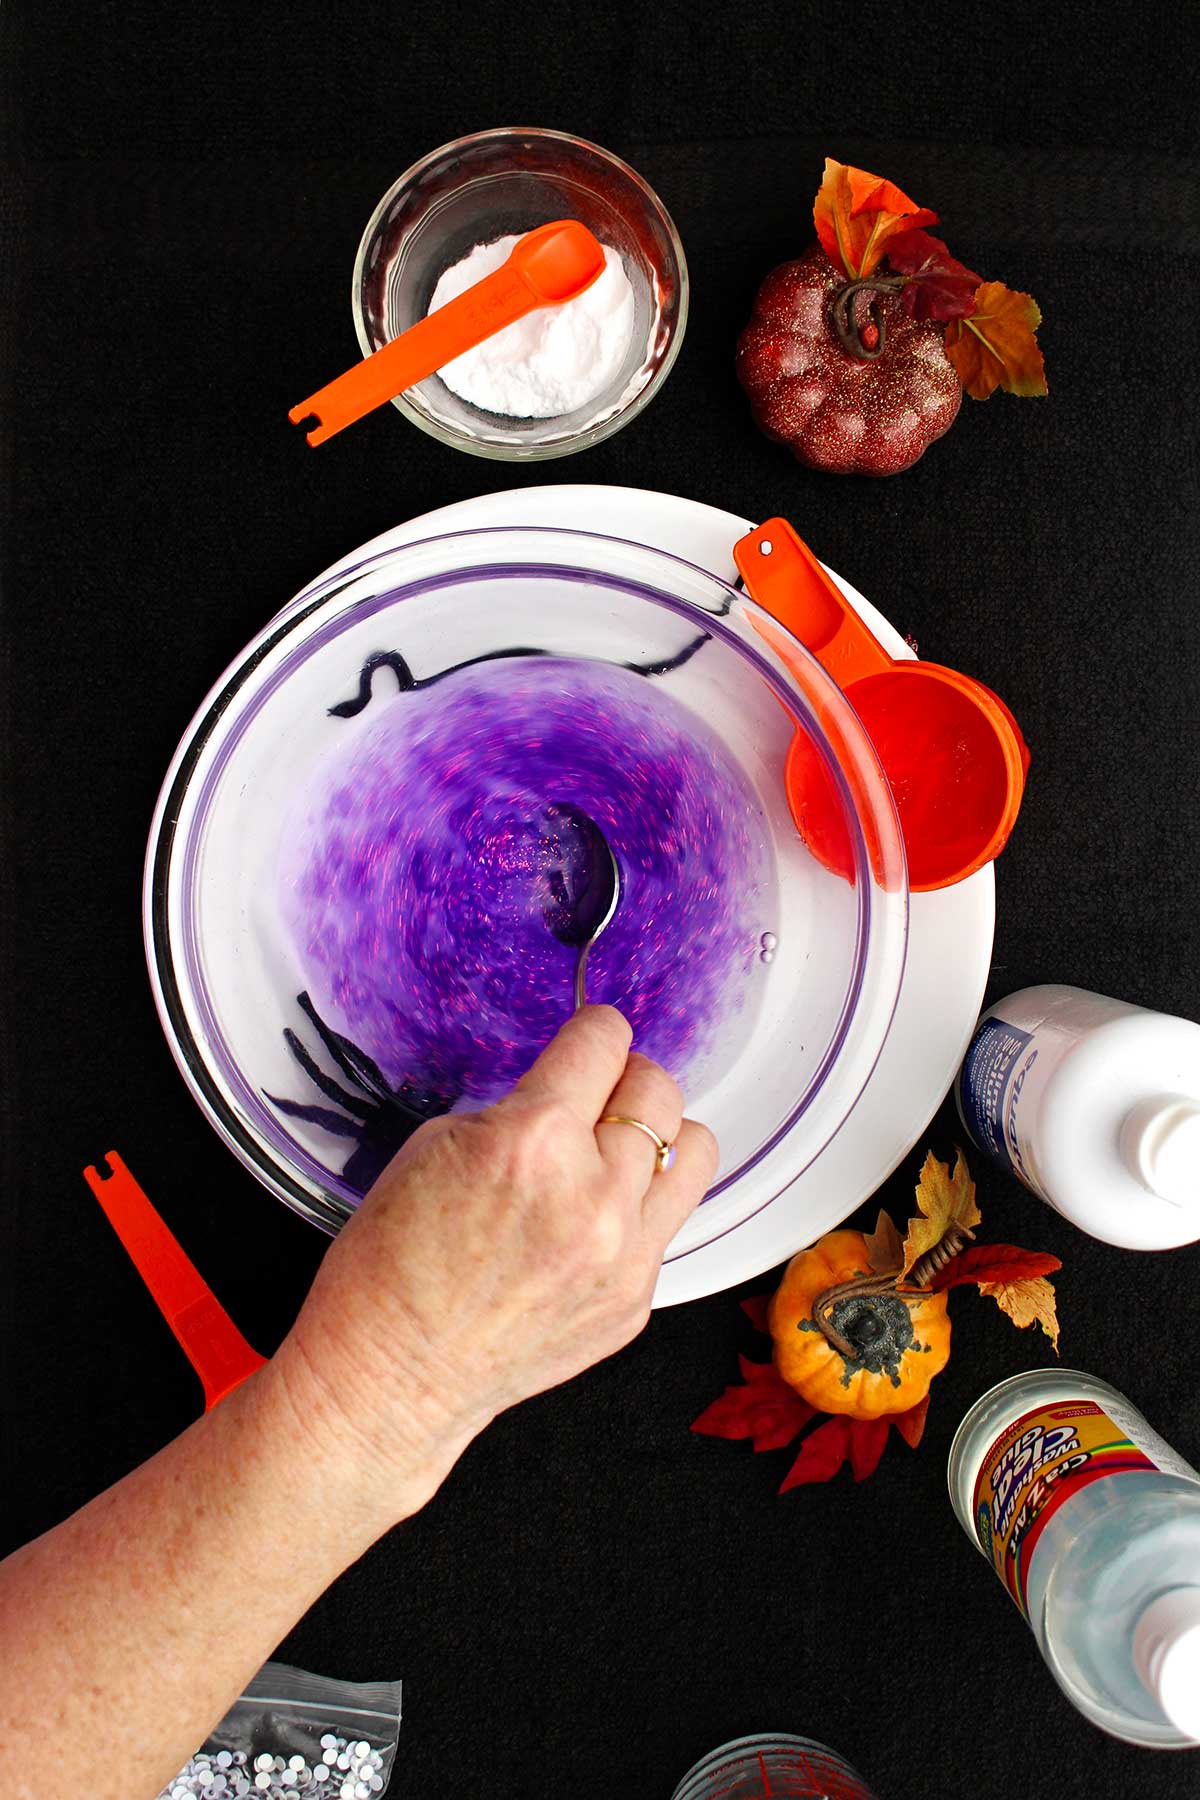
Step 2: Then measure the glue and add to the water. Mix together.
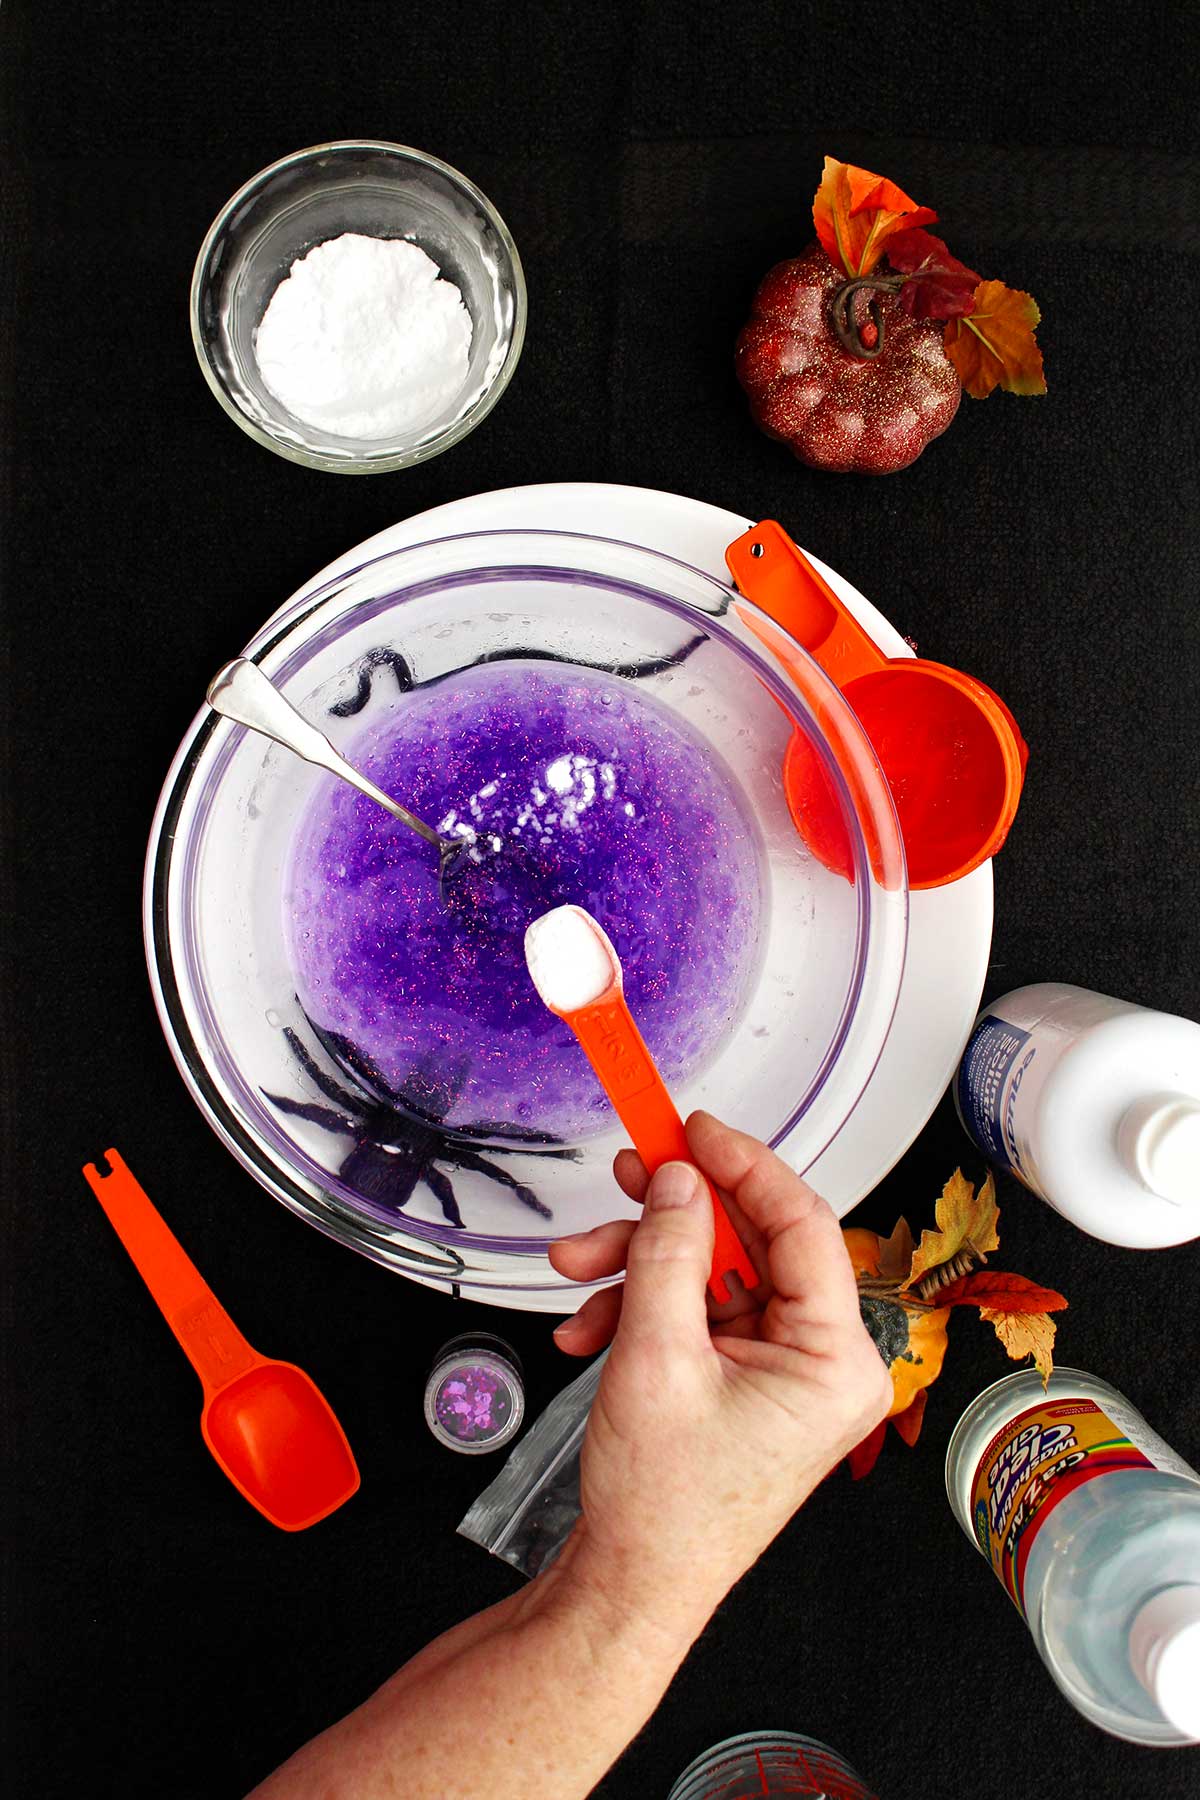
Step 3: Add the baking soda and stir.
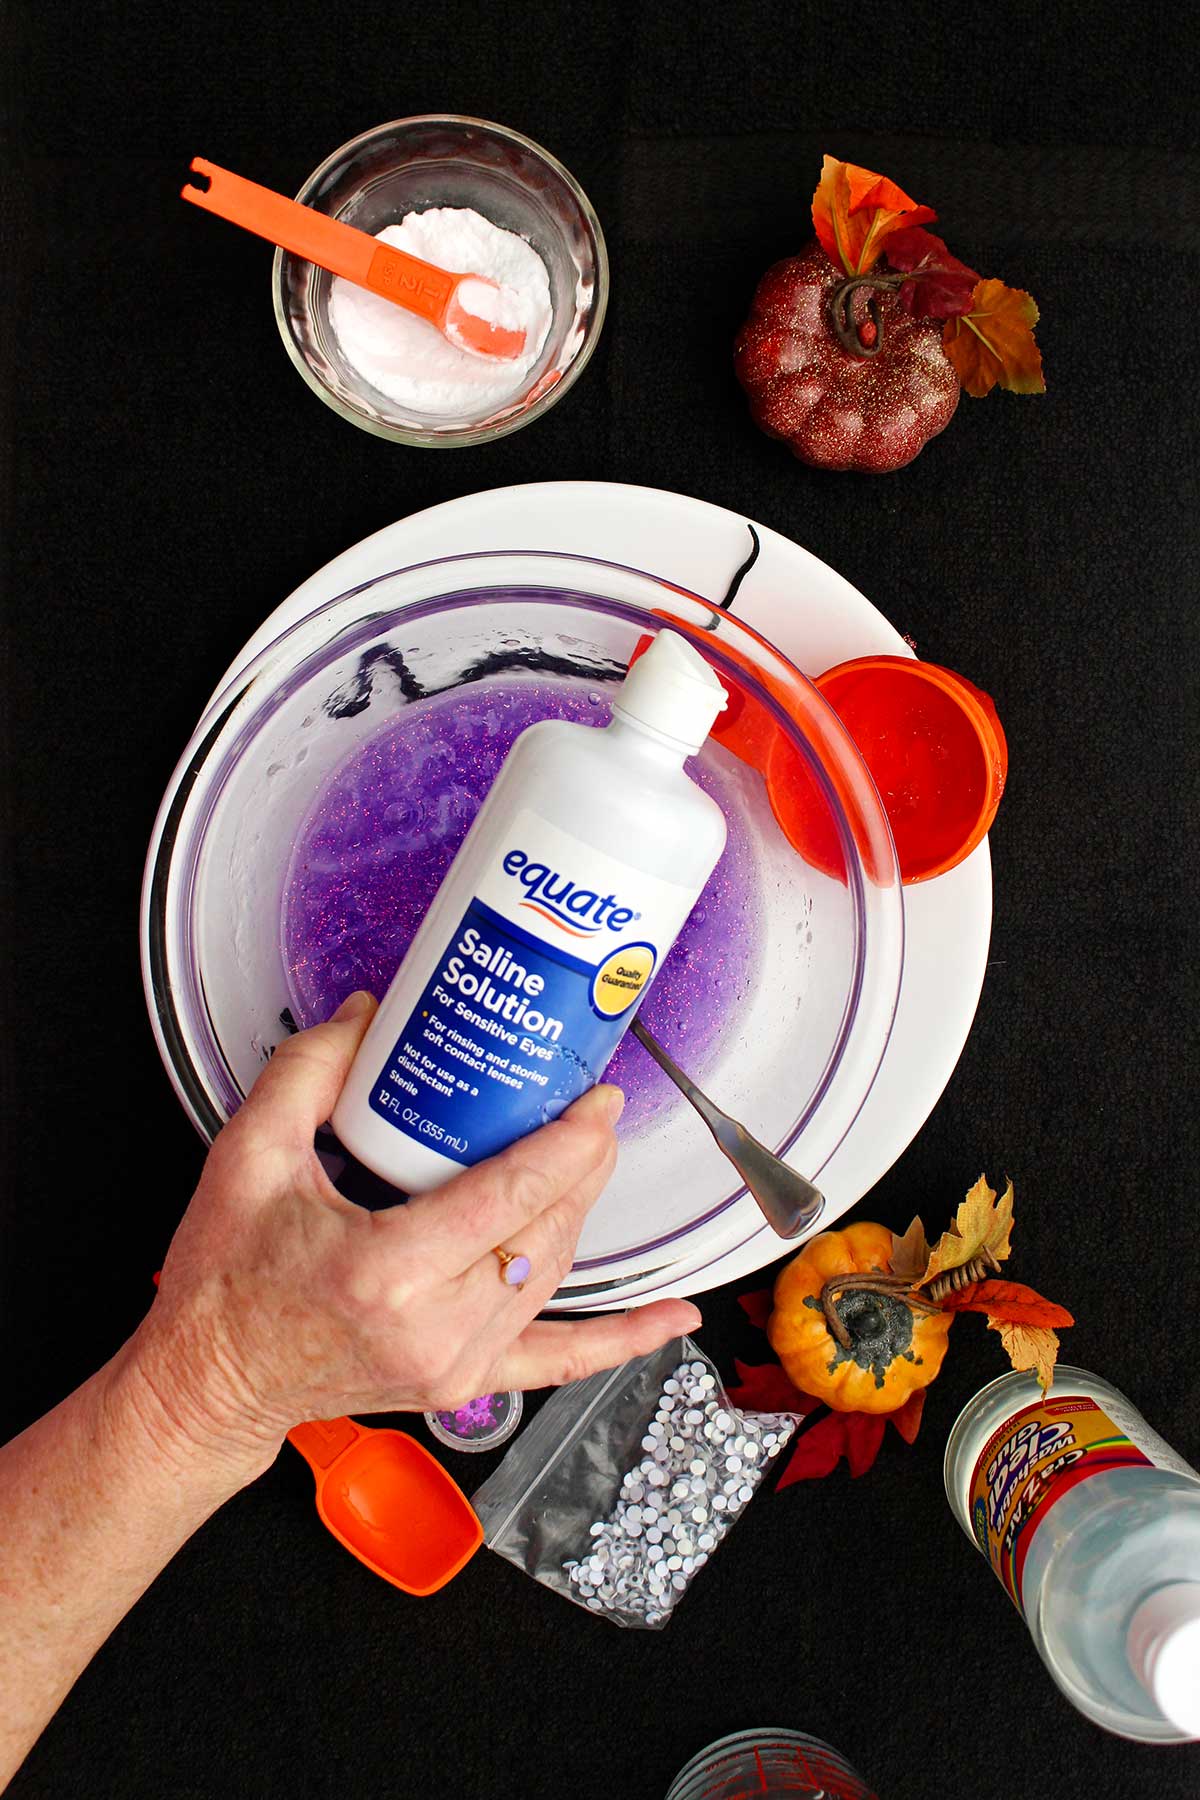
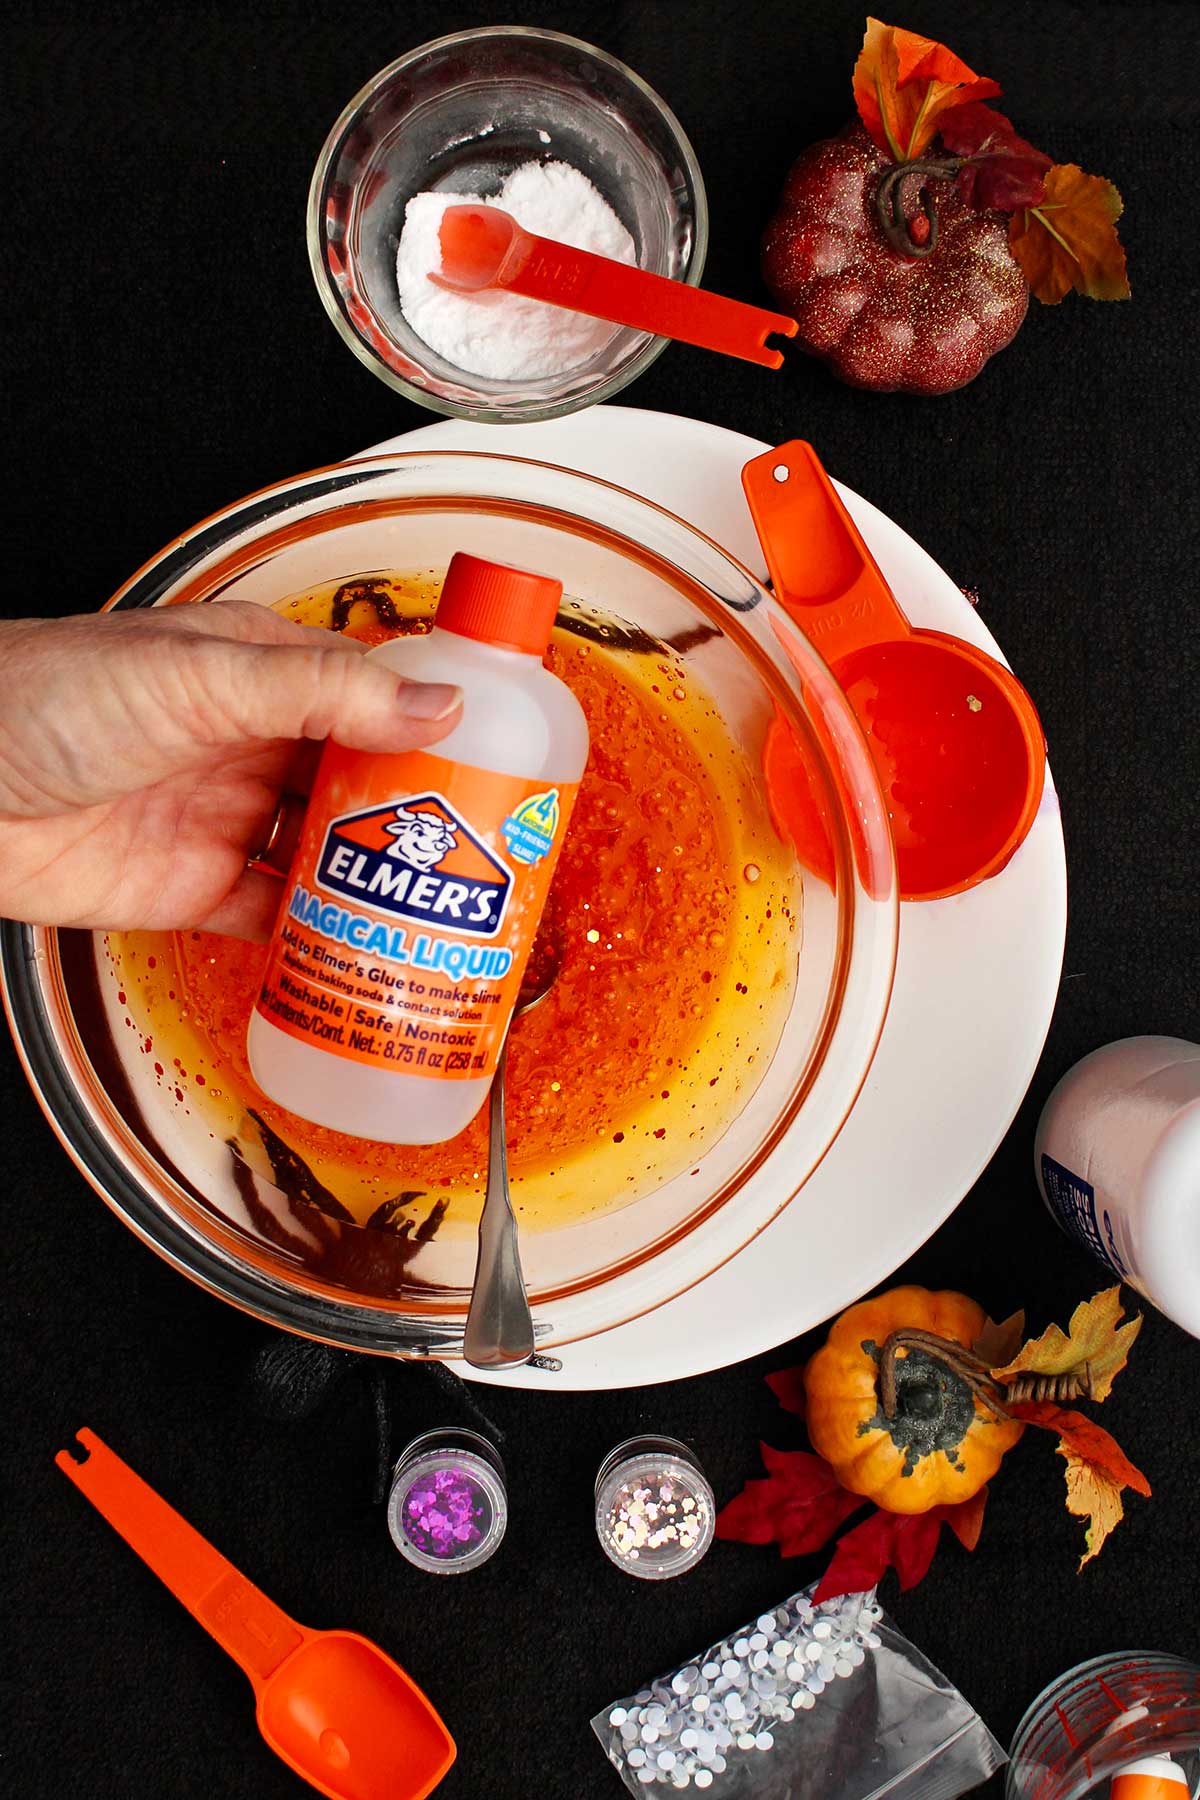
Step 4: Fill the Tablespoon with saline solution and add to the mixture.
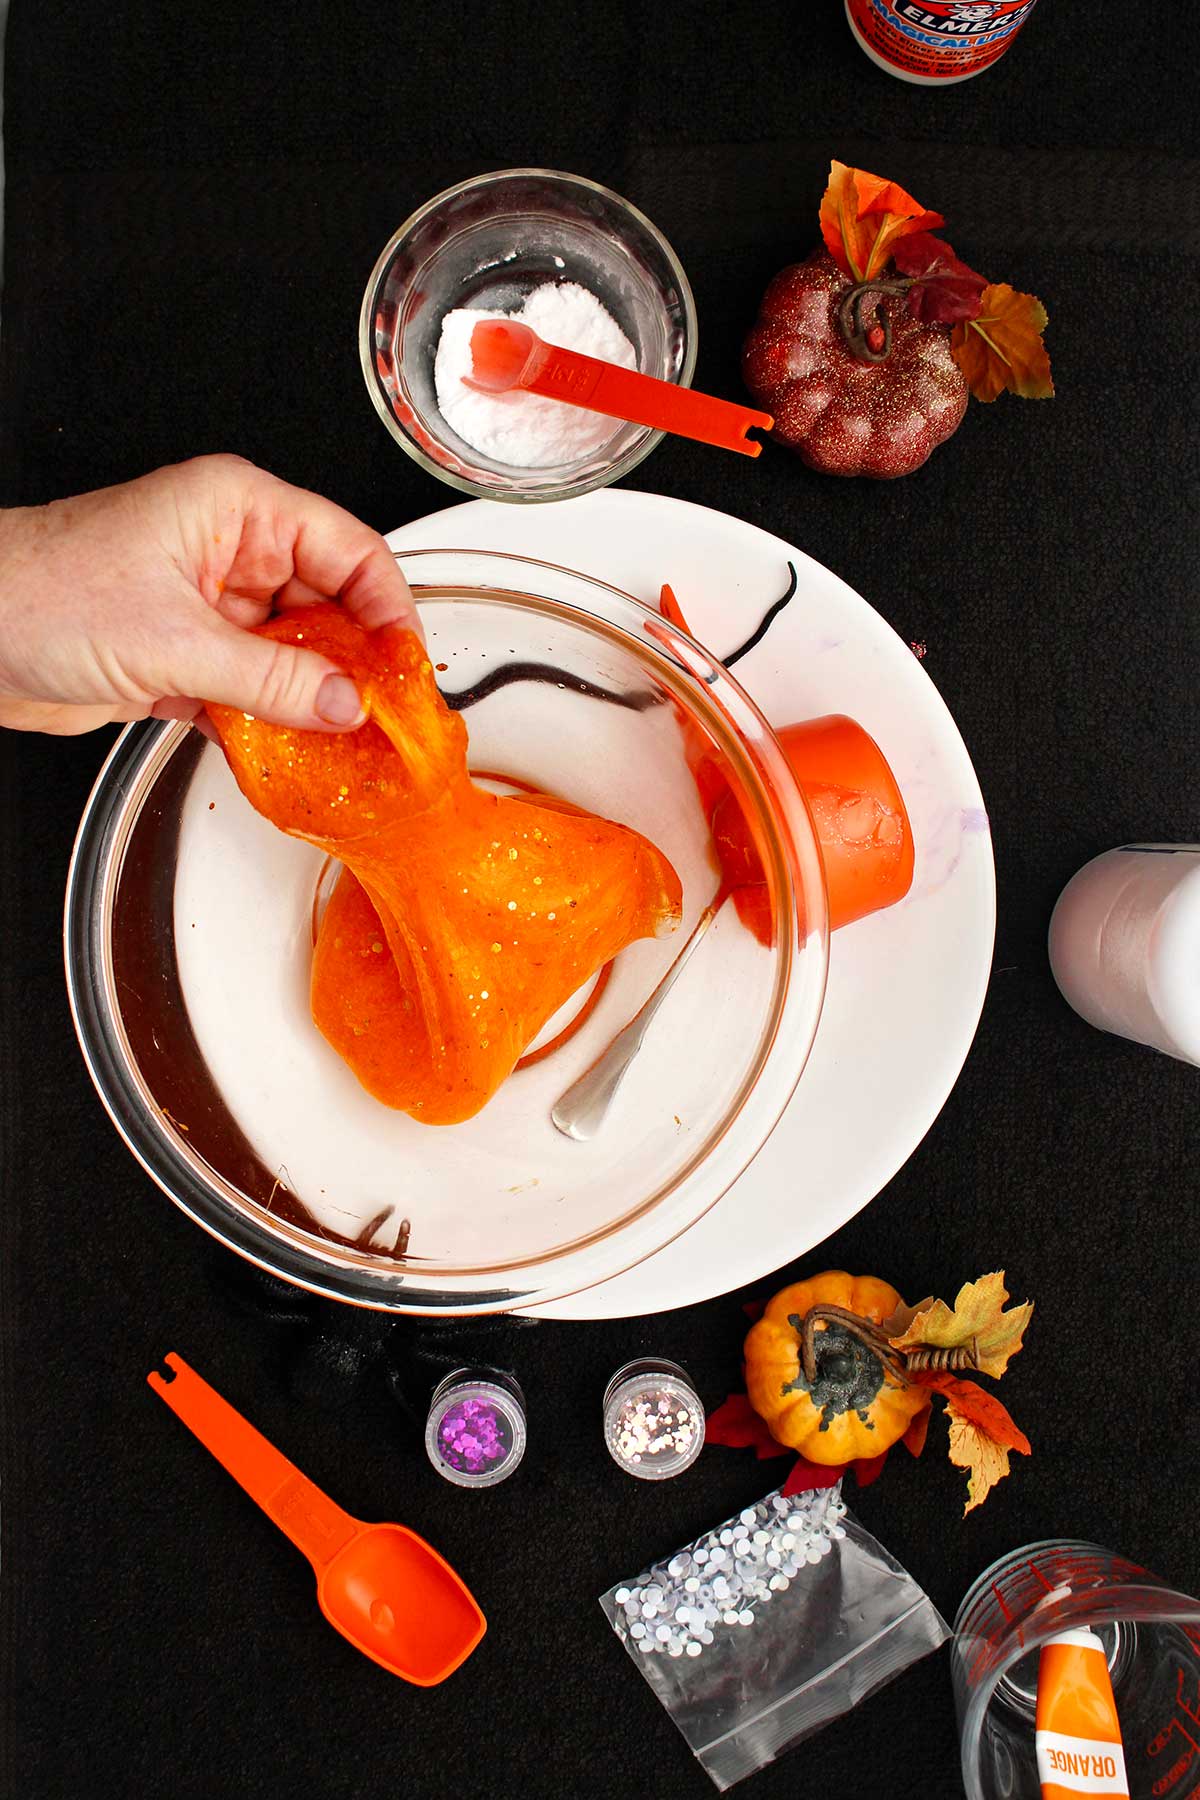
The mixture will begin to congeal, getting kind of stringy. Keep stirring the mixture. Then it will make a gel-like substance that pulls away from the sides of the bowl and makes what we call slime!
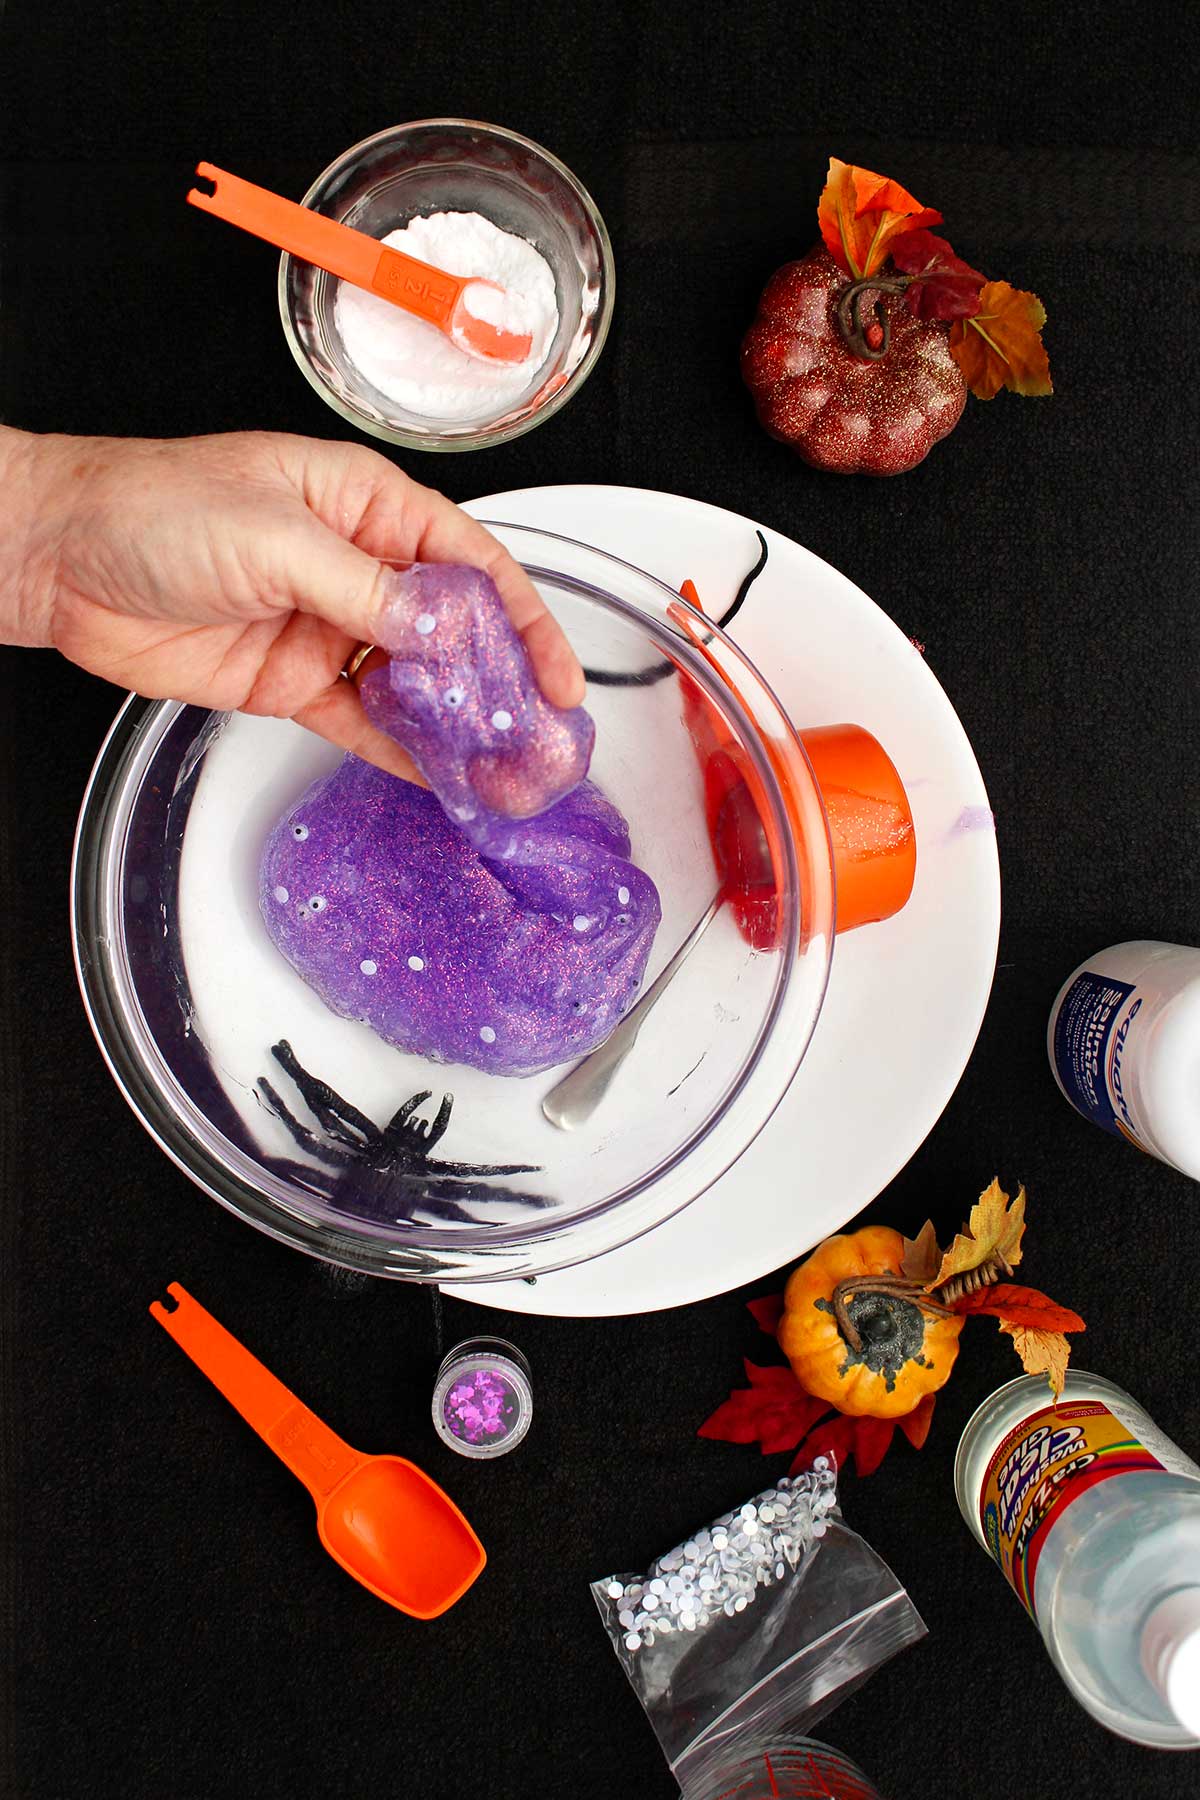
Step 5: Knead the slime- Sprinkle the add-ins like googly eyes and glitter onto the mixture and knead them into the slime (see the options in the ingredient list).
If the mixture stays too slimy or stringy, after kneading for awhile, add a few drops of saline solution and stir again.
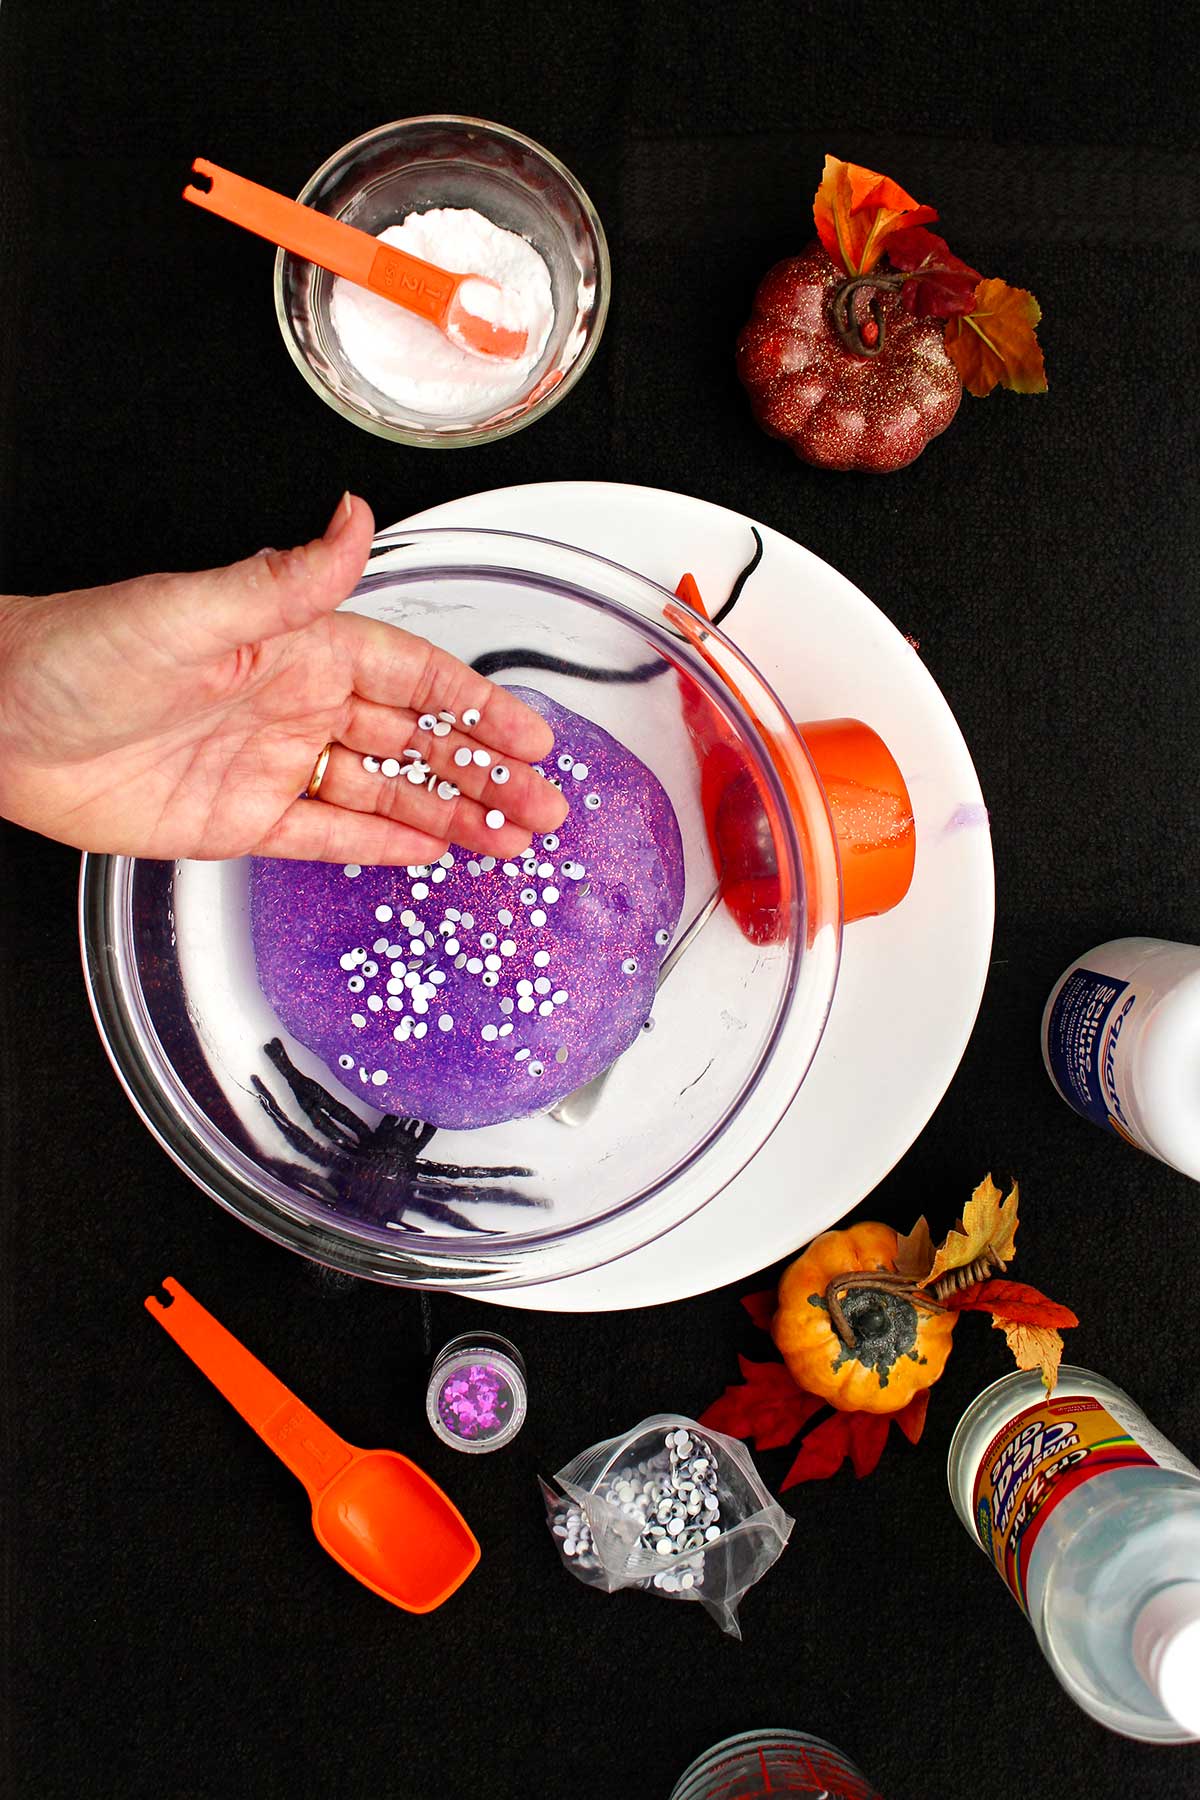
Safety Note: The add-ins should be age appropriate. Small items can be a choking hazard for littles. Plus hard items in the slime can make it challenging to knead and stretch. Take these things into consideration as you make your slime.
Step 6: Play, play, play!
Place the slime into an airtight container when you aren’t playing with it.
Enjoy your slime but please keep it over the table. It’s hard to get out of the carpet (ask me how I know!).
Craft Tips foR DIY Halloween slime
These tips can help making Slime Recipe Halloween even easier!
- Be sure to check the saline solution ingredient list to make sure it contains boric acid and sodium borate. These must be present to be an activator for the chemical reaction that turns glue to slime. Remember that contact lens solution isn’t the same thing as a plain saline solution.
- I had better luck with Elmer’s Clear Glue than the generic glue I showed in the video. So part of the experiment is that different glues and different contact lens solutions act a bit differently in your recipe. Which do you like best? Let me know what works best!
- Kneading the slime helps the slime to thicken so knead the slime a bit before adding more saline solution.
- Add a few drops of saline solution to your mixture or to your hands while kneading the slime if it’s too sticky. Too much and the slime will get too stiff.
- Use clear glue to get clearer, brighter colors of slime. The white glue seems to cause the slime color to be lighter.
- Glitter glue works well and you get color and glitter without an add-in.
- Letting the slime sit for a while in an air tight container lets some of the bubbles dissolve so it's not as cloudy.
- Use equipment for a science recipe that will not be used later for food.
- If your slime it too sticky, knead it for awhile first, then add a few drops of saline solution if needed (you can even put them on your hands and continue kneading).
Craft Variations
Here are a few variations you’re welcome to try with this slime with contact lens solution recipe:
- Use clear glue and no coloring to make clear slime. The add-ins show up well if you add some.
- Use colored glitter glue to make various colors of glitter slime.
- Try different glue brands and contact lens solutions as an experiment to see the different results.
- Try various add-ins. You'll get different textures and looks/themes.
- Holiday add-ins. Add themed sequins or beads and colors to the holiday! For Halloween try Green Halloween Slime with tiny spider add-ins! How about green slime and red slime for Christmas with instant snow add-in?
- Make two colors of slimes and twirl them together for a striped look. They will blend together when you play with them so keep that in mind.
FAQ about Slime
Here are a few questions you may have about slime.
The baking soda and the contact lens solution work together to react with the PVA glue molecules. The soda improves the texture and firmness of the slime. It has to do with the pH of the substance.
How to make activator for slime- in this recipe the contact lens solution ingredients and baking soda are the activator causing the chemical reaction that turns glue into slime.
Slime lasts from a few days to a few months depending on how you take care of it and how long it is out as you play with it. It should be stored in an air tight container. The slime quality goes down with too much activator, the wrong type of glue, not being in a proper storage container, fibers on the surface you have it on, the wrong kind of add-ins, and just time.
Slime will eventually break down, dry out, and possibly even mold. Be sure to check the slime for unusual odors, mold or other unusual signs of decay. Throw it out if there are concerns.
First, check to see if you measured the ingredients correctly and you have the correct ingredients as described in the supplies list. The glue and contact lens solution has to be the correct types with the correct ingredients.
If the slime is too sticky, knead it for awhile and then add a few drops of contact lens solution as you continue to knead.
If the slime is too rubbery it is difficult to correct. There was probably too much activator added. You can try a few drops of water but usually it is best to make another batch and add the contact solution more slowly.
For safety, never ever eat slime, wash your hands after playing with slime, and be sure to supervise young children. Contact lens solution can be harmful if swallowed because it is a borate-containing product so be sure to follow safety instructions on the labels.
More Hands on (in?) crafts for Kids
Looking to get your hands into more crafts like this one? Here are a few to try:
- Fluffy Slime Recipe for Kids
- How to Make Oobleck Slime
- How to Grow Crystals- DIY Crystals a Home Science Project
- How to Make Pumpkin Puree and Roast Pumpkin Seeds
Come join the fun at WTN!
I hope this Halloween slime recipe brings a little spooky fun to your home, classroom, or Halloween party!
Try this craft, leave a comment, rate it, and tag a photo with #WelcometoNanas wherever you post.
More Crafts Please!
Love getting crafts straight to your inbox? Sign up to receive a weekly email and get a free gift!
Halloween Slime Recipe: Spooky Slime Fun!
Equipment
- Bowl Bowl
- Spoon Spoon
- Measuring cups Measuring cups
- Measuring spoons Measuring spoons
Items Required
- ½ Cup Water
- ½ Cup Elmer’s Clear Glue (can be glitter glue)
- ½ teaspoon Baking Soda
- 1 Tablespoon Contact Lens Solution or Saline Solution (must contain boric acid and sodium borate)
- Add ins (optional) like googly eyes, small beads, sequins, pom-poms, little plastic spiders, food coloring, glitter, buttons
Instructions
- Add the baking soda and stir.
- Fill the Tablespoon with saline solution and add to the mixture.The mixture will begin to congeal, getting kind of stringy. Keep stirring the mixture. Then it will make a gel-like substance that pulls away from the sides of the bowl
- Knead the slime- Sprinkle the add-ins like googly eyes and glitter onto the mixture and knead them into the slime (see the options in the ingredient list).If the mixture stays too slimy or stringy, after kneading for awhile, add a few drops of saline solution and stir again.
- Play, play, play! Place the slime into an airtight container when you aren’t playing with it.
Leave a Reply