
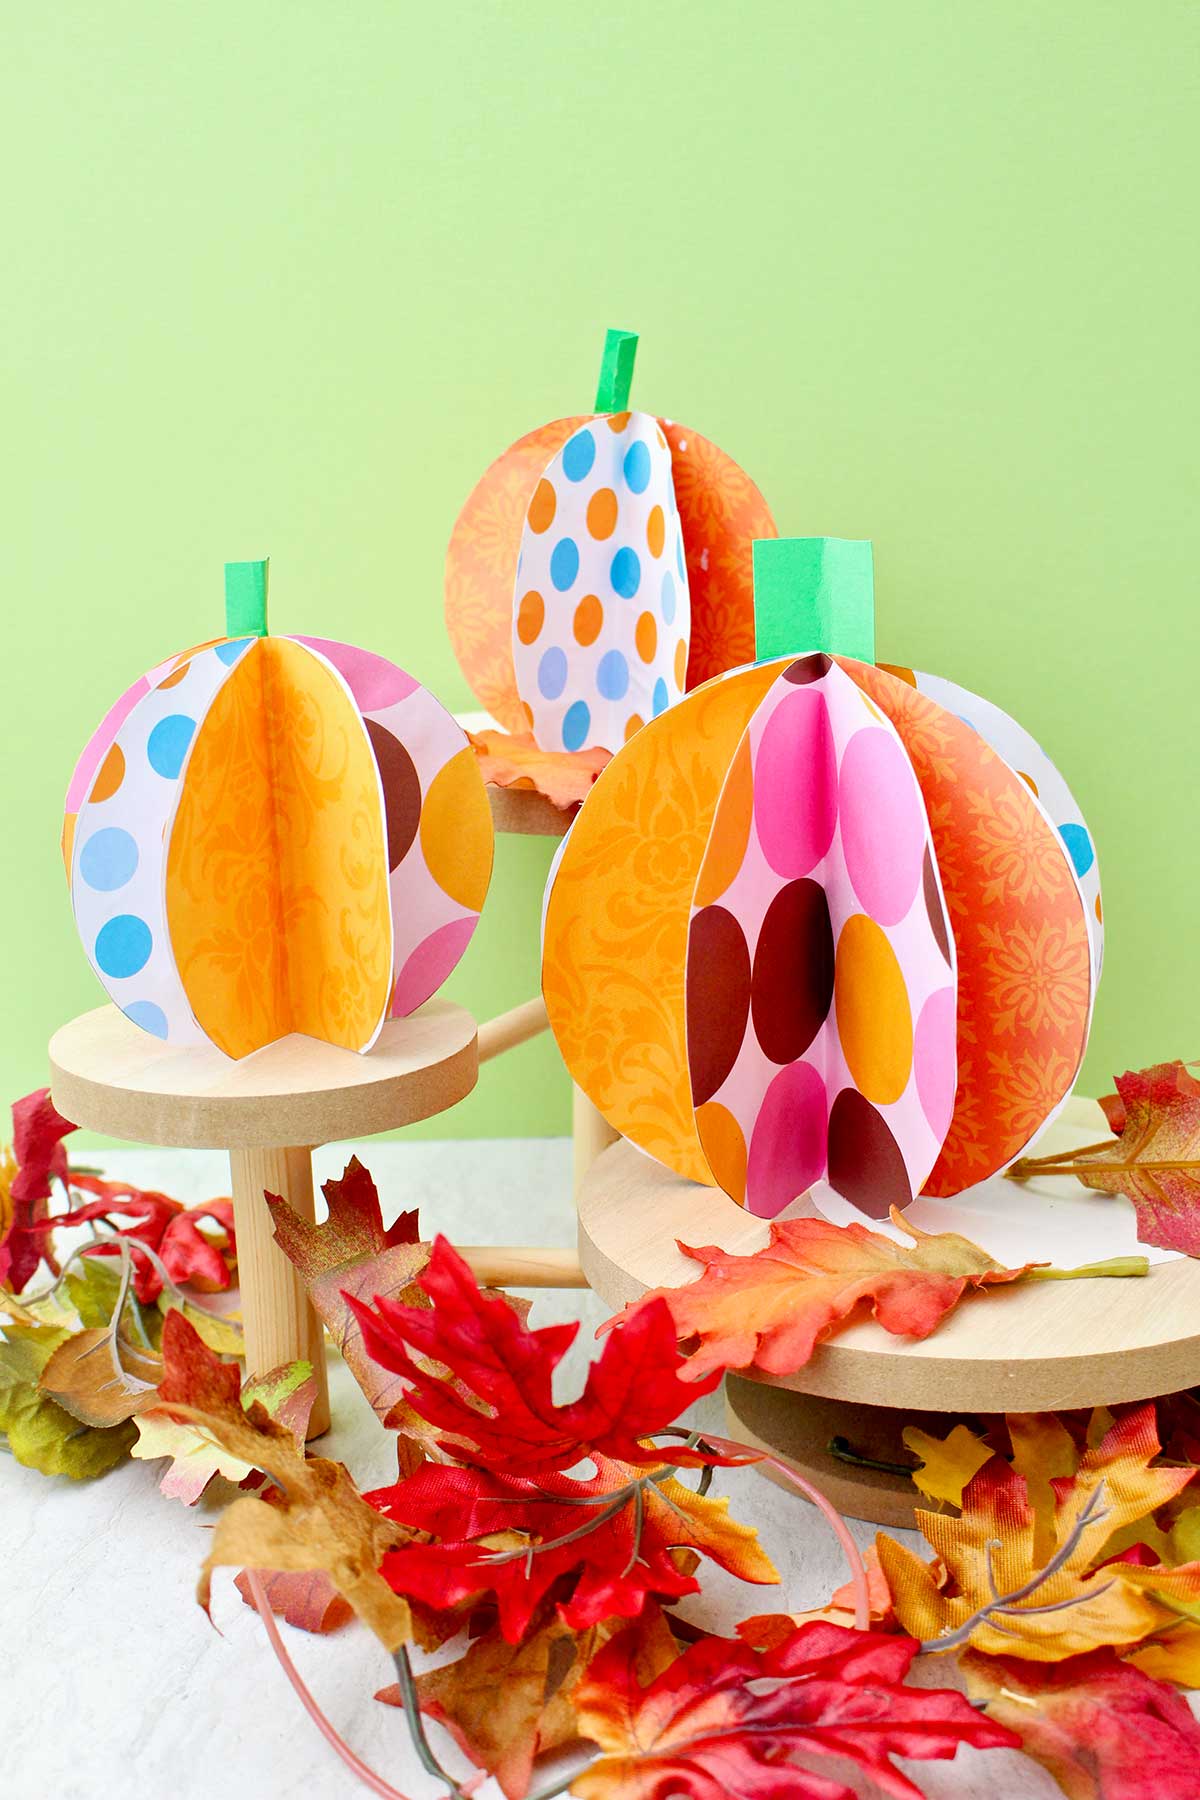
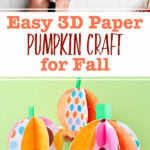
This easy 3D Paper Pumpkin Craft is a quick, no-fail fall craft for kids that is simple to whip up in just a few minutes. All you need is scrapbook paper, glue, and scissors!
Jump to:
- Pumpkin Paper Craft: 3D Fall Magic!
- Cute Craft Alert: Paper Pumpkin Decorations
- Other Reasons We Love This Paper Craft
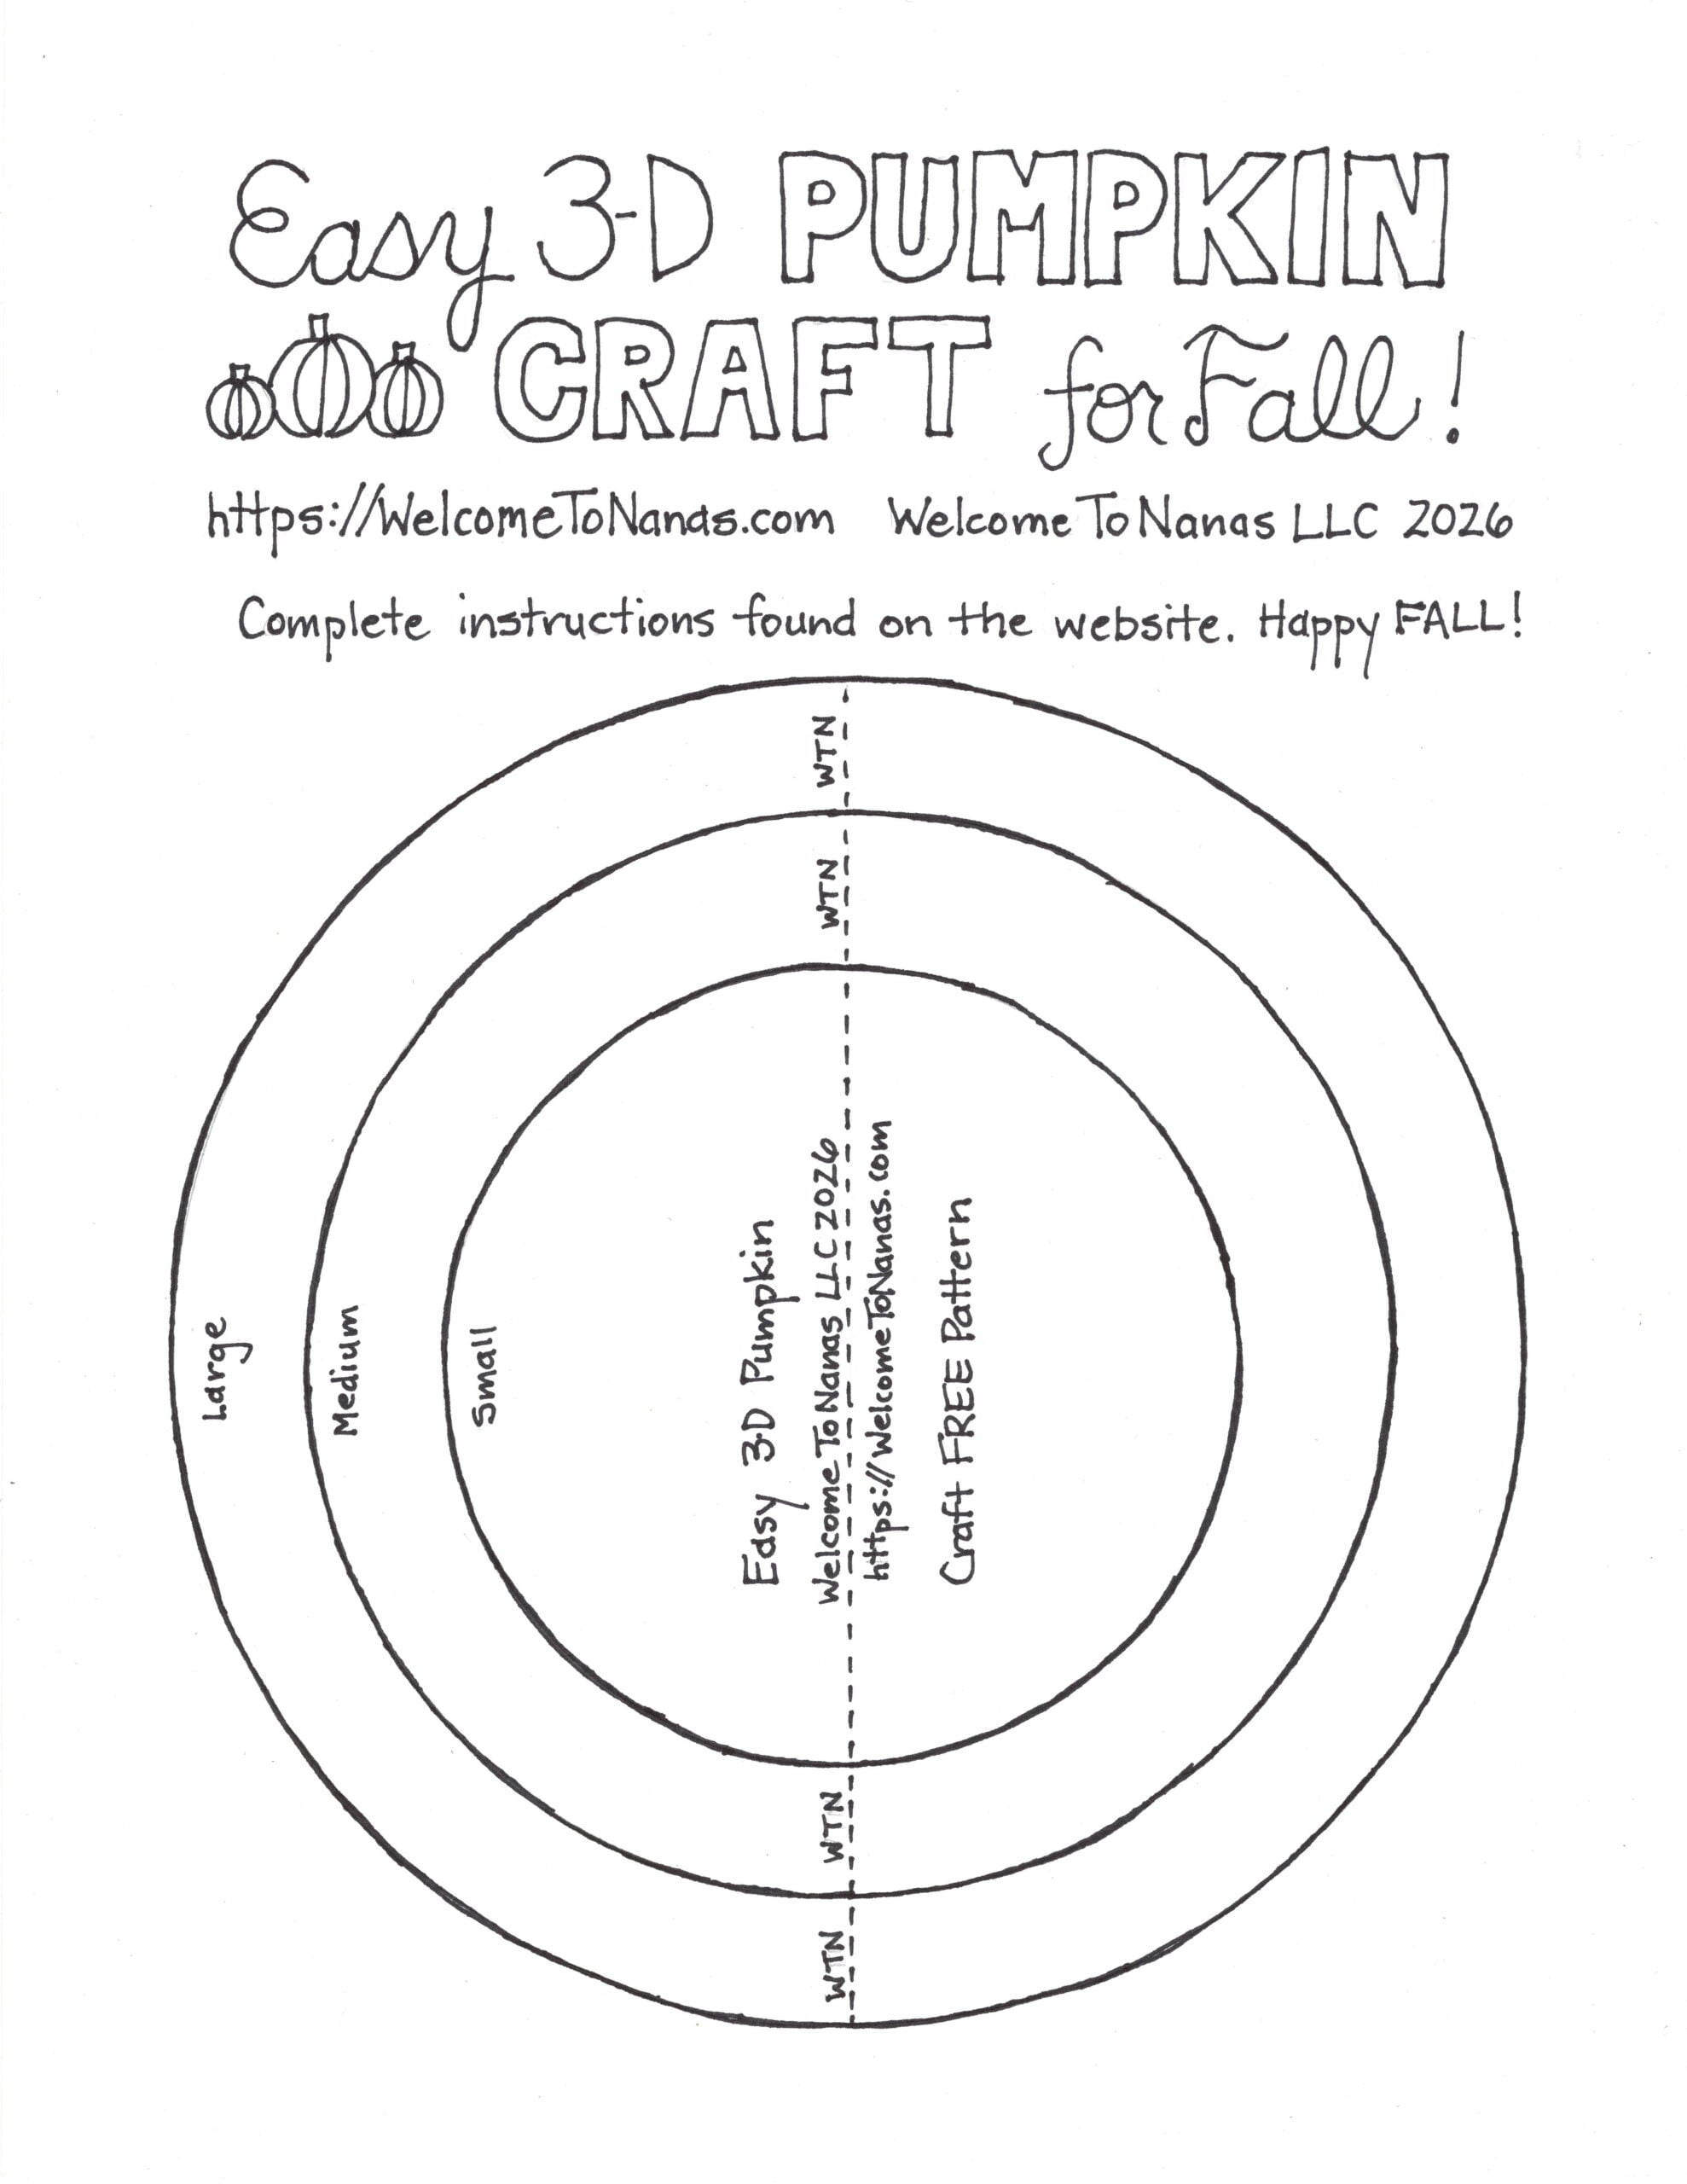
- Free Pattern Made Just for You
- Supplies for a paper pumpkin
- Steps to Make This Easy 3D Paper Pumpkin Craft
- Craft Tips paper pumpkin 3D
- Craft Variations- 3D paper pumpkin craft
- FAQ DIY pumpkin paper craft
- More DIY PUMPKIN Crafts for Kids
- Come join the fun at WTN!
- More Crafts Please!
- Easy 3D Paper Pumpkin Craft for Fall
Pumpkin Paper Craft: 3D Fall Magic!
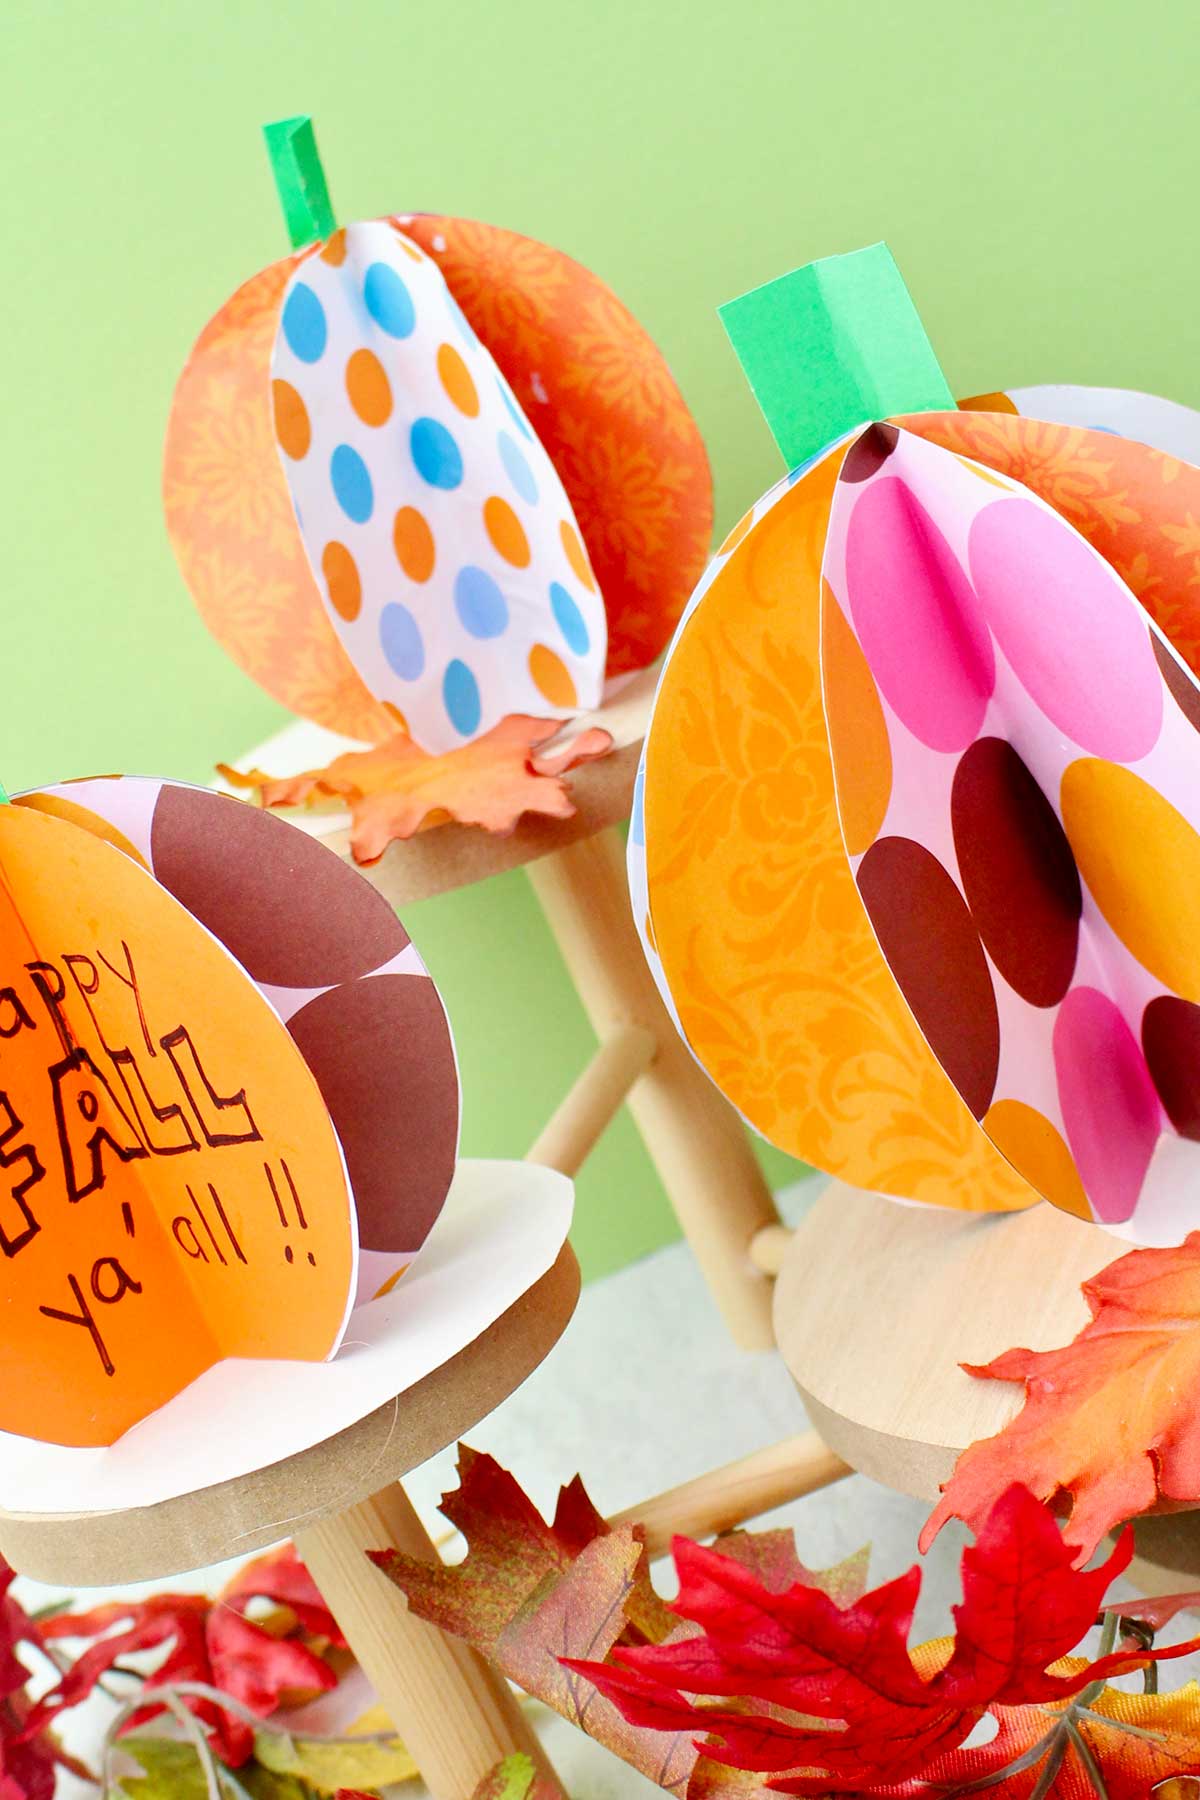
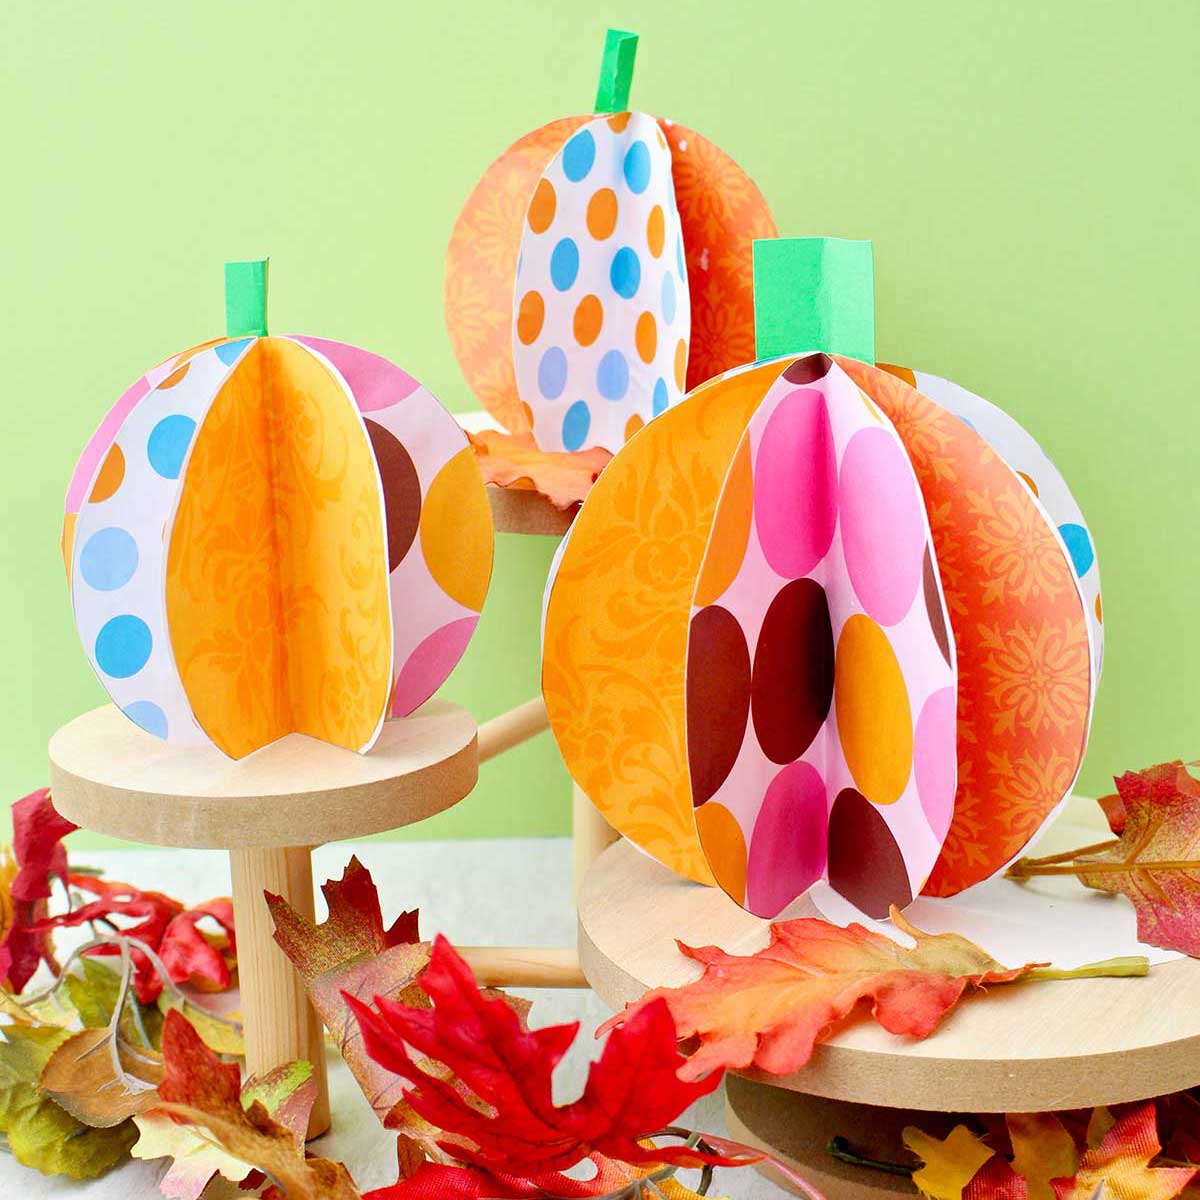
I am so pleased with how this 3D Paper Pumpkin Craft for Fall came out! The patterns and colors of the scrapbook papers you choose make these DIY paper pumpkins fit almost any occasion and decorating style.
Your kids can make them for room decorations, gifts, table decor or place cards. How about a fall teacher gift or table decoration for Nana?
Cute Craft Alert: Paper Pumpkin Decorations
I LOVE FALL. After a summer of record-breaking temperatures we are thrilled that fall has finally come.
That means it’s time to create some fun fall decorations. Grab your grandkids and your stash of scrapbooking paper and let’s make an Easy 3D Paper Pumpkin. It’s a pumpkin that will last all fall!
My grandkids and I made these 3D paper pumpkins last weekend and all of us enjoyed it, young and old. The youngest (age 6) kept making more and was planning on bringing a couple to her teacher. Her mother was laying claim to the rest for her bookshelves!
Other Reasons We Love This Paper Craft
Here are some of the skills the kids (and you) will learn or practice:
- Following directions
- Fine motor skills like using a scissors
- Choosing paper colors and patterns (decision-making)
- Patience in the creative process
- Creativity development
Free Pattern Made Just for You
I loved making this 3D Paper Pumpkin Craft FREE Pattern for you to use in this craft. It’s one of my favorite parts of a craft, making a pattern to be used over and over by me, my grandkids, and you and yours!
The finished size of the pumpkins on the pattern are:
- Small- 4 inches in diameter
- Medium- 5 ¼ inches in diameter
- Large- 6 ½ inches in diameter
Supplies for a paper pumpkin
You don’t need much to bring these cute paper cut out pumpkins to life!
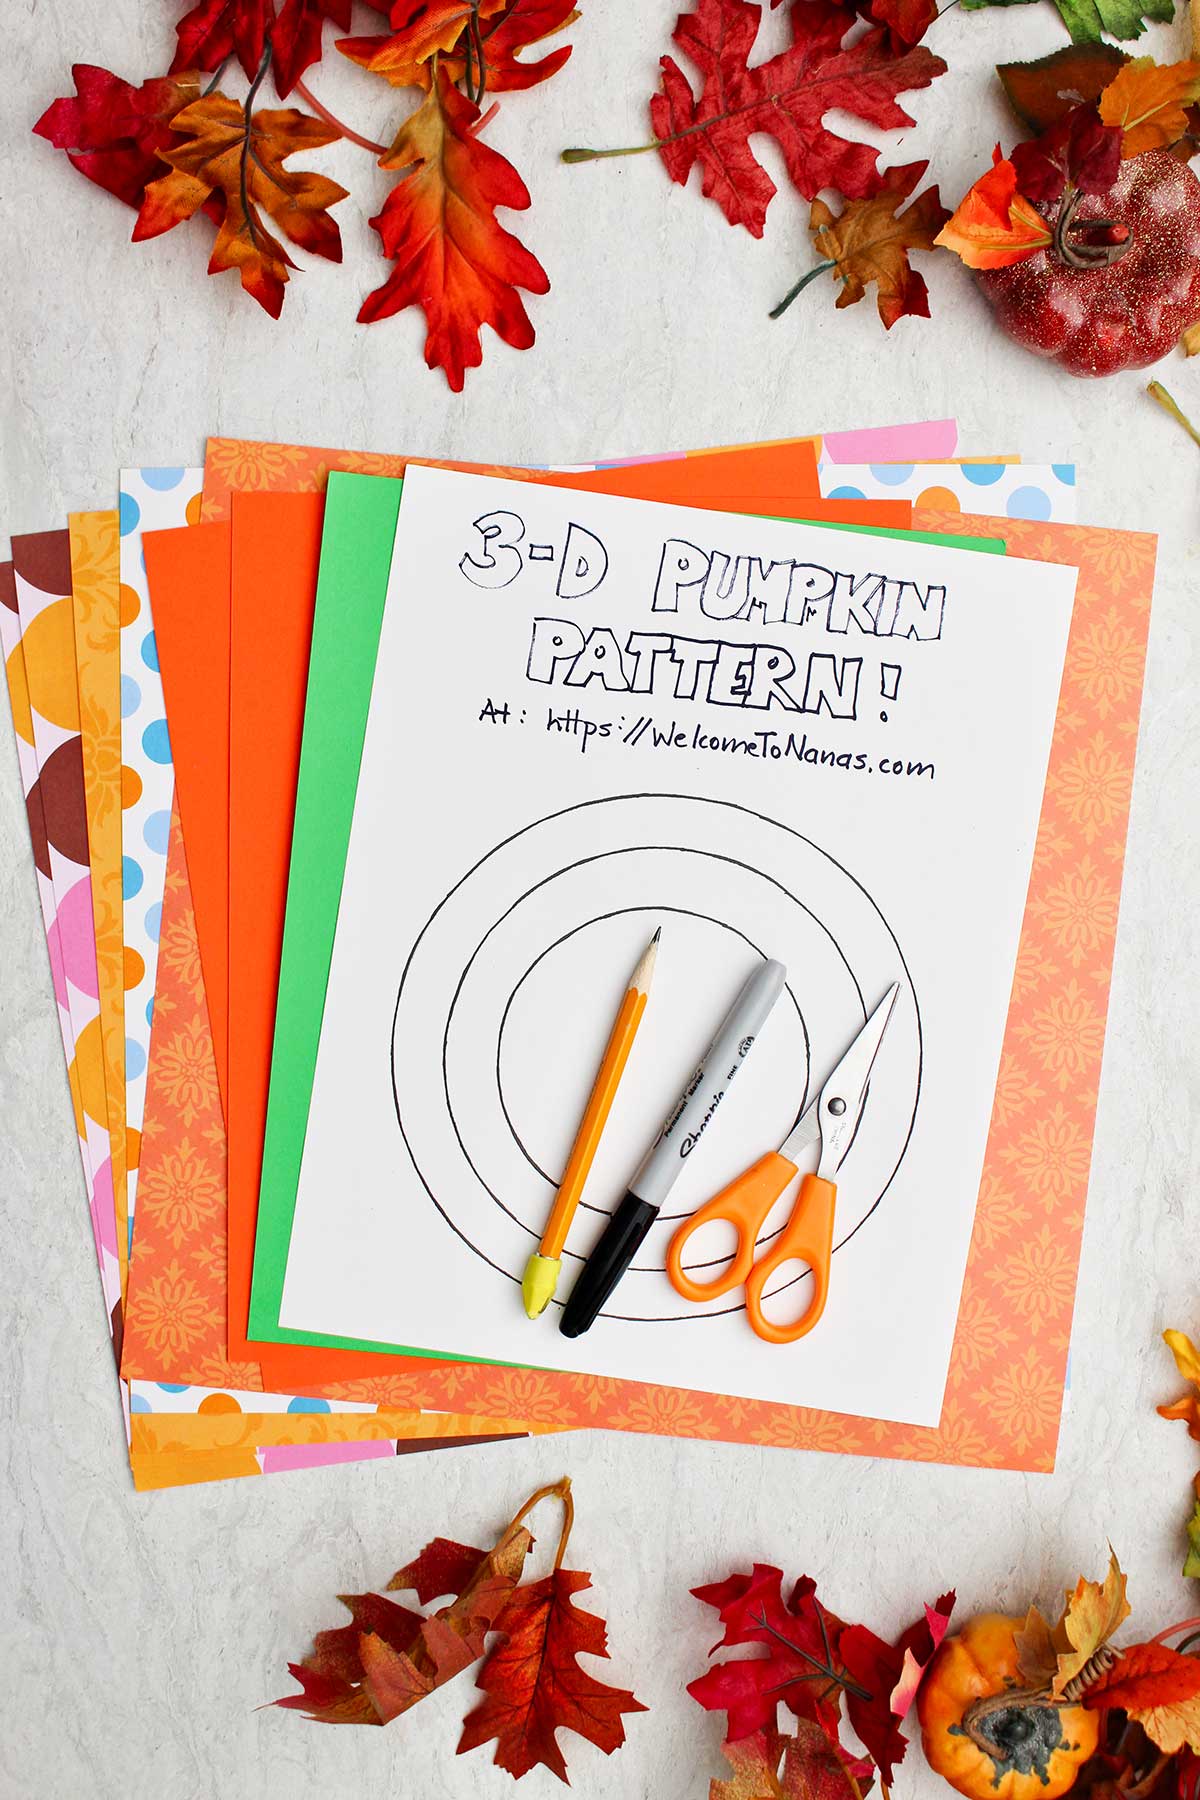
- Free Pattern- Find the pattern at this link: The 3D Paper Pumpkin Free Pattern
- Scrapbook Paper in colors/patterns of your choice. You’ll need enough paper to cut 8 circles in the size you choose.
- Green paper- Green paper for a stem
- Pencil- A pencil to draw around the pattern
- Glue- glue sticks or school glue
- Scissors- To cut out the paper circles
- Black permanent marker- (optional) To write a message or name on the circles
- Ruler- (optional) to measure the stem
- Bone folder- (optional) to fold the papers
- Cardstock paper- (optional)
Steps to Make This Easy 3D Paper Pumpkin Craft
Prep the paper
Step 1: Choose the scrapbook papers that you want to use for your pumpkin. You can use 1, 2, 4, or 8 different papers.
- 1 paper- all 8 paper circles will be the same
- 2 papers- you'll have 4 circles of each paper
- 4 papers- you'll trace 2 circles of each paper
- 8 papers- will draw one circle of each paper
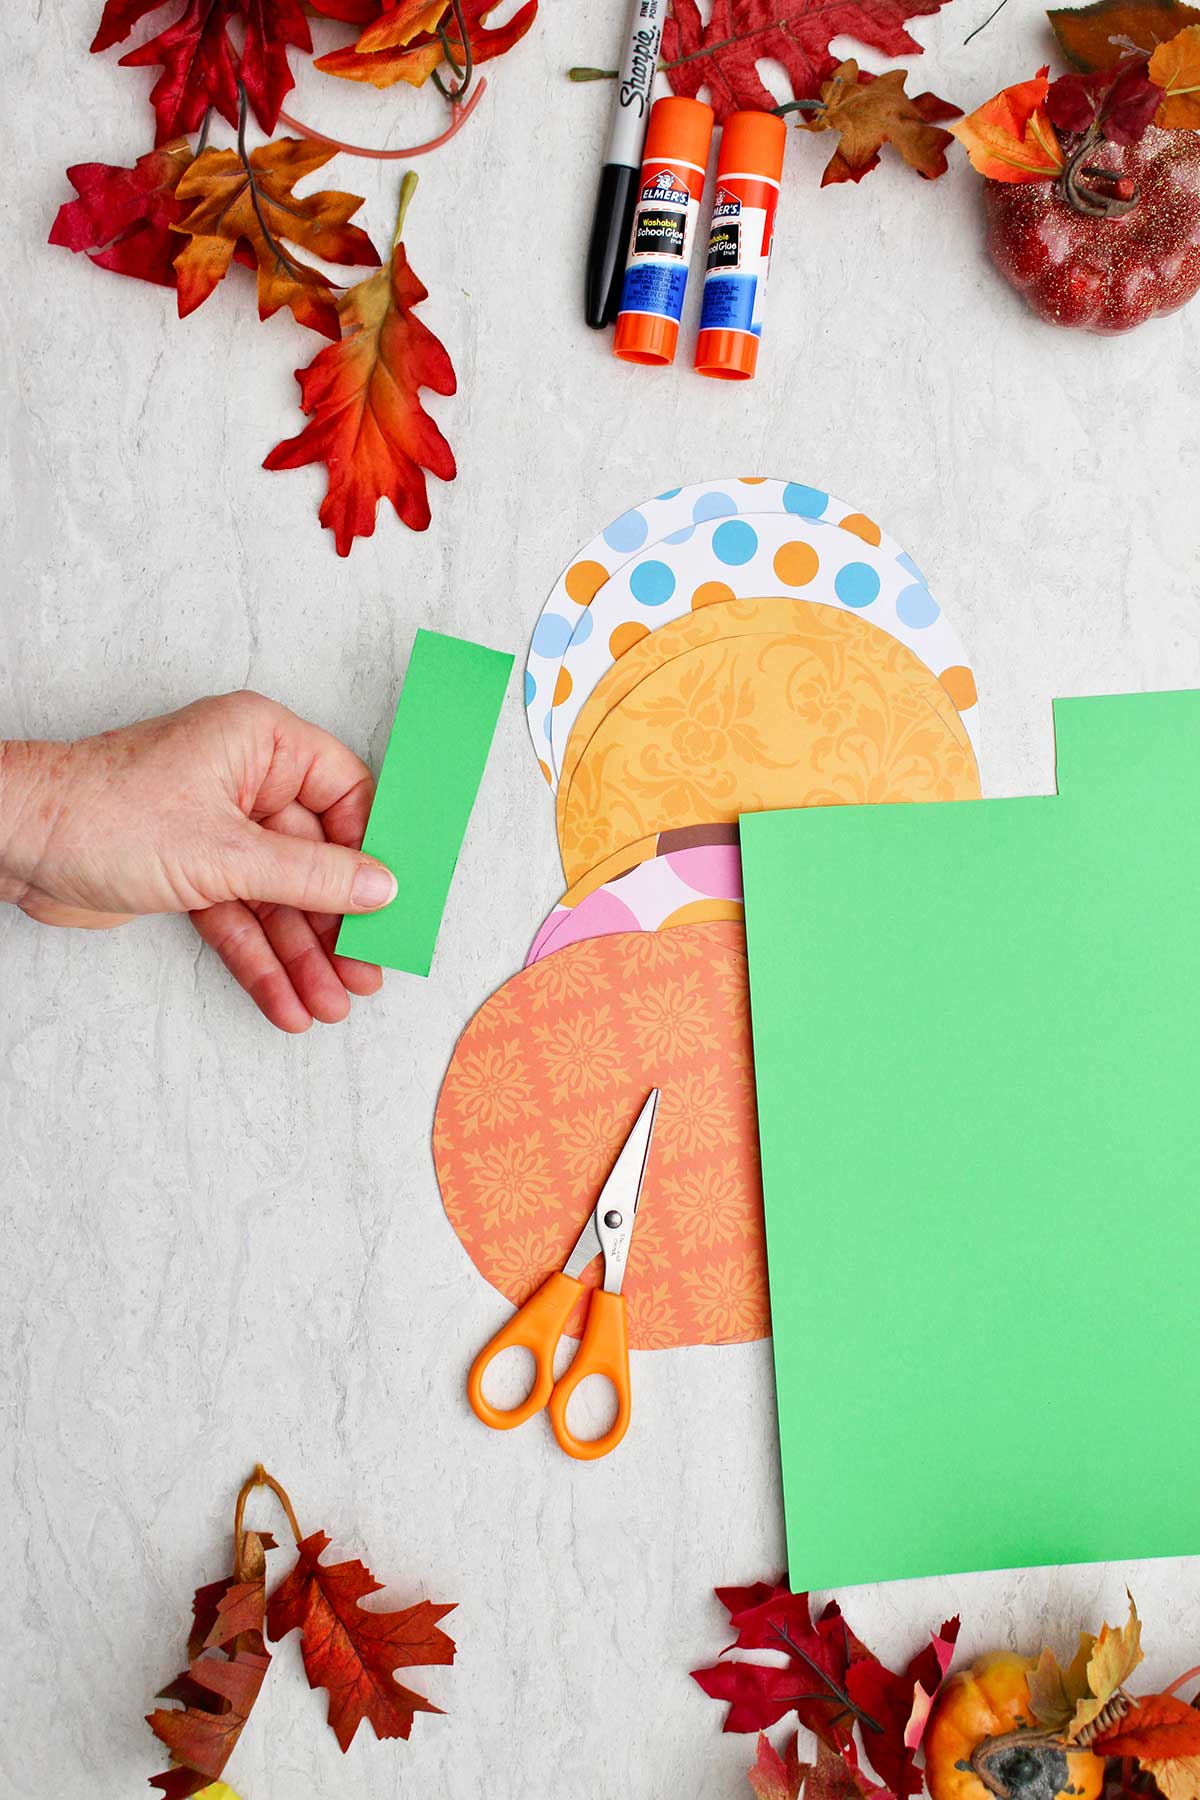
Step 2: Download and print the 3-D Paper Pumpkin Free Pattern at 100% the actual size. Carefully cut out the pattern circles in the size you would like to make (there are three sizes to choose from).
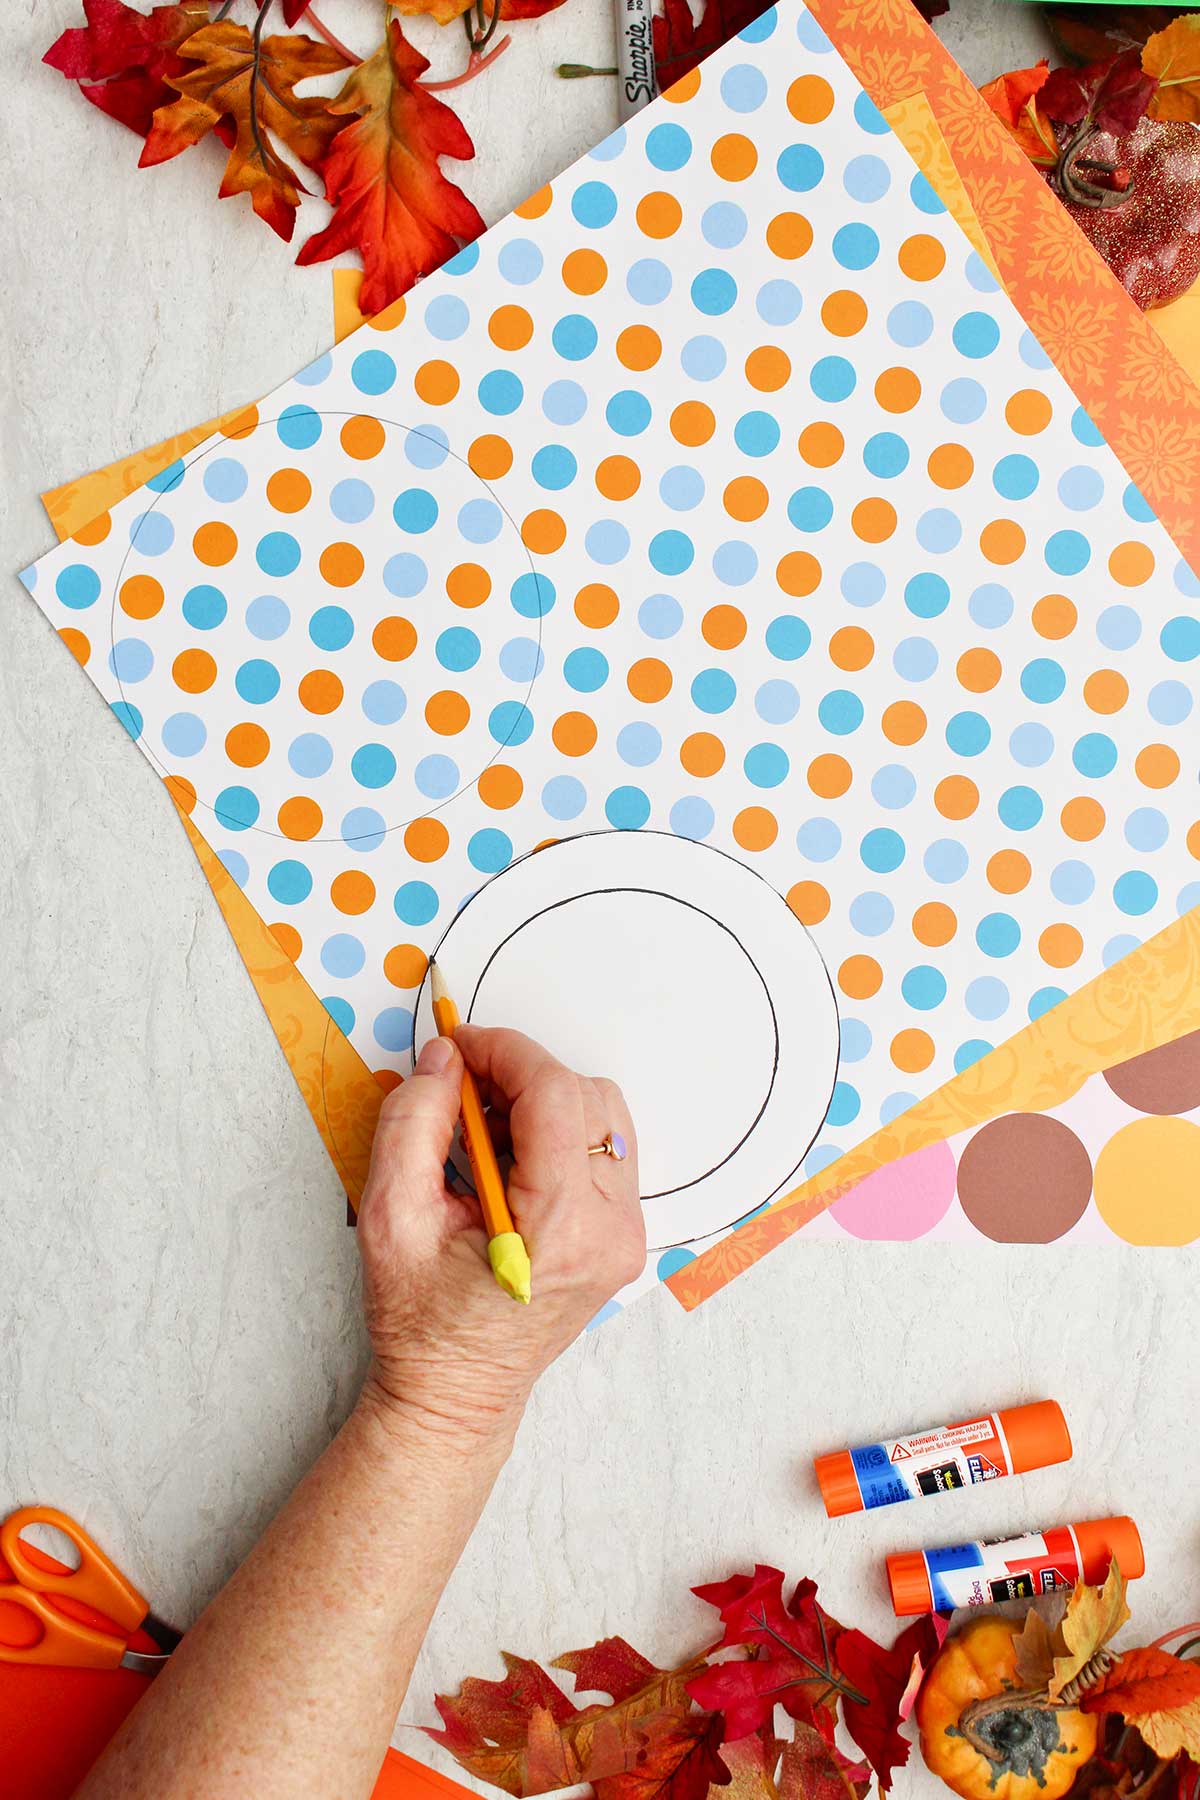
Step 3: Use the pattern to trace 8 circles on the papers you have chosen. I used 4 different papers and cut two of each pattern.
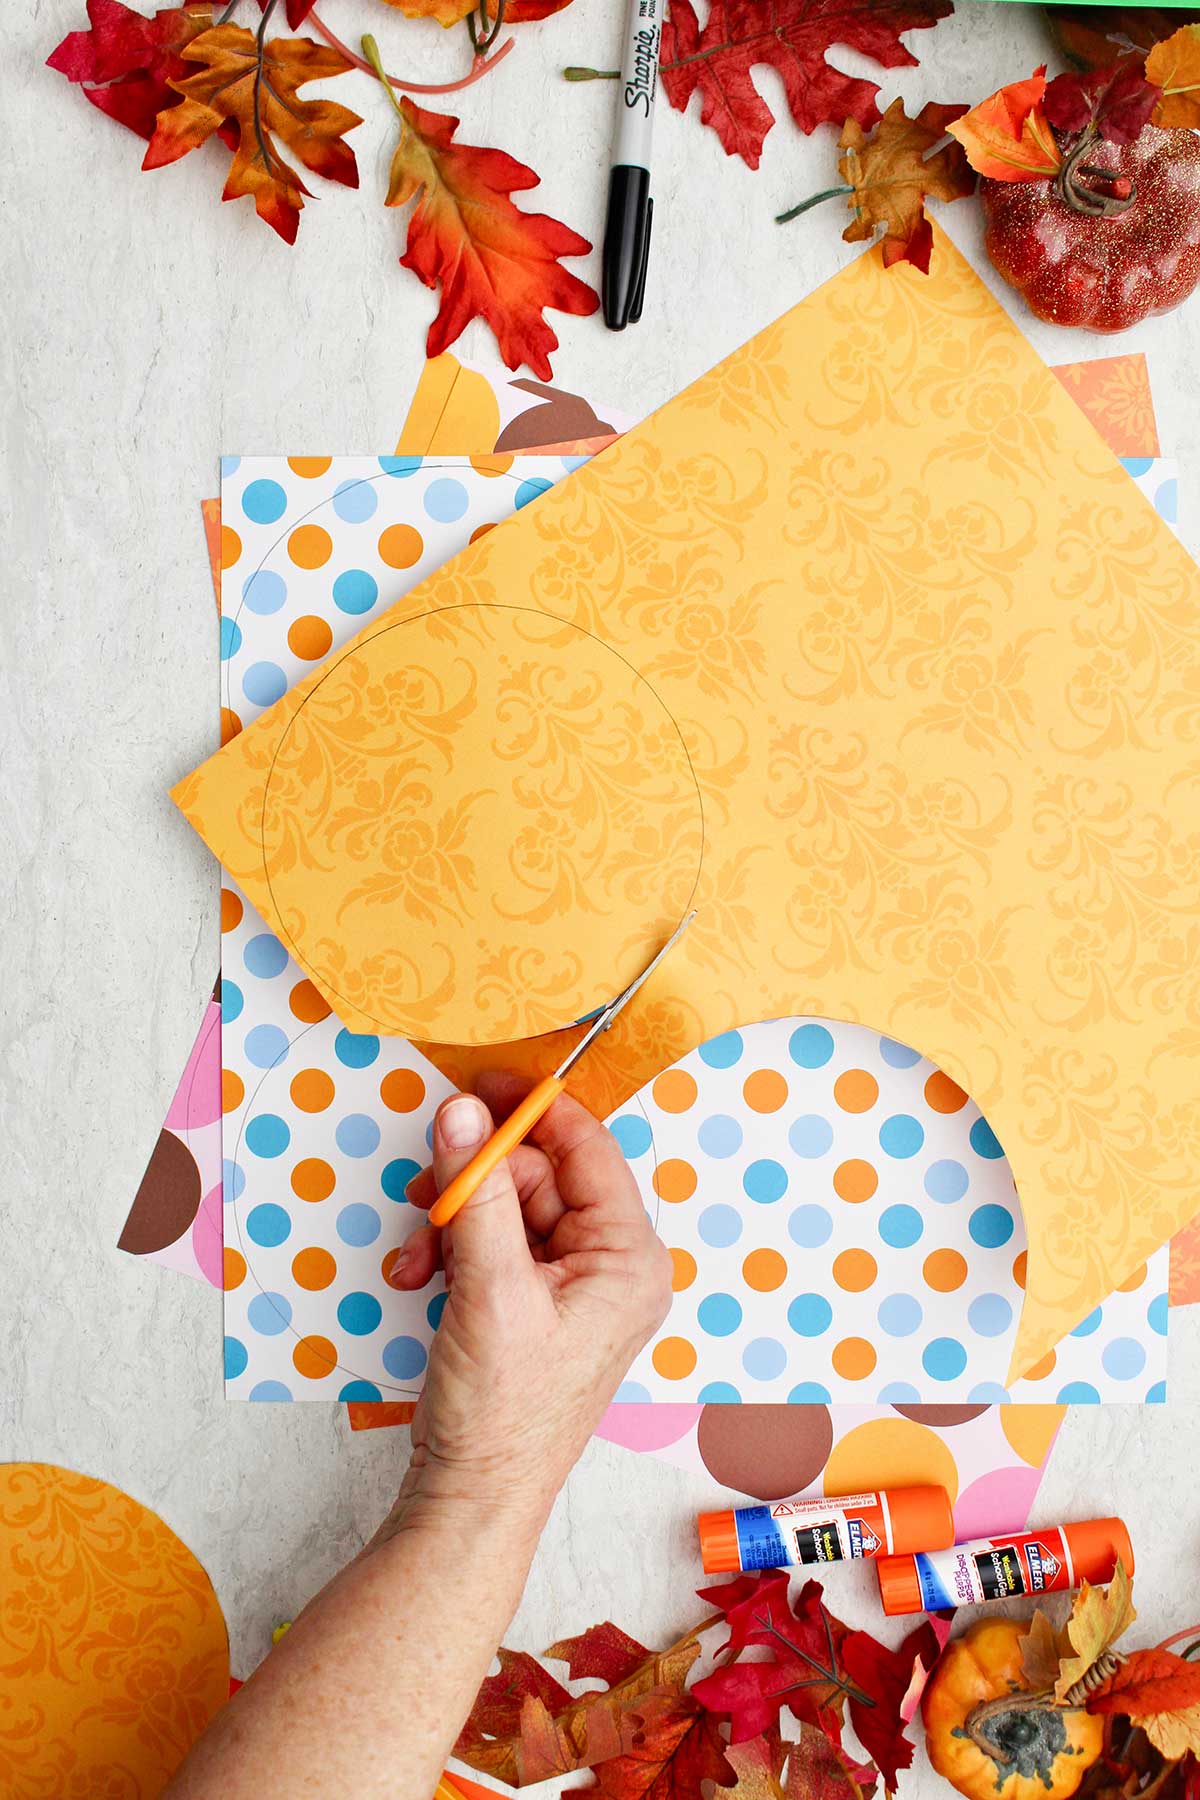
Step 4: Cut out the 8 paper pumpkin circles. Cut carefully on the lines so they will match well when glued together.
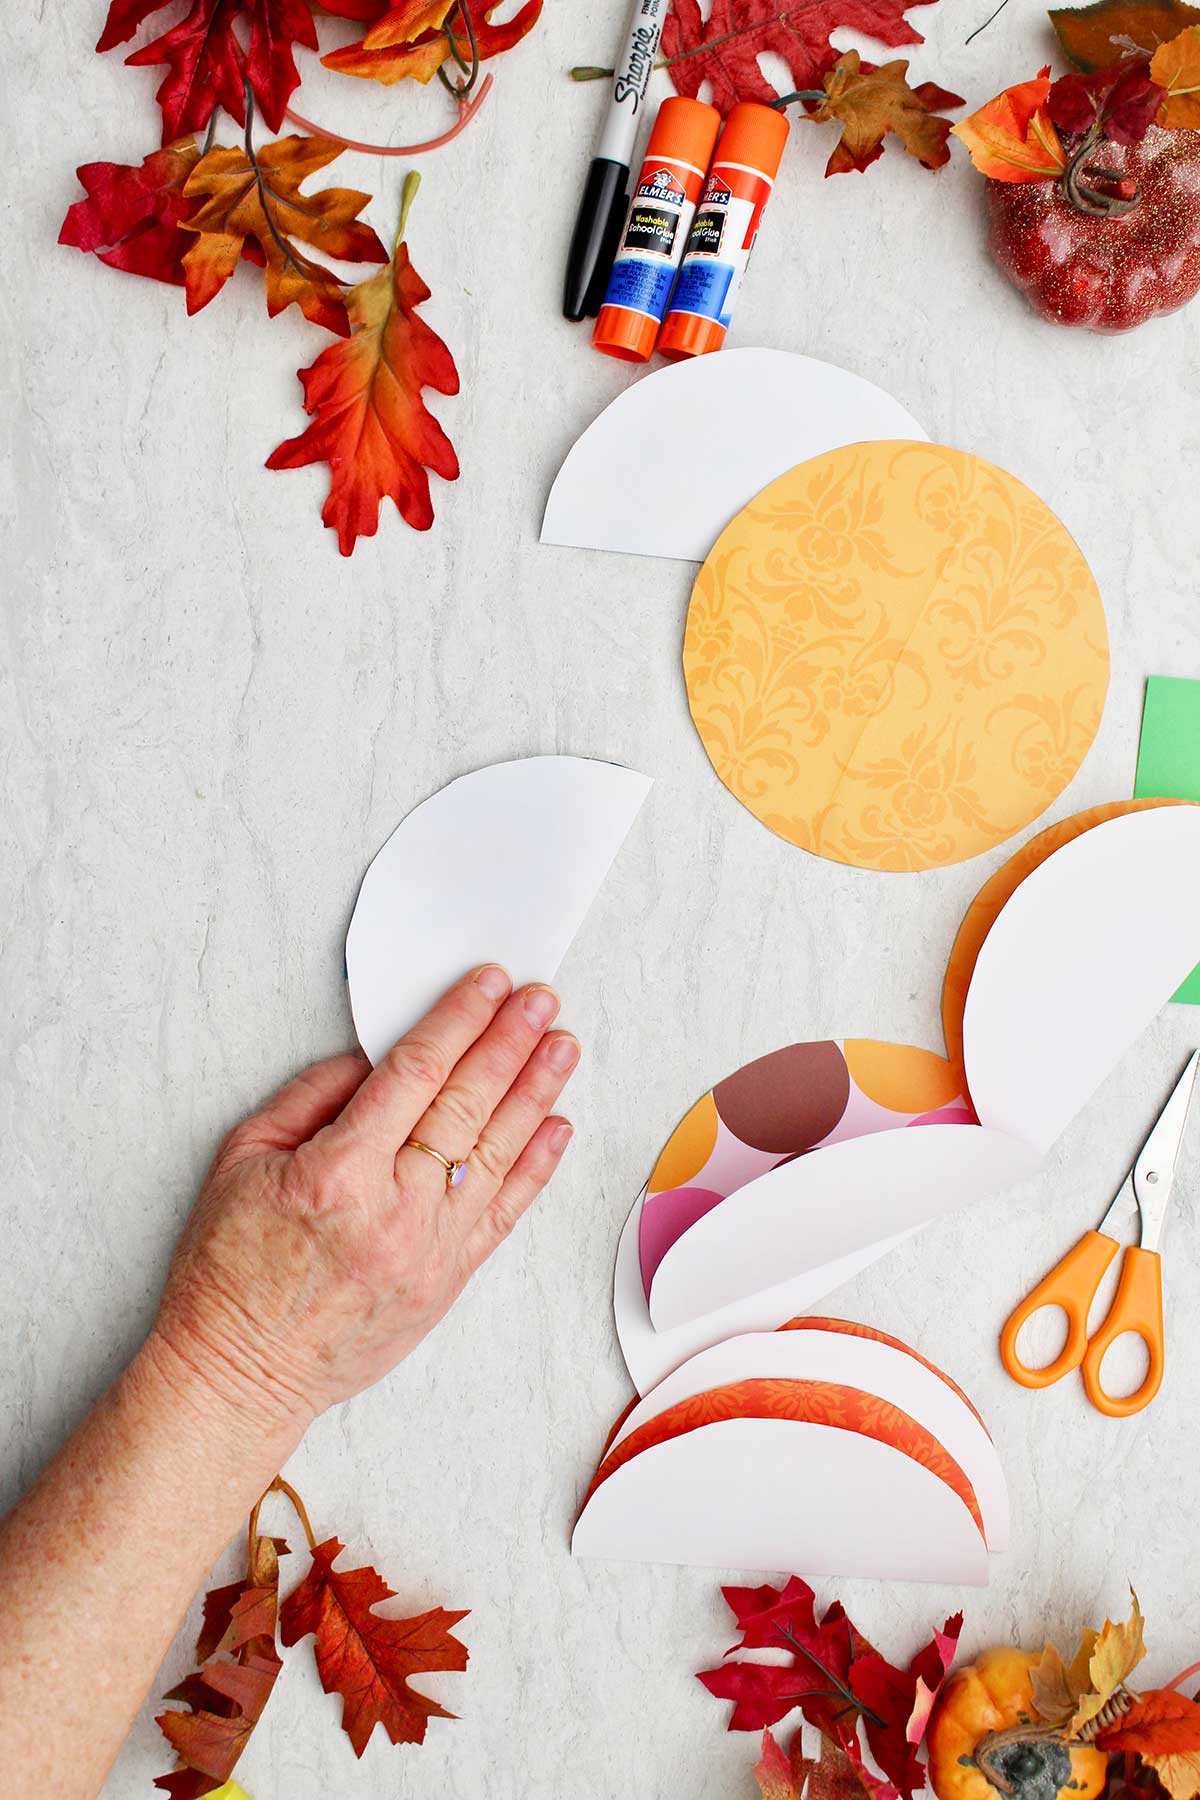
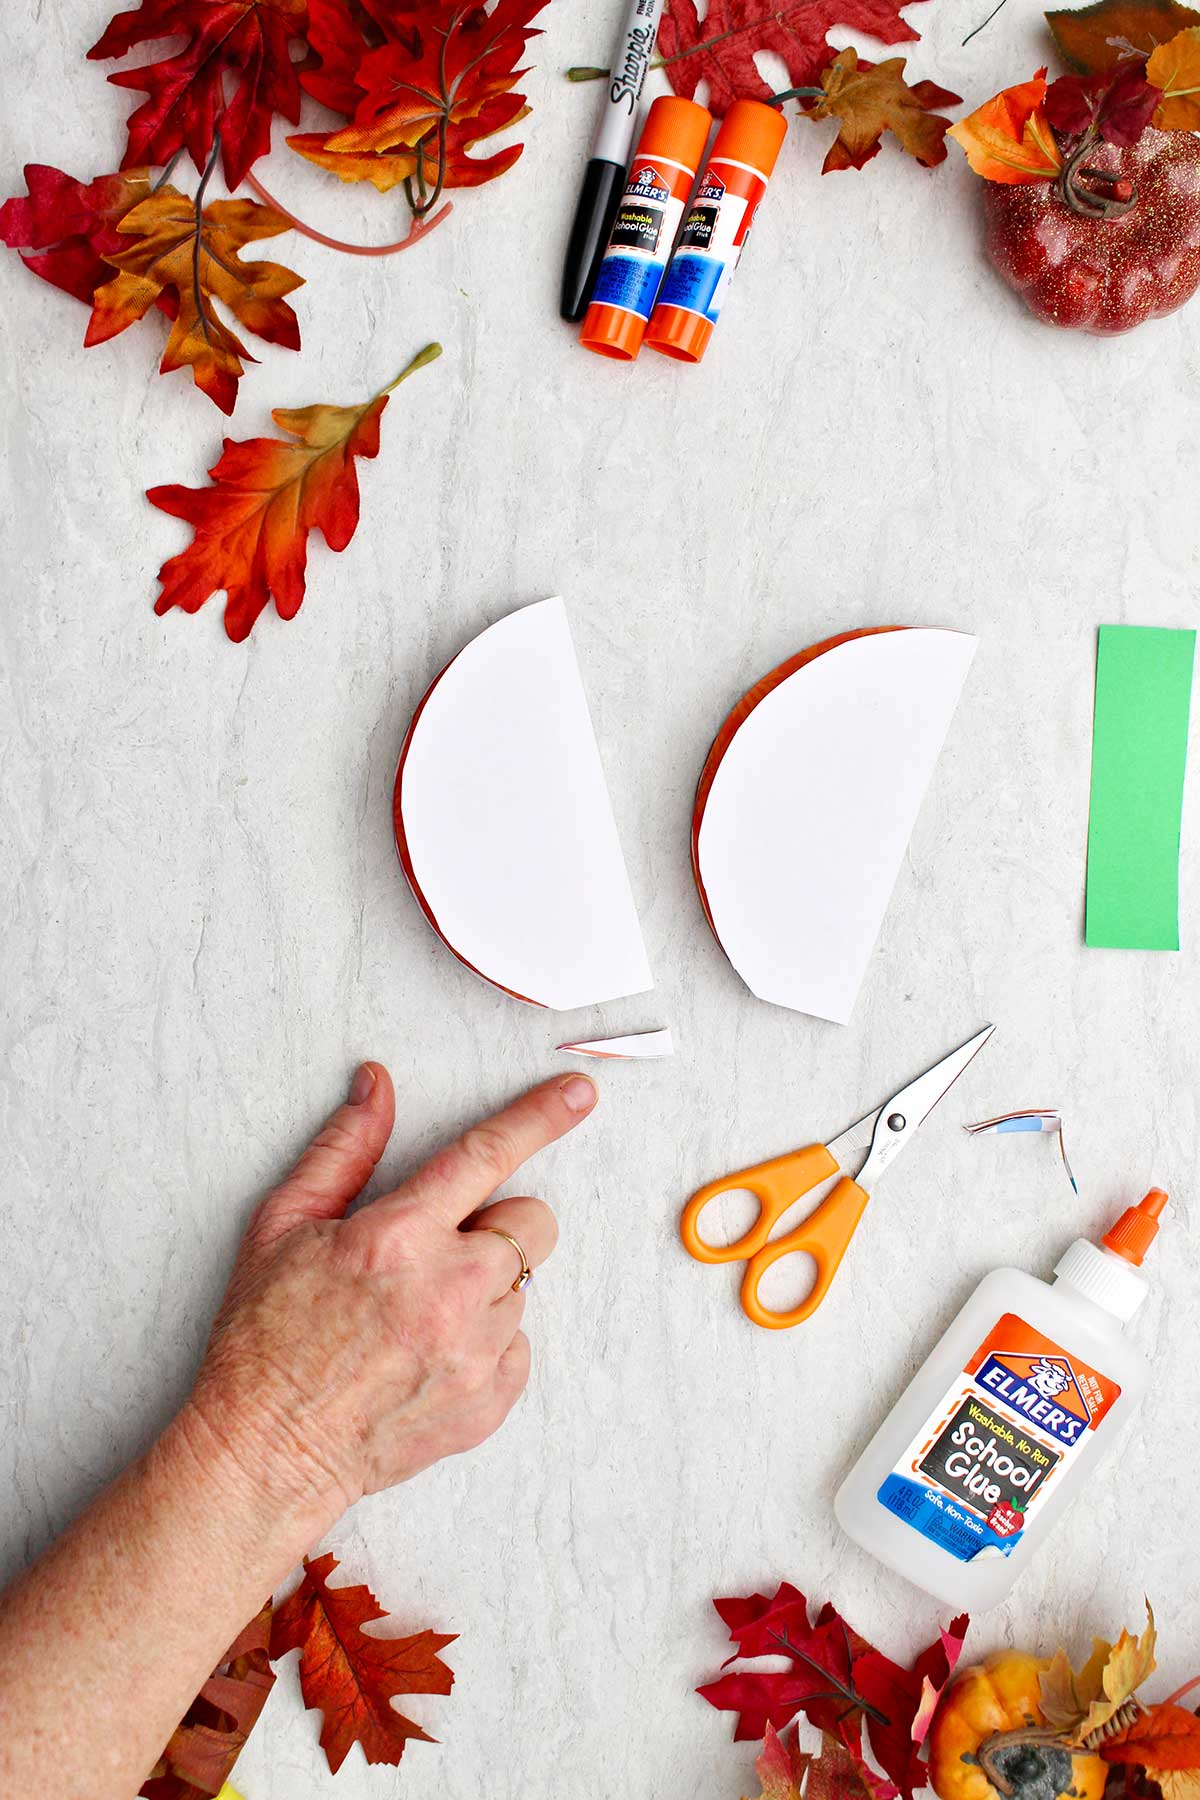
Step 5: Fold the circles in half with the pattern of the paper to the inside, matching the edges carefully. Use your finger, a pencil or a bone folder to make a nice, crisp fold. They look like tacos!
Glue circles together
Step 6: Lay the circles in a line in the pattern you would like for the finished project. For this project we will call the circles #1-#8 in the order you set them out.
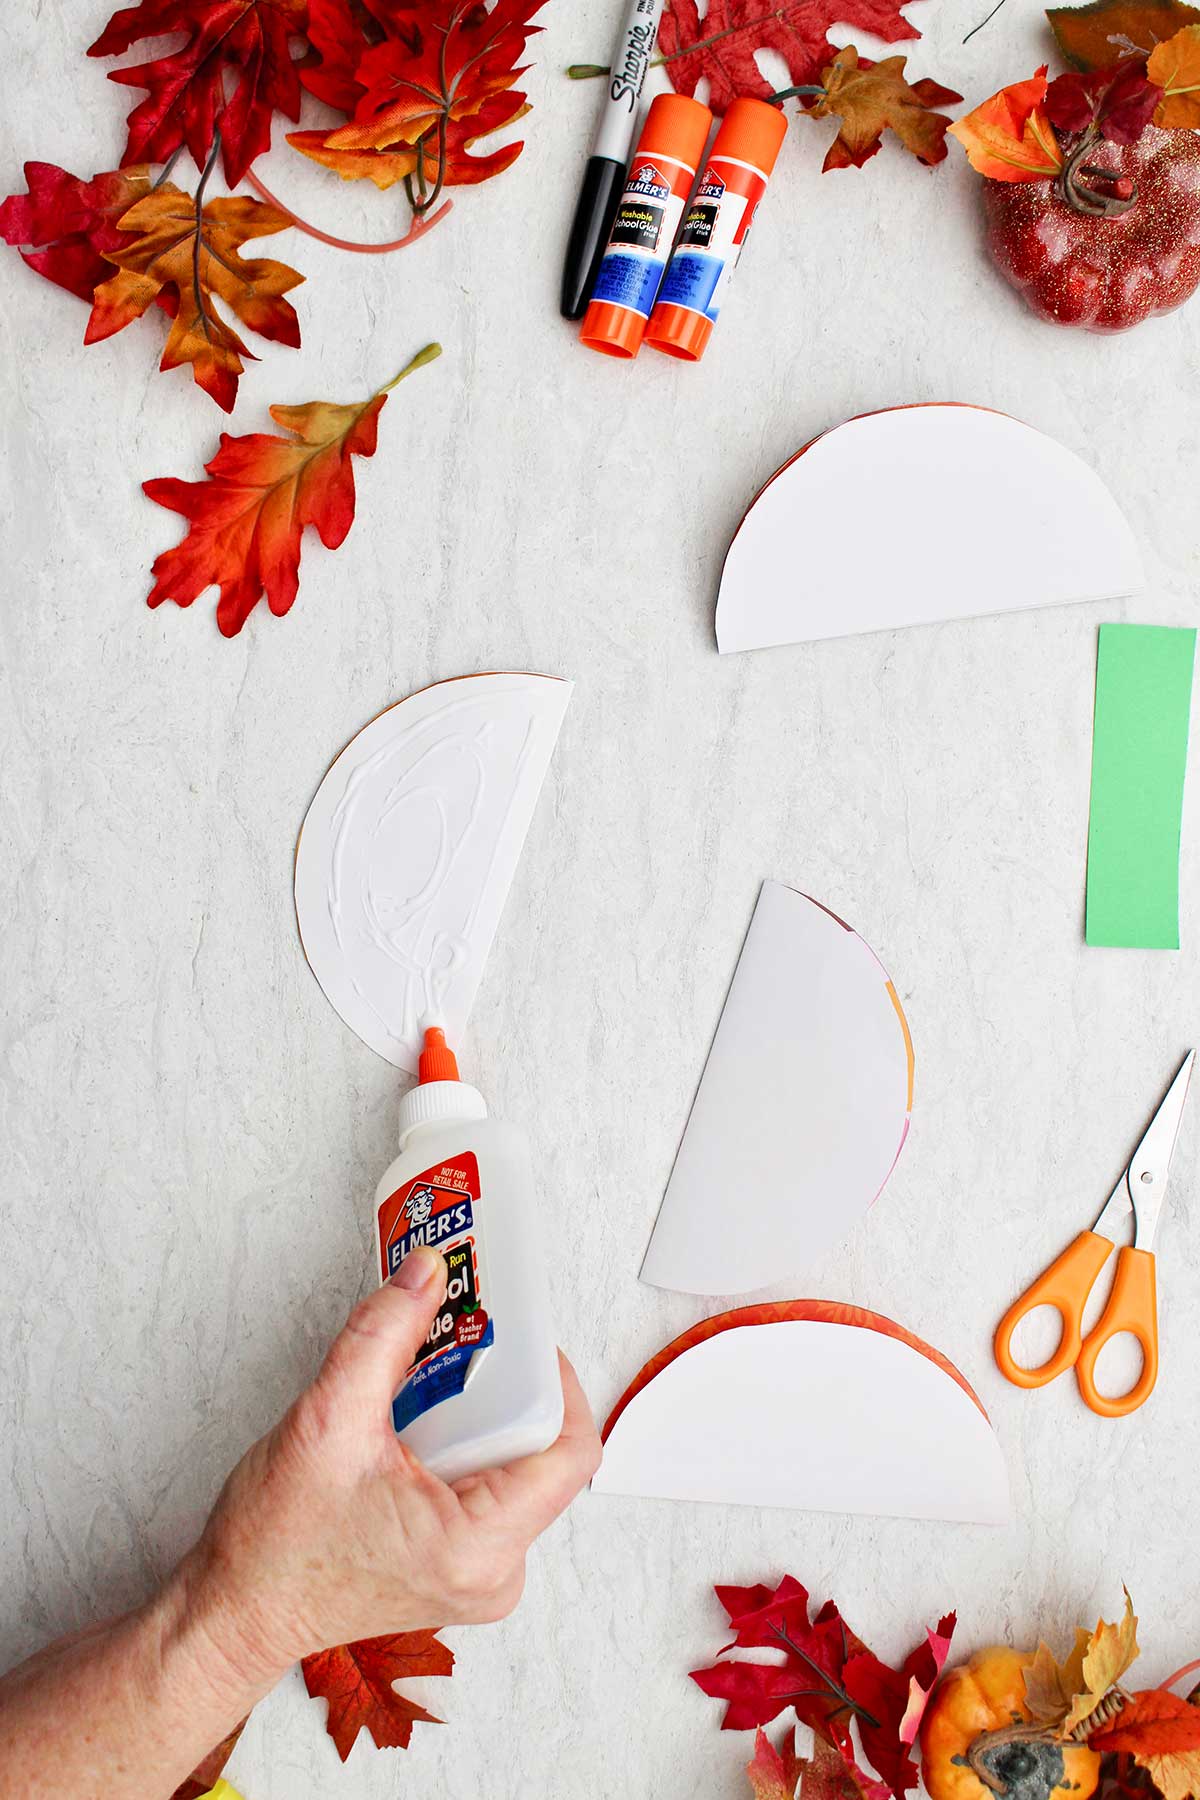
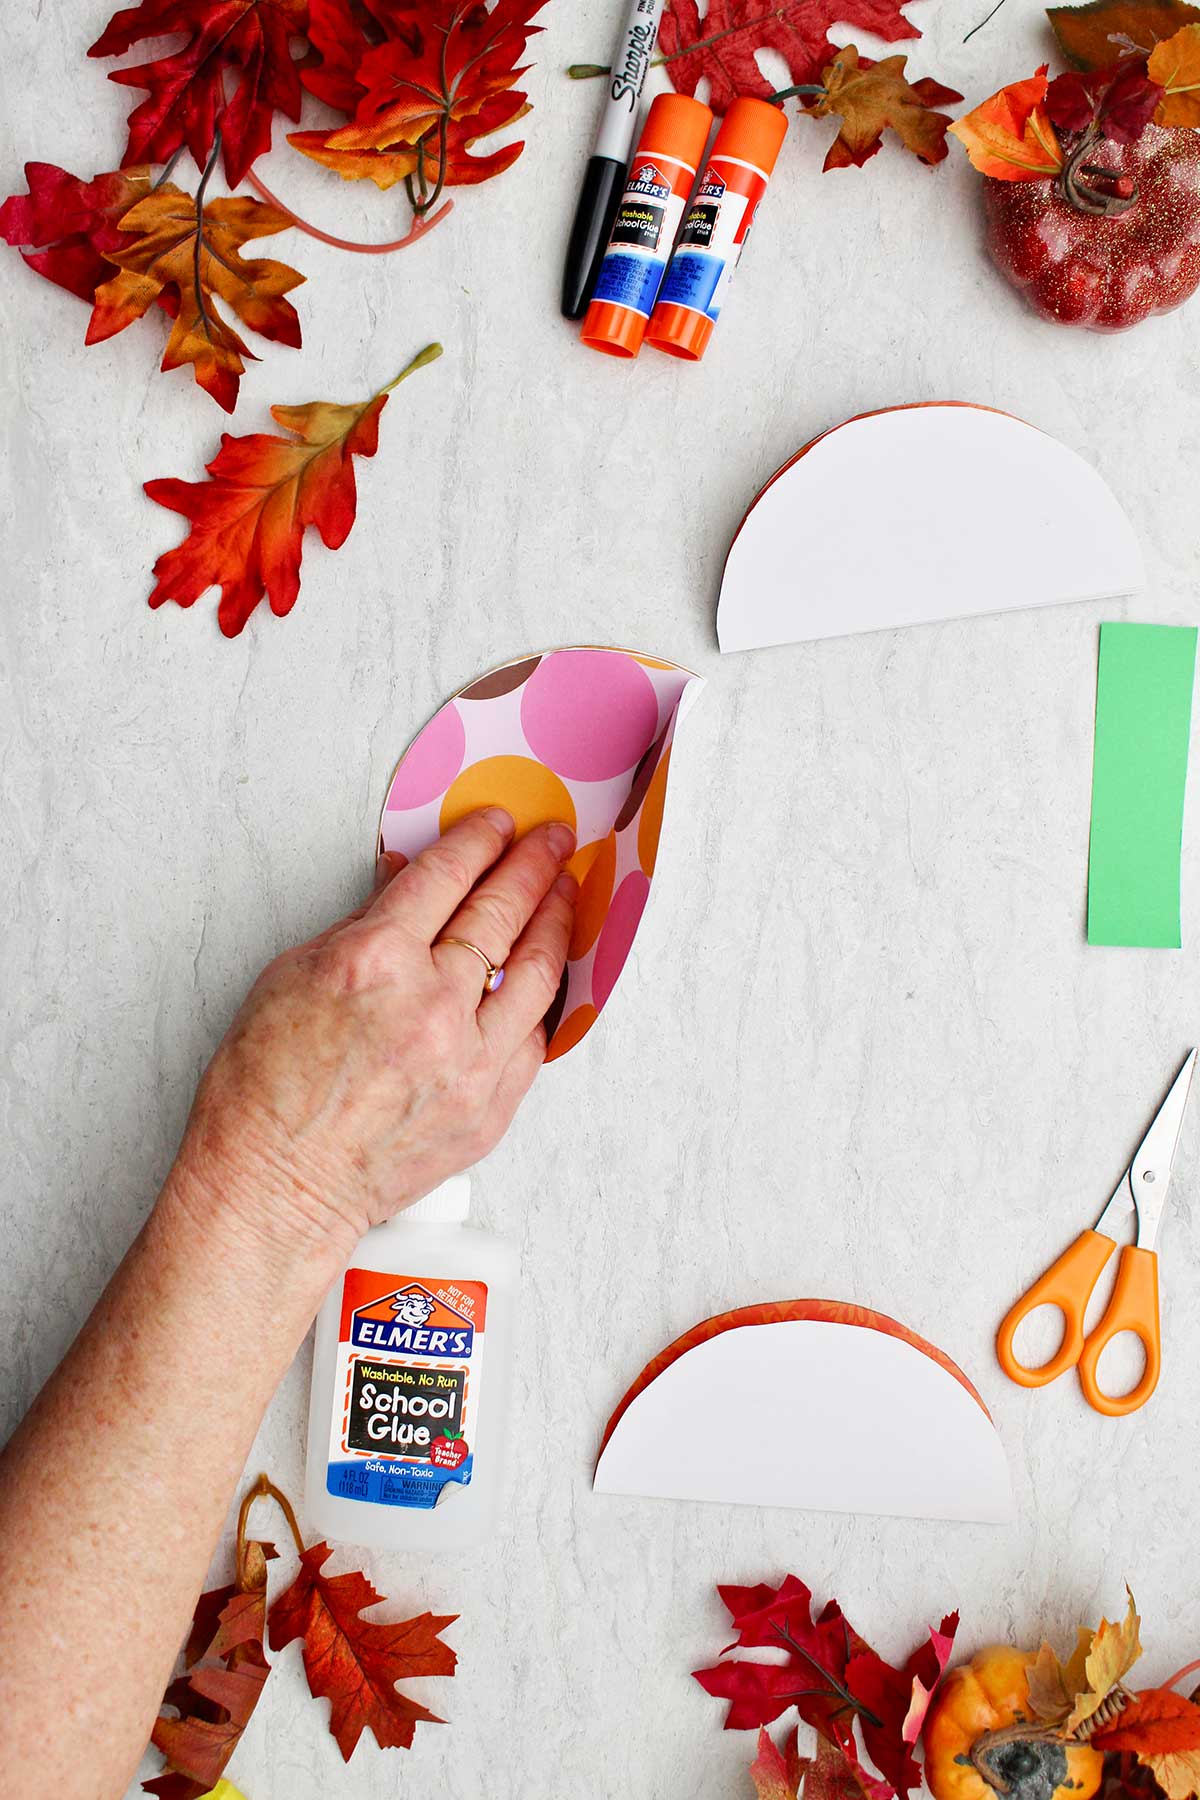
Step 7: Take the first circle and lay it in front of you with the straight edge to the right.
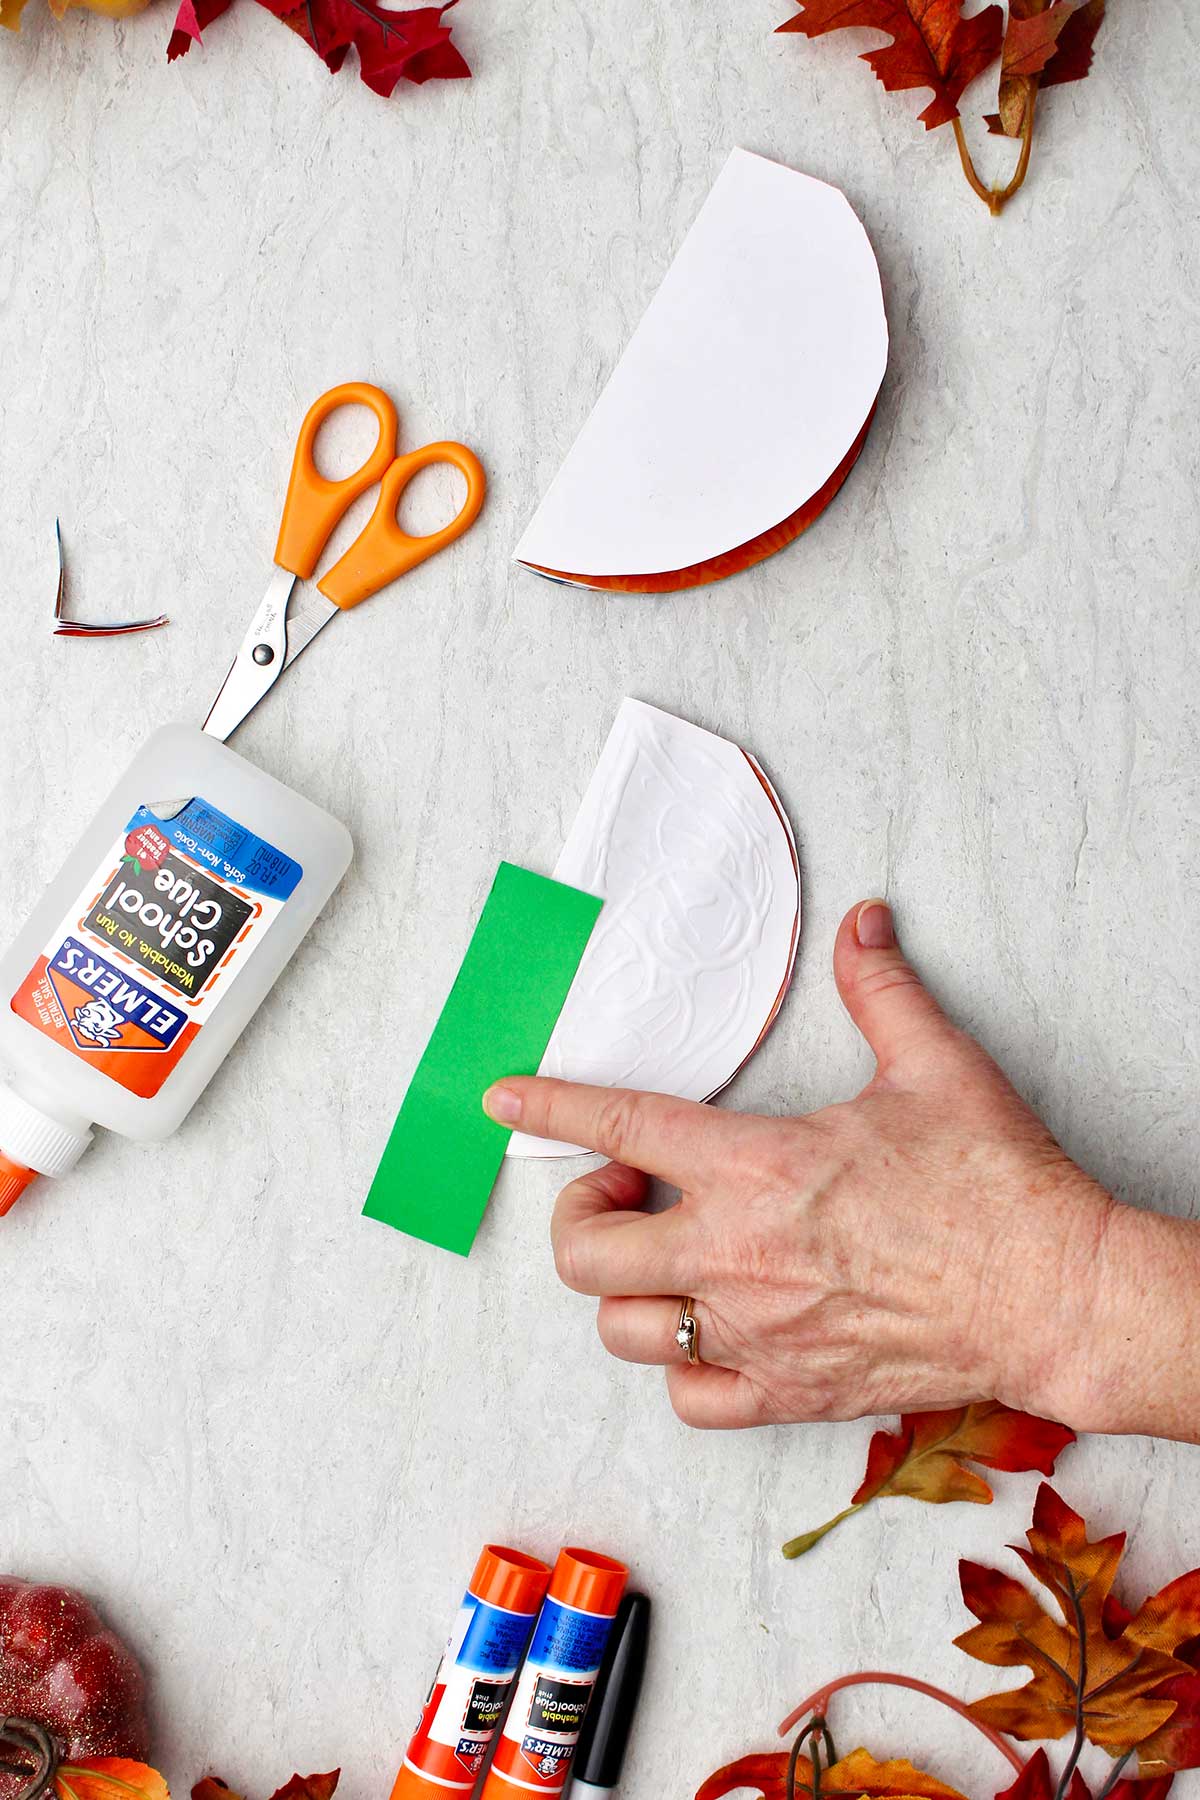
Place glue on the outside of this folded half-circle (one side), covering the whole surface.
Lay the second folded circle on top of the first, carefully matching the straight folded edges first and curved edges. Press the sections down for a few seconds so they are well glued together.
Repeat this process with circle #3 and #4.
Step 8: Cut a stem from green paper (or color of choice) that is about ½ x 2 inches in size for the small pumpkin, ¾ x 2 inches for the medium pumpkin, and 1 x 2 inches for the large pumpkin.
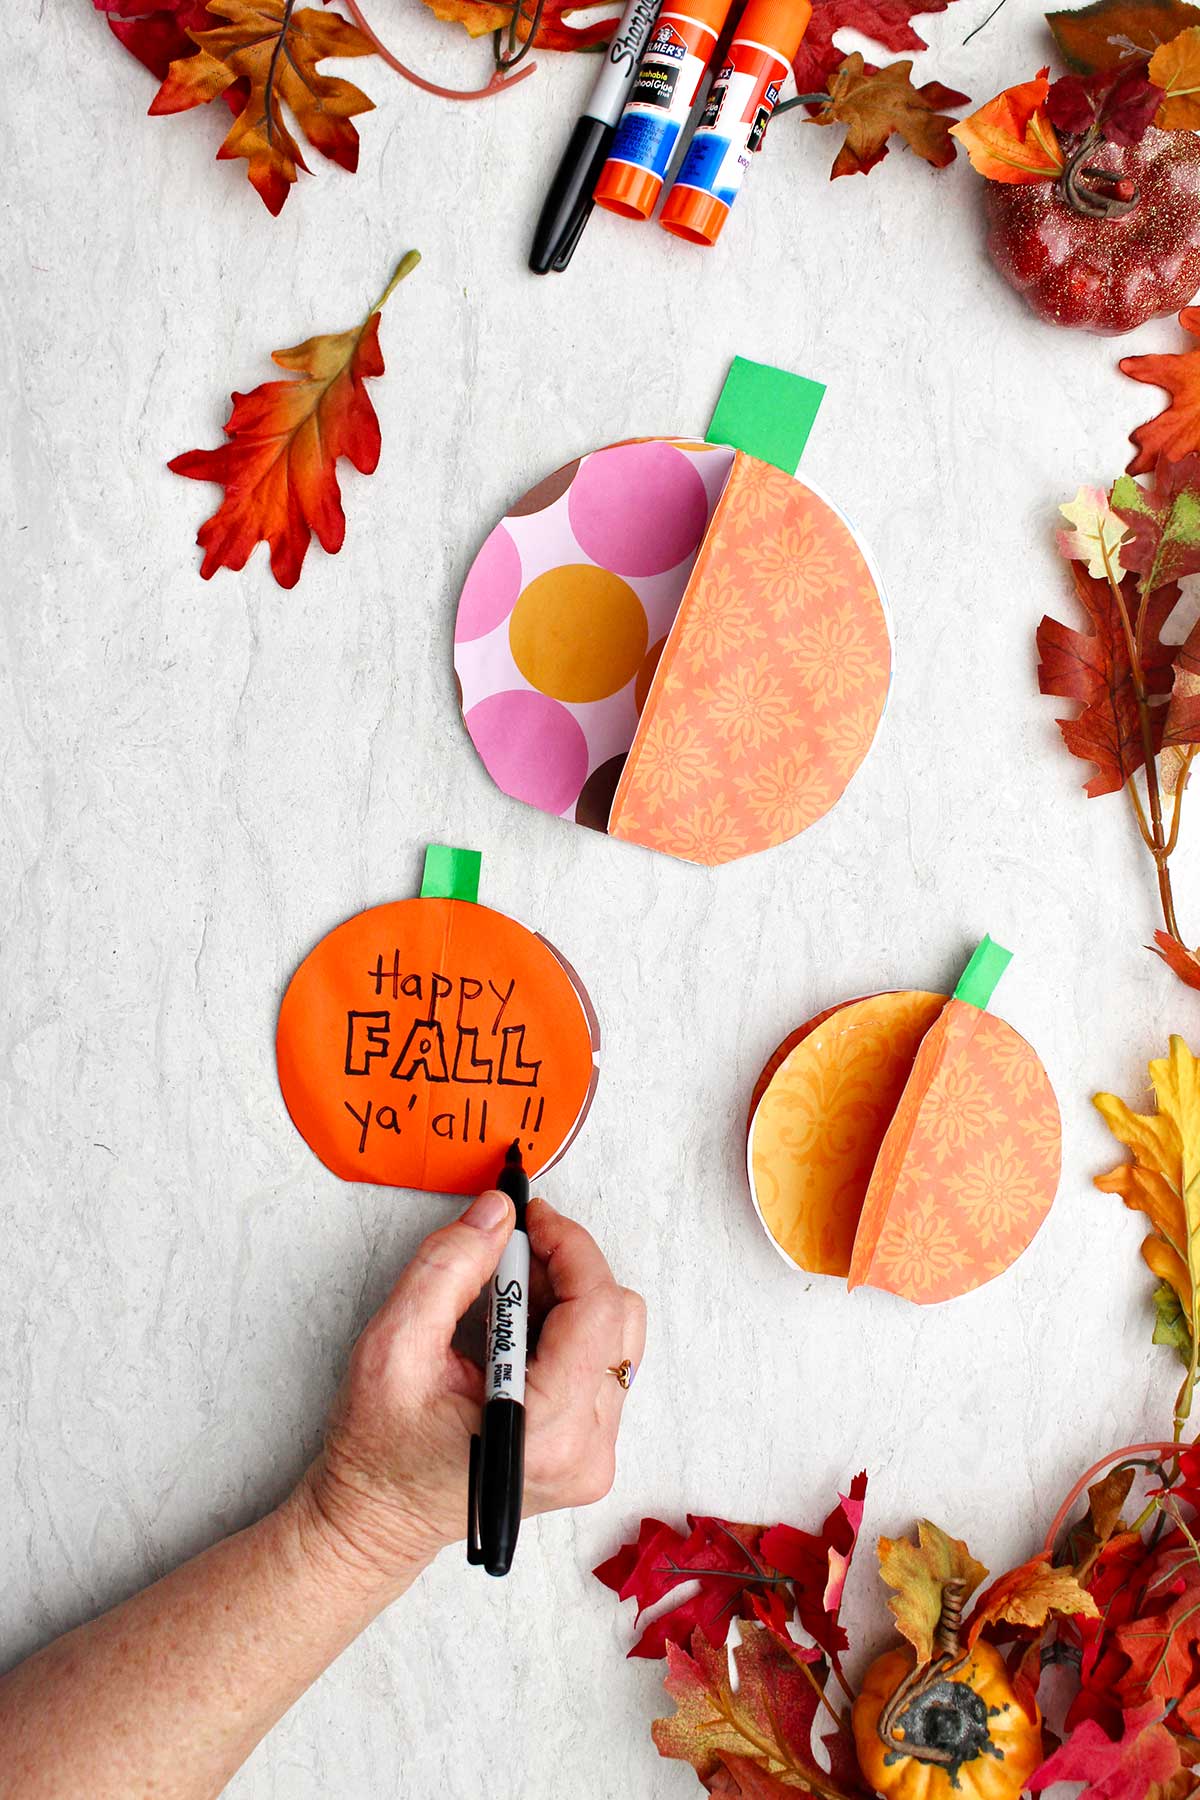
Glue the stem to circle #4 so that it is sticking up above the pumpkin by about an inch and the rest is half way on and half way off the straight edge. See the reference photo to make this clear.
Step 9: Continue to glue circles #5,6,7, and 8, one on top of the next as done before.
Bring the unglued part of circle #1 around to the unglued section of circle #8 and glue them together, matching the edges as closely as possible.
Let this dry for 15 minutes or so depending on what glue you use (it takes longer if using liquid glue). Then open the circle papers out flat so they are about the same amount of paper on each side and the stem is at the top.
Finishing touches to your paper pumpkin
Step 10: Cut off about a ¼ inch sliver along the bottom edge of the pumpkin (horizontal to the fold) so that the pumpkin is flat on the bottom and will stand up. You’ll only cut off a little right now, you can cut off more later if needed but you can’t put it back on!
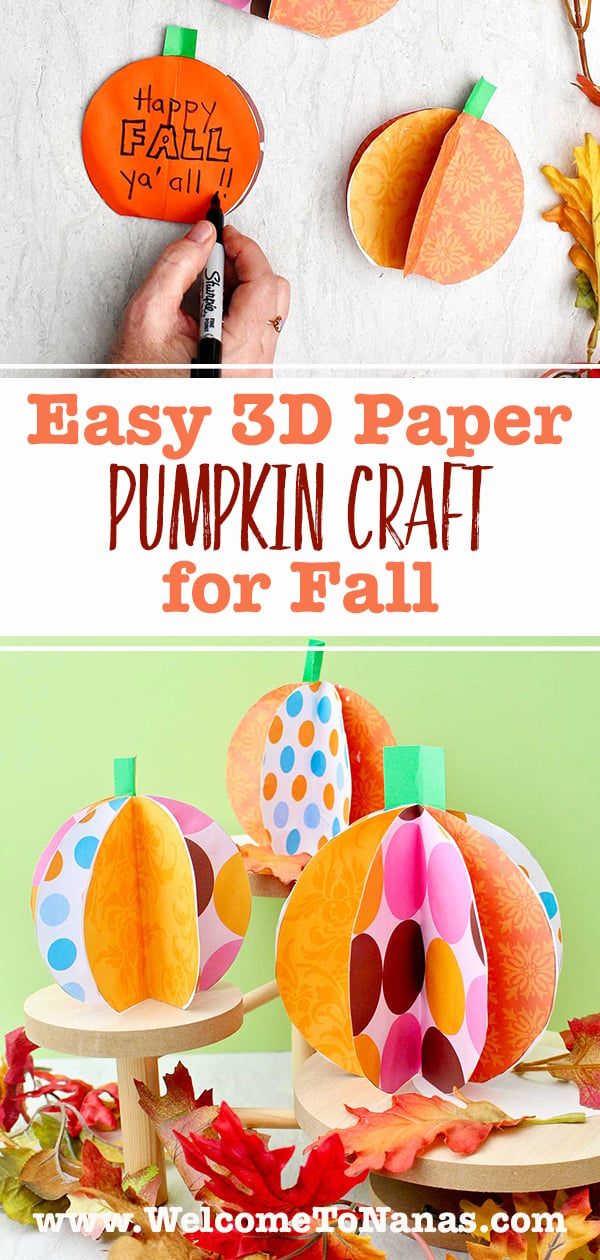
Step 11: (optional) Write on one of the circles if desiring a message or name on the pumpkin. You can use my message if you want- “Happy FALL y’all!
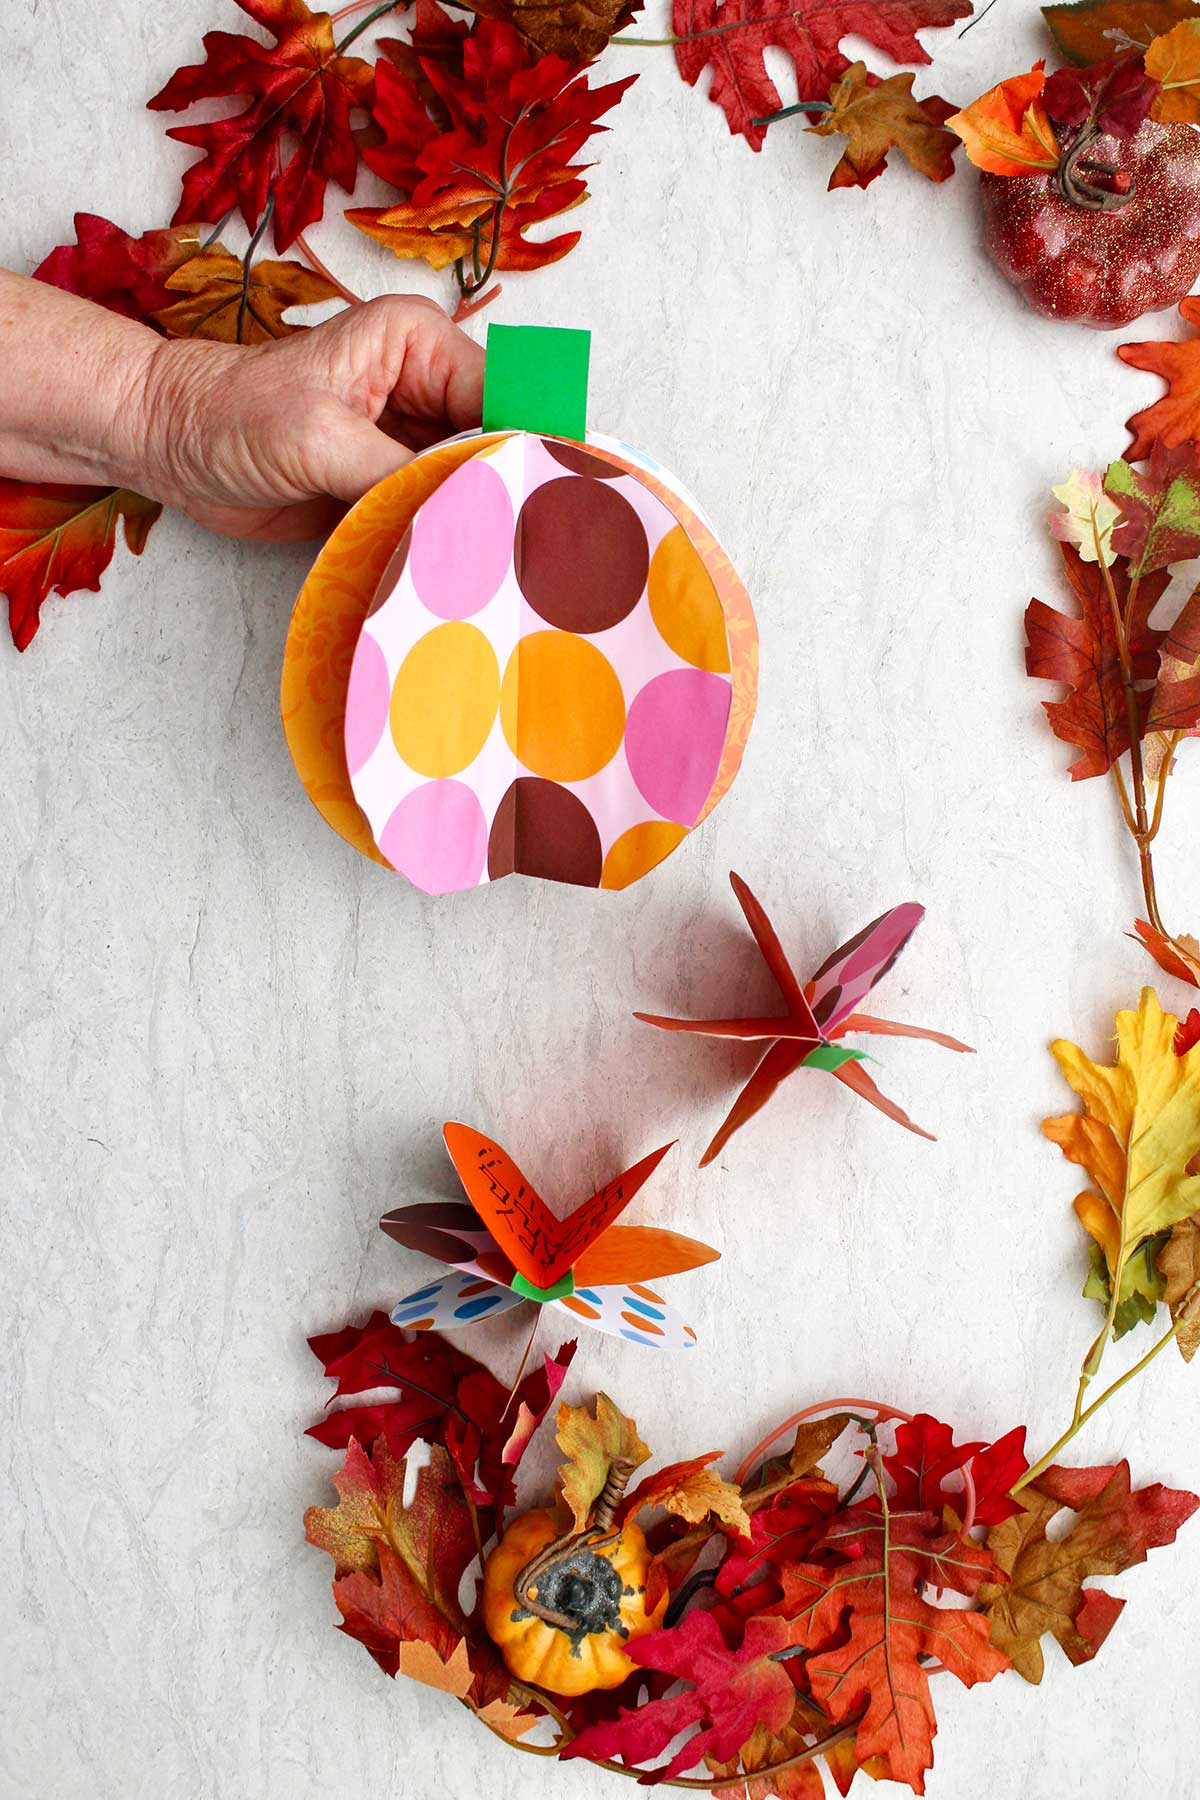
Step 12: Fan out the 8 circles so that you have a 3D pumpkin. Set it up on the flat edge. Cut more off the bottom if needed for it to stand up well. Great joy- repeat and make more 3D paper pumpkins! Make a whole pumpkin family!!
Craft Tips paper pumpkin 3D
These tips can help make a paper pumpkin 3D even easier!
- Copy the pattern onto cardstock if you will be making several so it doesn’t tear or wear out.
- If you don’t want to copy the pattern, you can draw around a glass or bowl.
- This is a great way to use up scraps of paper from other projects.
- If your scrapbook paper has a one-way design, fold it in half so that the top of the paper is at the top of the fold. Remember to glue the circles together so the top of the paper is at the top as well.
- The school glue made the paper wet and it curled a bit as it dried.
- Light weight paper doesn’t work well (like magazine pages).
- For the larger pumpkin it would stand up better if made with cardstock paper.
- For younger children it is always important to have adult supervision when using scissors.
Craft Variations- 3D paper pumpkin craft
Here are a few variations you’re welcome to try with this paper pumpkin craft:
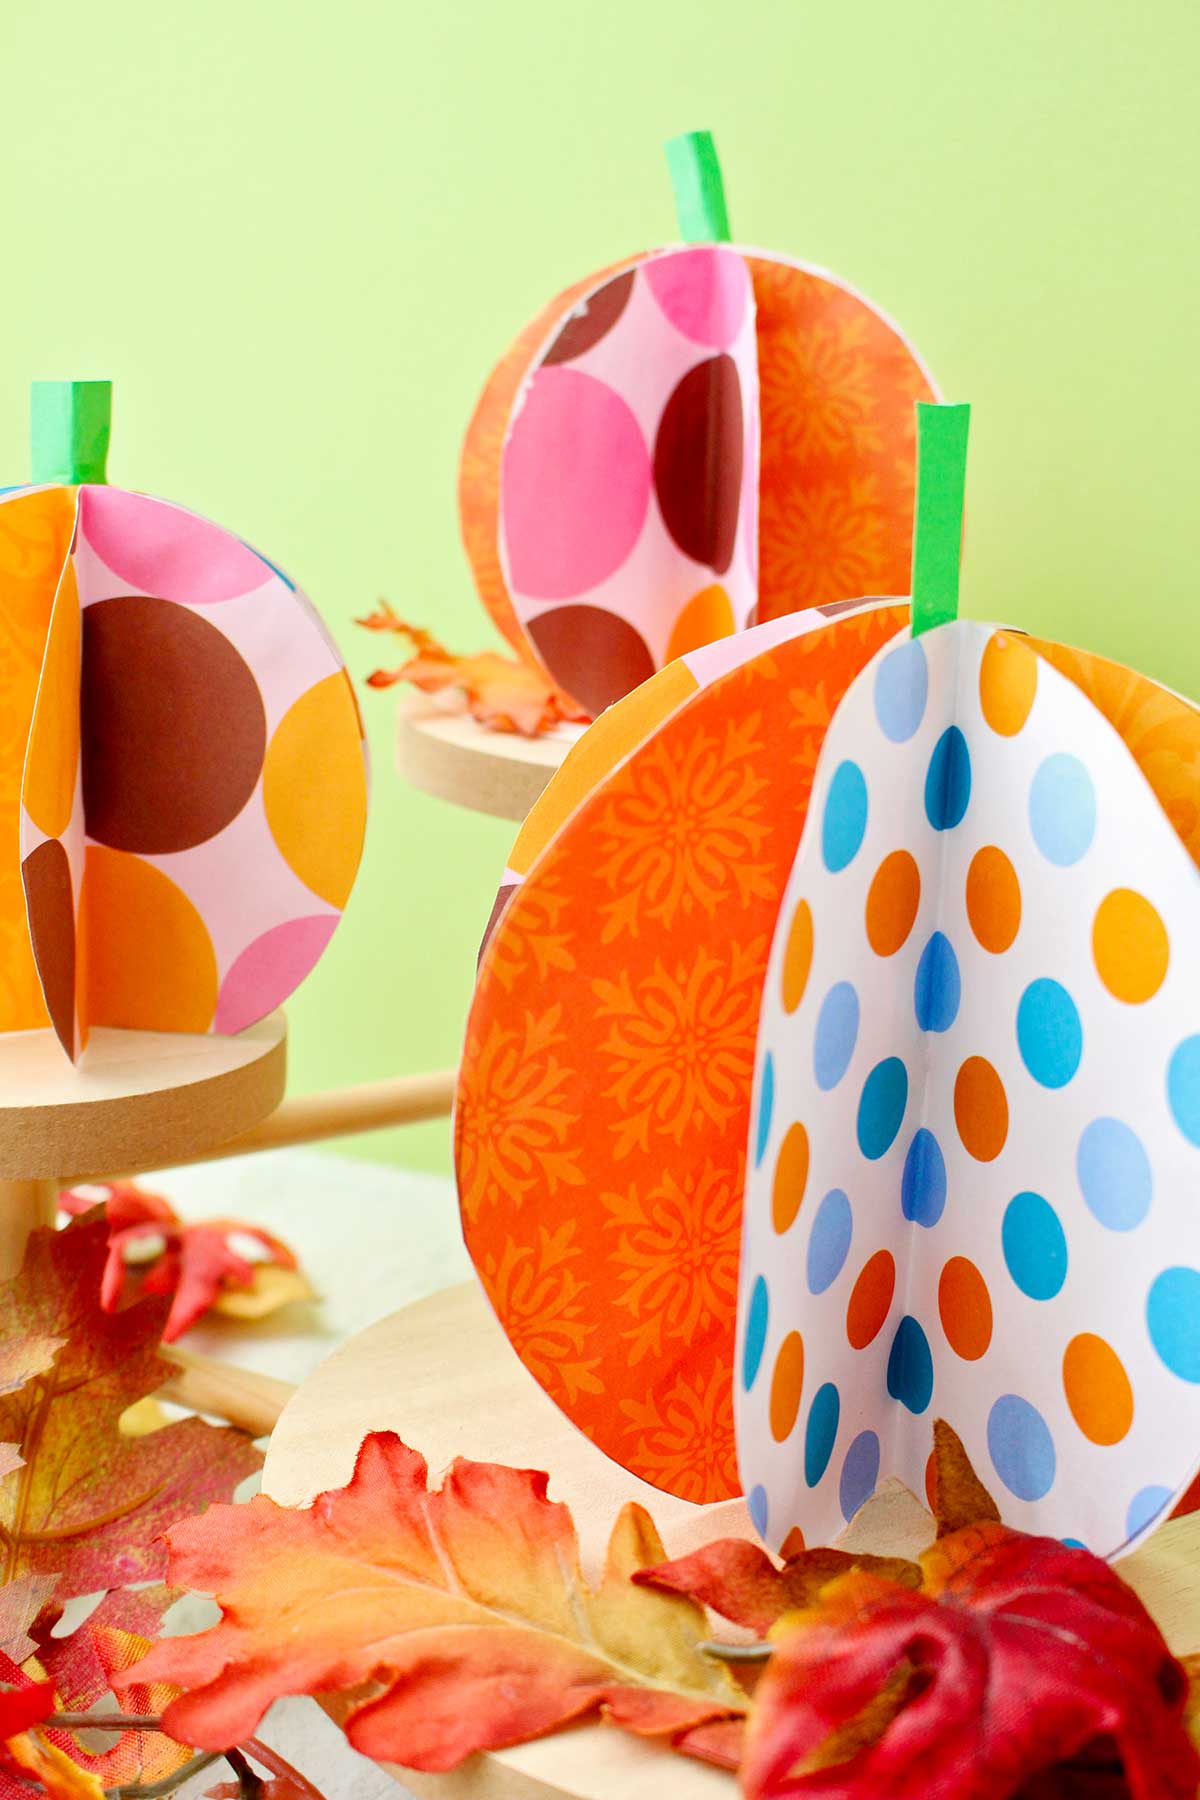
- Make your pumpkin with only one paper for a different look.
- Use fall colors (red, orange, green, brown, yellow)
- Use solid and patterned papers
- Recycle old cards, calendars, kid’s artwork, or photos as the paper for your pumpkins
- Use more paper circles to make your larger pumpkins- 10, 12, or 14. This makes it fuller and stand up better.
- Draw around a smaller circular item for extra small pumpkins. It would look cute in a play kitchen.
- Make a variety of pumpkin sizes for your table centerpiece
- Glue a short green spiral pipe cleaner and/or a leaf onto the stem area to look like a vine.
FAQ DIY pumpkin paper craft
It works best to make the smaller 3D paper pumpkins from scrapbook paper and the larger one from cardstock paper. Avoid using lightweight paper like magazine pages or newspaper unless mounted on cardstock paper.
You bet! Cardstock paper works well, especially for the larger pumpkins.
I used eight circles in the medium sized pumpkin. I would use that many or more to keep the pumpkin looking full. Even more (10,12,14) make the pumpkin look fuller.
We had better results when using gluesticks. The liquid school glue held the paper pieces together well but they tended to curl as they dried. I could straighten the paper somewhat but not completely.
More DIY PUMPKIN Crafts for Kids
Looking for more easy fall pumpkin crafts to try while creating together? Here are a few of our kid friendly favorites:
- How to Make a Paper Strip Pumpkin Craft
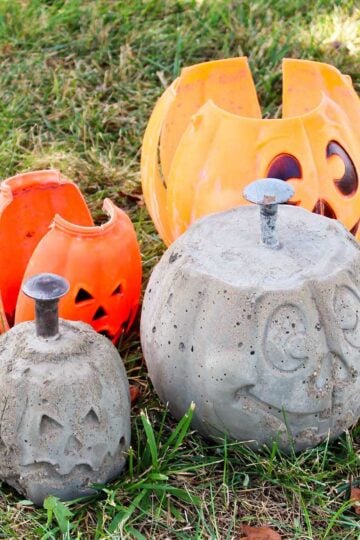
- Concrete Pumpkin DIY for Fall
- DIY Sweater Covered Pumpkin
- Apple Stamp Pumpkins
- Mini Halloween Painted Pumpkins
Come join the fun at WTN!
I would love to see the pumpkins you make and the papers you chose. Try this craft, leave a comment, rate it, and tag a photo with #WelcometoNanas wherever you post.
More Crafts Please!
Love getting crafts straight to your inbox? Sign up to receive a weekly email and get a free gift!
Easy 3D Paper Pumpkin Craft for Fall
Items Required
- Free Pattern- at this link: The 3D Paper Pumpkin Free Pattern
- Scrapbook Paper in colors/patterns of your choice
- Green paper- Green paper for a stem
- Pencil-
- Glue- glue sticks or school glue
- Scissors
- Black permanent marker- (optional)
- Ruler- (optional)
- Bone folder- (optional)
- Cardstock paper- (optional)
Instructions
- Choose the scrapbook papers that you want to use for your pumpkin. You can use 1, 2, 4, or 8 different papers.
- Download and print the 3-D Paper Pumpkin Free Pattern at 100% the actual size. Carefully cut out the pattern circles in the size you would like to make (there are three sizes to choose from)
- Use the pattern to trace 8 circles on the papers you have chosen. I used 4 different papers and cut two of each pattern.
- Cut out the 8 paper pumpkin circles. Cut carefully on the lines so they will match well when glued together.
- Fold the circles in half with the pattern of the paper to the inside, matching the edges carefully. Use your finger, a pencil or a bone folder to make a nice, crisp fold. They look like tacos!
- Lay the circles in a line in the pattern you would like for the finished project. For this project we will call the circles #1-#8 in the order you set them out.
- Take the first circle and lay it in front of you with the straight edge to the right. Place glue on the outside of this folded half-circle (one side), covering the whole surface.Lay the second folded circle on top of the first, carefully matching the straight folded edges first and curved edges. Press the sections down for a few seconds so they are well glued together. Repeat this process with circle #3 and #4.
- Cut a stem from green paper (or color of choice) that is about ½ x 2 inches in size for the small pumpkin, ¾ x 2 inches for the medium pumpkin, and 1 x 2 inches for the large pumpkin.Glue the stem to circle #4 so that it is sticking up above the pumpkin by about an inch and the rest is half way on and half way off the straight edge. See the reference photo to make this clear.
- Continue to glue circles #5,6,7, and 8, one on top of the next as done before.Bring the unglued part of circle #1 around to the unglued section of circle #8 and glue them together, matching the edges as closely as possible.Let this dry for 15 minutes or so depending on what glue you use (it takes longer if using liquid glue). Then open the circle papers out flat so they are about the same amount of paper on each side and the stem is at the top.
- Cut off about a ¼ inch sliver along the bottom edge of the pumpkin (horizontal to the fold) so that the pumpkin is flat on the bottom and will stand up. You’ll only cut off a little right now, you can cut off more later if needed but you can’t put it back on!
- (optional) Write on one of the circles if desiring a message or name on the pumpkin. You can use my message if you want- “Happy FALL y’all!
- Fan out the 8 circles so that you have a 3D pumpkin. Set it up on the flat edge. Cut more off the bottom if needed for it to stand up well. Great joy- repeat and make more 3D paper pumpkins! Make a whole pumpkin family!!
Leave a Reply