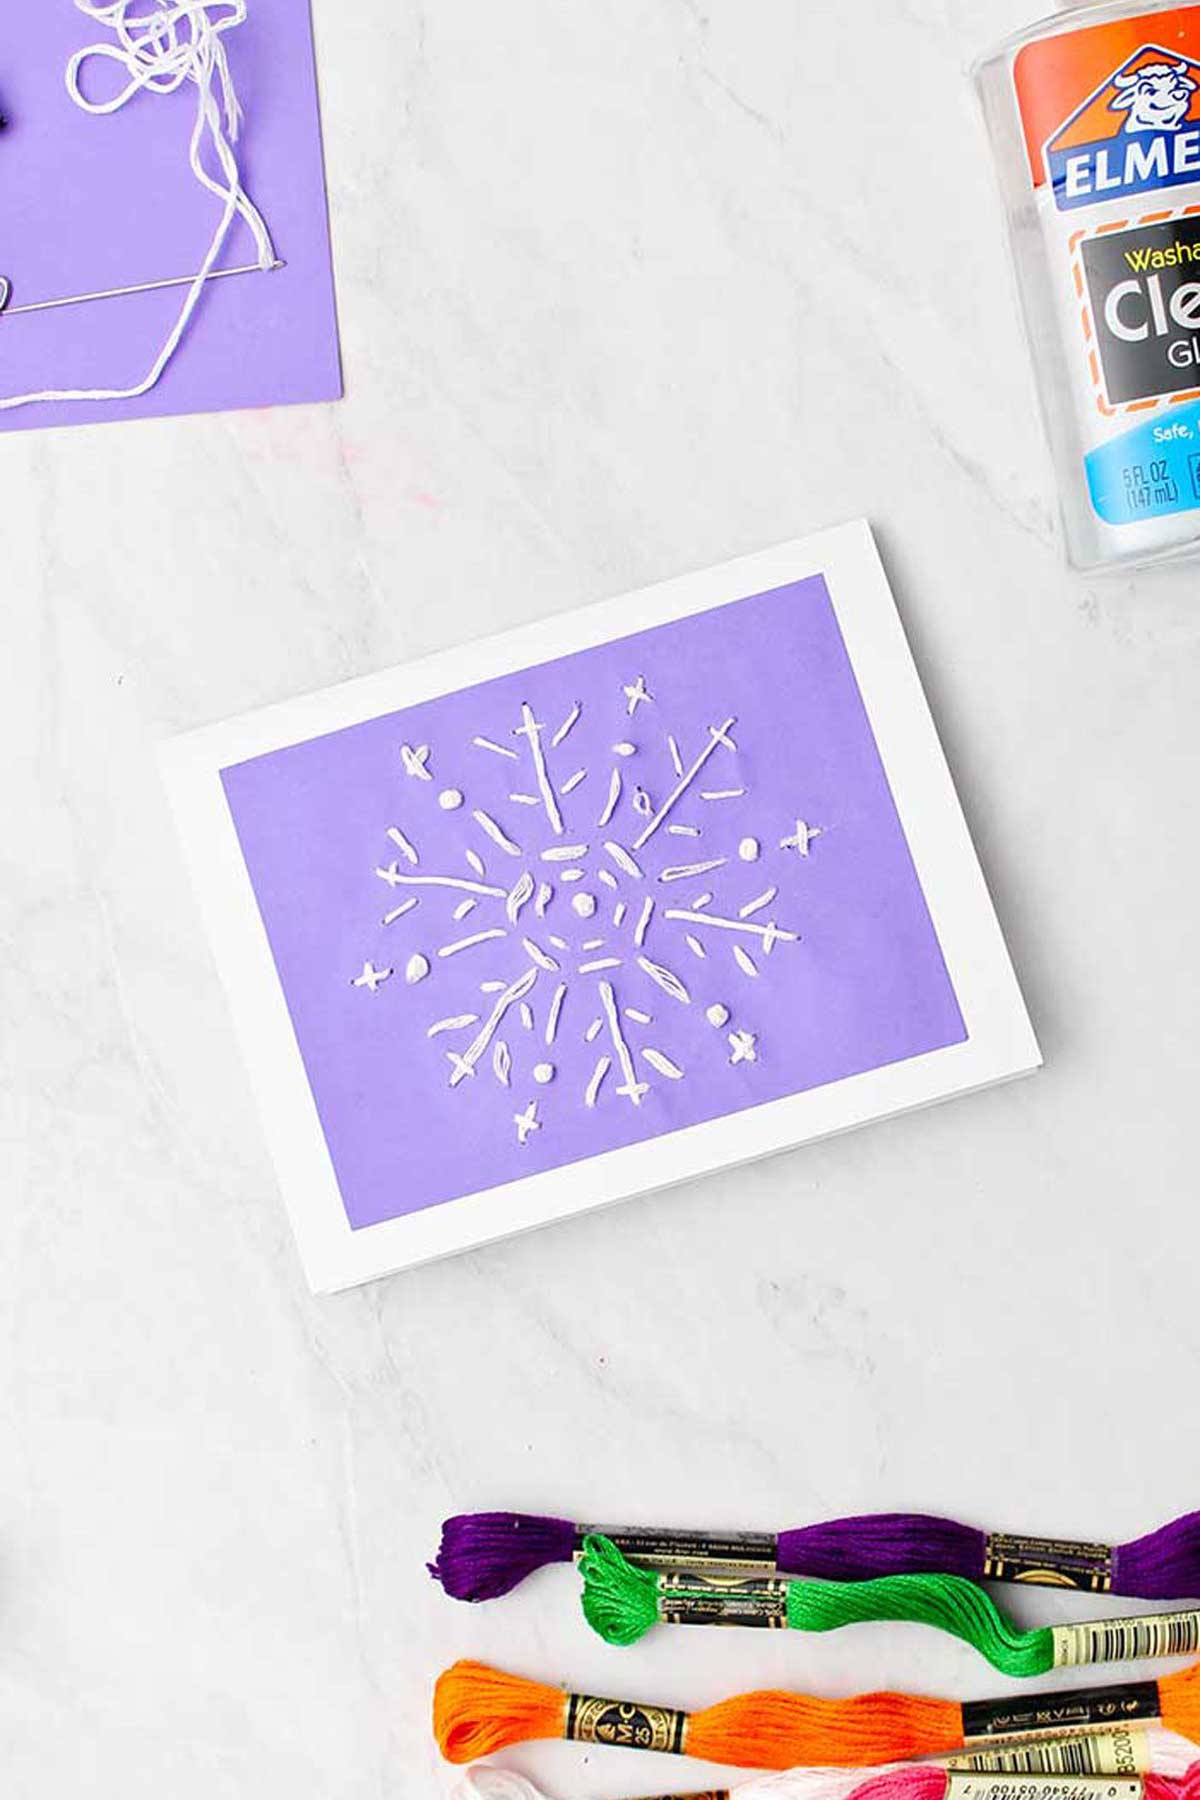
These Hand Embroidered Cards are so much fun to make, and to give away! Learn a few simple hand sewing knots and stitches to make four cute cards from a free printable pattern.
Jump to:
- Memories of Other Hand Embroidered Cards
- A Free Pattern For You!
- Embroidery Card Designs
- How to Embroider a Card
- How do I make a French Knot?
- Just keep stitching...
- Make your own card patterns to embroider!
- Putting together the embroidery greeting cards
- Glue the pieces together
- Embroidered cards, gifted and up-cycled!
- Want more easy sewing craft ideas?
- Enjoy!
- Supplies for DIY Hand Embroidered Cards
- DIY Hand Embroidered Cards
Memories of Other Hand Embroidered Cards
I ran across DIY Hand Embroidered Cards one of my girls stitched years ago when going through some mementos. I should have taken a picture of it. It was the inspiration for this post.
These homemade cards are a fast hand embroidery project to stitch and send to someone you are grateful for this Thanksgiving, Christmas, or any occasion.
This craft is a terrific learn-to-embroider project, and a great way to practice foundational hand embroidery stitches!
A Free Pattern For You!
You can make a special hand-embroidered card from any pattern you can dream up! But to get you and the kids started, I’ve made a Free Pattern for embroidering four different cards- one for each season of the year.
I was thinking that then you could choose one to make and send any time of the year.
It would also make a wonderful gift to give if you stitched a set of all four. Wouldn’t that be cute tied with a ribbon and tucked into a stocking?
Embroidery Card Designs
Here is a link to that free pattern: DIY Hand Embroidered Cards Free Pattern.
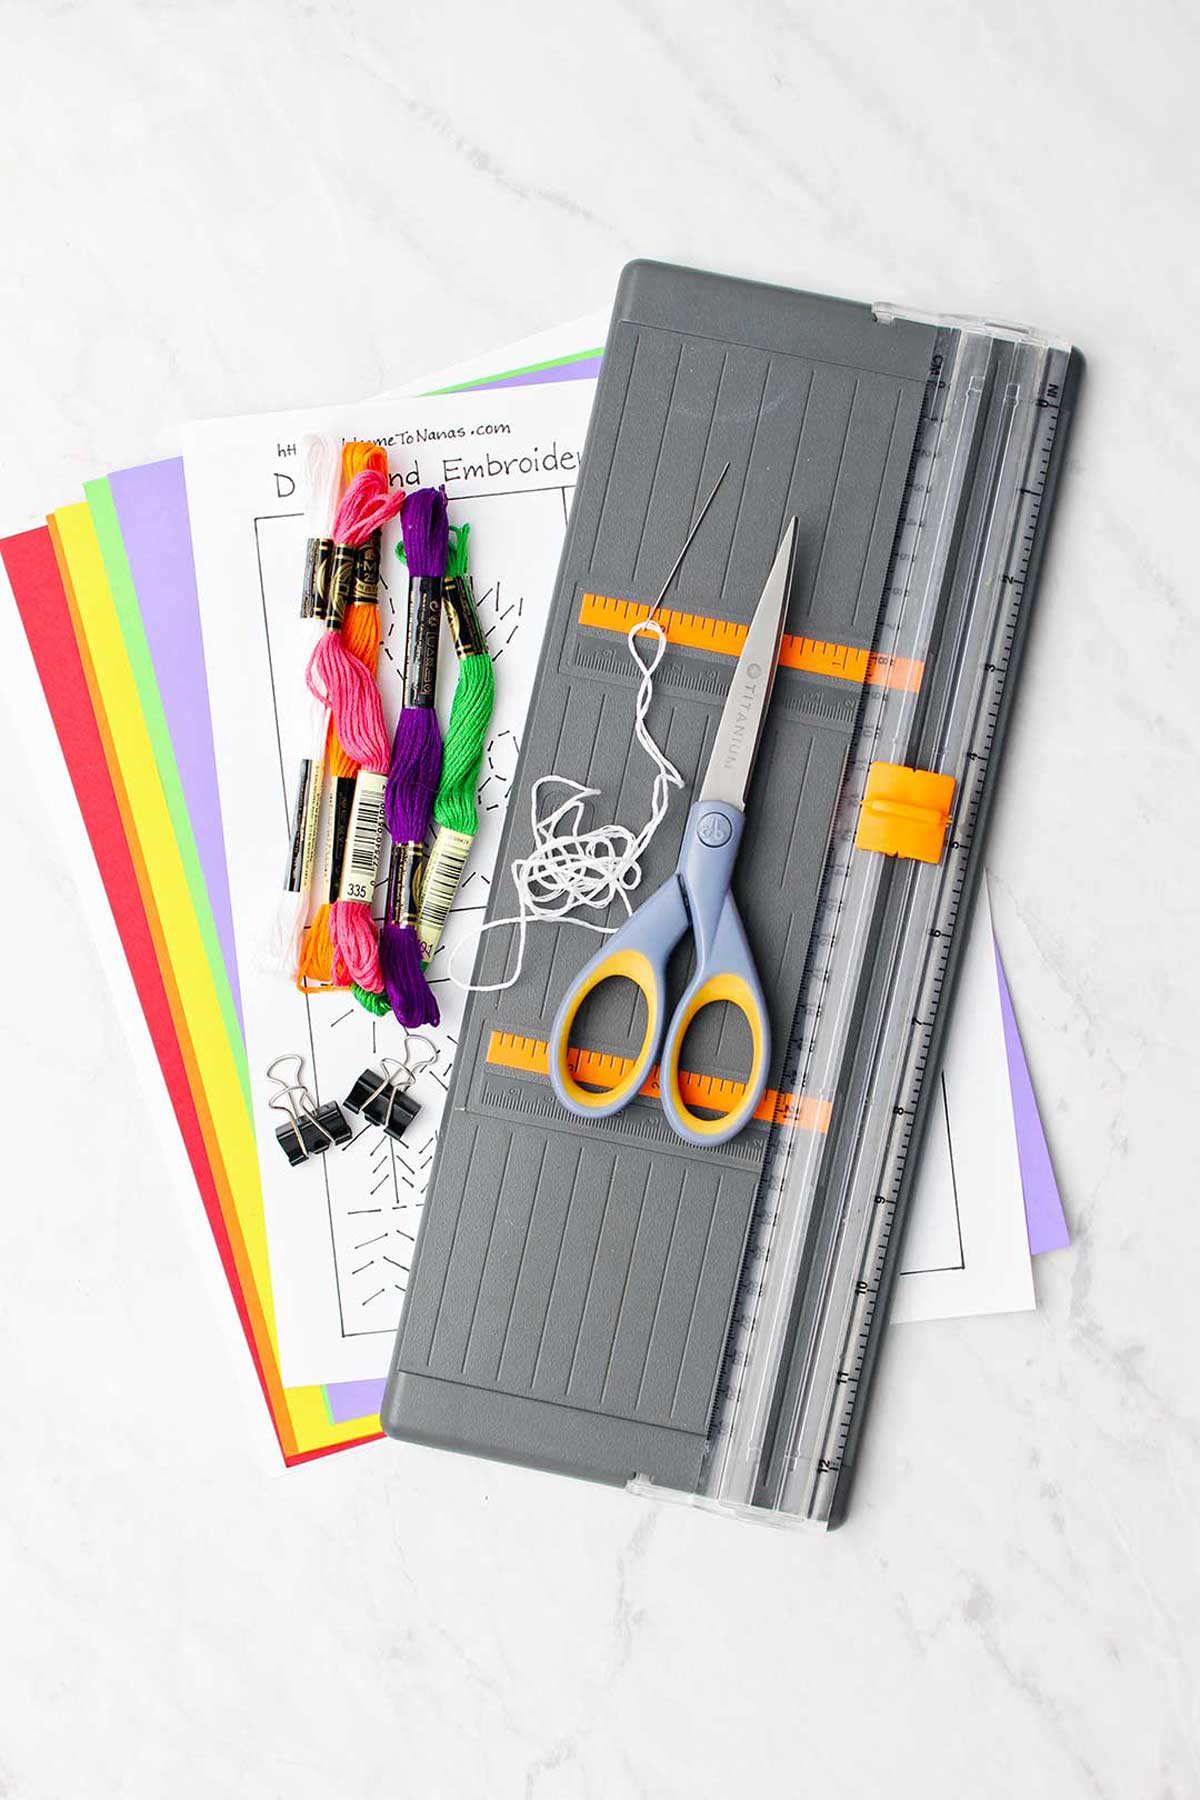
Print off a copy of the free digital pattern and cut it into squares. I recommend that you print the pattern on tracing paper, so it is easier to tear away when you are done.
If you are making your own pattern, you could also try using tissue paper for easy tearing, but it might tear a little too easily as you stitch.
Choose which pattern you would like to make, then choose the color of embroidery floss and the color card stock paper you would like to use for your paper cards.
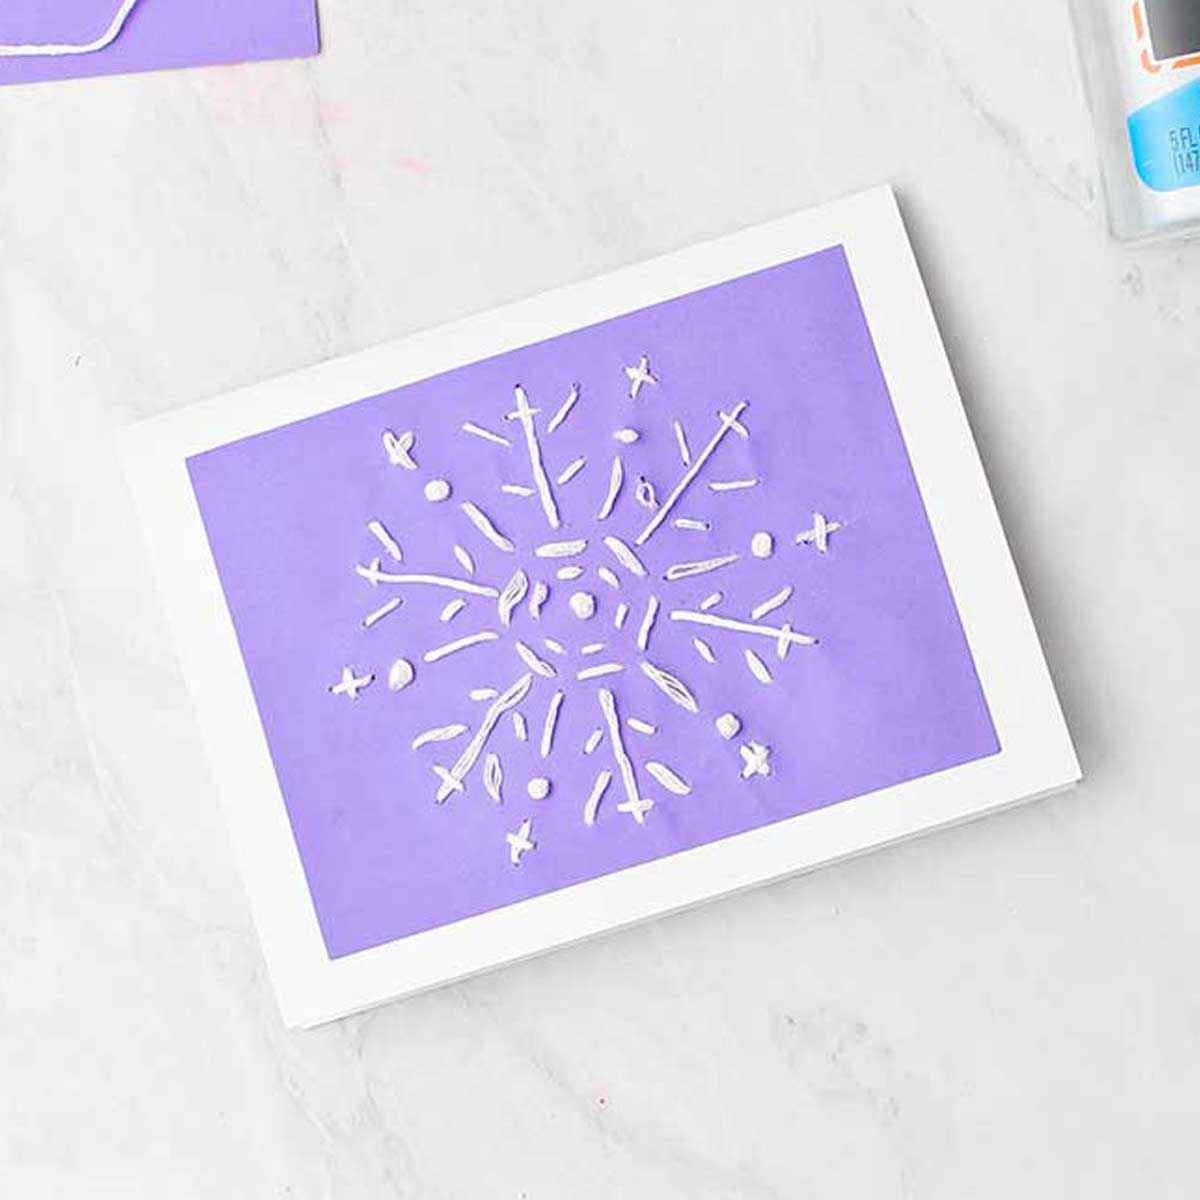
I chose blue paper for the snowflake and white embroidery floss. It would look nice to use more than one color on the mountain scene don’t you think?
I will demonstrate the snowflake card in the video, but read on for a written description and clear instructions!.
How to Embroider a Card
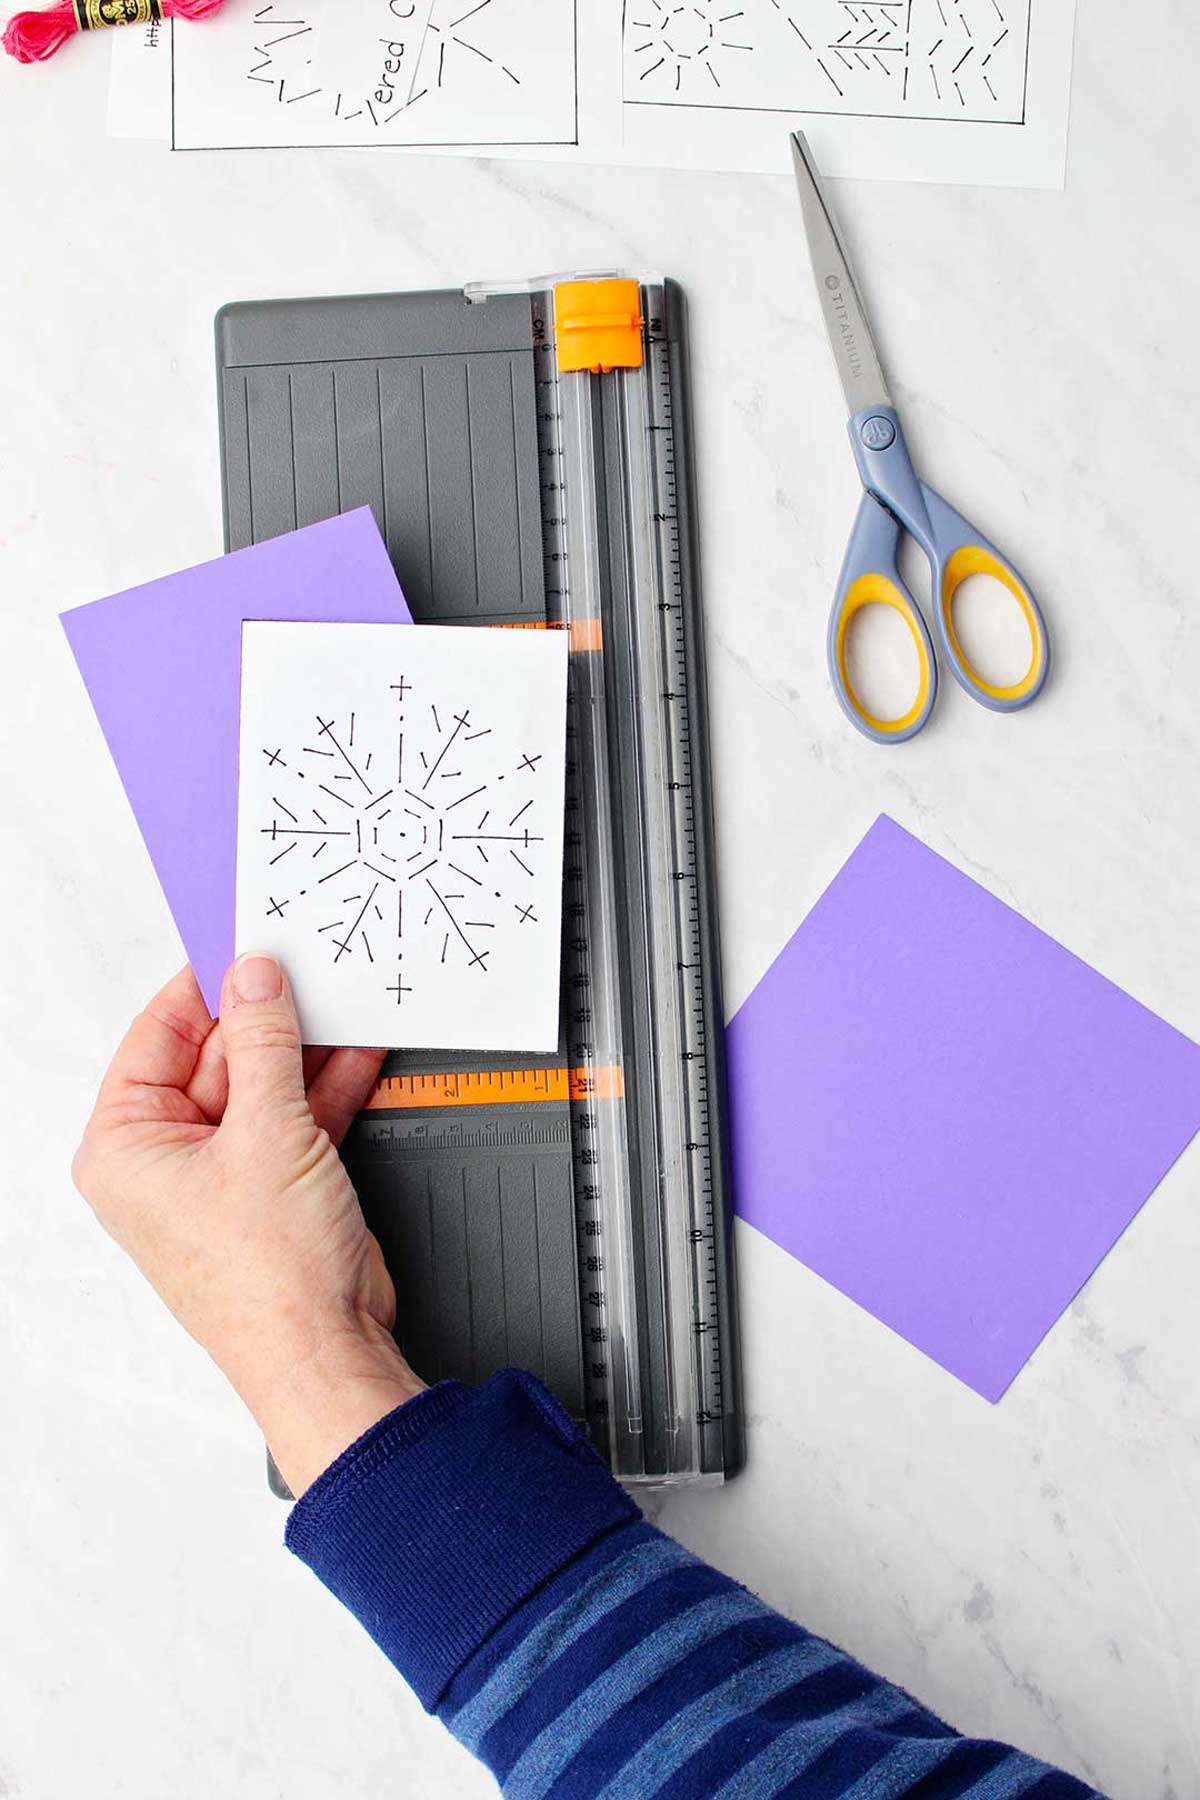
Ready to jump in? Start by cutting the card stock into four equal pieces and paper clip the pattern onto the card stock.
Tip: I used 2 small binder clips, but the floss kept getting caught on it so maybe regular paper clips would work better.
Cut your embroidery floss
Cut a piece of embroidery floss that is about two feet long and thread your needle. Work carefully as you handle the needle.
If you watch the video closely, you will see me poke my finger and keep rubbing it through the video! Dangers of the occupation! Ha!
With smaller children, this may need to bee a collaborative effort with an adult.
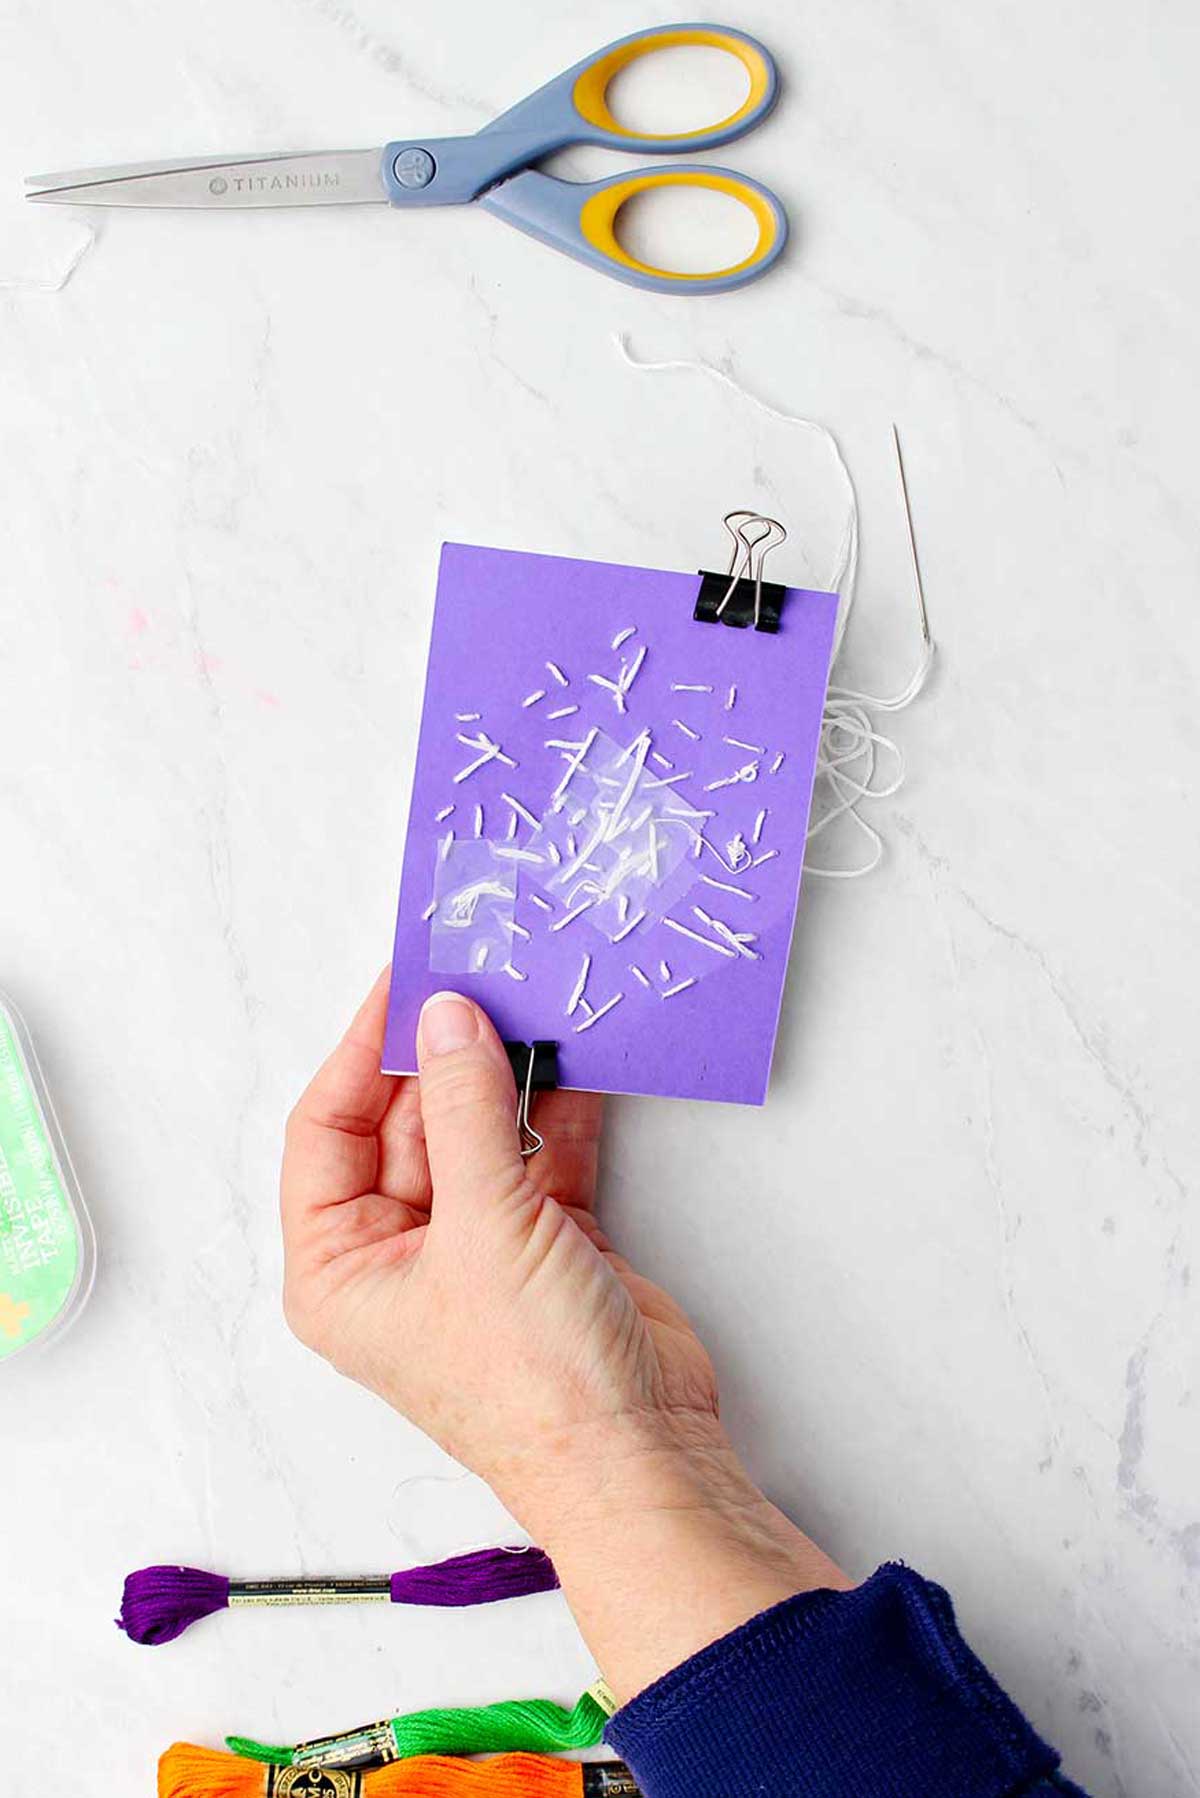
Tape the end to the back
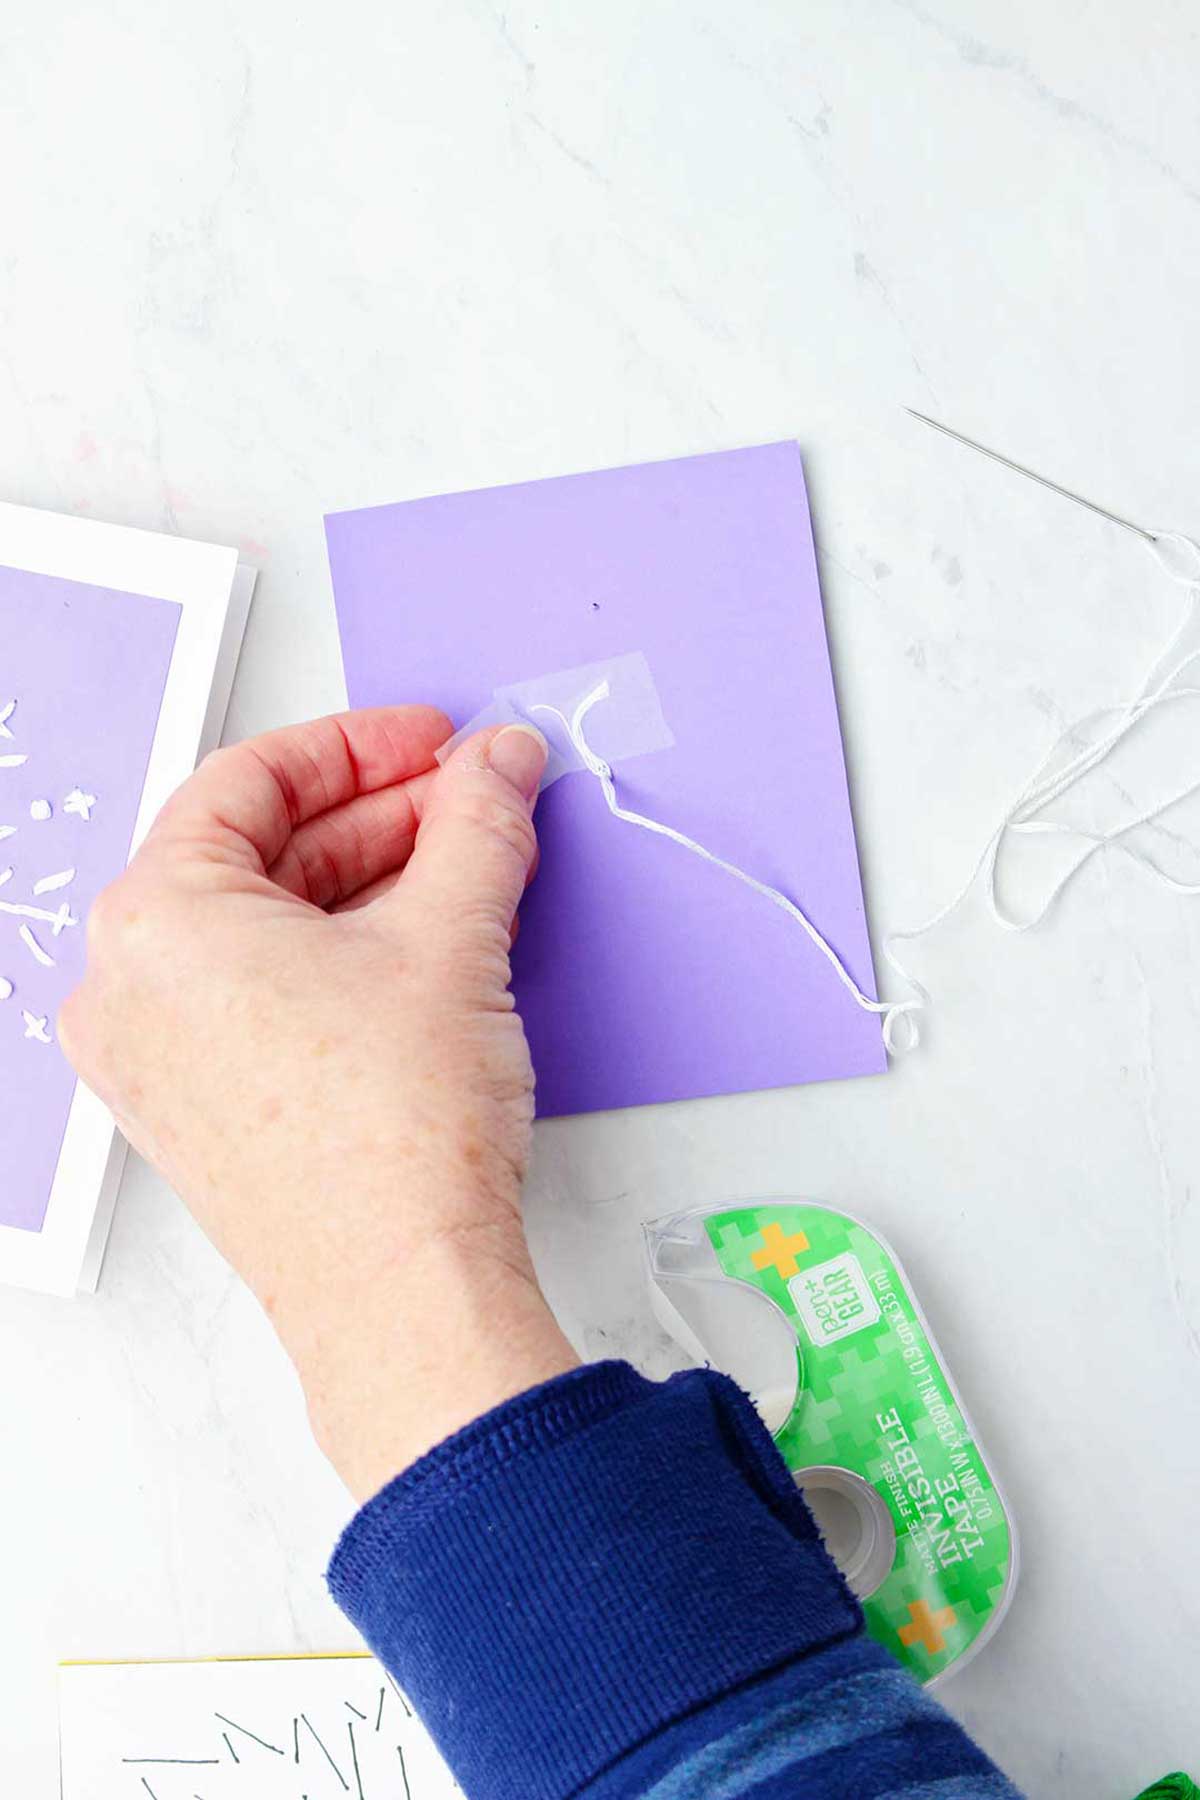
We want this project to be as flat as possible so that the stitch card glues onto the blank card easily.
So, instead of tying a knot in the floss, tape the end of it to the back of the cardstock when you pull the first stitch through. The tape will keep the end of the floss secure as you move on with your additional stitches.
Make your foundational stitches along the pattern, switching colors of embroidery floss whenever you would like.
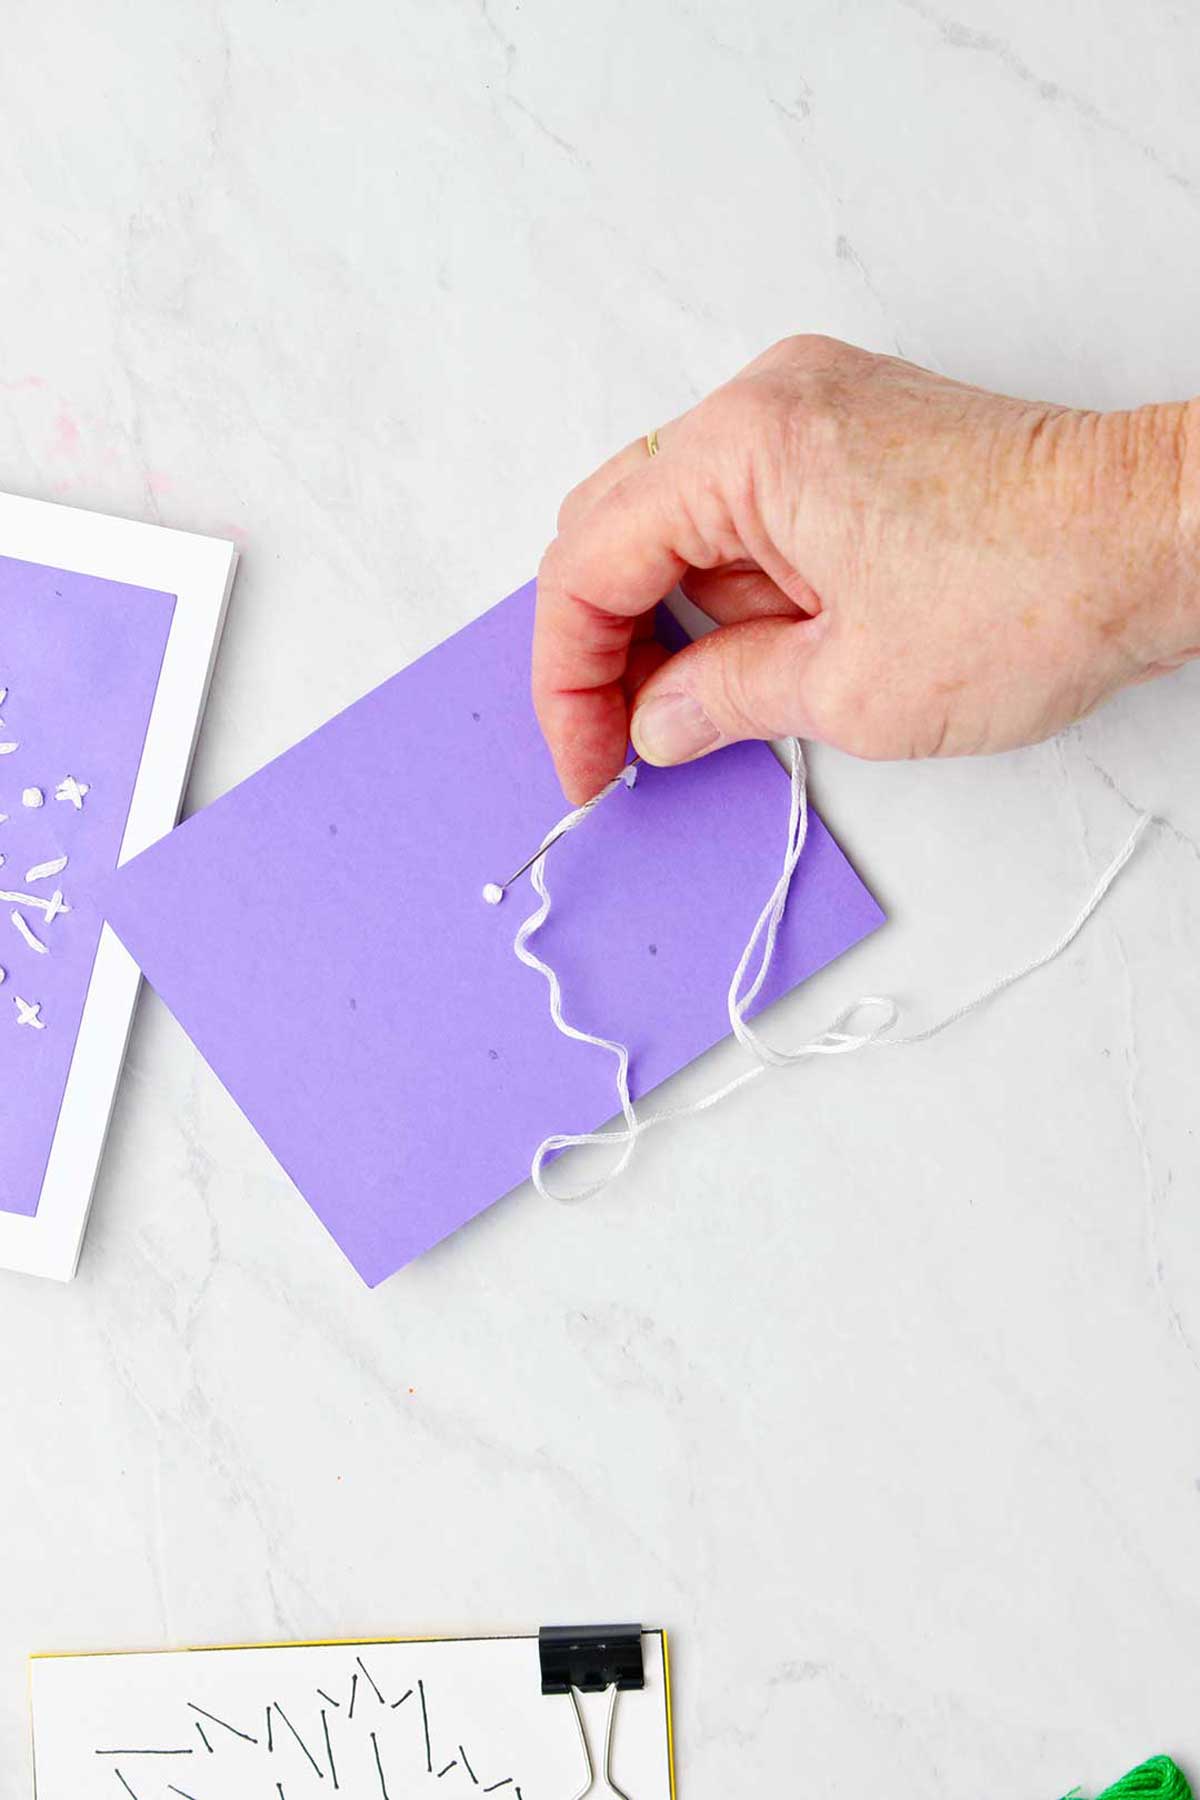
Poke a hole to mark your stitching spot
It is kind of hard to know where to poke the needle through from the back of the card. Here is the secret! Poke a little hole from the front of the card where you want to make the stitch. When you look from the back, you will be able to see that little hole. Come through the paper and pattern there and you will get it right every time! Boom.
Tip: Pull embroidery floss through the paper slowly and carefully because it gets knotted easily. If you notice a knot starting to form, stop and work it out. Don’t pull hard and make the knot tight and impossible to get out. I often run the thread through my fingers as I pull on the needle with the other hand to keep the floss straight.
Continue to poke holes and go up and down through the card making the stitches shown on the pattern.
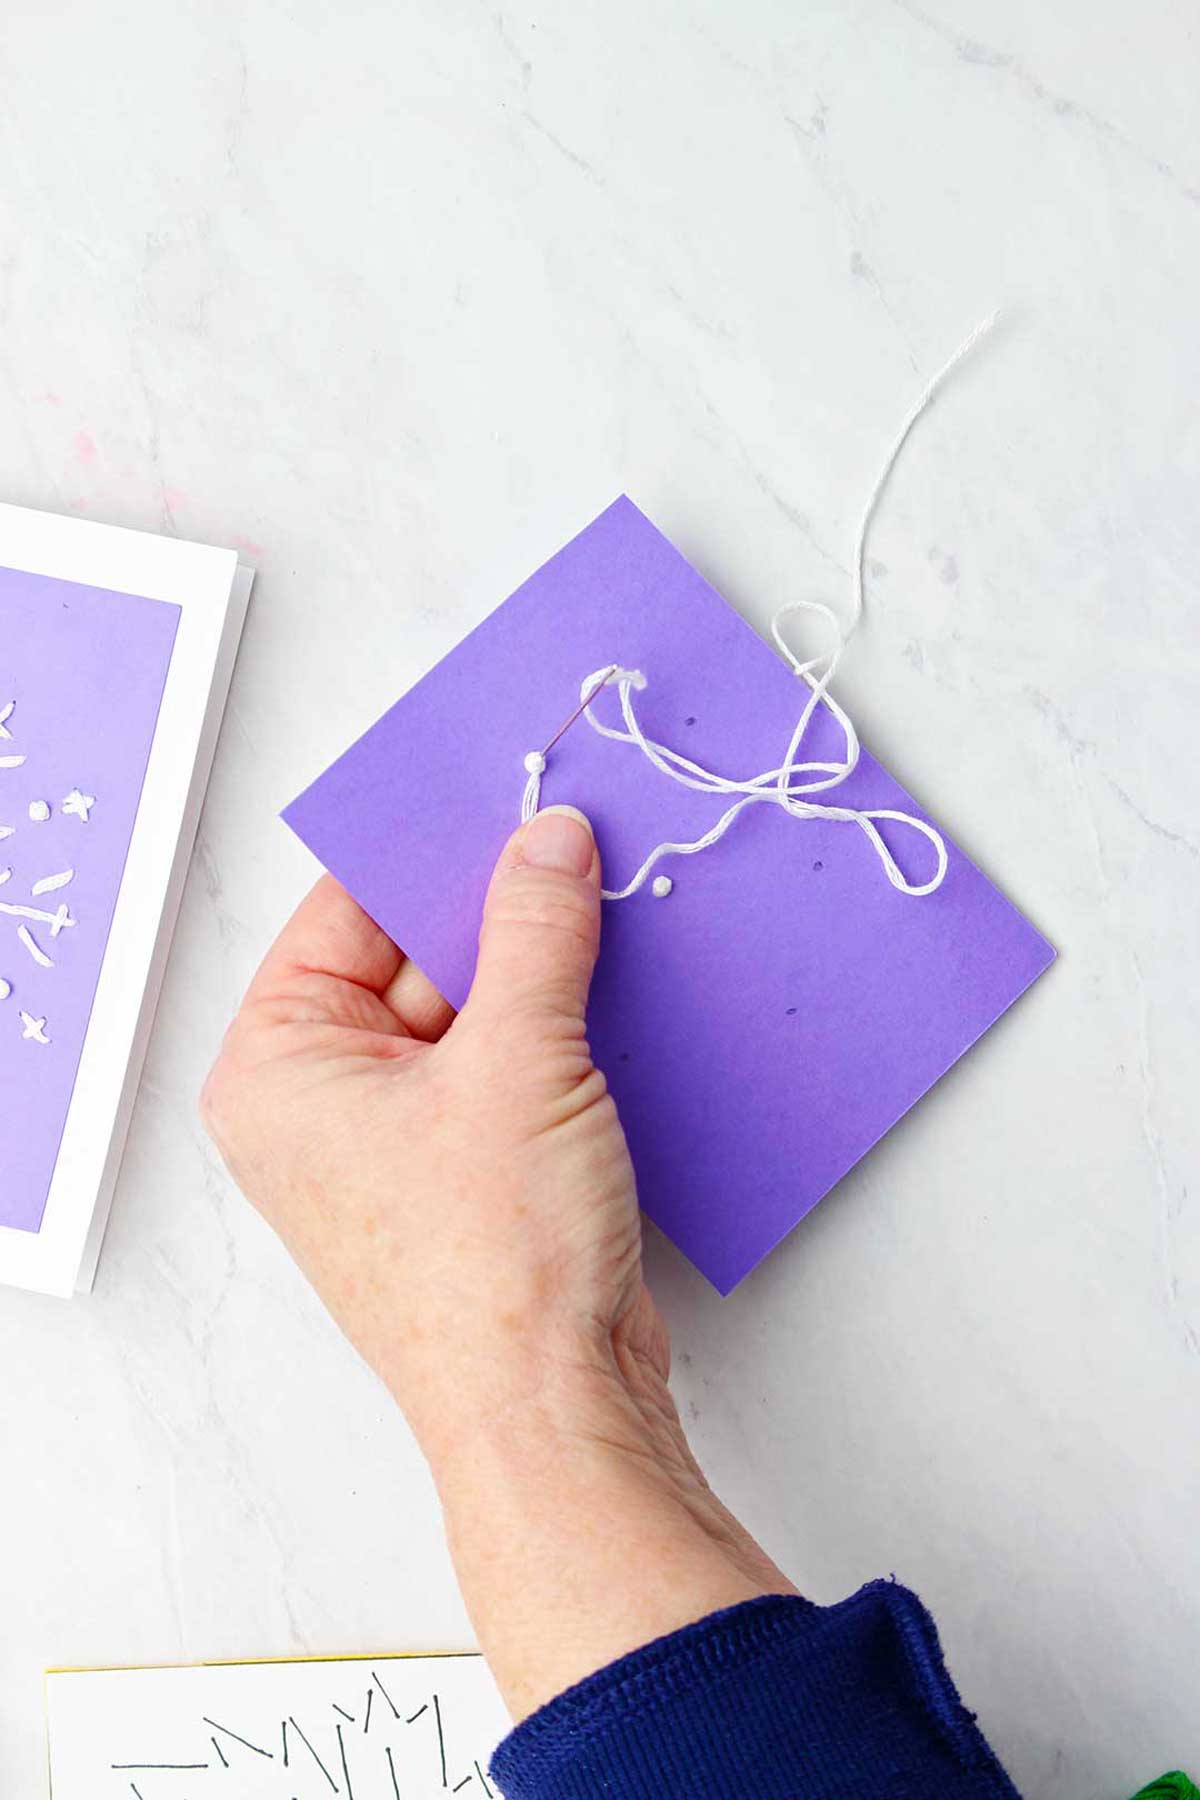
How do I make a French Knot?
When you get to a dot you will make a special stitch called a French knot. Ready to learn how? This is a fun one.
Bring your needle up through the dot. As your needle is coming up and facing you, wrap the floss around the needle three times (holding the floss in the other hand).
Continue to hold onto the floss, keeping a gentle pressure so that the floss stays wound around the needle.
Point the needle back down into the dot and poke it through.
Carefully pull the needle to the back of the card (still holding onto the floss on top of the card with the other hand).
When you have pulled the needle and thread all the way through it will make a nice knot on top of the card, right on top of the dot. The snowflake pattern is the only one that uses the French knot stitch.
As you practice, the knots will get more and more uniform and round! Isn’t that cool?
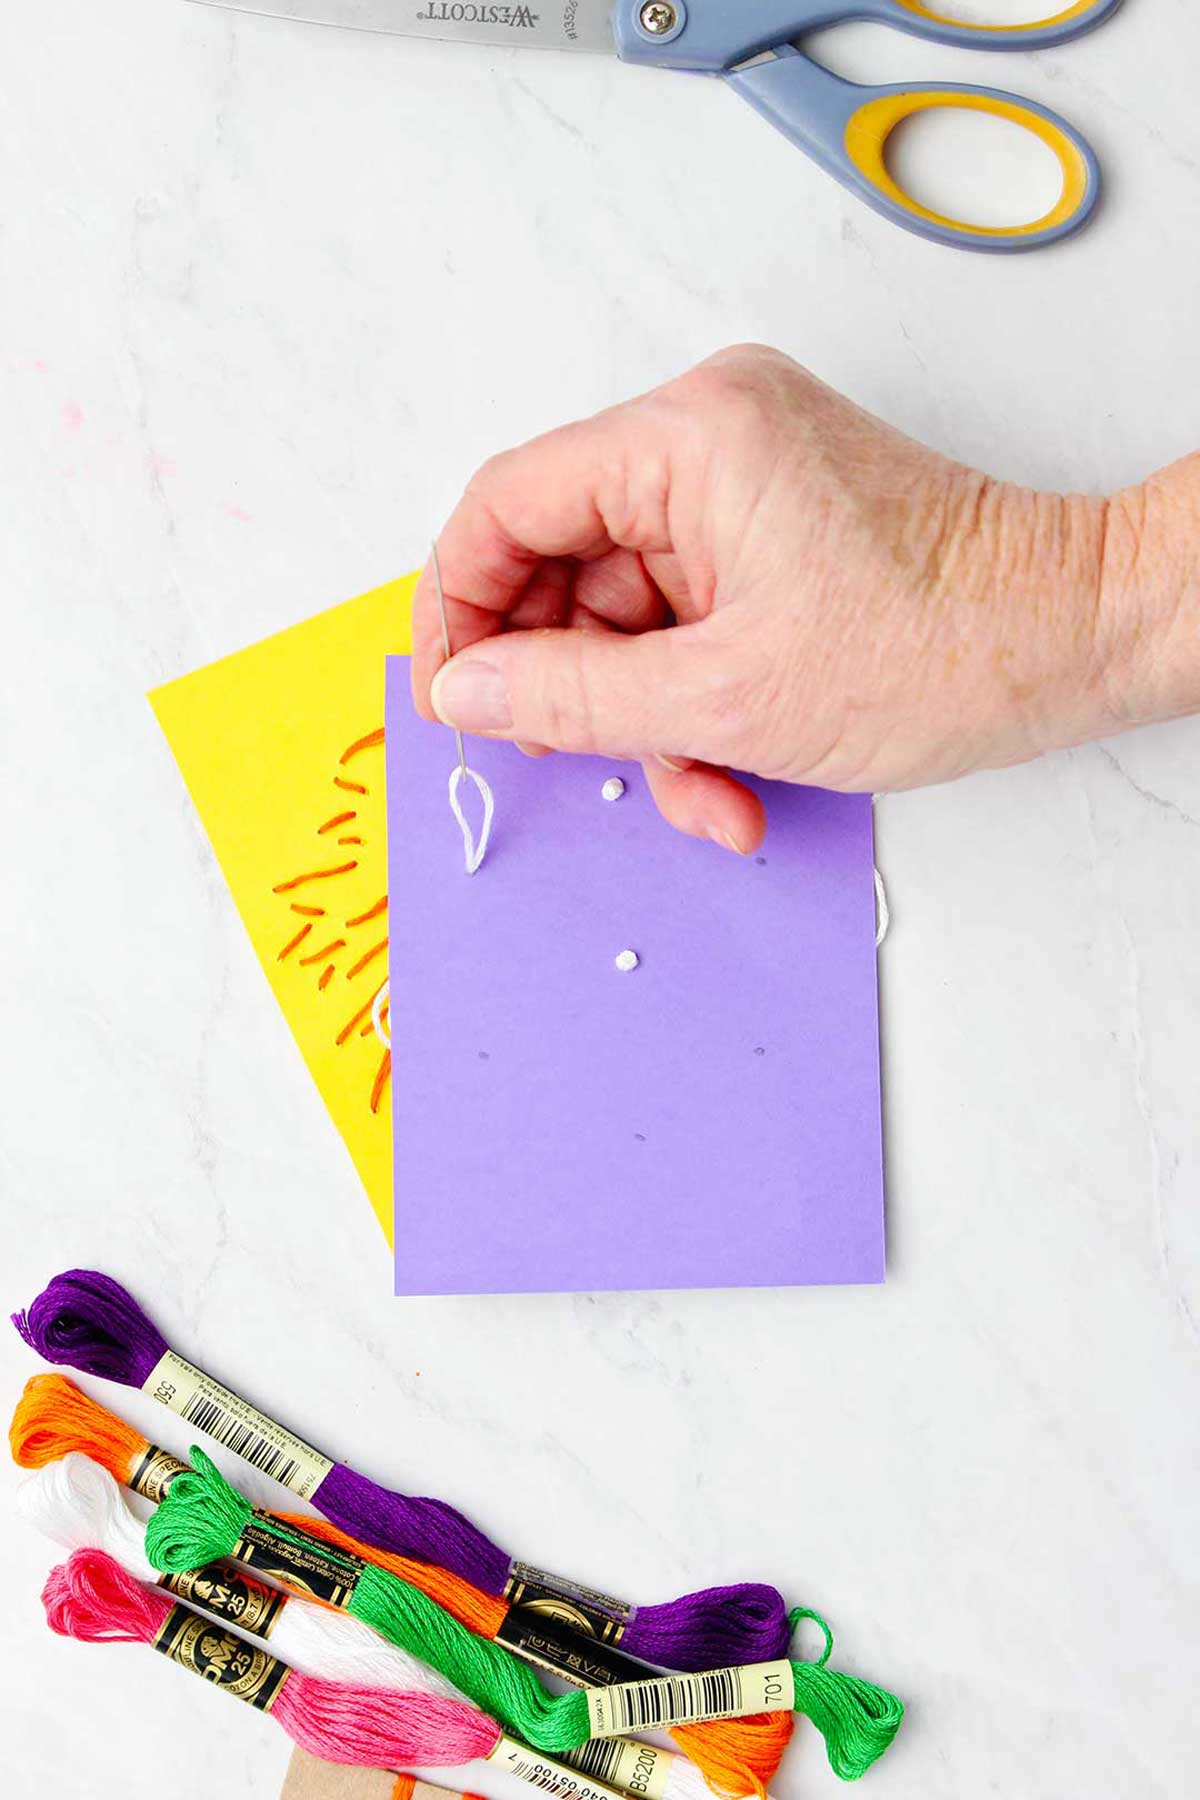
Just keep stitching...
Keep stitching till you cover all the pattern with stitches and French knots.
If you run out of embroidery floss on your needle, bring the needle to the back of the card. Cut off about a half inch tail and tape it to the card. Again, no knots!
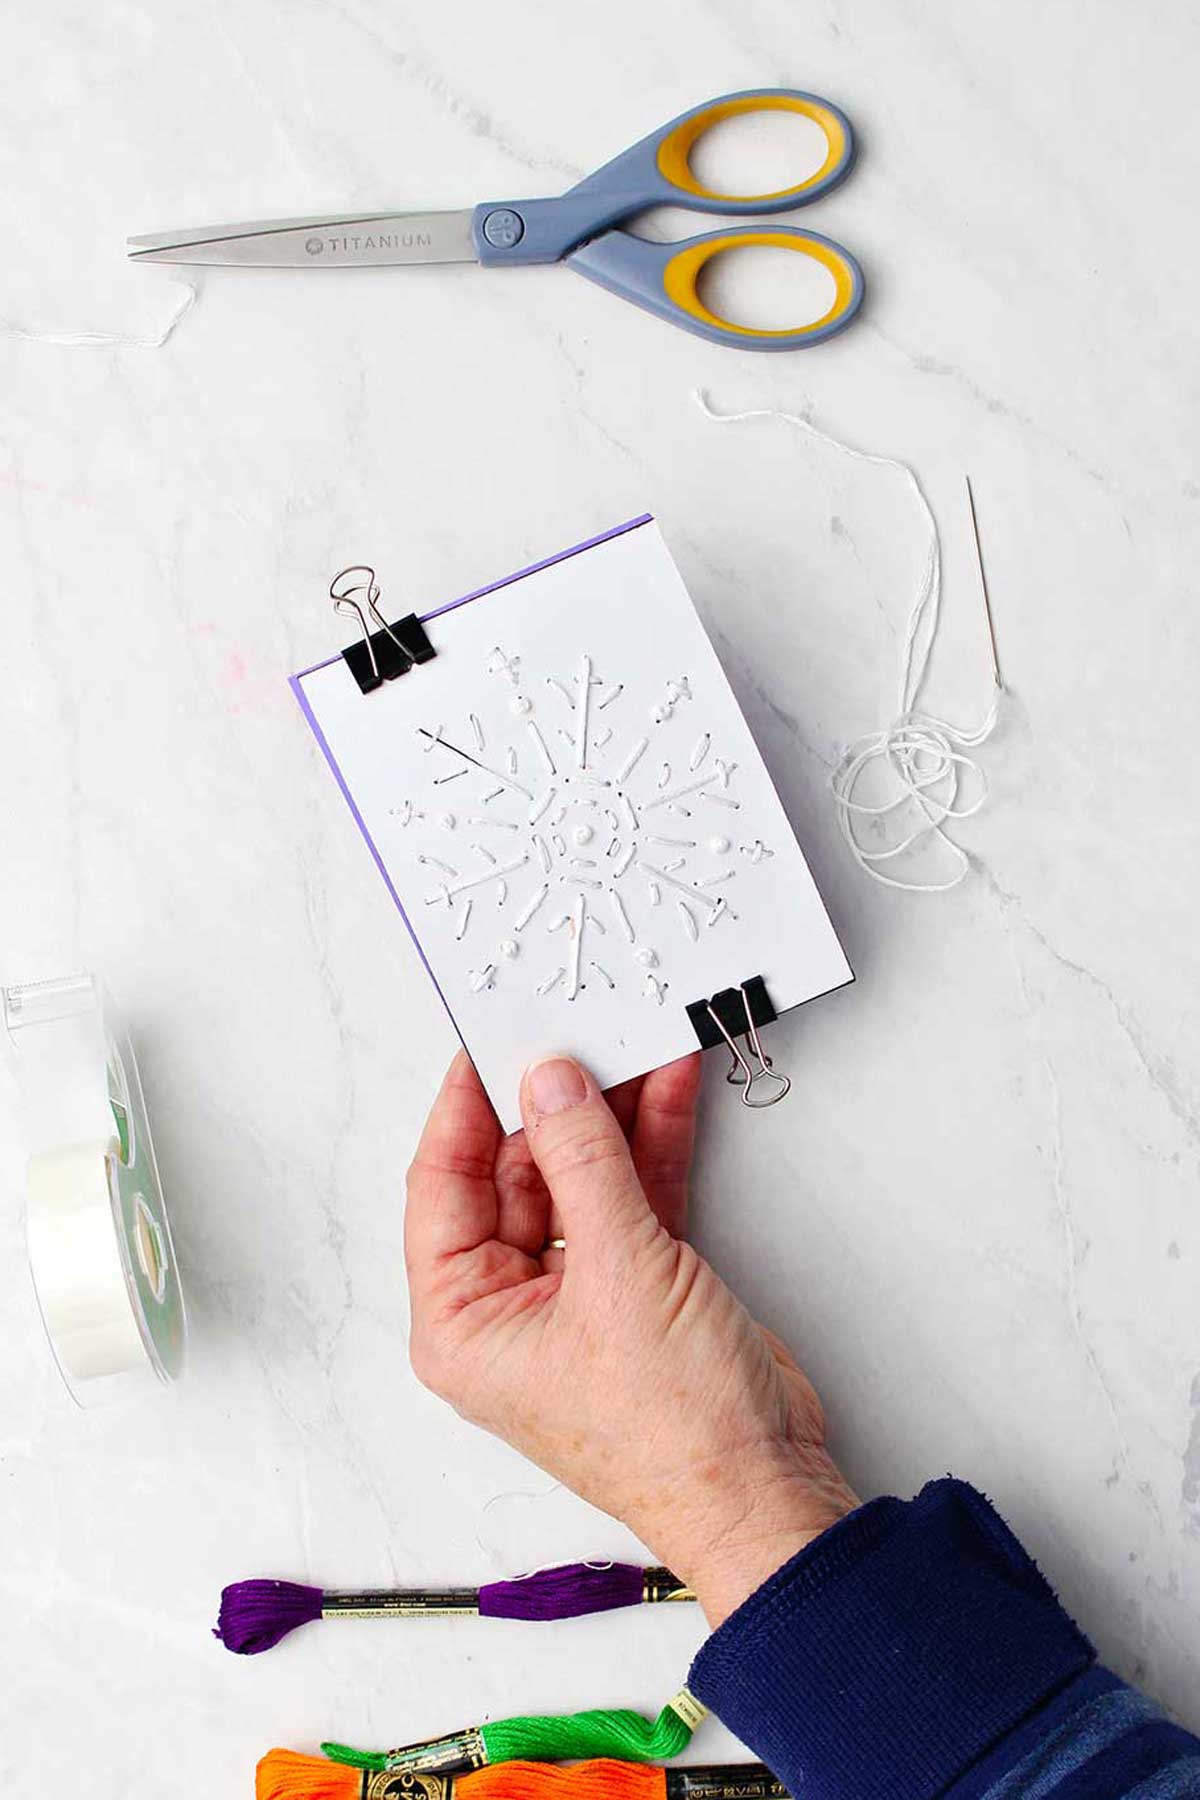
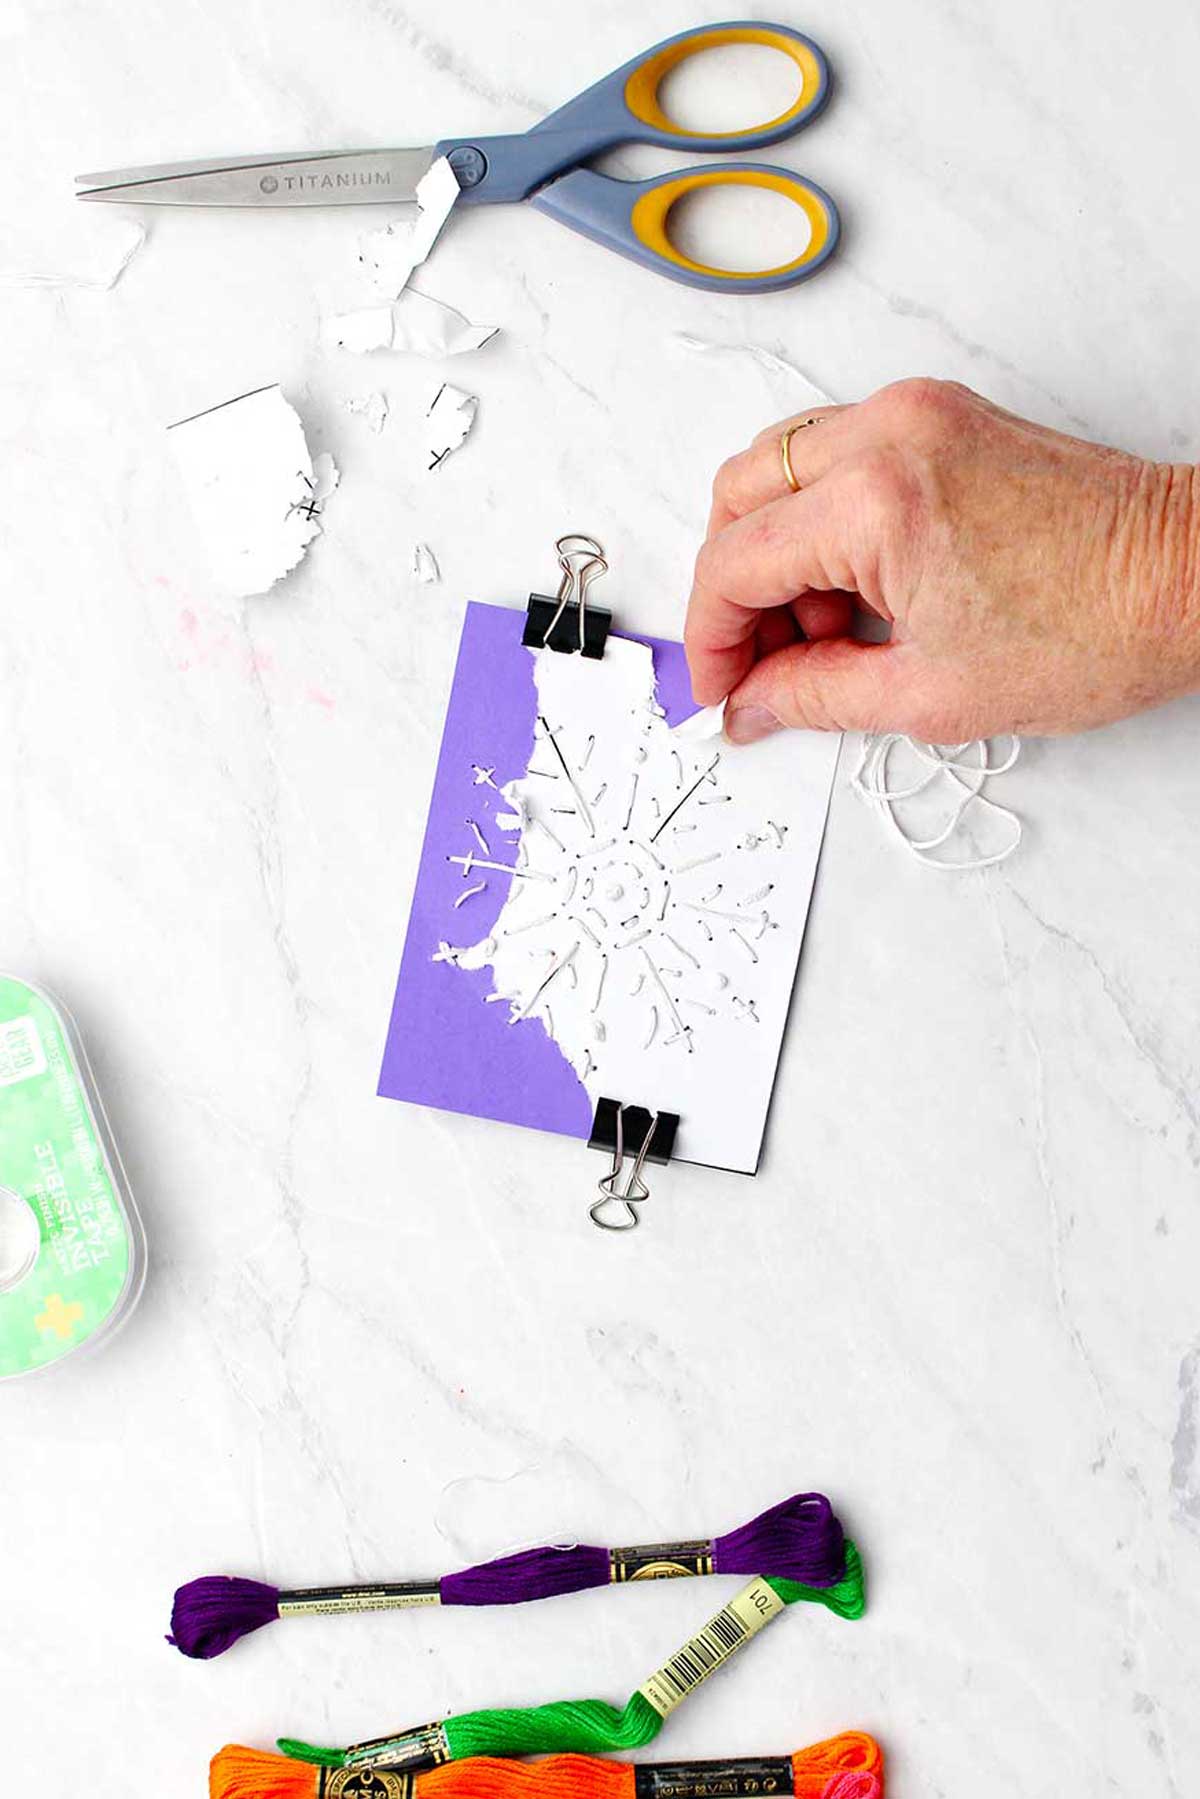
Tear away the pattern
OK, so I think this step is fun.
When you are finished, tear away the tracing paper pattern. Do this very gently, holding the stitches if necessary as you tear the tracing paper.
This will reveal your unique hand embroidered work!
Make your own card patterns to embroider!
Why stick to my patterns? You can make your own patterns too!
Why not try some pretty flower note cards? Or how about a geometric design?
I would love to see what you come up with, use your imagination!
Putting together the embroidery greeting cards
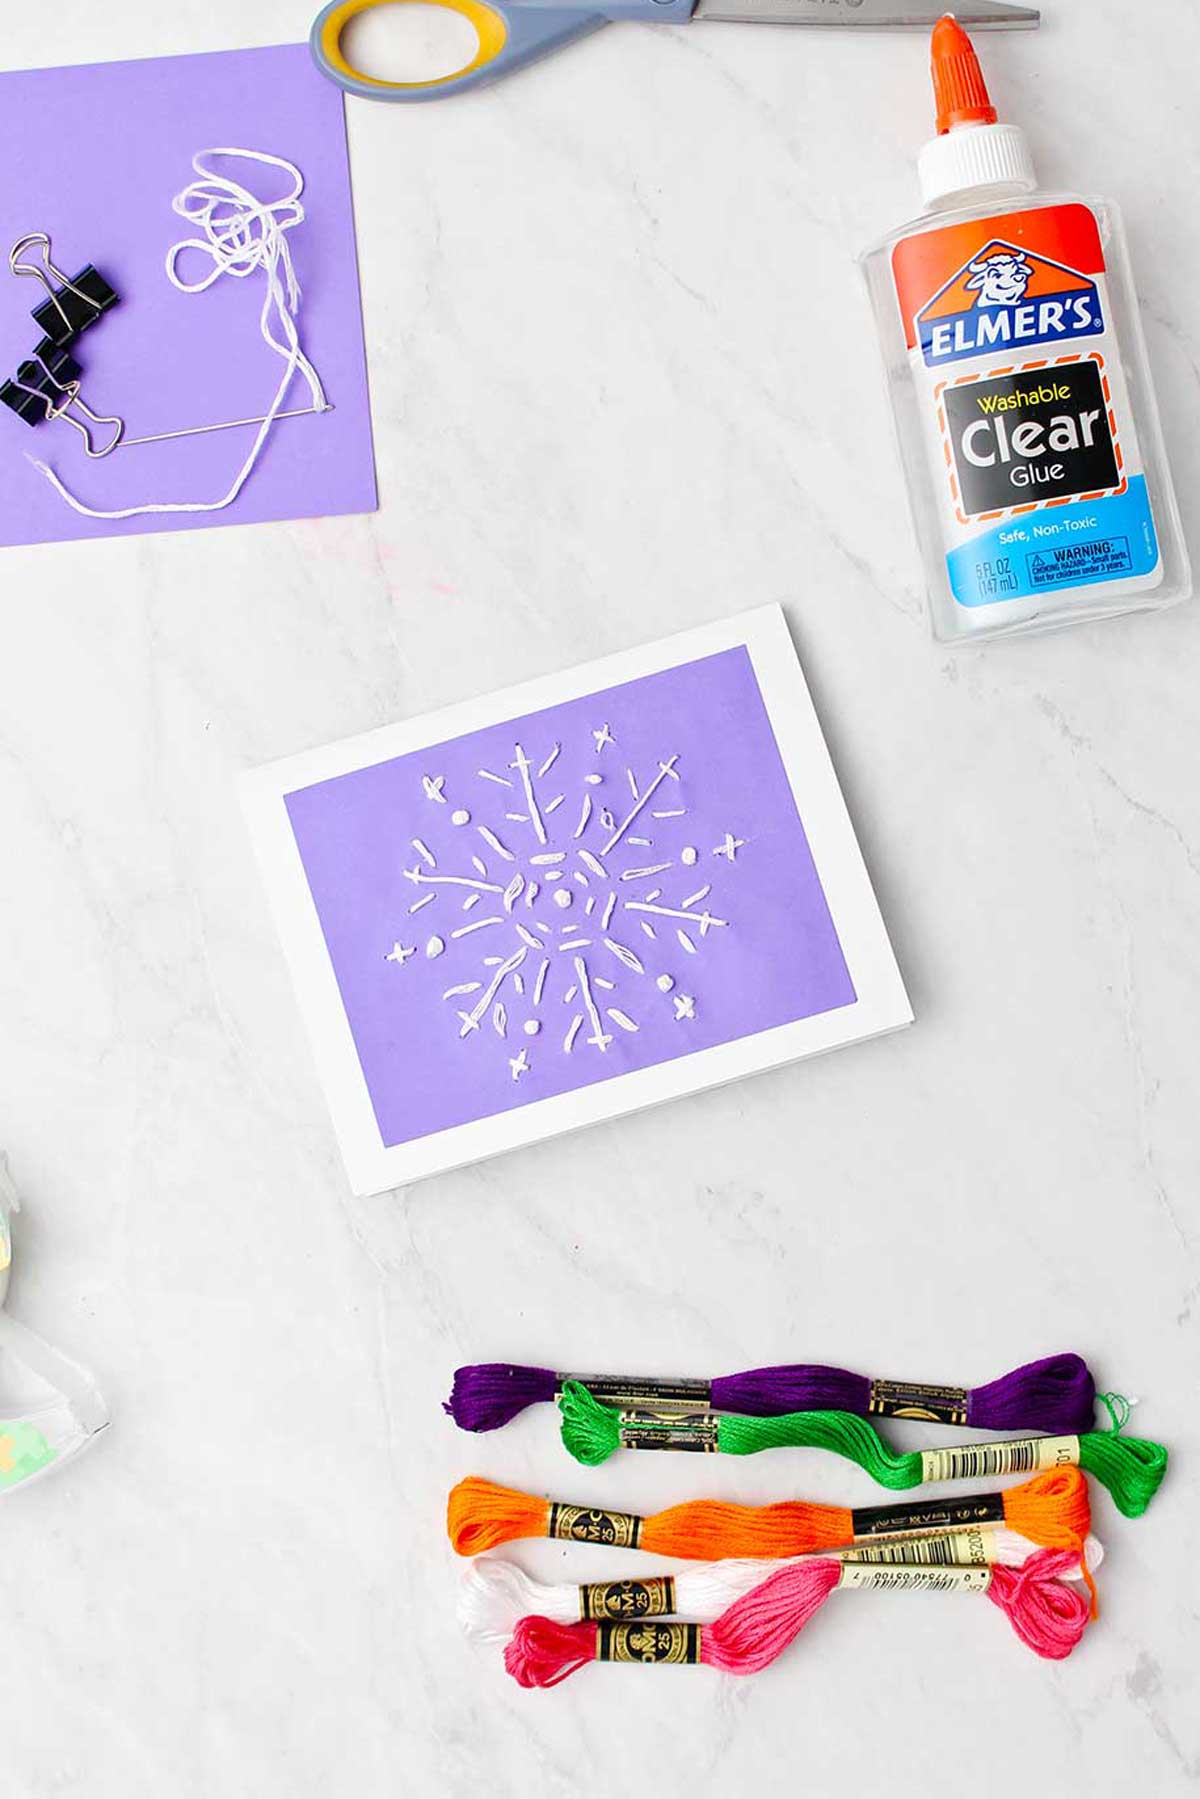
Now that we are finished with the pattern, let’s make the card. I'm going to use a white card behind my blue and white stitched snowflake.
Cut a piece of cardstock paper in half ,“hamburger” style. Then fold the pieces in half again.
This makes two blank cards that are each a standard sized card that will fit into a size A2 envelope. You should be able to find these in most stores that sell envelopes!
If you don’t have an envelope for your card, check out my post: 3 Ways to Make a Homemade Envelope. It just takes a single sheet of copy paper weight paper to make an envelope this size.
Glue the pieces together
Spread glue on the back side of your embroidered paper. Center this on the front of the card and smooth it down. Let this dry fully before slipping it into an envelope.
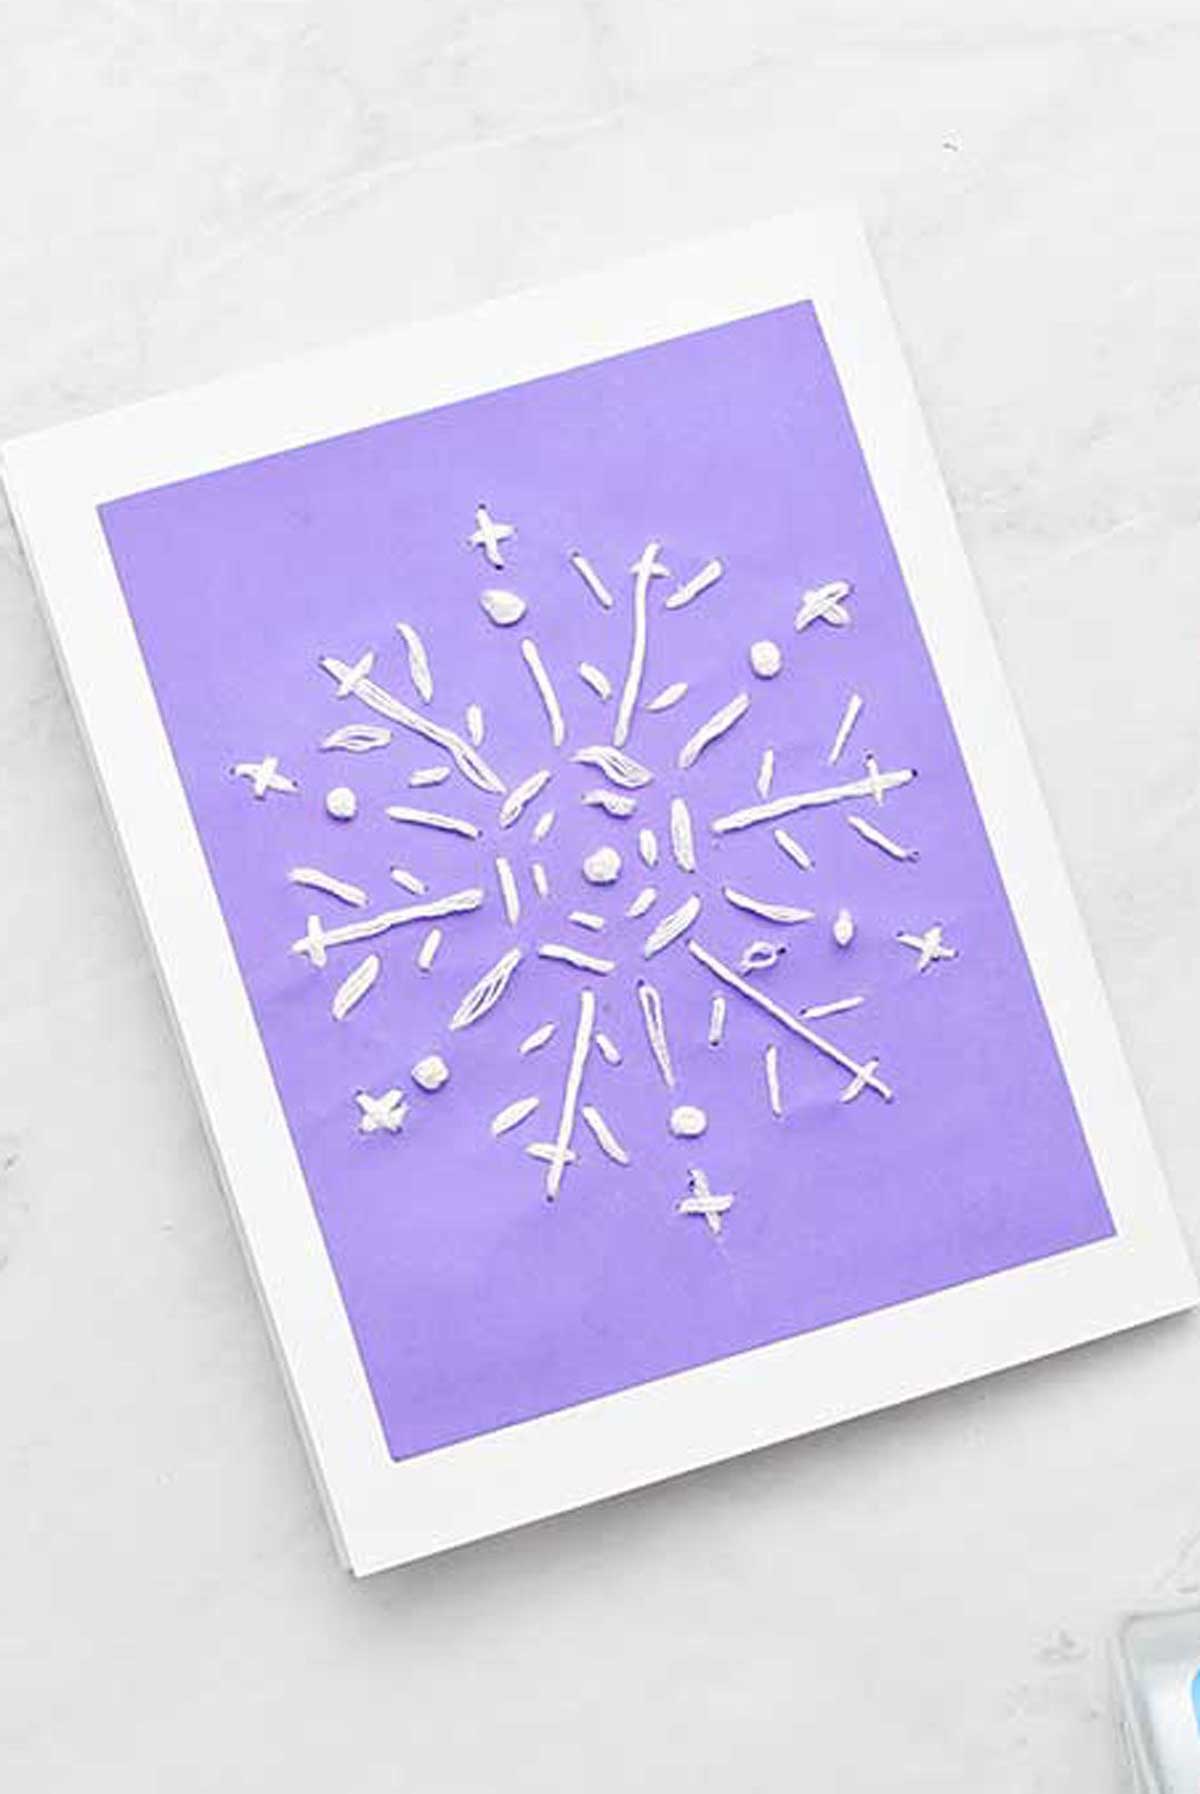
I love how the white embroidery floss looks on the blue paper.
In the video you will also see the leaf pattern done in orange floss on yellow cardstock. I would place this on an orange card next time if I do it over again.
I will make the other two patterns later as I plan to give the whole set to a friend for Christmas. A ribbon tied around the bunch would make super simple gift packaging.
Here is the link to the free pattern again: DIY Hand Embroidered Cards Free Pattern
Embroidered cards, gifted and up-cycled!
Now comes the biggest joy, giving the cards away! This would be a fun card for the kids to send a note to a friend or loved one.
Don’t tell, I’m also going to send the old hand embroidered card my daughter made for me back to her in the mail. I’ll add a message from me, a note of encouragement to a busy mom. Hoping she enjoys seeing it as much as I did!
Who knows, I may just tuck these materials in my Nana’s craft bag and bring it along to do with her girls the next time we visit. Crafts and tea parties are a tradition! Give it a try!!
Come see this video on YouTube if you like that format. Subscribe to my channel while you are there! YouTube: DIY Hand Embroidered Cards YouTube Video Link
Making a hand embroidered card is simple using this free pattern! Secure the template to a piece of card stock, then use it as a guide for your stitching. When you are finished, gently tear off the template paper, leaving your beautiful handiwork behind!
Embroidering your own card is easier than you may think! All you'll need is this free pattern, a card, some thread, tape, and a needle. Follow the template to turn your stitches and knots into a pretty embroidered pattern on a card. All ready to send to a friend or loved one!
If you are looking to learn hand embroidery, creating an embroidered card is a great place to start. Use simple stitches and knots from this tutorial to create beautiful patterns, easy for any beginner! When you are finished, share your final hand embroidered cards with a friend or loved one.
Want more easy sewing craft ideas?
If you or your little one are enjoying learning to sew, try one of these other ideas from around the blog!
- How to Make a Scrunchie
- Easy Sew DIY Fleece Hat
- DIY Easy-to-Sew Microwaveable Rice Pack
- How to Make a T-Shirt Tote Bag (2 Ways!)
Enjoy!
If you try this craft, let me know! Go ahead and leave a comment, rate it, and tag a photo with #WelcometoNanas wherever you post.
Come join the fun at https://welcometonanas.com
Supplies for DIY Hand Embroidered Cards
- Card stock paper in colors of your choice
- Card stock paper in white
- Tracing paper (print the pattern on this)
- Copy of the DIY Hand Embroidered Cards Free Pattern
- Embroidery floss in colors of your choice
- Embroidery Needle with large enough head to thread with the embroidery floss
- Scissors
- Tape
- Glue
- Small binder clips (2)
DIY Hand Embroidered Cards
Equipment
- Embroidery Needle with large enough head to thread with the embroidery floss
- Scissors
- Small binder clips (2)
Items Required
- Card stock paper in colors of your choice
- Card stock paper in white
- Tracing paper (print the pattern on this)
- Copy of the DIY Hand Embroidered Cards Free Pattern
- Embroidery floss in colors of your choice
- Tape
- Glue
Instructions
- Here is a link to that free pattern: DIY Hand Embroidered Cards Free Pattern. Print off a copy of the free pattern on tracing paper and cut it into squares.
- Choose which pattern you would like to make and the color of embroidery floss and card stock paper you would like to use. Cut the card stock into four equal pieces and binder or paper clip the pattern onto the card stock.
- Cut a piece of embroidery floss that is about two feet long and thread your needle. Instead of tying a knot in the floss, tape the end of it to the back of the cardstock when you pull the first stitch through. Continue to go up and down through the card making the stitches shown on the pattern.
- When you get to a dot you will make a special stitch called a French knot. Specific instructions in the video and the post.
- Keep stitching till you cover all the pattern with stitches and French knots.
- When you are finished, tear away the tracing paper pattern. Do this very gently, holding the stitches if necessary as you tear the tracing paper.
- Cut a piece of cardstock paper in half “hamburger” style. Then fold the pieces in half again.
- Spread glue on the back side of your embroidered paper. Center this on the front of the card and smooth it down.
Video
This post was originally published in November 2022 and has been updated to add more relevant and detailed content.



Laura says
I used to really enjoy hand embroidering - this would be a fun and easy way to get back into it!