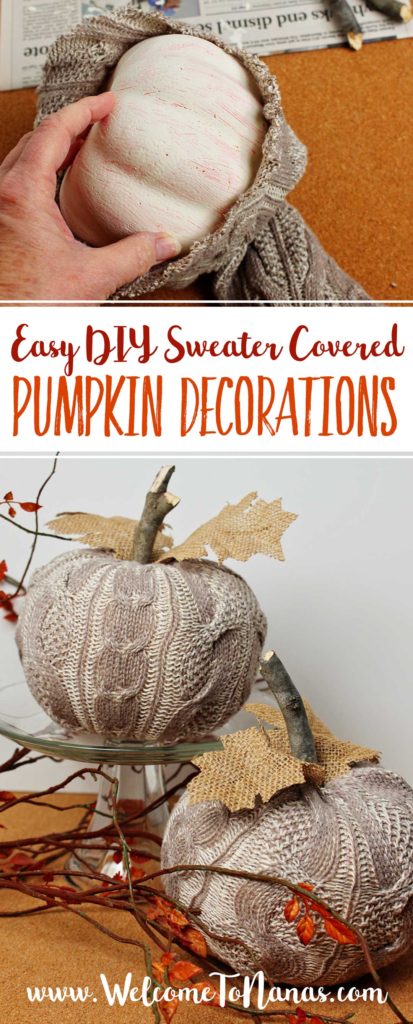
An Easy DIY Sweater Covered Pumpkin Decoration is perfect to make with kids.
There is no sewing or gluing involved and it takes about 5-10 minutes to complete. This project was done with a thrifted sweater which makes it even more awesome- yea for upcycling!!
Make a sweater covered pumpkin decoration for a gift
I was thinking how a teacher, Sunday School teacher, neighbor or nana would love a small gift like this. They are so inexpensive and fast to make, why, you could make a dozen!! 😉
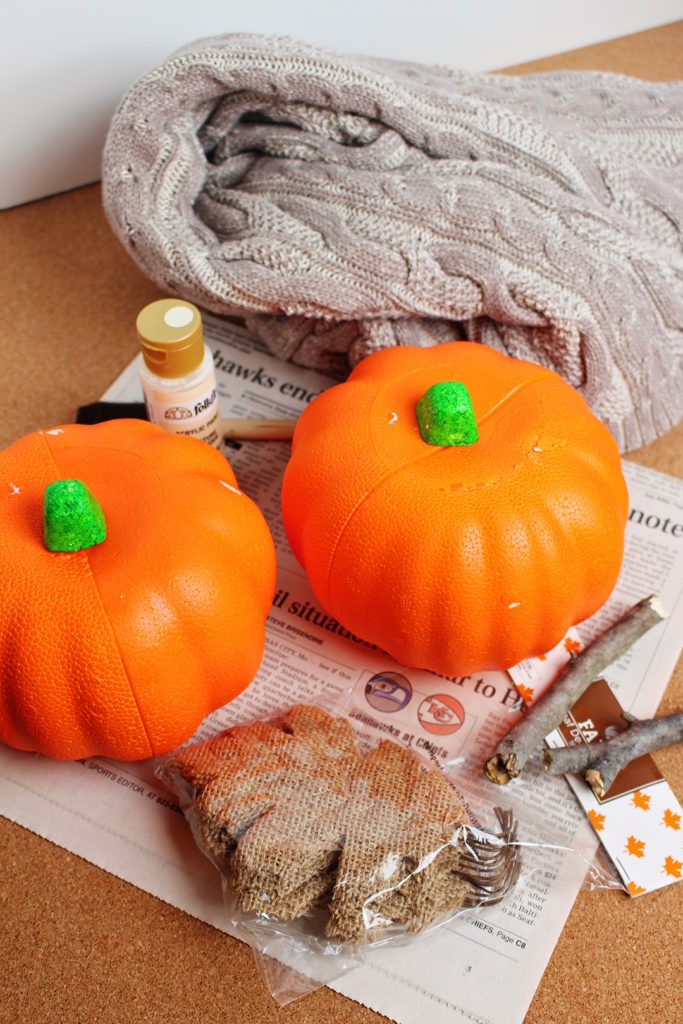
Purchase a foam pumpkin
These small foam pumpkins are available in the craft section of about any dollar, discount or craft store. The pumpkin in this example is about 5 inches in diameter. Any larger and it would be hard to fit in the sleeve of the sweater.
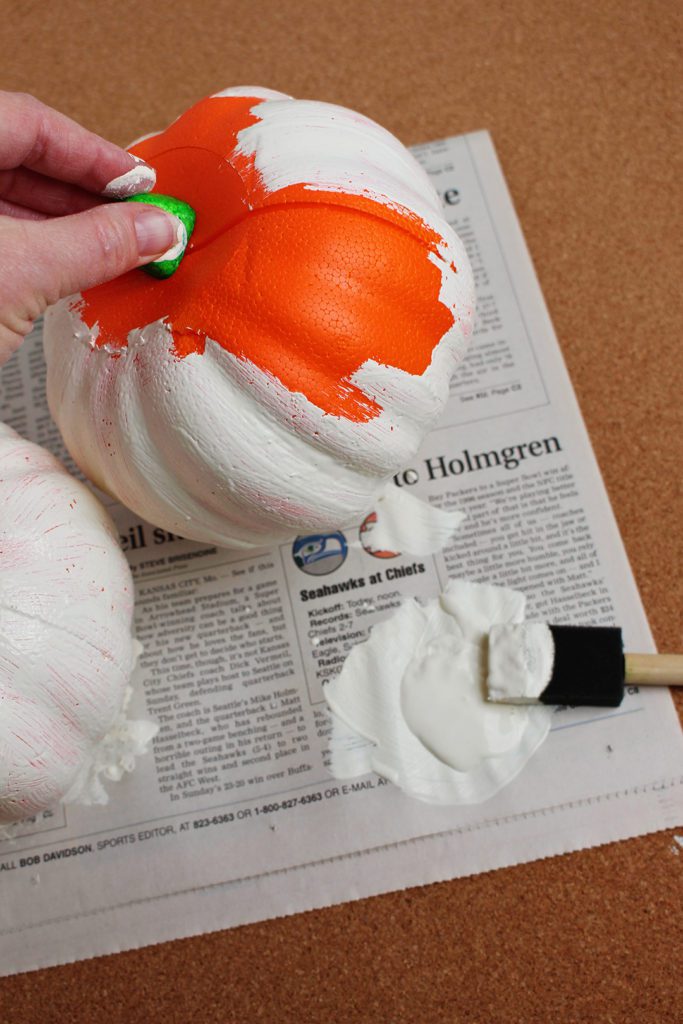
Paint the pumpkin
As you can see, the foam pumpkins were a very, very loud orange. I didn’t want that color to show through the sweater. So…I used a foam brush and cream colored craft paint to cover up the lovely orange. This is an optional step. If you don’t mind the color just skip this step. Just know the orange will peek through the stitch holes of the knit sweater.
I used the foam stem to hold the pumpkin while I painted. But when finished, I pulled off the stem and painted under it. The stem is held on with a wire or a toothpick like stick so it takes a bit of a tug to accomplish removing it. You won’t need it again so just toss it.
Let the paint dry before going on to the next step.
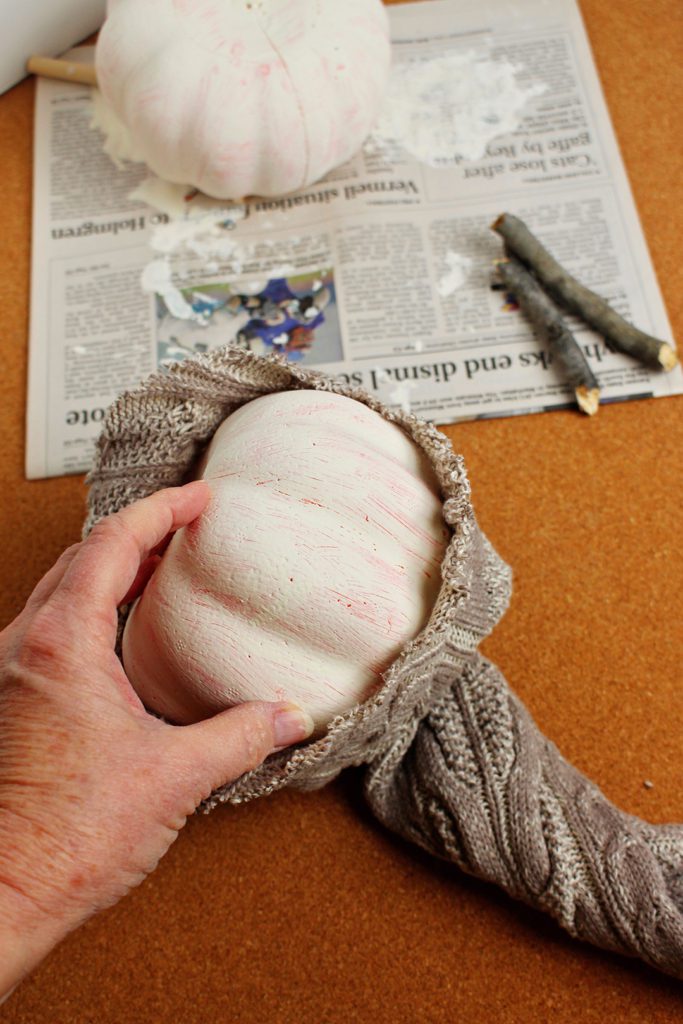
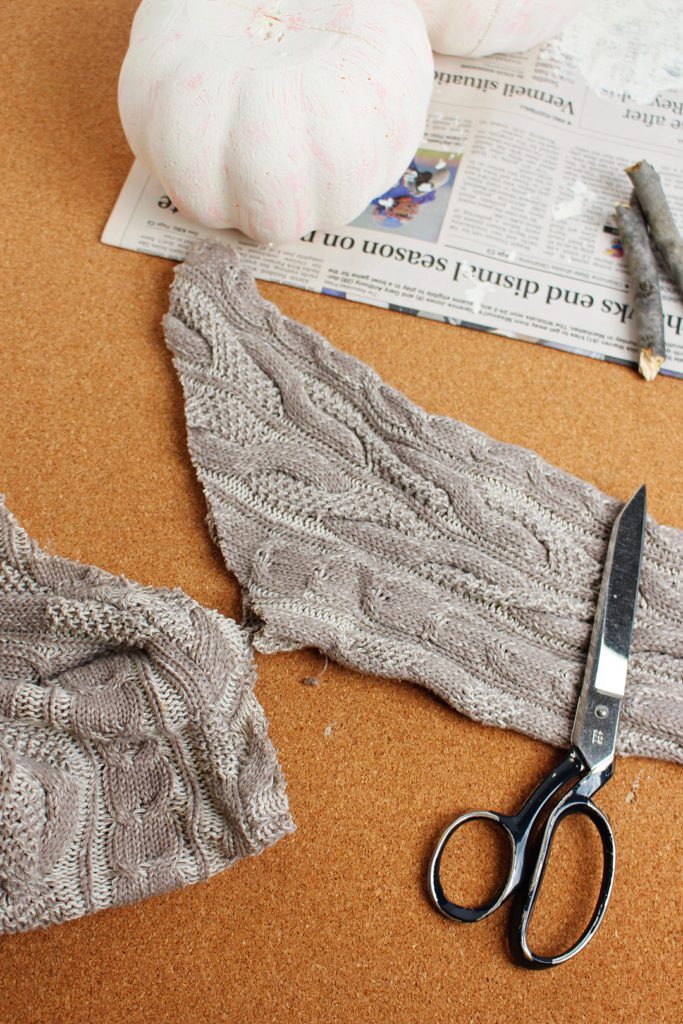
Slip the pumpkin into the sleeve of the sweater.
Cut off the sleeve of the sweater at the shoulder. Depending on the size of the pumpkin and the size of the sweater, you may be able to cover two pumpkins with each sleeve- so push the pumpkin as far down into the sleeve as possible.
Cut off all but about 1 ½ inch of the sleeve on each end of the pumpkin.
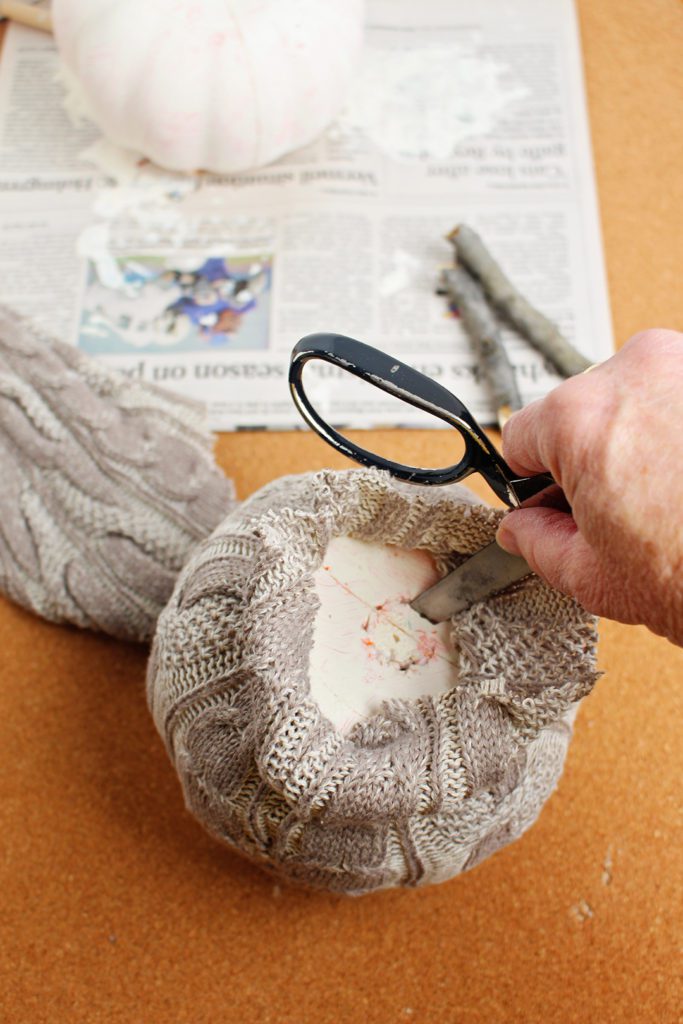
Cut a hole into the pumpkin
On the bottom of the pumpkin, use a scissors or knife to cut a hole into the foam (my pumpkin was hollow so this cut out piece of foam fell into the hollow cavity). The hole should be about the size of a quarter.
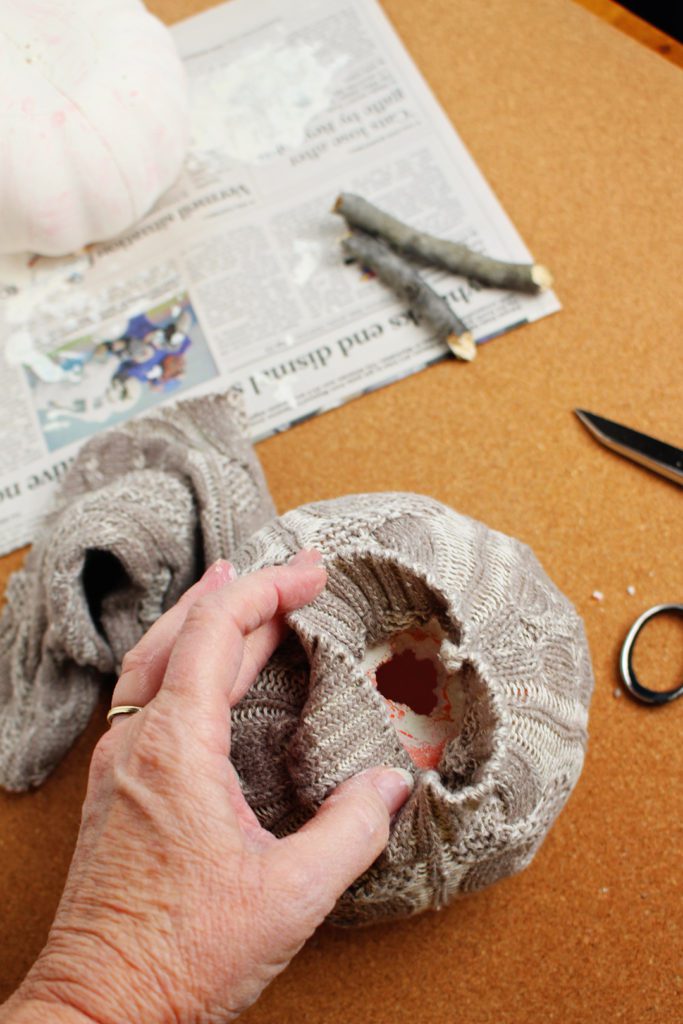
Press the cut edge of the sweater sleeve into the hole, gently but firmly. It will all tuck inside the hole.
Do the exact same thing on the top of the pumpkin.
Add leaves...
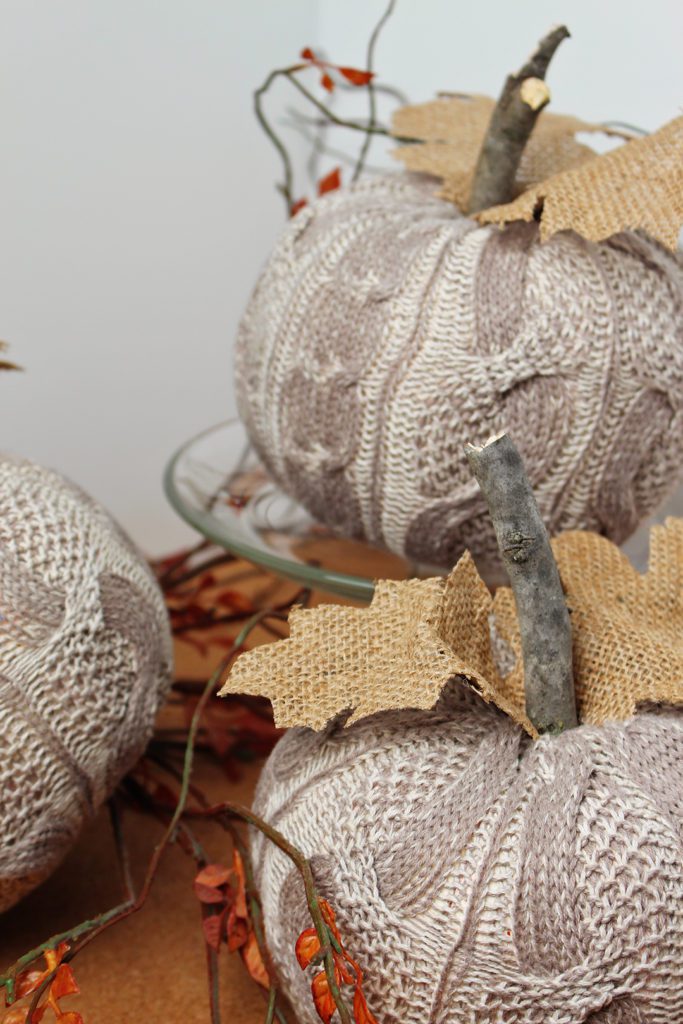
On the top, push in the wire ends of two burlap leaves. I cut down the size of one of the leaves to give some variety to the two leaves.
...and a stem
Finally, push in the stick as a stem into the center of the top hole. Again, push gently but firmly. The stick will slide down into the pumpkin and hold the leaves in place. I picked up a stick in my yard and broke it into 4 inch pieces. They worked great. It could be cute to use cinnamon sticks or wrap the stem in twine and glue the ends.
If the sweater is pulling on either end of the pumpkin a bit of hot glue will hold it in place. I didn’t need any for mine.
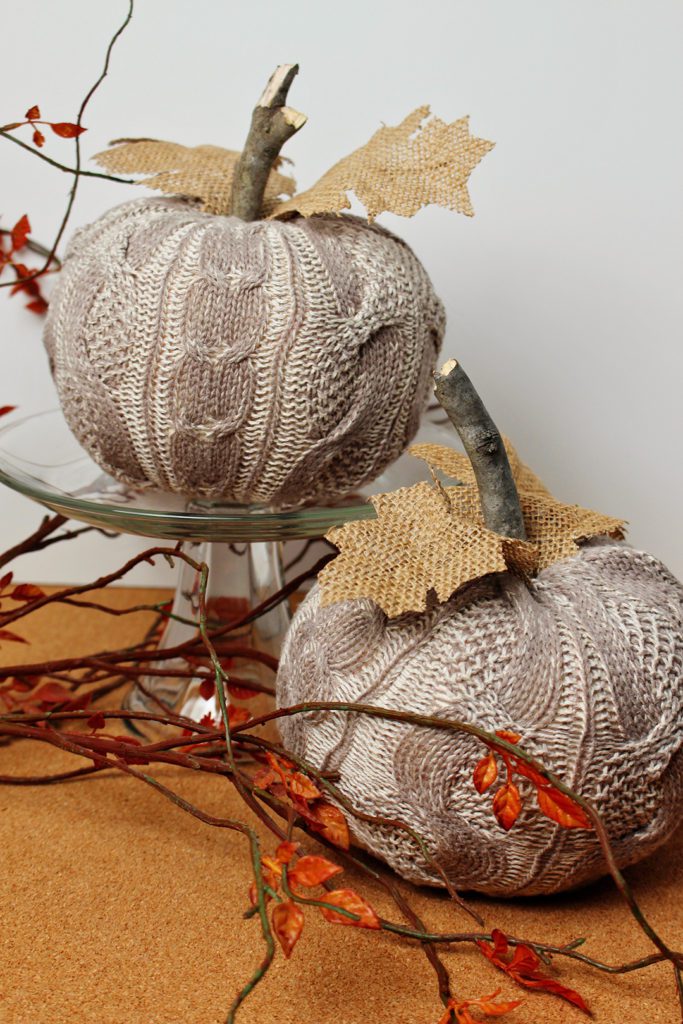
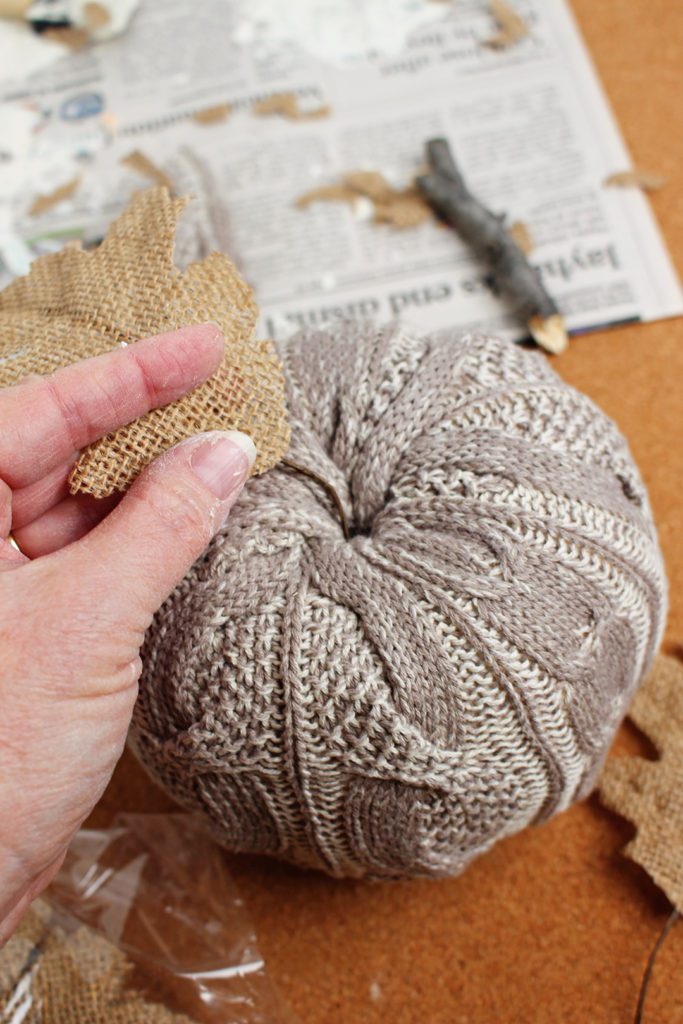
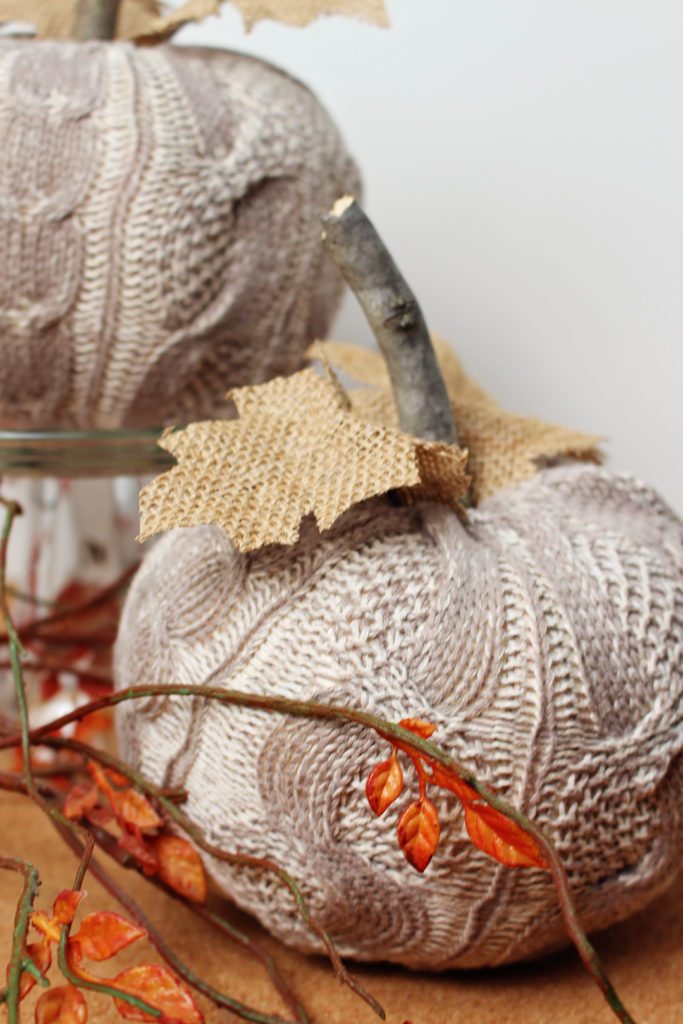
Boom! You are done!
Isn’t this Easy DIY Sweater Covered Pumpkin Decoration the cutest thing ever?
Things to consider
I used a man’s sized, neutral, cable knit sweater for my pumpkins. Of course you could use any sweater color and pattern that you would like! I’m thinking that a plaid or a variety of colors could be so fun. You go for it!!
You can also decorate the pumpkin with other items if desired- a burlap bow, felt flowers, etc. I chose to keep it simple but add your personal touches.
Note: I’m hanging on to the body of the sweater as I think I see a post on making a pillow in the future!
Need more pumpkin fun? Here are some great ideas on Welcome To Nanas. Use a relief carving to make a cute owl pumpkin. Decorate your table with these easy mini pumpkin decorations. And of course make a delicious and perfect pumpkin pie with this recipe. If you are ambitious even make your own pie filling and roast pumpkin seeds!
Supplies for an Easy DIY Sweater Covered Pumpkin Decoration
- Foam pumpkin
- Craft paint in white or ivory (optional)
- Foam brush to paint (optional)
- Sweater (need the sleeves- larger adult sweaters work the best)
- Burlap decorator leaves
- 4 inch stick in about ¾ inch diameter
Enjoy!
Welcome to Nana’s! Where there’s fun things to do with your “grand” kids!
Come join the fun at www.WelcomeToNanas.com


Leave a Reply