This Mason Jar Lid Pumpkin craft for kids repurposes new or upcycled old canning jar rings to make a cute fall pumpkin! Grab some spray paint and just a few more supplies to make a fun fall gift or decoration.
Jump to:
- Cute Canning Jar Lid Pumpkin Craft Alert!
- Supplies for making pumpkins from canning jar lids
- Steps to Make A Mason Jar Lid Pumpkin DIY
- Pumpkin Canning Lid Craft Tips
- Variations for the Mason Jar Lid Pumpkin Craft
- FAQ about Canning Jar Ring Crafts
- More Super Cute DIY Fall Crafts for Kids
- Happy Fall, Y'all!
- Upcycled Mason Jar Lid Pumpkin Craft for Kids
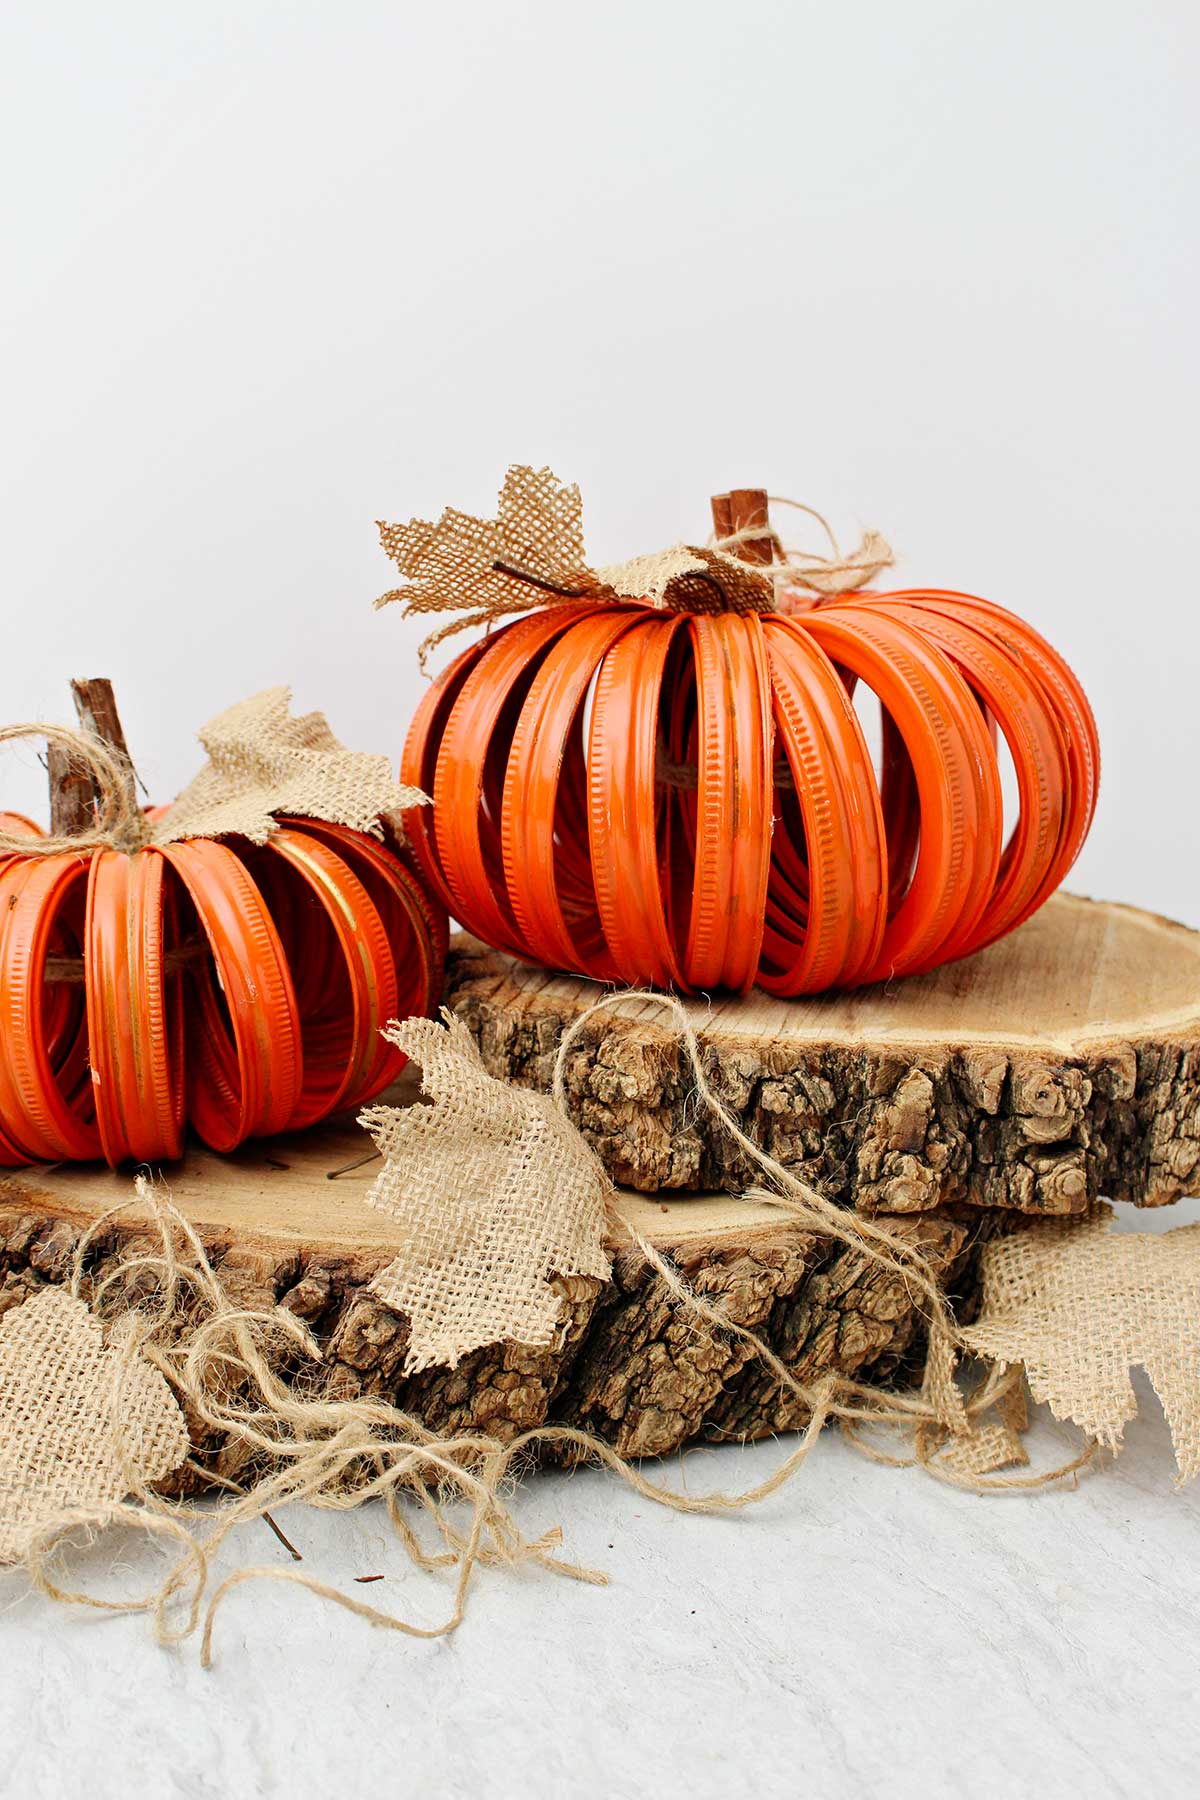
Cute Canning Jar Lid Pumpkin Craft Alert!
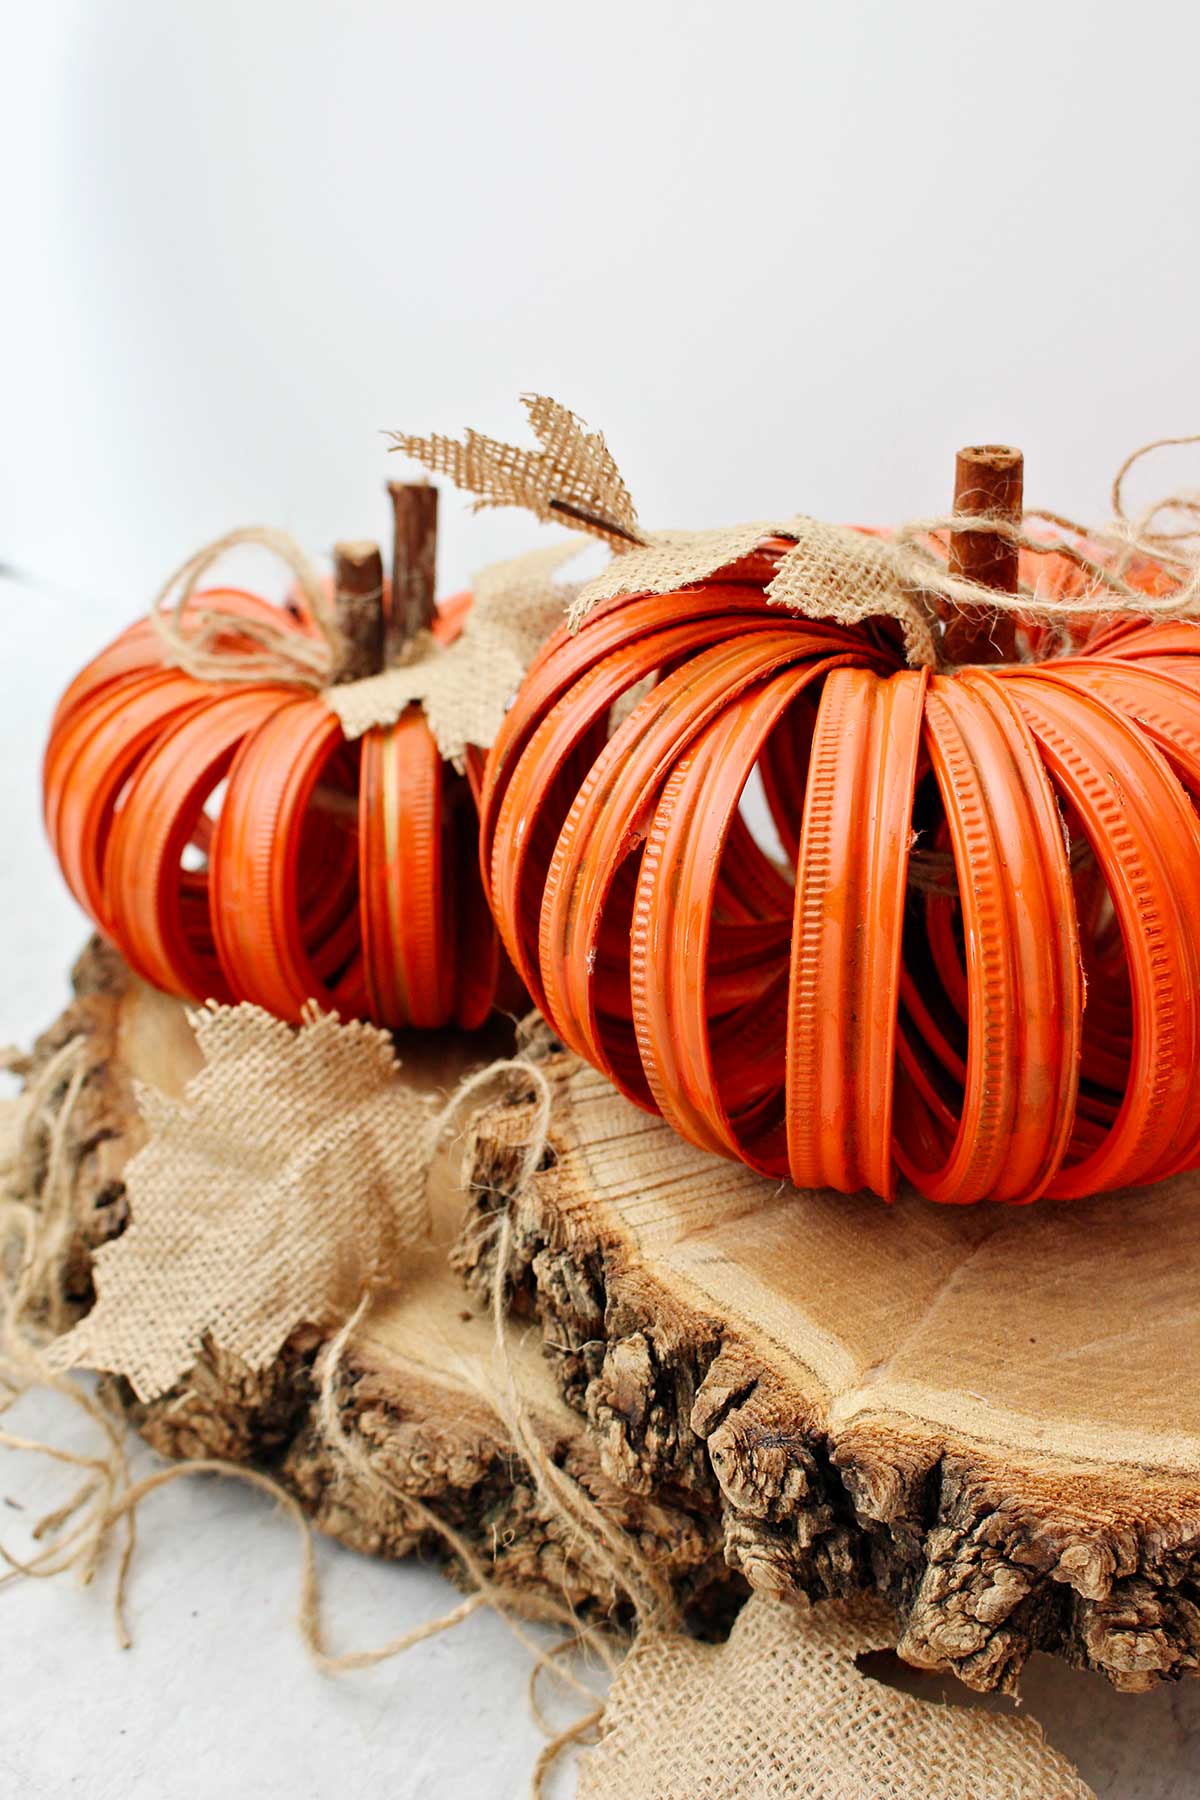
I no longer garden and do canning so I was looking for a way to upcycle the Mason jar lids in the basement. Making this Pumpkin with Mason Jar Lids was the answer to my search!
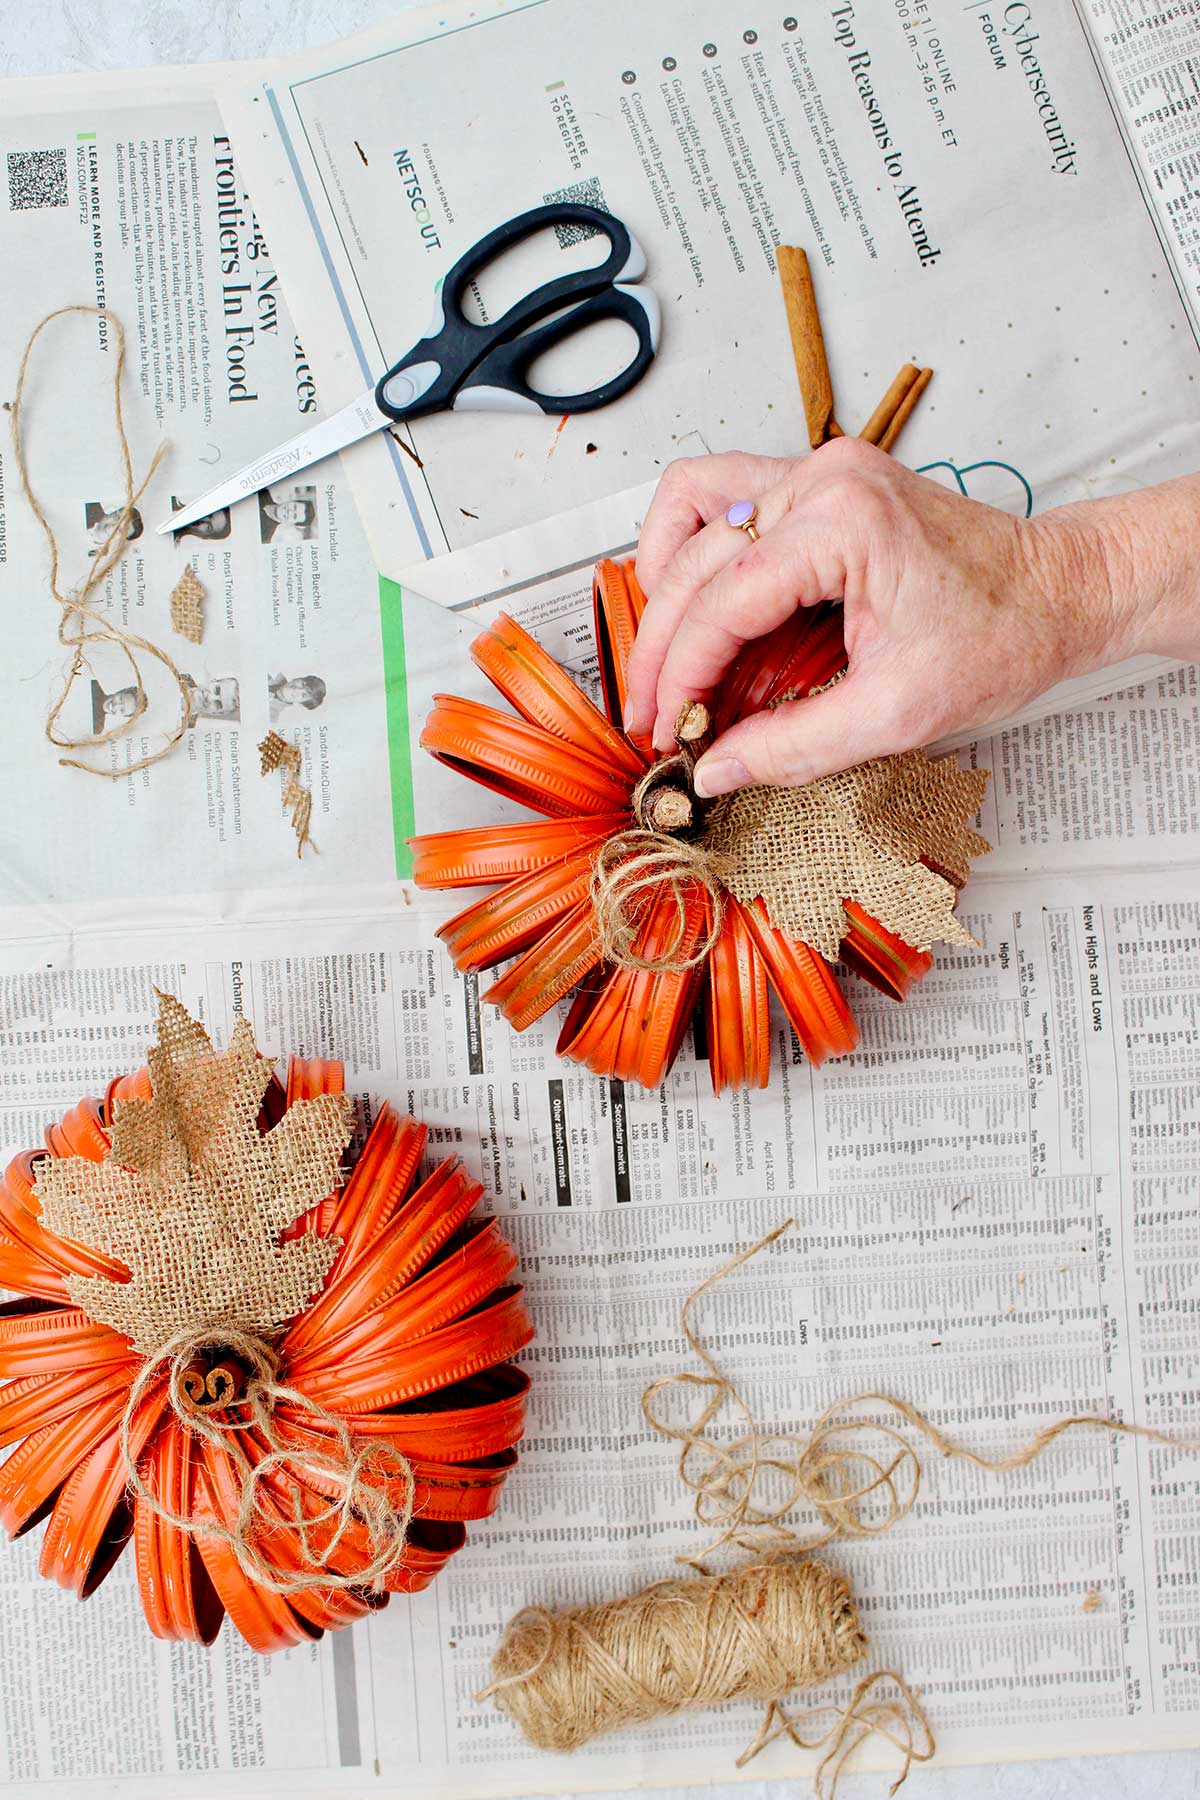
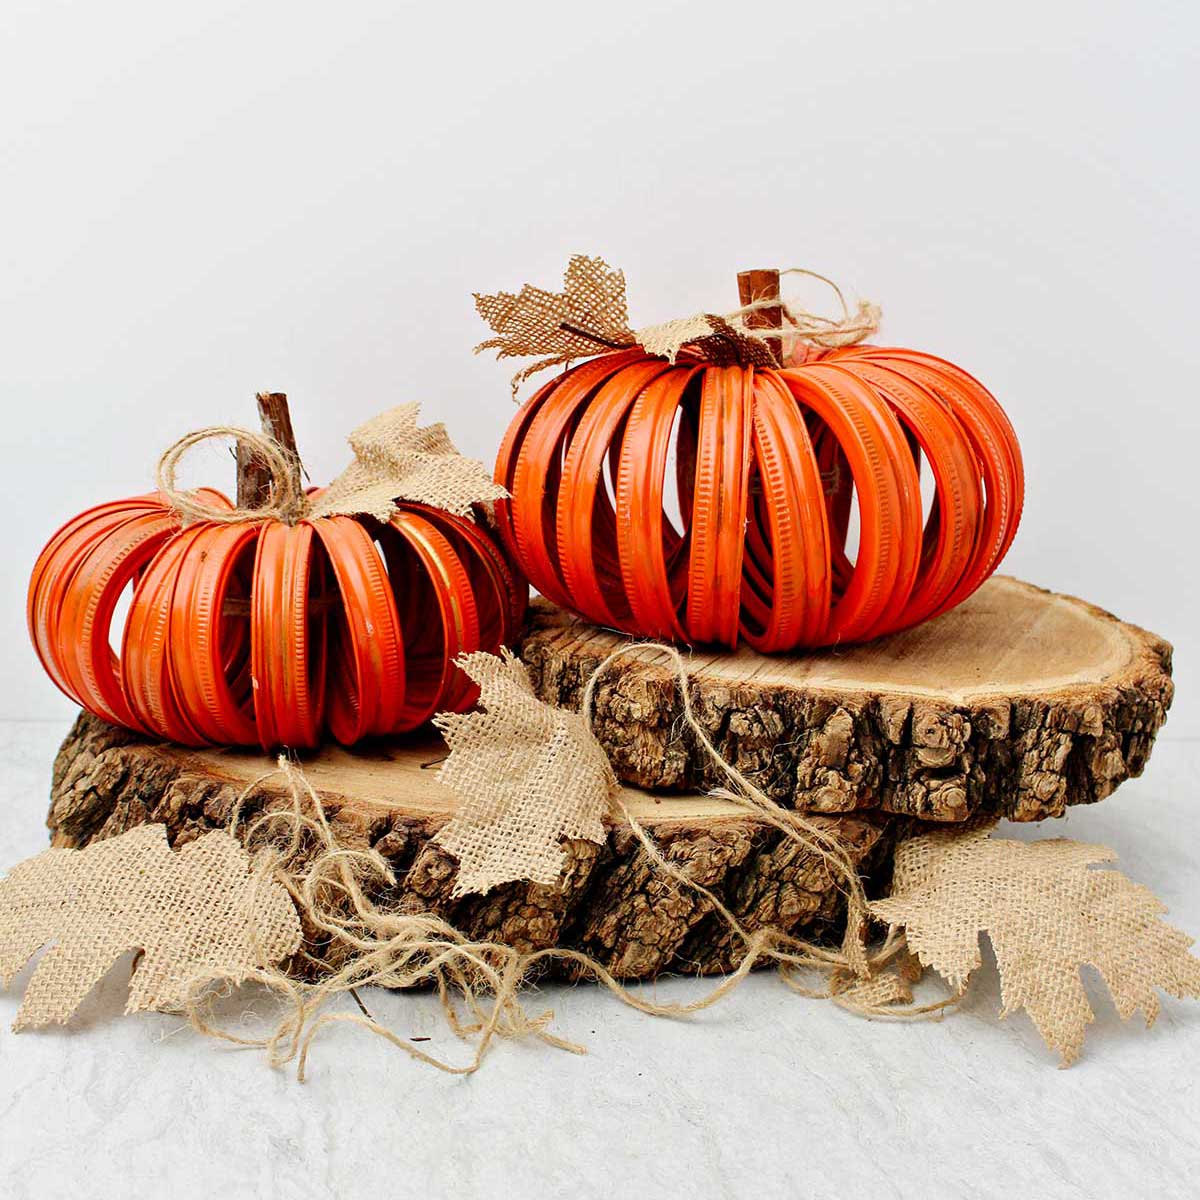
The canning jar lid rings come in two different sizes, so I made one Mason jar ring pumpkin in each size.
Kids will like making this craft with you. It's a great way to teach a new skill in spray painting too, and we are always a fan of learning around here!
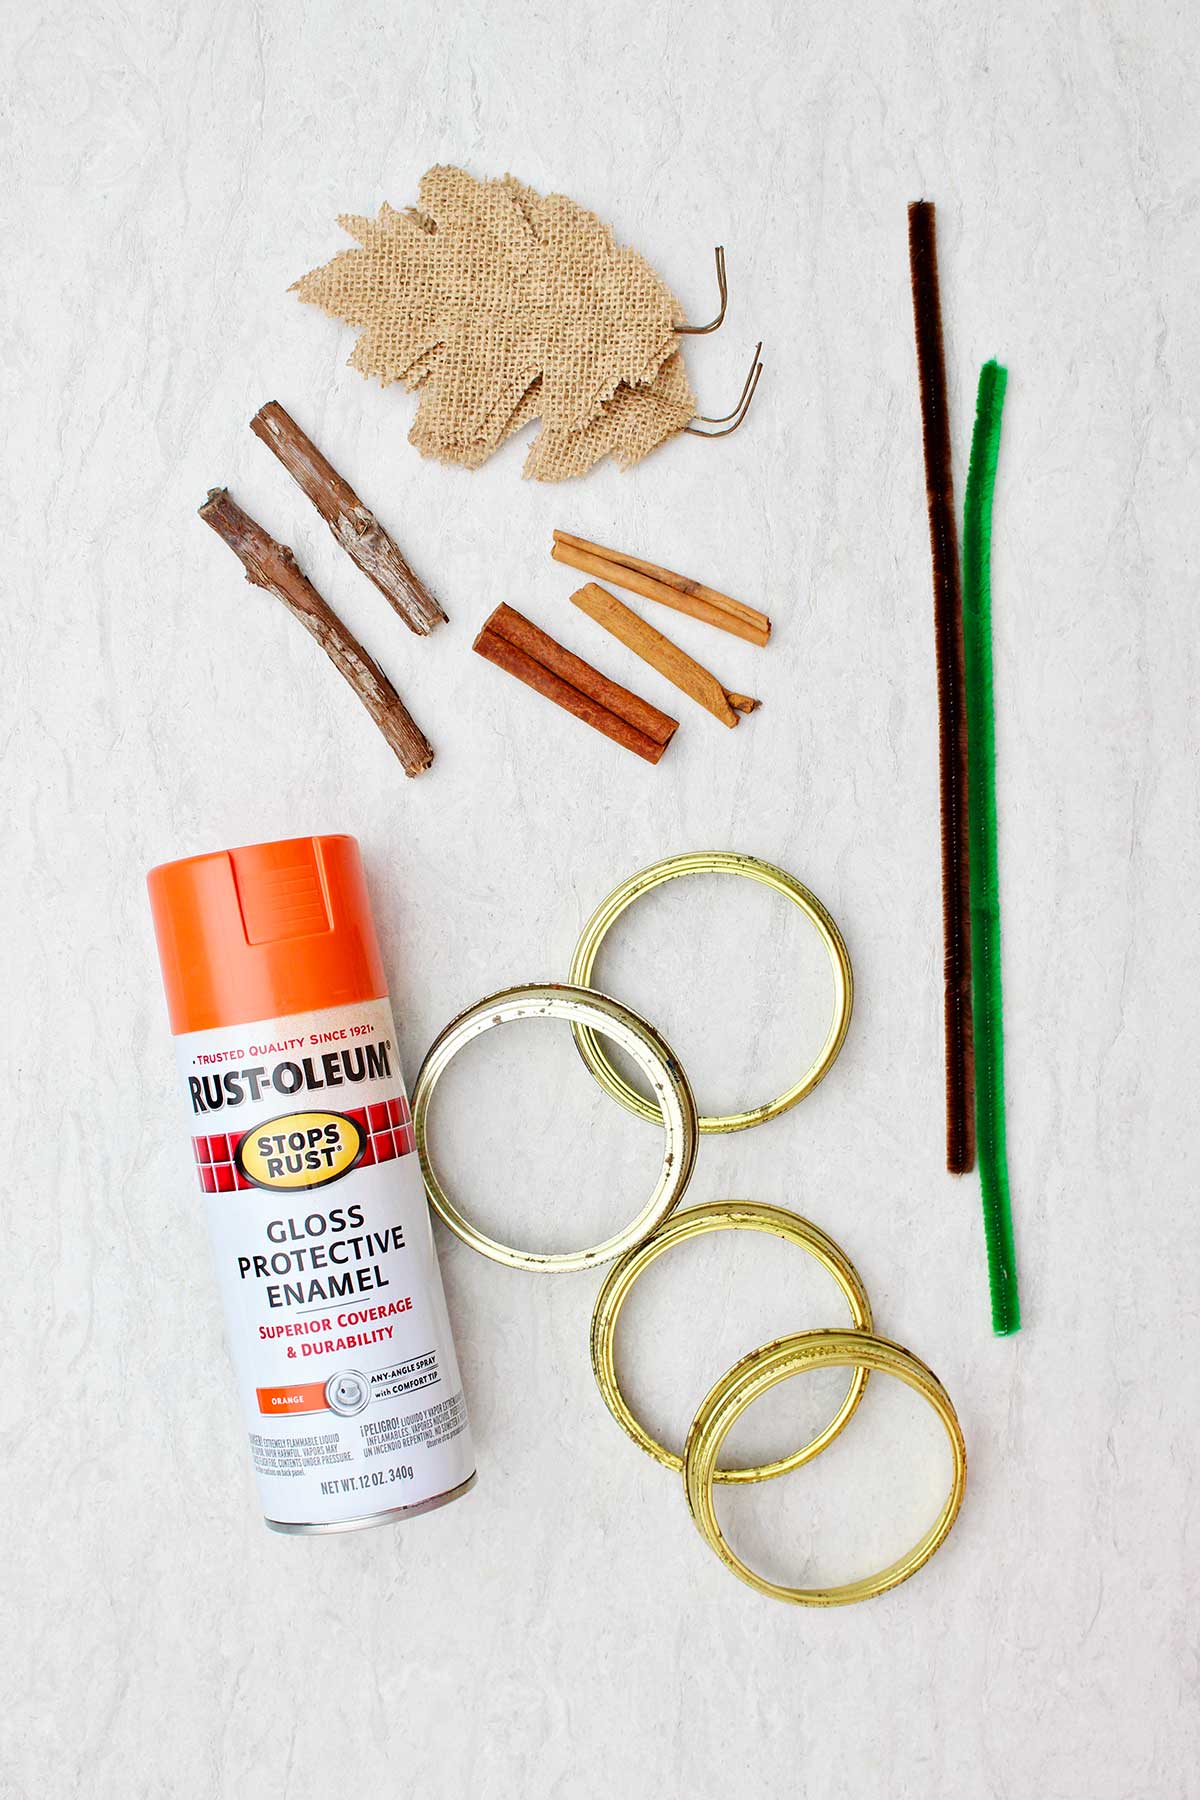
Supplies for making pumpkins from canning jar lids
Here are some notes about supplies to bring these cute pumpkins to life!
- 20 Mason jar lid rings- 20 large new or upcycled Mason jar rings or 17 regular sized rings will make a pumpkin. Might find these in a thrift store.
- Spray paint- Paint the pumpkin a traditional orange pumpkin color or color of your choice.
- Yarn or twine- A cord ties the canning jar rings in a circle.
- Cinnamon sticks or a short stick- The pumpkin uses a cinnamon stick or short stick for a stem.
- Leaves of green/brown felt or burlap (optional)- A felt or burlap leaf is a nice addition to the stem.
Steps to Make A Mason Jar Lid Pumpkin DIY
Gather your supplies.
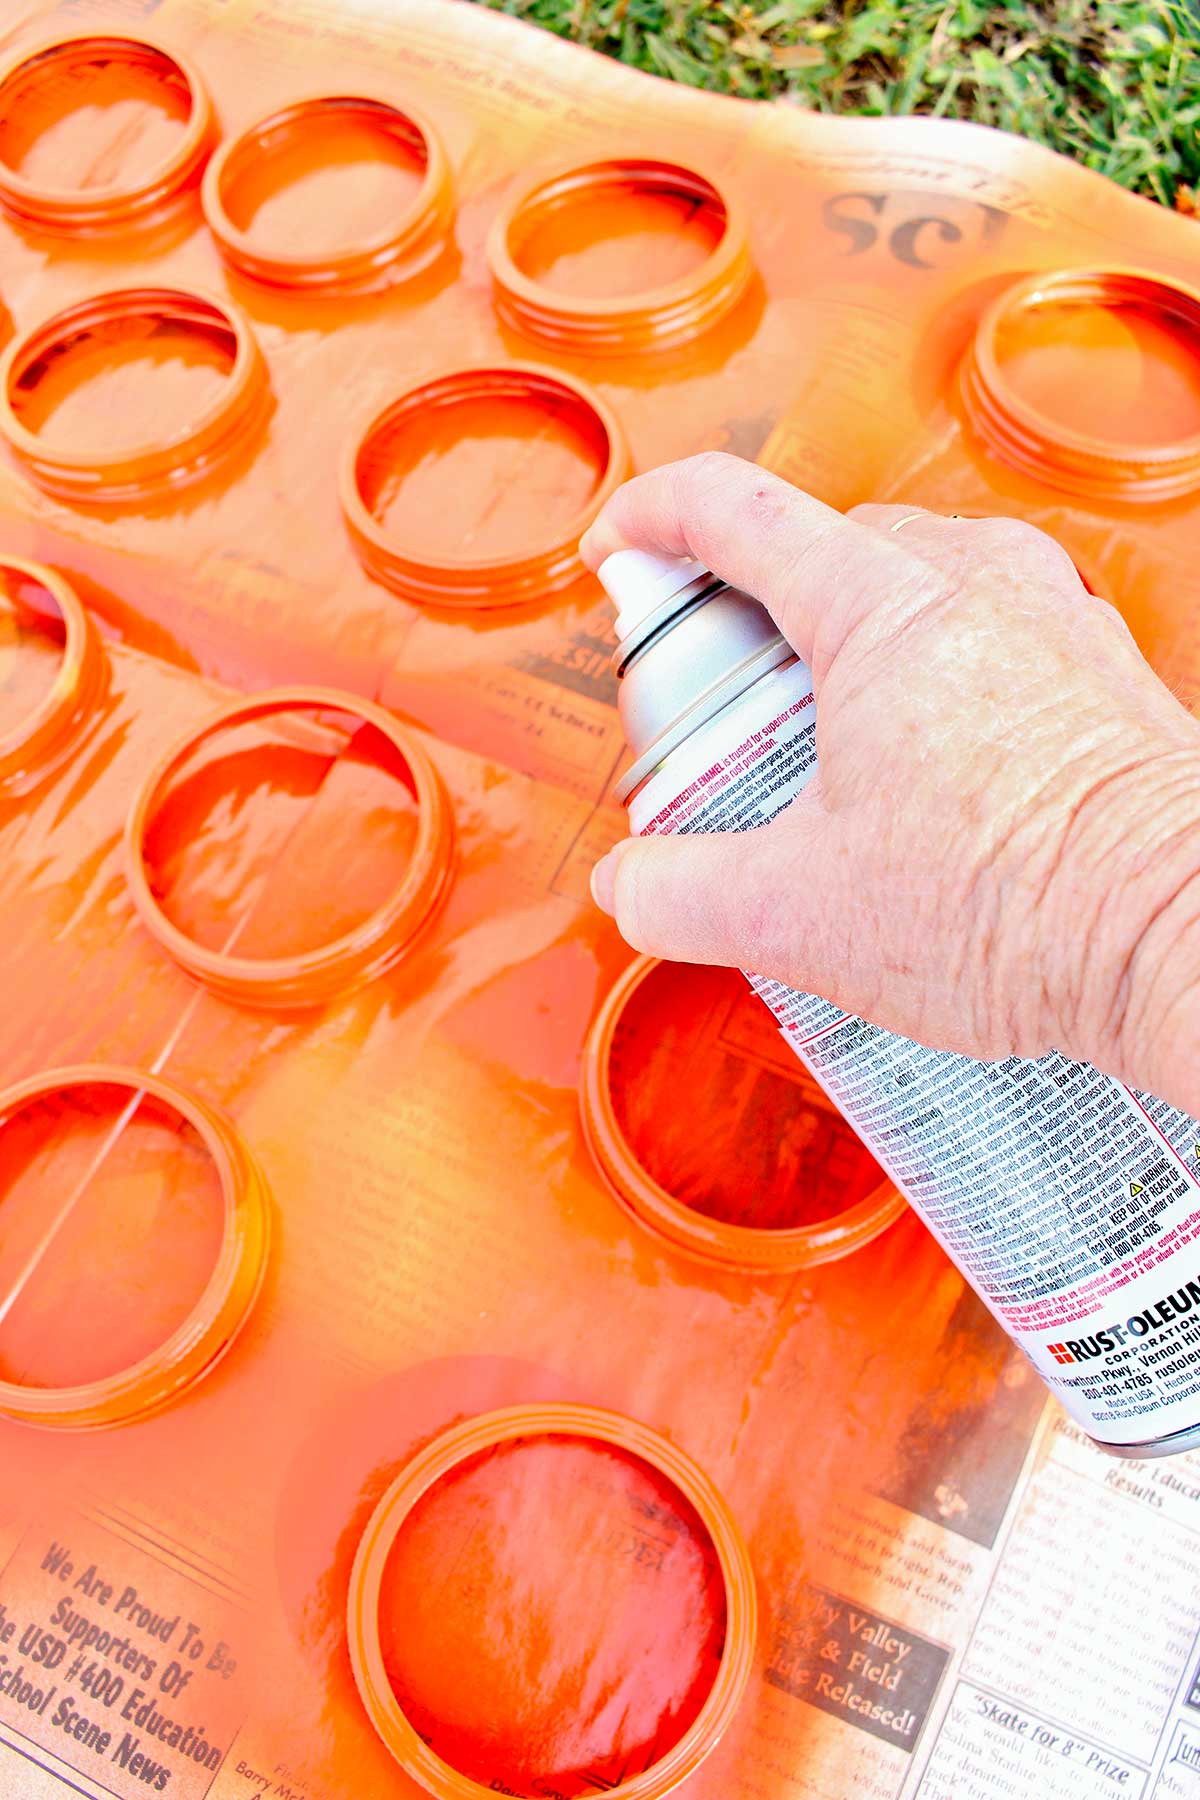
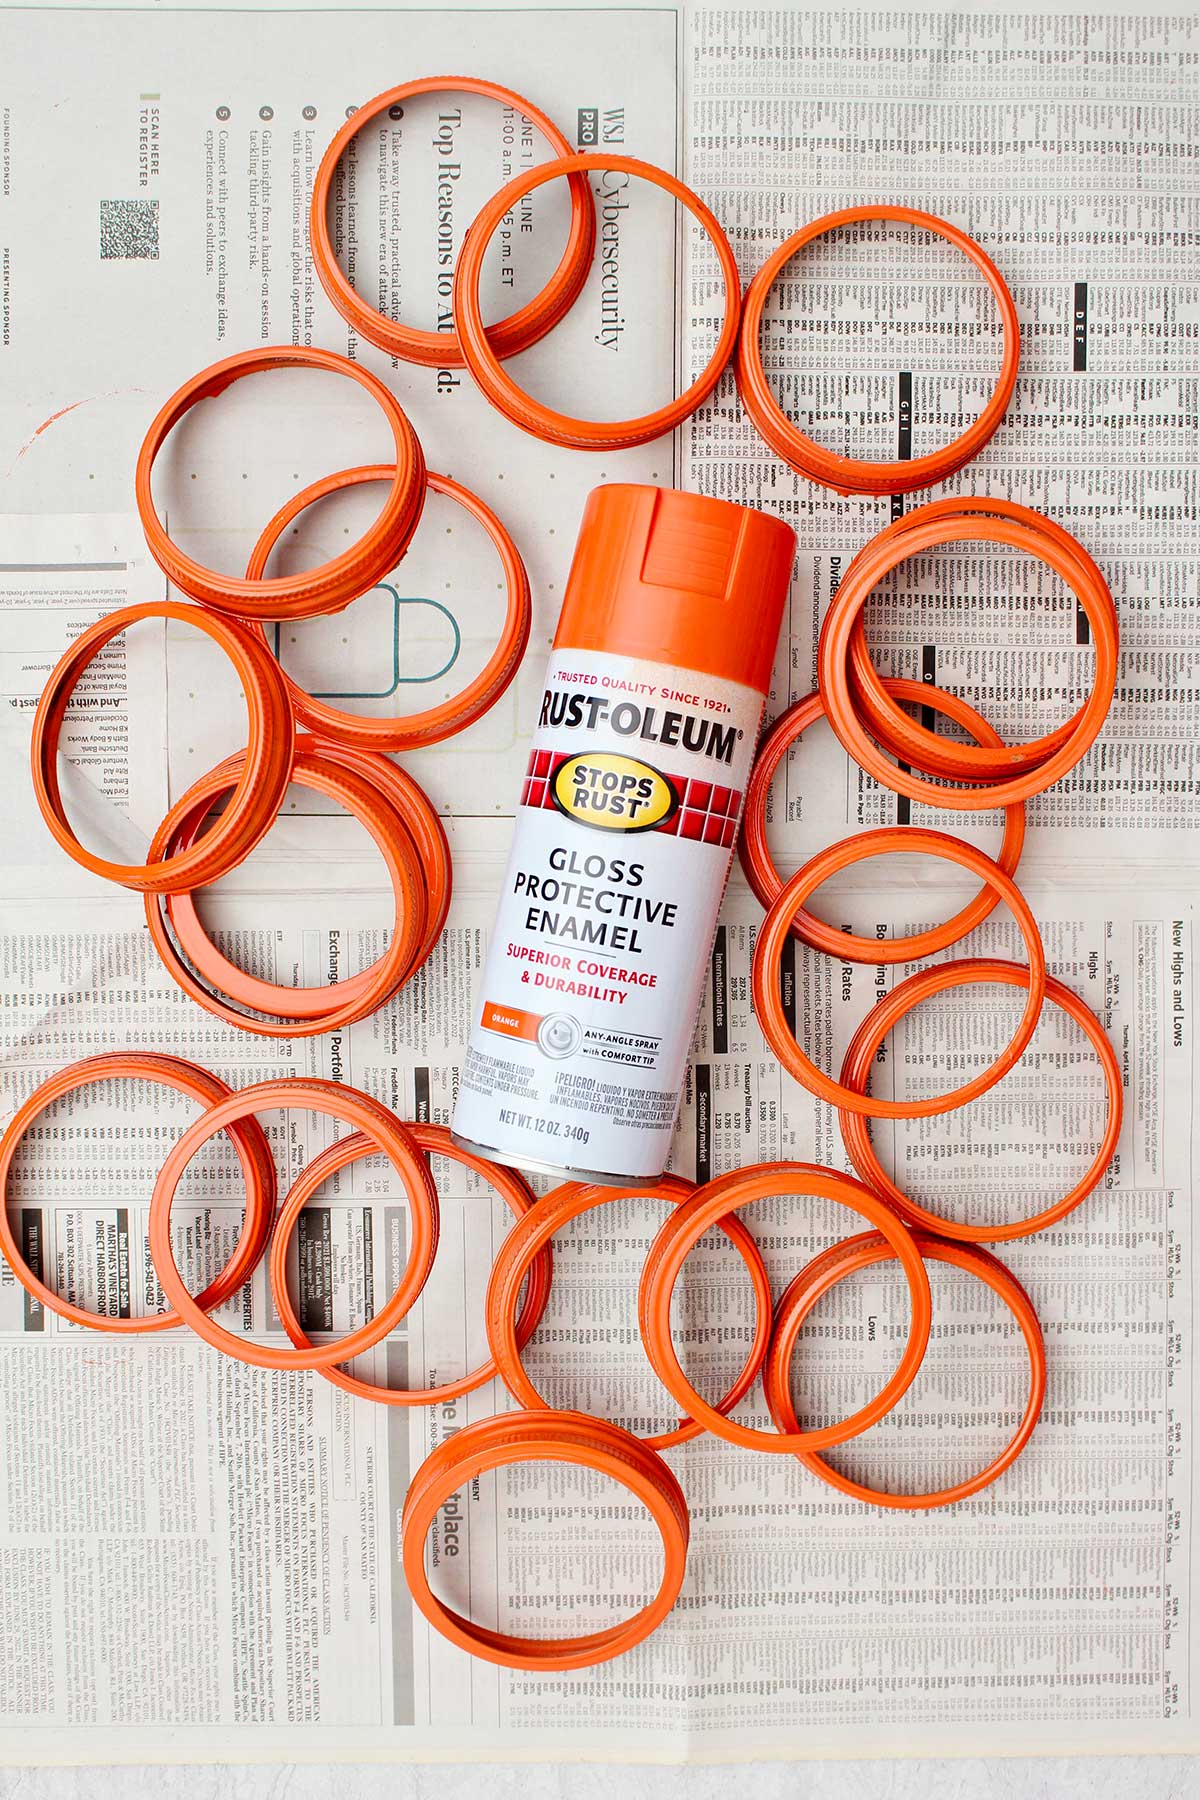
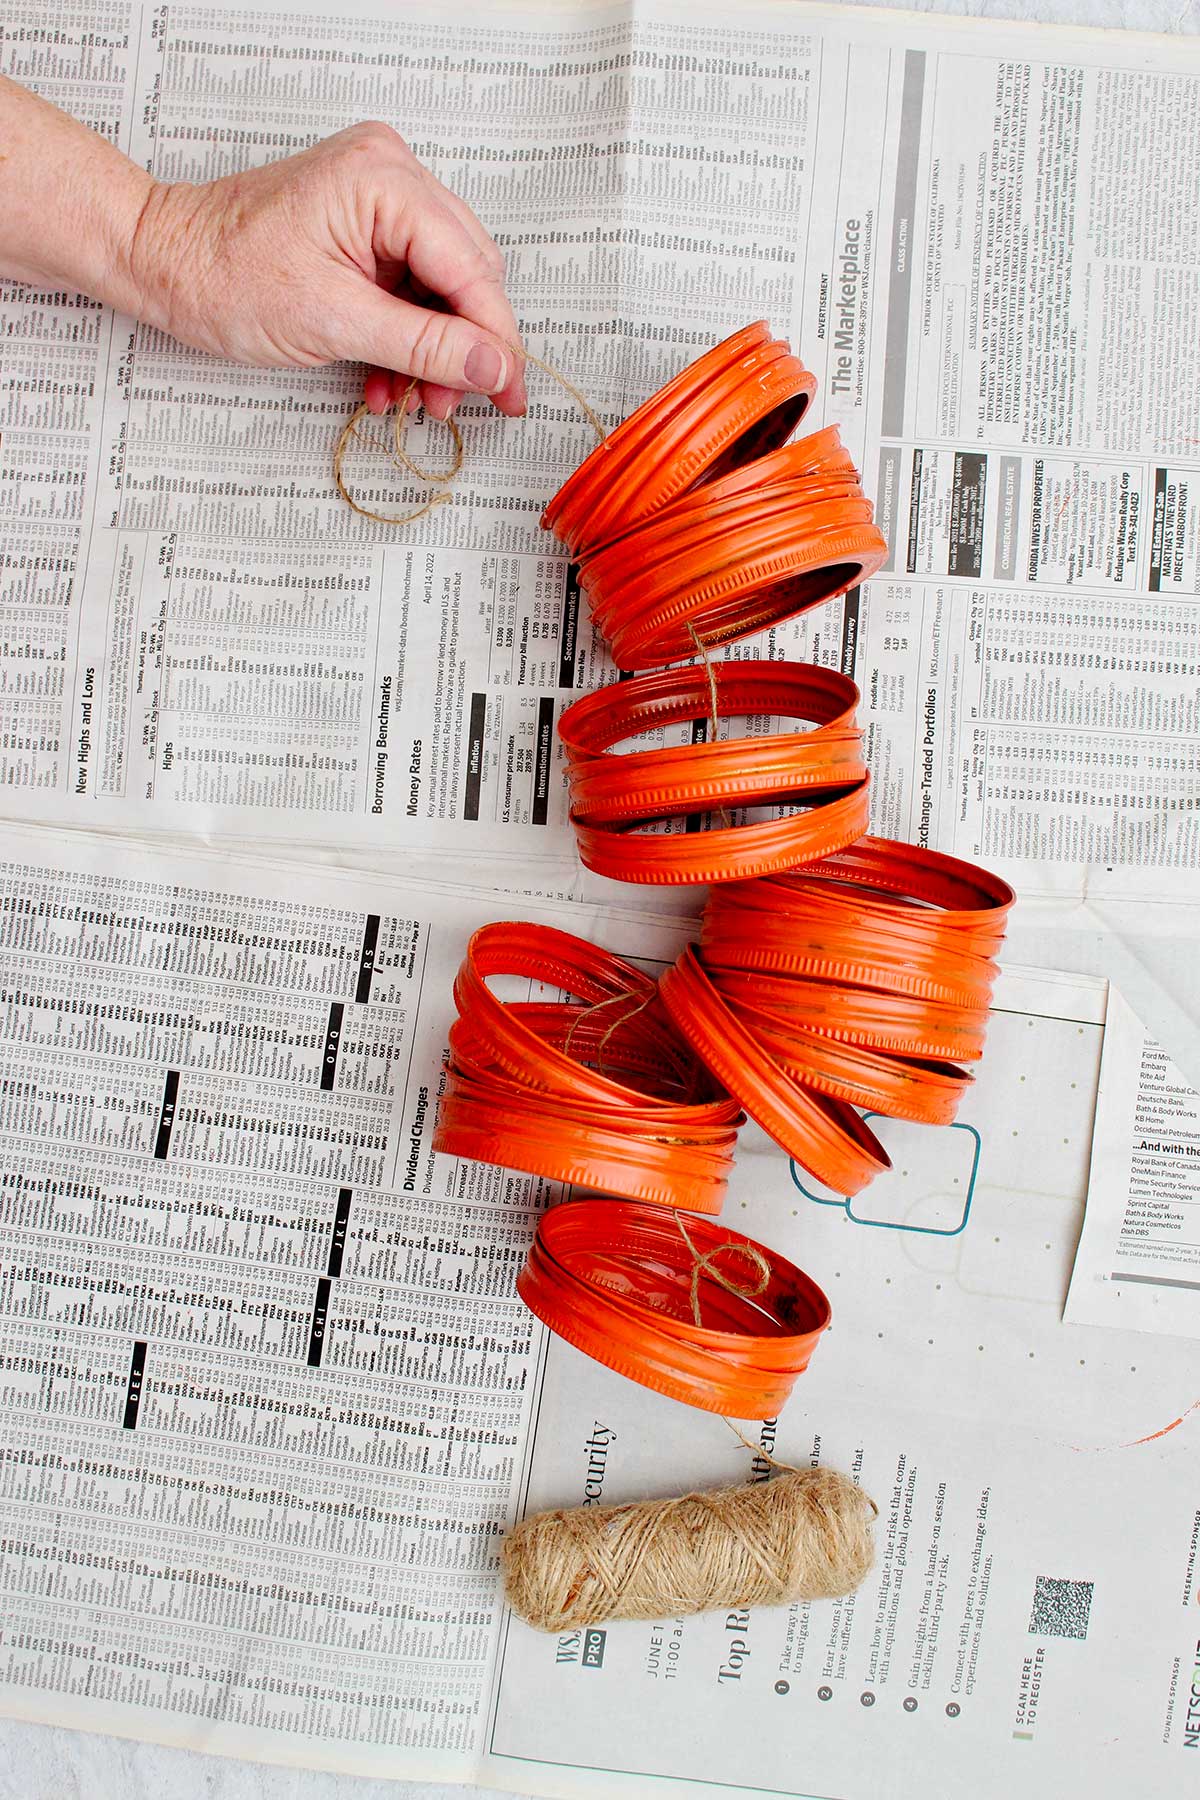
Spray paint the Mason jar lids orange. Paint the inside of the rings and let them dry. Turn the rings over, then paint the rings on the outside and let them dry.
Be in a well-ventilated area to spray paint, outdoors is the best location. This is a good opportunity to teach children how to spray paint.
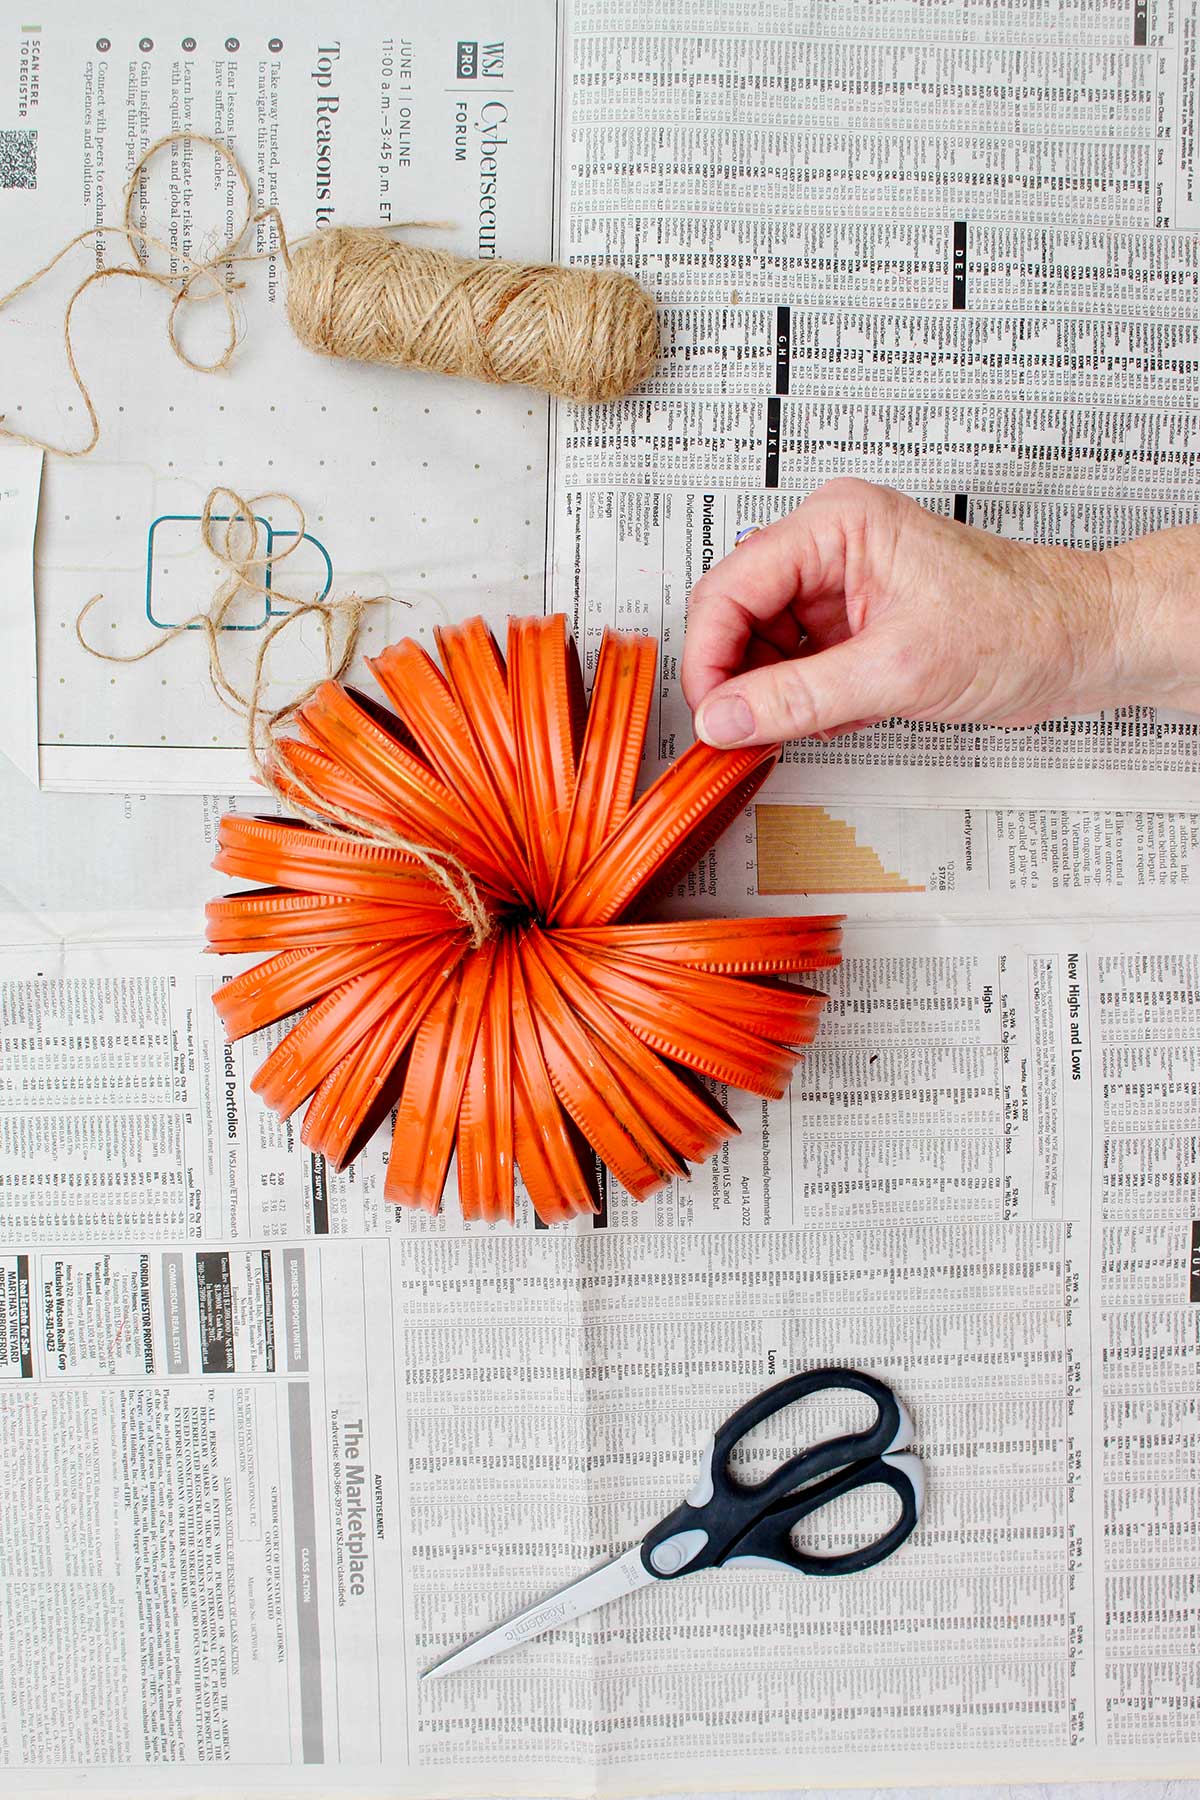
Turn all the canning jar rings in the same direction, this is important. Tie a yarn or twine through the center of the rings. Pull it up tight and tie a knot.
Fan the lids out evenly into a full circle.
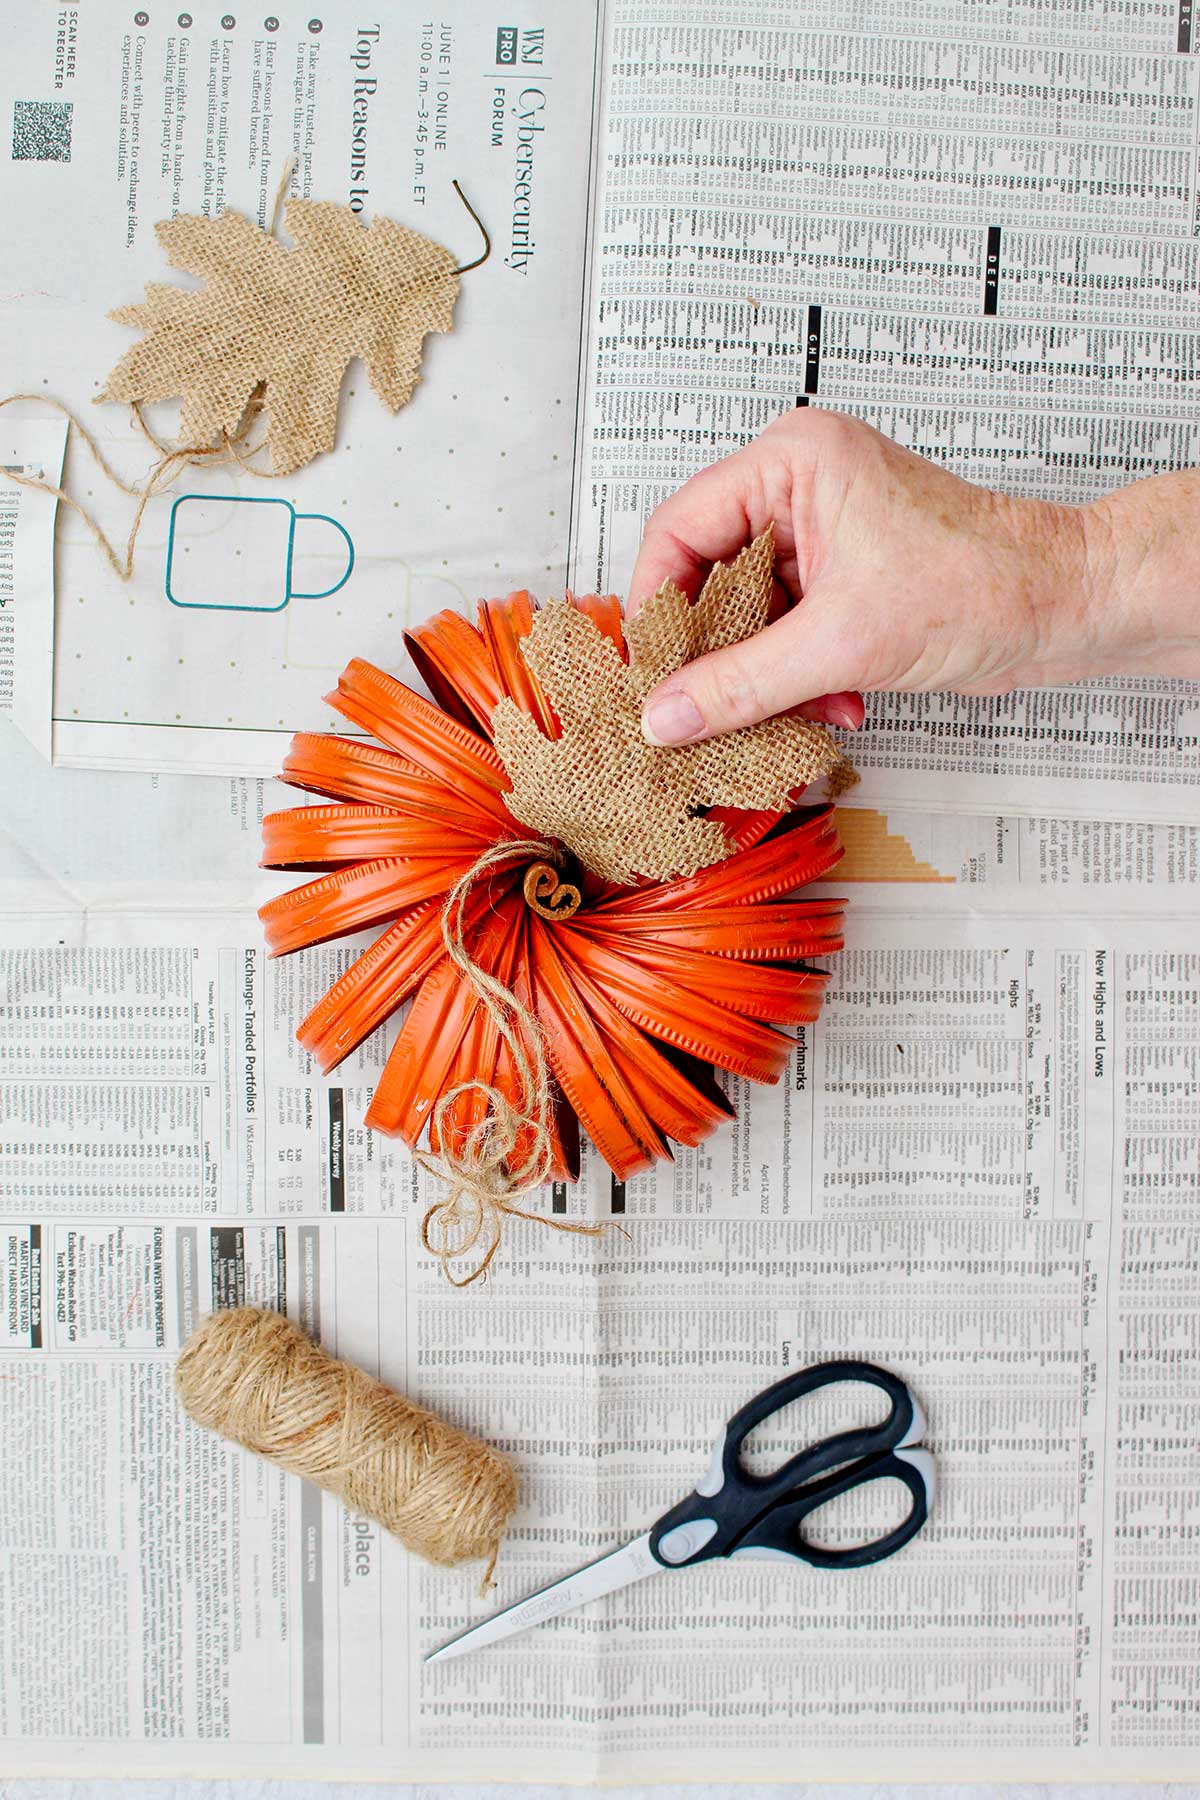
Add a stem of cinnamon sticks to the top of the pumpkin. A hot glue gun and glue make keep the stem permanently in place (optional).
Add leaves and curlicues by the stem. Cut leaves from green or brown felt, or purchased burlap leaves. Make the curlicues from twisted green or brown pipe cleaners.
Pumpkin Canning Lid Craft Tips
- Spray painting- Read the instructions on the spray paint can. Spray paint outdoors on a calm, warm day.
- Several light coats of paint- Make several light coats of spray paint instead of one heavy one. I put too heavy a coat of paint on the rings and it took a long time to dry.
- Clear the paint can nozzel- Finish painting the rings and then turn the spray paint can upside down and spray for a few seconds. This cleans the nozzle so it will spray better the next time you use it.
- Ask for help- Have a second person help you tie the yarn/twine. They can hold their finger on the strings while you make the knot so it stays tight.
- Making curliques- Pipe cleaners twist around your finger or a pencil for an even circular shape for curlicues.
Variations for the Mason Jar Lid Pumpkin Craft
Want to switch things up? Here are a few ways you can customize and play with this craft.
- Unpainted canning lids- Leave the lids gold and use washi tape around the outside edge. This will work best on new lids because older ones are often rusty.
- Different colored pumpkins- Pumpkins can be a color other than orange! Try turquoise, lime green, or pink for fun.
- Stem options- Use a stick instead of cinnamon sticks in the middle for a stem. Use extra twine for curlicues instead of a pipe cleaner.
- Mason jar lid pumpkin with lights- Add twinkle lights and/or floral moss to the center of the Mason jar lids.
FAQ about Canning Jar Ring Crafts
I found that 20 large mason jar lids worked best for a full looking pumpkin.
The complete steps and supply list are in this post. In short, tie 20 rings together in a circle and add a stem.
More Super Cute DIY Fall Crafts for Kids
Looking for more easy fall crafts to try? Here are a few of our favorites:
Happy Fall, Y'all!
Try this craft, leave a comment, rate it, and tag a photo with #WelcometoNanas wherever you post.
Come and join the fun at WTN!
Upcycled Mason Jar Lid Pumpkin Craft for Kids
Equipment
- Scissors
Items Required
- 20 large new or upcycled Mason jar rings or 17 regular sized rings
- Spray paint- orange pumpkin color
- Yarn or twine
- cinnamon stick or short stick
- A felt or burlap leaf
- Pipe cleaners (optional) are used for curlicues
- Washi tape (optional) for decoration
Instructions
- Spray paint the Mason jar lids orange. Paint the inside of the rings and let them dry. Turn the rings over, then paint the rings on the outside and let them dry.Be in a well-ventilated area to spray paint, outdoors is the best location.
- Turn all the canning jar rings in the same direction, this is important. Tie a yarn or twine through the center of the rings. Pull it up tight and tie a knot.Fan the lids out evenly into a full circle.
- Add a stem of cinnamon sticks to the top of the pumpkin. A hot glue gun and glue make keep the stem permanently in place (optional).Add leaves and curlicues by the stem. Cut leaves from green or brown felt, or purchase burlap leaves. Make the curlicues from twisted green or brown pipe cleaners.


Leave a Reply