Your Own Scarecrow Front Door Greeter
So, making a scarecrow was a blast (and a bit crazy) with the grands! It's the perfect fall decoration by the front door. All ages of grands can help. Why not make a whole family of scarecrows?!
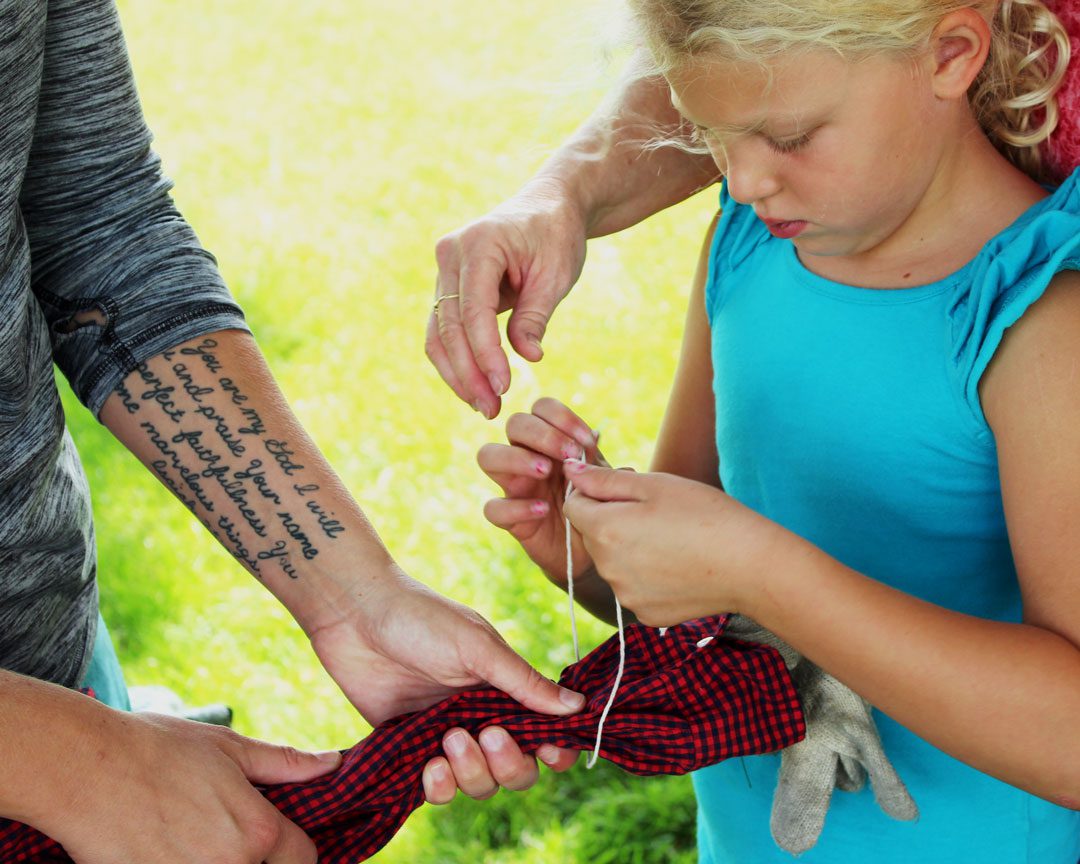
Scarecrow Fashion
You can create whatever “personality” scarecrow you desire. It’s fun to have a collection of old clothes available for the grands to choose from, or to make a trip to the thrift store to find some clothes for your scarecrow. If it’s going in front of your house, though, you may want to do the wardrobe choosing!!
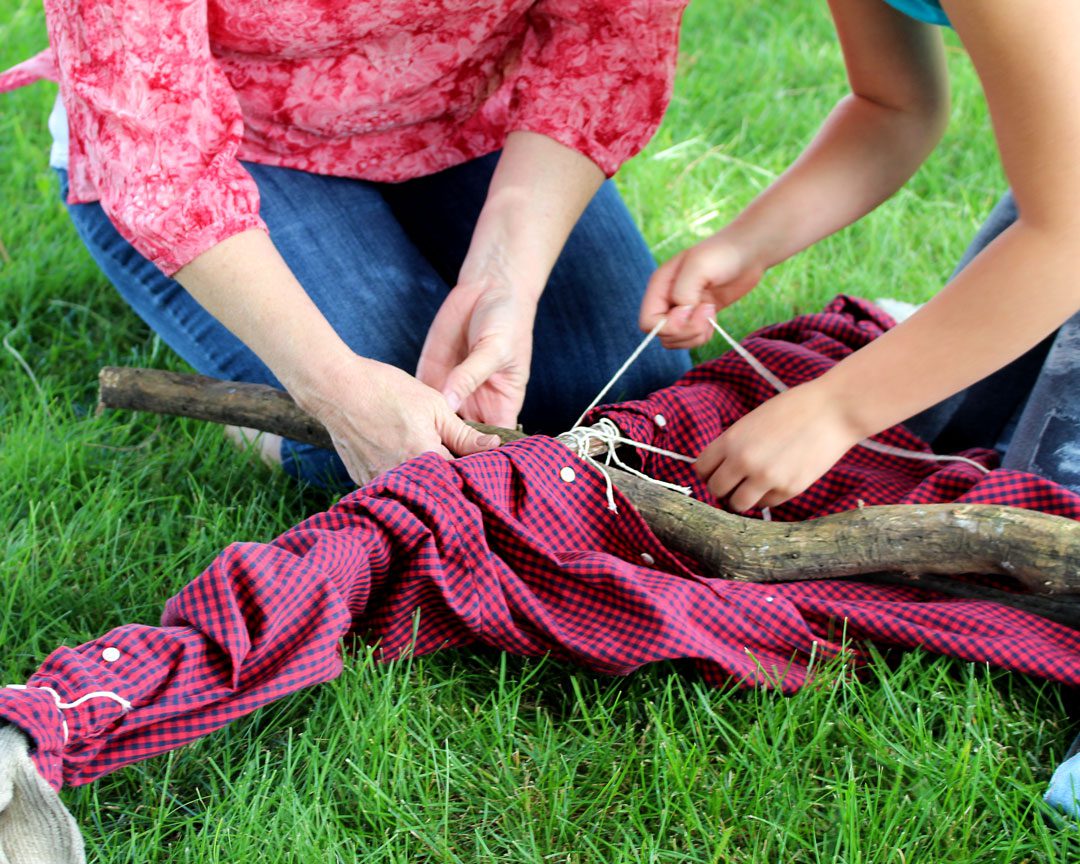
Framing
We put the shirt on the horizontal stick and the pants on the vertical stick before firmly tying them together with twine… I felt like a Girl Scout again! I found a couple thinner boards to screw together instead of using sticks for a second scarecrow. It would be cool if the "arms" could even have “elbows” by cutting the arms and screwing them together at an elbow spot. Then the arms could be posed a variety of ways. How fun!
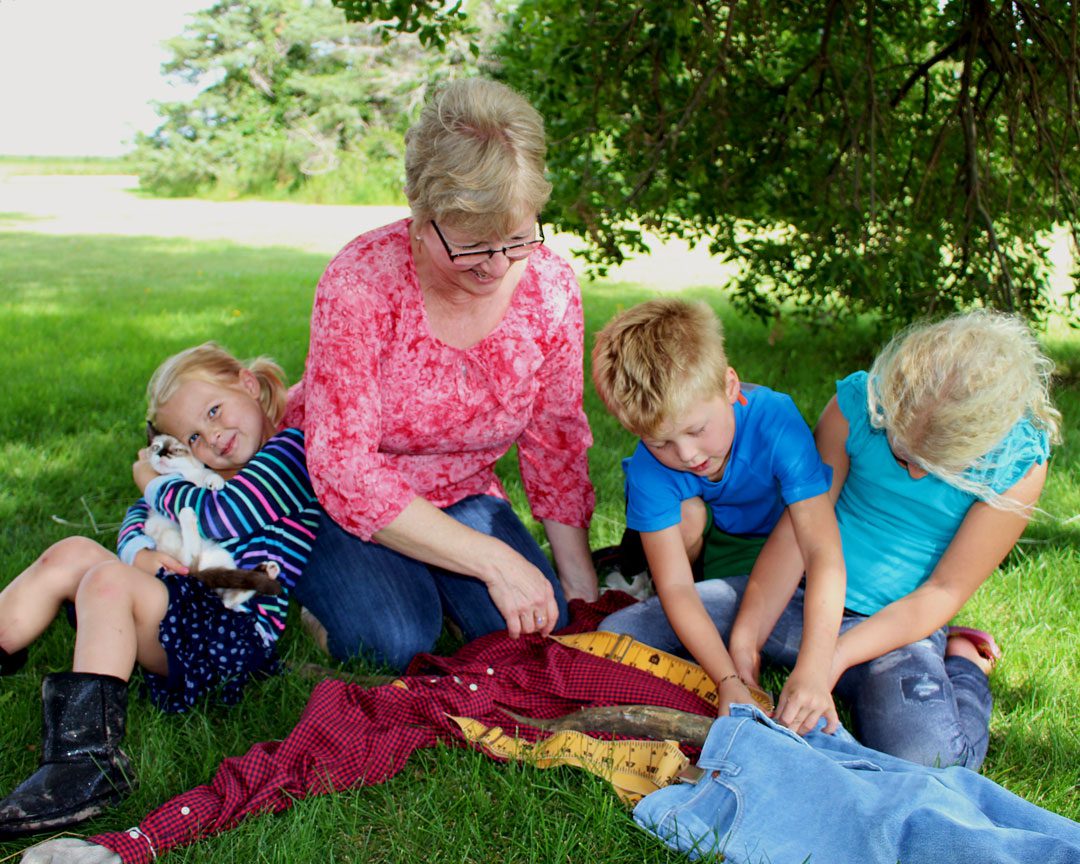
Avoiding Scarecrow Wardrobe Malfunction
Overalls work really well because the straps hold the pants up! Hook the straps over the vertical stick for the "arms", then stuff. If you are using a shirt and pants, they need to be connected in some way to hold the scarecrow together on the pole. Old suspenders work great or you can make your own suspenders out of twine if need be. Hook the suspenders over the vertical stick for "arms" and then stuff.
Next, tie the "hands" (I added gloves) and "legs" shut so the straw doesn’t slip out.
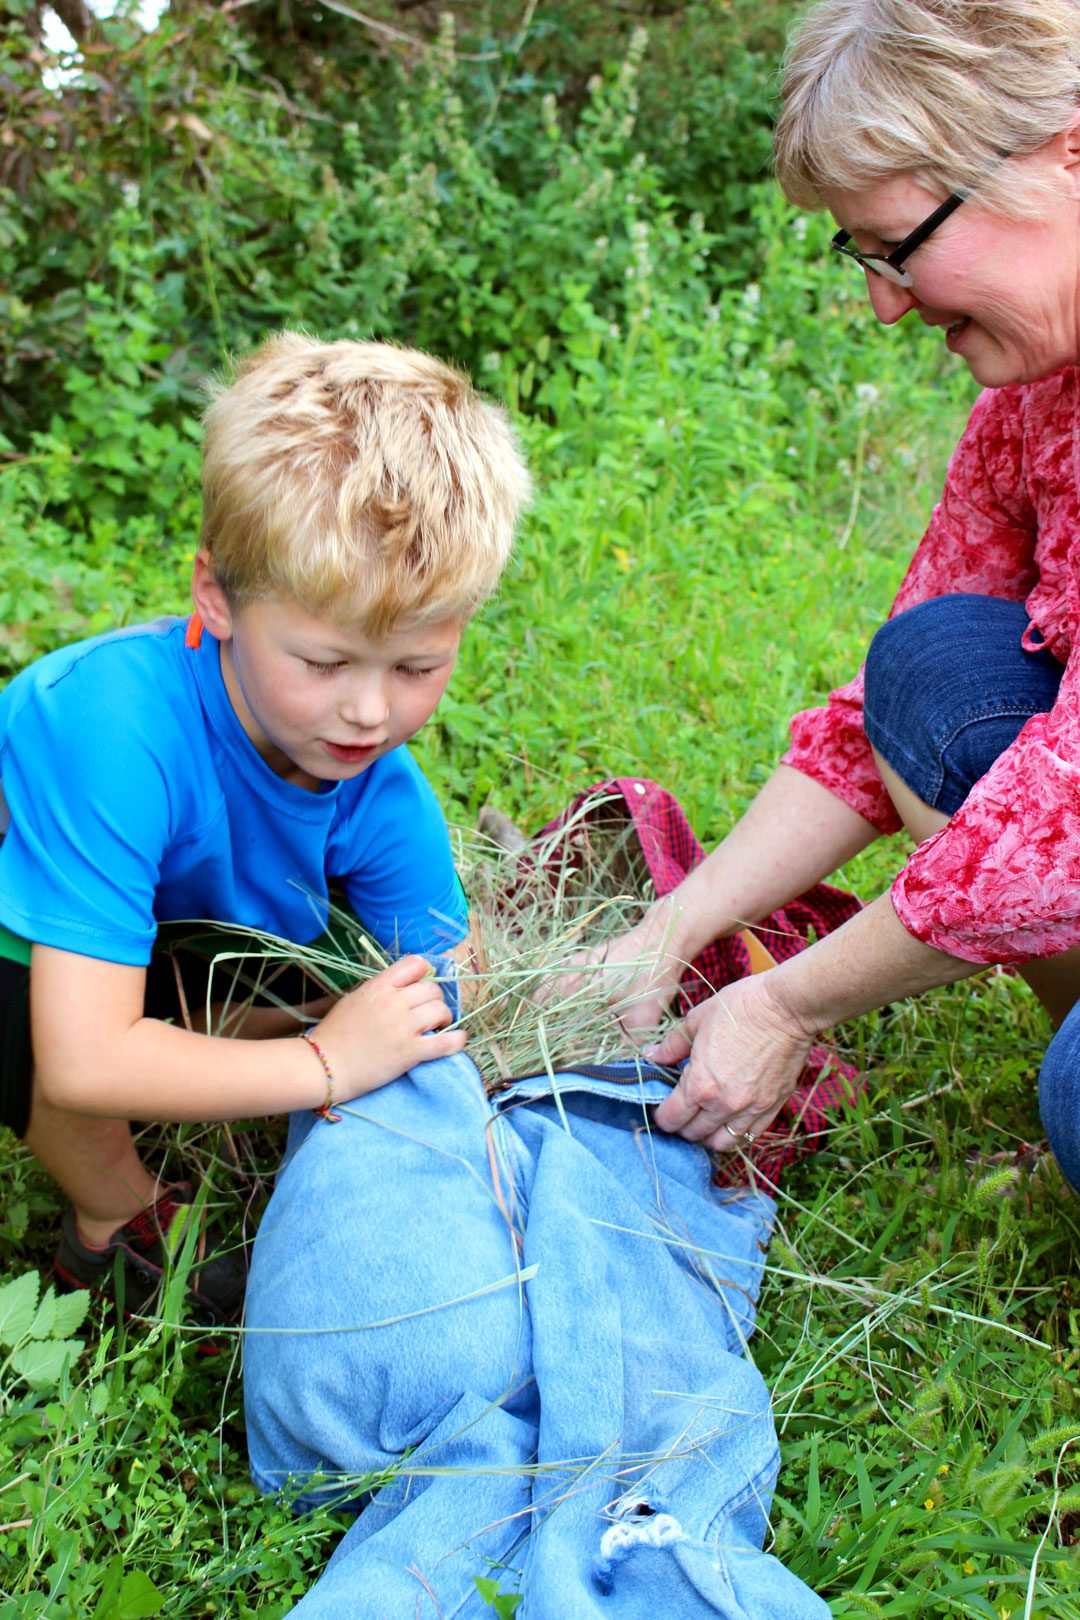
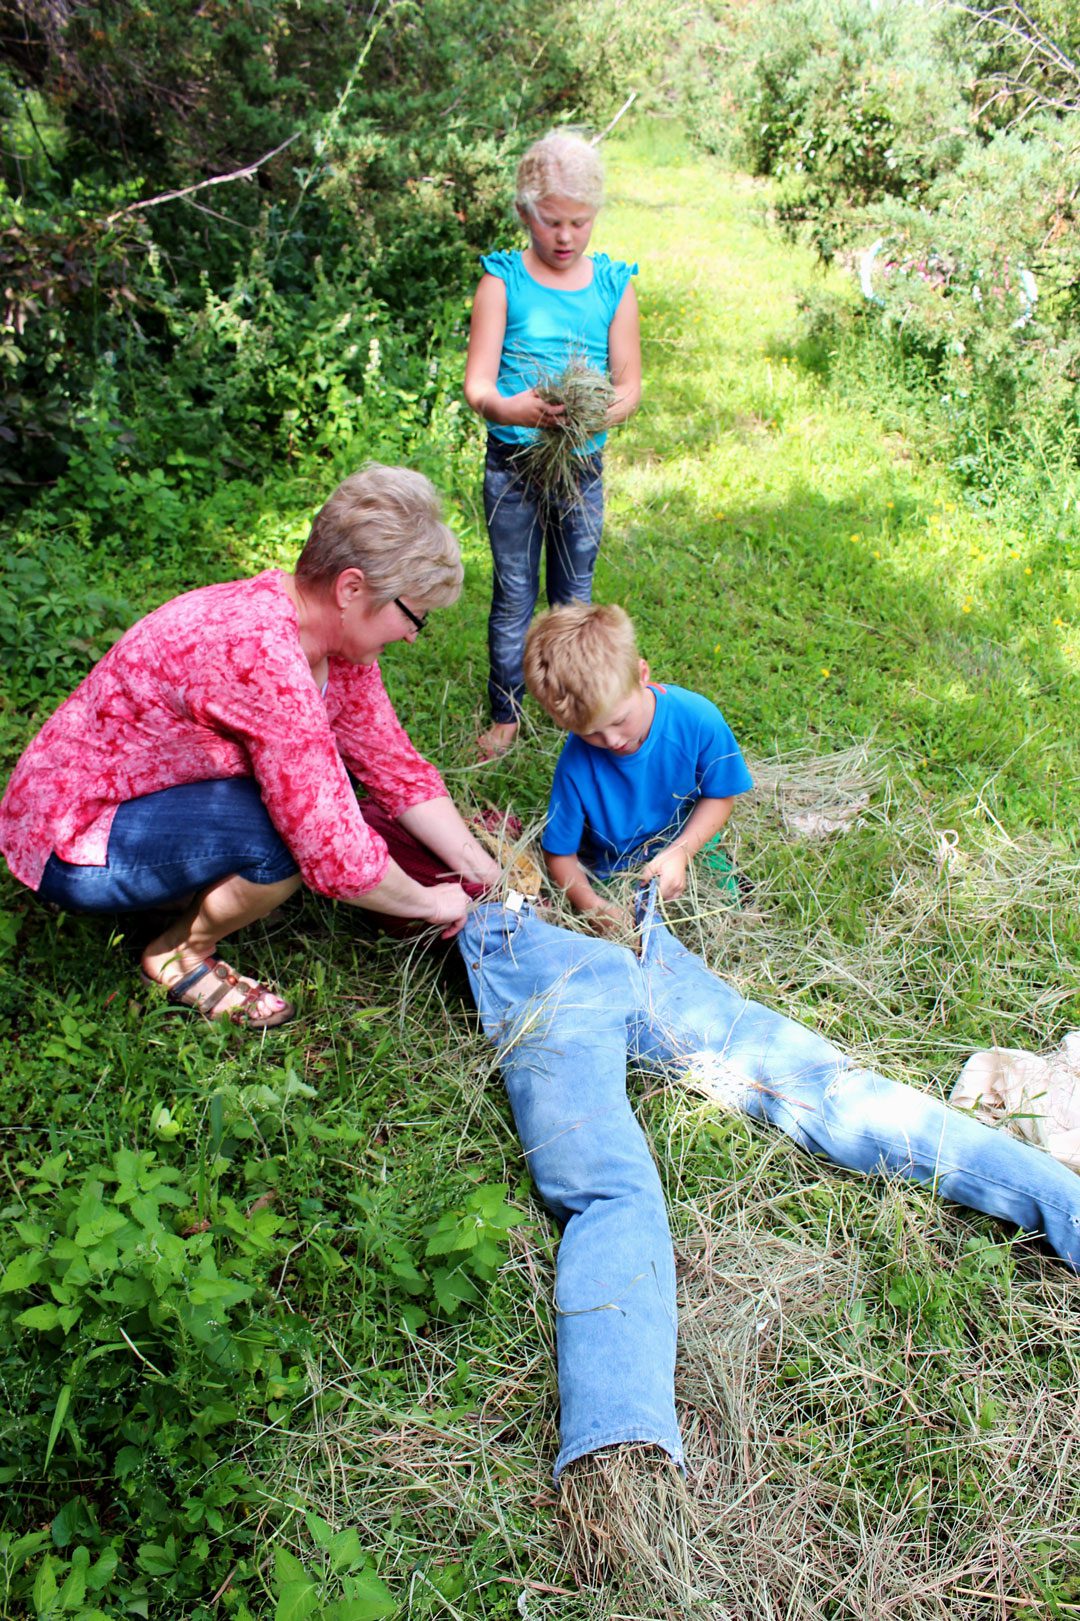
Stuffing a Scarecrow
The grands really got into “stuffing” our guy. Doesn’t it remind you of that scene from “The Wizard of Oz” where they have to re-stuff their scarecrow buddy? That dates me!
How to do the stuffing actually took some thinking. (If I only had a brain…Oh, and you’re welcome for getting that tune stuck in your head!)
Topping Him or Her Off
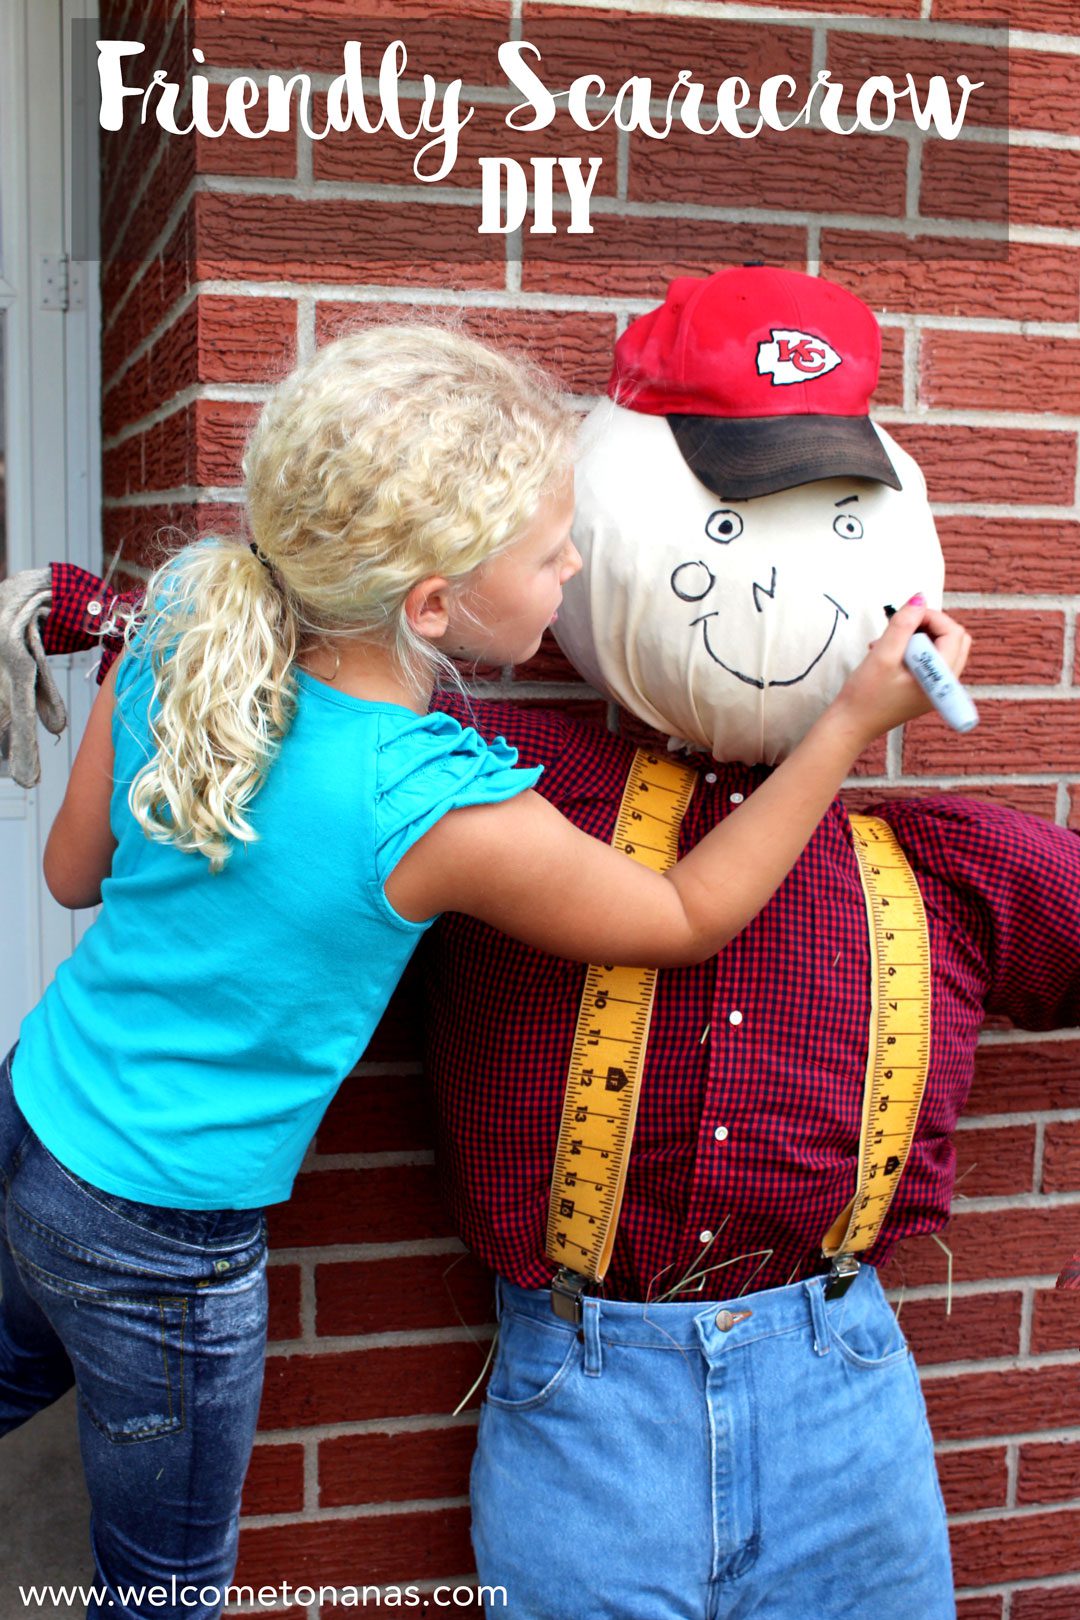
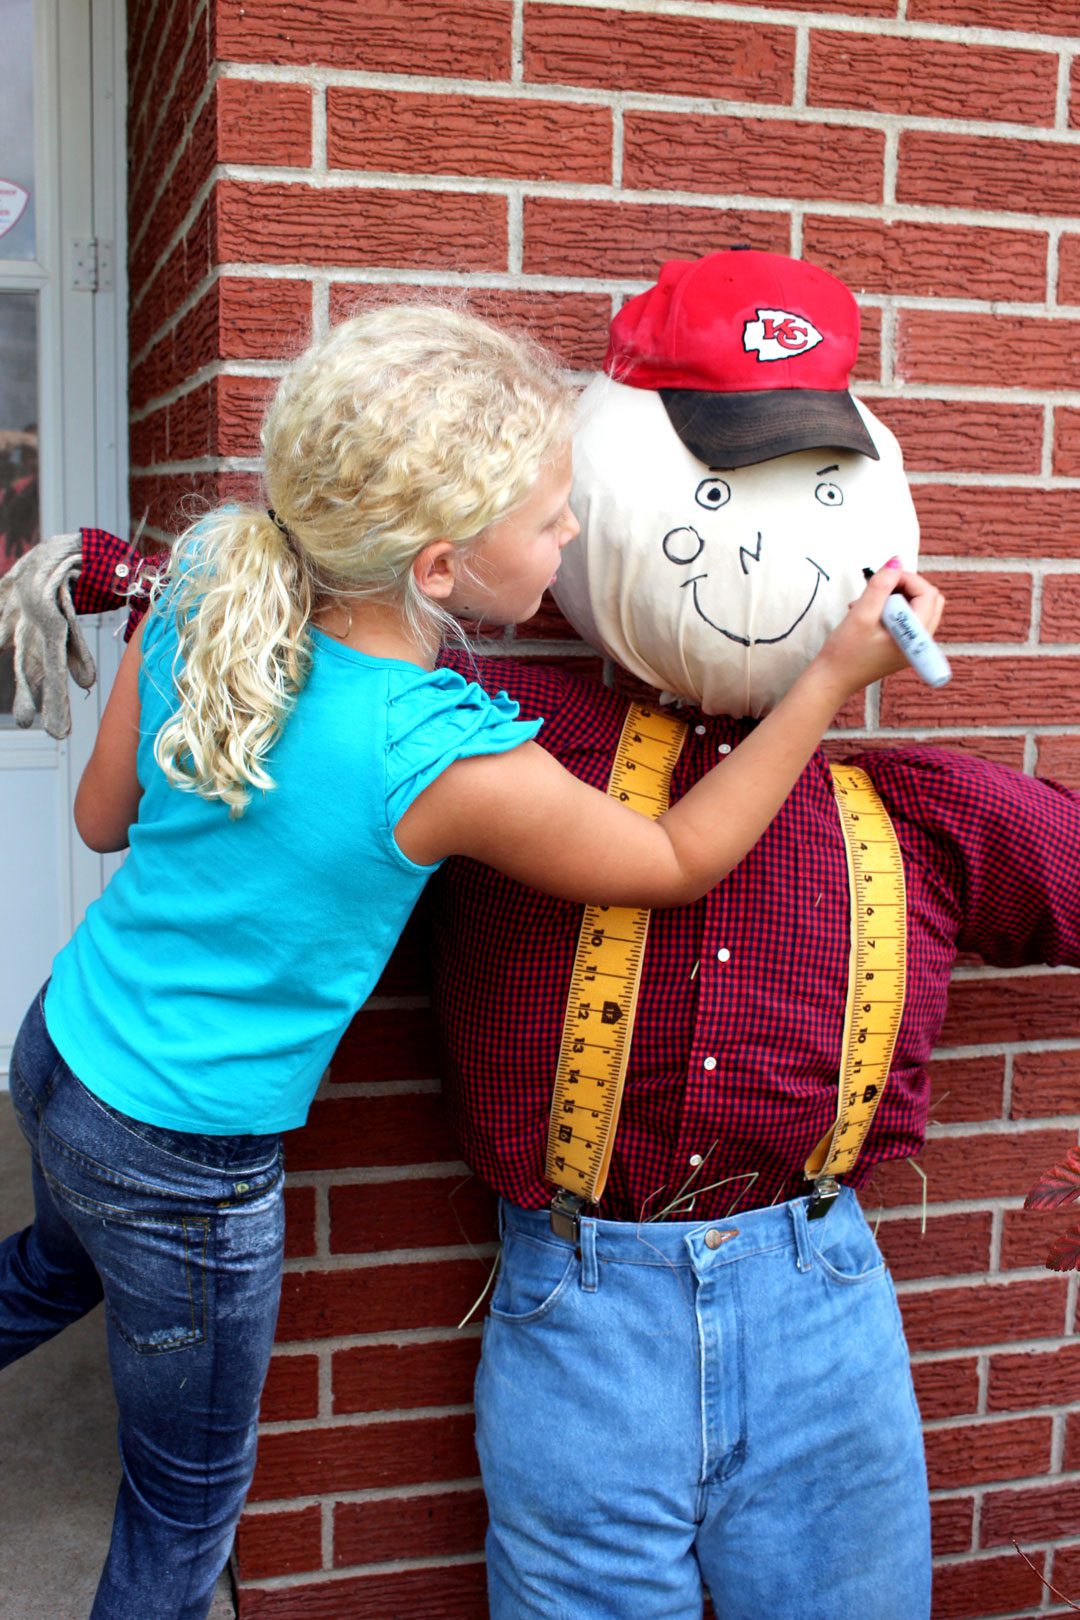
An old plain pillow case works great for a "head". Stuff it, then place it on top of the vertical pole, tying it on with twine around the "neck". A hat and a drawn on face make it come to life with personality that pops!
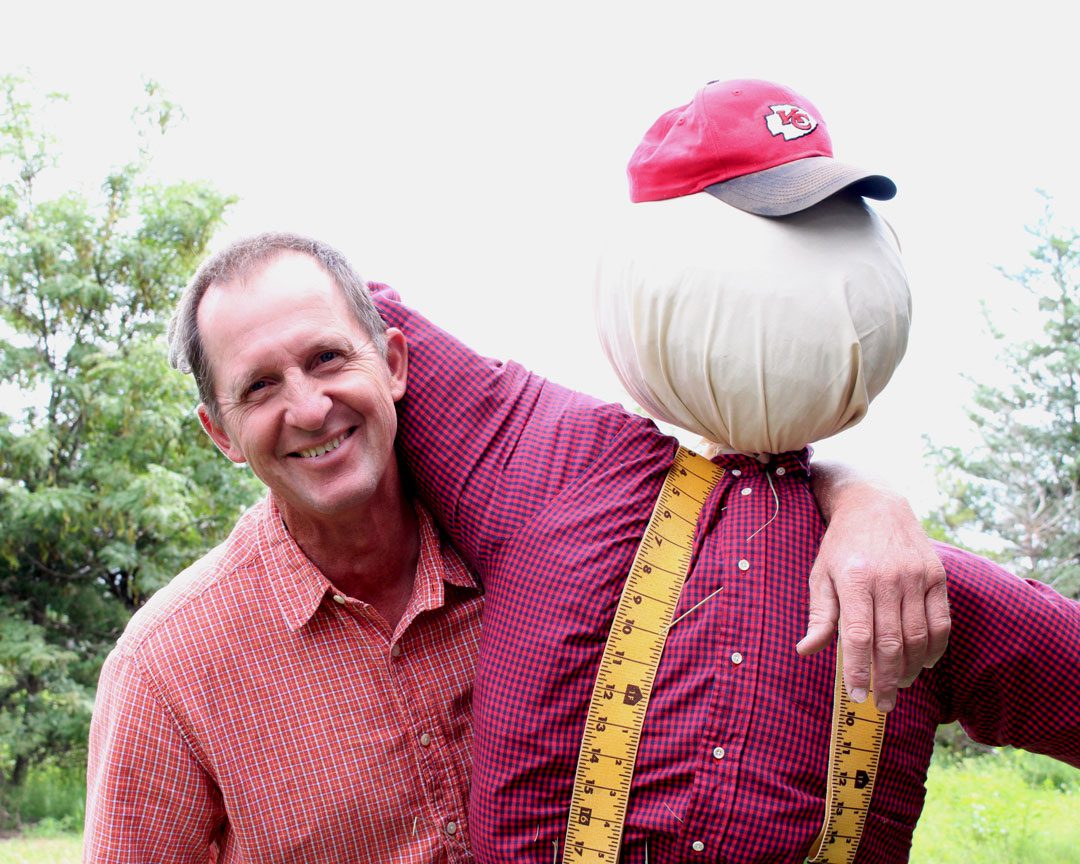
Hmmm... this scarecrow looks suspiciously like PAPA!!
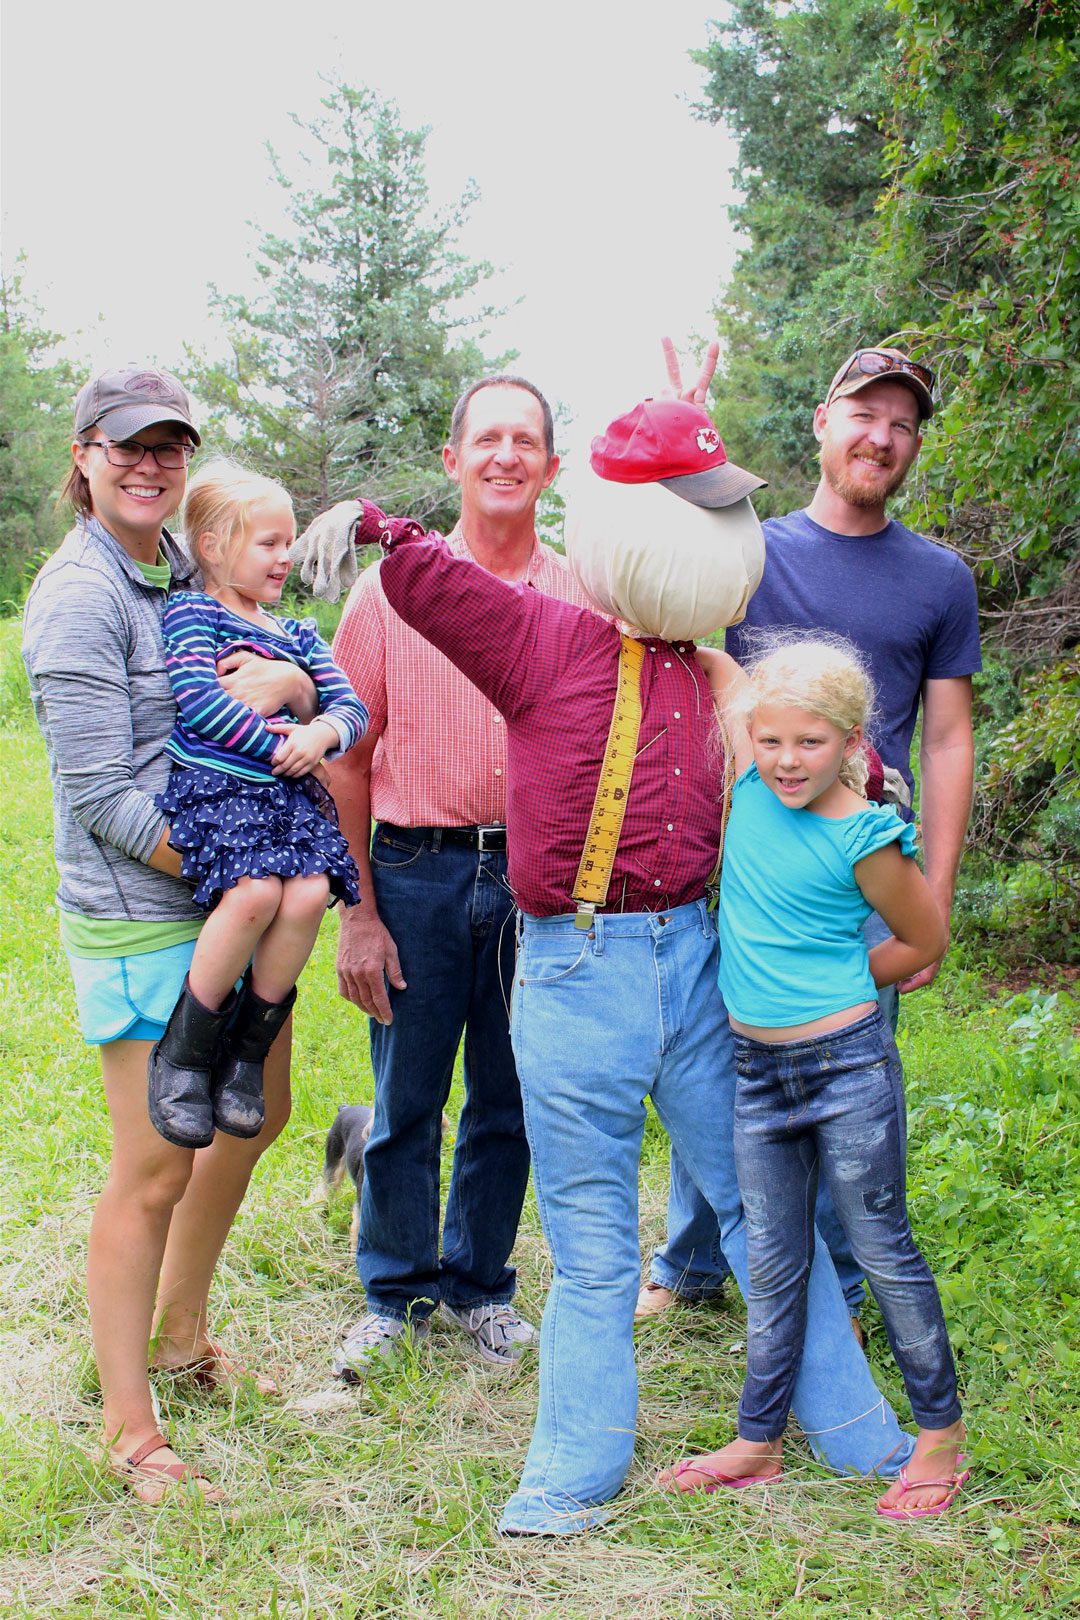
This project brought a lot of laughter and every age was able to help.
If you give this DIY a try, be sure to tag #welcometonanas - I’d love to see pictures of your scarecrow creations!
Enjoy!
You'll Need:
- Heavy string or twine
- Scissors
- Scarecrow clothes of your choice such as-
Pant or overalls, Long sleeved shirt, Suspenders (if using pants/jeans), Gloves (optional), Hat - Old pillow case (plain, beige or white) or burlap bag for a head
- Frame of 2 sticks (one about 6-7 feet long the other about 4-5 feet long for an adult size scarecrow) or small boards of the same length, connected to make a “T” shape
- Screws and screwdriver for connecting boards together (optional)
- Stuffing- straw or newspaper
- Permanent marker for drawing a face
Instructions:
- Place shorter stick through sleeves of shirt
- Place longer stick through the overall or pant leg
- Lash/tie the two sticks together in a cross shape or screw the two thin boards together
- Lay the frame down and put the straps of overalls or suspenders in place over the “arms” of the scarecrow
- You can make suspenders from string or twine and put over the “shoulders” of the scarecrow and tie to the pant belt loops to hold pants up if needed.
- Begin to stuff the “legs”, “arms” and “body” of the scarecrow buttoning and tucking the shirt into the pants/overalls to hold in the stuffing
- Tie the ends of the arms of shirt and legs of pants to hold in the straw
- Add gloves to the arms if desired and tie them on
- Stuff the pillow case to appropriate “head” size
- Place on the top of the vertical stick/board and tie at the “neck” location
- Tuck the pillow case into the shirt neck hole
- Draw a face on the pillow case with permanent marker
- Place a hat on the scarecrow’s “head”
- Set the scarecrow against the front of your house or tie to a light pole
- Add a few pumpkins, a straw bale or a few corn stalks and you have a great front door fall greeter!
Welcome to Nanas!
Where there’s fun things to do with your “grand” kids!
Come join the fun at www.WelcomeToNanas.com




Leave a Reply