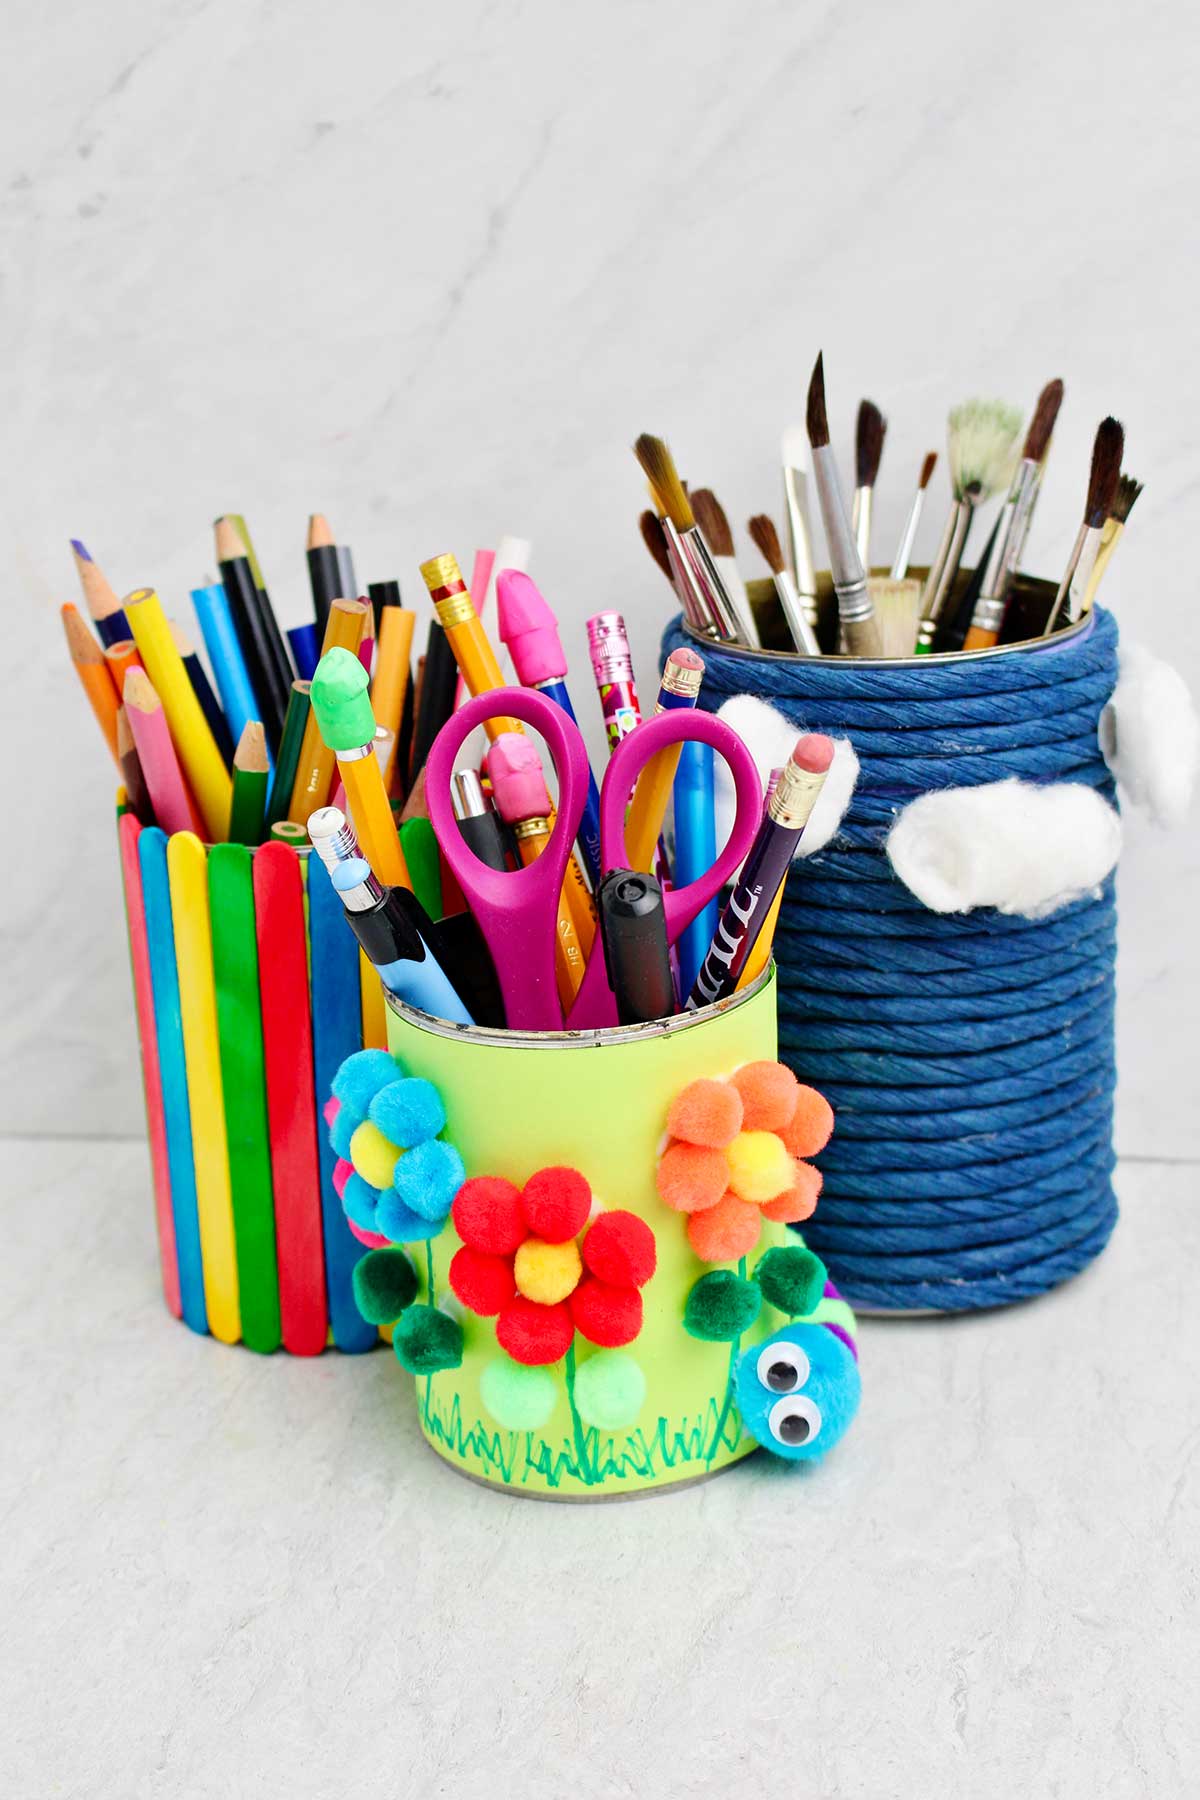
Let’s create a fun DIY pencil and pen holder for desk organization, using a tin can! This recycled craft for kids is so simple to make, it's the perfect back-to-school project to keep a desk tidy AND decorated.
Jump to:
- Cute Craft Alert: Pen and Pencil Organizer
- Supplies To Make Pen and Pencil Holders for Kids
- Steps to Make a Cute Pen & Pencil Holder
- Craft Tips for Making Your Pen and Pencil Holders
- Variations on the Desk Organizer Craft
- FAQ
- More DIY Recycled Crafts for Kids
- Come join the fun!
- Make a DIY Pencil and Pen Holder for Desk Organization
Cute Craft Alert: Pen and Pencil Organizer
I firmly believe that I’m always in need of another pencil and pen holder for desk organization!! They make finding my art supplies so much easier.
Using recycled tin cans and a variety of supply options make this project easy to do. Kids will be ready for school and can keep their desks clean!
Supplies To Make Pen and Pencil Holders for Kids
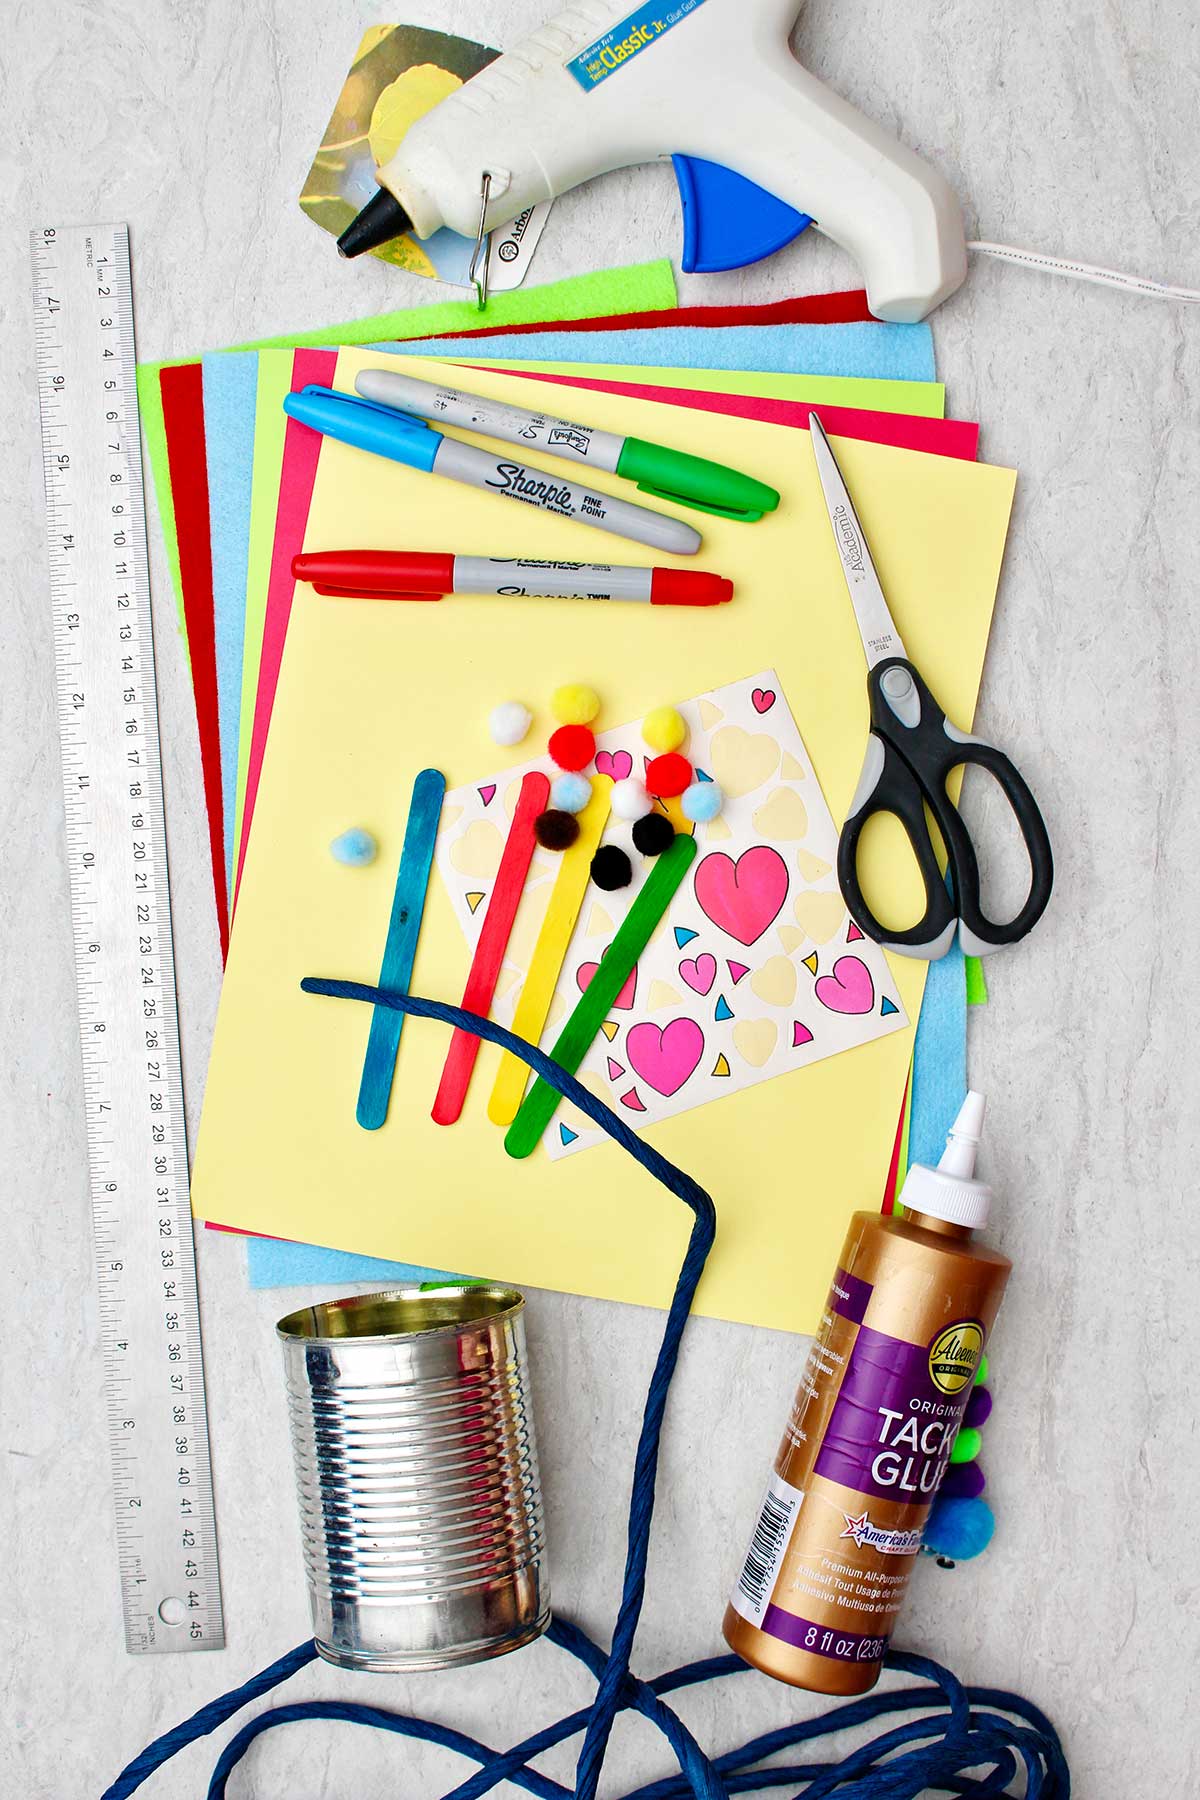
Use supplies you have on hand if possible. Here are some suggestions.
- Recycled tin cans: Soak the label off the can, wash and dry. Use any size cans.
- Craft paper of any type: This is to cover the can. Any color or weight.
- Twine or raffia: Glue the raffia to the can to cover it.
- Popsicle sticks: You can glue the popsicle sticks to the can.
- Other supplies: Use decorating supplies that you have on hand.
Steps to Make a Cute Pen & Pencil Holder
Soak the tin cans in warm, soapy water. Take off the label, wash well, and let them dry.
Decide what you want the pencil and pen holder to be or look like when you finish. Infinite ideas for pencil holders are possible, use your imagination. You can make it an animal (i.e.- a penguin, lion, cat), an alien, a flower, a fruit or vegetable, a landscape.
With an idea in mind you can choose how you want to cover your tin can and what color(s) to use.
Ways to cover your tin can.
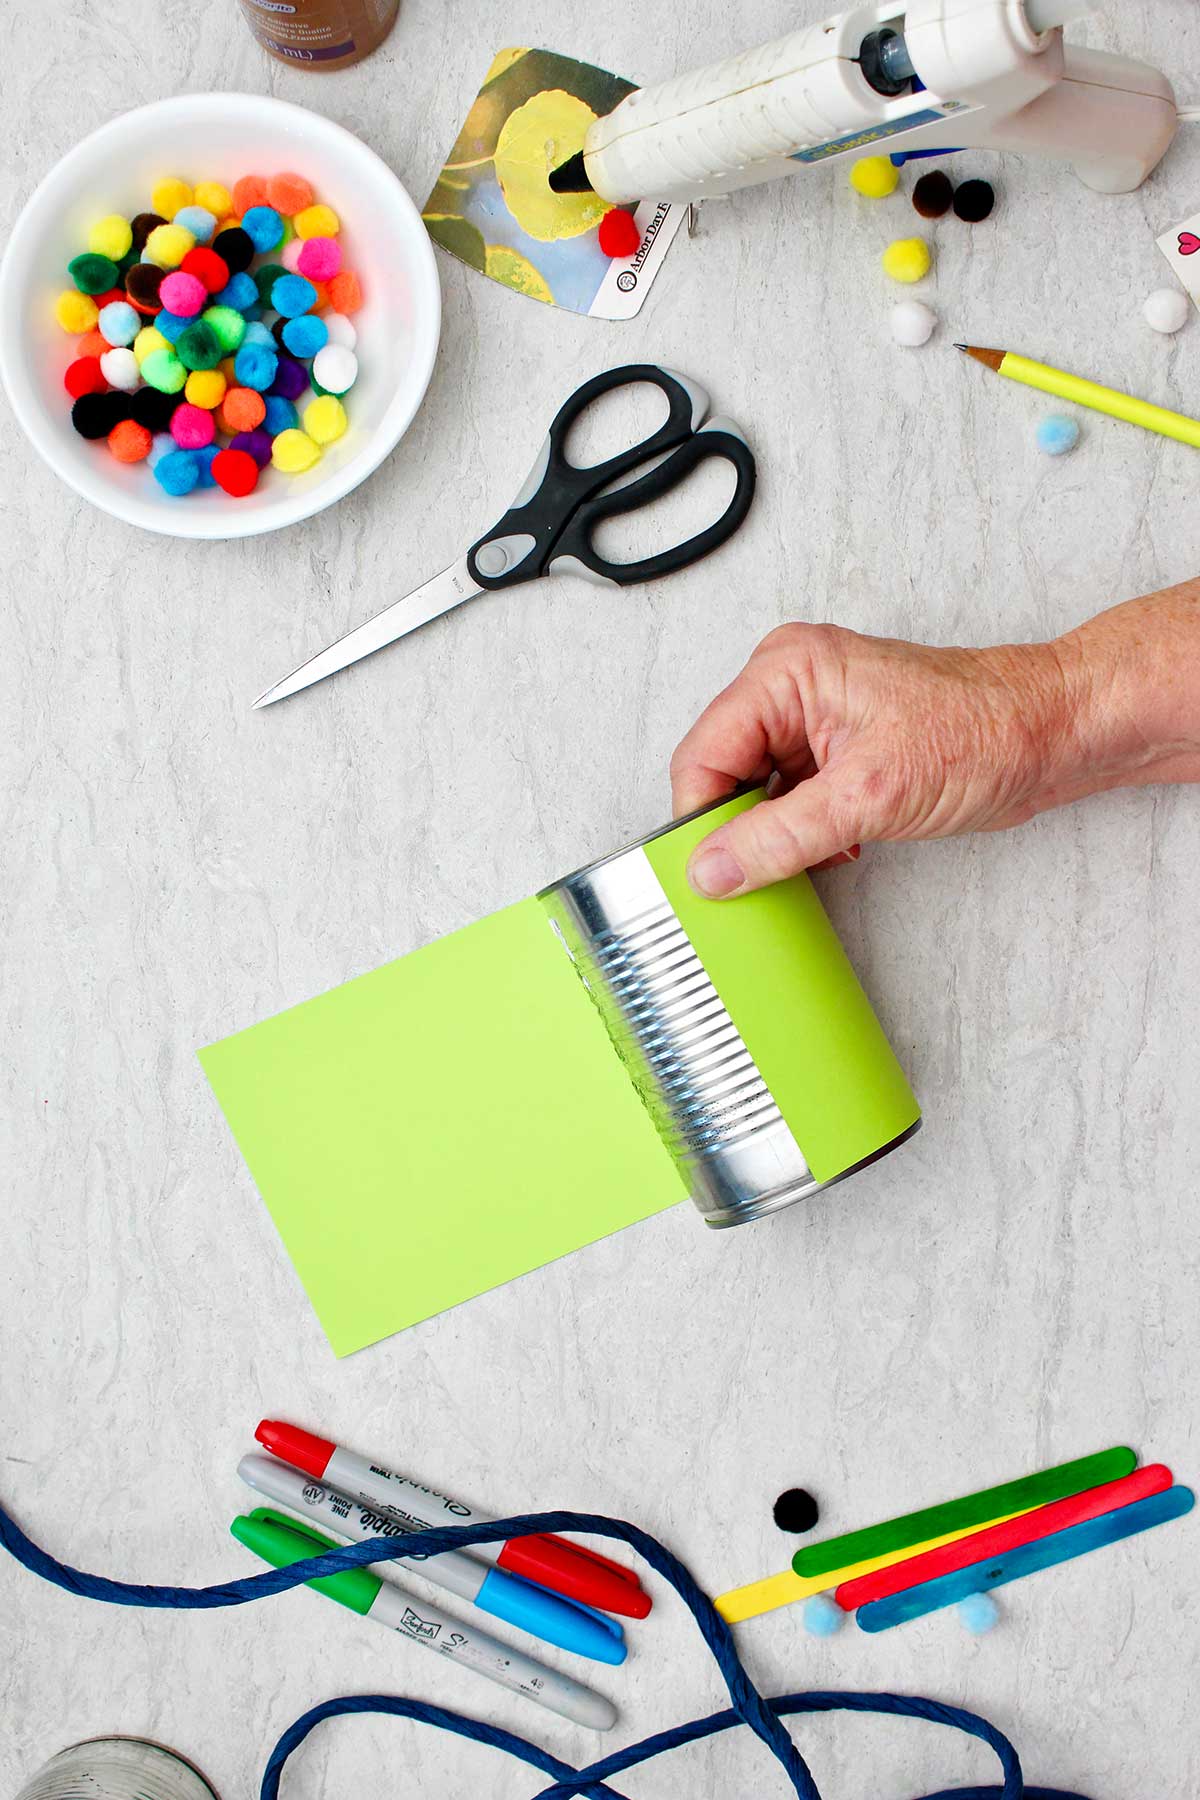
Choose one of these 3 ways to cover your tin cans.
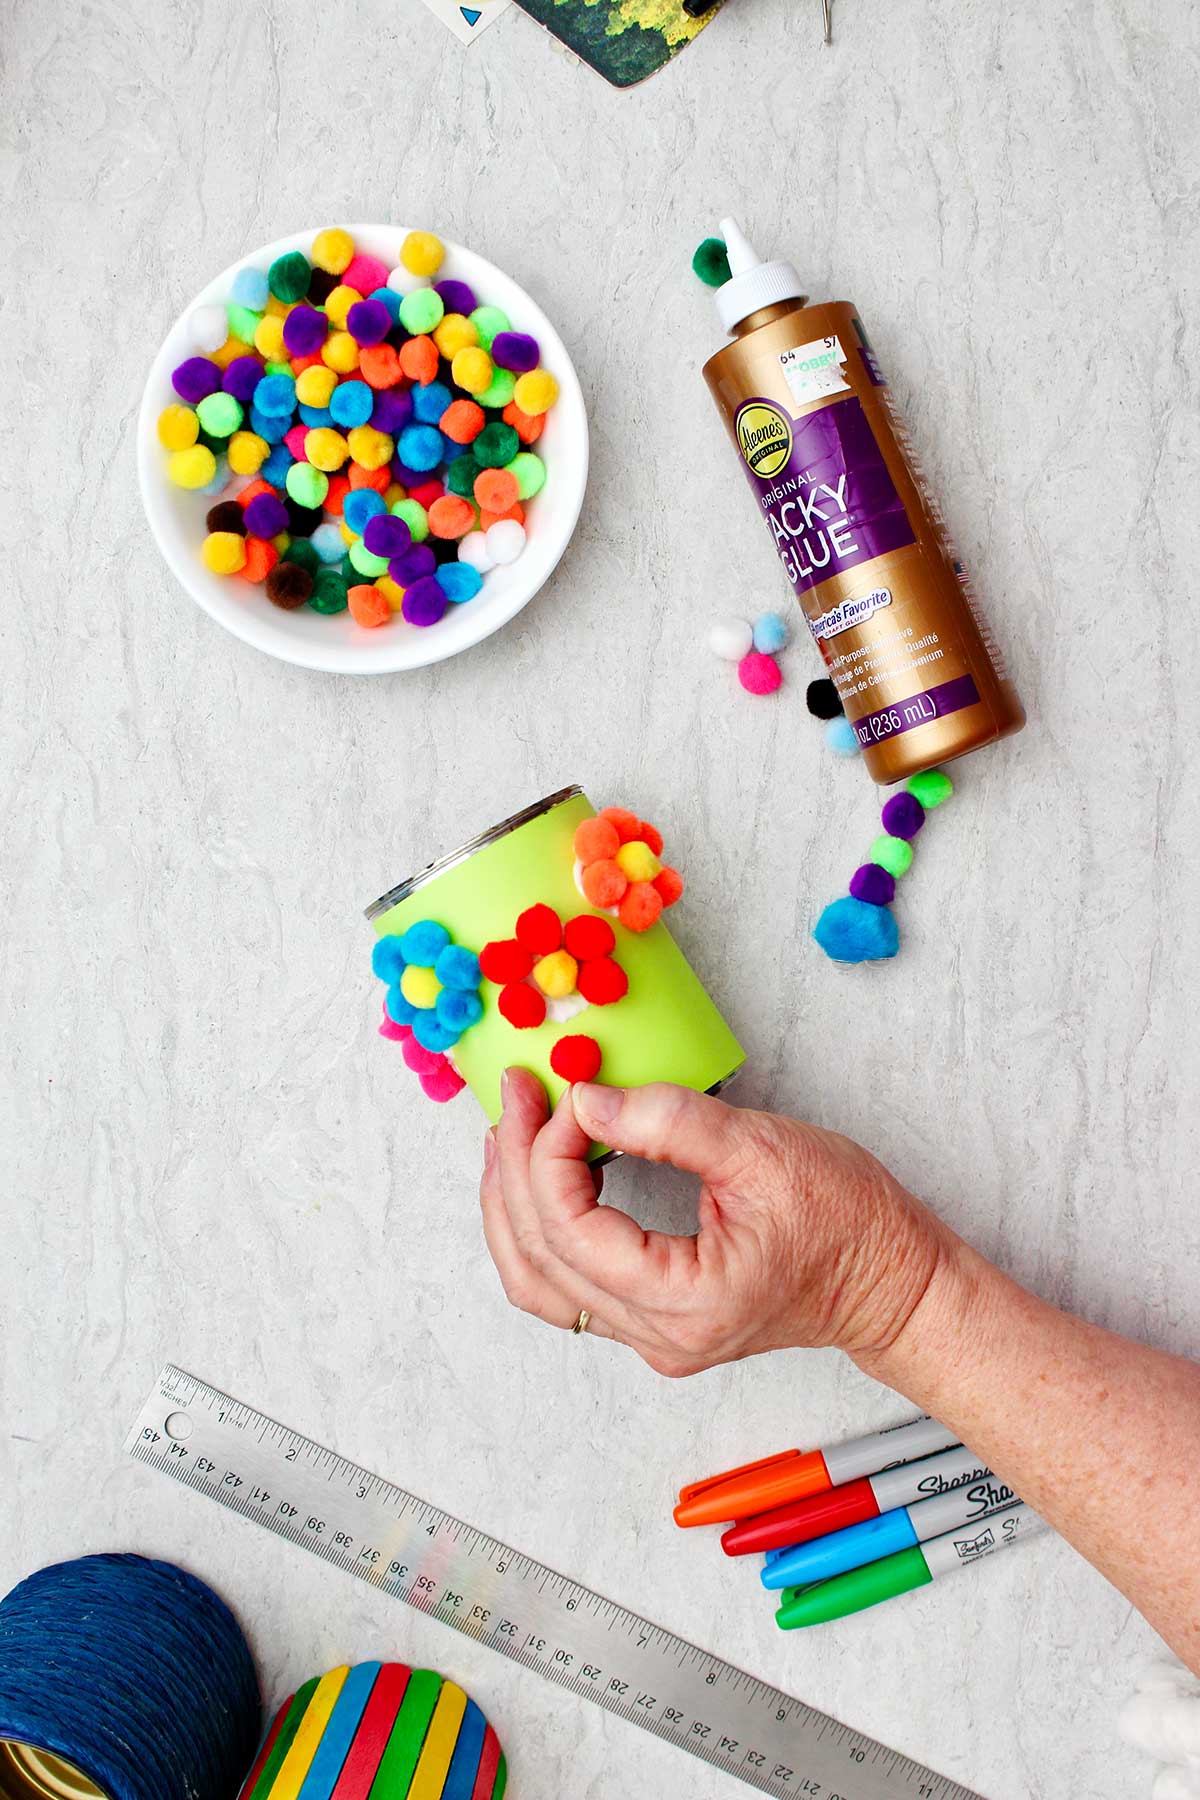
1. Cover the can with paper.
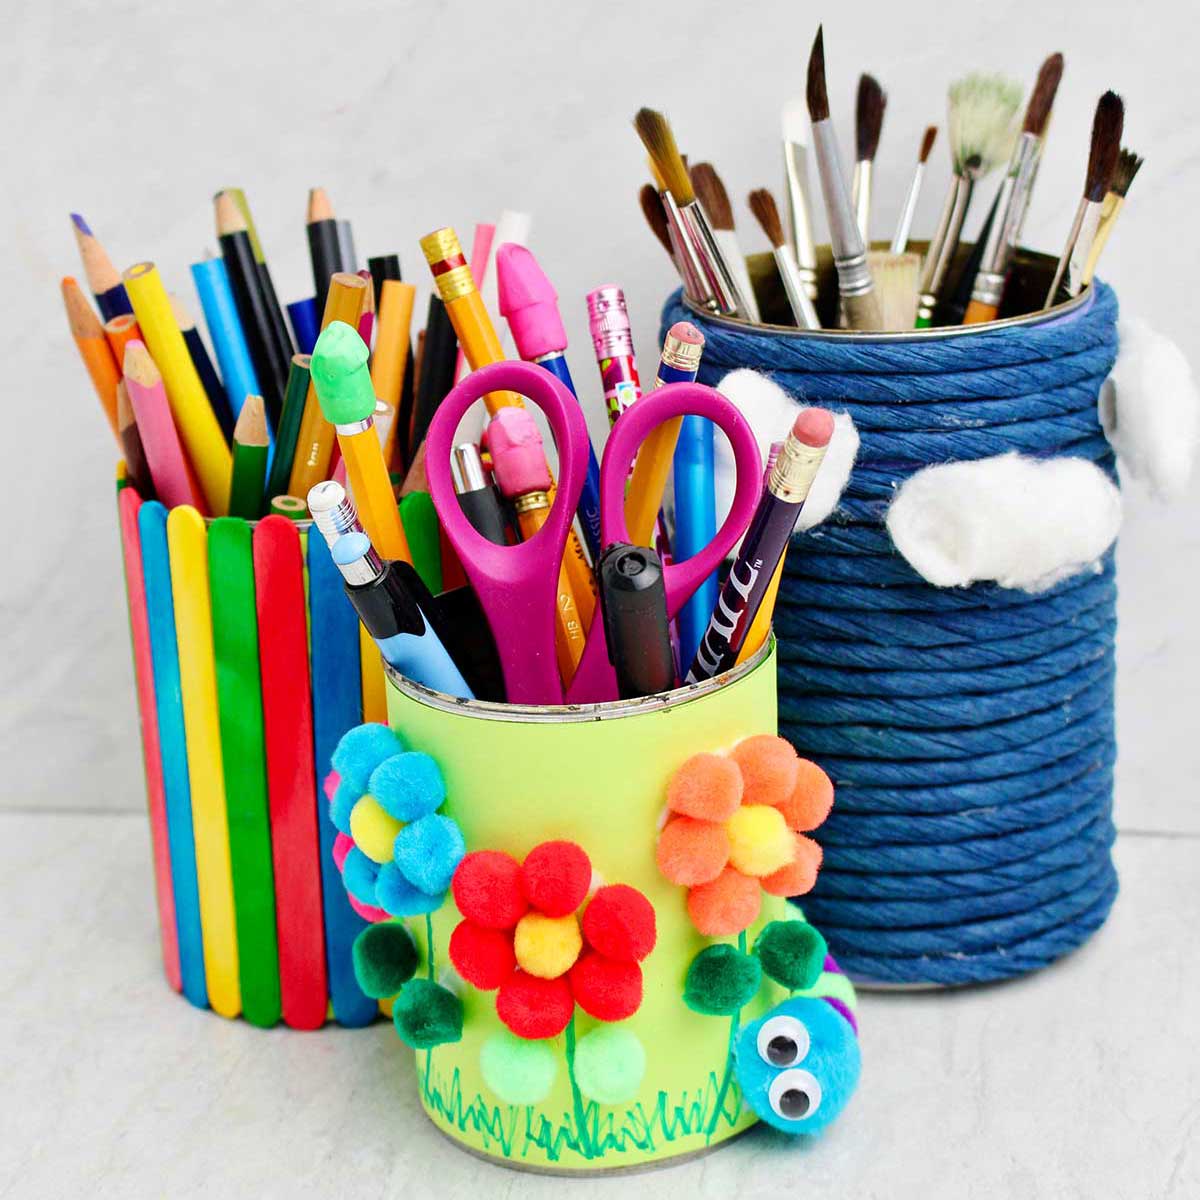
Use any type or color of paper to cover the tin can. You can use scrapbook paper, construction paper, colored copy paper, or cardstock.
Measure the height of the can. Turn the paper landscape direction and mark a line across the paper to that height. Cut on the line. Wrap the can in the paper and glue it on with the glue of your choice.
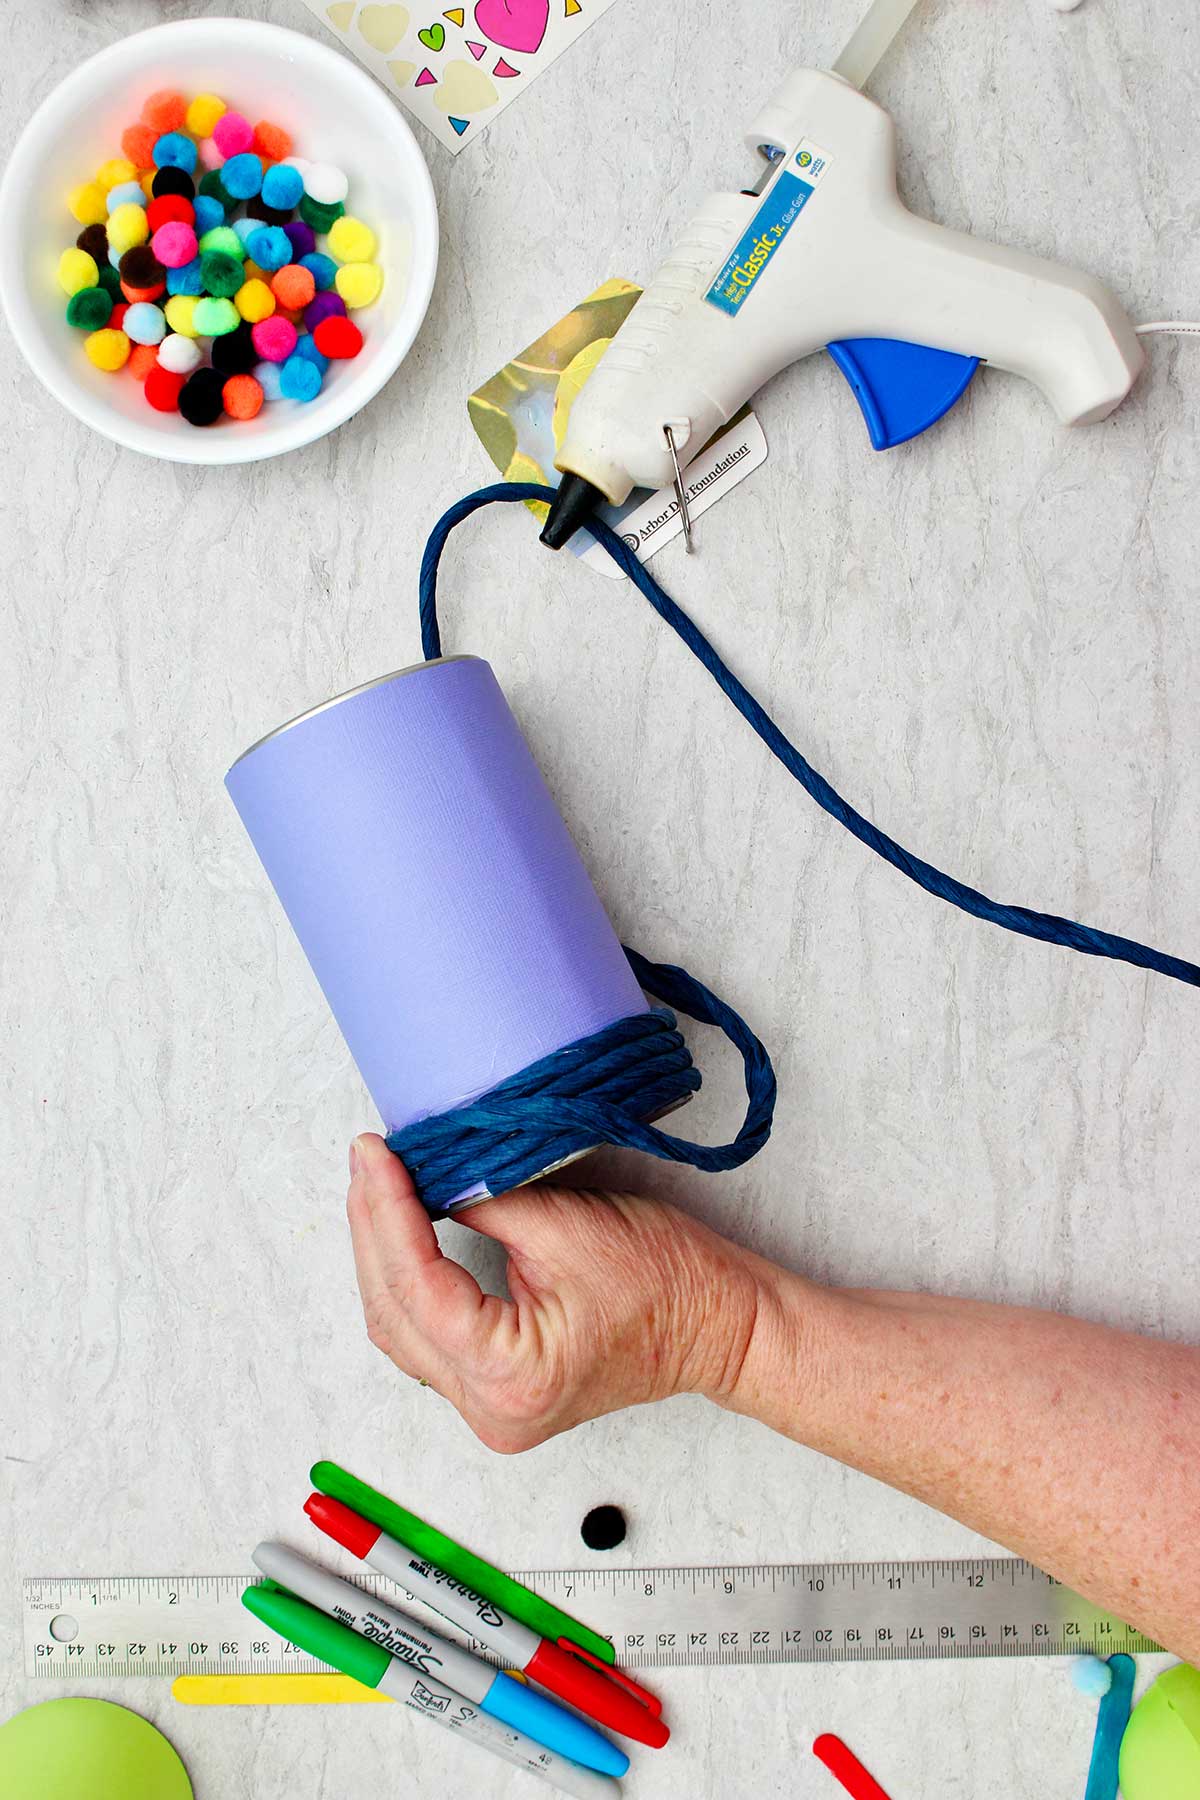
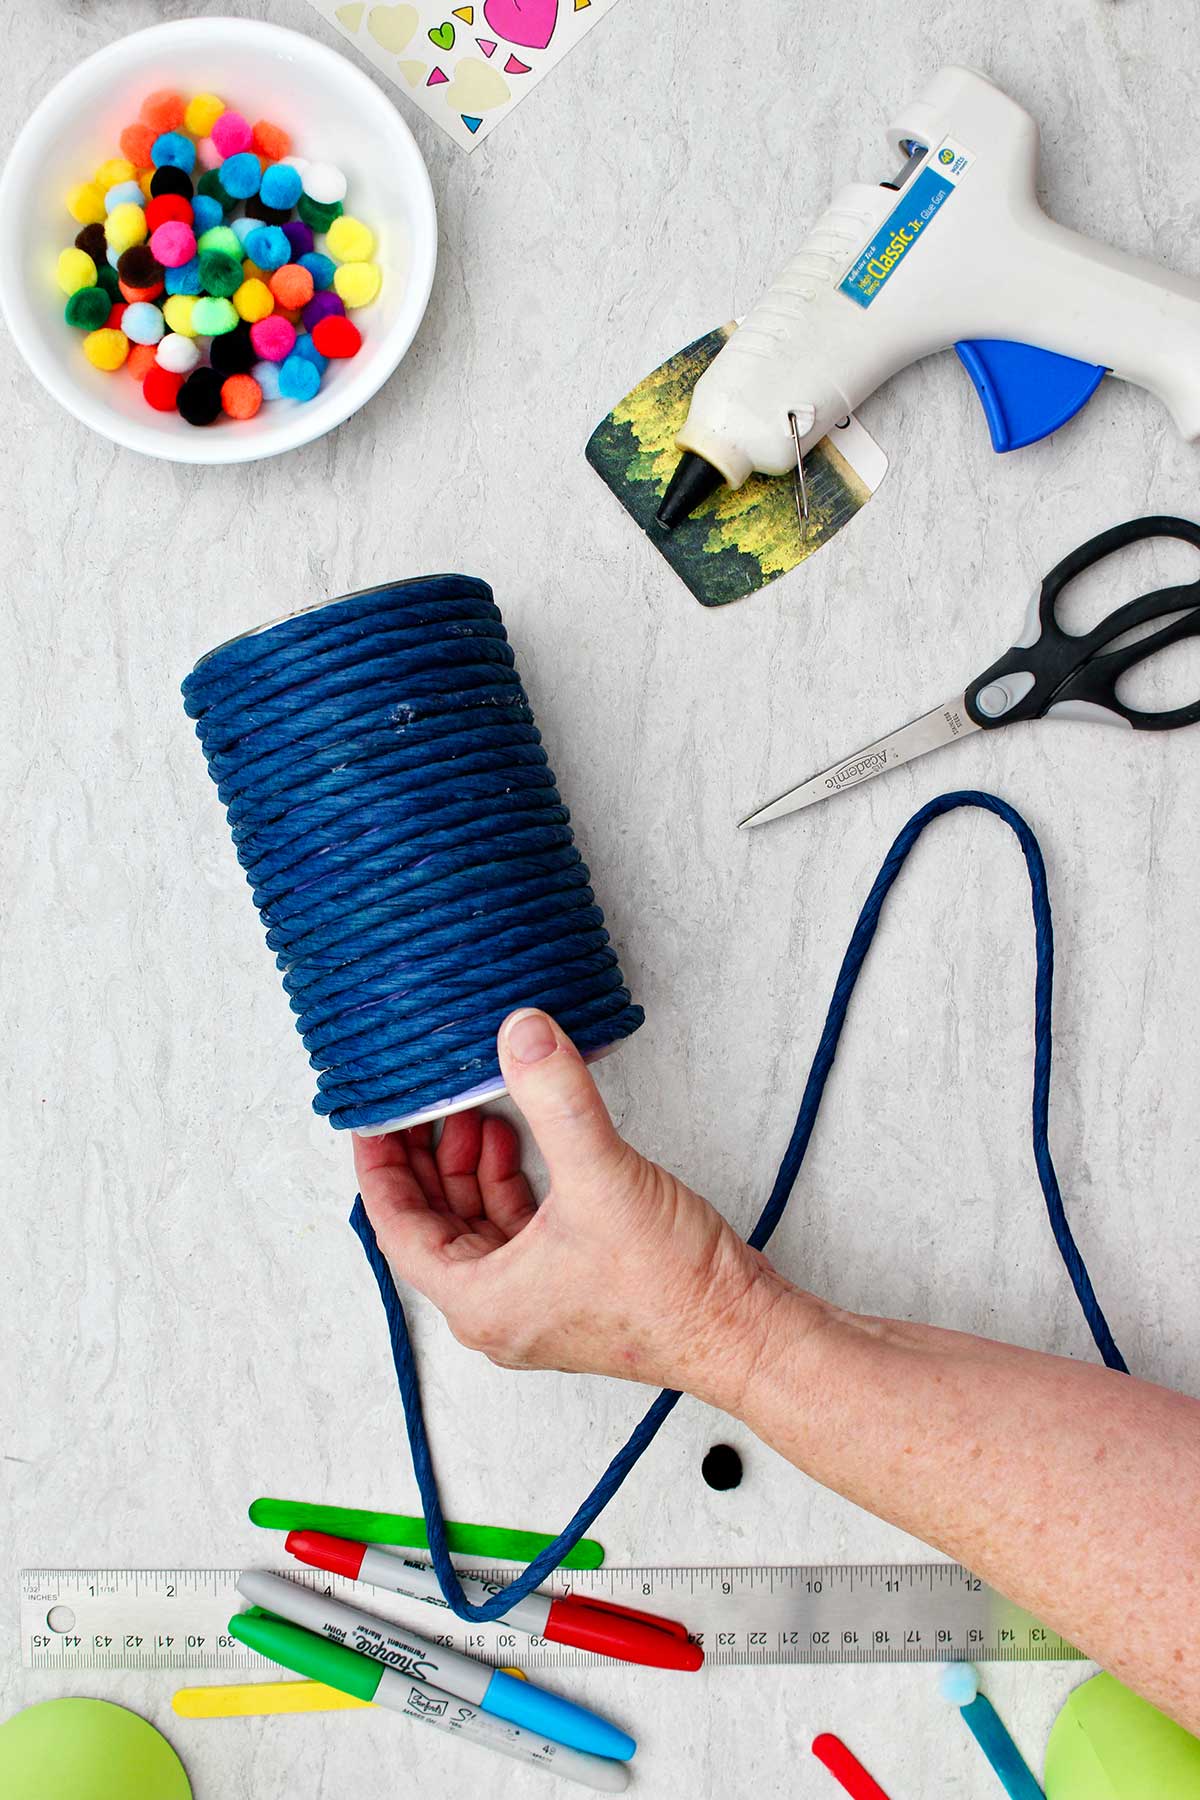
2. Cover the can with raffia or twine.
Put hot glue around the bottom of the can and lay the raffia in the glue. Continue to glue and wrap the raffia until you cover the can. Cut off the raffia at the top and glue down the end.
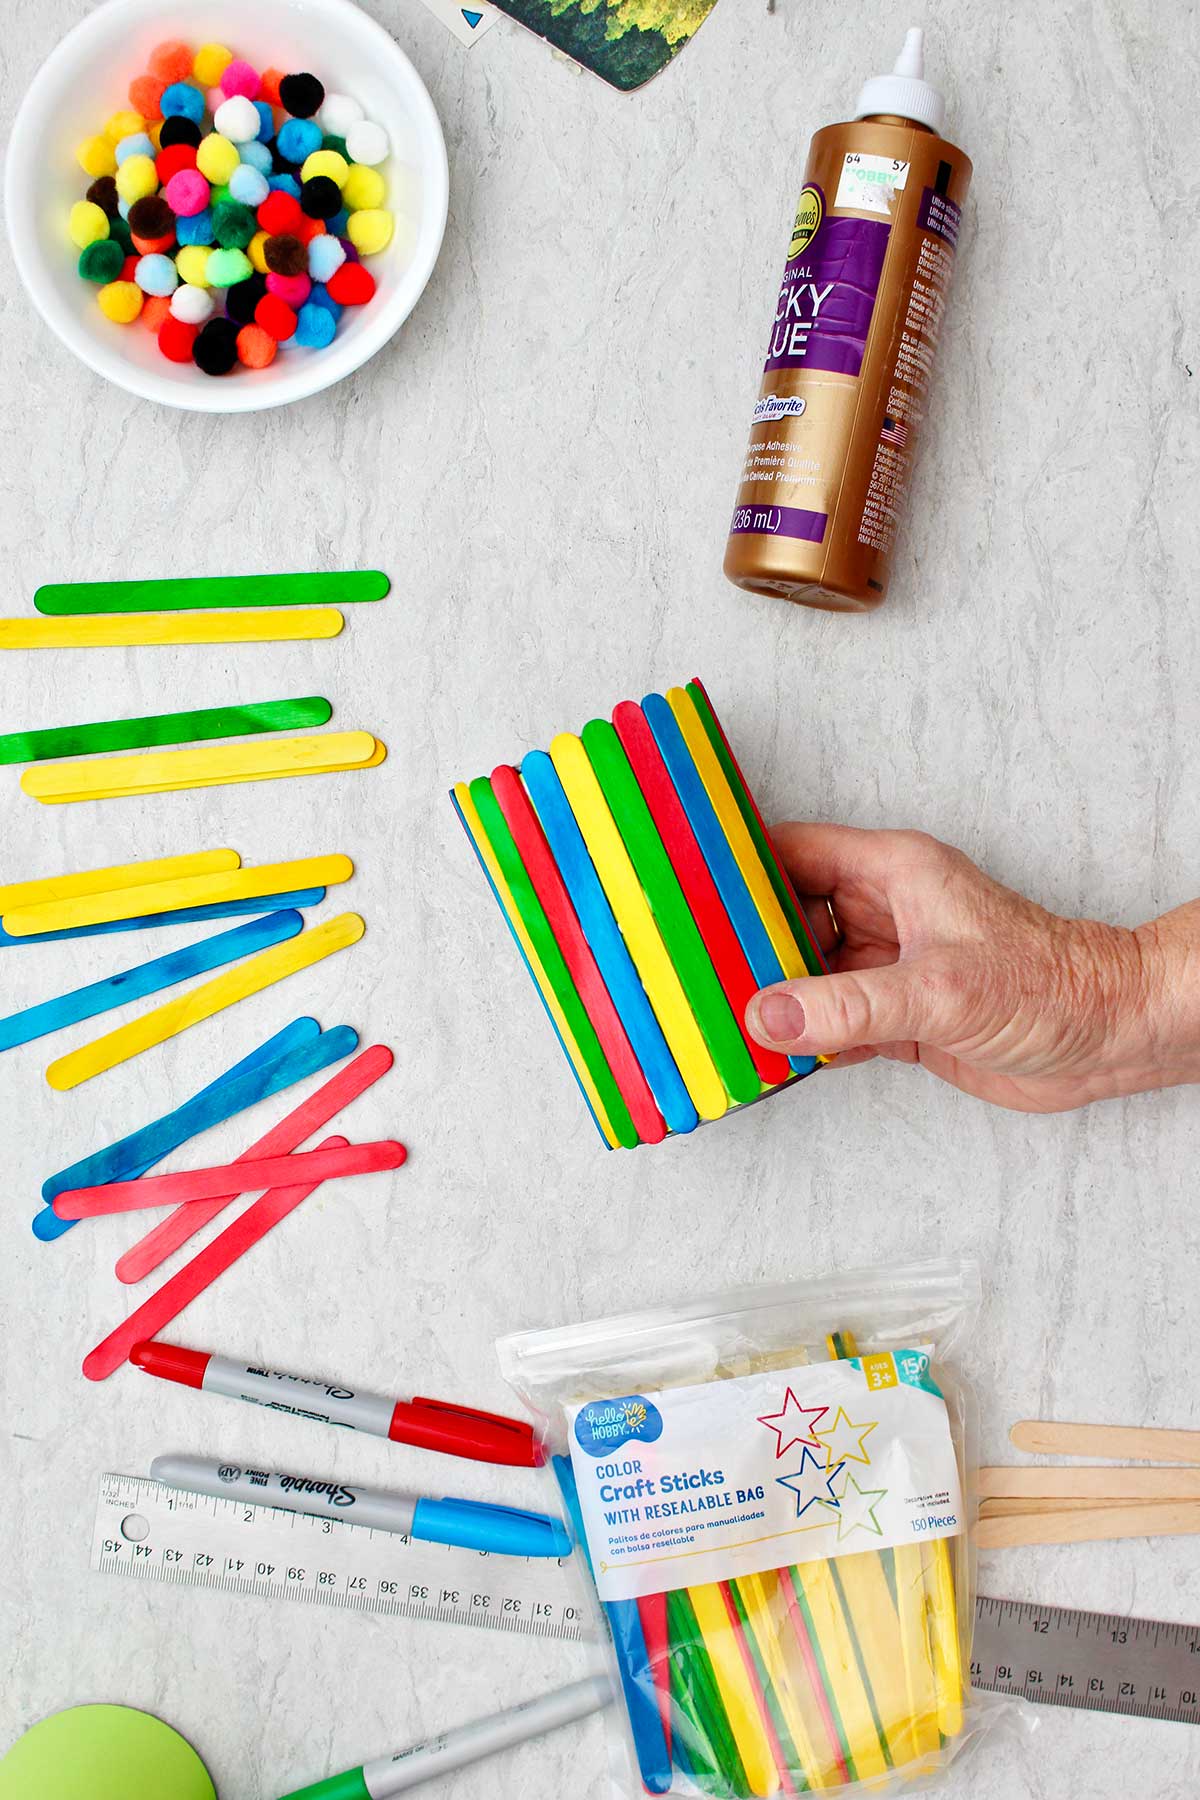
3. Cover the can with popsicle sticks.
Plain or colored popsicle sticks fit a 4.5-inch-high tin can (standard vegetable can size). Apply hot glue or Tacky glue vertically around the can until you cover it. Set the can down on a flat surface occasionally so the sticks and bottom of the tin can are even.
Decorate your pencil pen holder
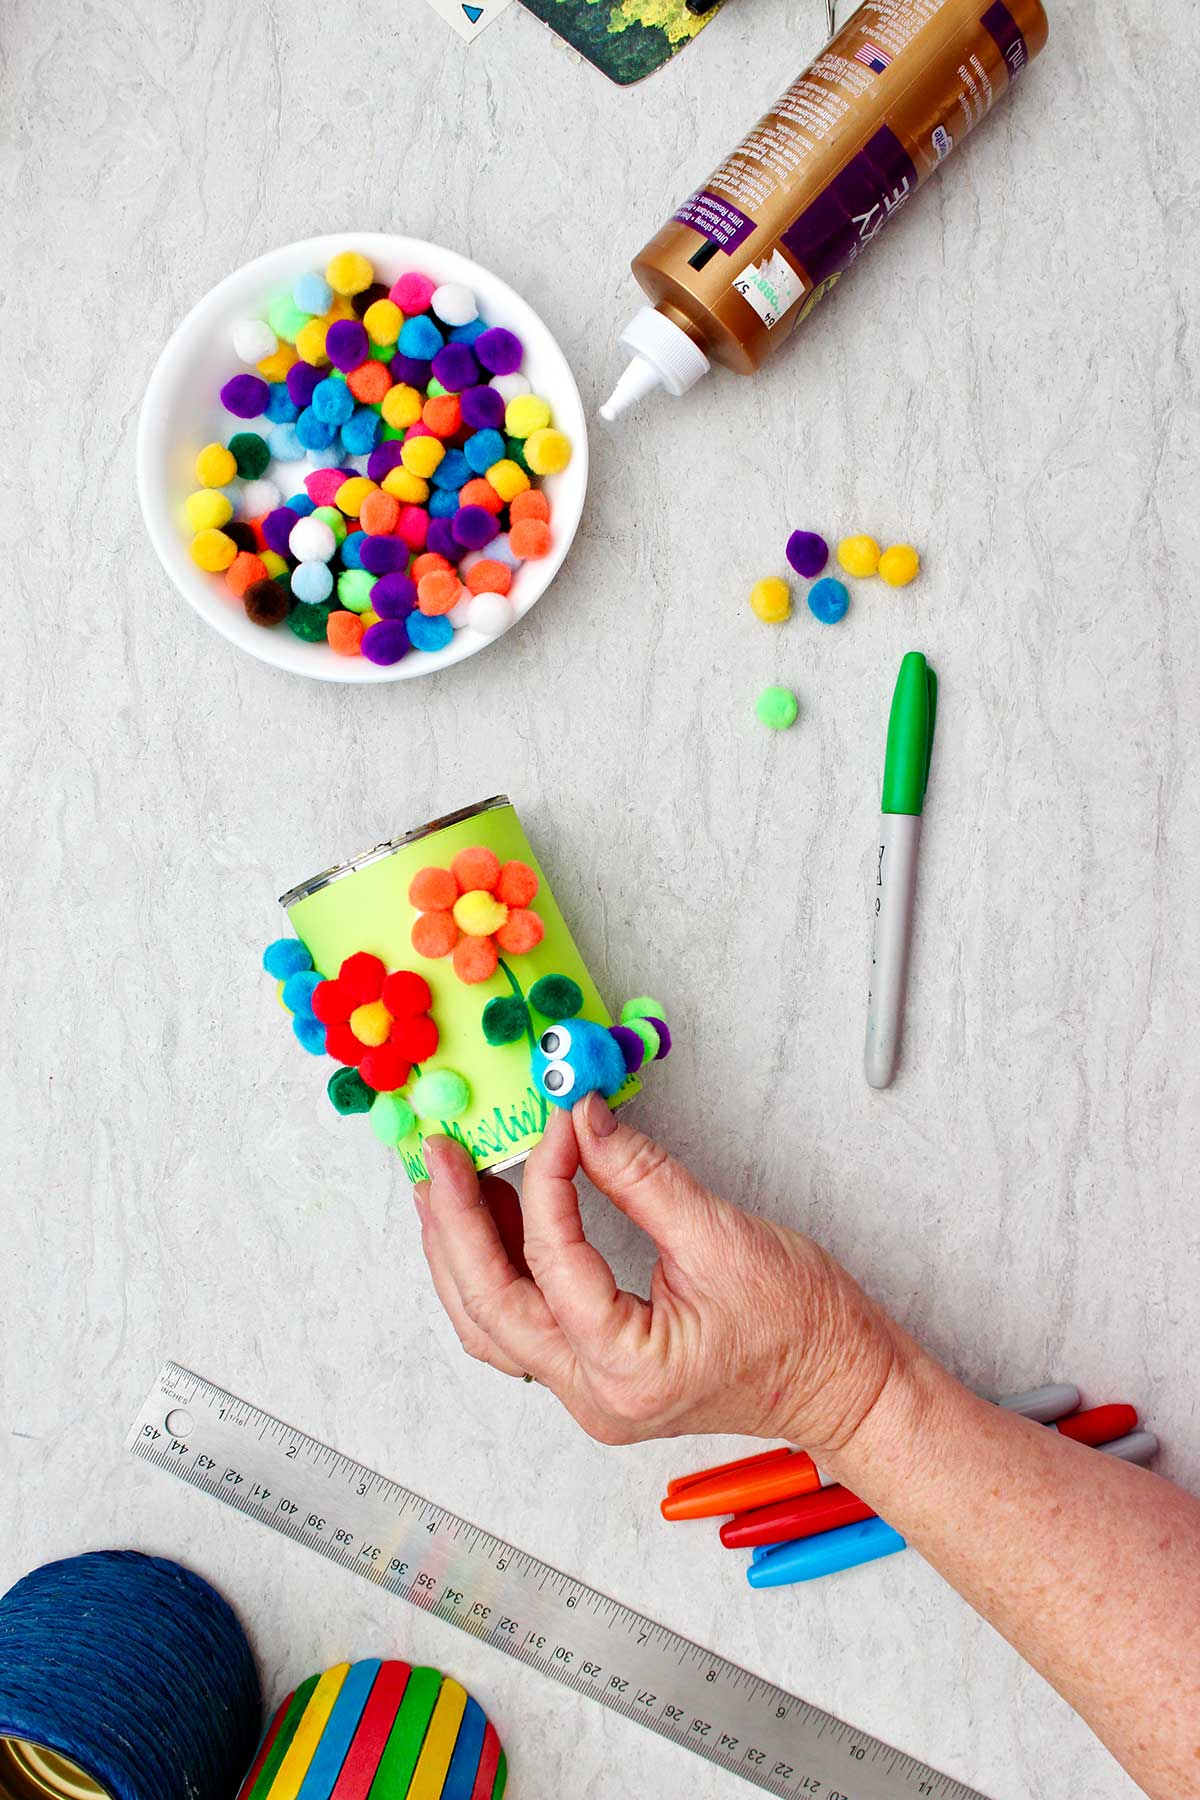
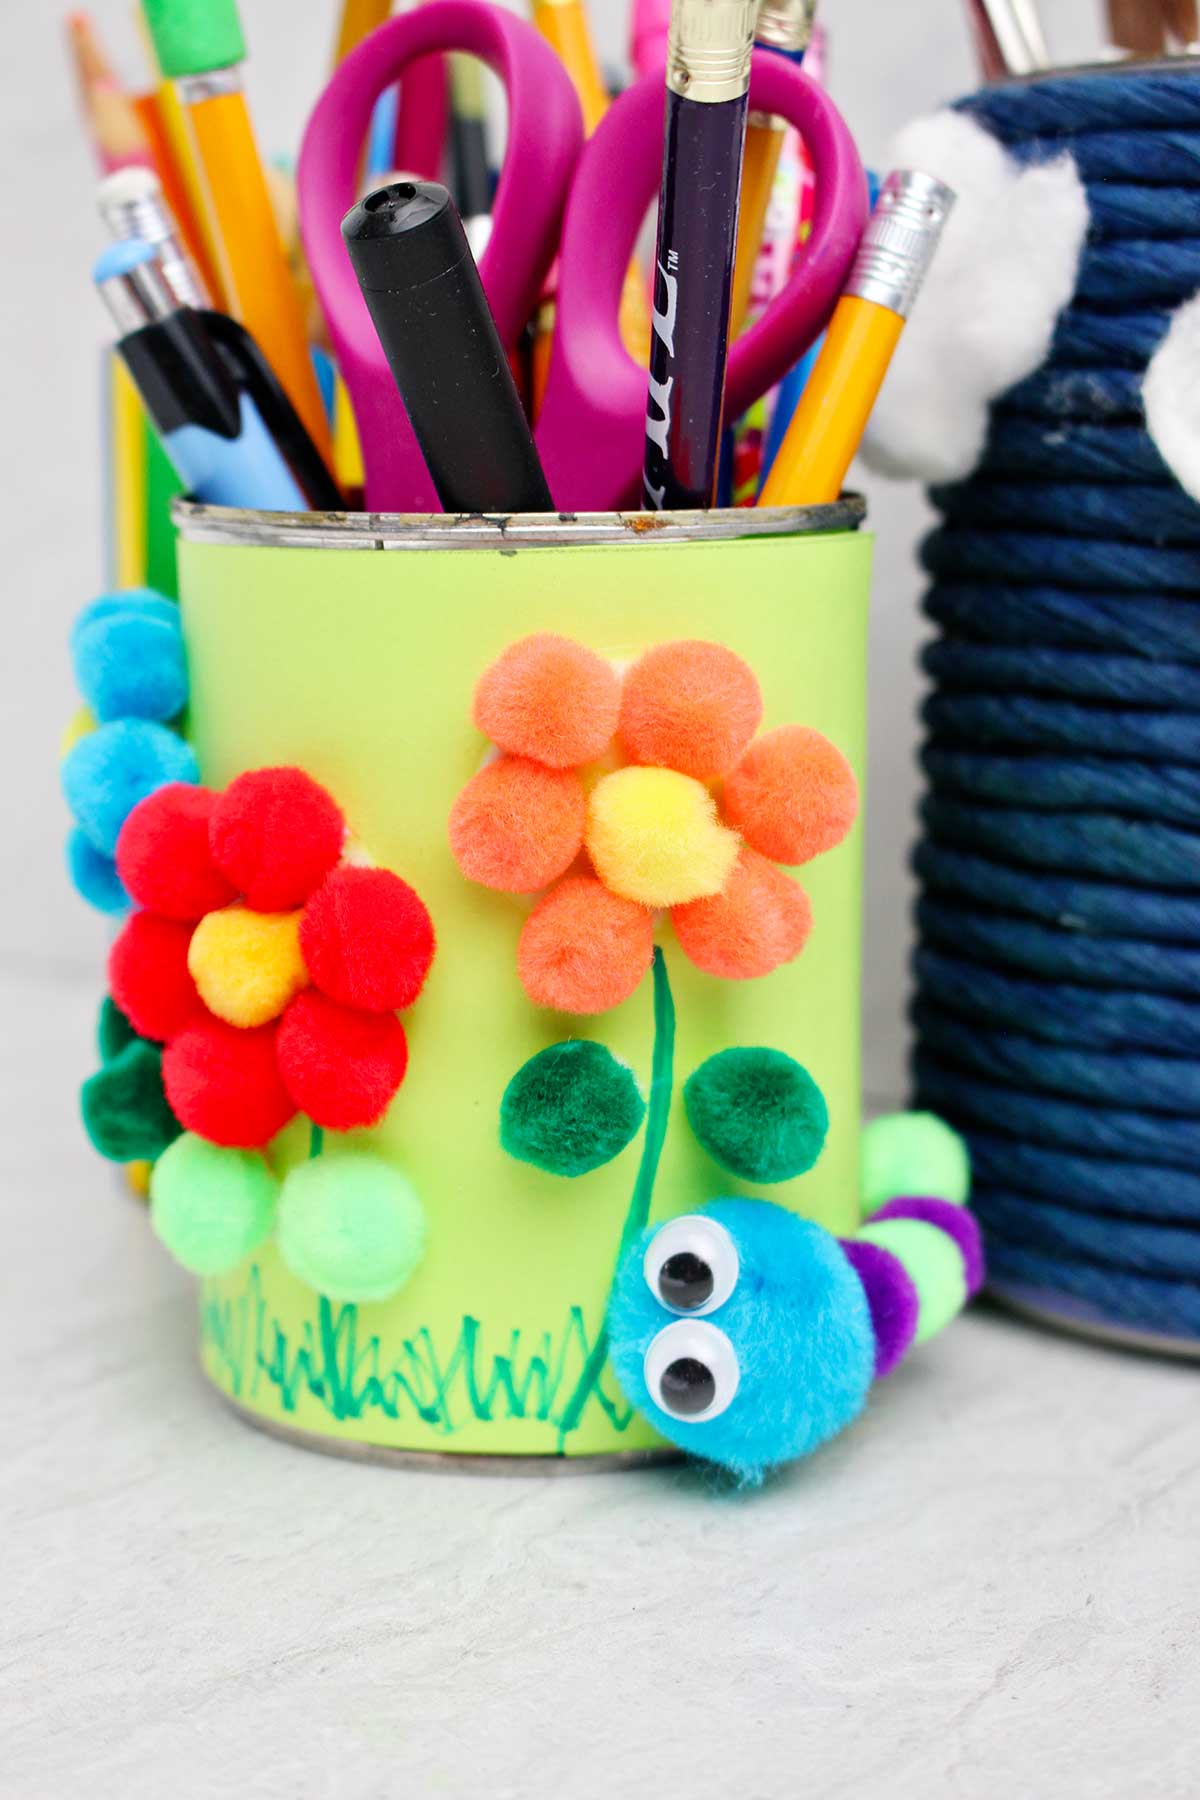
Decorate the can with the supplies you have. You can use stickers, markers, felt, buttons, pom-poms, trim, googly eyes…whatever you have. Be creative as you match the materials to what you want to make.
Craft Tips for Making Your Pen and Pencil Holders
- Pampered Chef can opener: I love my can opener that breaks the seal and pulls off the lid of a tin can. It doesn't leave sharp edges on the cans. This is perfect for recycling and crafts. I'm sure there are other brands.
- Tin cans in various heights: Several heights of cans hold different types of supplies and look nice together on a desk.
- Clean cans: Make sure the container is clean inside and out and completely dry.
Variations on the Desk Organizer Craft
Want to switch things up? Here are a few ways you can customize this craft and make it original.
- Plastic bottles: Cut plastic bottles to various heights if you don’t have tin cans.
- Toilet paper tubes: Glue a cardboard circle on the bottom of the toilet paper tube.
- Fabric or felt: Use fabric or felt to cover the cans instead of paper.
- Hang the holders on the wall: Use Velcro with adhesive backs or Command strips to hang the cans on the wall to hold supplies.
FAQ
A DIY Pencil and Pen Holder for Desk Organization is easy to make from a recycled tin can. You can get some of your supplies up off your desk and then stack your projects up neatly. Work on them one project at a time.
Use a recycled tin can to make this pencil or pen holder for desk organization. They look nice and hold your supplies, so make more than one!
Yes, it is! You can make a creative pencil holder or pen holder in a design that looks nice on your desk. Check out the ideas in this post and adapt them to fit what looks nice to you. A simple idea is to cover tin cans in matching scrapbook paper.
More DIY Recycled Crafts for Kids
Looking for more great DIY crafts for kids that use recycled materials? Here are a few favorites for you to try:
- DIY Punched Tin Can Lanterns
- Whimsical Repurposed DIY Wind Chimes for kids
- DIY Bookmark Using Sharpie and Alcohol on Plastic
- Fun Plastic Bottle Fish Craft
- DIY Recycled Tin Can Stilts
Come join the fun!
If you try this craft, let me know! Go ahead and leave a comment, rate it, and tag a photo with #WelcometoNanas wherever you post.
Make a DIY Pencil and Pen Holder for Desk Organization
Equipment
- Scissors
Items Required
- Recycled tin cans Label removed, washed and dry. Use any size cans.
- Craft paper of any type Any color or weight (scrapbook paper, construction paper, colored copy paper, or cardstock)
- Twine or raffia: (optional)
- Popsicle sticks: (optional)
- Glue glue stick, Tacky glue, hot glue and glue gun
- Scissors
- Decorating items: such as... Stickers, Markers, Googly eyes, Pom-poms, Trims, Buttons, Felt
Instructions
- Soak the tin cans in warm, soapy water. Take off the label, wash well, and let them dry.
- Decide what you want the pencil and pen holder to be or look like when you finish. Infinite ideas for pencil holders are possible, use your imagination. You can make it an animal (i.e.- a penguin, lion, cat), an alien, a flower, a fruit or vegetable, a landscape. With an idea in mind you can choose how you want to cover your tin can and what color(s) to use.
Choose one of these 3 ways to cover your tin cans.
- 1. Cover the can with paper.Use any type or color of paper to cover the tin can. You can use scrapbook paper, construction paper, colored copy paper, or cardstock.Measure the height of the can. Turn the paper landscape direction and mark a line across the paper to that height. Cut on the line. Wrap the can in the paper and glue it on with the glue of your choice.
- 2. Cover the can with raffia or twine.Put hot glue around the bottom of the can and lay the raffia in the glue. Continue to glue and wrap the raffia until you cover the can. Cut off the raffia at the top and glue down the end.
- 3. Cover the can with popsicle sticks.Plain or colored popsicle sticks fit a 4.5-inch-high tin can (standard vegetable can size). Apply hot glue or Tacky glue vertically around the can until you cover it. Set the can down on a flat surface occasionally so the sticks and bottom of the tin can are even.
- Decorate the can with the supplies you have. You can use stickers, markers, felt, buttons, pom-poms, trim, googly eyes…whatever you have. Be creative as you match the materials to what you want to make.




Leave a Reply