Flash From the Past
DIY Recycled Tin Can Stilts- can I say a “flash from the past”?
My younger brother and I spent a LOT of hours on stilts back in the day. I literally walked all over the neighborhood on them one summer, even getting my picture in the local newspaper as a result.
Gross Motor Skills Activity...and FUN
If you are looking for a gross motor skill activity for kids, this is a good one. There is a lot of fun and a lot of coordination that happens at the same time.
There are several ways to make stilts but learning how to make tin can stilts is where it is at in this post.
Three cheers for recycled tin cans!
The first thing to do is to track down your tin cans. You gotta’ love recycling! The tin cans we used are the larger fruit/produce can size. This pear can was 29 ounces (1 lb 13 oz or 822 gr) and is also called the #2.5 size. The weight in the can varies a bit depending on what produce is inside but this can is 4.5 inches tall and 4 inches in diameter.
I don’t recommend going any smaller in can size, but larger coffee cans or one-gallon sized cans (#10 sized) from bulk produce also work wonderfully for tin can stilts. There is more surface area for the child’s foot on a larger tin can.

Take off the lids
You will use a Can Opener to take the lid off the cans and use the produce inside. I have a Pampered Chef Can Opener and I love how it takes off the lid without the possibility of sharp edges. But it also takes off the lip of the can which decreases the wall strength of the can itself so that the sides buckle more easily. I recommend using a traditional Can Opener for this reason. Do take care to use a good Can Opener so there are no sharp edges on the cans.
Poke holes in the top of the can
Look how intent my grand is in using a nail to make holes in the tin can! We used a large nail and a hammer to poke two holes in the can. The holes are directly opposite on the top of the can and need to be large enough in size to thread your cord through. Some people use a drill with a large bit for this step but hammering is so much fun and a great skill to learn.
Insert the cord
Our cord was some baling twine from the shed, ha! We keep a roll on hand on the farm and use it for a plethora of purposes. You can purchase cord or small rope to use of course.
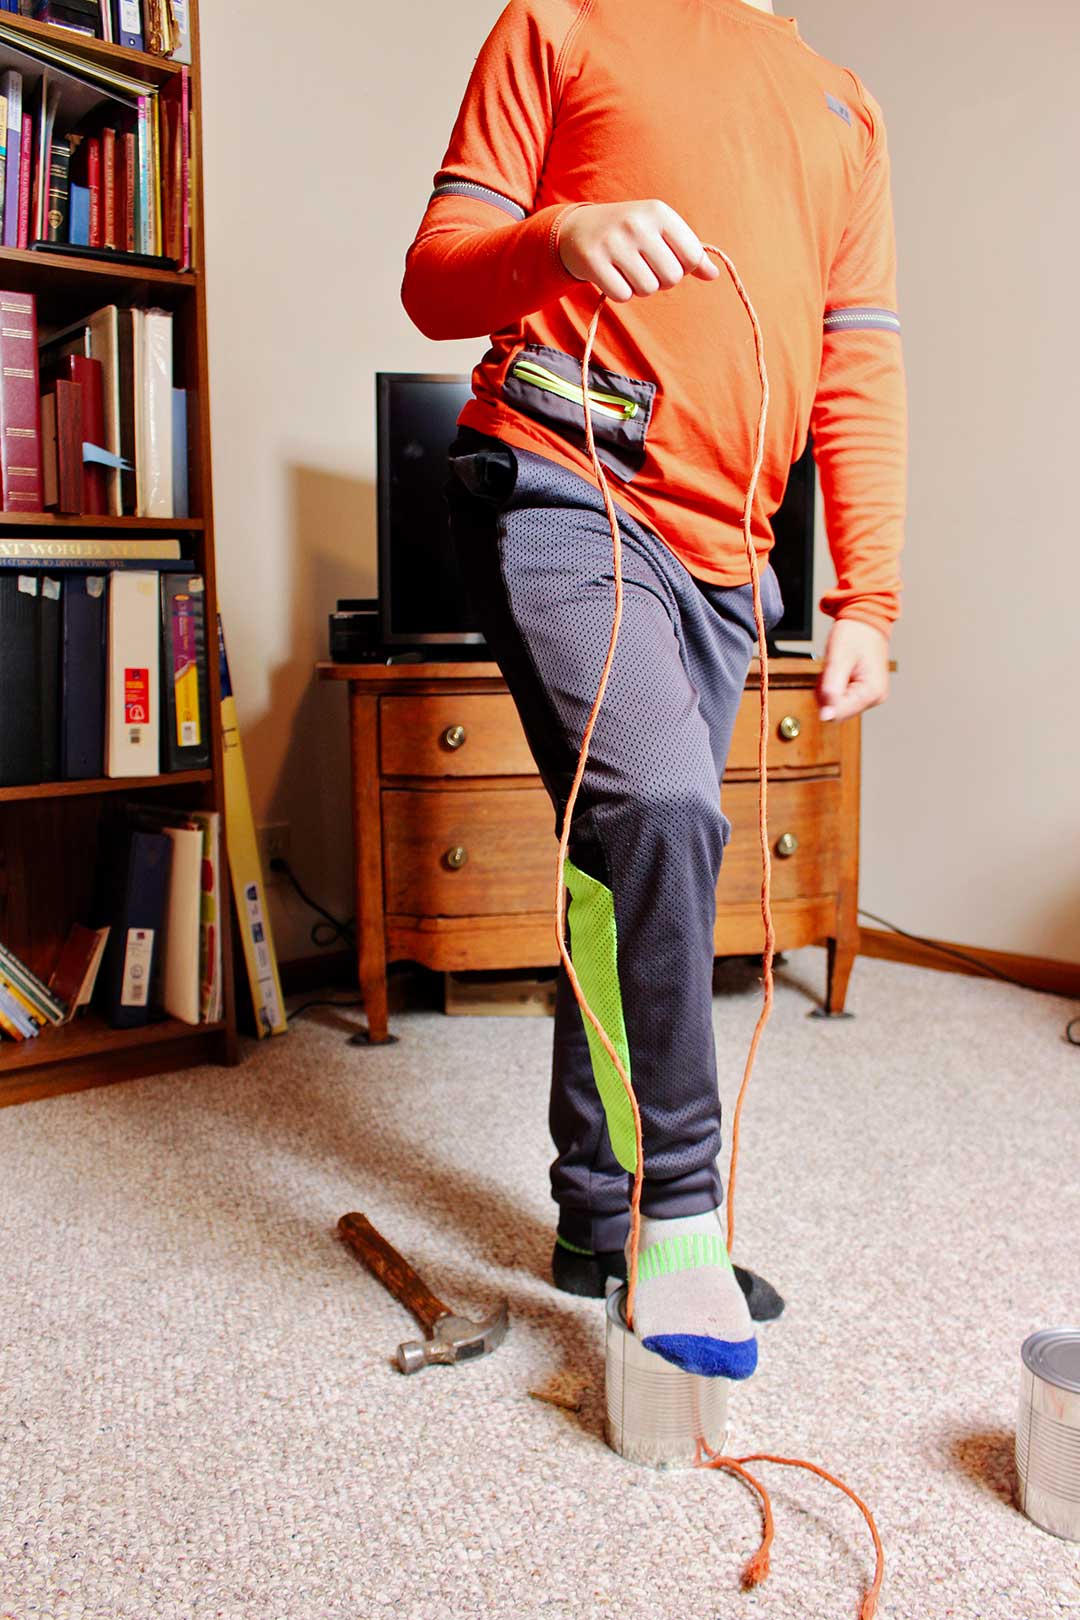
Measure the cord to go from about the child’s waist height down to the floor and double the length.
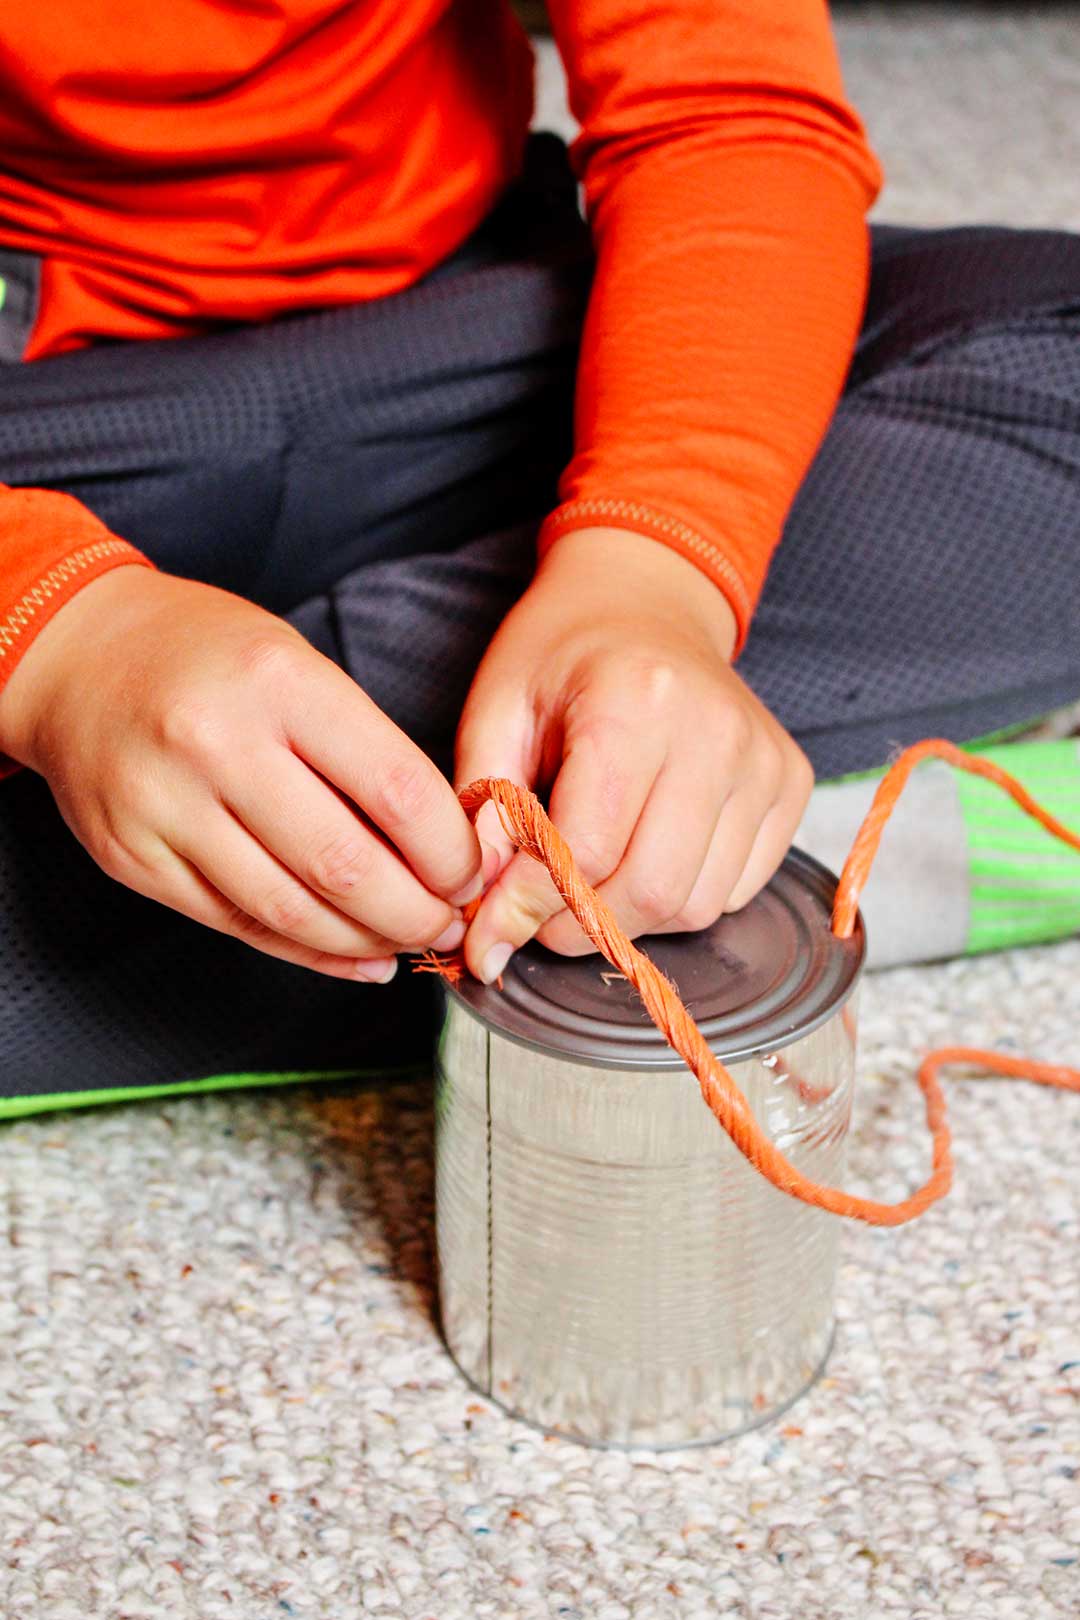
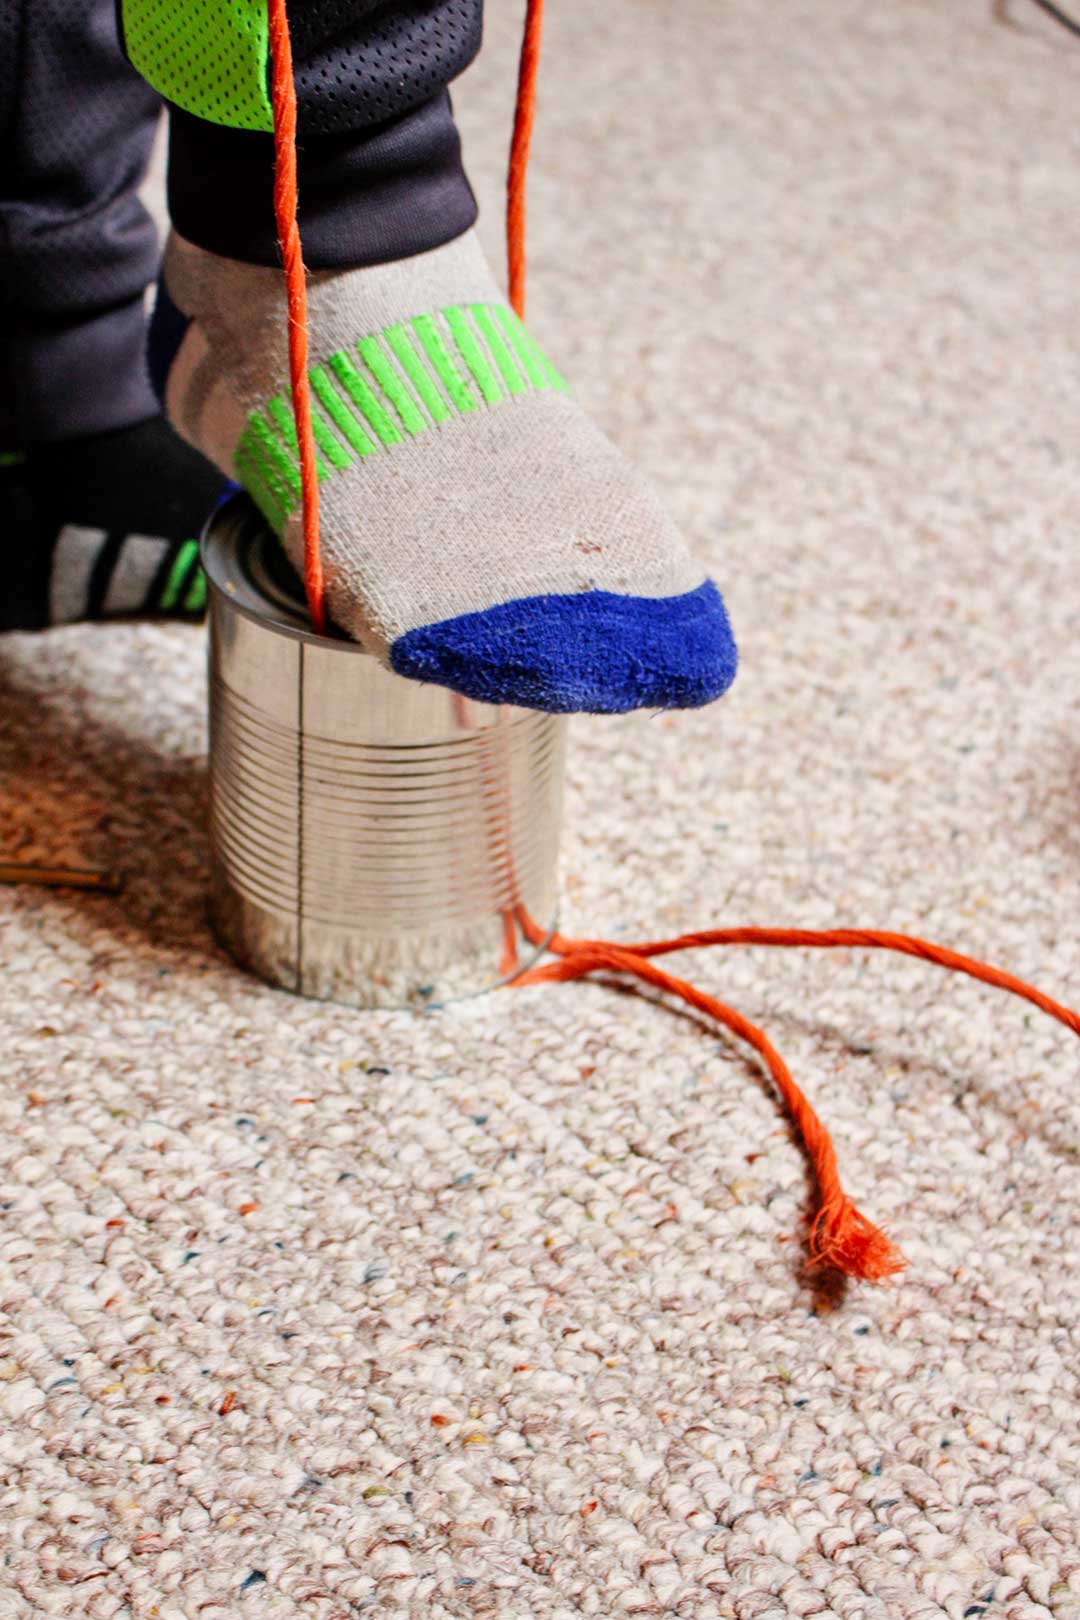
Thread your cord through the holes in the tin can from the top down into the can.
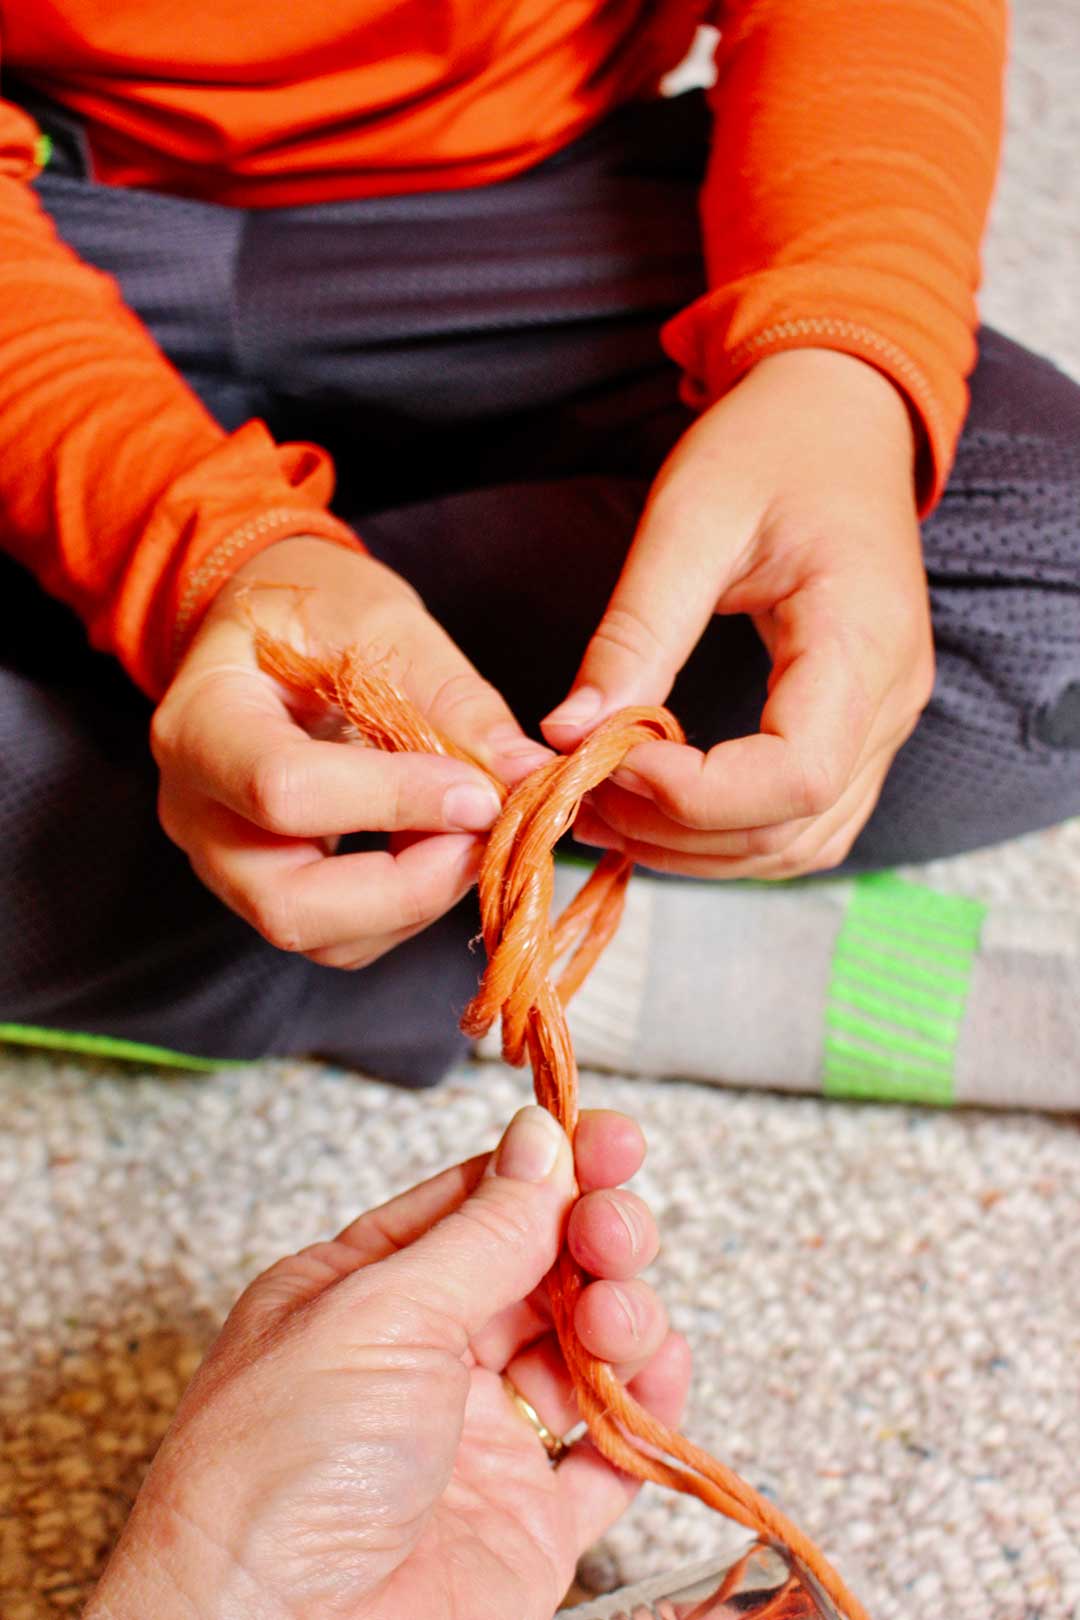
Pull the cord through far enough to tie. You can either tie knots in each end of the cord so they don’t pull through the holes or tie the two cords together on the ends. We checked the length of the cord so that it could be held easily by the child at a bit lower than waist height.
Decorate the cans if desired
This was an impromptu project so we didn’t decorate the cans, but that would be really fun to do. Paint the cans, cover them with paper or colored duct tape if you want. You can check here to see how we decorated cans to make instruments in an earlier post at Welcome to Nanas.
Give it a whirl, take a walk
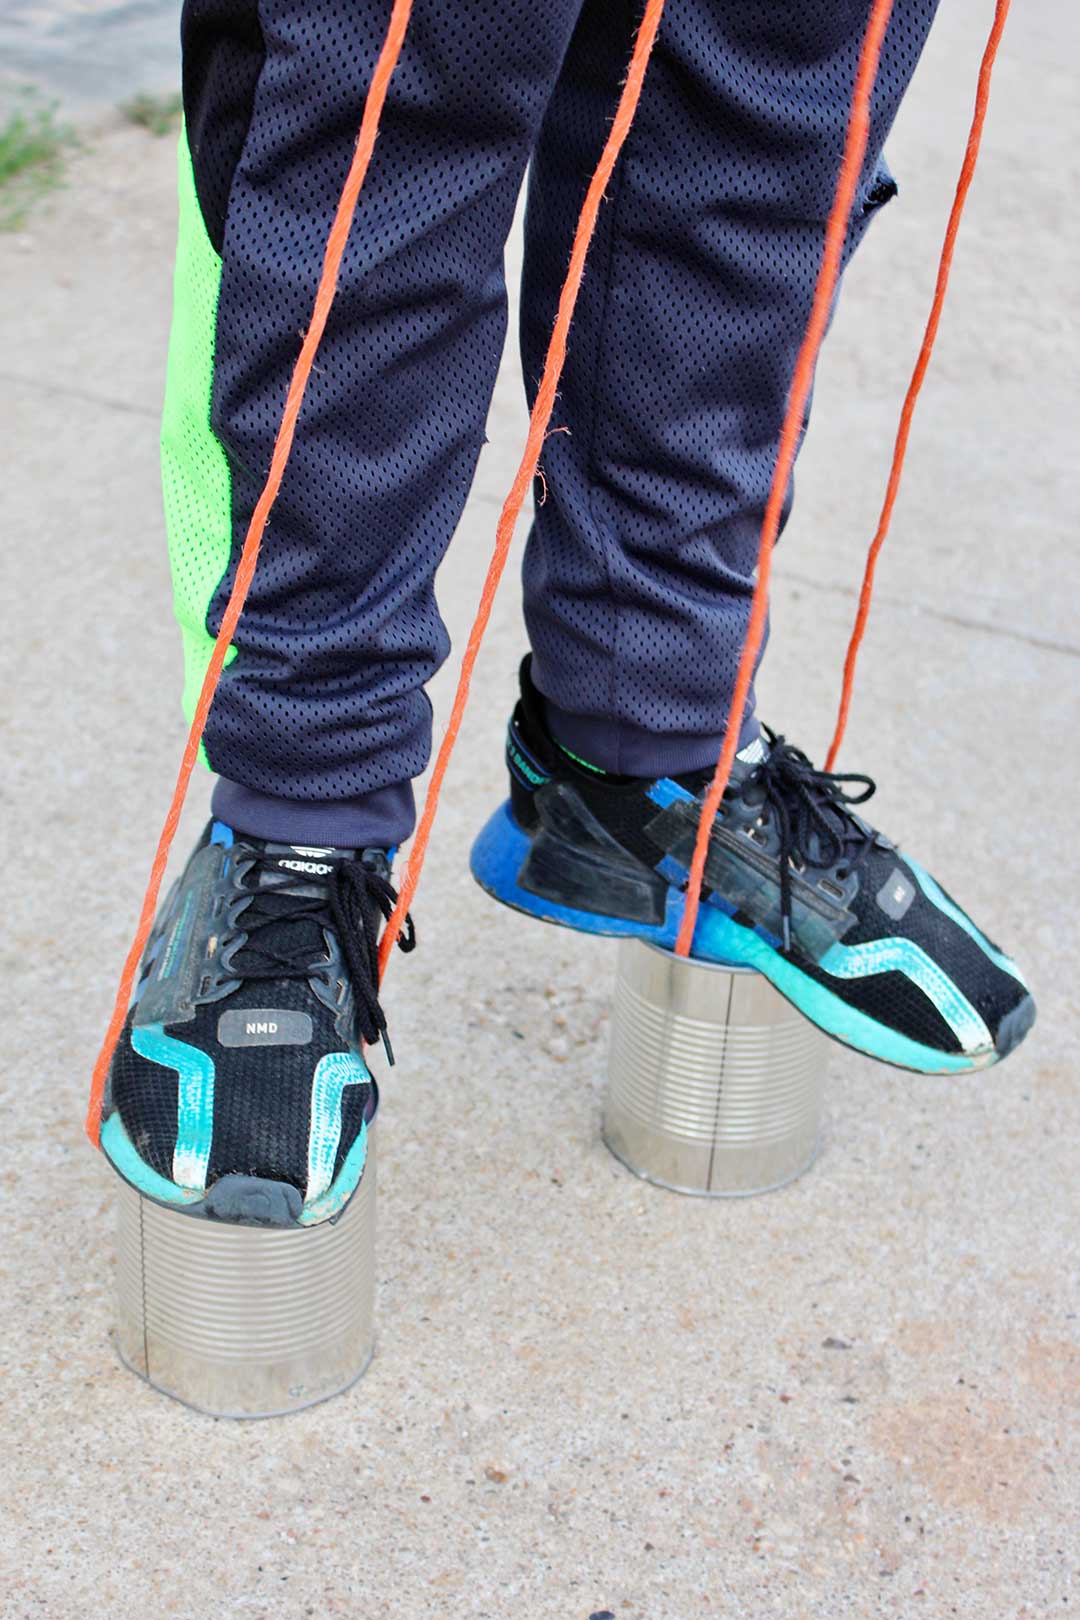
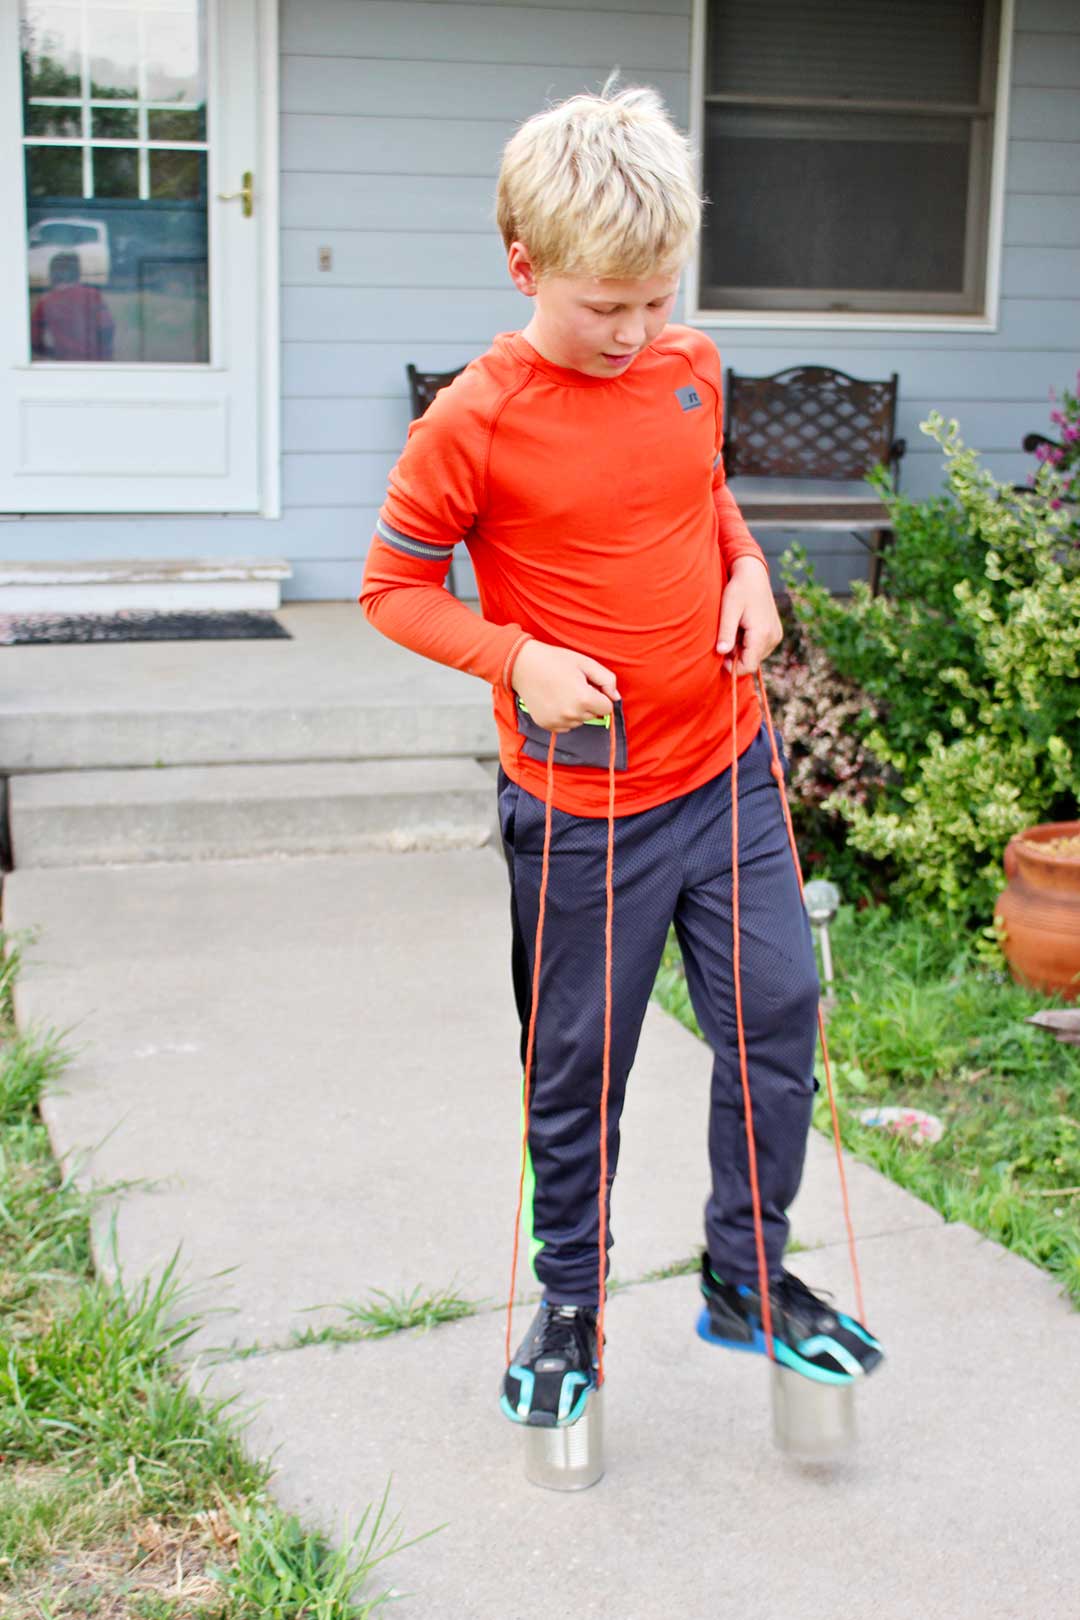
We tried these on the grass and on the sidewalk and the DIY recycled tin can stilts worked well either place. I don’t recommend them inside as they will scratch your wood floors.
The child holds the cords as handles and steps on top of the cans...and off they go.
What fun these DIY recycled tin can stilts were to make and use. This was a 10 minute project that produced many hours of fun. Give it a whirl!
Next time...
Next time we try this project we will try coffee can stilts, paint can stilts, or small bucket stilts of some type.
Of course, wooden stilts are on the list of great kids walking stilts to make as well. But let’s wait until the price of wood has gone down again, OK?
Purchased bucket stilts
Kid’s Bucket Stilts can be purchased as well as made. If you would like walking cup stilts to purchase here is a link: Bucket Stilts.
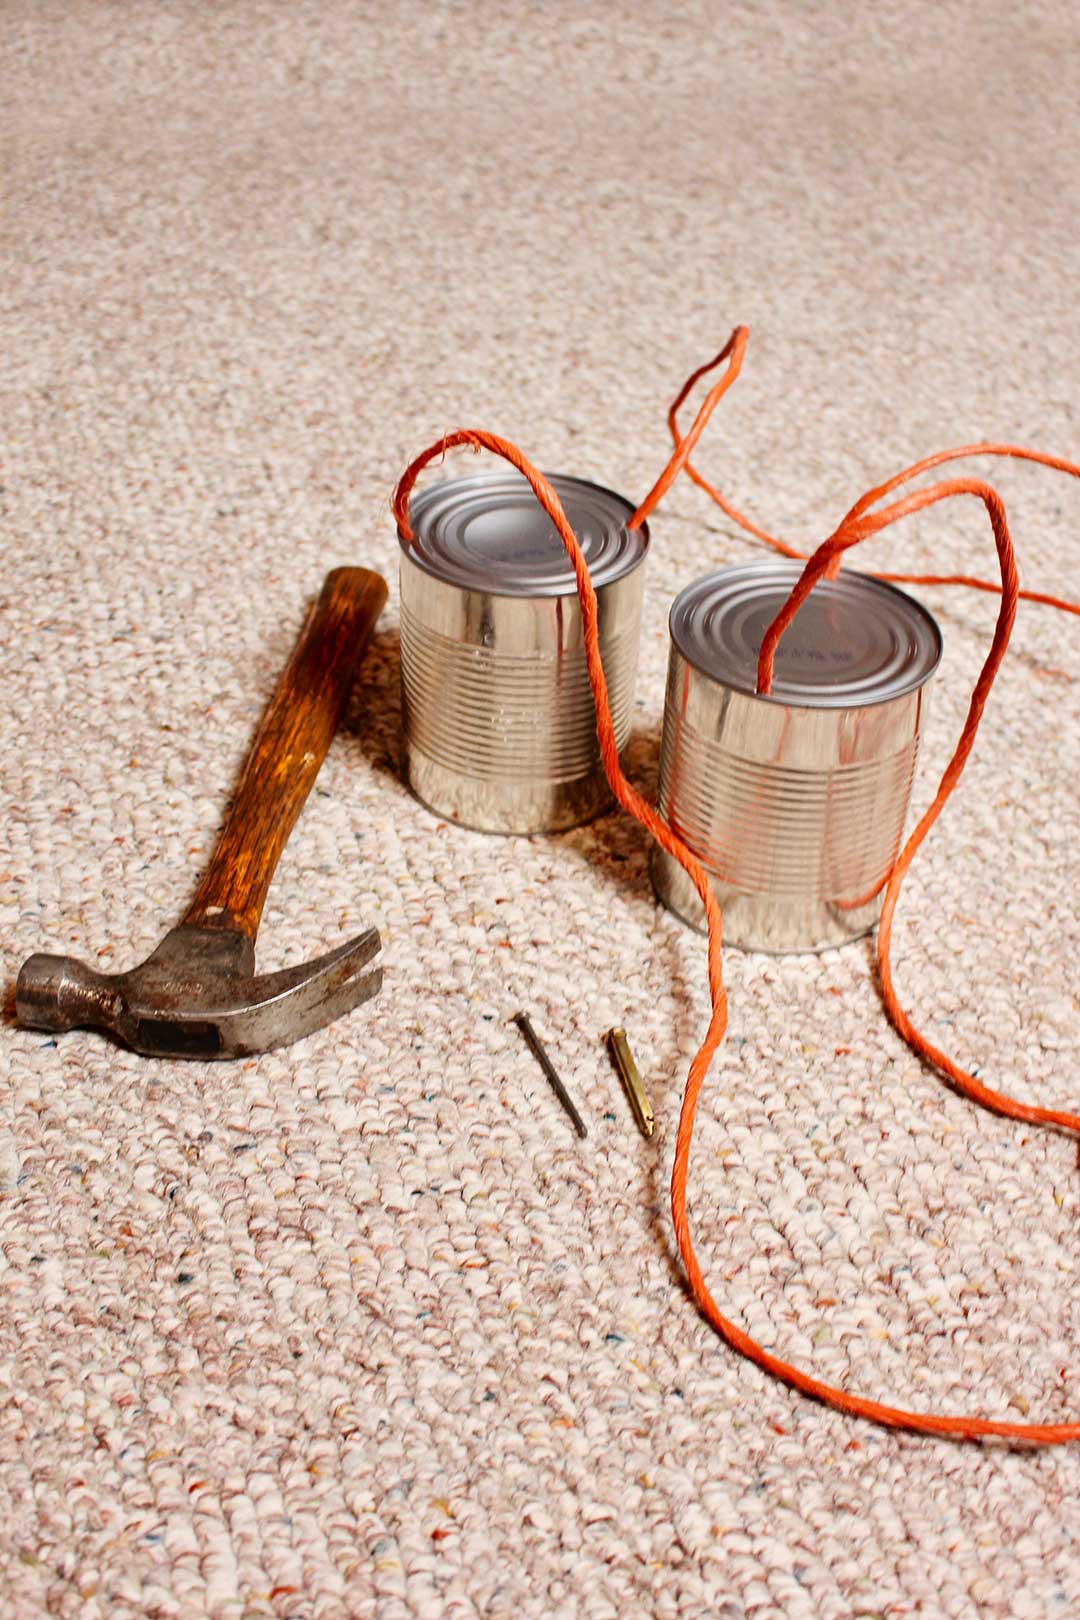
Supplies for DIY Recycled Tin Can Stilts:
- 2 tin cans (size #2.5 or larger)
- Can opener (manual Can Opener or Electric Can Opener)
- Nail and hammer
- Cord
Enjoy!
Welcome to Nana’s! Where there’s fun things to do with your “grand” kids!
Come join the fun at www.WelcomeToNanas.com


Leave a Reply