The Easiest No Sew Gift for Kids, an Applique Apron!
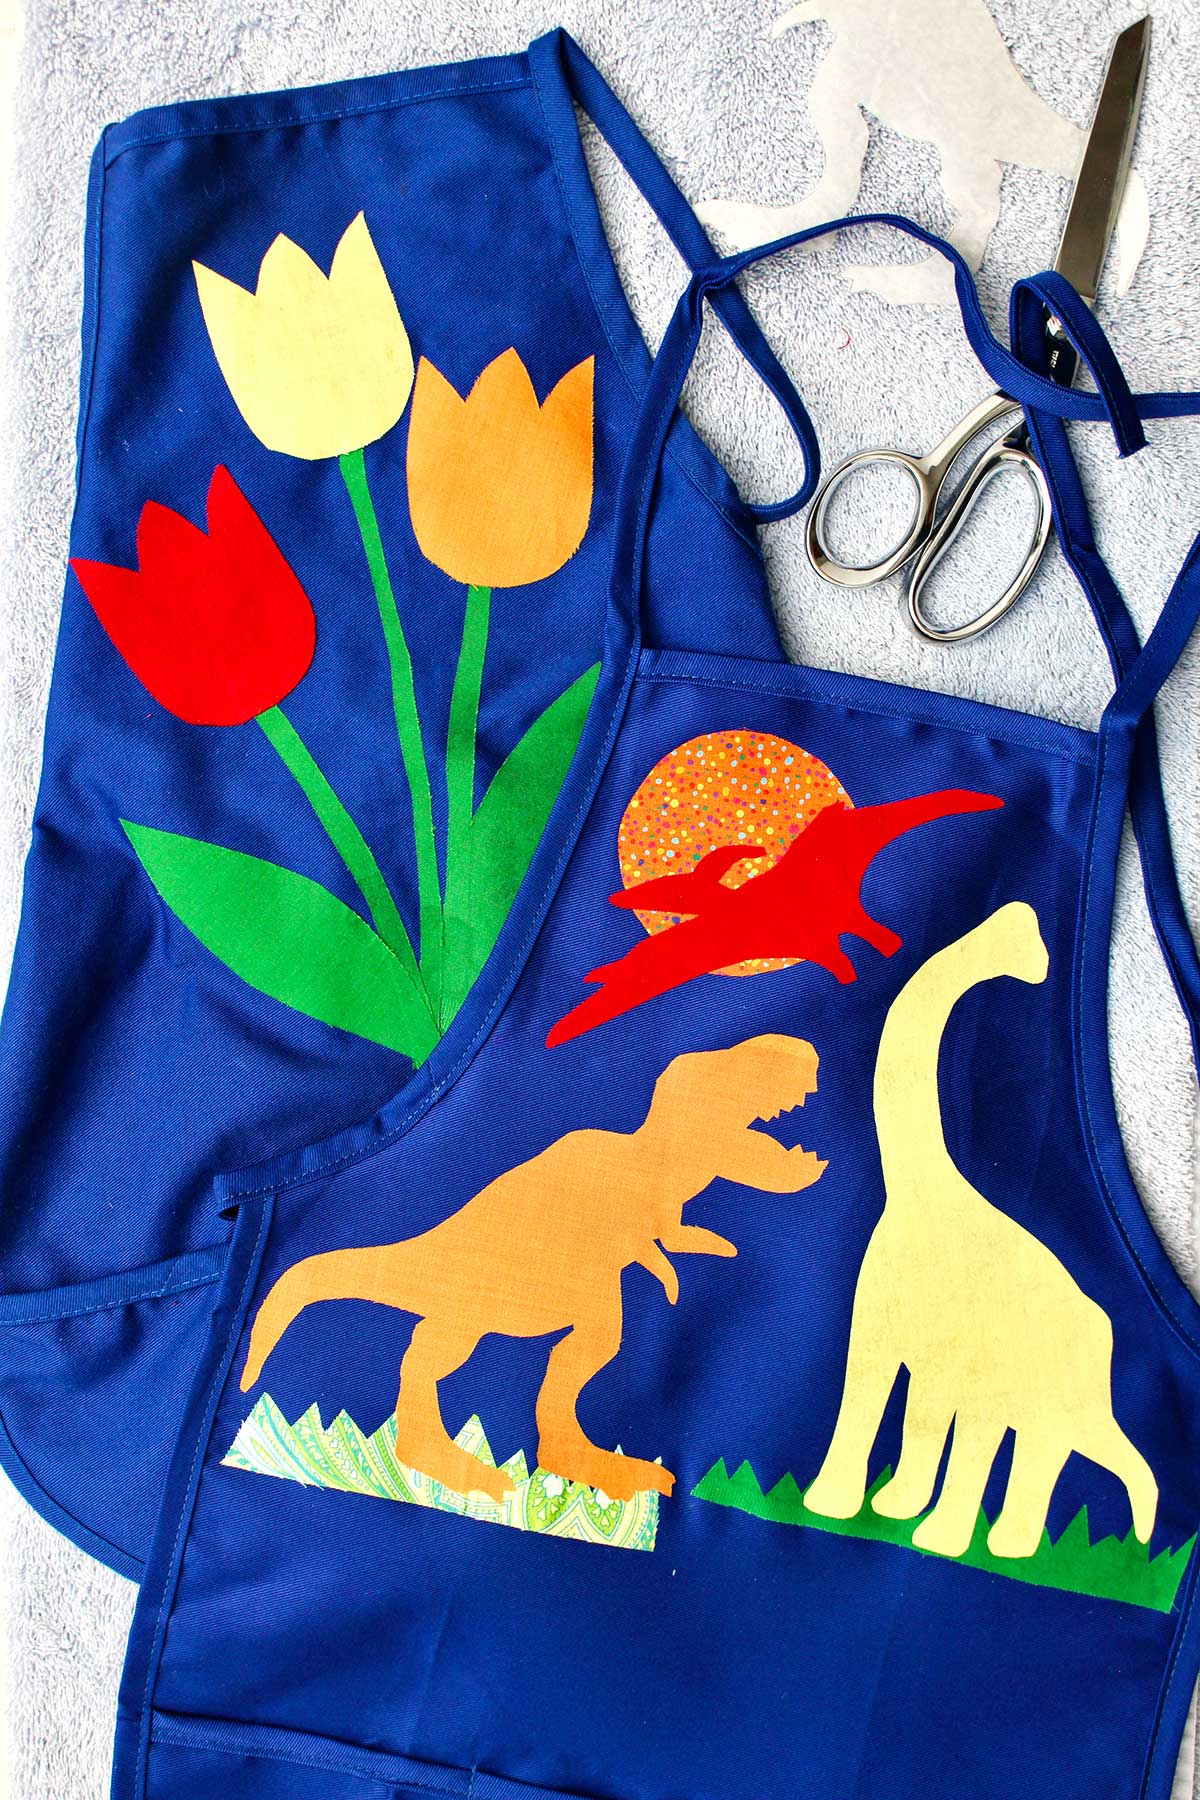
I made a little apron for a granddaughter a number of years ago using this no sew applique technique. The apron was purchased from a craft store and then I ironed on my own appliqué to the front.
My granddaughter outgrew it a while ago, and I took it home with me to use as a pattern for you! This is a great craft for a DIY gift, just in time for the holidays (or any time you need a fun special idea to give)!
This is such an easy last minute gift idea to make for the kids in your life, or the adults in your life for that matter!
Learning a no sew applique technique
So you get a doubly good deal with this little project. You will learn a no sew appliqué technique while making this easy kid’s apron as well!
The triple good deal is that the apron I purchased only cost a few dollars and I used scraps of fabric designs for the applique so it wasn’t expensive to make. But you don't have to stop at an apron, you can use this simple technique for all kinds of great gifts. Let's dive in!
No sew applique pattern (for free!)
This post includes a free template pattern for two different designs that you can use for your aprons. One is the flowers design that you saw on my granddaughter apron. The other design is dinosaurs. If you’re feeling whimsical you could use a combo of both- ha!
Here is the link to the free applique pattern designs: Learn No Sew Applique Technique on an Apron Gift Free Pattern
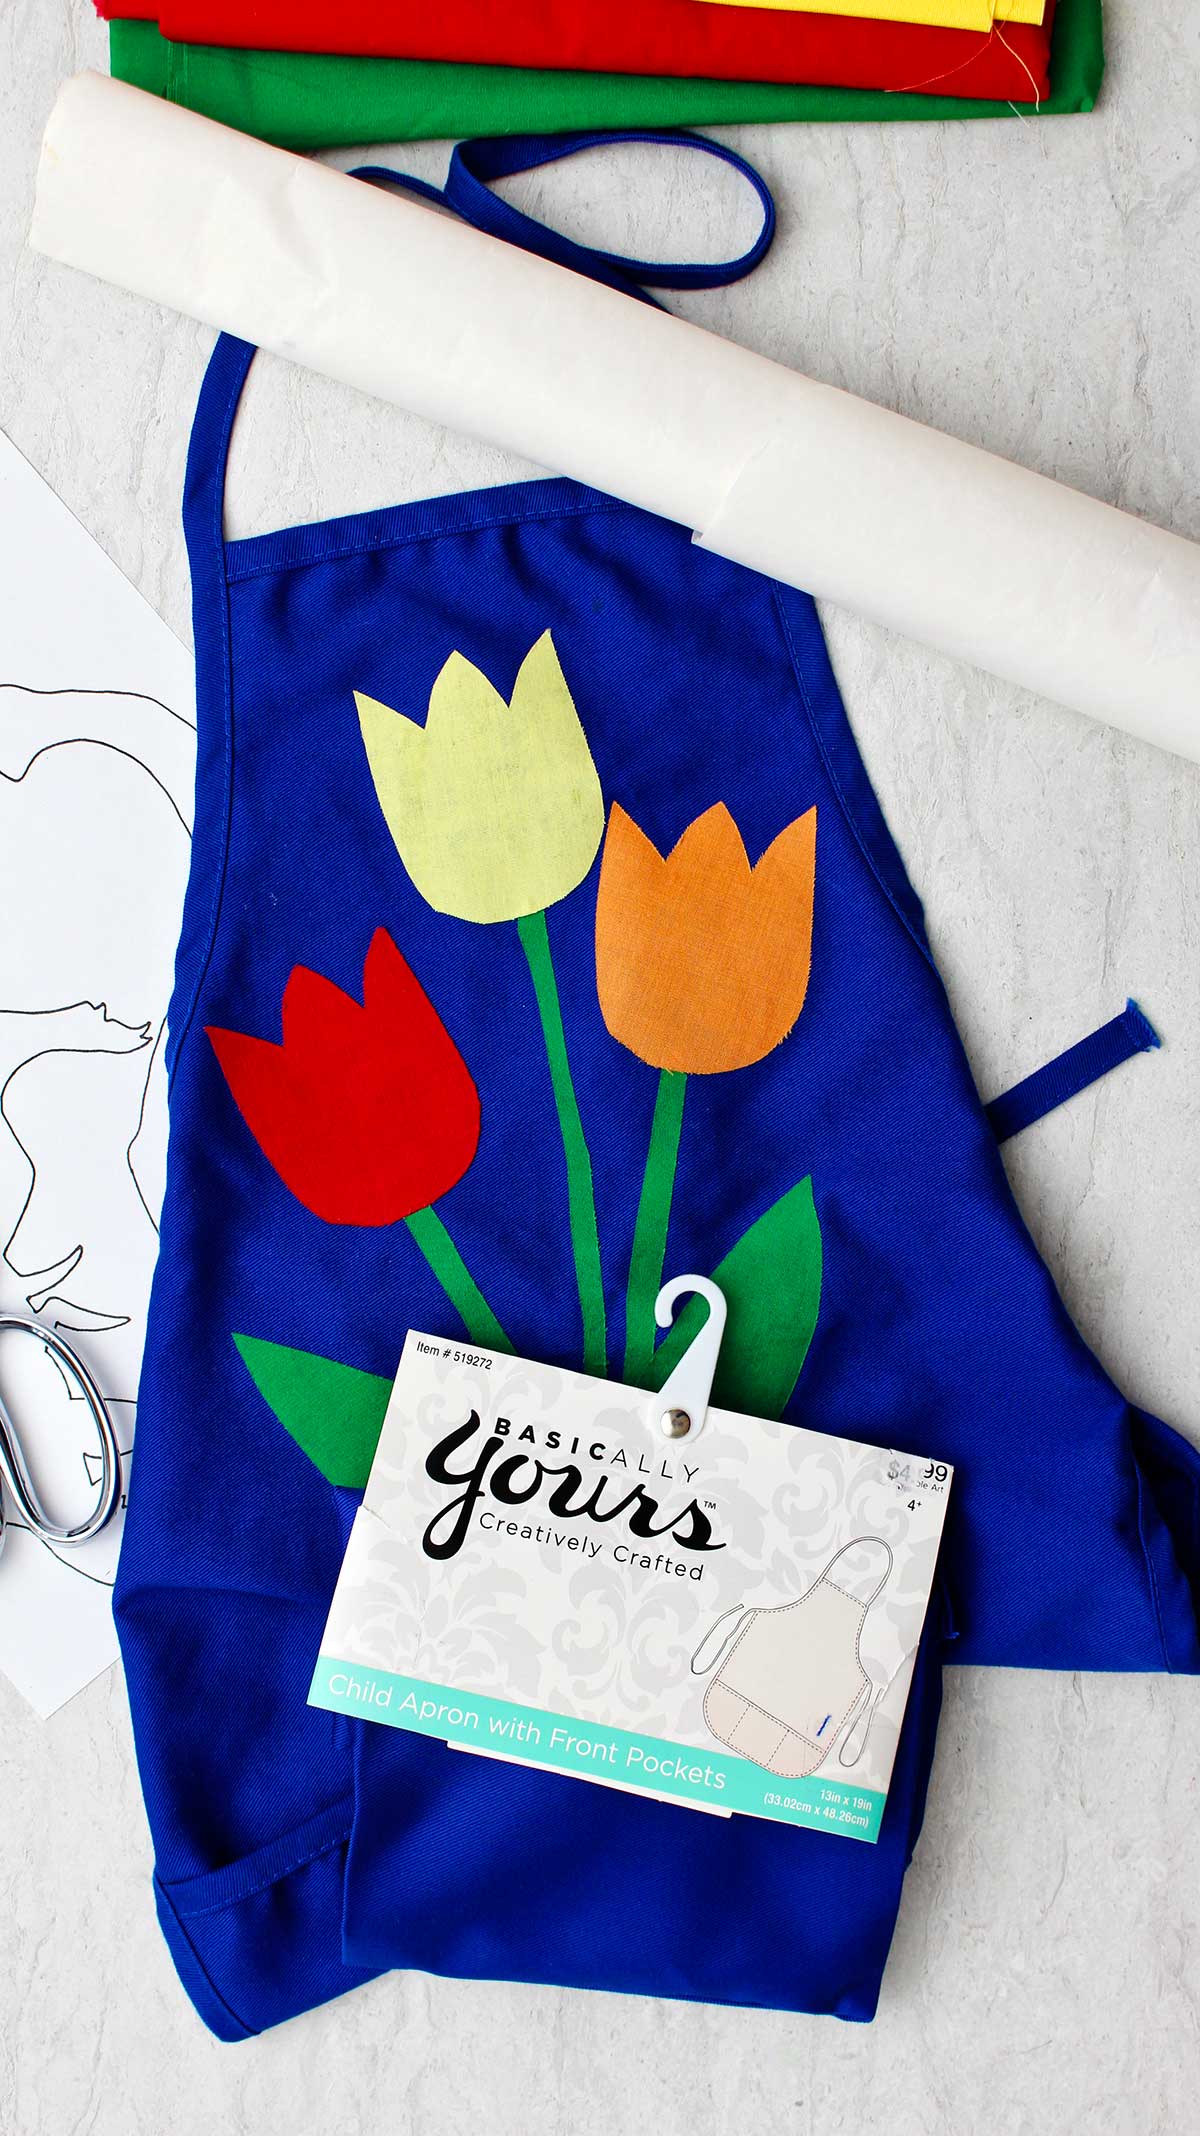
Of course, you are welcome to make your own pattern as well! You could match it to the interest of the child receiving the apron as a gift. I can’t wait to see what you come up with- be sure to post a picture.
If you do make your own design, just be sure to measure the area on the apron that you want to fill with your design and make it that size or smaller.
Tip: Remember that a pocket on the top front of the apron will be in the way. For this purpose it’s best to buy an apron with no pocket on the top front.
Tip two: A hot iron will be used on this applique project so a cotton or cotton blend fabric for the apron and appliqué fabrics is important so it doesn't melt.
Try following along with me step-by-step--
A Full Length tutorial video that goes step-by-step through this craft is found at the following link- Click Here: YouTube Learn No Sew Applique Technique on an Apron Gift Full Length Tutorial.
DIY iron-on appliqué fabrics
First things first, print off the free pattern of your choice and cut it out on the lines. You will use these to trace the pattern onto the fusible webbing in a bit.
With a design in mind it’s time to choose the fabrics you will use for the applique.
This is a great project to use up small scraps of fabric that you may have stashed away. Not that I would know anything about that…a stash of scraps that is. Busted!
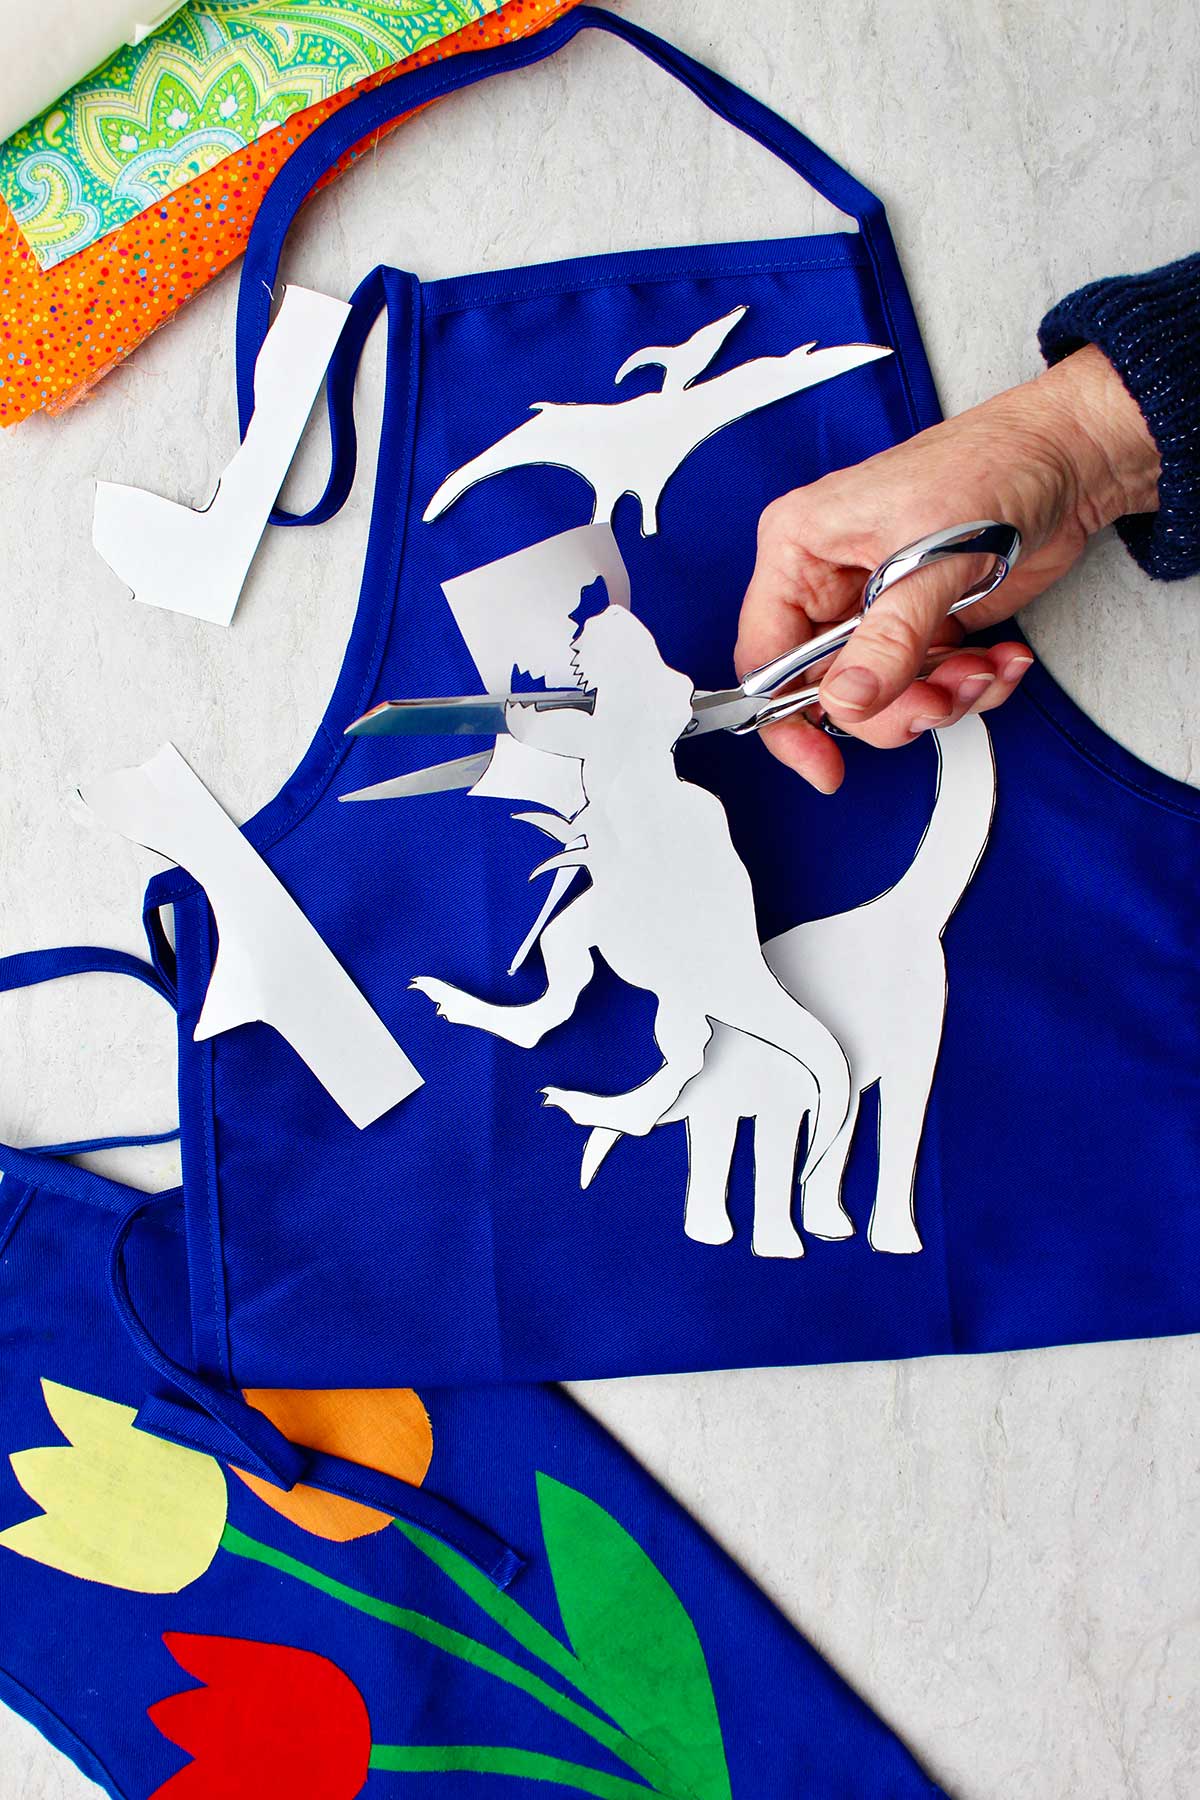
Go through your fabric scraps and find pieces that are in colors and patterns that would work well with the design you chose for the front of your apron. As you are making your fabric choices, remember that cotton or cotton blends work best with the heat of an iron.
No scraps? Here are a couple options. Fabric stores have what’s called “fat quarters” which are ¼ yard pieces of different fabric that they have prepped for purposes just like this. Or you could purchase small amounts by the yard or ask friends for small amounts of fabrics in designs and colors you like.
Choosing the right fabric pieces
The fabric pieces just need to be large enough to fit your pattern pieces on.
I used solid-colored fabrics for these flowers. But the fabrics can have designs or patterns in the fabric. That would look fun also. I snuck in a few on the dinosaur apron. What do you think?
The magic of this craft is fusible webbing.
My favorite brand of fusible web that I use is Wonder Under- great name, right? But there are other brands as well. This is available in a fabric store or online.
I love fusible webbing! I think it’s one of the best things since sliced bread. Except maybe for Velcro, Velcro is amazing too. I digress.
Fusible web for fabric appliqué- it's like magic!
Fusible webbing is actually fusible on both sides of the webbing. But it’s got a paper backing so you can iron it onto the back of the fabric, or what is called the "wrong side" of the fabric. You can use this paper to draw your design onto the fabric.
Then you’ll tear off the paper and expose the other side of the fusing web fusible webbing. That side will be ironed onto your project! Brilliant, isn’t it?
This allows it to fuse two pieces of fabric together- like magic!!
I love this technique as a great alternative to different methods of permanent bond, like fabric glue or sewing, both of which can take a lot of time and skill. The perfect solution!
You will learn how to make this work on your apron as you follow the next directions. Let’s make it happen.
Creating your applique pieces on the right side
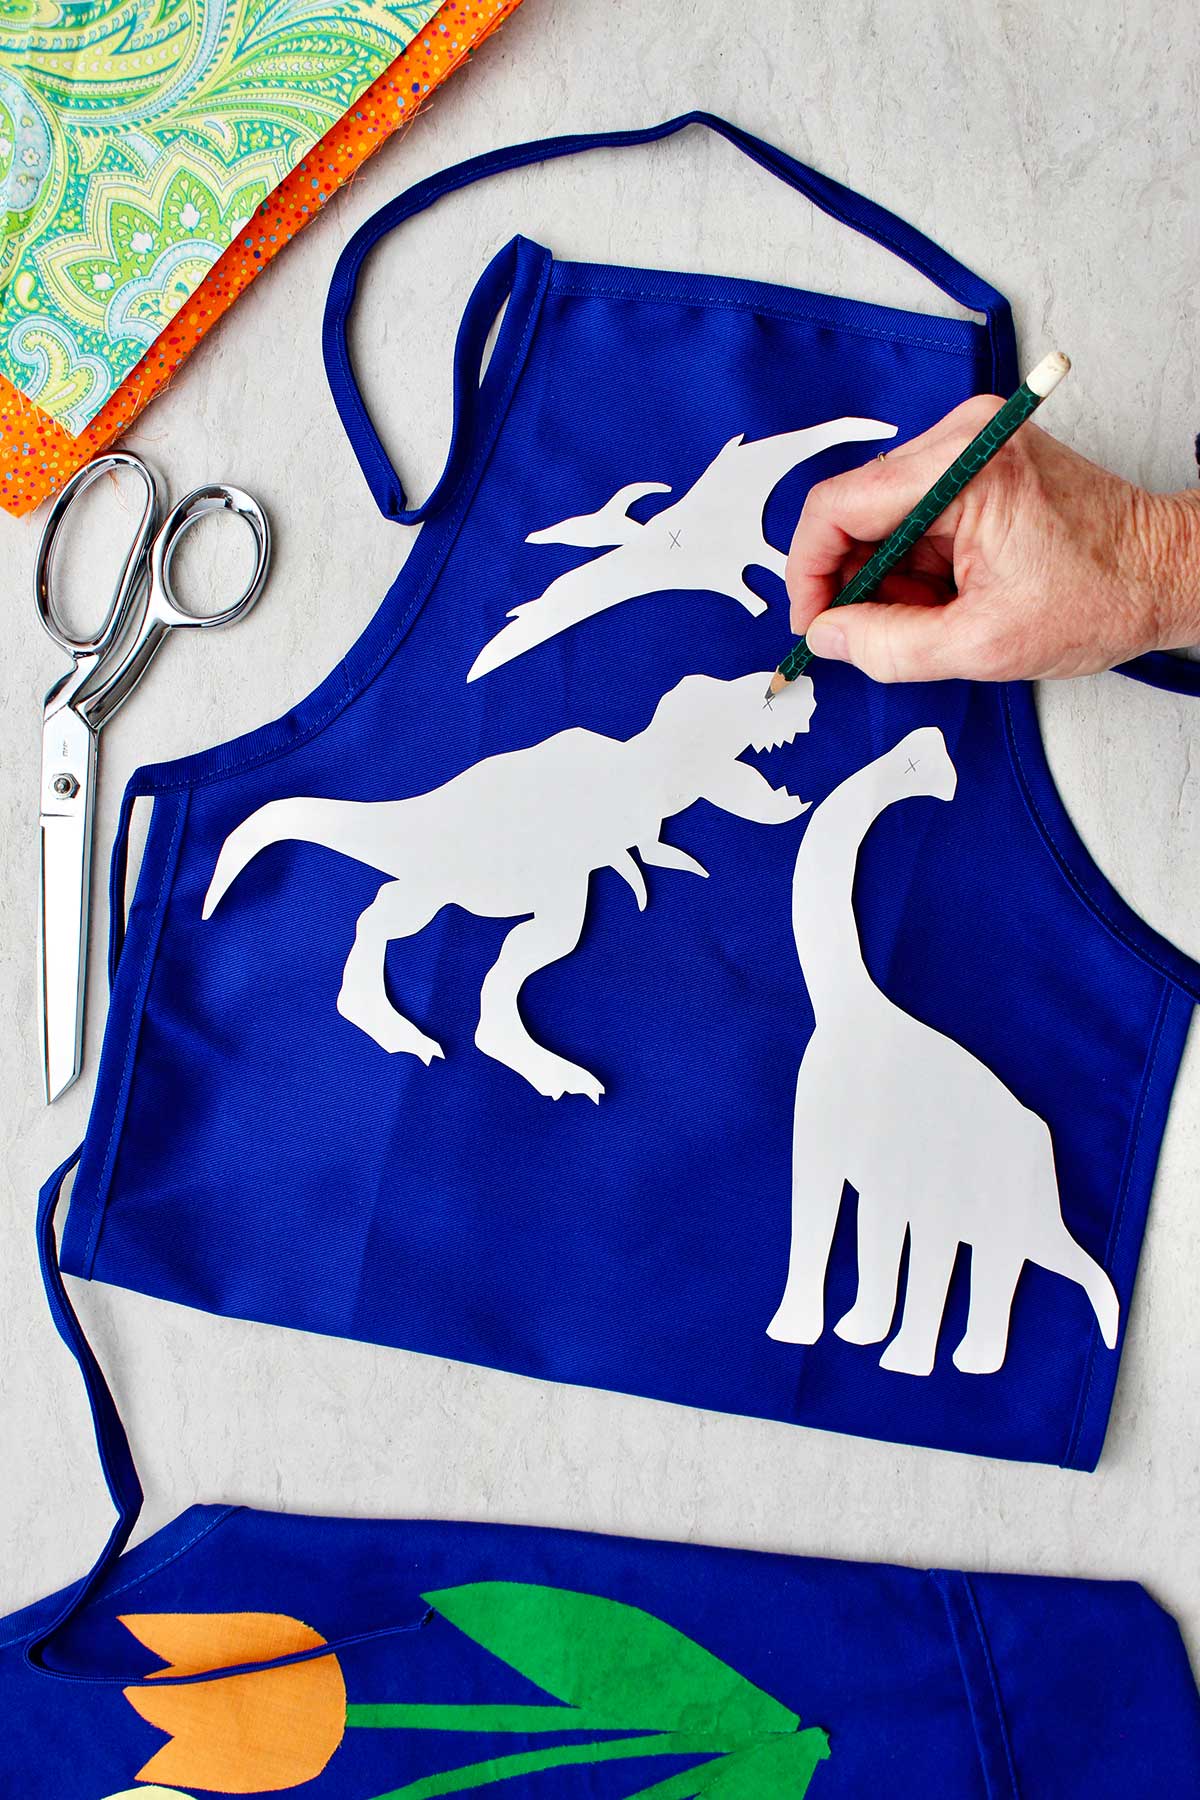
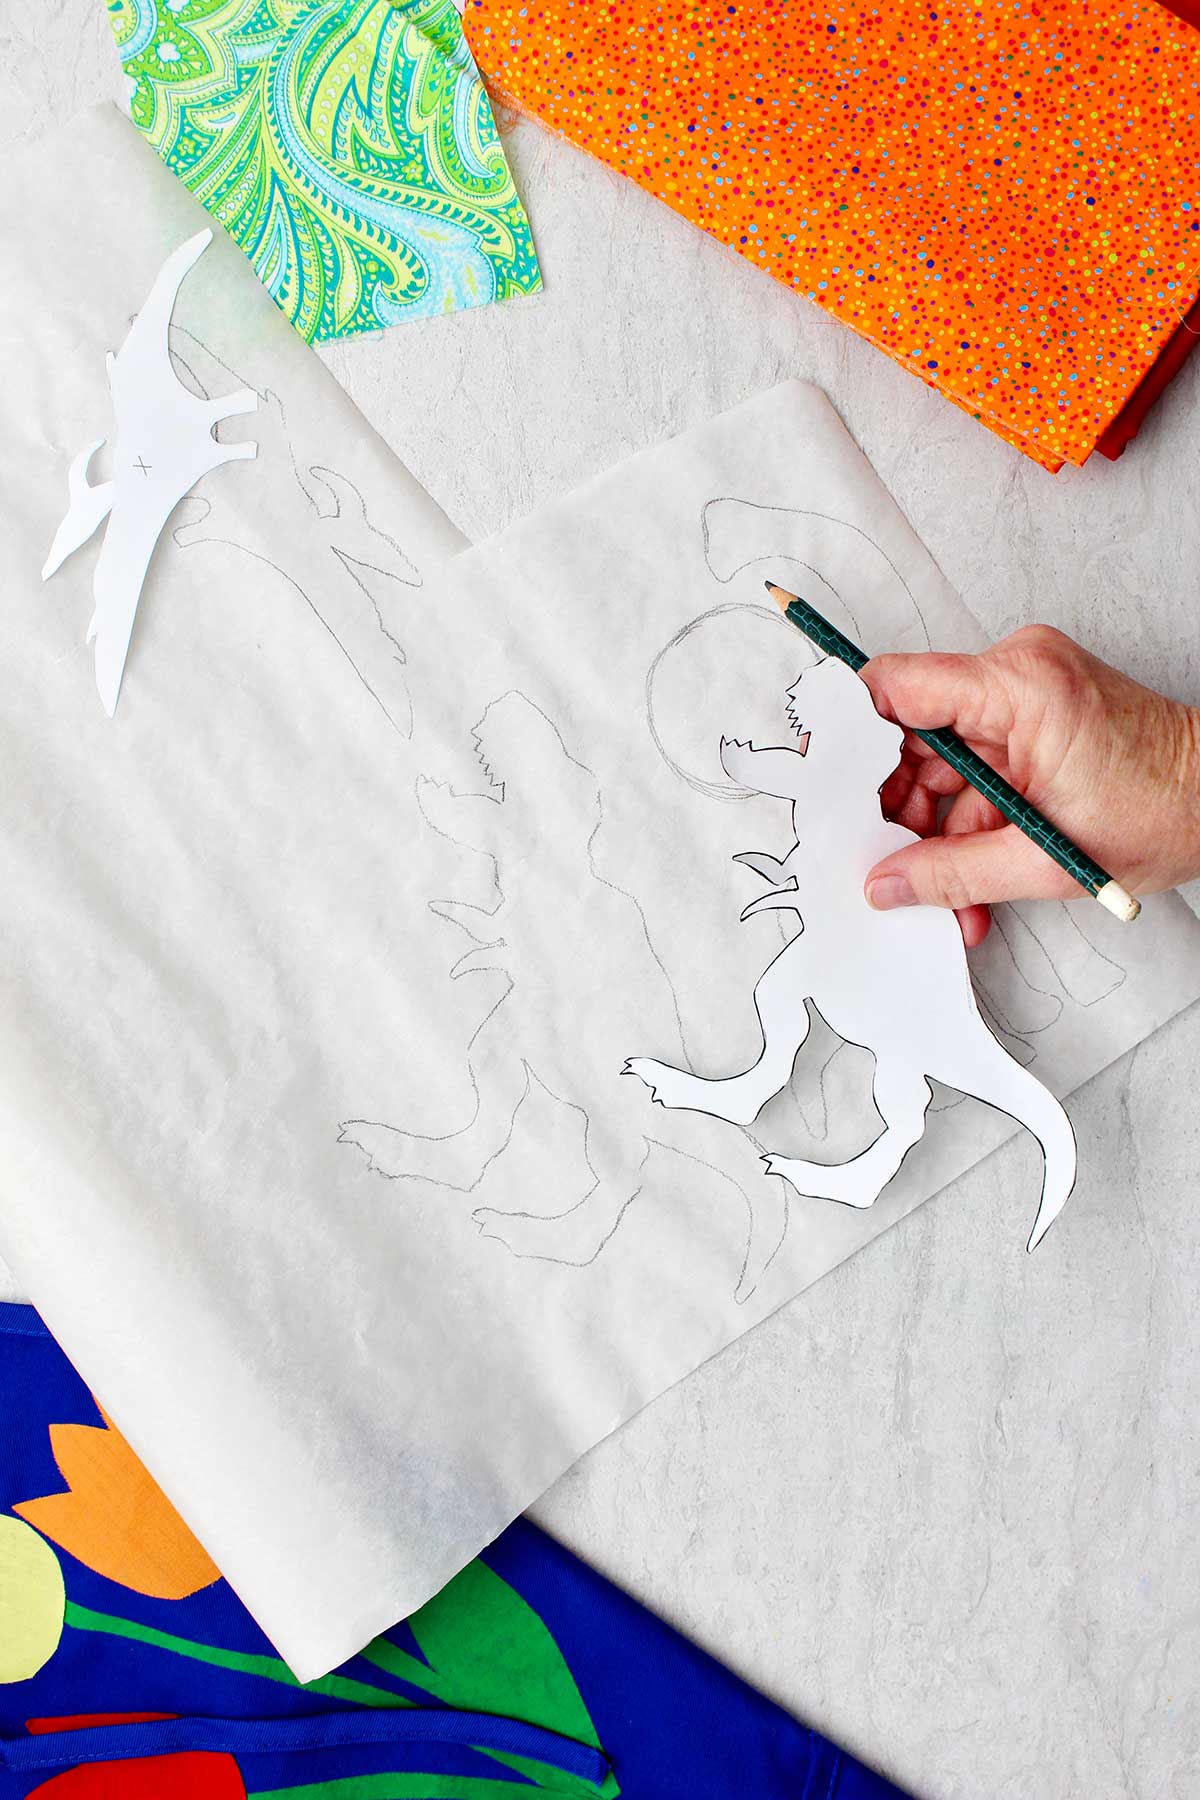
Next you will take your pattern and trace it onto the removable paper backing of the fusible webbing.
Trace your pattern pieces on the paper side of the fusible webbing backwards on each of your fabric pieces. Think about what colors or designs of fabric you chose for each piece.
Note: It’s important to know that you need to place your pattern on this paper backing backwards. Because it will be inverted when you tear off the paper back on the right side to iron it on later.
Repeat this step with each piece of your pattern.
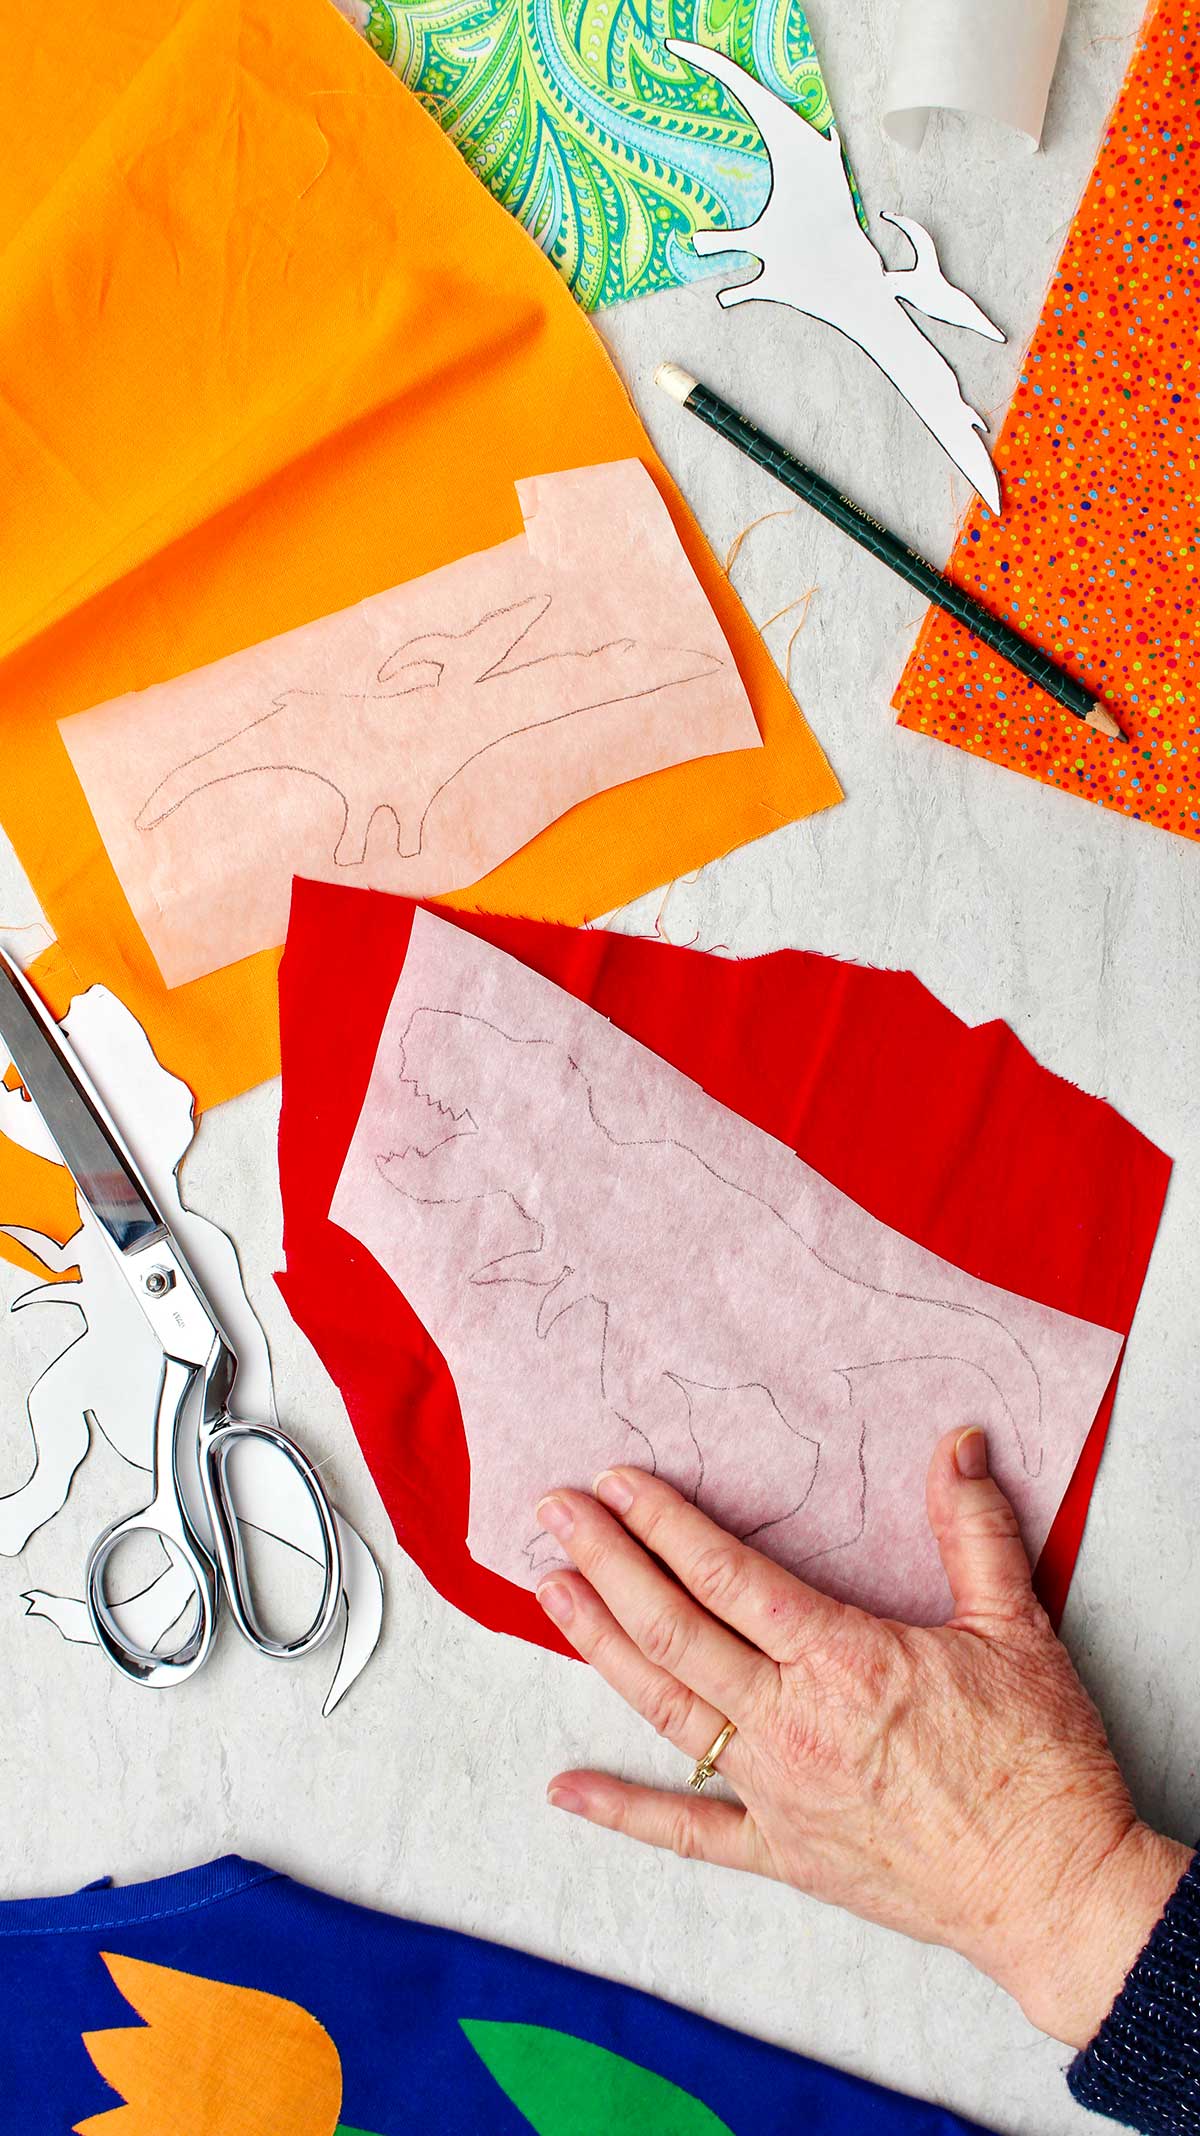
Then cut between each pattern piece so that it is separate from the others.
NOTE: You will NOT be cutting out each piece on the lines at this time, just cut between each pattern piece so it is separate from the other as seen in the picture below.
How to use fusible web for applique
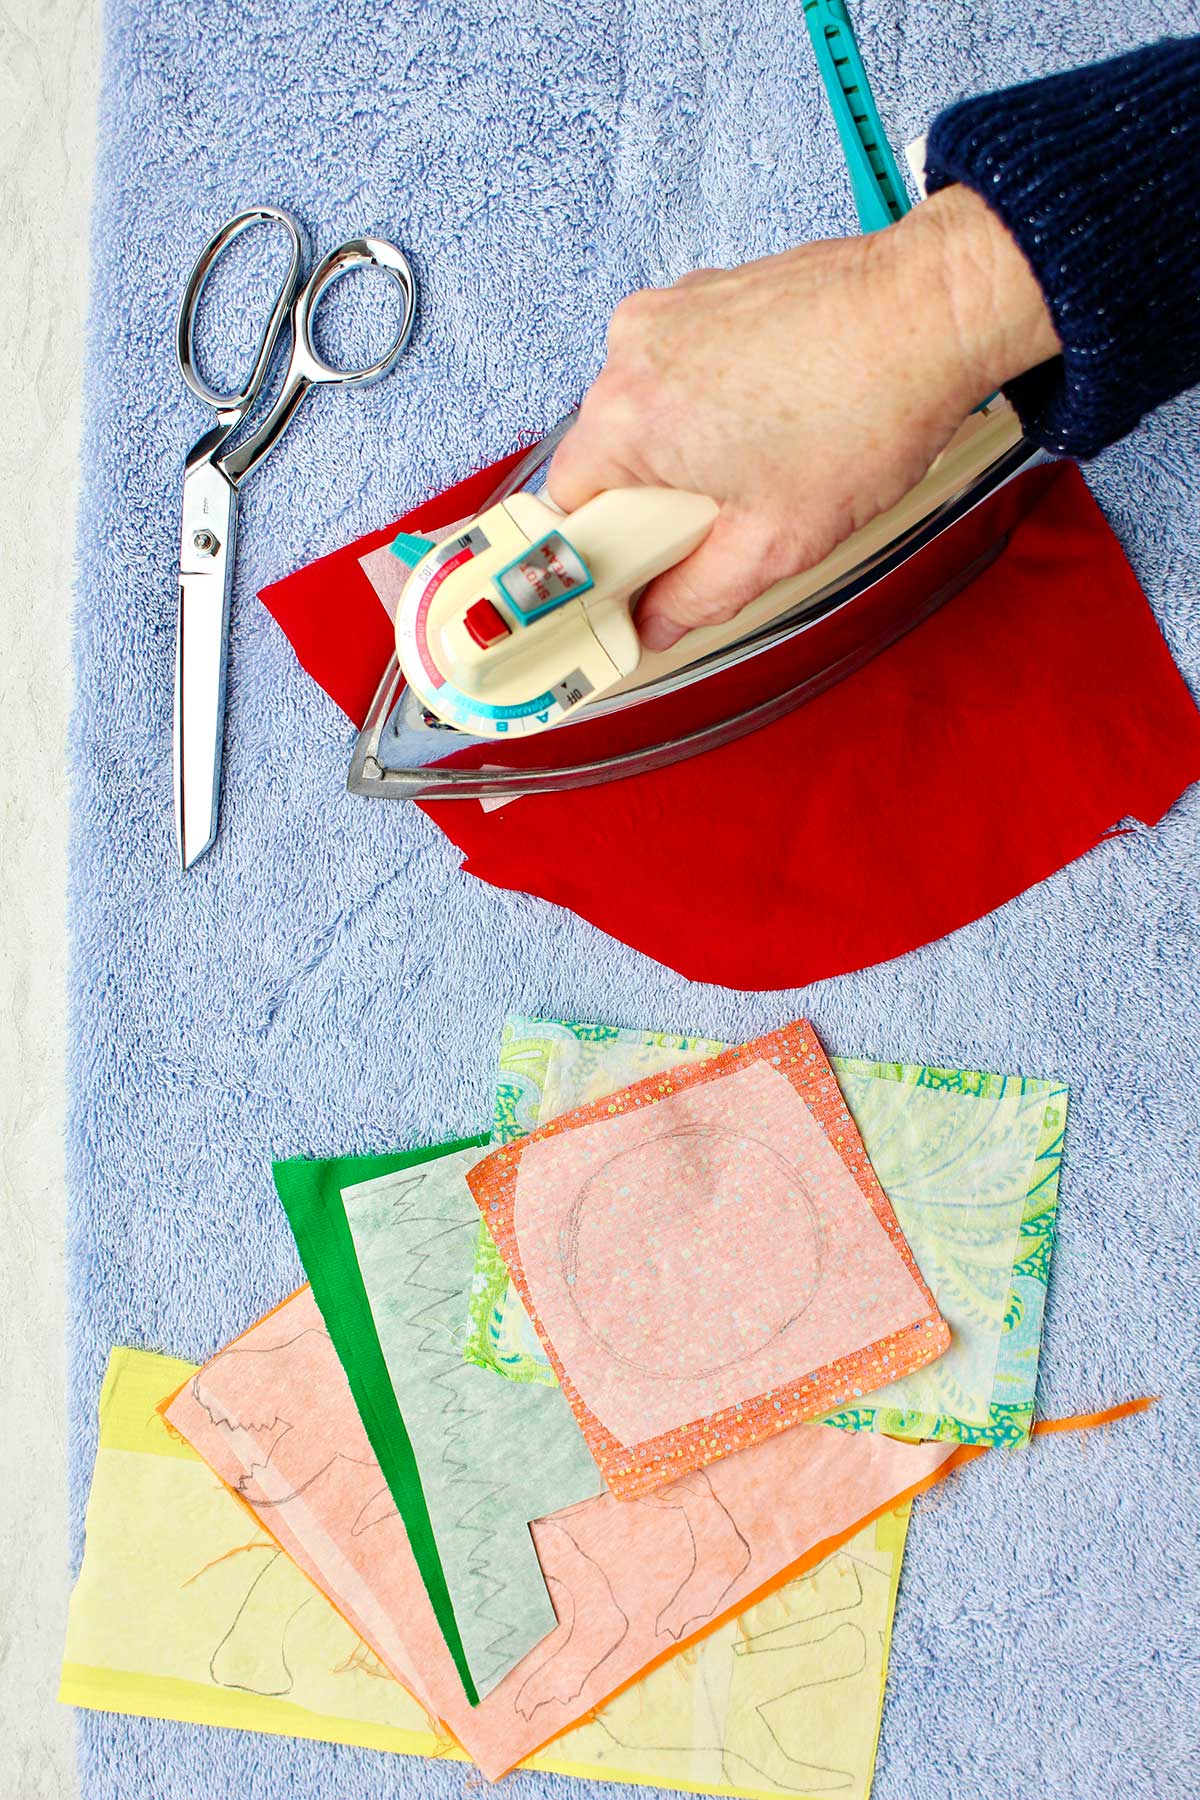
Time to get that iron and ironing board out and heat up the iron. Be sure to follow the directions that come with your fusible webbing for the settings on your iron.
My directions for Wonder Under said to use a hot, dry iron- no steam.
Match up the fabric you want to use with each of the pieces of your pattern. You want to get the right piece with the fabric you chose for it!!
Then take that piece of fusible webbing with a paper backing and iron it onto the wrong side of your fabric, the back side of the fabric.
This is done by holding the iron for a number of seconds over each area of the fabric according to the directions on the fusible webbing. Mine said 10-15 seconds, so I held the iron on for 10 seconds.
Be sure that you place the webbing side against the wrong side of your fabric before ironing. Or it will fuse to your iron instead of your fabric- not good!!
Now the fusible webbing has one side fused to the wrong side of your fabric.
Repeat this with each of your pieces of webbing with the pattern drawn onto it.
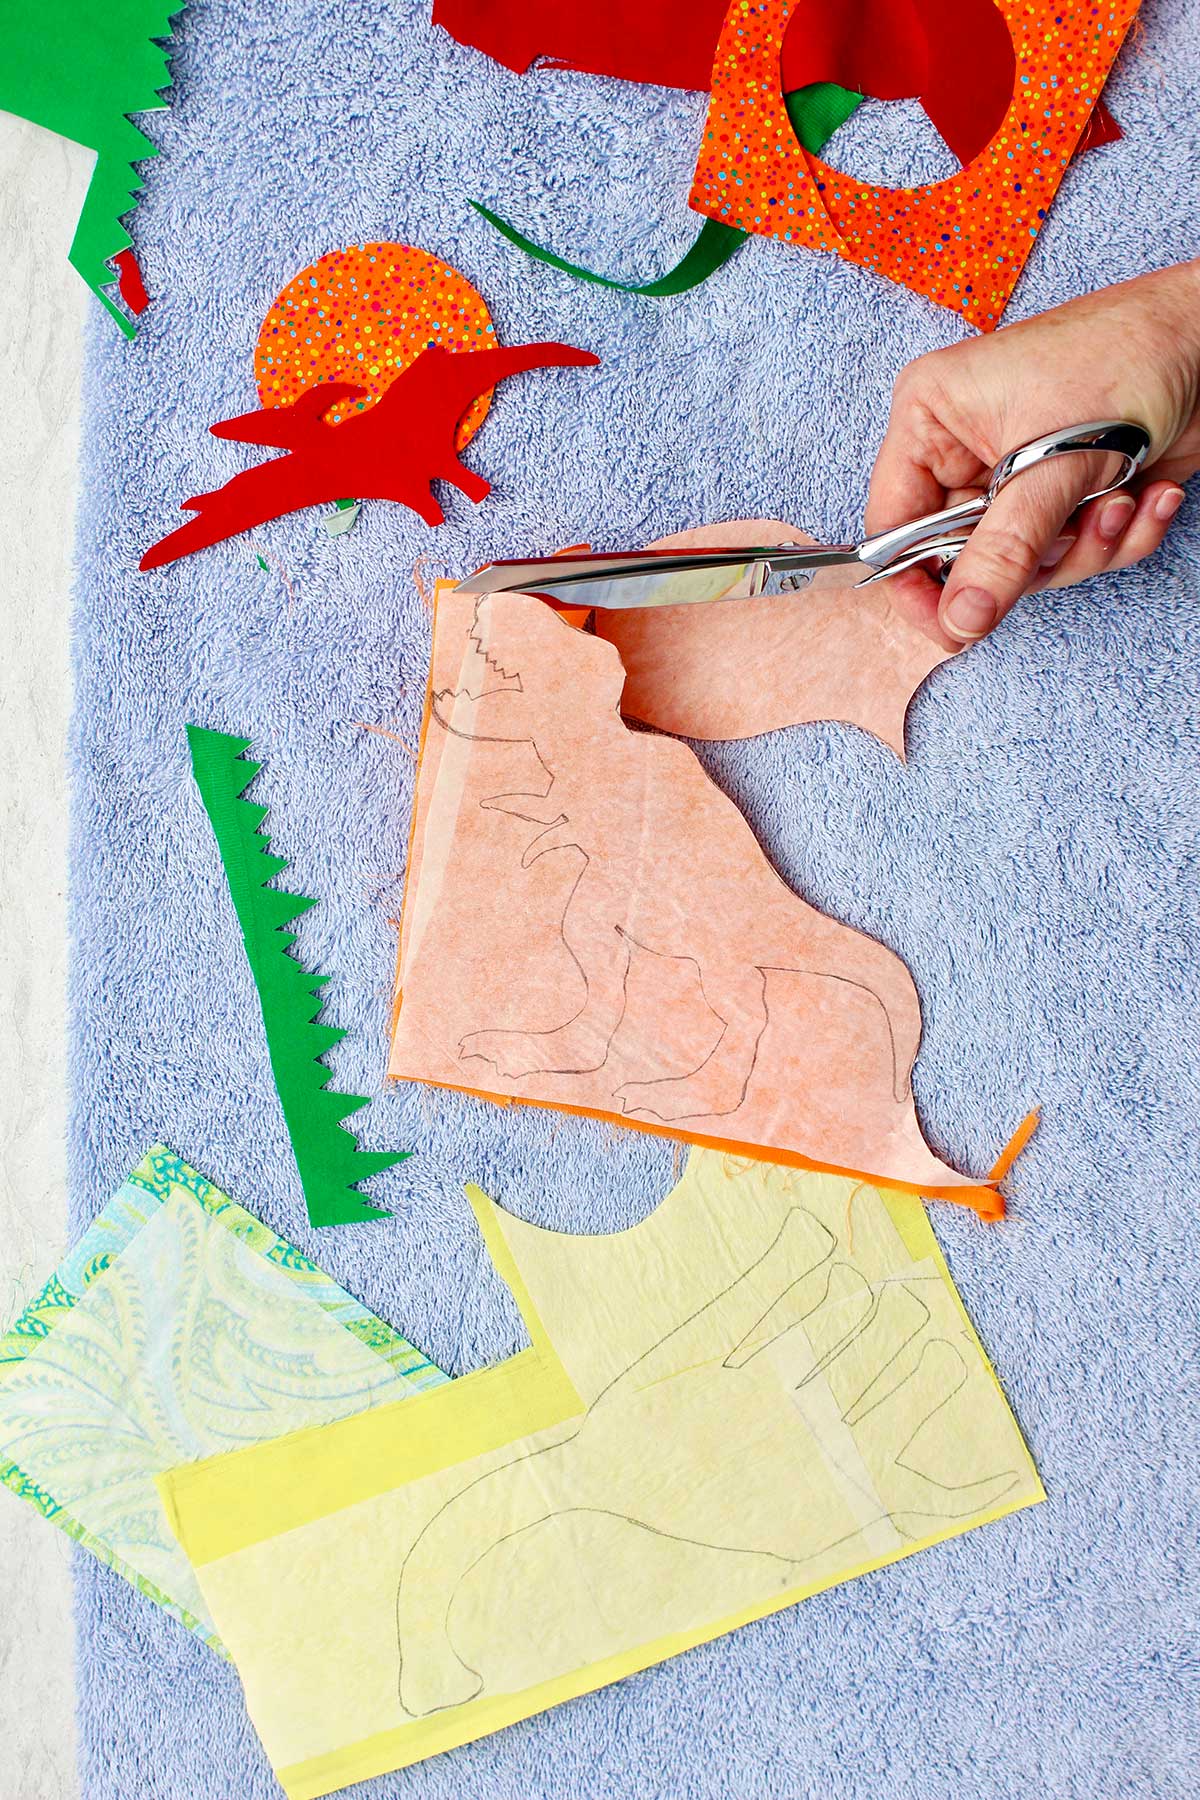
Go ahead and cut your pattern pieces out along the lines.
Removing the paper baking
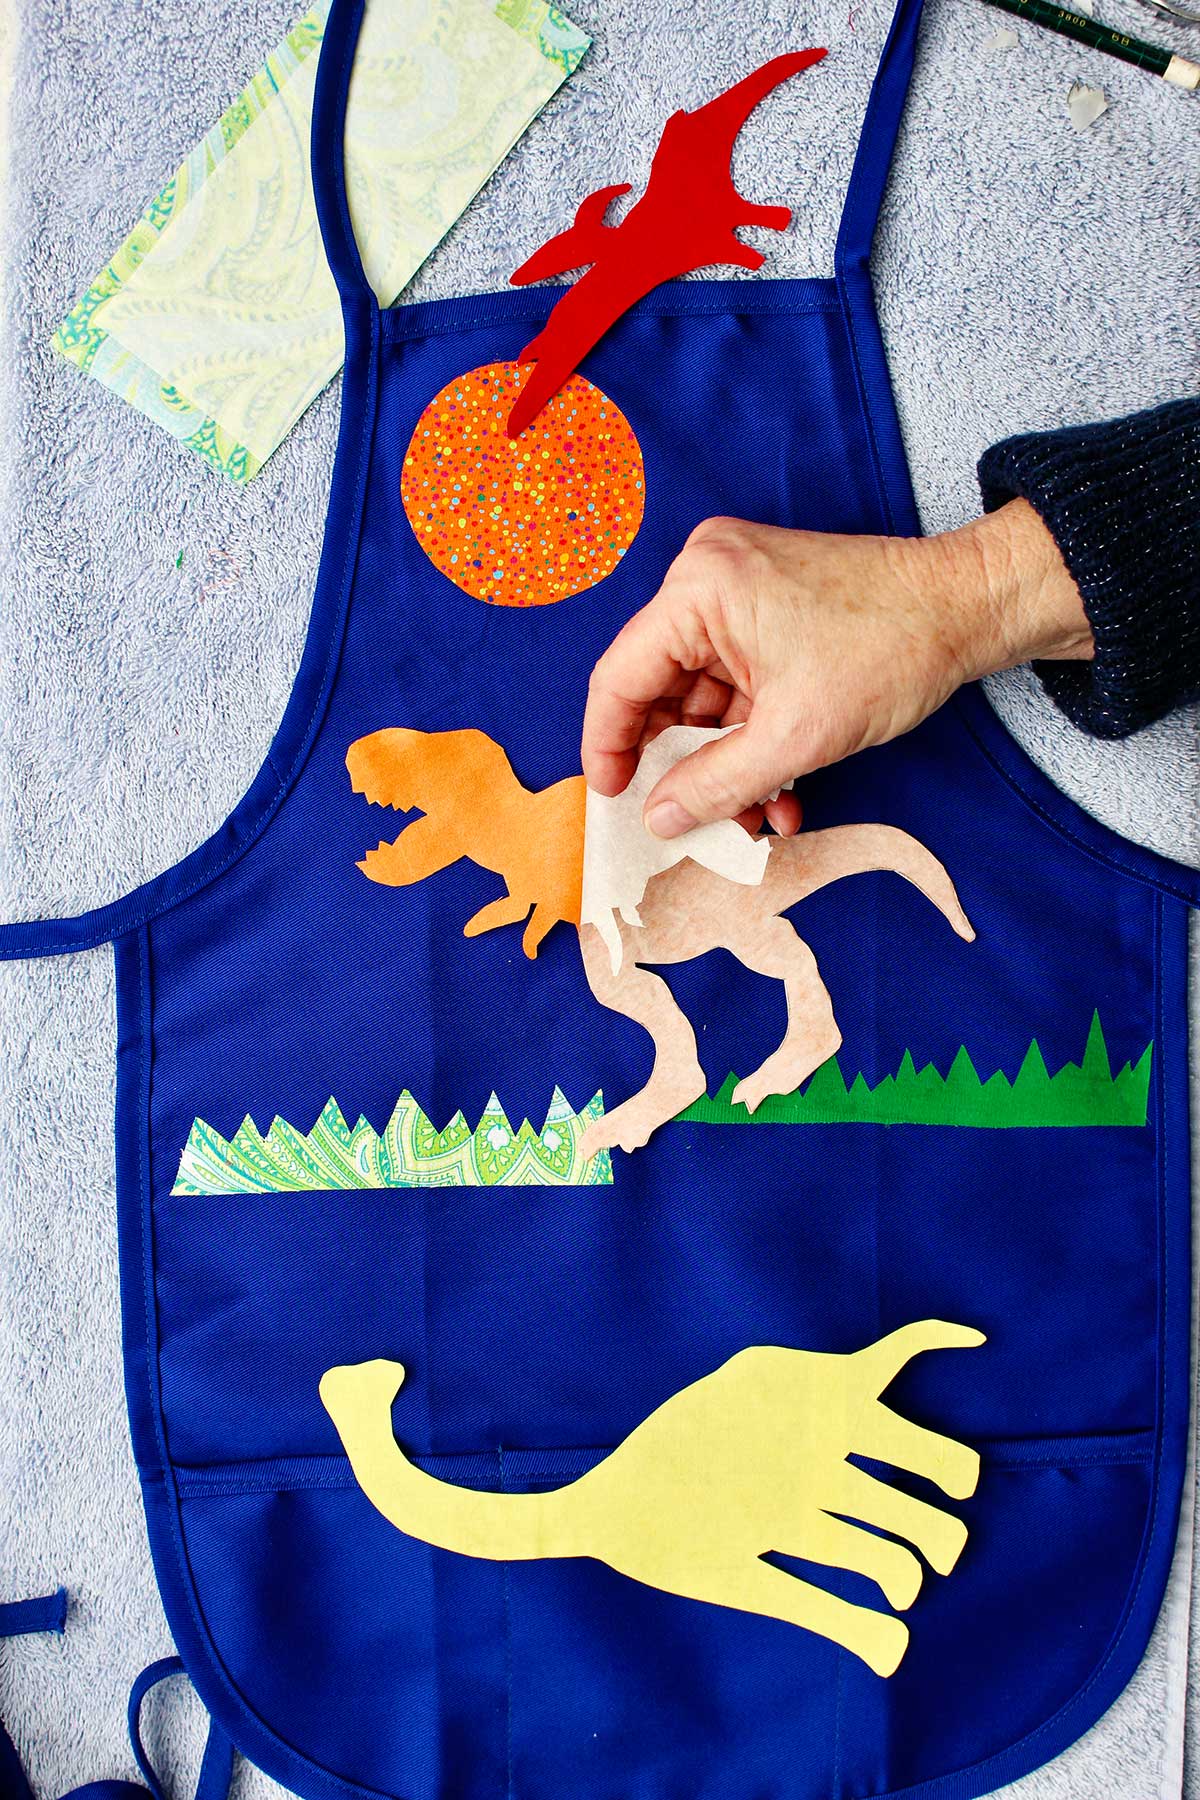
When you have all the cut-out shapes from the piece of fusible web, tear the paper backing off of each of those cut outs.
Tip: If you have trouble getting the paper to peel off the applique piece then try this…take a pin and lightly score the paper in an “x” somewhere on the back. Use the little flaps this makes to pull it off the paper backing.
Ready for the fun part?
Place the pattern shapes on the front top part of your apron, fusible or adhesive side down. Arrange them the way you want them on the background fabric.
Warm up your heat press iron according to the directions that came with your fusible webbing.
Mine says use a highly heated iron and no steam.
Attaching the applique without sewing
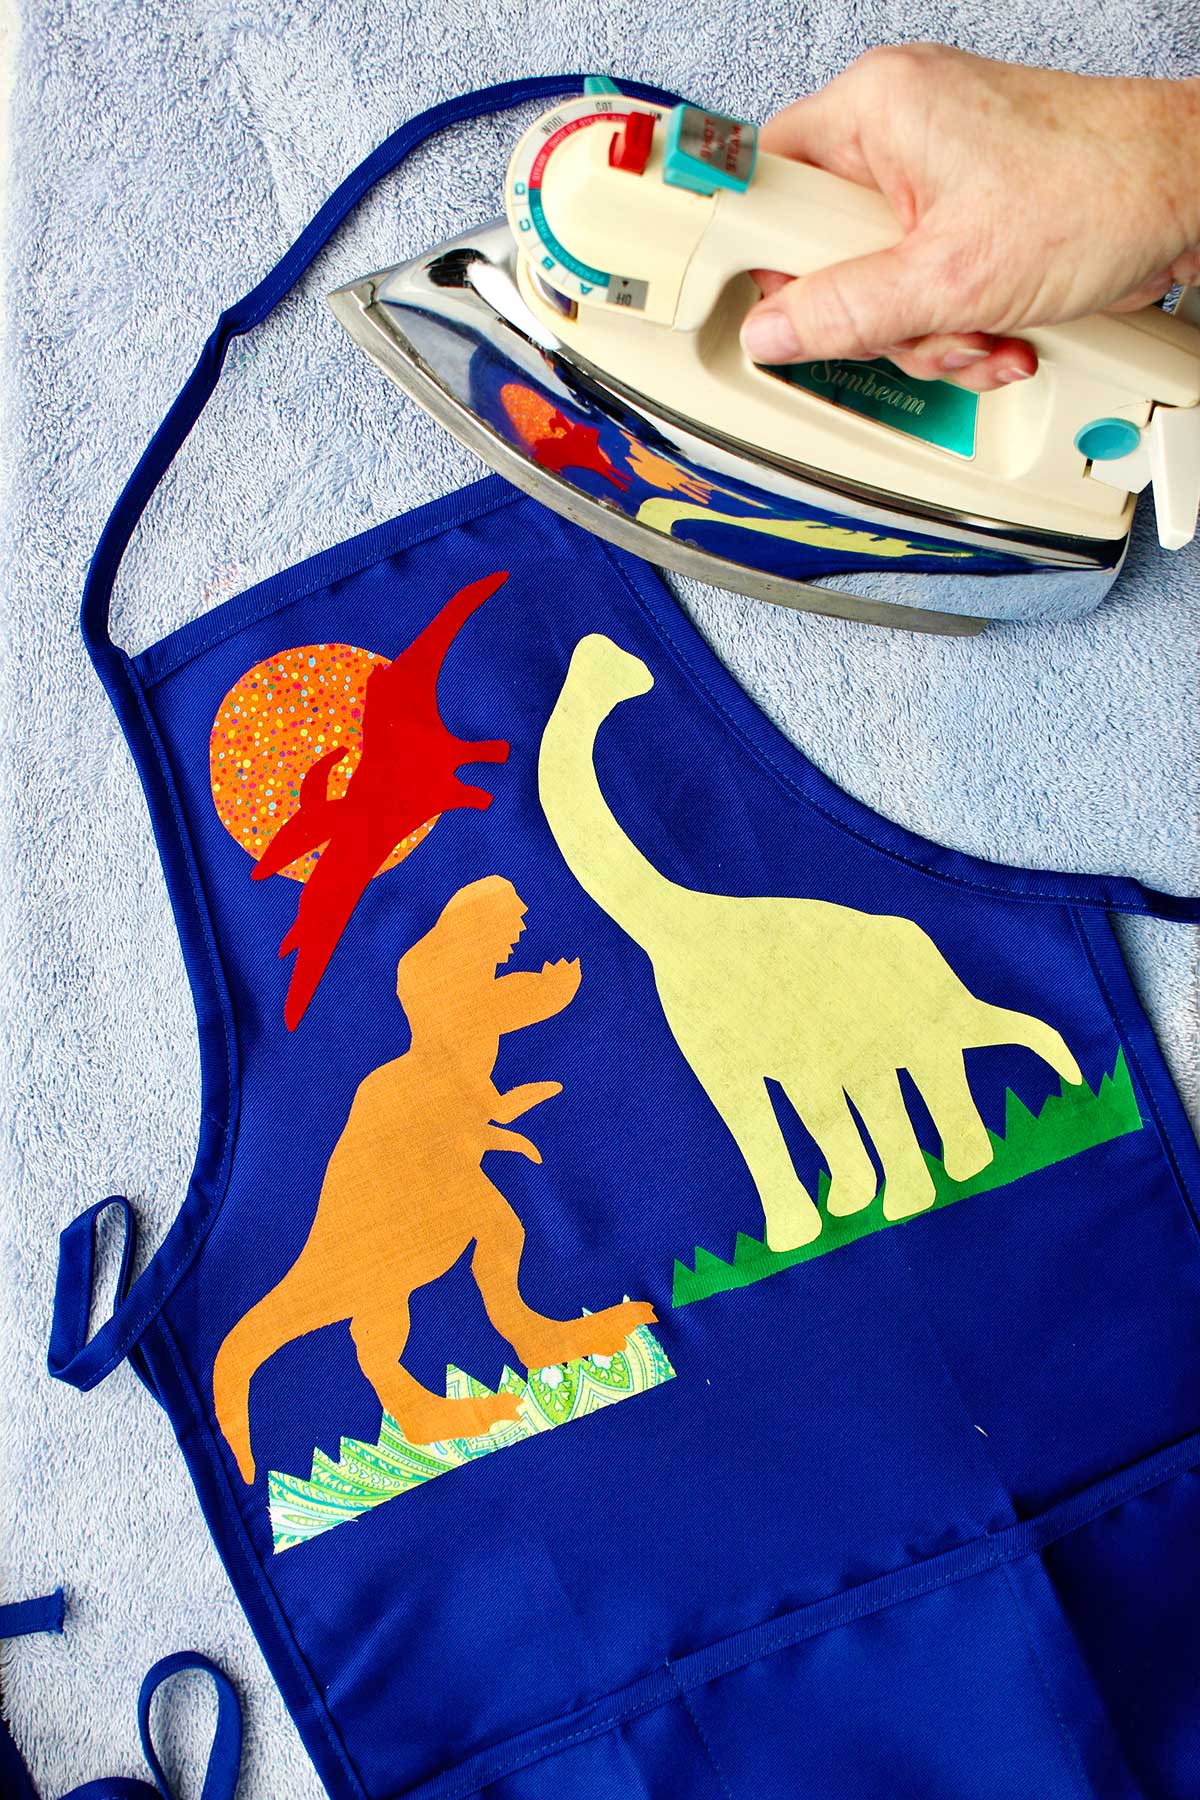
Place the iron down onto the fabric part of the appliqué and let it sit for the time specified on the instructions (my instructions said 10-15 seconds). Then move it to the next section you want to iron on. Don’t slide the iron back and forth, this can wrinkle the applique.
Repeat this until you have ironed on all of your appliqué pieces.
Note: Be sure that the fusible webbing is against your project with the fusible webbing next to the fabric side. If you set the iron on the fusible webbing side, it will stick to your iron and gum up. It’s hard to clean off. I’m speaking from experience here!! 🙂
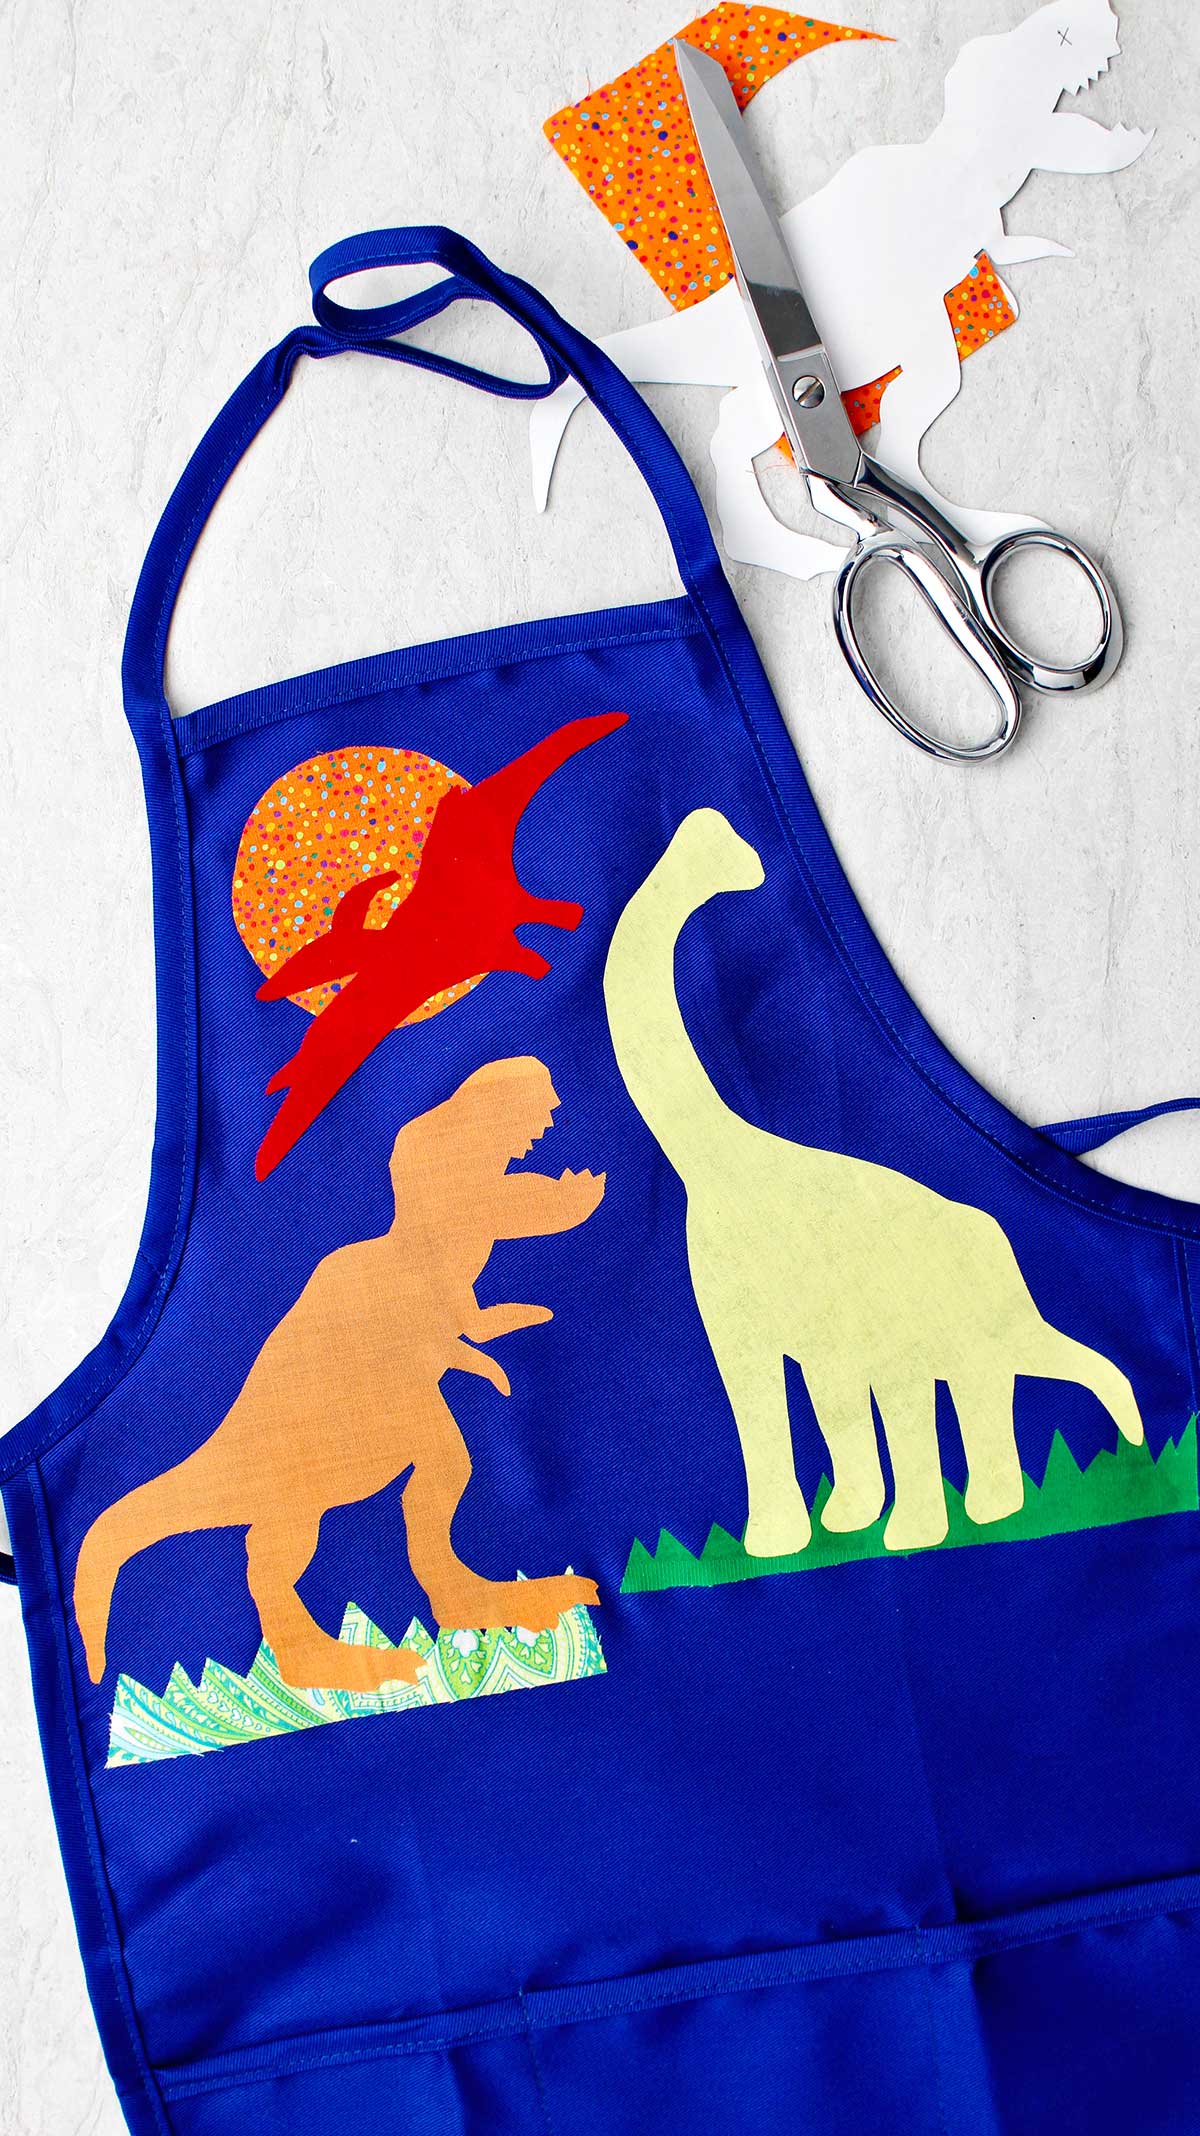
That’s all there is to it! Isn’t that a fun and easy project to make? You did it!!
Other no sew applique technique uses
I think it would be great to make an apron for each person in the family. You could personalize it to their interests, or monogram the first letter of their name, or make them all similar so that you can take a family picture!
If you are going to be using this project on an item with high usage, you may want to zigzag along the edges of each piece of your appliqué.
You would use the same color thread as the fabric. Or you could do a complementary color and use it around all the applique pieces. This makes it more durable.
Set your machine to zigzag between three and four width and the stitch length close together like .5 (My machine stitch settings- follow the directions to set your sewing machine.)
This is called satin stitching.
It’s always good to experiment on an extra piece of fabric to make sure this is the way you want it too.
I’m not going to satin stitch the dinosaur appliques as it won’t be a high use item. The little apron that I made a number of years ago has been played with quite a bit, and very little of the appliqué is pulling away. Play kitchens don’t get play aprons too dirty!
More no sew applique technique project ideas
Now that you have learned a no sew applique technique you can use it on all kinds of projects! Here are some ideas with free patterns to get you started:
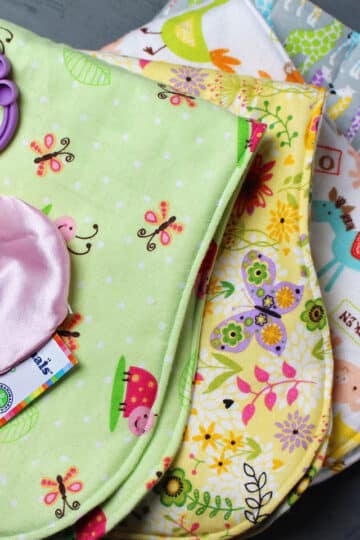
- Homemade Baby Burp Cloths
- Easy DIY Baby Onesie Gift
- Reversible DIY Bib for Baby
- How to Sew a Pillowcase
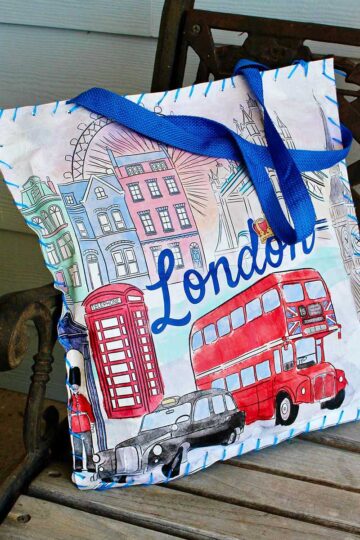
It would also be fun to try something like a tote bag or a t-shirt, the possibilities are endless 🙂 Plus it's such a simple technique that kids can learn it too (if the gift you are making isn't for them ;), they will love getting to decorate projects with this fun no sew technique!
Applique uses a webbing that is actually fusible on both sides, but covered on one side with paper. This allows you to iron it onto a piece of fabric, then expose the other side of the fusing web to iron onto your project. Brilliant, isn’t it?
You can use applique to apply fabric designs onto another piece of fabric, without having to use any sewing or fabric glue! It's a great technique for any skill level!
Enjoy!
If you try this craft, let me know! Go ahead and leave a comment, rate it, and tag a photo with #WelcometoNanas wherever you post.
Come join the fun at https://welcometonanas.com
Supply list for No Sew Applique Technique on an Apron Gift
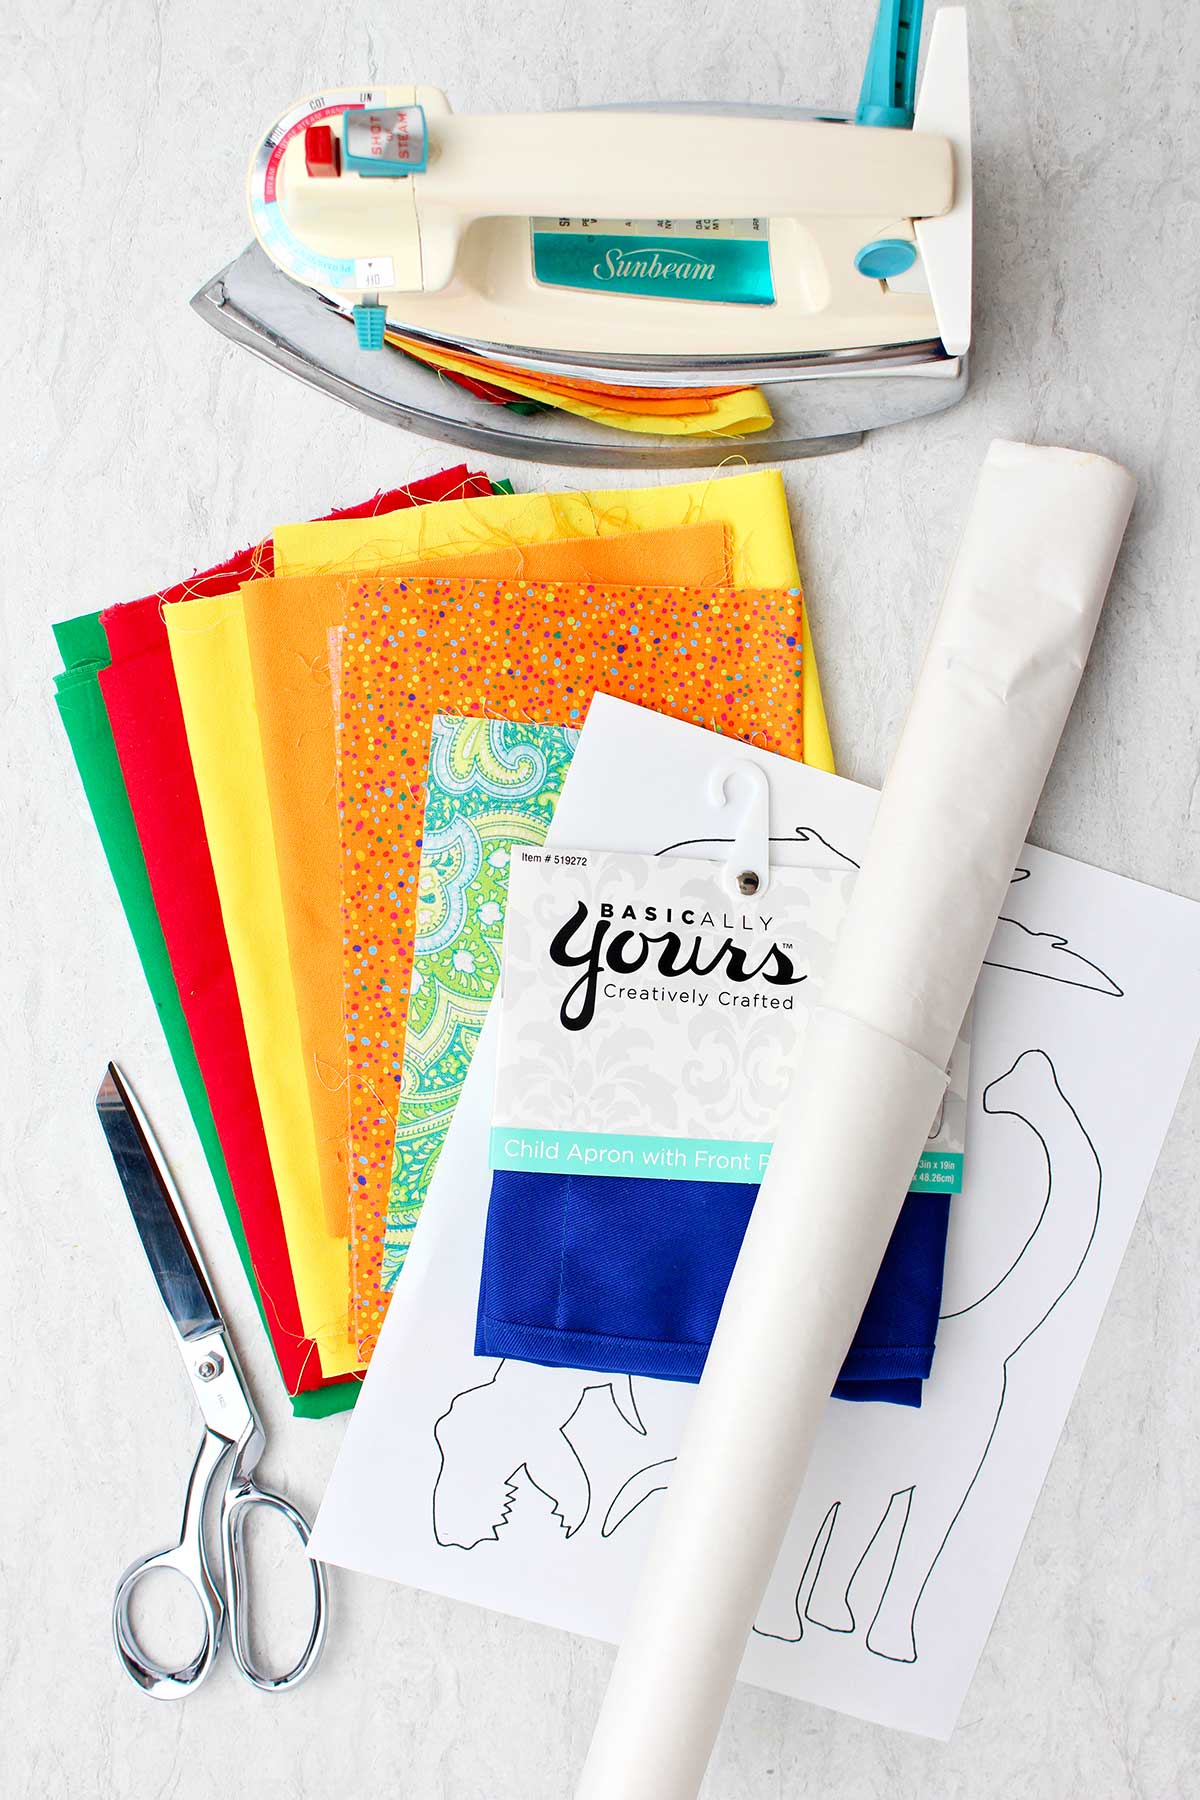
- Apron- purchased in correct size (no pocket on top front area, cotton or cotton mix)
- Wonder Under- 1 yard
- Fabric scraps or small amounts of fabric purchased for your appliqué pattern choice
- Free No-Sew Applique pattern- print one copy (or draw your own)
- Scissors- it is nice to have fabric scissors that cut well
- Iron and Ironing board

Learn a No Sew Applique Technique on an Easy Kids Apron Gift
Equipment
- Scissors it is nice to have fabric scissors that cut well
- Iron
- Ironing board
Items Required
- 1 Apron- purchased in correct size (no pocket on top front area, cotton or cotton mix)
- 1 yard Wonder Under-
- Fabric scraps or small amounts of fabric purchased for your appliqué pattern choice
- Learn No Sew Applique Technique on an Apron Gift Free Pattern print one copy (or draw your own)
Instructions
- You are going to take some of the Wonder Under fusible paper backed webbing and cut it to a size that’s slightly larger than the pattern piece you want to appliqué with it. So, for instance, if you’re wanting to appliqué a dinosaur, it needs to be larger than that specific dinosaur pattern cut out.Time to get that iron and ironing board out and heat it up the iron. Be sure to follow the directions that come with your fusible webbing for the settings on your iron.Then take that piece of fusible webbing with a paper backing and iron it onto the wrong side of your fabric. This is done by holding the iron for a number of sections over each area of the fabric according to the directions on the fusible webbing.
- Next you will take your pattern and trace it onto the paper backing of the fusible webbing. Note: It’s important to know that you need to place your pattern on this paper backing backwards. Because it will be inverted when you tear off the paper back right and iron it on later. Trace your pattern pieces on the paper side of the fusible webbing backwards on each of your fabric pieces. Think about what colors or designs of fabric you chose for each piece. Go ahead and cut your pattern piece out along the lines.Repeat this step with each piece of your pattern.
- When you have all the cut-out shapes, tear the paper backing off of each of those shapes.
- Place the pattern shapes on the front top part of your apron, fusible side down . Arrange them the way you want them. Heat up your iron according to the directions that came with your fusible webbing.
- Place the iron down onto the fabric part of the appliqué and let it sit for the time specified on the instructions (my instructions said 10-15 seconds). Then move it to the next section you want to iron on. Don’t slide the iron back and forth, this can wrinkle the applique. Repeat this until you have ironed on all of your appliqué pieces.Note: Be sure that the fusible webbing is against your project with the webbing next to the fabric side. If you set the iron on the fusible webbing side, it will stick to your iron and gum up. It’s hard to clean off. I’m speaking from experience here!! 🙂You did it!!


Leave a Reply