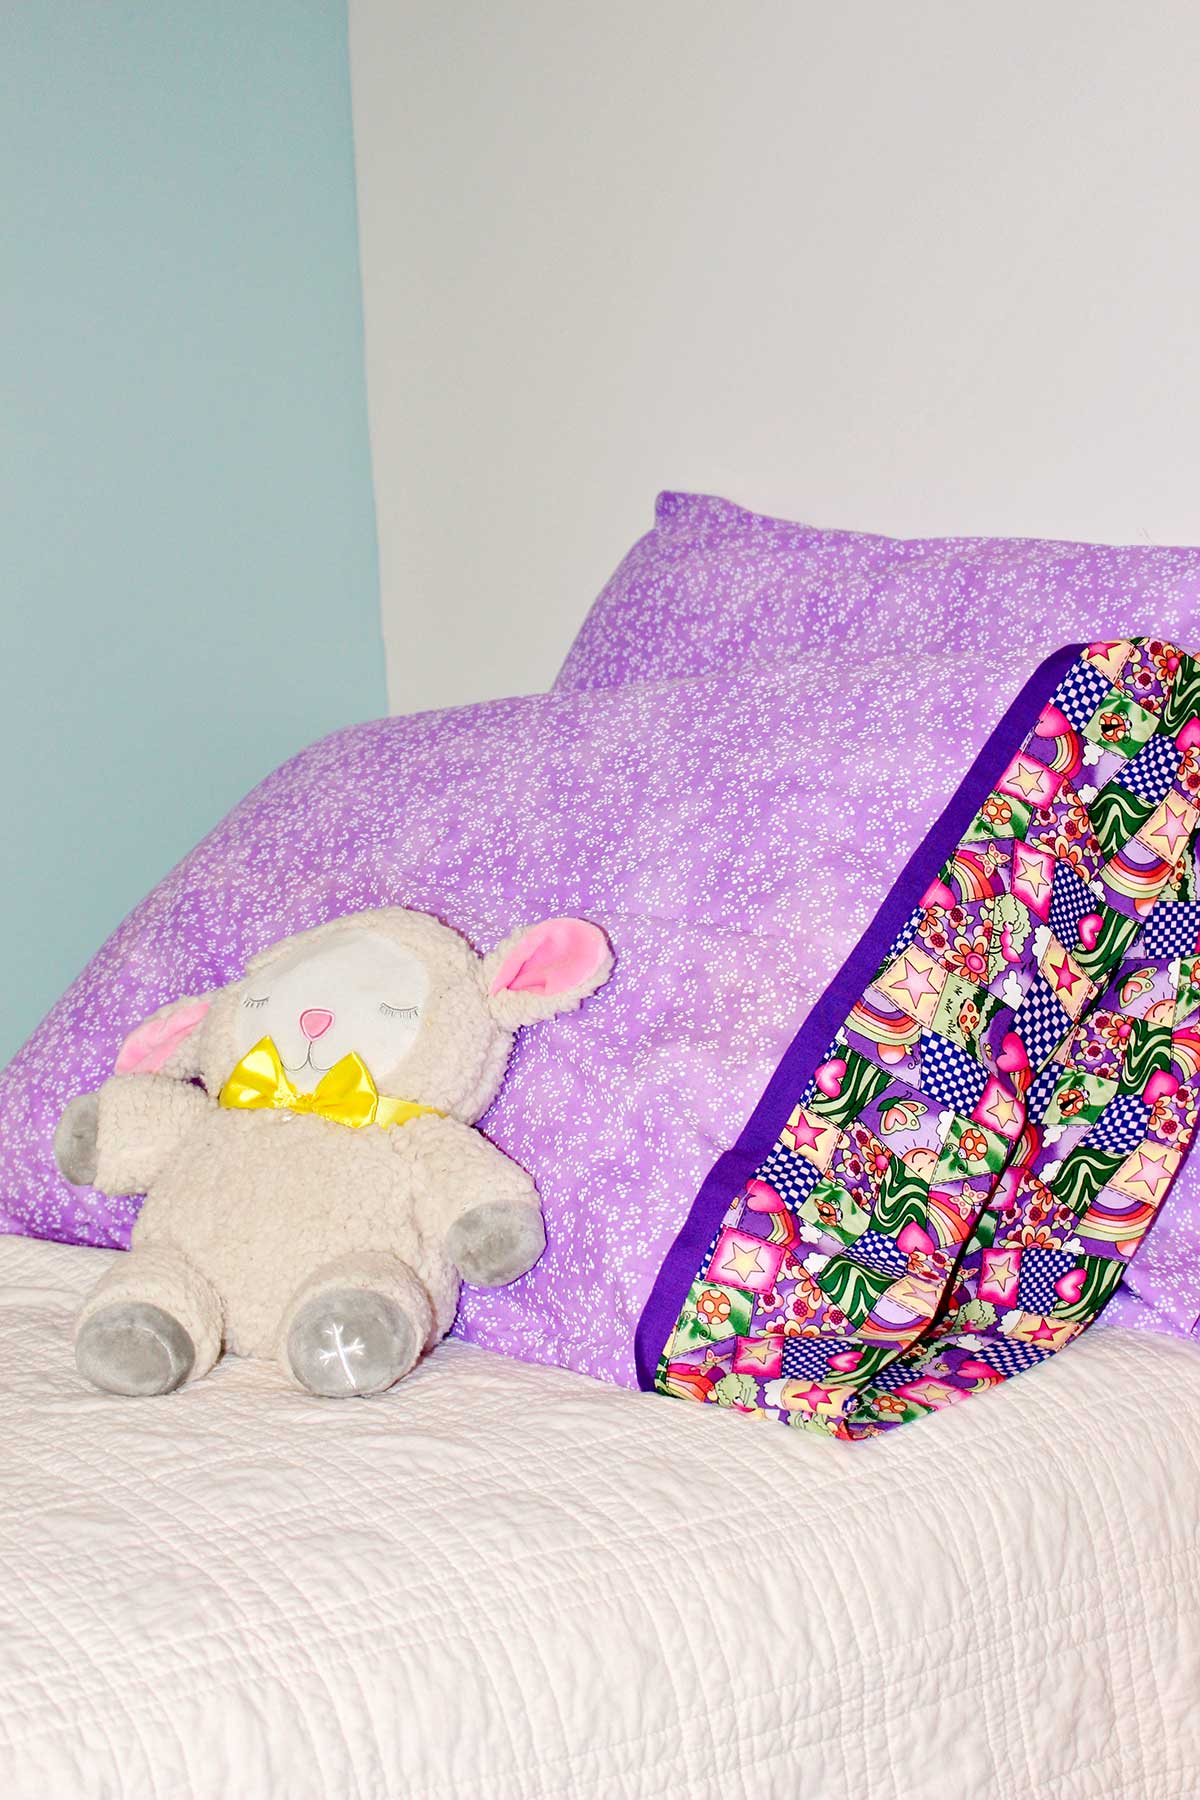
Learn how to sew a Pillowcase Burrito Style with this step-by-step tutorial! This sewing project is a great craft for kids who are wanting to stretch their sewing skills as they create their own cute pillowcase with a contrasting cuff and trim.
Jump to:
- CUTE CRAFT ALERT: The BURRITO PILLOWCASE METHOD SEWING PROJECT
- SUPPLIES TO MAKE BURRITO METHOD PILLOWCASES FOR KID
- STEPS TO MAKE A PILLOWCASE BURRITO STYLE!
- How do I make a French seam?
- CRAFT TIPS
- CRAFT VARIATIONS
- FAQ
- MORE LEARN-TO-SEW PROJECTS FOR KIDS
- EQUIPMENT
- Enjoy!
- How to Sew a Pillowcase Burrito Style!
CUTE CRAFT ALERT: The BURRITO PILLOWCASE METHOD SEWING PROJECT
Easy and fast
This method of sewing a pillowcase is called the burrito pillowcase method. I like it already, ha! You’ll see why it’s called this when you roll up the fabric before sewing it together. The name suits it well and you will flip when you see it flip inside out!
When you have made a couple of this style pillowcase you will get so fast that you will amaze even yourself!! I love making plain pillowcases, but the Pillowcase Burrito Style is even better!
Great gifts, great learn to sew project
Burrito style pillowcases make wonderful gifts and are a great learn to sew project. They are a bit more advanced than the plain pillowcase pattern but are not difficult if you watch the video as well as follow the step-by-step directions!
I think it would be fun to take the grands to the fabric store and let them choose their own fabrics. Or at least ask them their favorite color and find fabrics in those colors. Perhaps the fabric could be in a pattern that fits their interests too (think sports, favorite pet, dinosaurs, or unicorns!).
They would make a perfect stocking stuffer, graduation gift, or wedding gift. Of course you can make a set for yourself as well (perhaps special holiday pillowcases are needed)!
Take pictures and let me see your finished projects.
Here is the link to the plain standard size pillowcase full length tutorial: Plain pillowcase tutorial and video.
SUPPLIES TO MAKE BURRITO METHOD PILLOWCASES FOR KID
Here are a few quick notes about the supplies you will need to make this sewing craft:
- Fabric: To make a standard sized pillowcase you will need three coordinating fabrics. 24-inches of the main fabric, 12-inches of a plain or patterned accent fabric, and 2-inches of a third fabric for trim between the other two fabrics. These last two fabrics are on the opening end of the pillowcase. Queen and King pillowcase sizes are explained in PROJECT VARIATION section.
- Thread: Choose Thread that coordinates with the fabric’s dominant color. When choosing go a shade lighter instead of darker when deciding between two similar colors.
STEPS TO MAKE A PILLOWCASE BURRITO STYLE!
Burrito style pillowcases tutorial video
I recommend watching the video a couple times to get the jist of how to make this project. If you would like to watch the full length video tutorial and complete your pillowcase along with me click this link: How to Sew a Pillowcase Burrito Style Full Length Tutorial
Prep the fabric
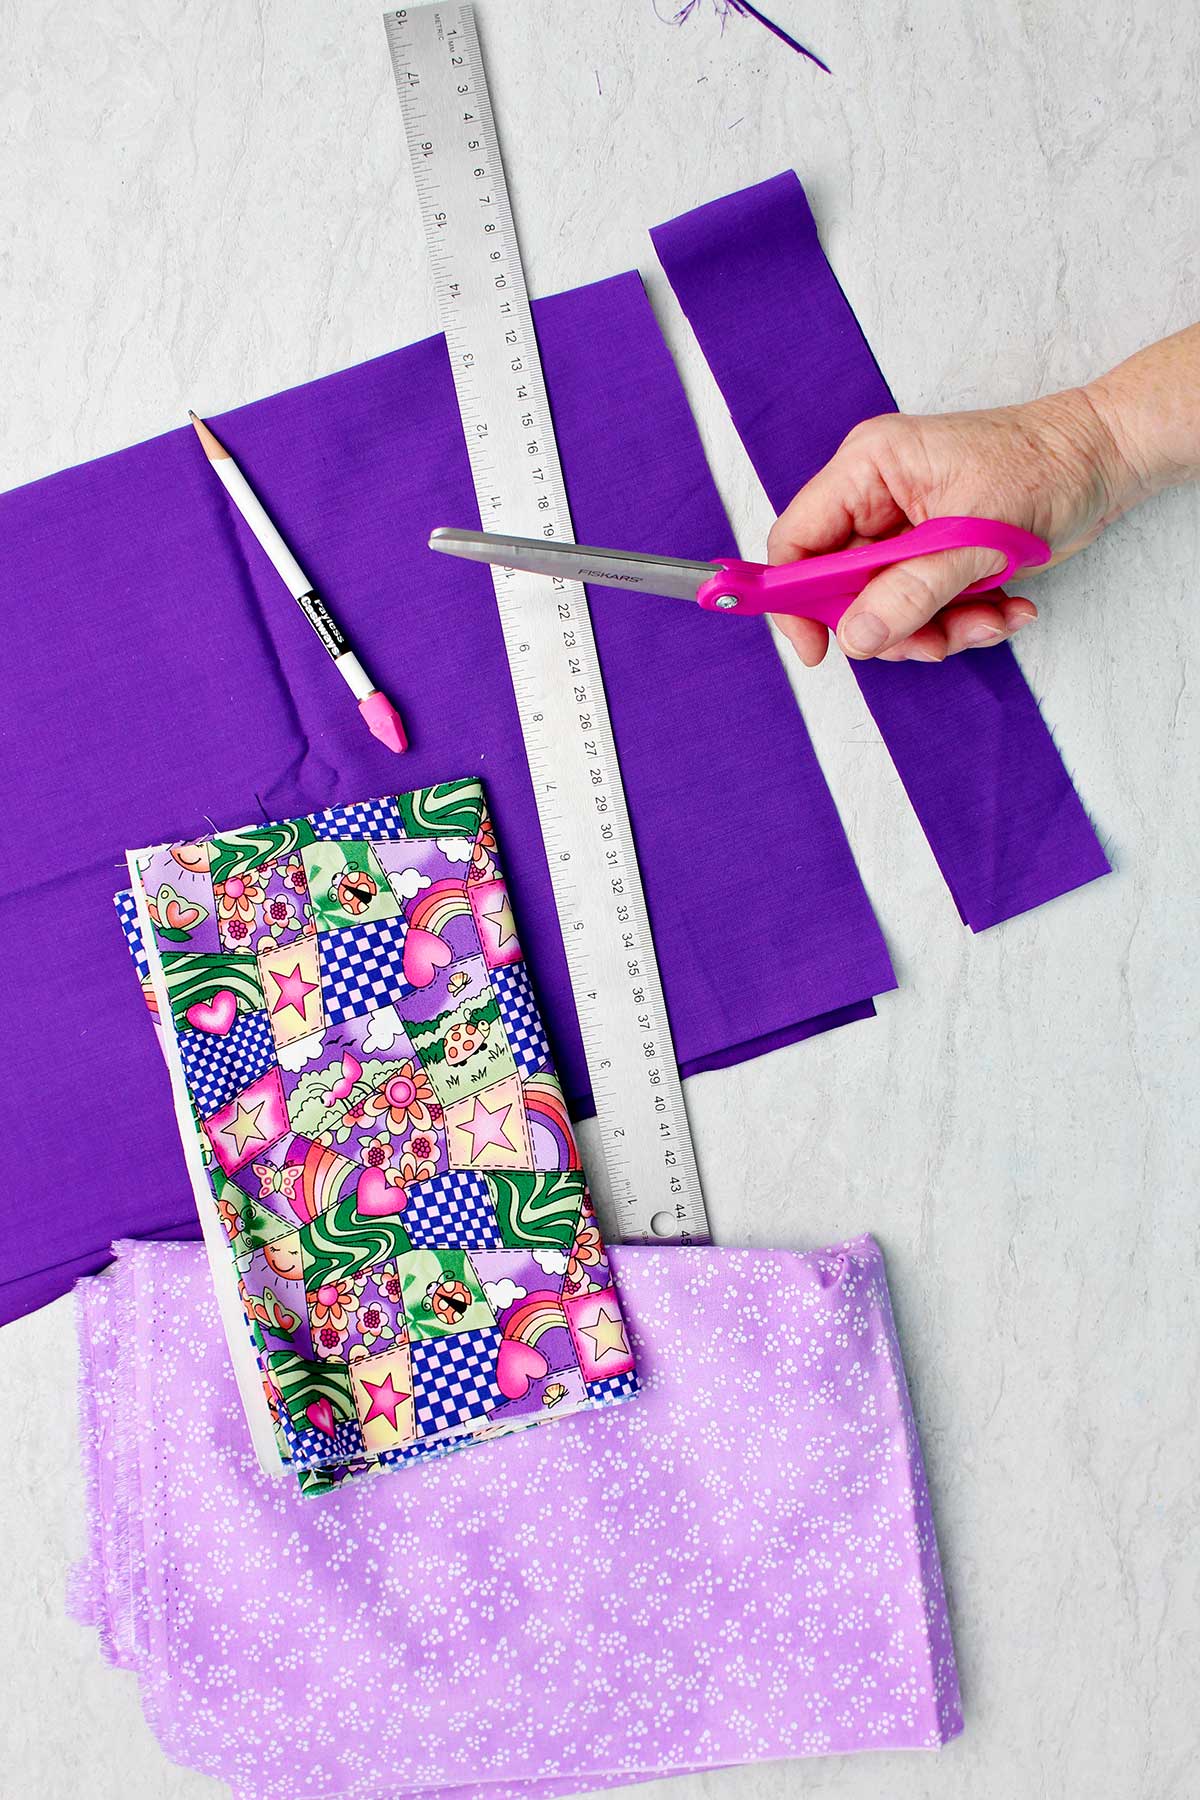
Cut the fabrics to the correct lengths, measuring well so they are even all the way across. 24-inches of main fabric, 12-inches of a plain or contrasting fabric, and 2-inches of a third trim fabric.
Fold the 2-inch strip in half with wrong sides together and press it well so it stays folded.
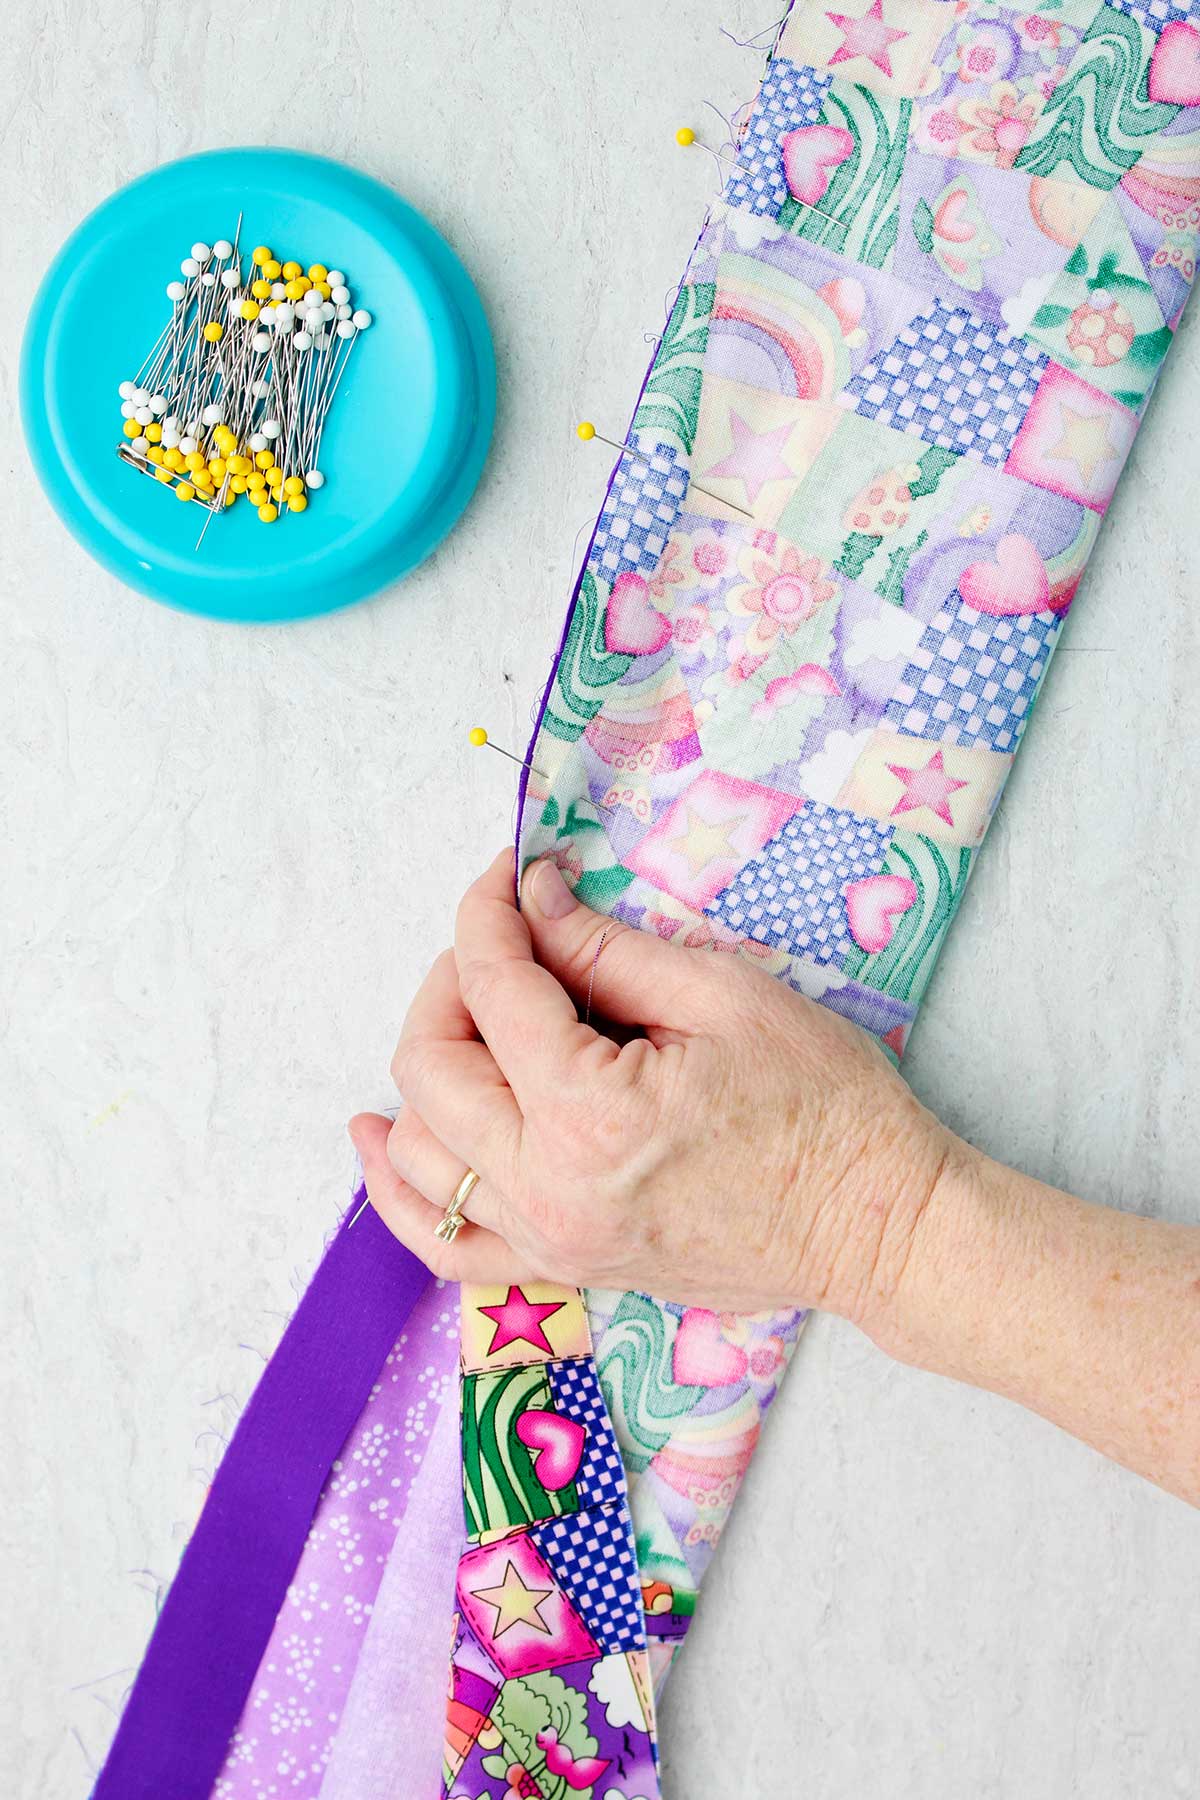
Making the Cuff on the end
Stack up the fabrics-
Lay the 12-inch fabric with the right side up onto the table.
Lay the 24-inch fabric on top of it with right side up and line up the top raw edges of these two fabrics all the way across the width of the fabric.
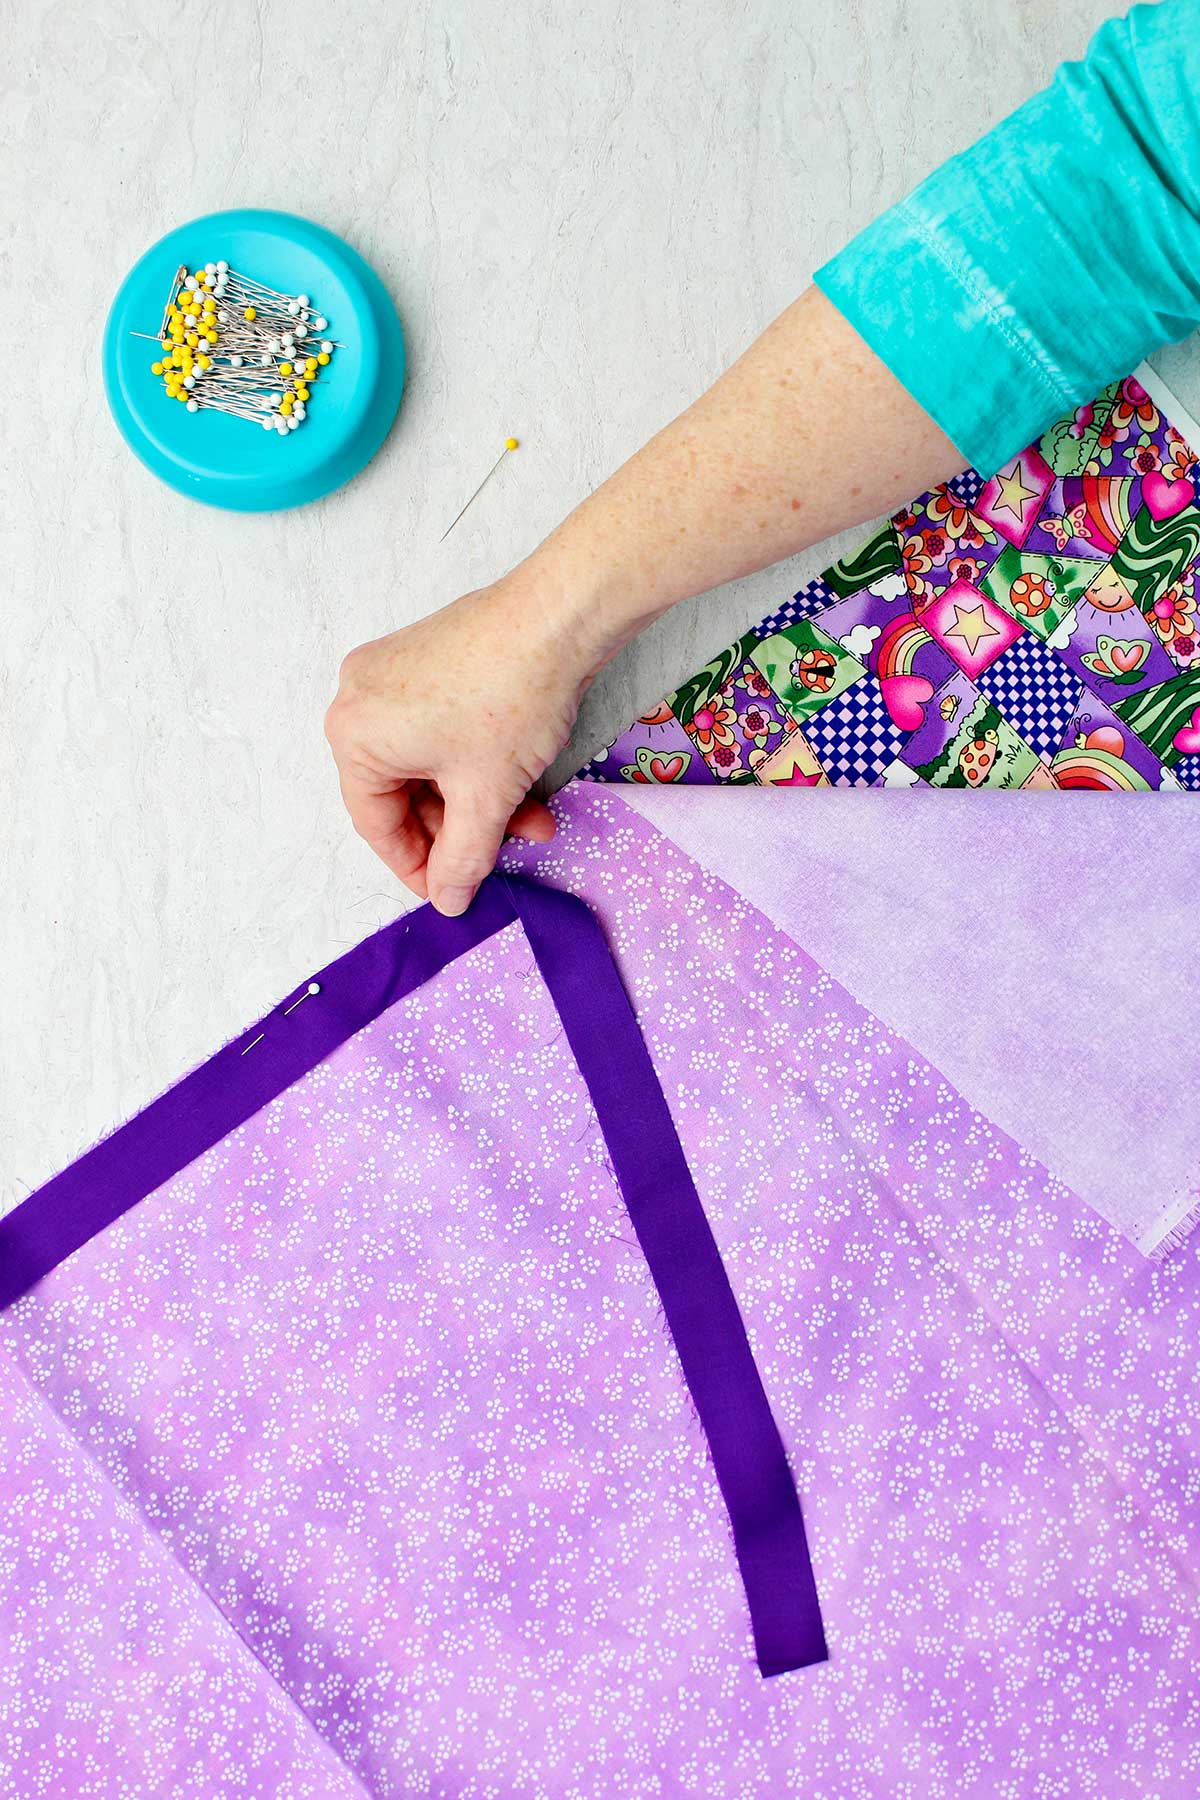
Finally, lay the two-inch fabric (which is folded in half) on top of the other two fabrics with the cut edges lining up with the top raw edges of the first two fabrics.
All three layers of fabric are one on top of the other with the edges on one side of each fabric lined up all the way across. There may be a variety of fabric widths but we we take care of that in a future step.
Put a few pins on the edge of these stacked fabrics to keep them together for the next step. The pins will run the same direction as the edge of the fabric for this step.
Roll up the “burrito”
Ready to make the “burrito” that the "Pillowcase Burrito Style" title of this technique talks about?
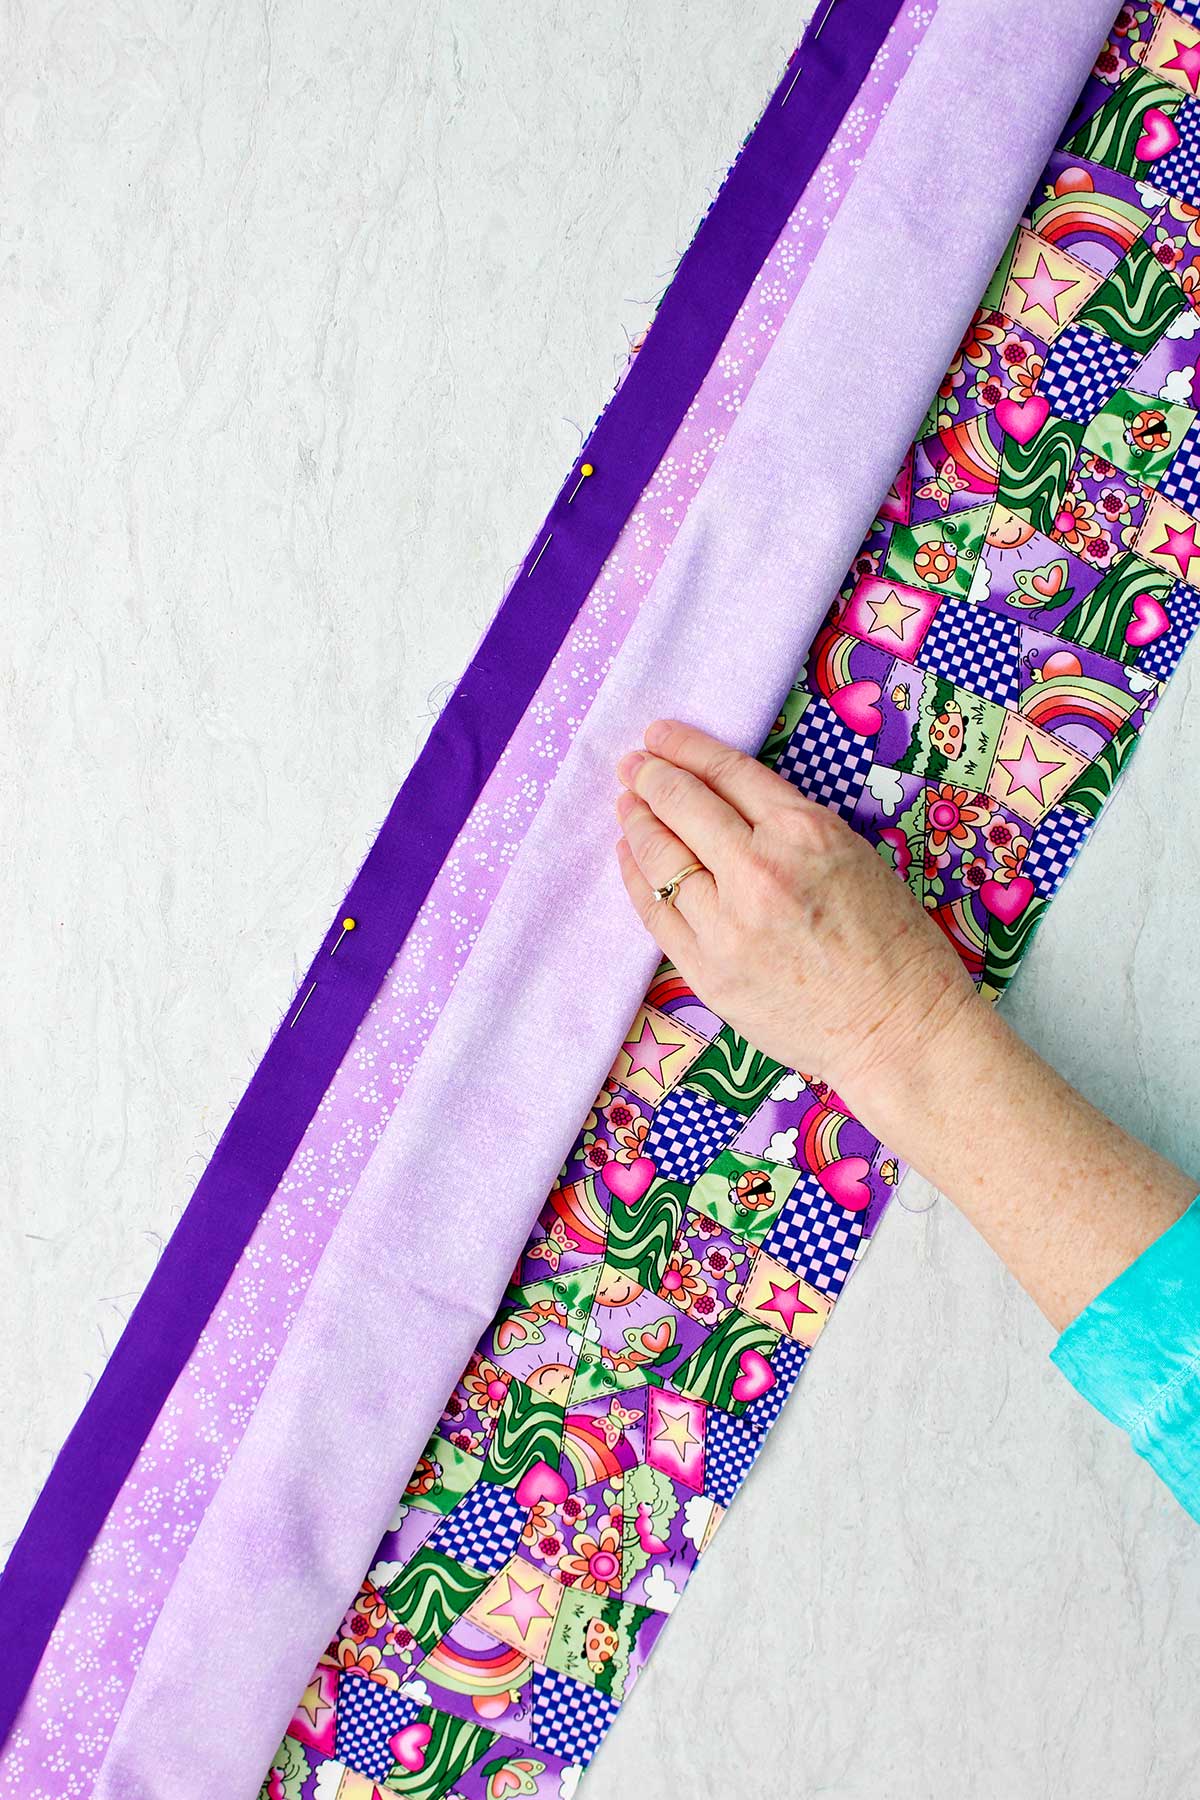
Start rolling up the 24-inch fabric from the unpinned edge. Roll it so that when you get to the pinned top edge the roll is no wider than about 4 inches.
This rolled up fabric will be next to your 2-inch folded trim piece, and you will still be able to see the 12” piece of fabric underneath. The 12-inch piece of fabric does not get rolled up with the larger 24 inch piece of fabric.
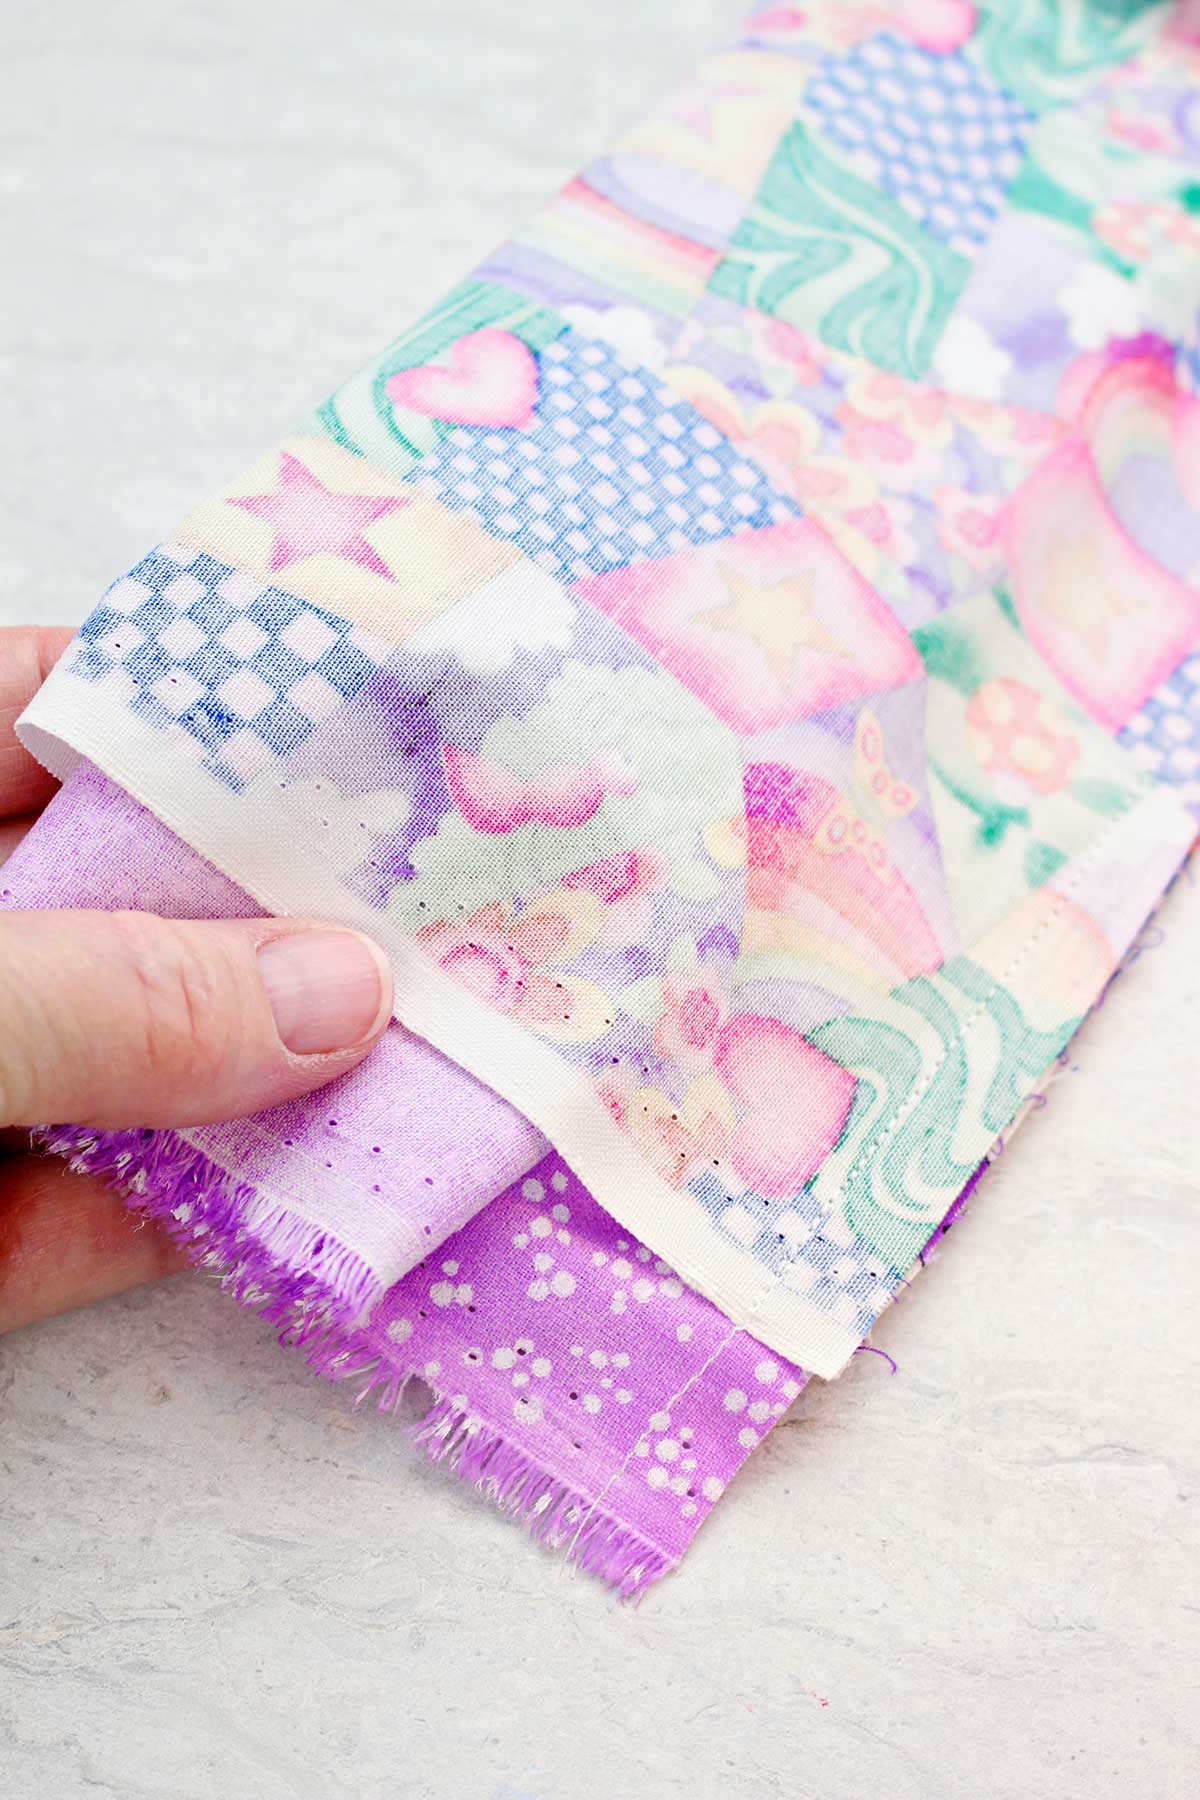
Fold and pin cuff piece. You have a burrito!
Fold the 12-inch piece of fabric in half with the wrong sides together and matching the edges all the way across. Take the previous pins out of the edge (that you put in earlier to hold the edge of the 3 fabrics together) and pin all the layers of fabric together with the pins going from the edge of the fabric in towards the fabric.
The rolled-up fabric is inside this tube like a “burrito”! I know this seems weird, but trust me, it works. This is pretty cool.
Sew the burrito seam
Go to the machine and sew a ¼ inch seam all the way down the pinned edge. Backstitch at both ends.
There will be no need to zig zag the edges as they will not show after the next step.
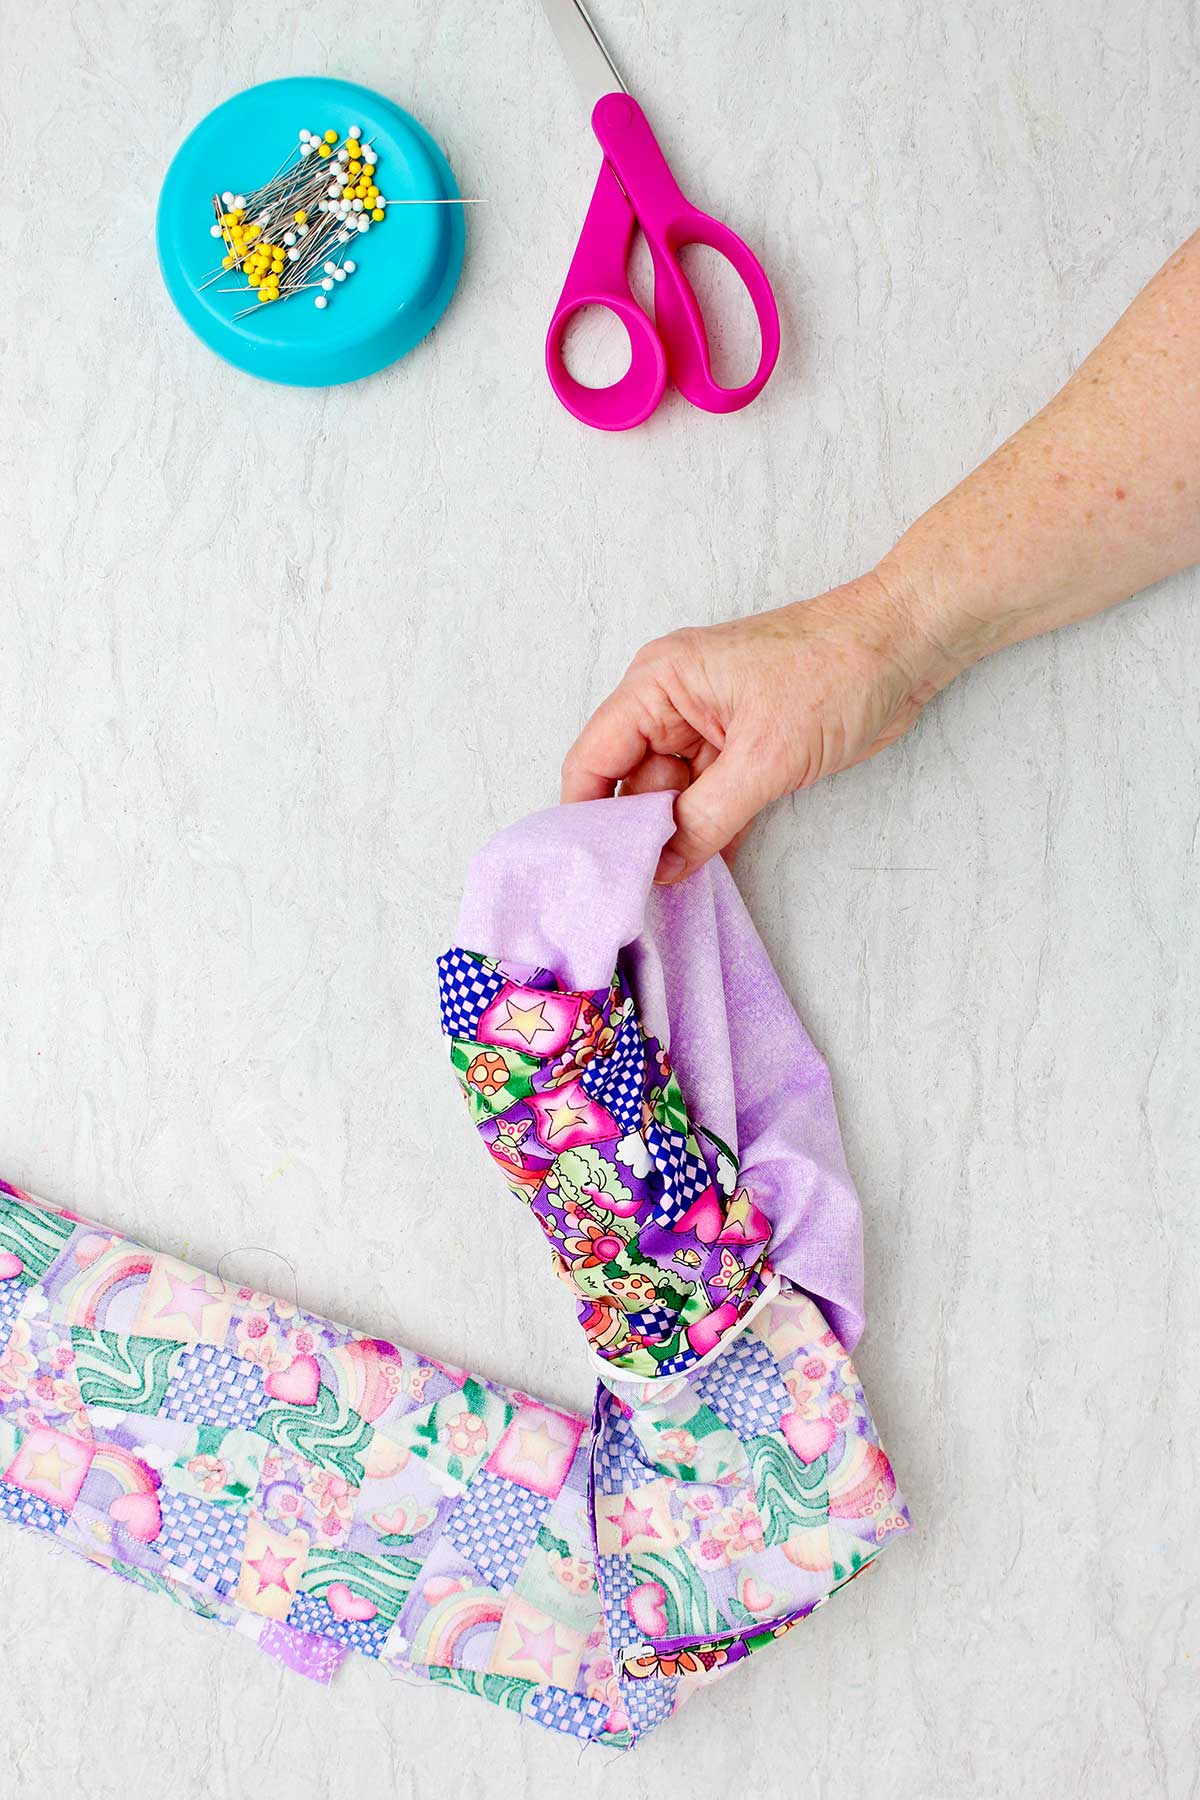
Turn the burrito right side out
Now, gently pull the rolled-up fabric out through the end of this “burrito”. It will pull through and the end result will be that the 12-inch fabric makes a cuff on the end of the main 24-inch fabric and it will all lay flat. Press the trim piece towards the contrast fabric cuff.
I told you it would work!! Ha!
Trim fabrics to same width
Trim the two long edges of the fabrics so that the selvages are cut off (the finished edges of the fabric) and the fabrics are all the same width.
Top stitch the cuff (optional)
On the coordinating cuff fabric, sew ⅛ inch from the trim fabric. Sew a straight line the entire length of the fabric.

How do I make a French seam?
So let’s make some French seams for the rest of the pillowcase. Doesn’t that sound fancy?
French seams are sewn in a way so that there are no raw edges on the seams inside the pillowcase.
This is the second time I ask you to trust me, this works. But the first step just doesn’t seem like it is right. Again, give it a try! You will love this technique for sewing seams.
Pin 2 edges
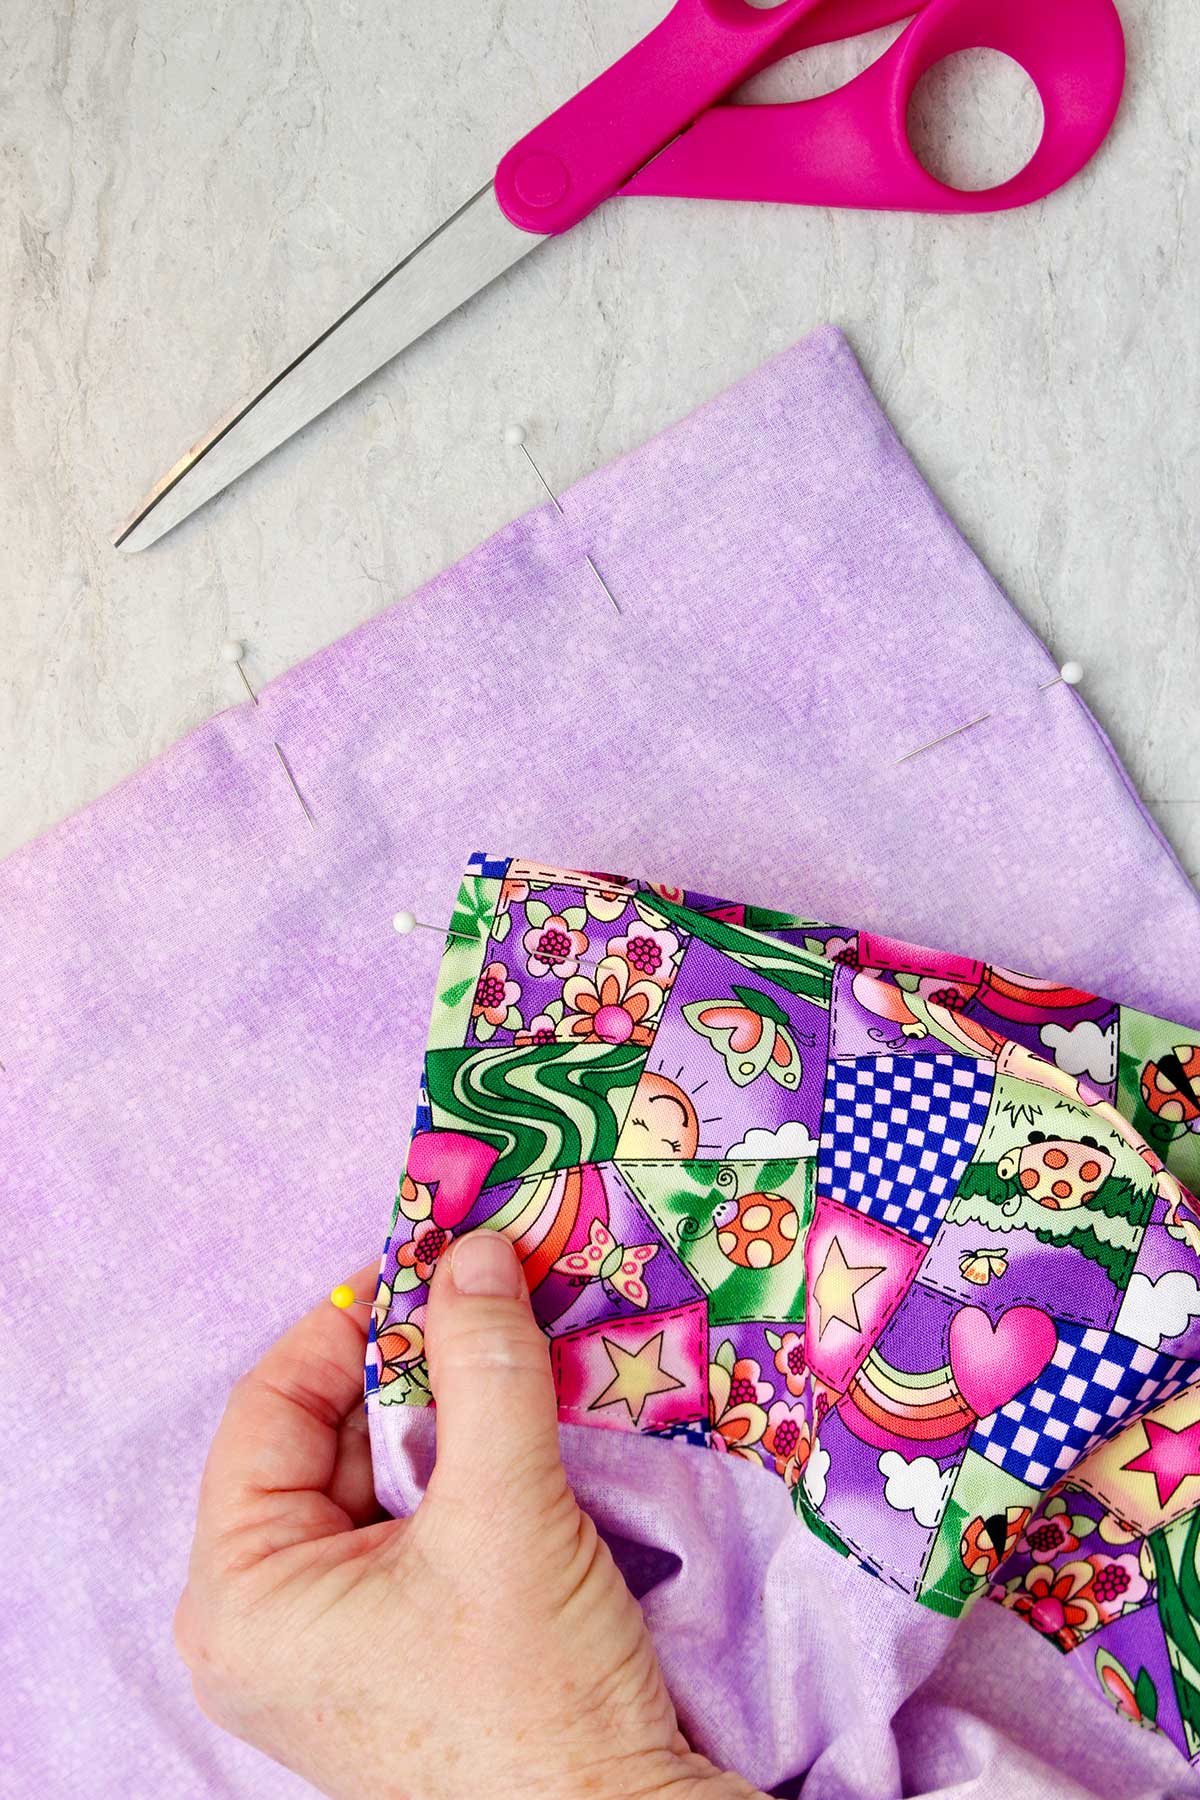
Fold the pillowcase wrong sides together with the cuff on one short end. Yes, I said wrong sides together.
Pin the two unfinished edges together to hold them in place as you sew. You will not be sewing the cuffed end (which will be the opening of the pillowcase) or the folded edge.
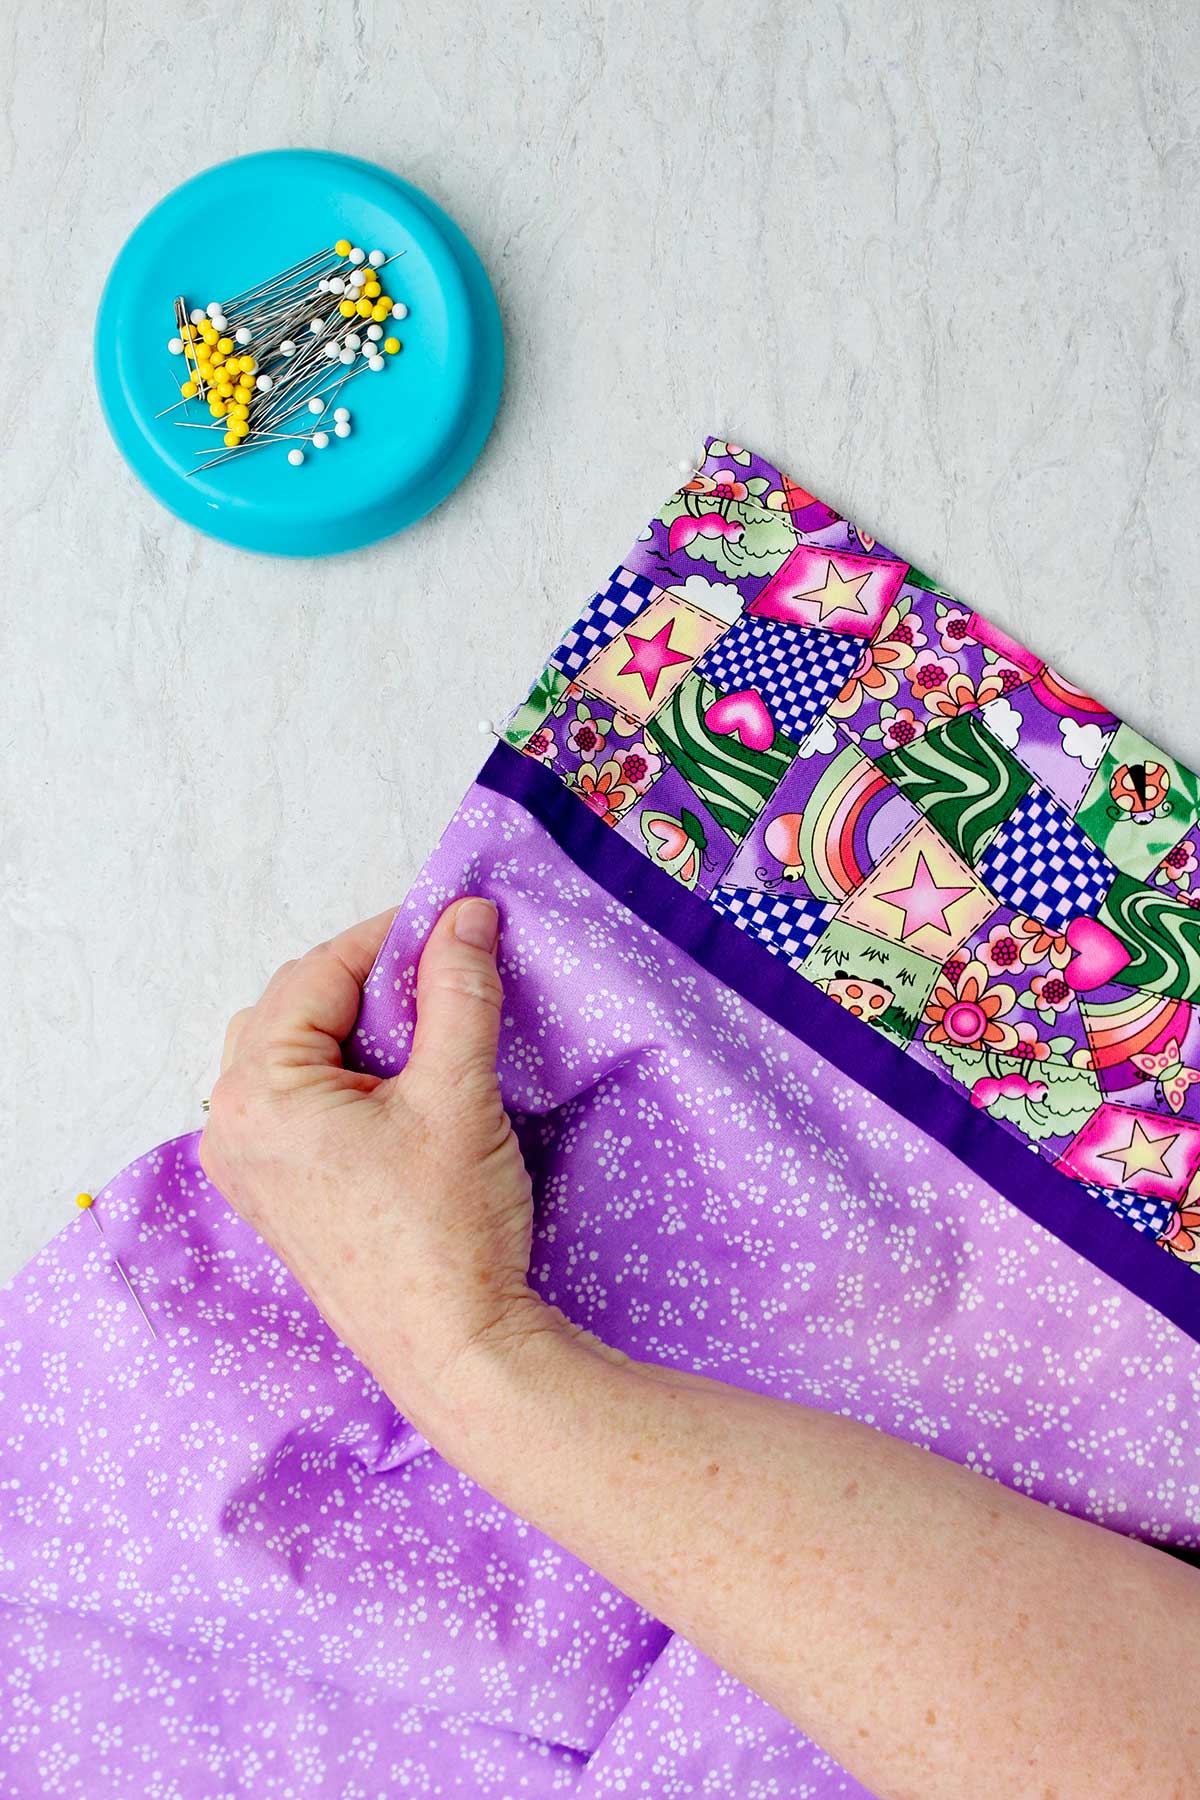
Sew 2 edges
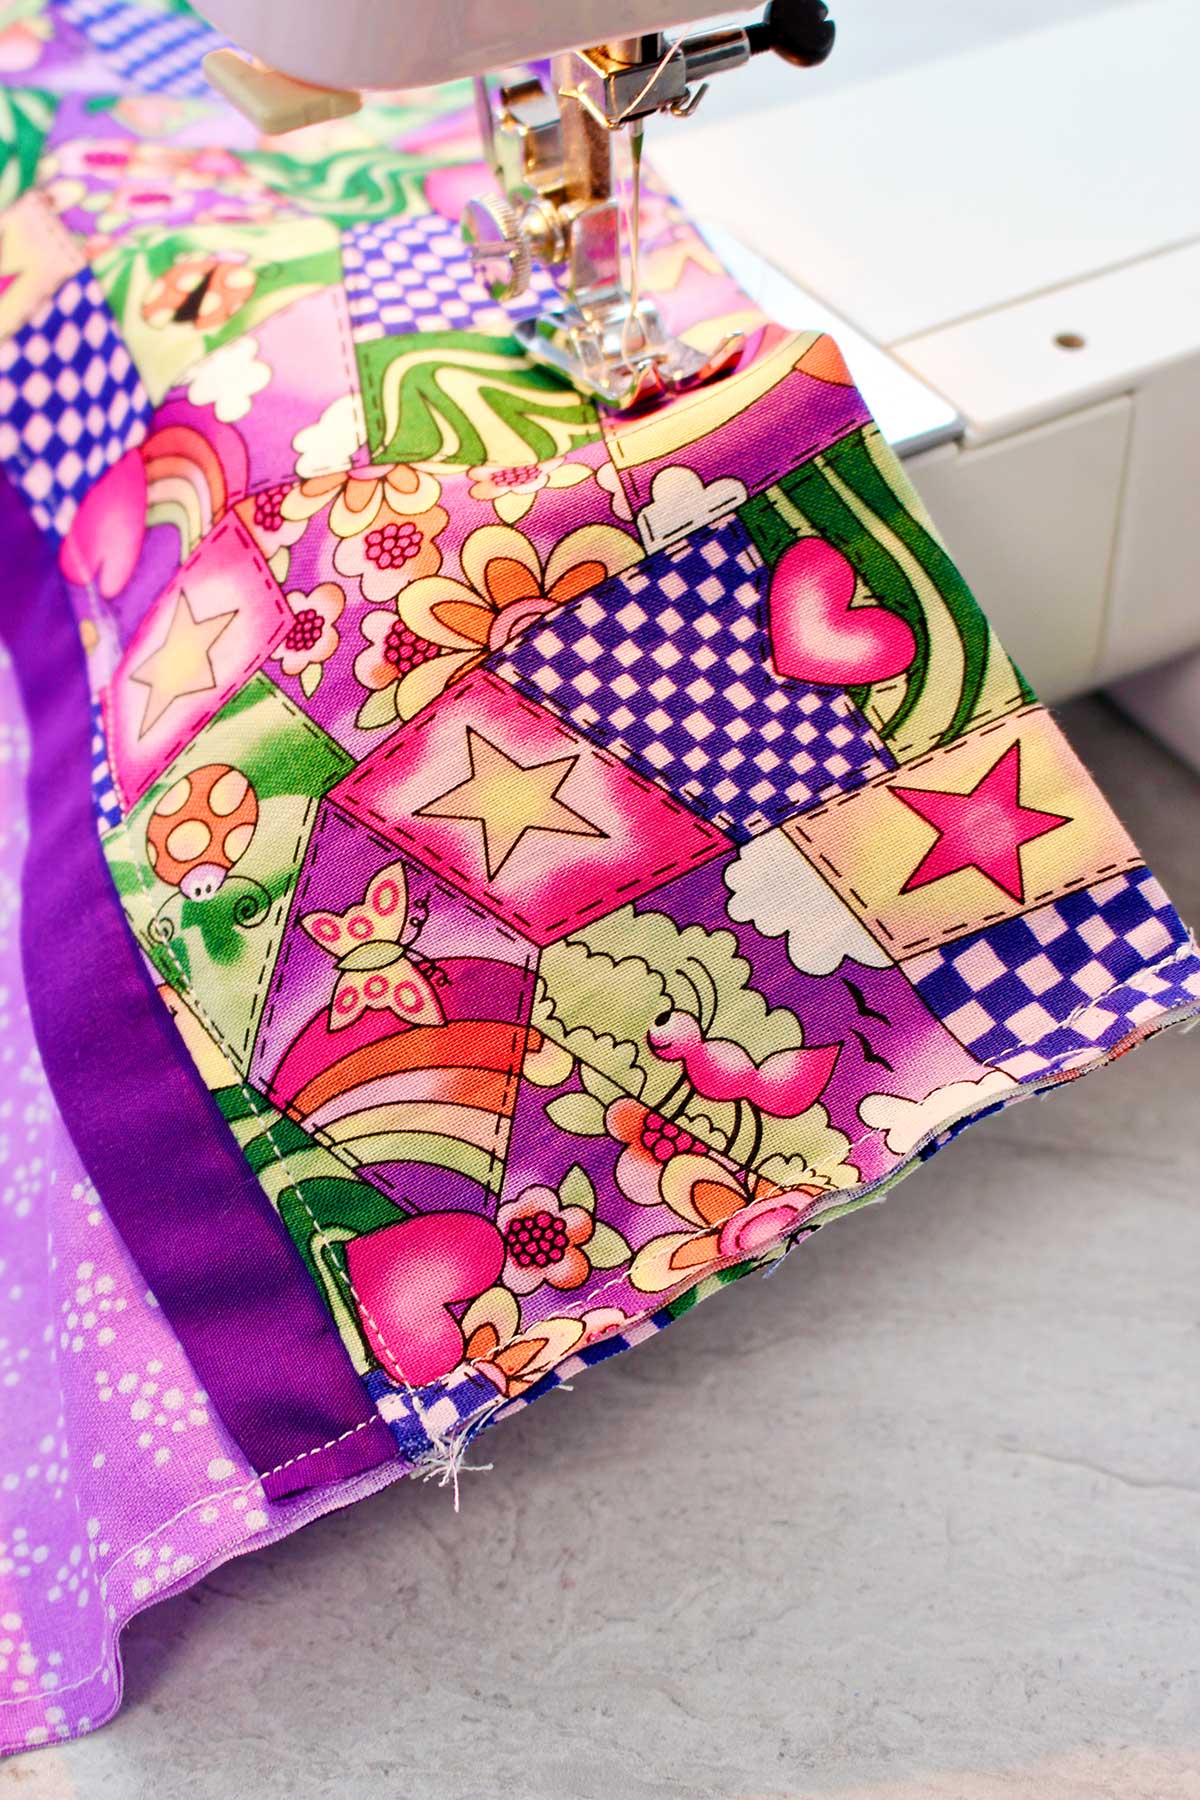
Sew a ¼-inch seam around the two unfinished edges. Back stitch at both ends of the seam and pivot turn at the corner.
A pivot turn involves sewing the first edge of the fabric with a ¼ inch seam until you get ¼ inch from the edge. Stop sewing and put your needle down into the fabric, lift the presser foot, pivot the fabric so you are going the correct direction for the second edge, put the presser foot back down and continue sewing the second edge with a ¼ inch seam.
Trim 2 seams
Lay the pillowcase down flat on a table.
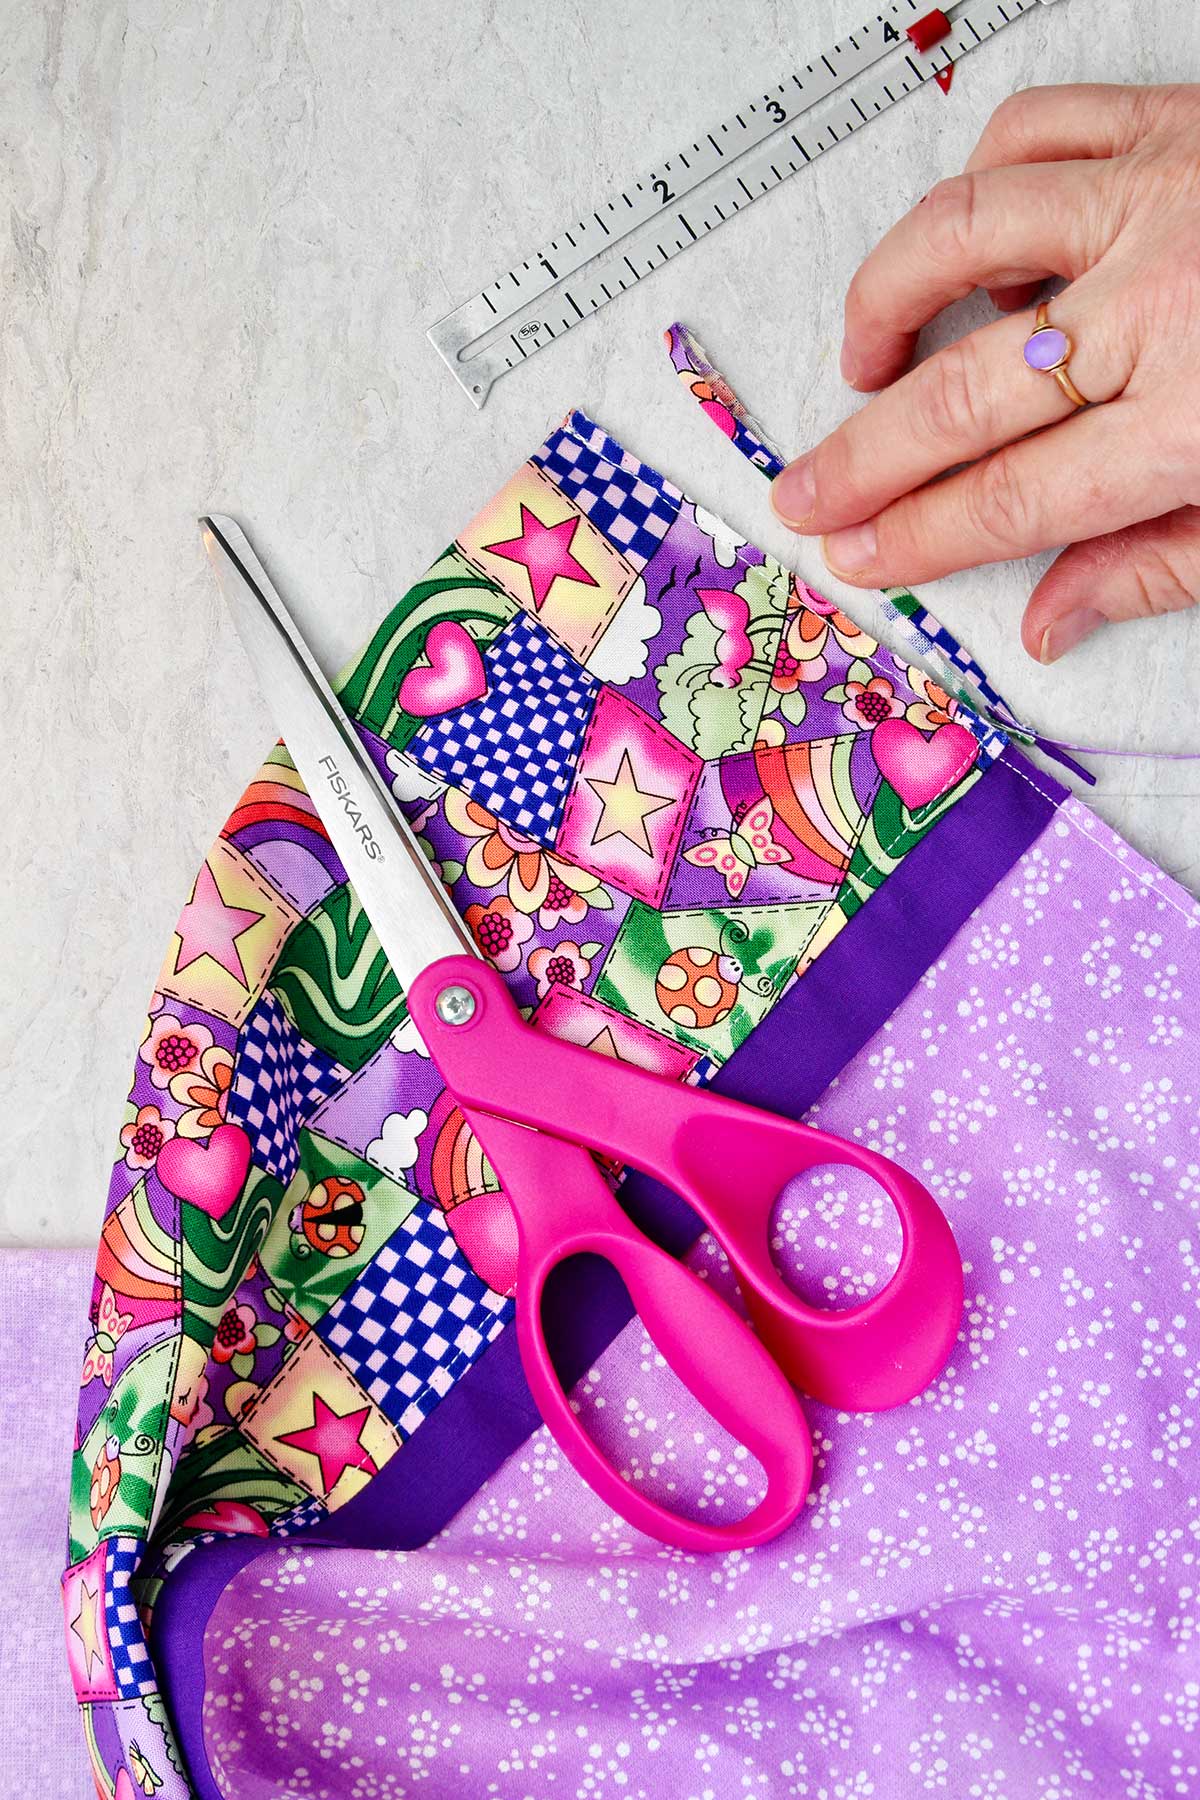
Clip a small triangle piece of fabric from the corner where you pivot turned without clipping the thread of your seam. This makes the corner less bulky when you turn it inside out.
Also trim a little bit off each of the two edges you just sewed, cutting about half the seam allowance off. Again, be very careful so you don’t clip the thread of your seam or cut a hole in the pillowcase.
Now, turn the pillowcase inside out (or I should say right sides together). Give it a good press with an iron so the two seams you just sewed are nice and even.
Sew 2 seams again
Go back to the sewing machine and sew a ⅜-inch seam on the two previously sewn edges only. Back stitch on both ends of this seam and pivot turn on the corner again.
French seams are cool!!
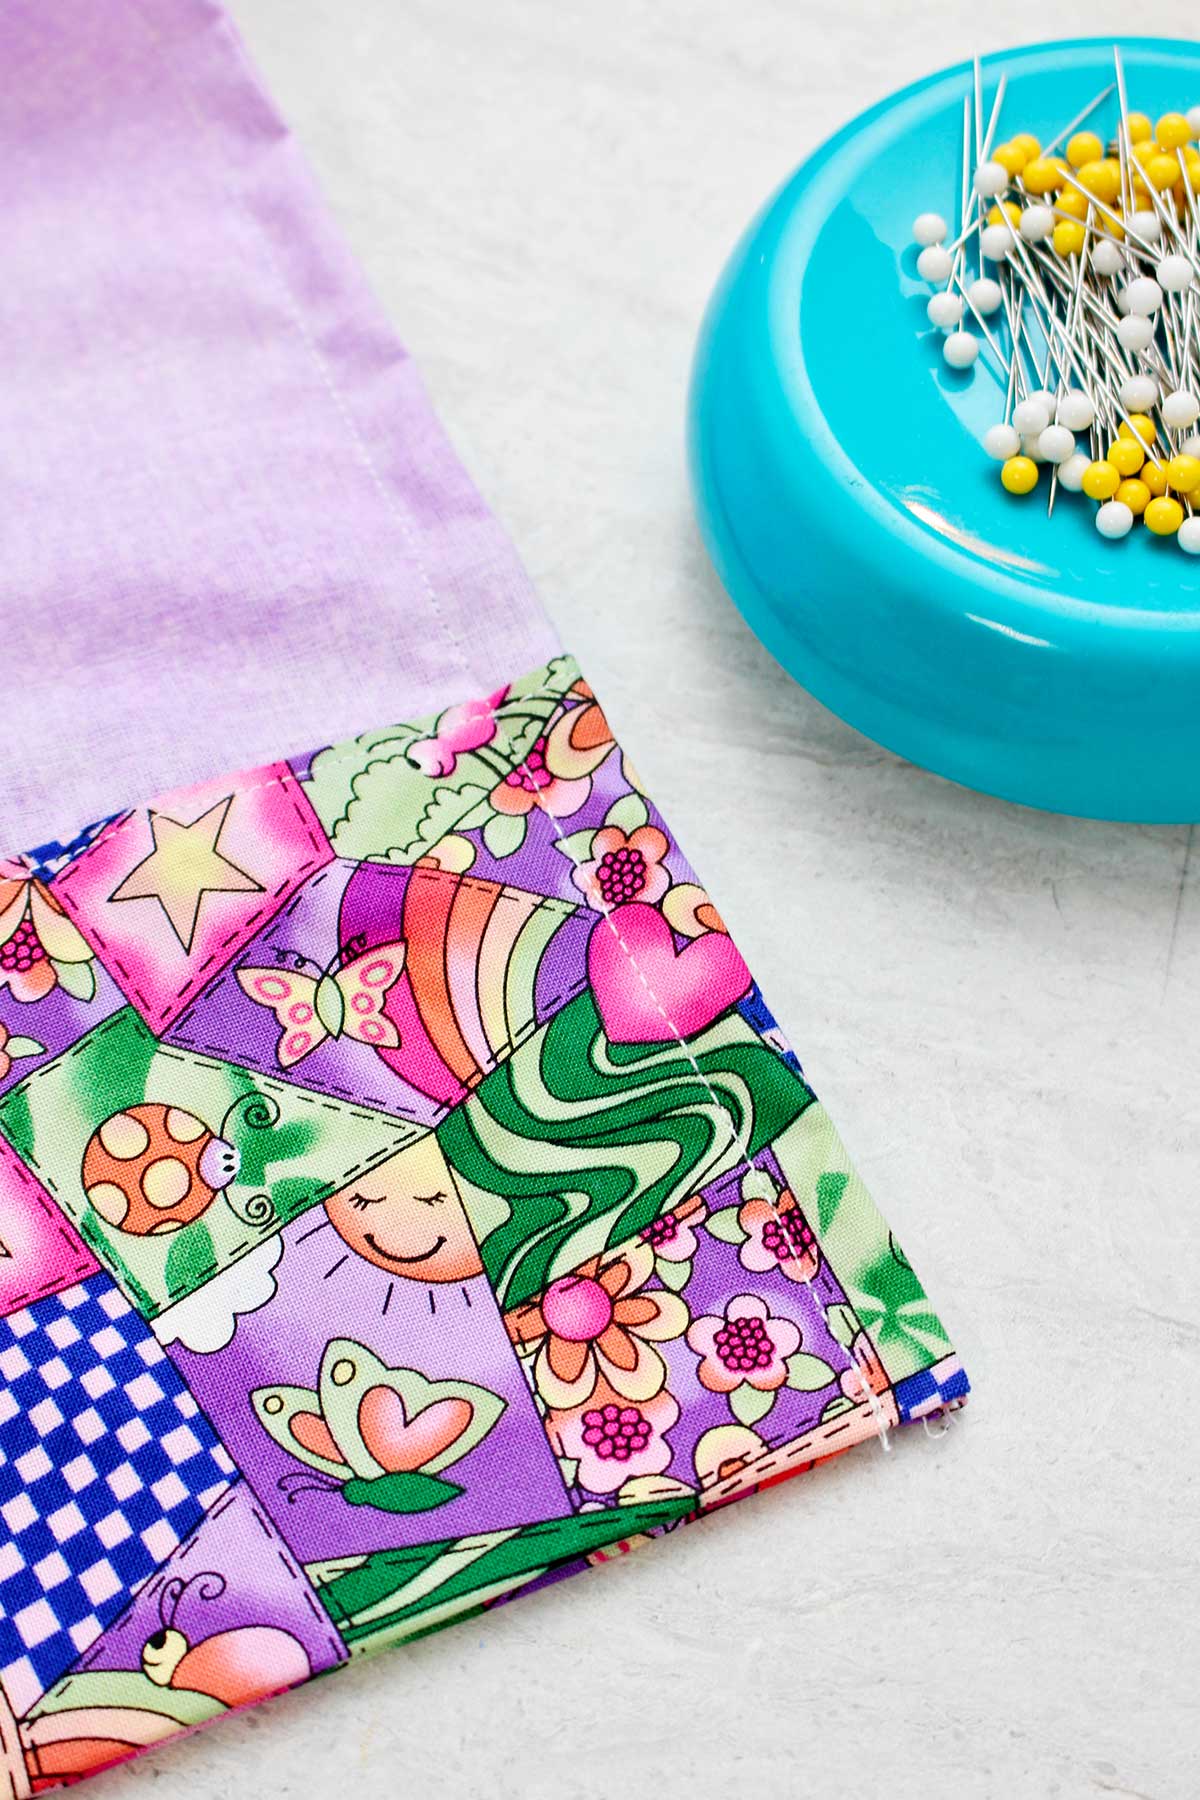
When you are done, turn the pillowcase right sides out and look at the seam you just created. This is a French seam. I told you that you’d like it!
A French seam finishes the edge of the seam by tucking the edge of the first seam inside the second seam. I don’t think I described that very well, but when you see it you know what I mean. Isn’t that so cool?
CRAFT TIPS
- Check fabric stash before purchasing: Use fabrics from your stash if possible. It’s good to do that whenever possible before buying more fabric. These small amounts of fabric are easier to find in a stash I might add.
- Prewash: Take the time to wash and dry your fabric according to the directions found on the bolt when you purchase it.
- How to pin: Pin fabric by pushing the pin from the edge of the fabric in towards the fabric. Pinning this way makes it easy to pull the pins out as you sew this seam.
- Backstitching seams: To keep seams from unraveling, backstitch several stitches at both ends of the seam. Trim threads when done.
- Pivot turn corners when sewing: A pivot turn involves sewing the first edge of the fabric with a ¼ inch seam until you get ¼ inch from the edge. Stop sewing and put your needle down into the fabric, lift the presser foot, pivot the fabric so you are going the correct direction for the second edge, put the presser foot back down and continue sewing the second edge with a ¼ inch seam.
- Clipping corners after sewing a seam: Clip a small triangle piece of fabric from the corner where you pivot turned without clipping the thread of your seam. This makes the corner less bulky when you turn it inside out.
- Finger press: Use your fingers to press a seam open if you don't have an iron. This is better than not pressing at all.
CRAFT VARIATIONS
Want to switch things up? Here are a few ways you can customize and play with this craft.
- Different fabric types: Enjoy mixing patterned and solid fabrics that match your preference, or the preference of the recipient. There are so many fun fabrics to choose from!
- Embroidery pattern: Embroider by hand or machine on the cuff (like a monogram or small shape).
- Different pillowcase sizes: To make a larger pillowcase in the Pillowcase Burrito Style method add inches onto the main pillowcase fabric length as explained here.
- 20x26 standard (what is featured in this tutorial)
- 20x30 queen (4” longer than standard)
- 20x36 king (10 inches longer than standard)
- 20x54 body (28 inches longer than standard)
FAQ
I would recommend starting with a plain pillowcase project or other learn to sew project (some ideas are listed at the end of this post.) When you feel more confident of your sewing skills give this one a try. This is still a straight seams sewing project, just a bit more advanced. You will love the burrito-style pillowcase!!
Yes you can!
To make a larger pillowcase in the Pillowcase Burrito Style method add inches onto the main pillowcase fabric length as explained here.
*Pillow sizes-
20x26 standard (this is what is featured in this tutorial)
20x30 queen (4” longer than standard)
20x36 king (10 inches longer than standard)
20x54 body (28 inches longer than standard)
French seams are awesome- the directions are found above and walk you through step by step. They are under the heading "STEPS TO MAKE A PILLOWCASE BURRITO STYLE!" The video also shows this process. Great skill to learn.
MORE LEARN-TO-SEW PROJECTS FOR KIDS
Looking for more great DIY learn to sew projects for kids? Here are a few favorites for you to try. Most are straight seam projects.
- How to Sew a Pillowcase Tutorial (plain pillowcase, no cuff)
- How to Make a Fabric Book Cover
- DIY Easy to Sew Microwavable Rice Pack
- How to Sew a Cell Phone Holder Pillow
- How to Make a Scrunchie

EQUIPMENT
Sewing machine: A sewing machine is an investment and necessary if you are going to sew this and more projects. This Singer is a beginner sewing machine that has simple and necessary stitches and features without too many bells and whistles. Singer 4452 Heavy Duty Sewing Machine link.
Enjoy!
If you try this craft, let me know! Go ahead and leave a comment, rate it, and tag a photo with #WelcometoNanas wherever you post.
Come join the fun at https://welcometonanas.com
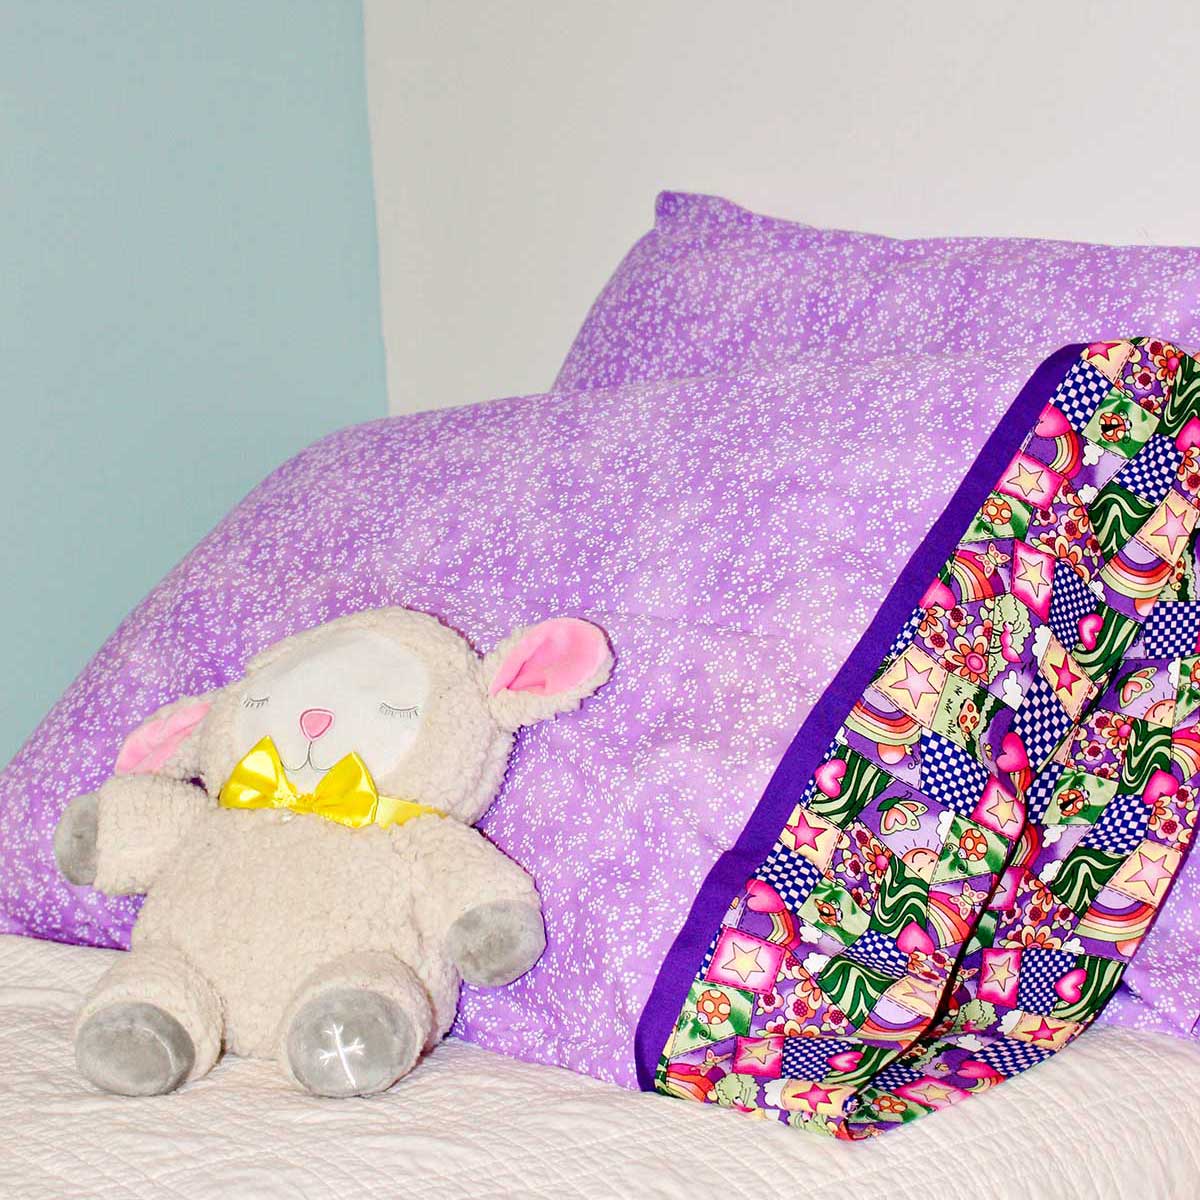
How to Sew a Pillowcase Burrito Style!
Equipment
- Fabric scissors
- Pins
- Sewing machine using a universal needl
- Iron (optional)
Items Required
- Fabric 1- 24 inches or ¾ yard* (main pillowcase fabric- for standard sized pillow)
- Fabric 2- 12 inches or ⅜ yard (coordinating fabric)
- Fabric 3- 2 inches or ⅛ yard (used as a trim between the other two fabrics)
- Thread that coordinates with the fabric’s dominant color
- Fabric scissors
- Pins
- Sewing machine using a universal needle
- Iron (optional)
Instructions
Prep the fabrics
- Take the time to wash and dry your fabric according to the directions found on the bolt when you purchase it. Cut the fabrics to the correct lengths, measuring well so they are even all the way across.Fold the 2-inch strip in half with wrong sides together and press it well so it stays folded.
Make the "burrito" and sew the cuff on the end
- First, we stack the materials.Lay the 12-inch fabric with the right side up onto the table.Lay the 24-inch fabric on top of it with right side up and line up the top edges of these two fabrics all the way across.Finally, lay the two-inch fabric (which is folded in half) on top of the other two fabrics with the cut edges lining up with the edges on top.All three layers of fabric are one on top of the other with the edges on one side of each fabric lined up all the way across.Put a few pins on the edge of these stacked fabrics to keep them together for the next step.
- Start rolling up the 24-inch fabric from the unpinned edge. Roll it so that when you get to the top pinned edge the roll is no wider than about 4 inches.This rolled up fabric will be next to your 2-inch folded trim piece, and you will still be able to see the 12” piece of fabric underneath. The 12-inch piece of fabric does not get rolled up with the larger 24 inch piece of fabric.
- Fold the 12-inch piece of fabric in half with the wrong sides together and matching the edges all the way across. Take the previous pins out of the edge and pin all the layers of fabric together with the pins going from the edge of the fabric in towards the fabric. Pinning this way makes it easy to pull the pins out as you sew this seam.The rolled-up fabric is inside this tube like a “burrito”! I know this seems weird, but trust me, it works. This is pretty cool.
- Go to the machine and sew a ¼ inch seam all the way down the pinned edge. Backstitch at both ends. There will be no need to zig zag the edges as they will not show after the next step.
- Now, gently pull the rolled-up fabric out through the end of this “burrito”. It will pull through and the end result will be that the 12-inch fabric makes a cuff on the end of the main 24-inch fabric and it will all lay flat. Press the trim piece towards the contrast fabric cuff.I told you it would work!! Ha!
Trim fabrics to the same width
- Trim the two long edges of the fabrics so that the selvages are cut off (the finished edges of the fabric) and the fabrics are all the same width.
Top stitch the cuff (optional)
- On the coordinating cuff fabric, sew ⅛ inch from the trim fabric. Sew the entire length of the fabric.
Sew a French seam
- This is the second time I ask you to trust me, this works. But the first step just doesn’t seem like it is right. Again, give it a try! You will love this technique for sewing seams.Fold the pillowcase wrong sides together with the cuff on one short end. Yes, I said wrong sides together. Pin the two unfinished edges together to hold them in place as you sew. You will not be sewing the cuffed end (which will be the opening of the pillowcase) or the folded ed
- Sew a ¼-inch seam around the two unfinished edges. Back stitch at both ends of the seam and pivot turn at the corner.A pivot turn involves sewing the first edge of the fabric with a ¼ inch seam until you get ¼ inch from the edge. Stop sewing and put your needle down into the fabric, lift the presser foot, pivot the fabric so you are going the correct direction for the second edge, put the presser foot back down and continue sewing the second edge with a ¼ inch seam.
- Lay the pillowcase down flat on a table.Clip a small triangle piece of fabric from the corner where you pivot turned without clipping the thread of your seam. This makes the corner less bulky when you turn it inside out.Also trim a little bit off each of the two edges you just sewed, cutting about half the seam allowance off. Again, be very careful so you don’t clip the thread of your seam or cut a hole in the pillowcase.Now, turn the pillowcase inside out (or I should say right sides together). Press it well so the two seams you just sewed are nice and even.
- Go back to the sewing machine and sew a ⅜-inch seam on the two previously sewn edges only. Back stitch on both ends of this seam and pivot turn on the corner again.


Judy says
All the pop-up ads are annoying and makes following directions difficult. 1
Shelly says
Feel free to print off the step-by-step instructions at the bottom of the post, if you'd like to have access to ad-free instructions!
E says
You give only one dimension of the fabrics required. Not helpful.
Shelly says
You can find all the measurements with the step-by-step instructions at the bottom of the post