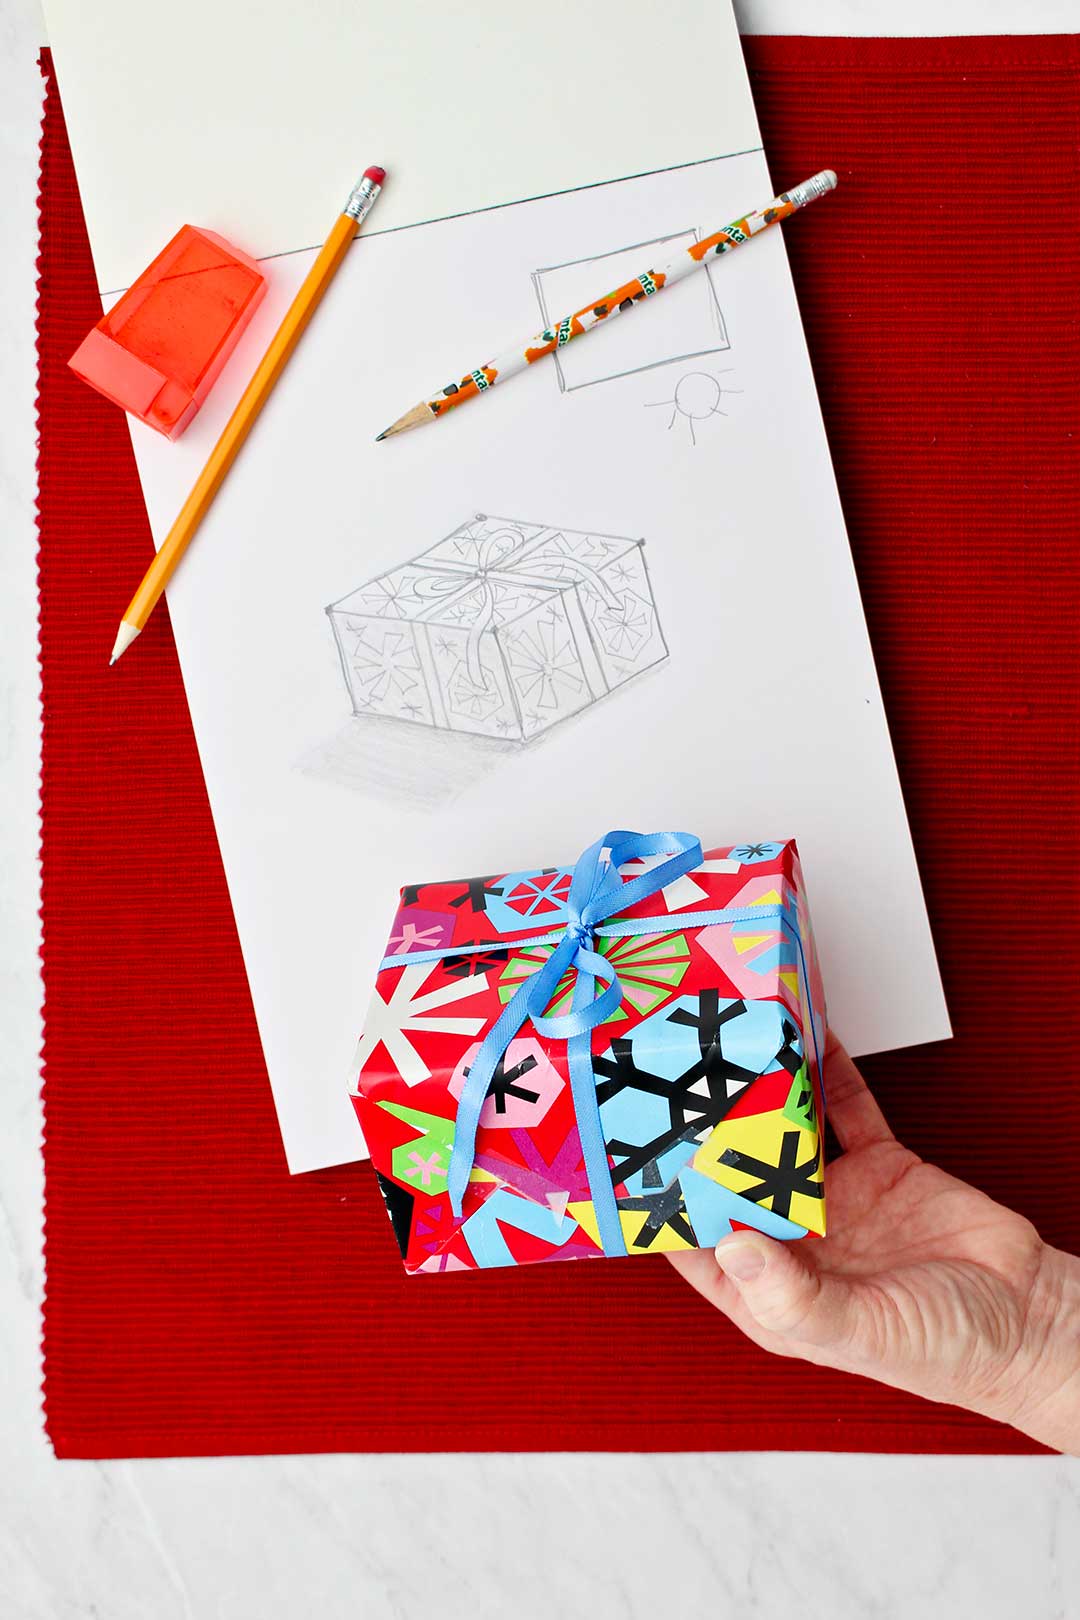
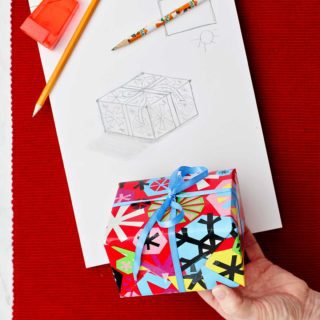
How to Draw a Christmas Present
Let’s take drawing a cube to a whole new level and learn How to Draw a Christmas Present!
A Christmas present is often wrapped in a box and a box is a cube! Wah-lah! It is easy to draw a box or cube and then add a few touches to make it look like a Christmas present!
Let’s have a go at it!
How to draw a Christmas present step by step
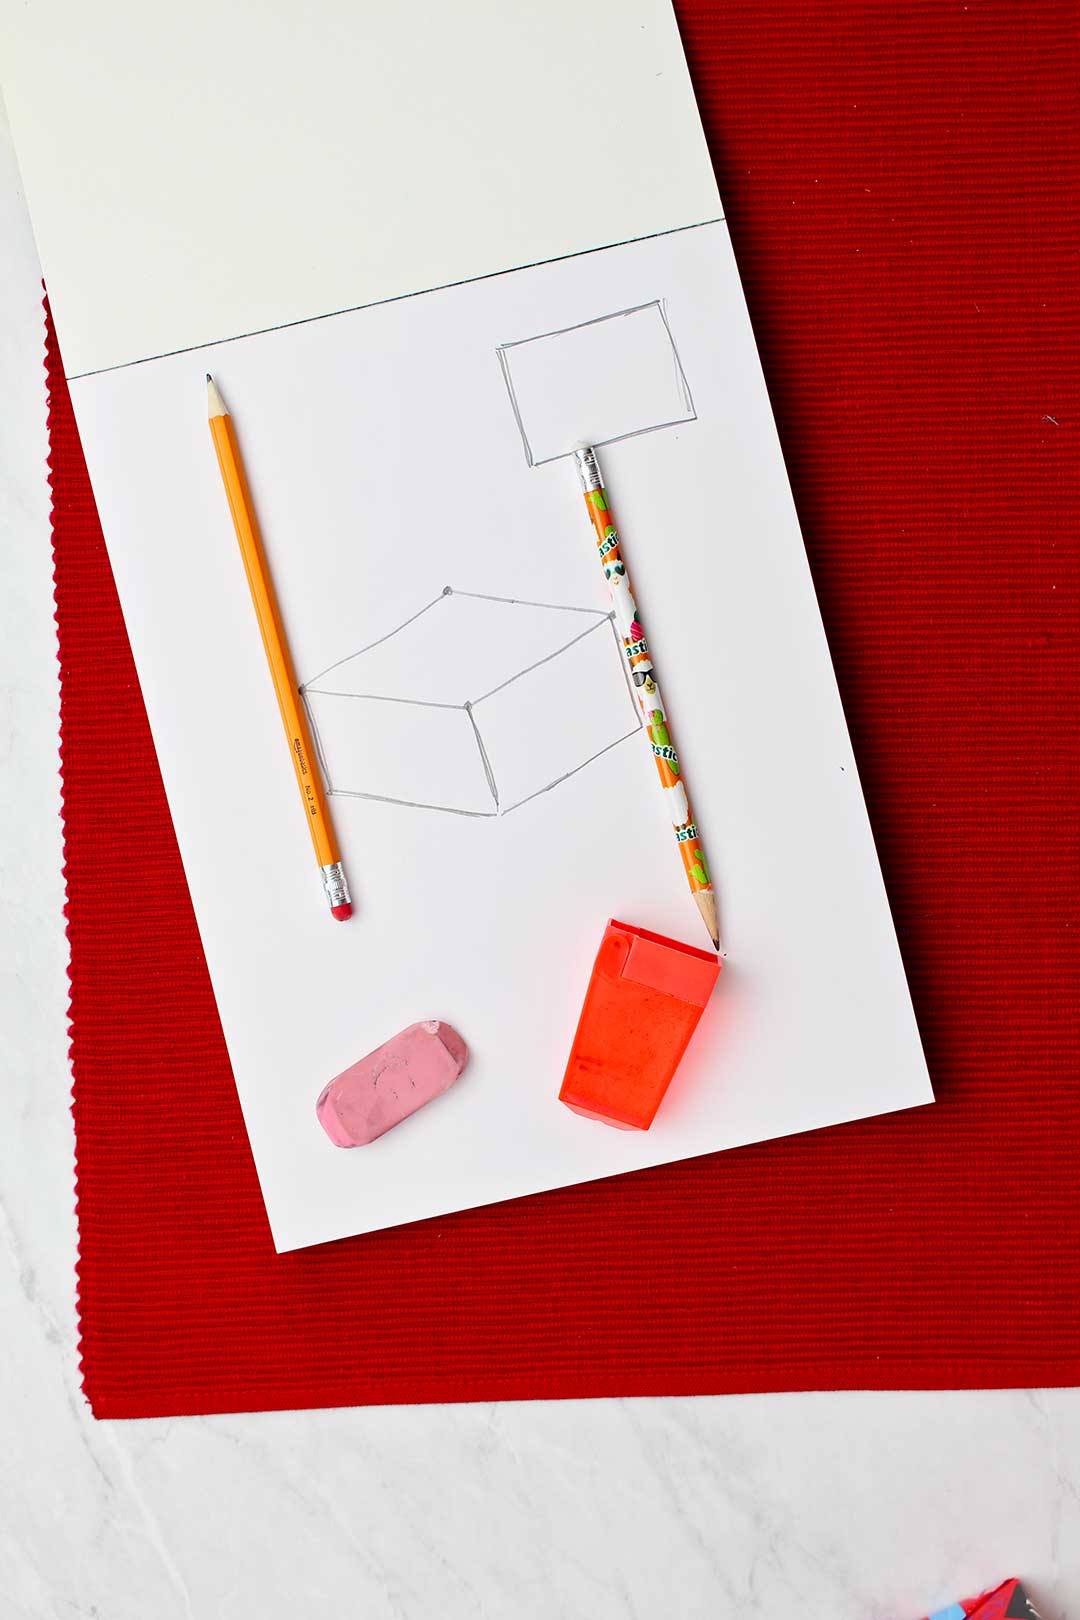
Draw a cube (or a box)
First start by drawing a basic cube.
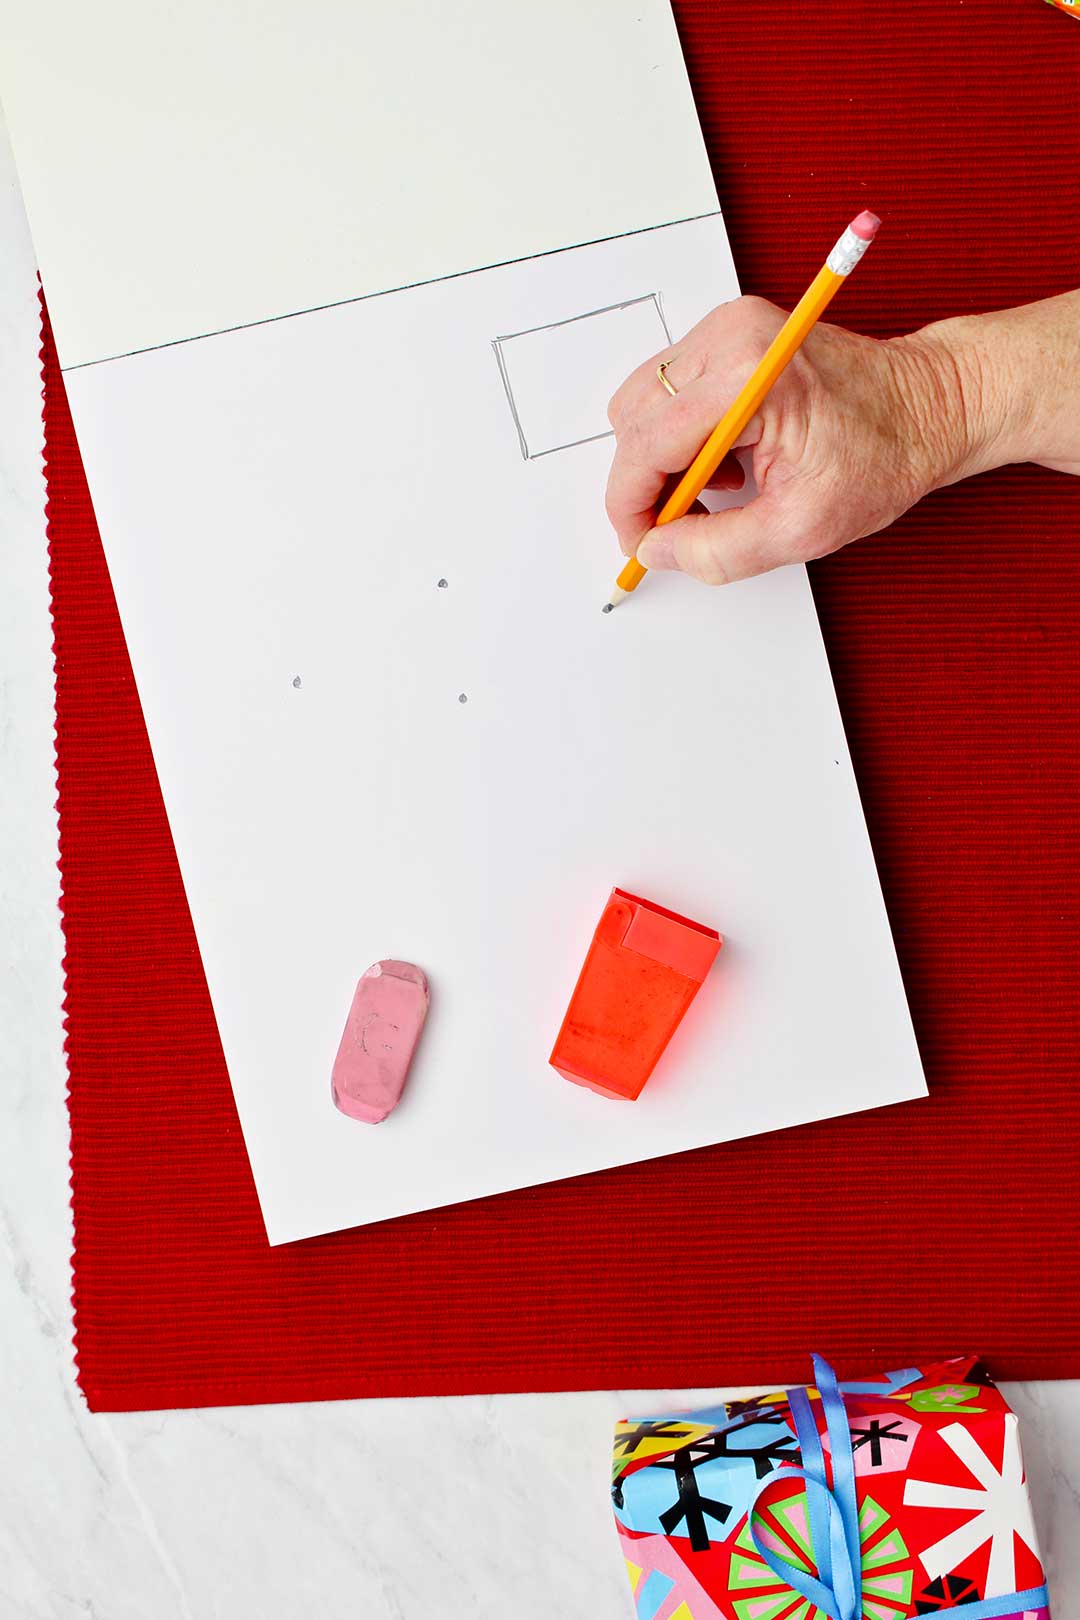
Draw two dots, side by side at about 4 inches apart. Draw two more dots halfway between the first dots about 1 ½-inches apart, but these two are up and down from one another.
These dots are like the points of a diamond.
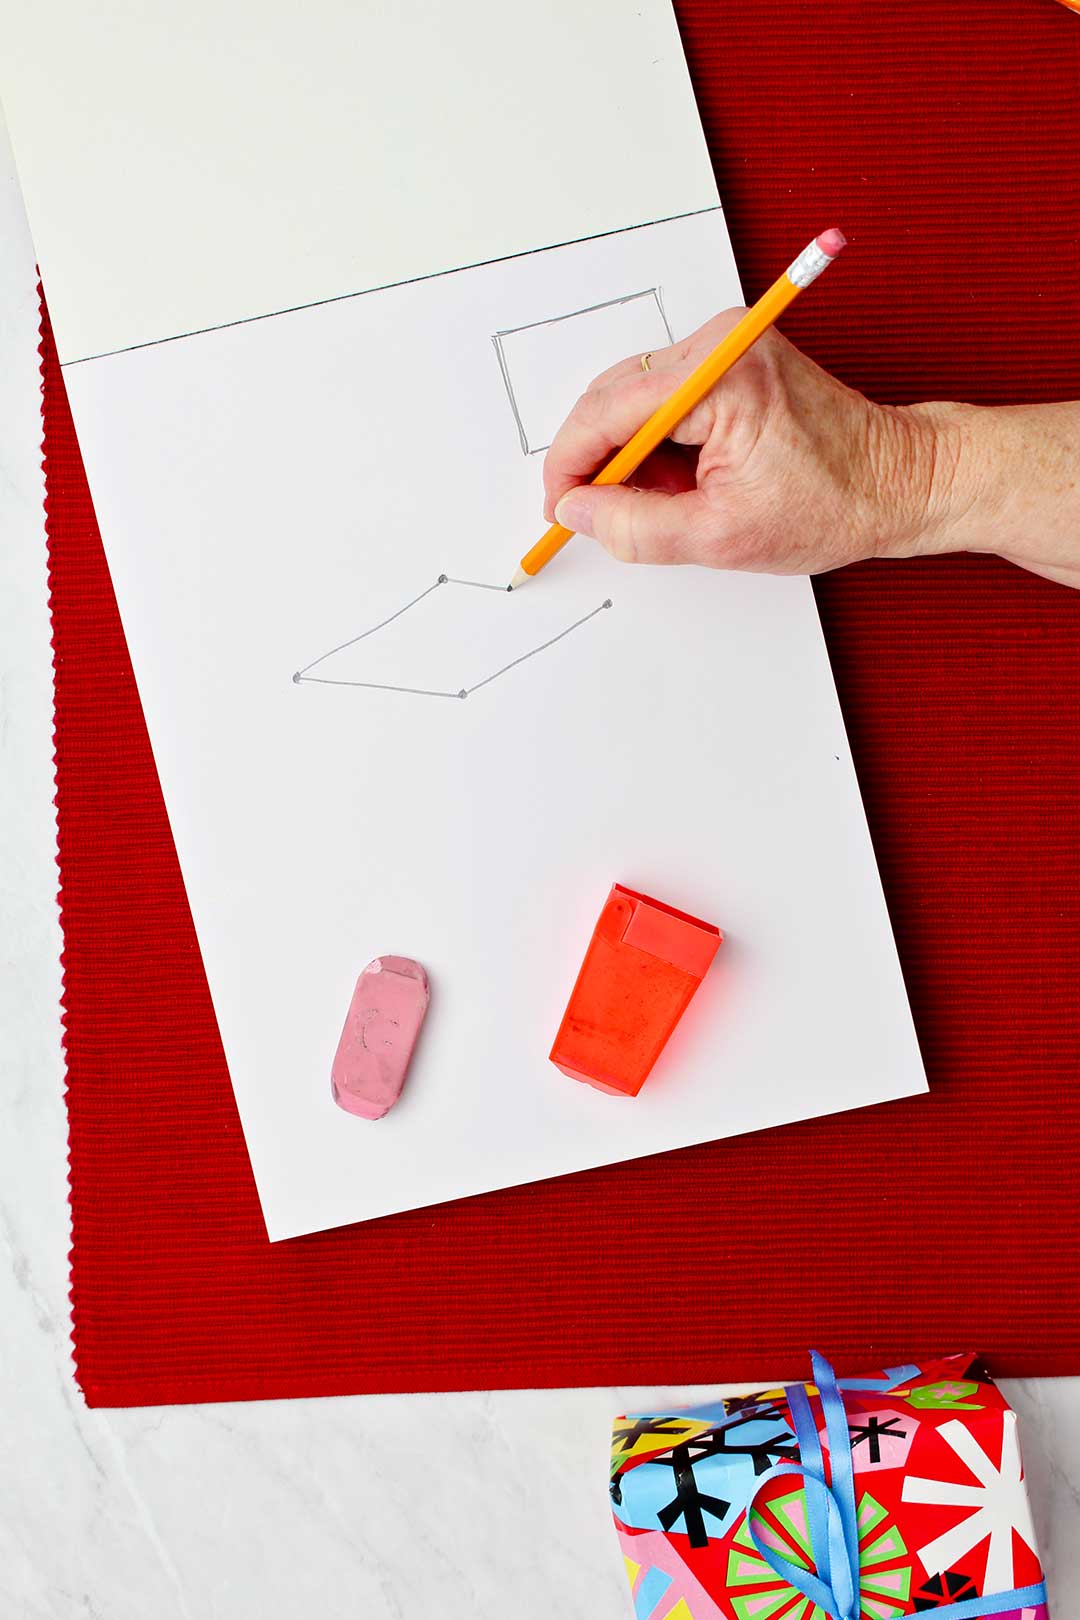
Connect these dots with straight lines to make a diamond. The two opposite sides of the diamond should be parallel from each other.
Draw the sides of the cube
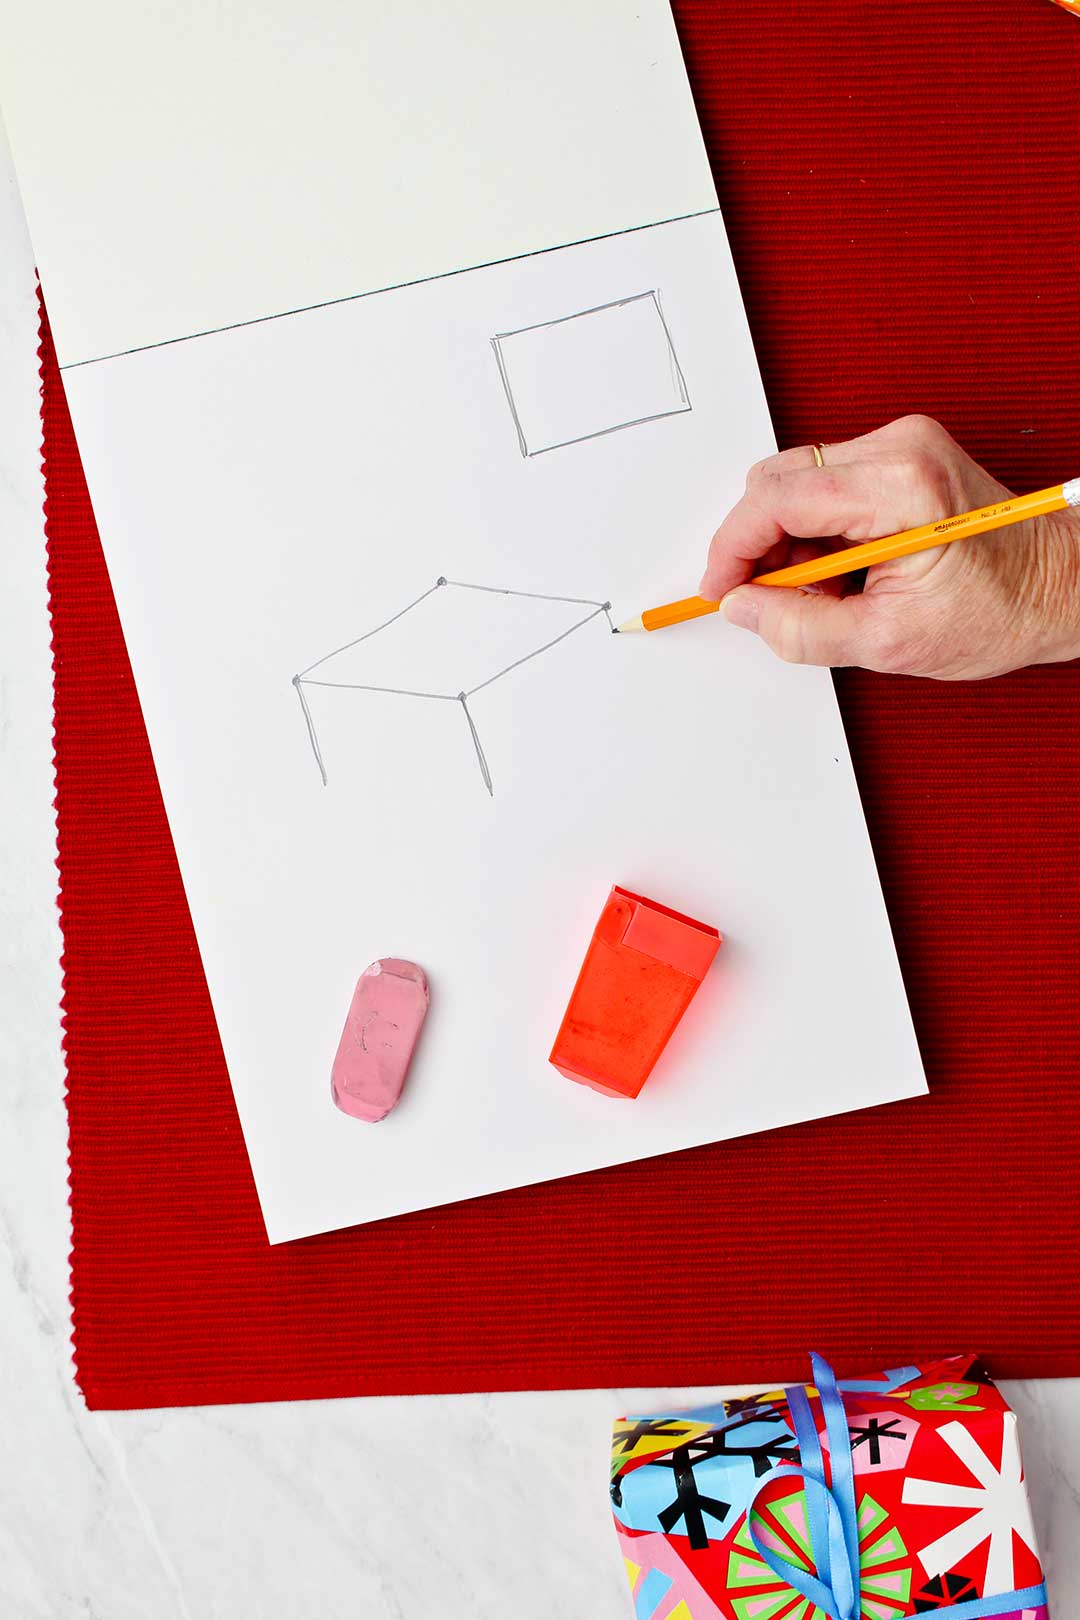
From the bottom three dots, draw equal lines of equal length straight down. Looks like a table, doesn’t it?
Draw the bottom of the cube
Now, connect the bottom tips of those lines to make the bottom of the cube.
That’s it. You have drawn a cube.
How to draw a simple Christmas present
A cube is the basis of a Christmas present. Can you see it?
Let’s add some details to make it really look like a gift.
Tie a ribbon on that package and make a bow on top.
How do you draw a Christmas present ribbon?
Well it’s easy, just think about making more parallel lines, lines parallel with the edges of the box top and sides!
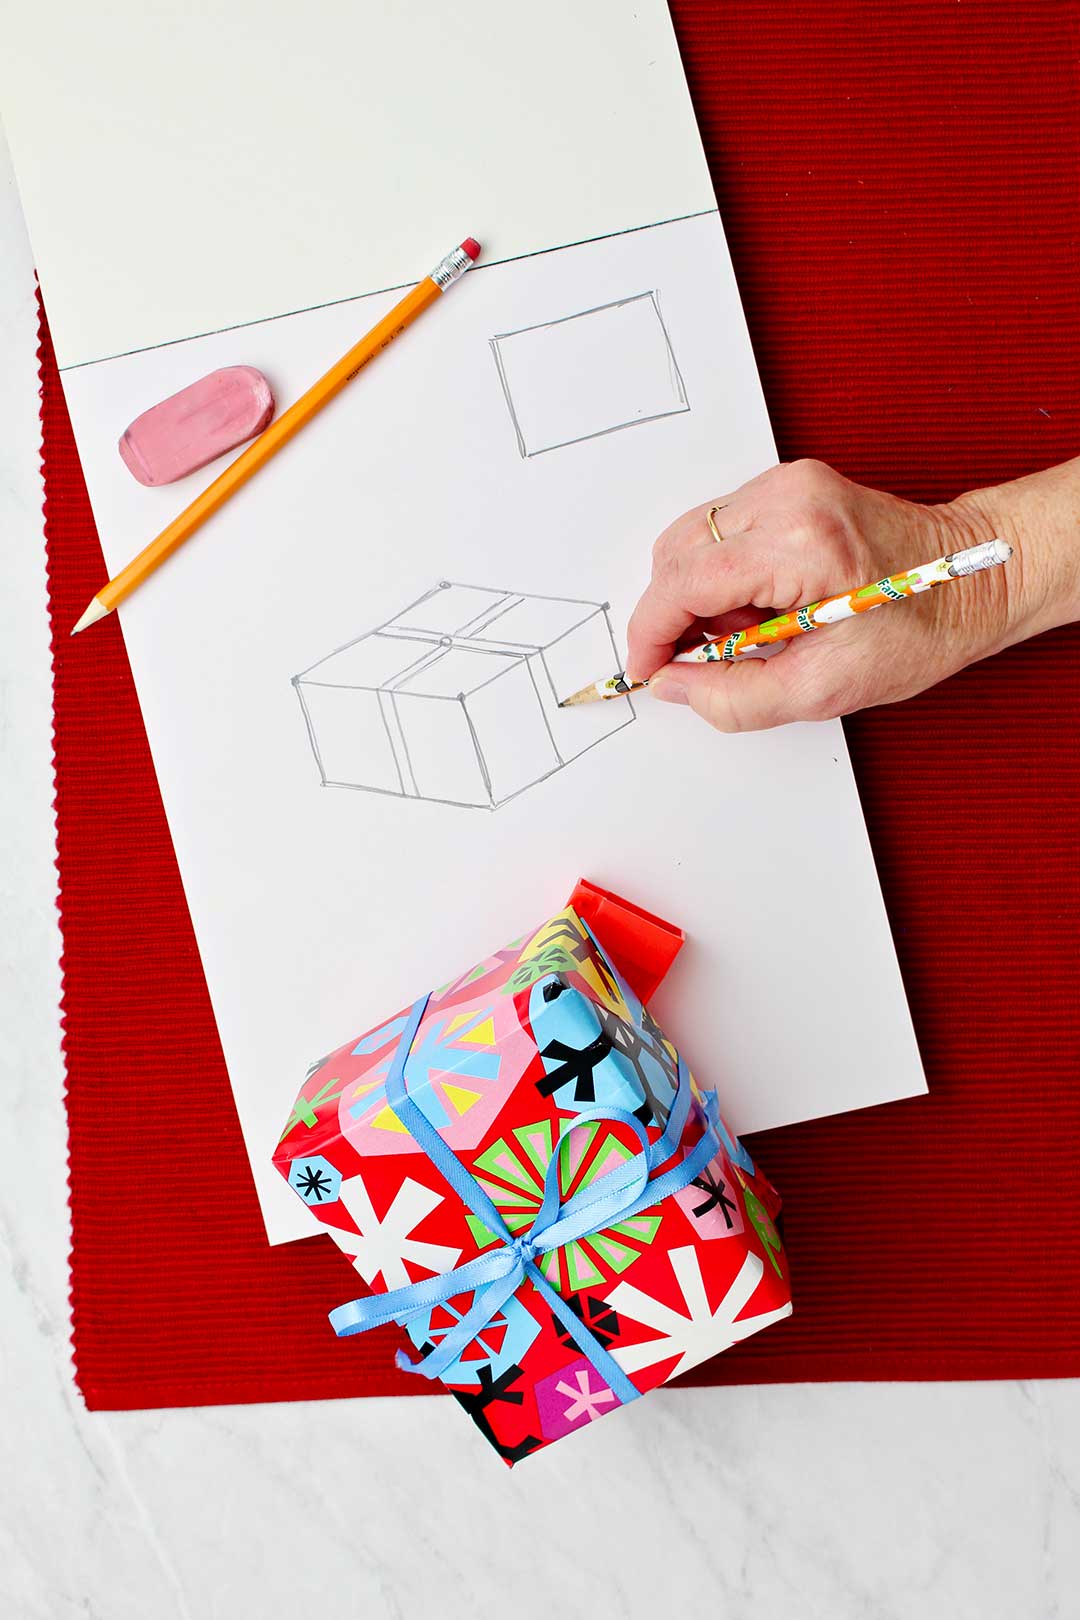
Ribbon on top of the present
Let’s start with the ribbon on the top of the box.
Draw a set of double lines that run between one of the sides of the diamond shaped top of the box. You can make the set of lines close together or a bit farther apart to make the ribbon look narrow or wide.
Then make a double set of lines that cross the first and are parallel to the other sides of the diamond shaped top of the box.
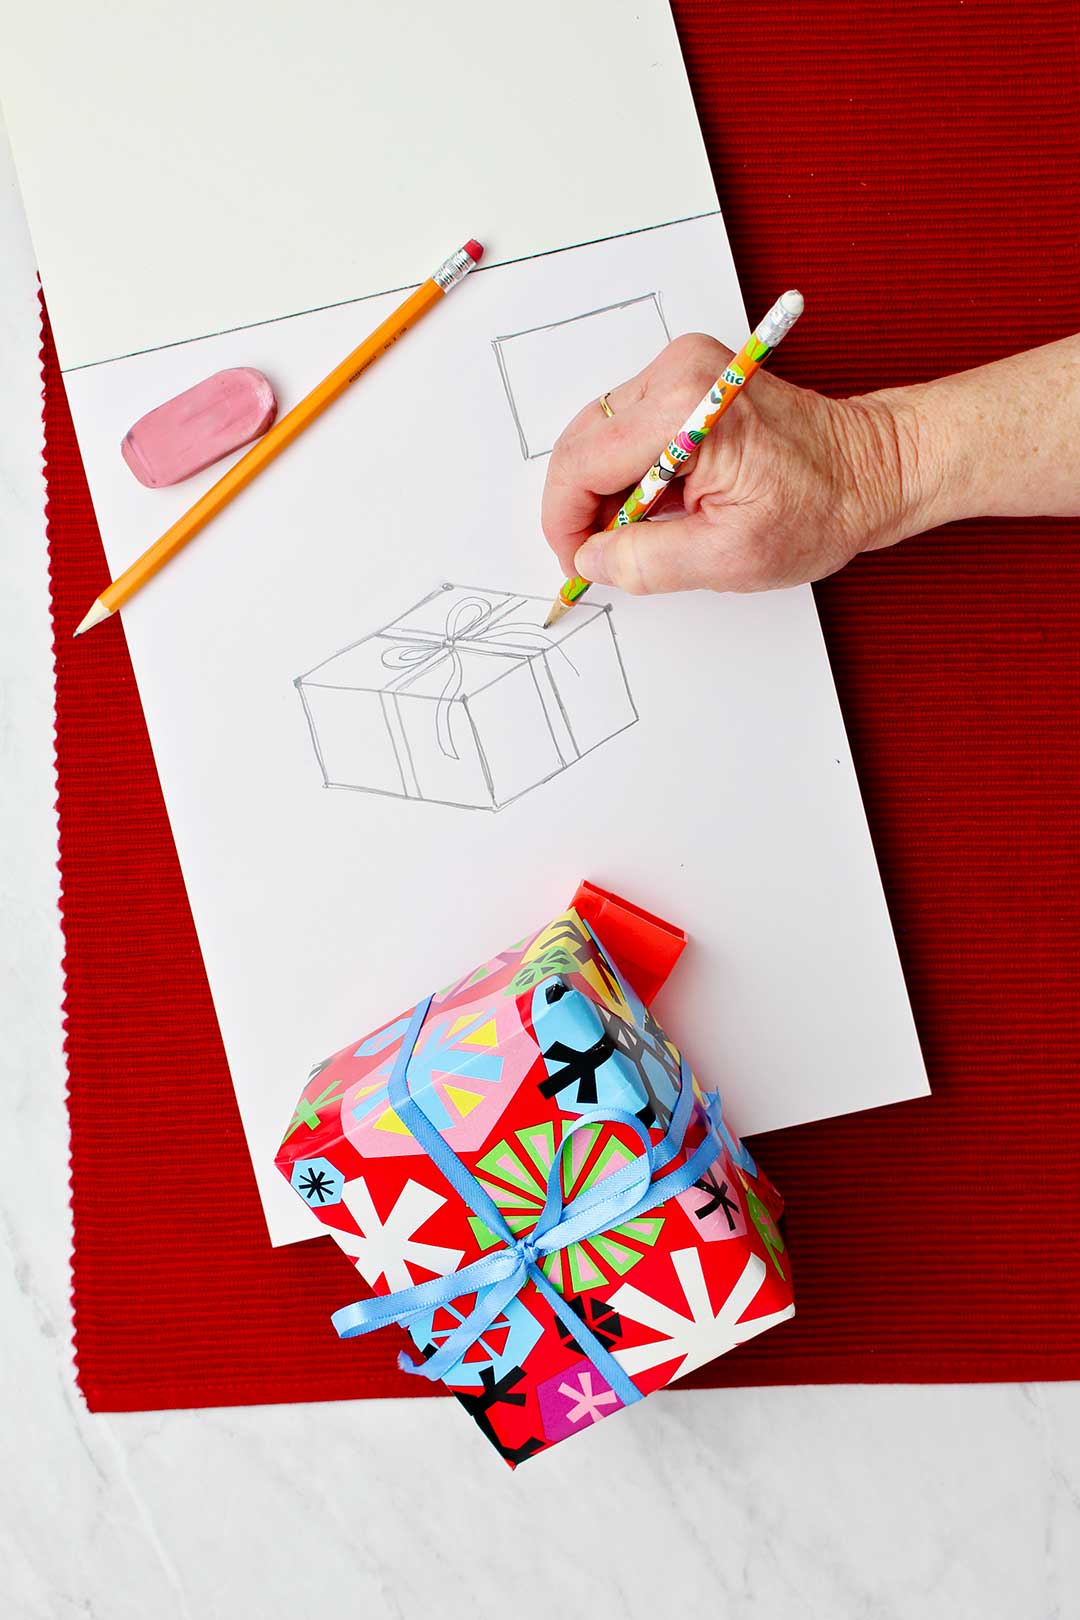
Ribbon on the sides of the present
The sides of the package will have ribbons too, so draw a set of double lines straight down the side of the package starting where the ribbon from the top touches the edge. Do this on each side of the package that you can see.
The bow on top of the present
Finish up drawing the present with two sets of lines that make the two loops on the top of the package for the bow. Draw two sets of lines out from the bow for the ties on the end of the bow.
You can add more loops to the bow to make it a fuller bow if you want!
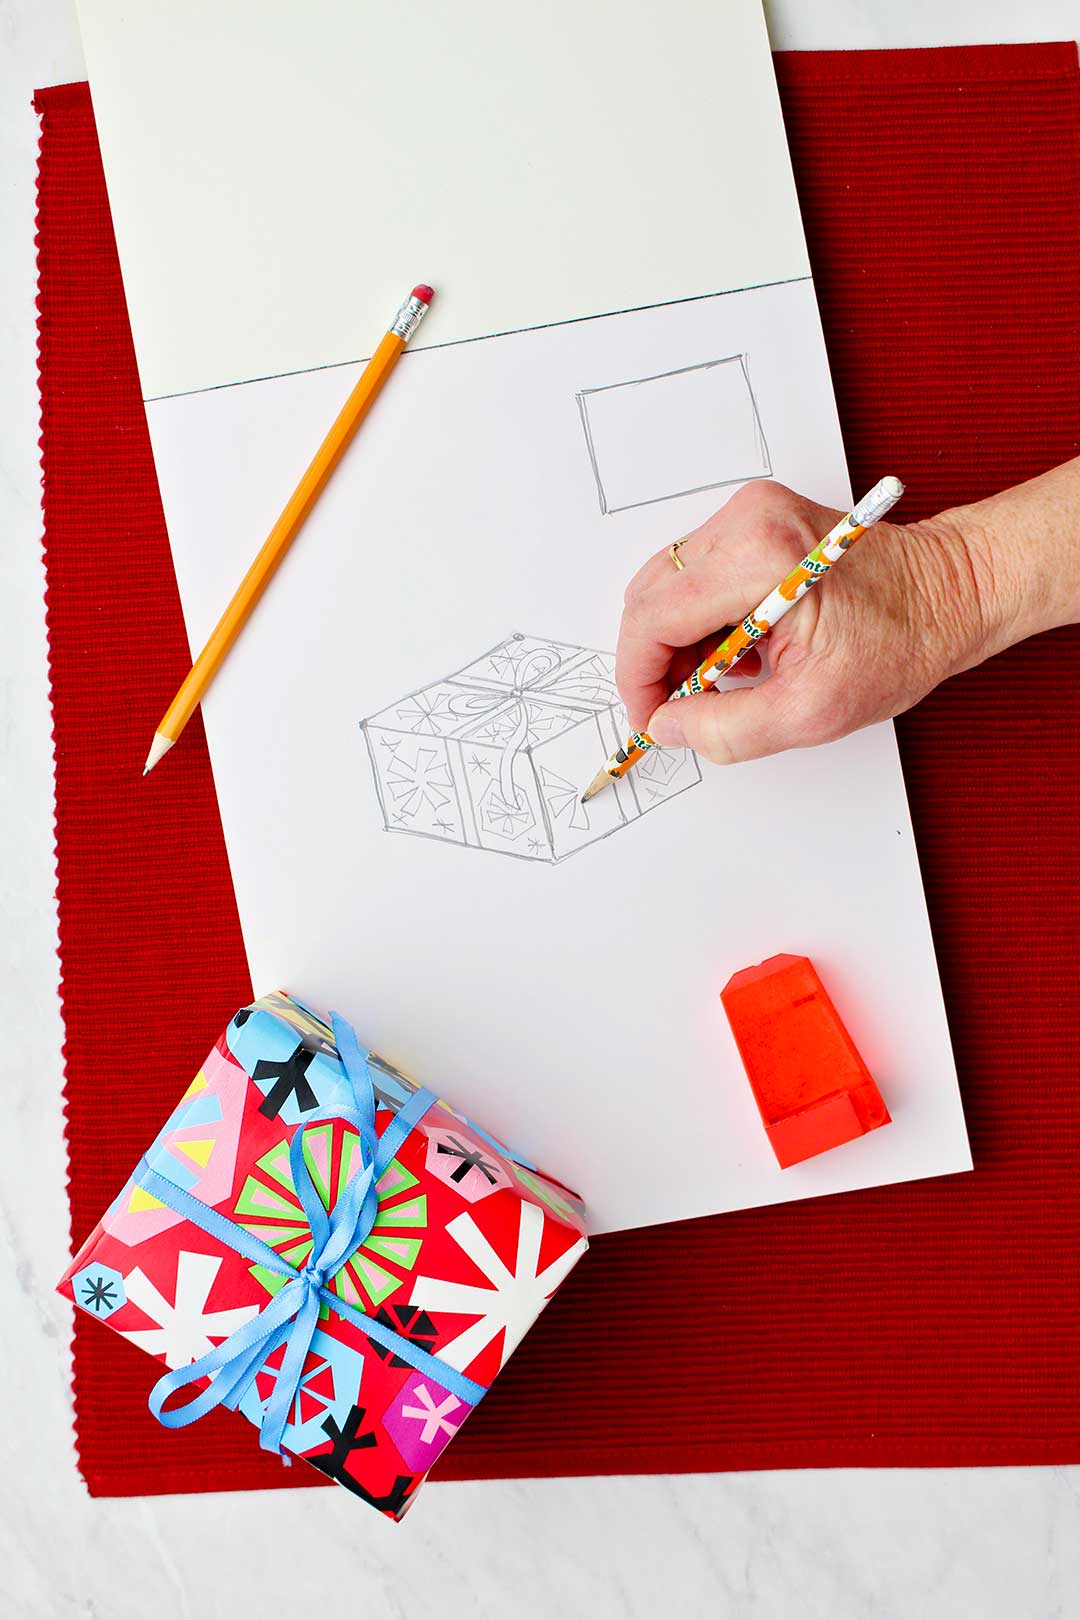
Decorate the paper on your present
Lastly, decorate the paper in any design you want. I copied the design on the paper that was on the gift shown in the video.
This can be colored in with pencils or markers.
What a cute Christmas card or gift tag this drawing could be!
How to draw a Christmas present- taller, shorter, wider!
You can make your Christmas present taller or shorter or wider or narrower. How? Just draw your initial two dots closer or farther apart or make the three downward lines longer or shorter. Experiment a bit!
Christmas presents come in all different sizes you know!!
Your extra challenge!
Can you figure out how to draw a whole stack of Christmas presents, one on top of the other? What a great challenge. We will do another post on that soon.
Perhaps you will get a stack of two or three or four presents this Christmas. That would be fun, wouldn’t it?
Or better yet, maybe you will GIVE a stack of presents to others. Spread the love!
YouTube lovers, head over to YouTube and subscribe to see this video and all the other drawing videos (plus crafts, recipe videos!). Find the link here: How to Draw a Christmas Present
More Drawing Tutorials from Nana!
Want more drawing tutorials? Check these out!
Enjoy!
If you try this craft, let me know! Go ahead and leave a comment, rate it, and tag a photo with #WelcometoNanas wherever you post.
Come join the fun at https://welcometonanas.com
How to Draw a Christmas Present
Equipment
- none needed
Items Required
Instructions
- First start by drawing a basic cube. We learned about this in a previous post.Draw two dots, side by side at about 4 inches apart. Draw two more dots halfway between the first dots about 1 ½-inches apart, but these two are up and down from one another.These dots are like the points of a diamond.
- Connect these dots with straight lines to make a diamond. The two opposite sides of the diamond should be parallel from each other.
- From the bottom three dots, draw equal lines of equal length straight down. Looks like a table, doesn’t it?
- Now, connect the bottom tips of those lines to make the bottom of the cube.That’s it. You have drawn a cube.
- Let’s start decorating the package with the ribbon on the top of the box. Draw a set of double lines that run between one of the sides of the diamond shaped top of the box. You can make the set of lines close together or a bit farther apart to make the ribbon look narrow or wide.Then make a double set of lines that cross the first and are parallel to the other sides of the diamond shaped top of the box.
- The sides of the package will have ribbons too, so draw a set of double lines straight down the side of the package starting where the ribbon from the top touches the edge. Do this on each side of the package that you can see.
- Finish up drawing the present with two sets of lines that make the two loops on the top of the package for the bow. Draw two sets of lines out from the bow for the ties on the end of the bow.
- Lastly, decorate the paper in any design you want. I copied the design on the paper that was on the gift shown in the video.This can be colored in with pencils or markers.


Leave a Reply