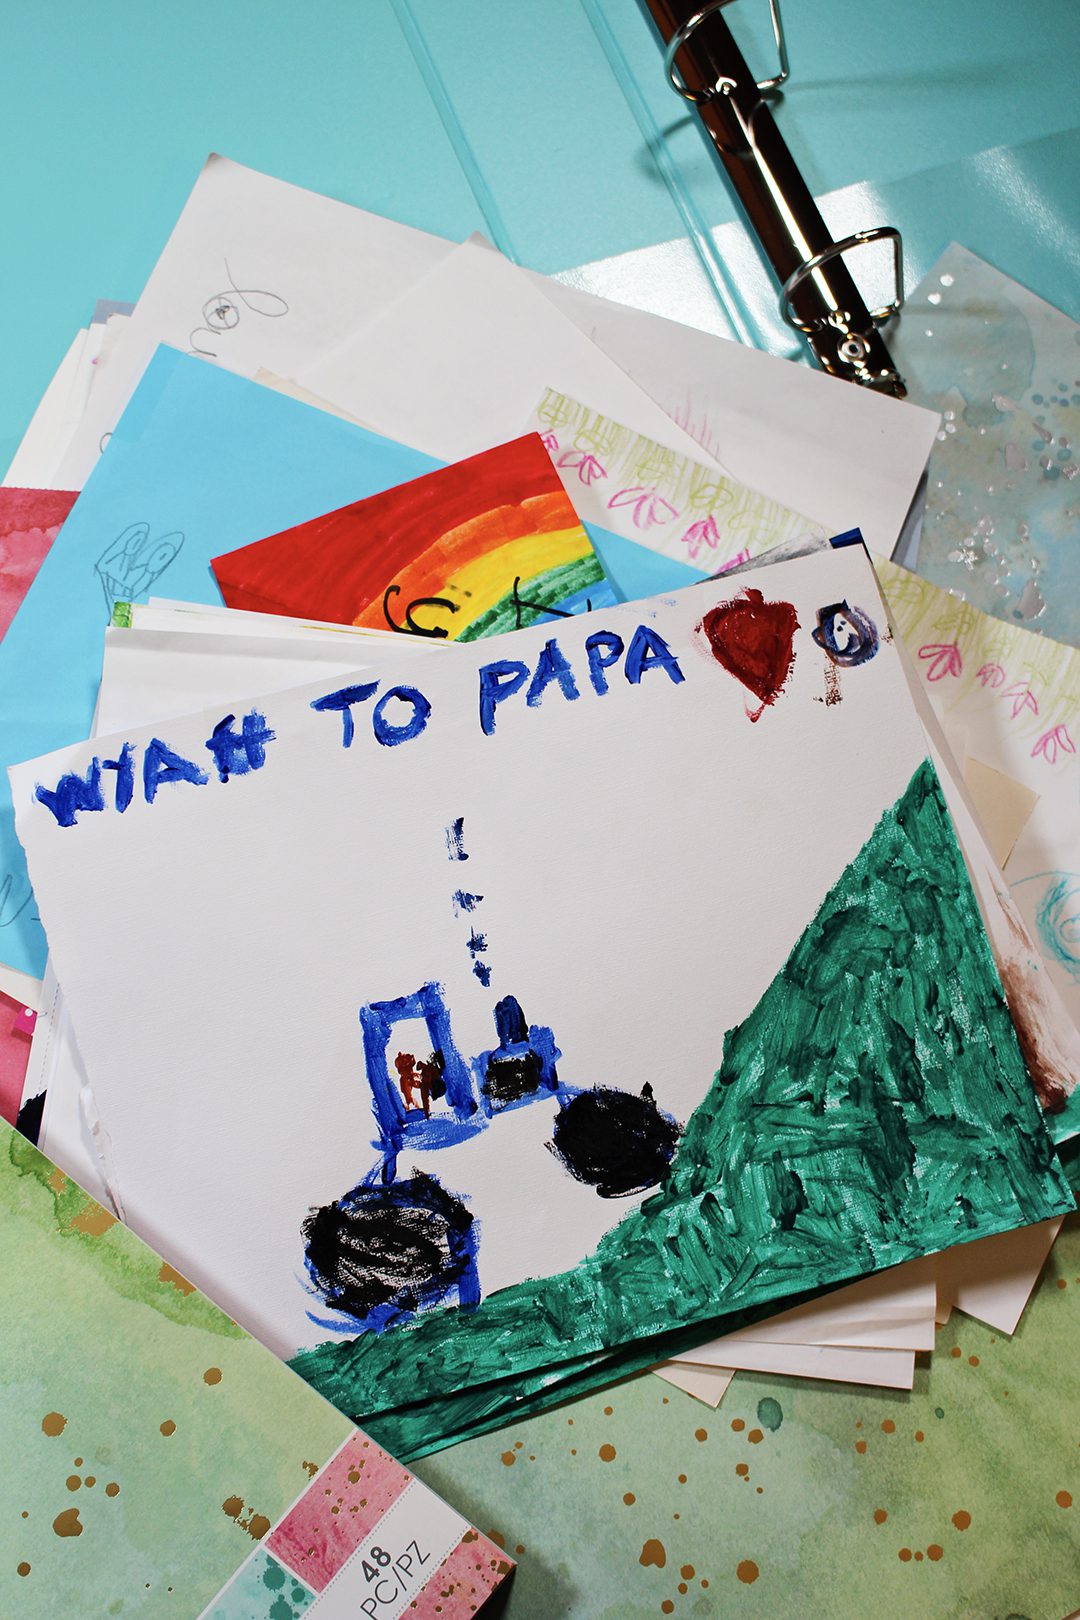
Check out these ideas to creatively use and store Children's Wall Art! Give those adorable drawings (that quickly pile up) a good home by saving, displaying, using favorites in fun projects & gifts!
Creatively Use and Store Children's Wall
Want some fun ideas for using and storing the children's wall art that accumulates from daily creative spurts from your little art genius?
Here is a whole system for storage plus a number of ideas to use older art pieces in new art projects!! Cool, huh?
What do I do with all of my kid’s artwork?
I am asked this question quite often.
Below I have an idea “flow” for processing the artwork that comes from children’s art times.
These ideas will give you food for thought in what you want to do short term and long term with artwork.
By the way, you can do this with your artwork as well!!
Daily artwork flow (and flow...):
Many kids make artwork every day.
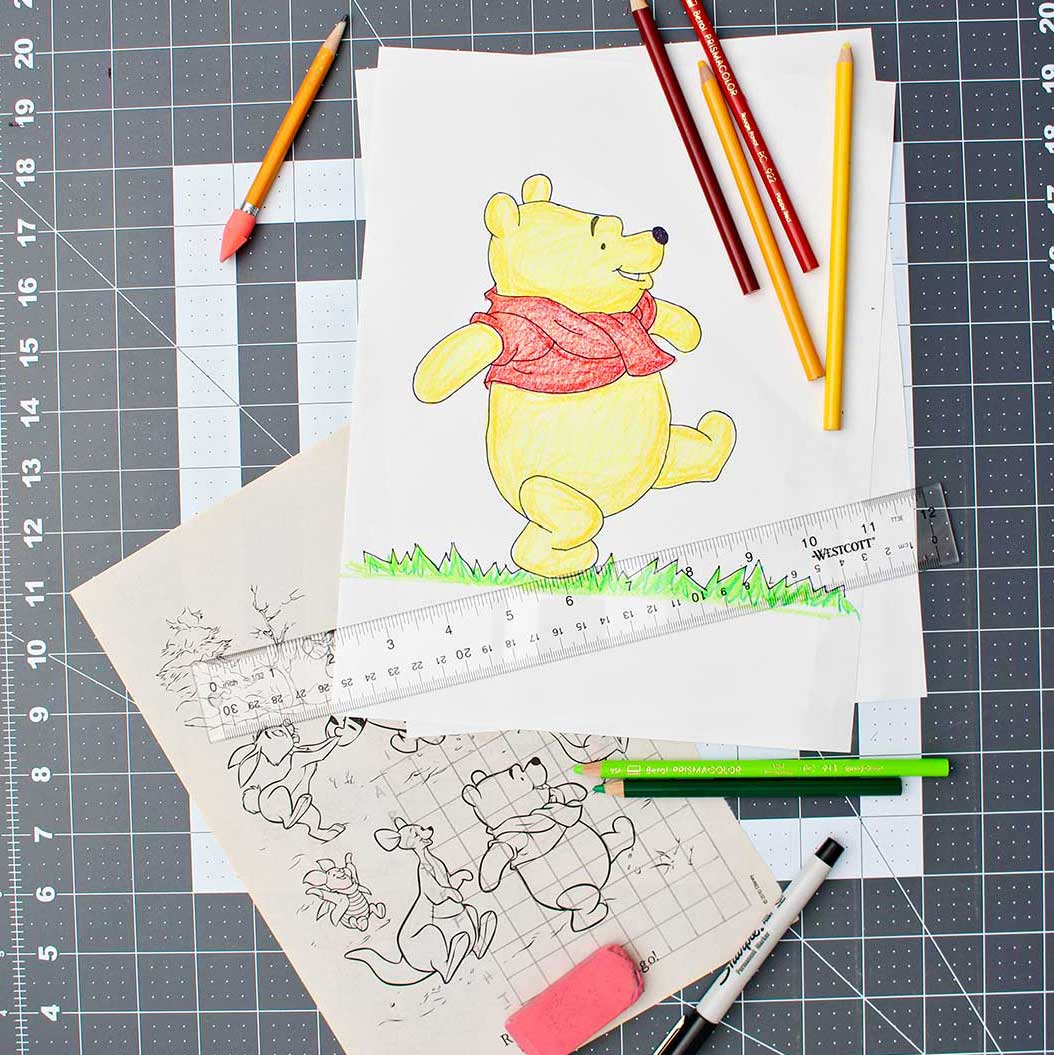
A lot of daily art is “disposable”, like coloring book pages or doodles. These are wonderful things for a child to do to occupy time and develop creativity. But usually they are not art pieces to keep.
First: Throw what is possible to throw- right away. Face it, we can’t keep everything!!
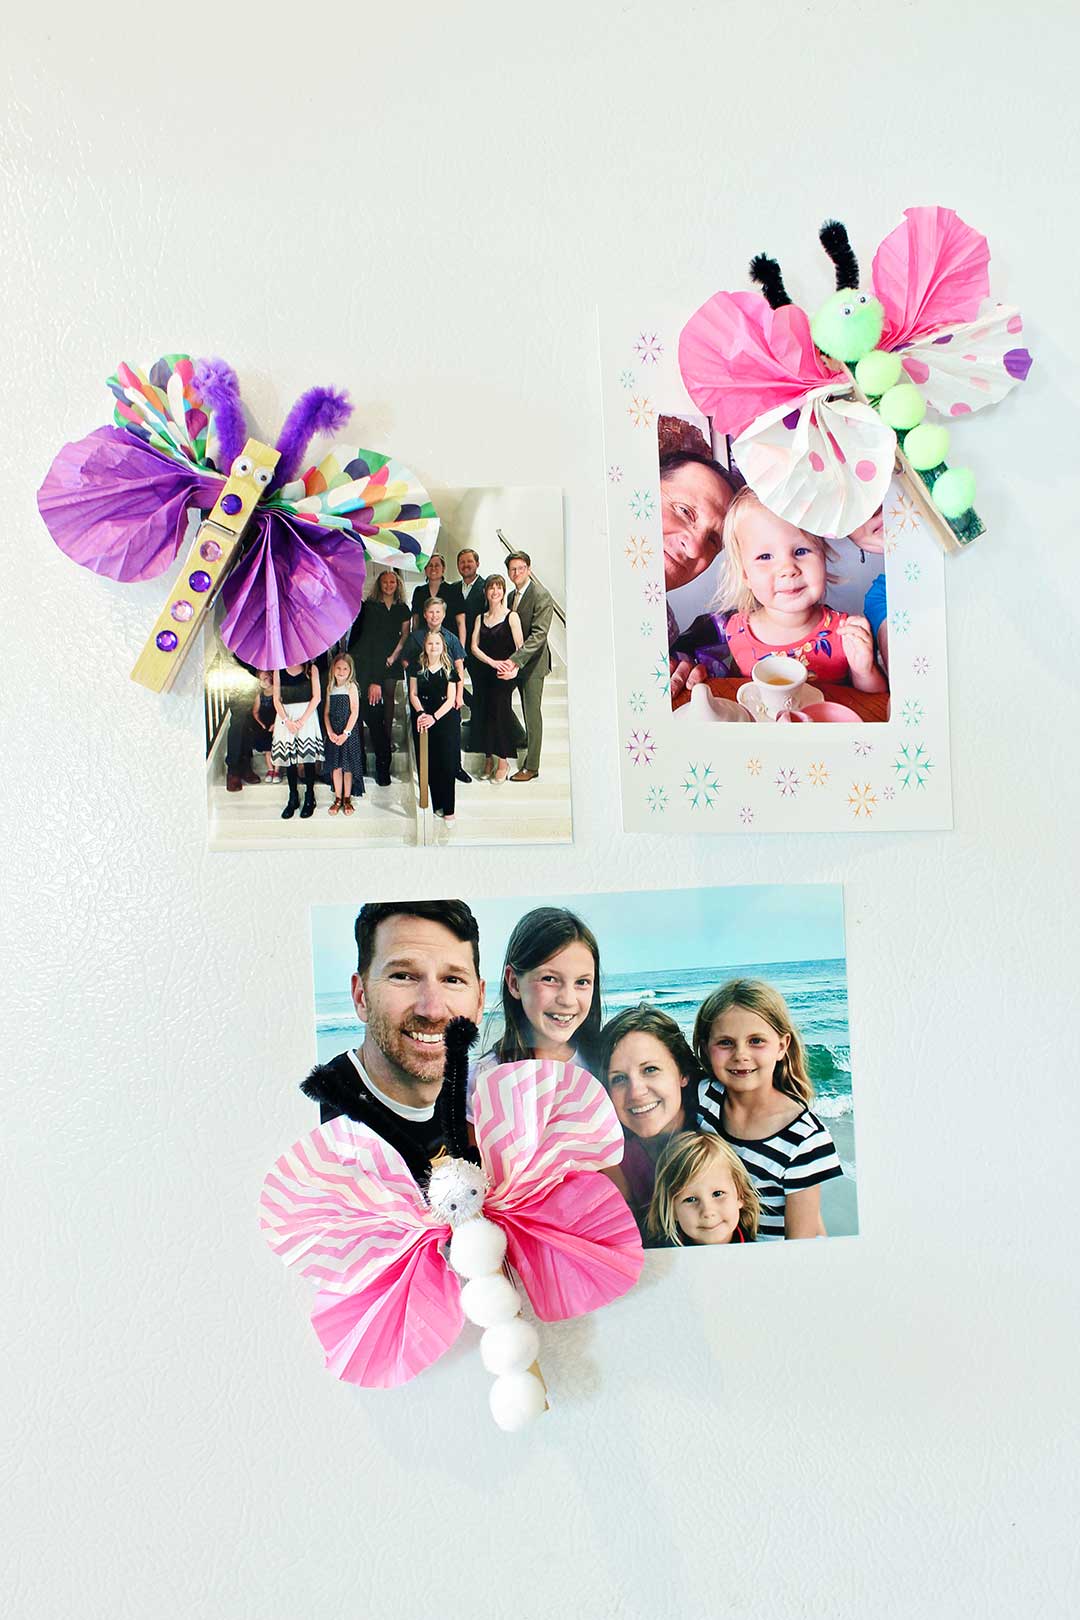
Some of these pieces could be placed on the front of the refrigerator with a magnet just for the day. This way it can be celebrated for a bit of time then replaced the next day.
The next day, replace them with the new doodles of the day and throw the others away.
Tip: Fold them up and tuck them underneath other things in the trash so they are not visible. This is easier on both the child and you.
Children's wall art to display
Secondly: It works really well to have a gallery wall or space to display children’s wall art drawings that are more special (not the daily disposable types).
Tip: Put a name and date on each piece of artwork. Better yet, get your kids in the habit of doing this themselves! Later you will know who and when this masterpiece was created.
The display wall can be in a public area of your home or in your child’s room (or both).
Put up selected pieces on the gallery wall to enjoy!
Here are ten ideas for creating a gallery wall.
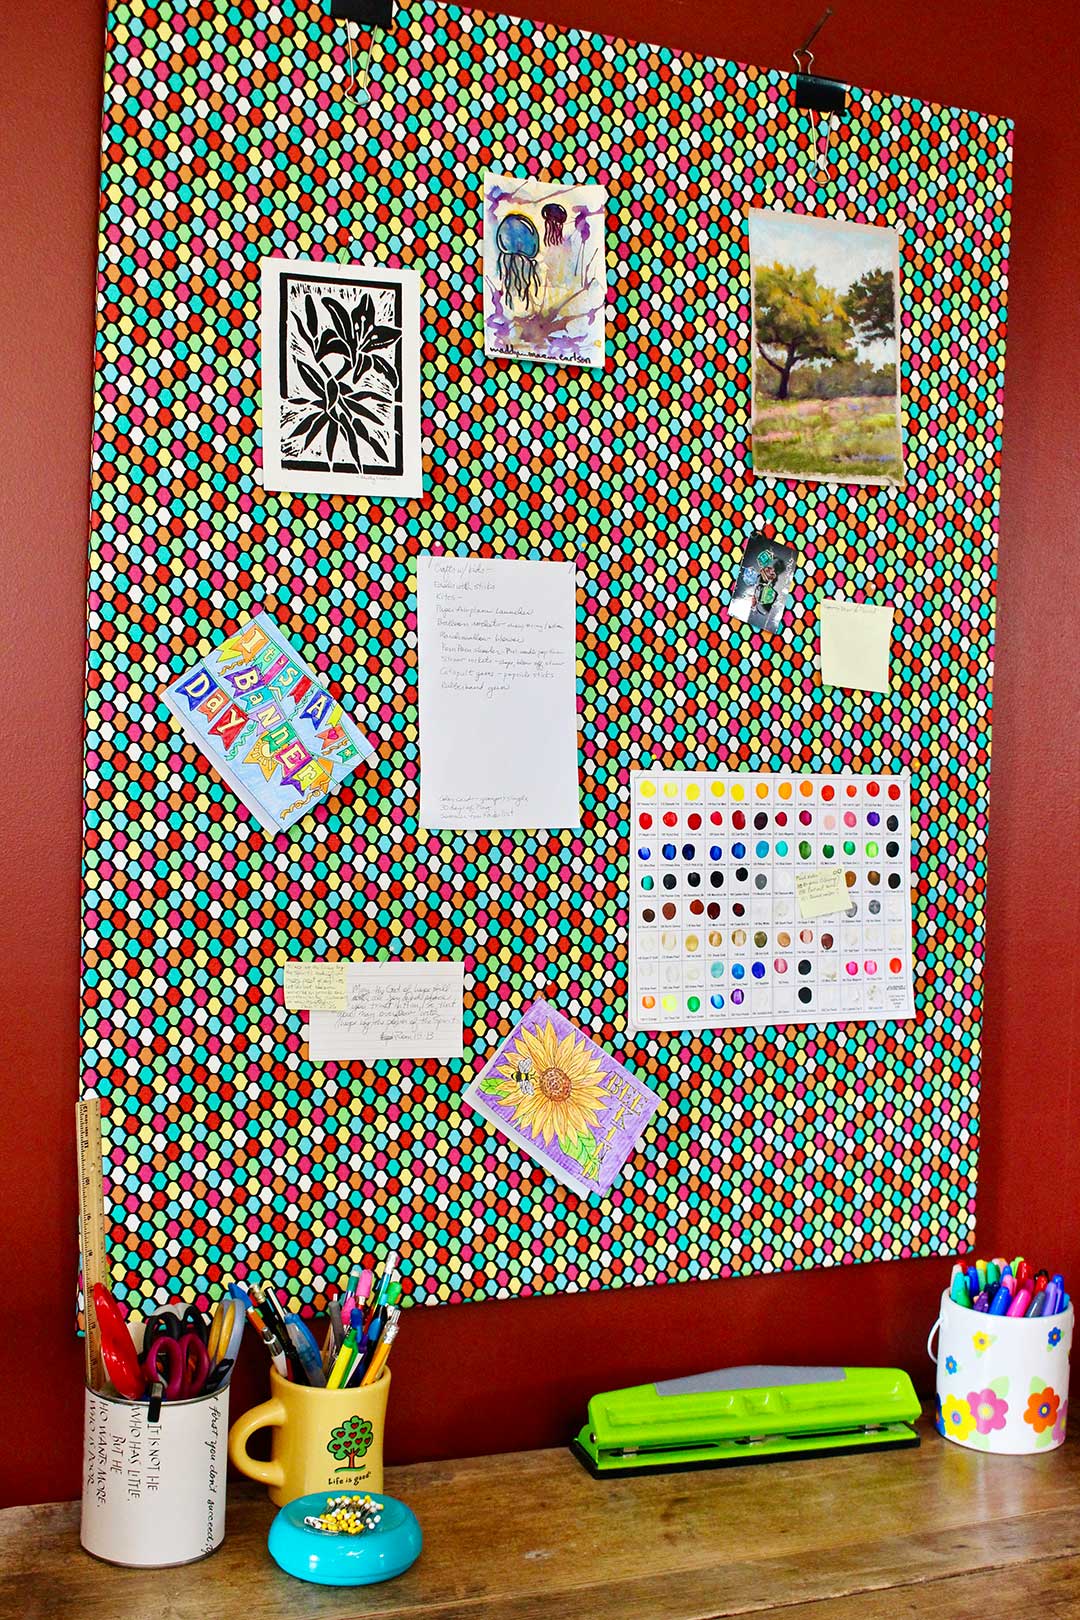
- DIY Fabric Bulletin Board with Foam Core- foam board wrapped in fabric. This is lightweight to hang and the foam board comes in a 4x8' sheet (it can be cut to the size you want). An example of this is featured in a photo on this post. This is a personal favorite!!
- Bulletin board(s)- one or several in one area or throughout the house
- Metal surface board (or strips)- use magnets
- Strips on the wall to clip or pin up pictures. This works well in a hallway.
- Wire grid board to clip up art. I have an old garden gate hanging on a wall that I use in this same way.
- String on wall- use clothes pins to clip up the artwork. My daughter has done this for her children in their rooms. They can add their work to it as they please.
- Use washi tape to put the artwork up on an empty wall. This is so flexible!
- Series of clip boards hung on the wall. Just lift the clip and change the art on the clipboards so easily.
- Slip artwork into wooden clip hangers in a wall display. Very easy to change!
- A set of frames for art pieces (more on this below).
As you take them off the gallery wall either throw the pieces away or place them in a tub or container to sort through at a later time (described below).
Framed children's wall art
Third: For those extra special pieces of art, why not make a nice grouping of framed art?
These groupings are real conversation starters with guests I might add. Plus they add a real pop of color and interest in your home.
Purchase a set of frames to put up artwork as wall hangings.
You can make a grid of frames that are all the same size and type. Or you can collect a variety of frame types and sizes to mix and match in a grouping.
The number of frames depends on your wall space.
Change the artwork in the frames occasionally to update the display with current artwork from your growing artist.
As you take them out of the frames, either throw the pieces away or place them in a tub or a container to sort through at a later time (described below).
Framed art storage
WOW!! There is a special type of frame that opens on the front and makes it easy to change the artwork inside. In this interchangeable frame you can just place a new piece on top and keep the older work stored inside the frame.
This would work as nursery wall art, kids wall art, well it would be good for kids of all ages. I think these would be especially nice in a kids' room but could be used anywhere in your home.
I sure wish I'd had these frames when my kids were young!
Tip: Framed artwork makes nice gifts for others. Don’t forget that option!
3-D Artwork
This article isn’t really focusing on 3-D artwork But you can display a few 3-D pieces on a shelf in a bookcase or a shelf mounted up on the wall.
Kids love having these in their rooms.
Remember, be very selective with what you keep.
Storage for children's wall art
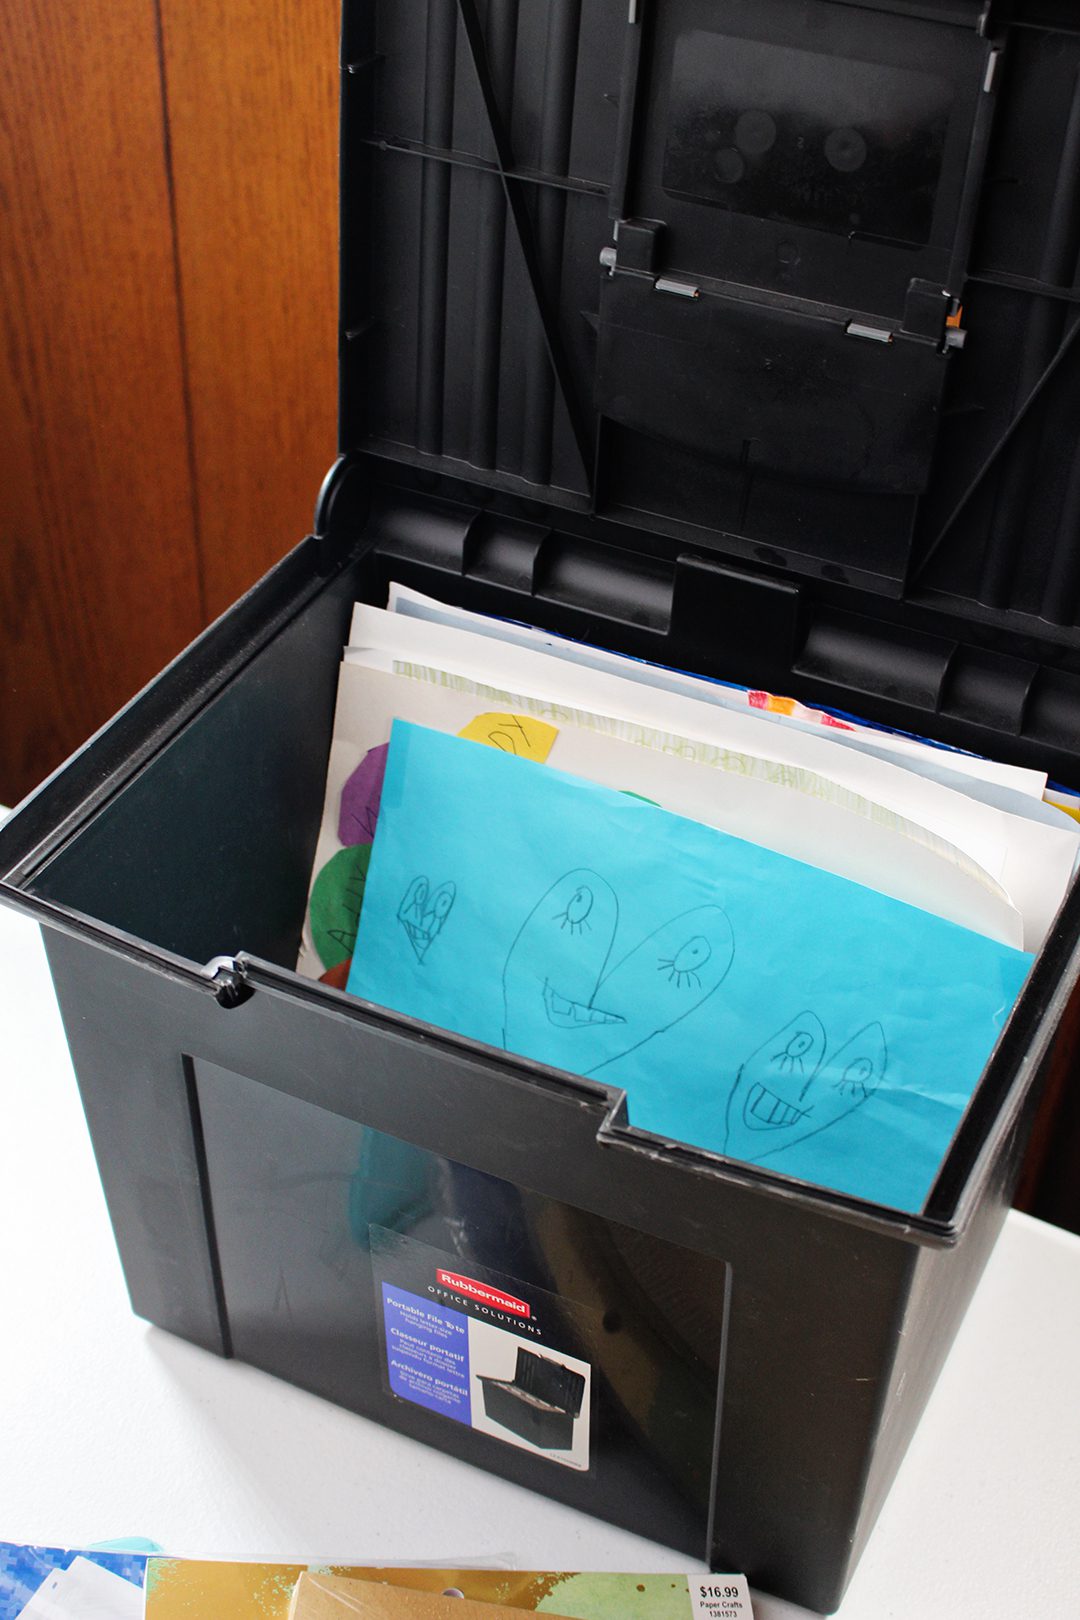
Fourth: As you move through the year, keep the child’s artwork in a container to review later.
You can put all of the artwork for a child in a tub or bin as it’s taken off the gallery wall or out of frames.
At the end of the school year or the end of summer, you or you and the child go through and select the favorites of the favorites.
Before starting, decide on a number of art pieces that will be kept. This is a number of pieces that can go into a scrapbook or into a digital scrap book.
It’s hard deciding on your favorite of favorite children's wall artwork, but this is a good exercise for your child (and for you)!!
I recommend saving 20-30 pieces depending on your comfort zone. Of course this is only a recommendation, please feel free to do as you want.
Note: I took pictures of art projects that were 3-D and disposed of most of them, keeping only a few. 3-D art pieces are harder to store.
Scrapbook artwork
Fifth: My recommendation for keeping artwork long term is a scrapbook of some sort.
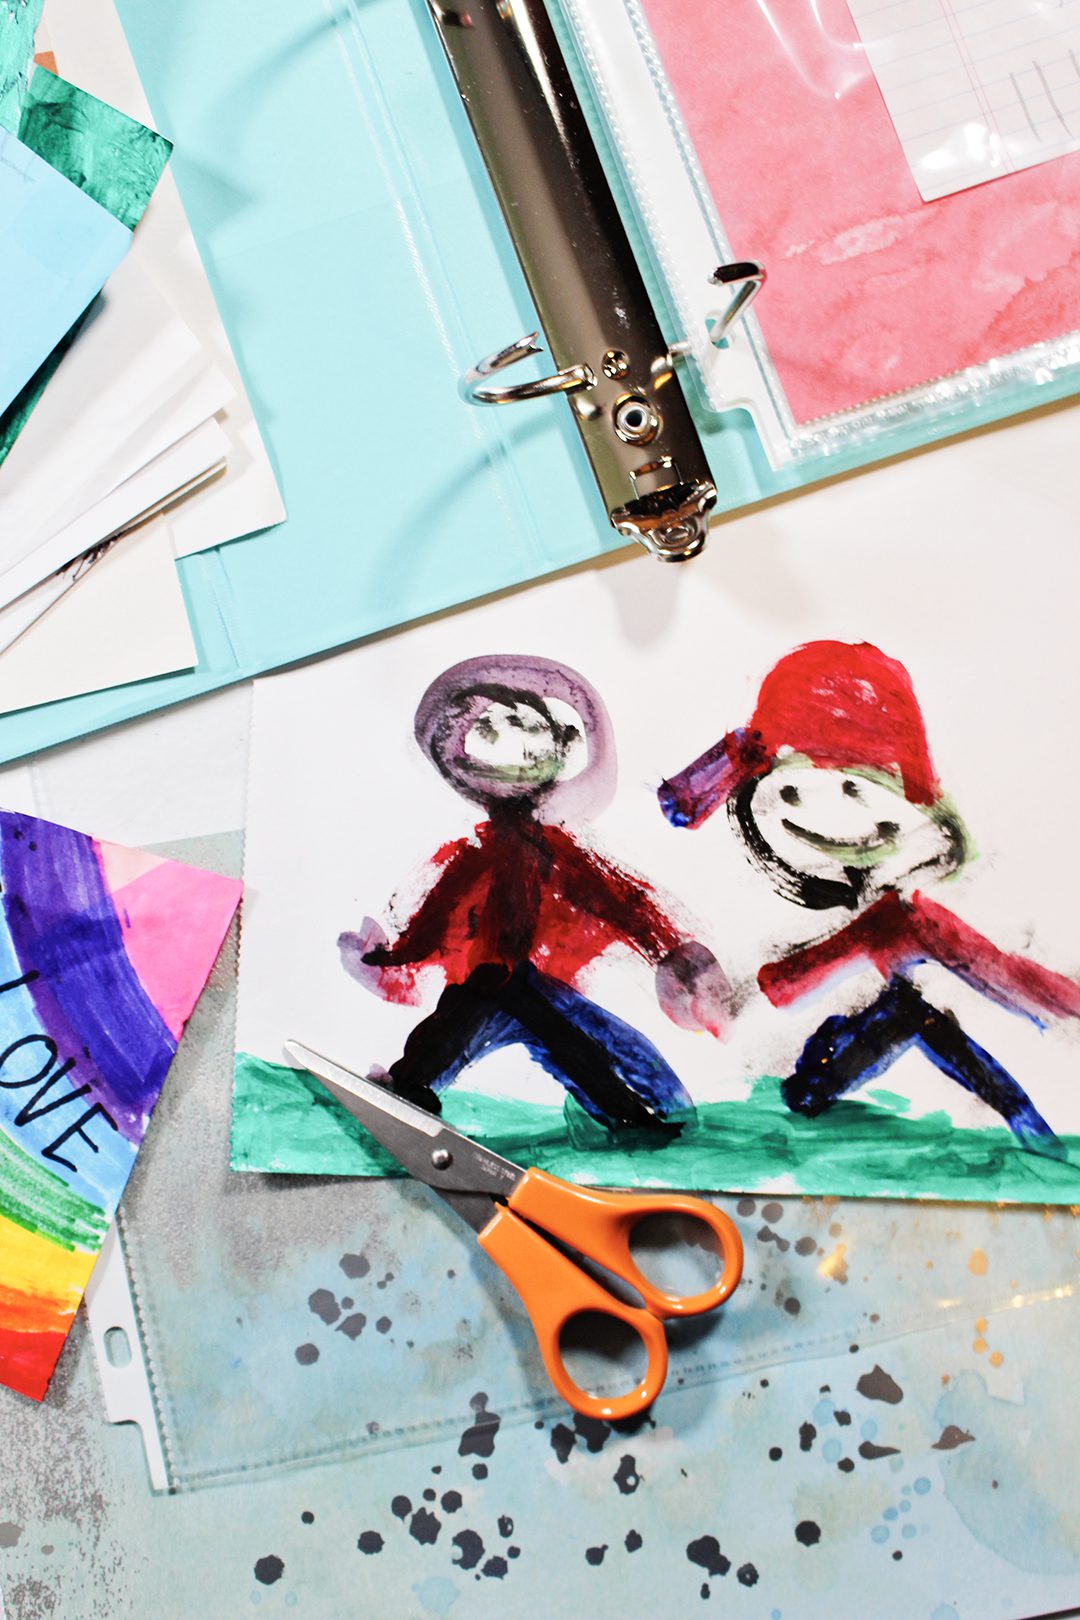
There are a several options for scrapbooks. Decide what you want to do and don’t look back.
A notebook for a scrapbook
The first option to consider is a scrapbook with plastic slip in full pages and slip in photo pages. You can trim or fold pieces of artwork to fit in the pages.
It looks nice if all of the scrapbooks look alike. You can use a colored 1-3" thick notebook for this.
The photo pages are where you can slip in photos of the artwork that you can’t keep in a scrapbook, like 3-D art.
There were a few art pieces that I took pictures of with the child holding it. That was fun.
Here is a link to a post about creating a scrapbook art portfolio: DIY Art Portfolio to Save & Share Your Child's Artwork.
Digital scrapbook-
The second scrapbook option is a digital scrapbook. For a digital scrapbook, take pictures of the art work and make a digital book.
You can do this yourself with a company like Shutterfly.
Take pictures of the selected artwork and upload them into the template of choice. The printed book would make the perfect gift as a birthday or Christmas present for the child.
Tip: These companies run specials where the books are discounted in price and/or have extra pages for a lower cost. I’m not sure when in the calendar year this typically is, but it is something you can watch for and cut your cost substantially.
There are also companies where you can box up a number of pieces and they will put it into a book for you. This is more costly but may be worth it for you to bypass the entire digital creation process.
Here are two companies offering this service:
Gifting your children's wall art:
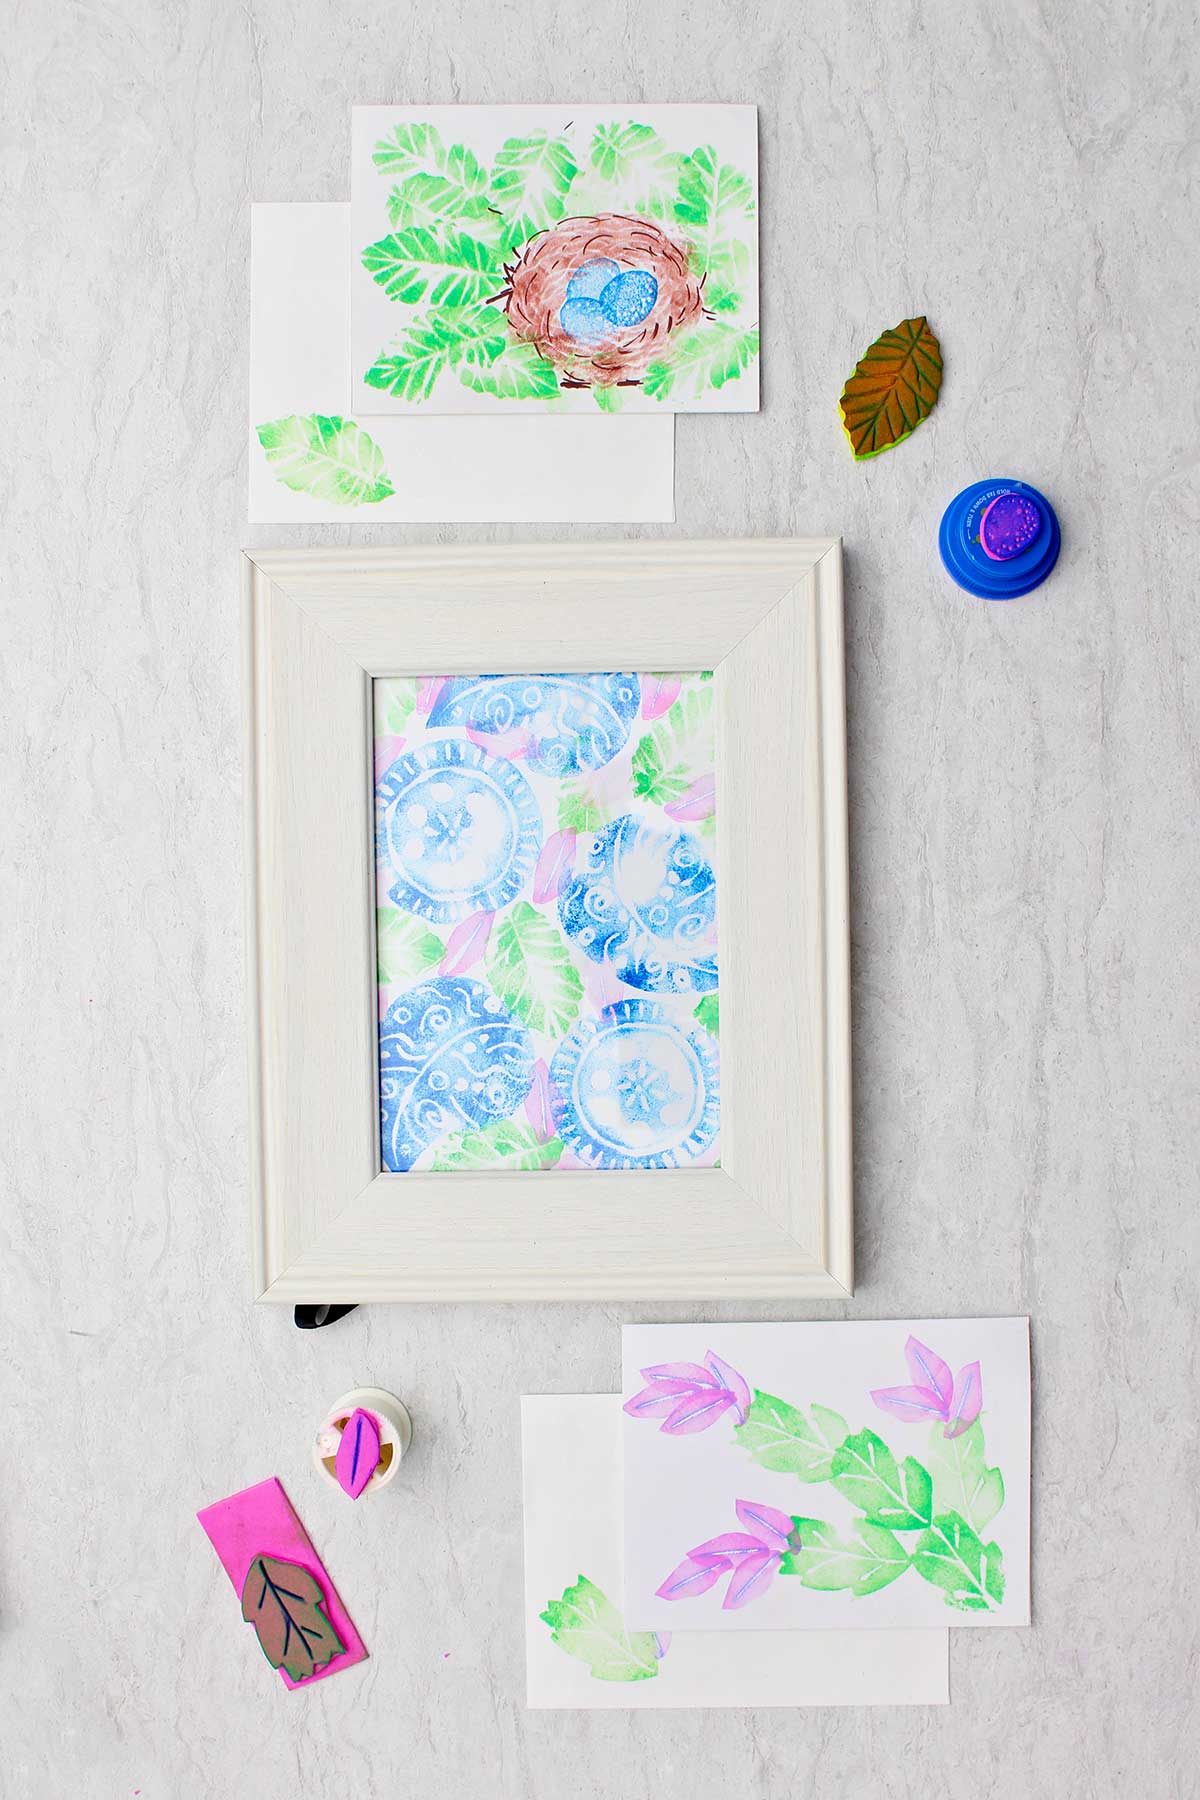
Lastly, there are art projects that can use some of the artwork. Use these projects to make gifts and usable items for yourself and others.
It is so fun to upcycle art pieces and bring joy to the lives of others!
Tip: You can scan and print artwork and use the copies in your projects if you would like to save the original.
Here are some ideas for using some of the extra children’s wall art drawings.
Making cards and envelopes:
Fold the artwork in half to use it as a card.
Or cut your favorite part of the picture out in a square or rectangle and glue it to the front of a blank card (white or colored paper).
My daughter has done this a few times and I have saved some of those cards with my grandkid’s artwork on the front. So cute!
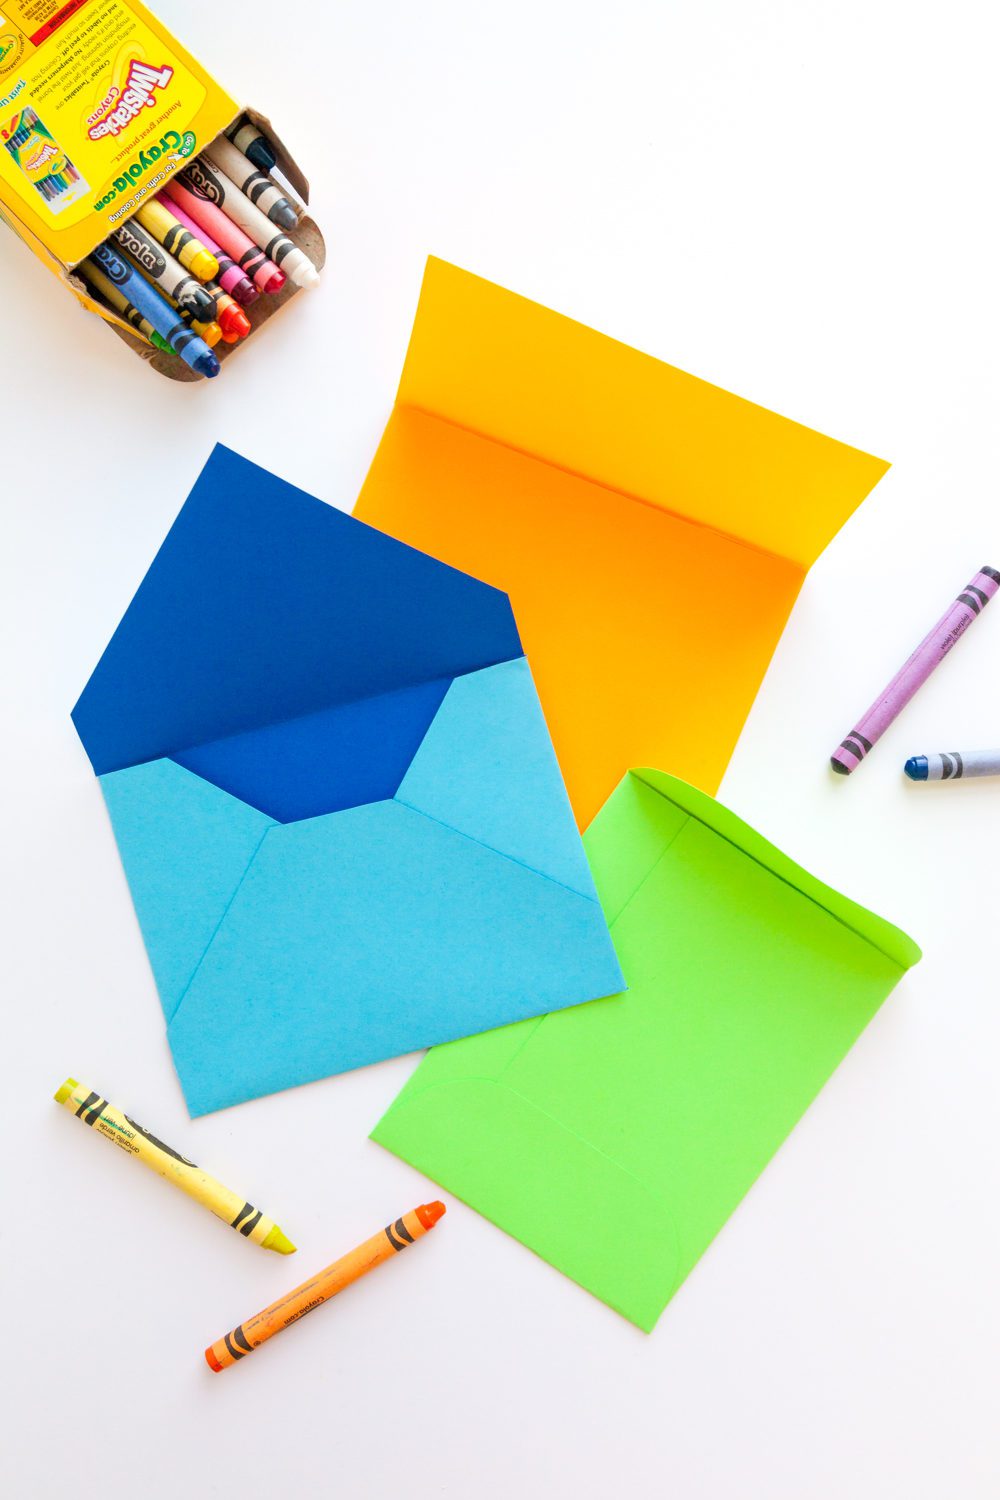
Here is a link to a post telling how to make envelopes. Make them out of artwork to make the envelope colorful and unique. Handmade Envelopes 3 Ways.
Making paper origami
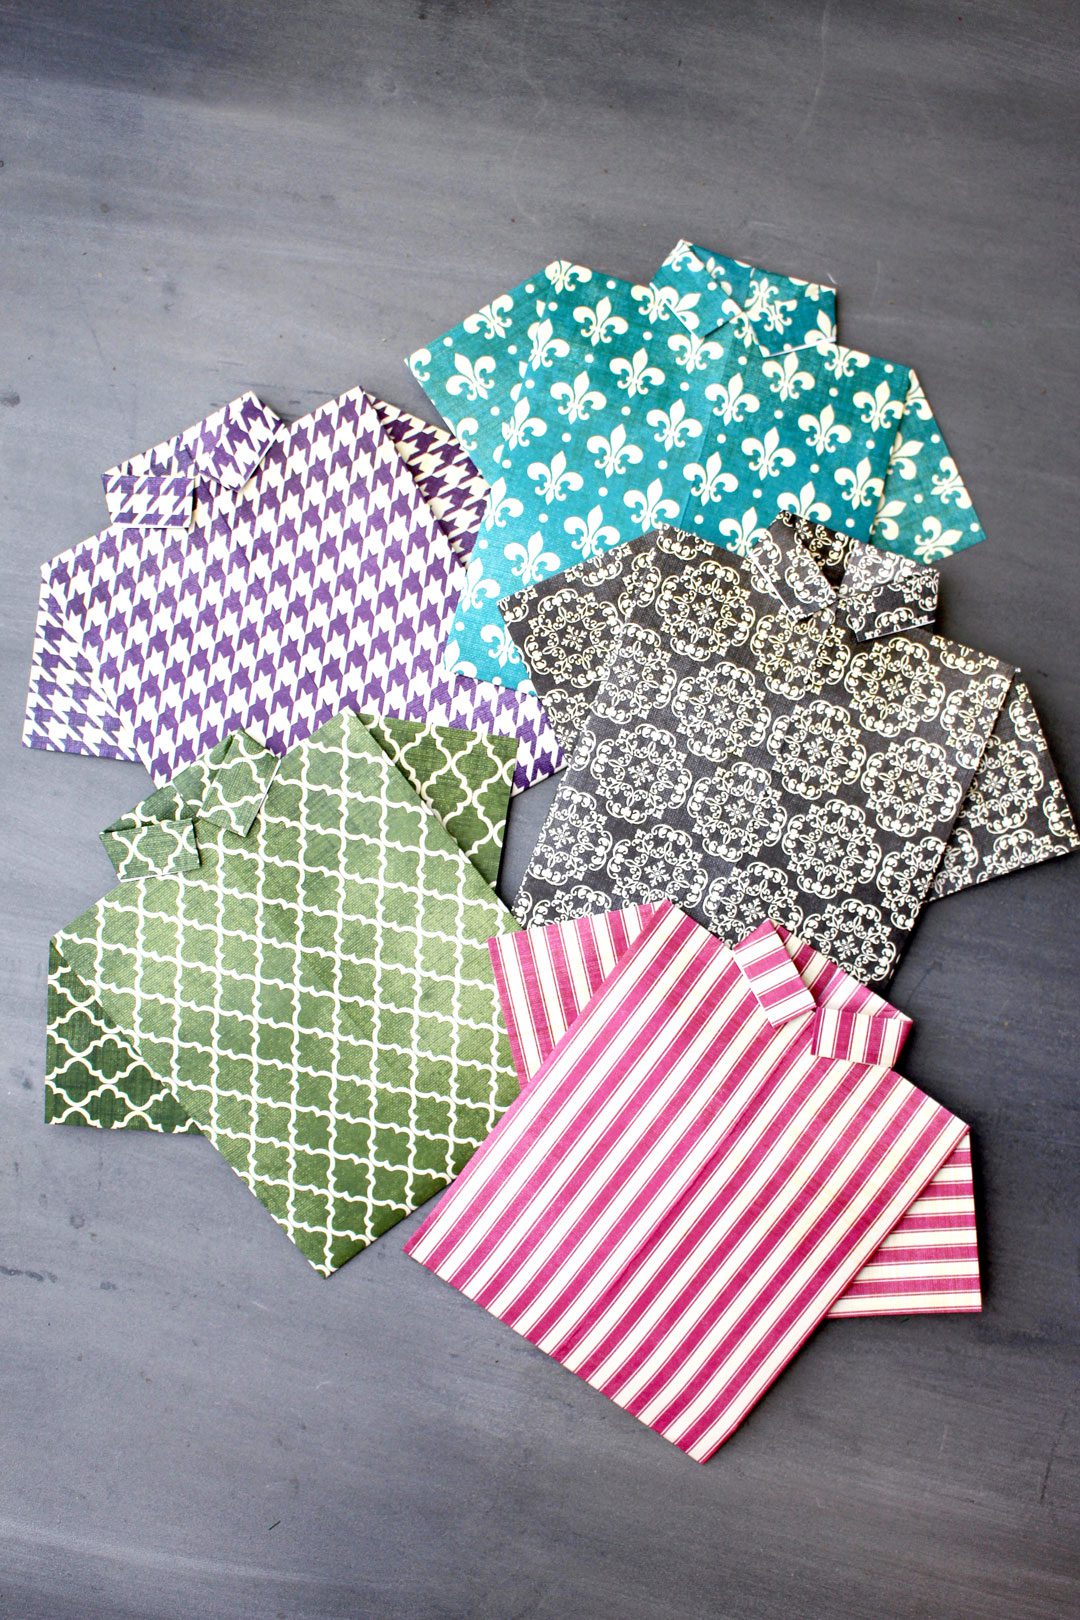
Instead of using origami paper, use artwork to fold your origami. Origami Father's Day Shirt Card.
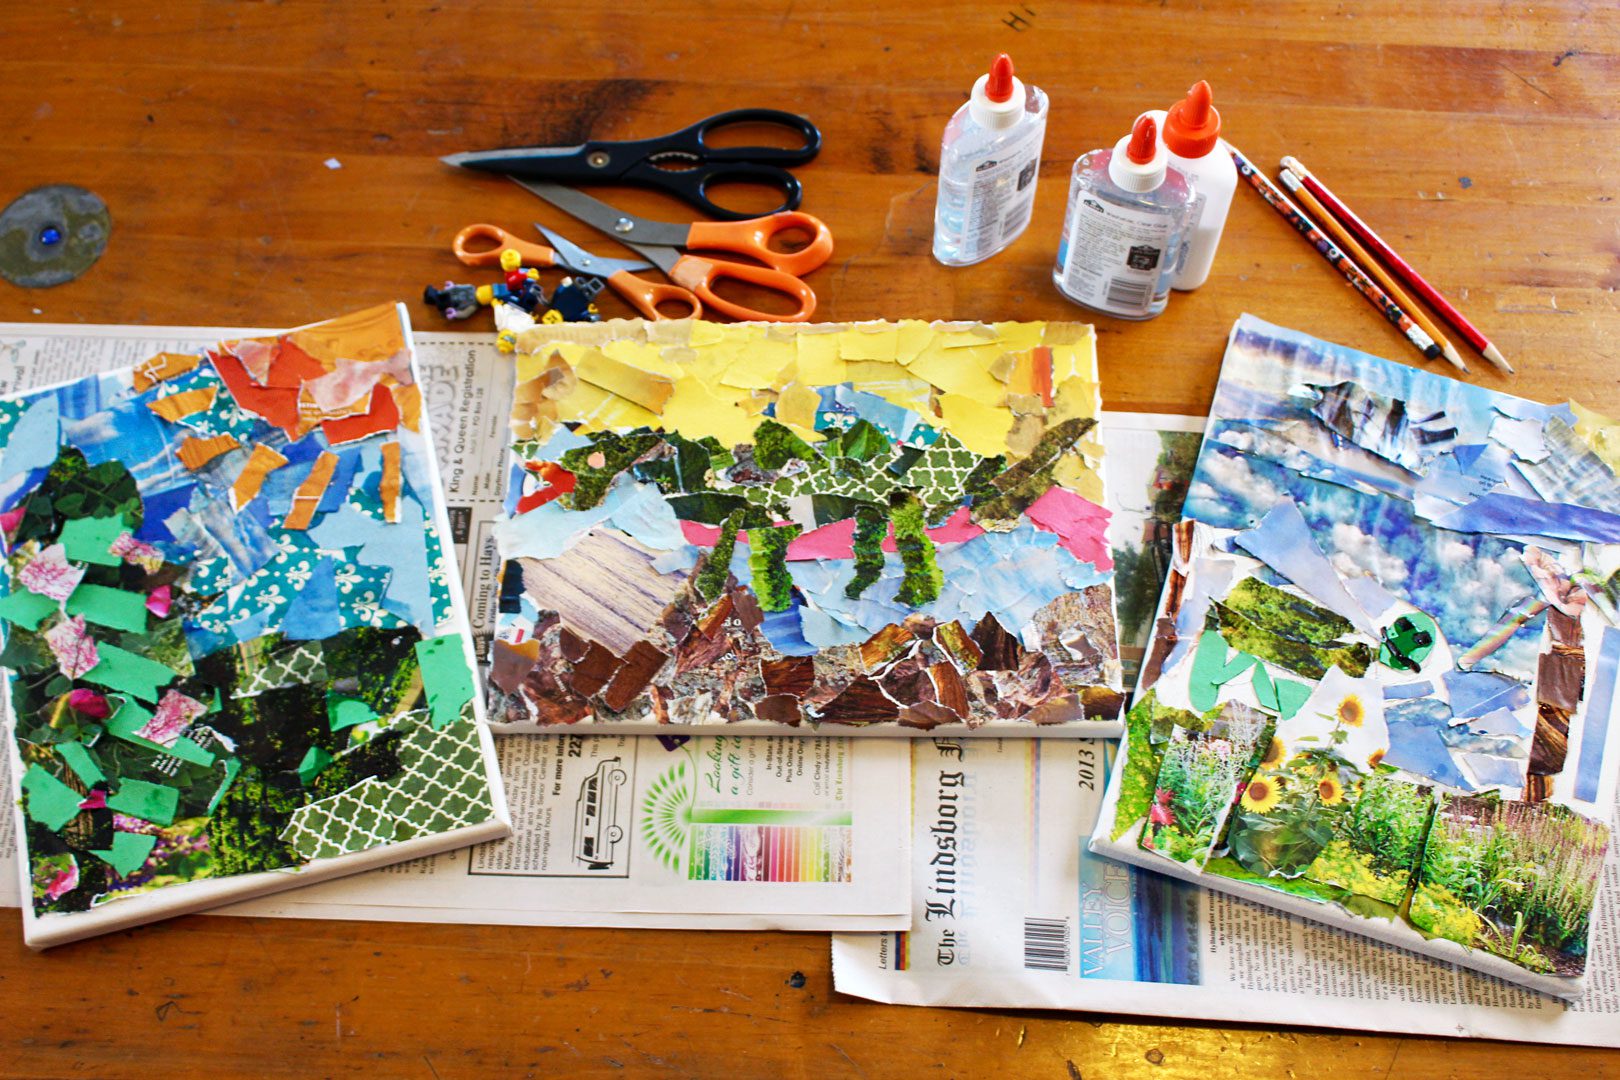
Torn Paper Mosaic on Canvas
Use the artwork to tear apart and use in a torn paper mosaic. Torn Paper Mosaic Art
Use artwork as a background for other artwork
You can mount a piece of artwork on another piece of artwork which will act as a backing. This adds interest to the new piece of art and gives new life to an older piece of art that would be discarded otherwise.
Making placemats
Take your child’s artwork to a printing shop that offers a laminating service.
Laminate the artwork and use it as a placemat on the table. These can be changed out during the year.
Note: This will work the best with larger sized artwork.
Use as gift wrap
For small gifts paper artwork could be used as giftwrap. How special!
Artwork on a physical product:
Use a picture on a gift item that you then order from Walgreens or an Office Supply Store that offers this service.
Make a t-shirt, mug, book bag, plate, ornament, poster, canvas prints, or mouse pad from the child’s artwork!
Can’t you see this type of products providing a wonderful gift for a grandparent?
Please send me more ideas for how you use artwork in other projects.
Don't overthink this!
So don’t overthink this process. Find what works for you and keep moving forward.
I have found that my adult children do not want books upon books and boxes upon boxes of memorabilia. They want a few well-chosen items.
You are “curating” the art and it helps to be selective.
Nurture the creative process
The important thing is to nurture the creative process and invest in spending time with your children and grandchildren.
The children in our lives are so special. And the gift of creativity in thinking and hands on creation will go with them through life. So will their memories of creating with you!!
Want more ideas for using children's wall art?
- DIY Childrens Art Portfolio to Save and Share Kid's Artwork
- Fast Upcycled Picture Frame for Photo/Art Display
- DIY Fabric Bulletin Board with Foam Core
Enjoy!
If you try this craft, let me know! Go ahead and leave a comment, rate it, and tag a photo with #WelcometoNanas wherever you post.
Come join the fun at https://welcometonanas.com
Supplies for Use and Store Children's Wall Art
- group of frames or
- interchangeable frames
- a container to store the art to review and curate later
- 1-3" thick notebook to use for a scrapbook if you choose this option
- plastic slip in full pages and slip in photo pages. to use in a scrapbook
Creatively Use and Store Children's Wall Art Drawings
Equipment
- Scissors
Items Required
Instructions
- Many kids make artwork every day. A lot of daily art is “disposable”, like coloring book pages or doodles. These are wonderful things for a child to do to occupy time and develop creativity. But usually they are not art pieces to keep.Throw what is possible to throw right away. Face it, we can’t keep everything!!Some of these pieces could be placed on the front of the refrigerator with a magnet just for the day. This way it can be celebrated for a bit of time then replaced the next day. The next day, replace them with new doodles and thrown others away.
- It works really well to have a gallery wall or space to display children’s wall art drawings that are more special. Tip: Put a name and date on each piece of artwork. Better yet, get your kids in the habit of doing this themselves! Later you will know who and when this masterpiece was created.Put up selected pieces on the gallery wall to enjoy!The display wall can be in a public area or your child’s room.As you take them off the gallery wall either throw the pieces away or place them in a tub or container to sort through at a later time (described below).
- For those extra special pieces of art, why not make a nice grouping of framed art?These groupings are real conversation starters with guests I might add. Plus they add a real pop of color and interest in your home.Purchase a set of frames to put up artwork as wall hangings. You can make a grid of frames that are all the same size and type. Or you can collect a variety of frame types and sizes to mix and match in a grouping. The number of frames depends on your wall space.Change the artwork in the frame occasionally, to update the display with current artwork from your growing artist.
- There is a special type of frame that opens on the front and makes it easy to change the artwork inside. In this interchangeable frame you can just place a new piece on top and keep the older work stored inside the frame. This would work as nursery wall art, kids wall art, well it would be good for kids of all ages. I think these would be especially nice in a kids' room but could be used anywhere in your home. Tip: Framed artwork makes nice gifts for others. Don’t forget that option!
- As you cycle through the year, keep the child’s artwork in a container to review later. You can put all of the artwork for a child in a tub or bin as it’s taken off the gallery wall or out of frames.At the end of the school year or the end of summer, you or you and the child go through and keep the favorites. Before starting, decide on a number of art pieces that will be kept. This is a number of pieces that can go in a scrapbook or into a digital scrap book. It’s hard deciding on your favorite things but is a good exercise for your child (and for you)!! I recommend saving 20-30 pieces depending on your comfort zone. Of course this is only a recommendation, please feel free to do as you want.
- My recommendation for keeping artwork long term is a scrapbook of some sort.There are a several options for scrapbooks. Decide what you want to do and don’t look back.The first option to consider is a scrapbook with plastic slip in full pages and slip in photo pages. You can trim or fold pieces of artwork to fit in the pages. It looks nice if all of the scrapbooks look alike. You can use a colored 1-3" thick notebook for this.The photo pages are where you can slip in pictures of the artwork that you can’t keep in a scrapbook, like 3-D art.There were a few art pieces that I took pictures of with the child holding it. That was fun.Here is a link to a post about creating a scrapbook art portfolio: DIY Art Portfolio to Save & Share Your Child's Artwork.
- For a digital scrapbook, take pictures of the art work and make a digital book.You can do this yourself with a company like Shutterfly. Take pictures of the selected artwork and upload them into the template of choice. The printed book would make the perfect gift as a birthday or Christmas present for the child.Tip: These companies run specials where the books are discounted in price and/or have extra pages for a lower cost. I’m not sure when in the calendar year this typically is but it is something you can watch for and cut your cost substantially.There are also companies where you can box up a number of pieces and they will put it into a book for you. This is more costly but may be worth it for you to bypass the upload process.Here are two companies offering this service:Artkive- send artwork to the company in a boxScribble- upload your pictures of the artwork
- Lastly, there are art projects that can use some of the artwork to make gifts and usable items for yourself and others. It is so fun to upcycle art pieces and bring joy to the lives of others! Tip: You can scan and print artwork and use the copies in your projects if you would like to save the original.Here are some ideas for using some of the extra children’s wall art drawings. Making cards and envelopes: Fold the artwork in half to use it as a card. Or cut your favorite part of the picture out in a square or rectangle and glue it to the front of a blank card (white or colored paper). My daughter has done this a few times and I have saved some of those cards with my grandkid’s artwork on the front. So cute!Here is a link to a post telling how to make envelopes. Make them out of artwork to make the envelope colorful and unique. Handmade Envelopes 3 Ways. Making paper origamiInstead of using origami paper, use artwork to fold your origami. Origami Father's Day Shirt Card.Torn Paper Mosaic on CanvasUse the artwork to tear apart and use in a torn paper mosaic. Torn Paper Mosaic ArtUse artwork as a background for other artworkYou can mount a piece of artwork on another piece of artwork which will act as a backing. This adds interest to the new piece of art and gives new life to an older piece of art that would be discarded otherwise.Making placematsTake your child’s artwork to a printing shop that offers a laminating service. Laminate the artwork and use it as a placemat on the table. These can be changed out during the year.Note: This will work the best with larger sized artwork.Use as gift wrapFor small gifts paper artwork could be used as giftwrap. How special!Artwork on a physical product:Use a picture on a gift item that you then order from Walgreens or an Office Supply Store that offers this service. Make a t-shirt, mug, book bag, plate, ornament, poster, canvas prints, or mouse pad from the child’s artwork! Can’t you see this type of products providing a wonderful gift for a grandparent?


Leave a Reply