Add some sparkle to your tree
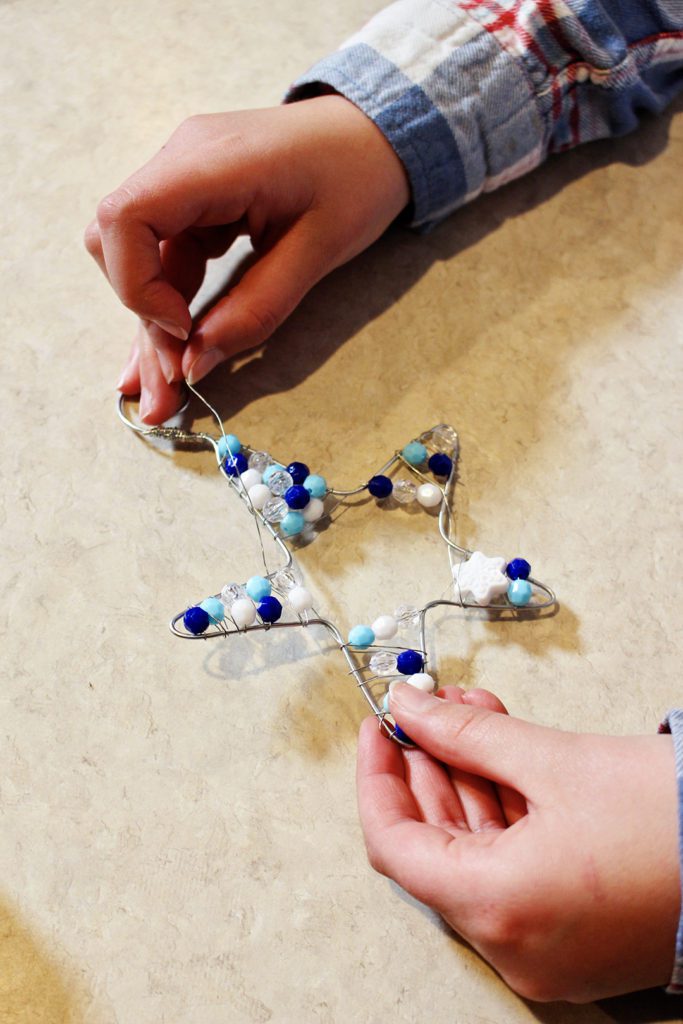
These DIY Sparkling Wire & Bead Ornament Stars are such a great hands on craft for kids. The young metalsmiths get to actually shape the wire heart and then wind the wire and beads around it to make it sparkle. They will love it!
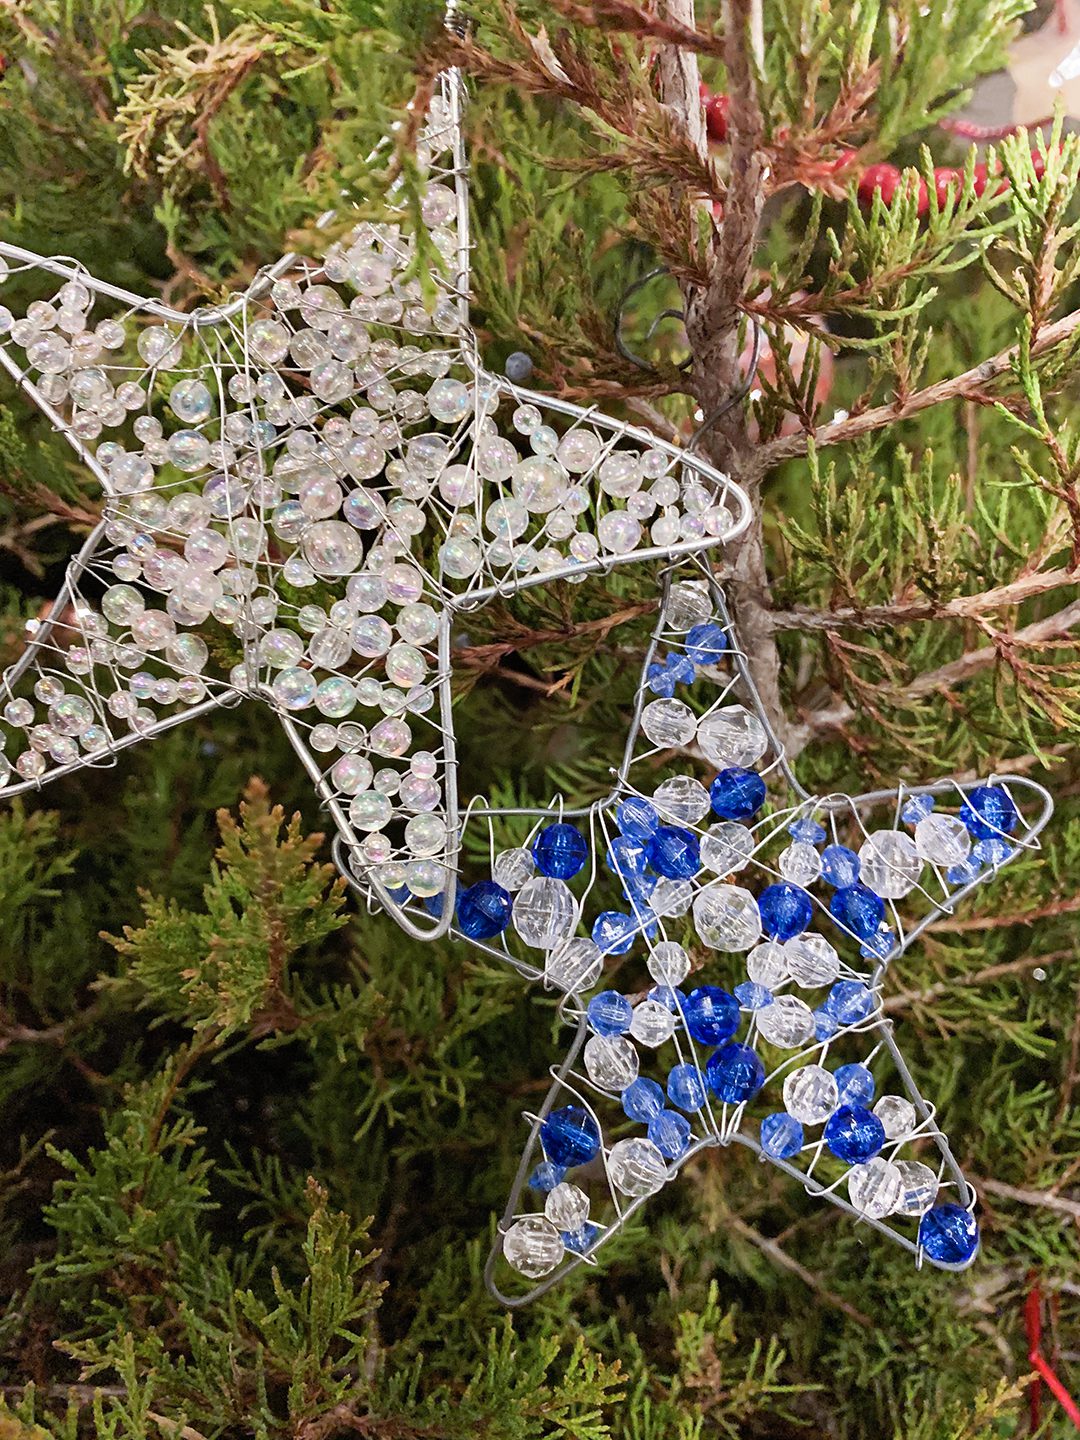
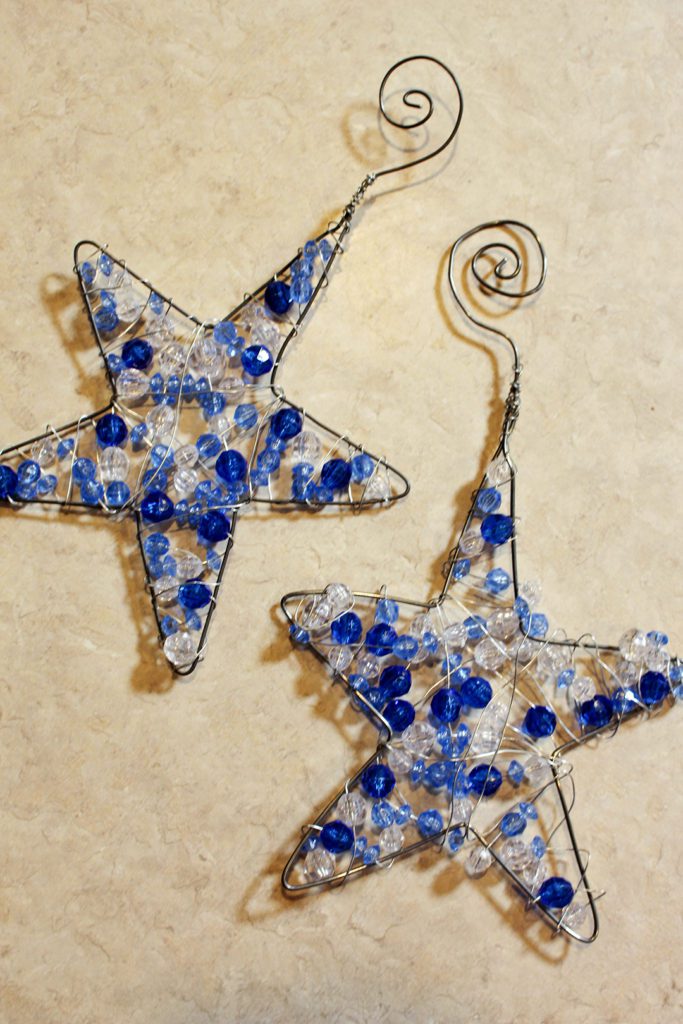
The stars have an almost stained glass look to them when on the tree and backlit with lights. They may be our favorite ornaments…well maybe in the top 3... We have a tree full of little home-made ornaments and each one is so special, how can a person choose? But these really are pretty.
I’m so excited for you to try these and even more excited for what you think when you hang them on the tree!
How to Make Sparkling Wire & Bead Ornament Stars
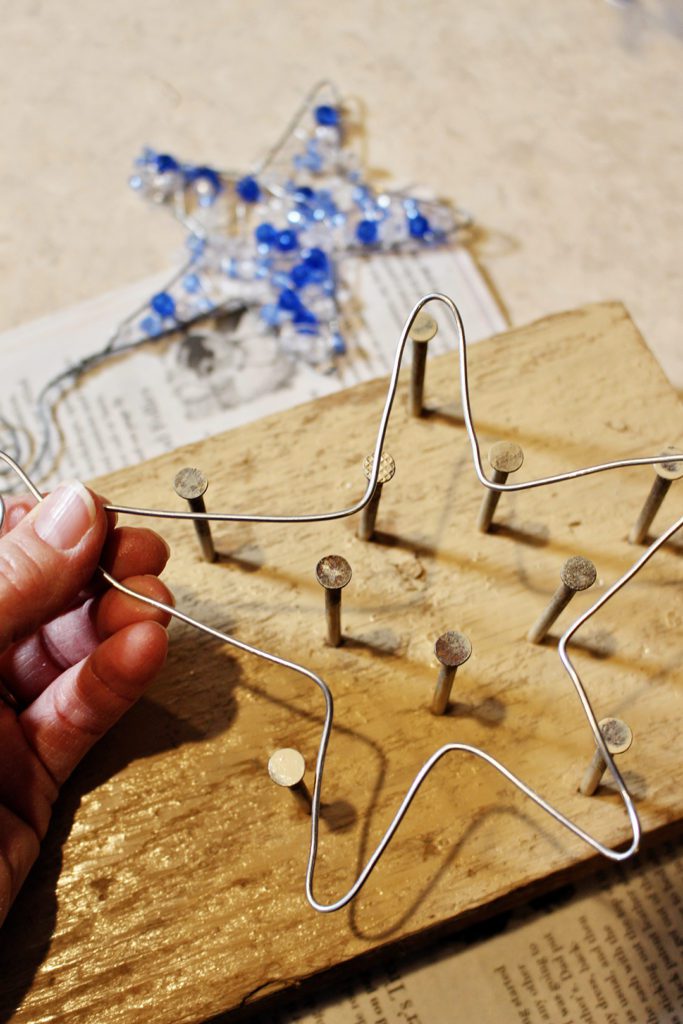
So, start by deciding how you would like to form the heavier clothesline wire star outline for the ornament. You can either use the outline of a star shaped cookie cutter or make a nail frame like is shown in these pictures. If you use the cookie cutter option, you will bend the clothesline wire with the needle nosed pliers using the star cookie cutter shape to guide you.
Directions for the nail framework option
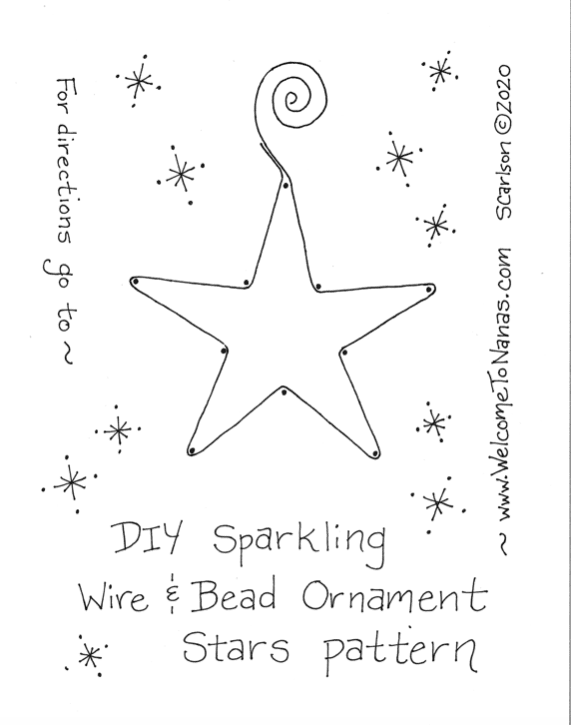
Download the DIY Sparkling Wire & Bead Ornament Stars Pattern. Place the pattern on the board and hammer nails into each of the dots on the pattern. Our nail framework was made a good 20 years ago so I don’t have pictures of this step.
Download the free DIY Sparkling Wire & Bead Ornament Stars Pattern by clicking here.
Note: The outline on the pattern represents how you will wrap the wire on the next step.
Make the wire Star frame
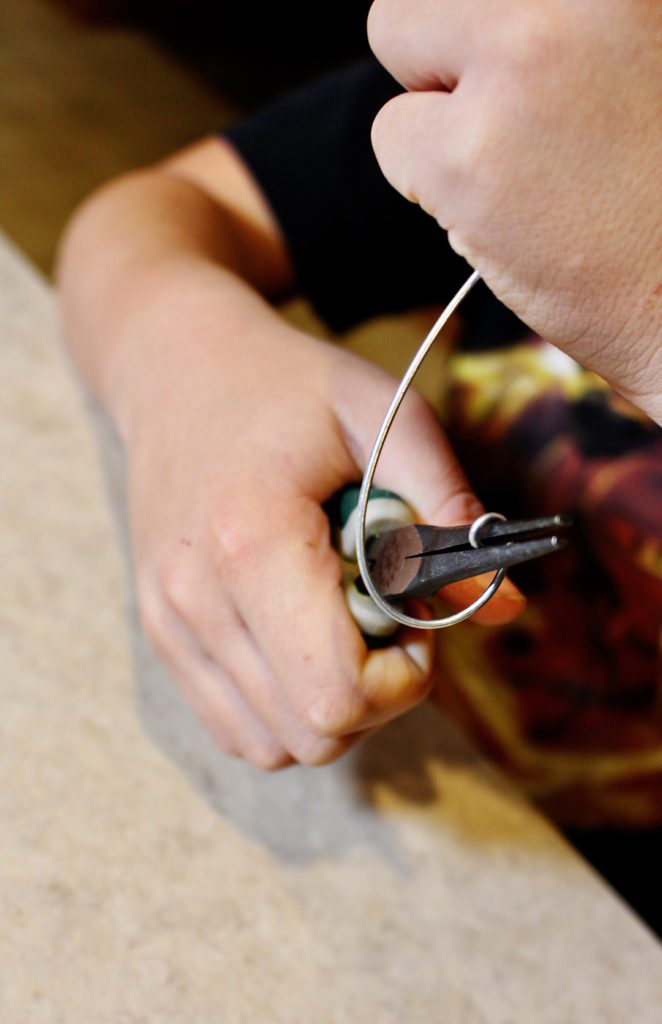
Grab the clothesline wire next. Keep about a 5 inch piece of wire tail to make the curly cue hanger and then begin wrapping the wire around the nails according to the outline on the pattern. Bend the wire as well as possible around each nail. At the end keep about a one inch tail and clip the wire with the wire cutters.
Take the clothesline wire off the frame. Take a bit of time to re-bend it into as even a star as possible. It doesn’t have to be perfect.
Curly cue hanger- so fun
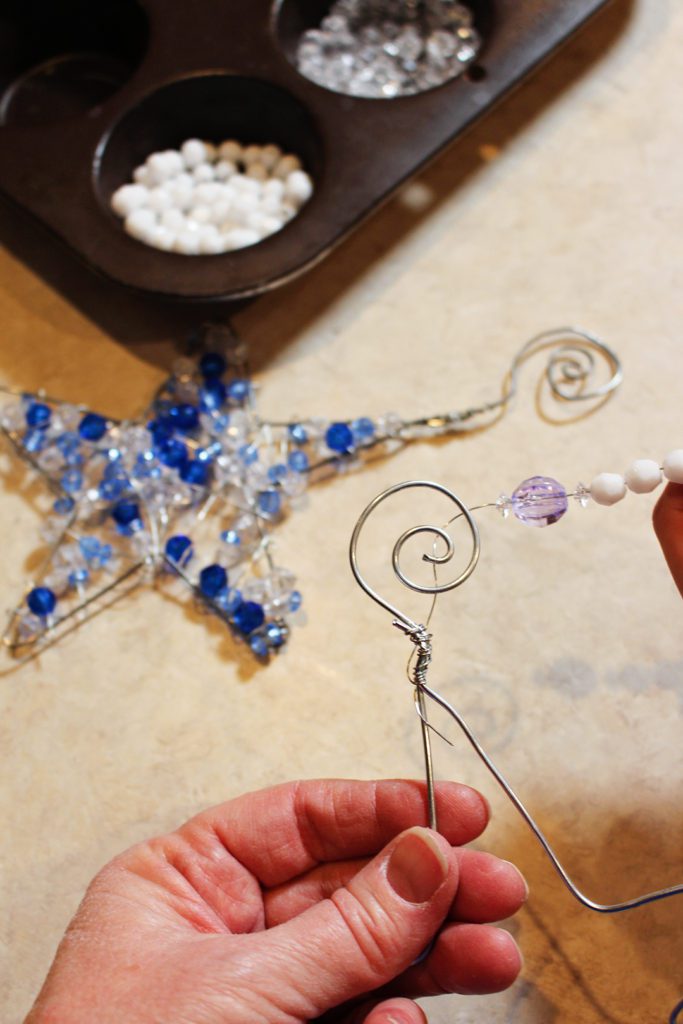
Starting at the end of the 5 inch piece of wire, use the needle nosed pliers to make the curly cue hanger. Start with a tight coil turn of the wire and then continue to coil the wire around, making the curly cue larger and larger as shown on the pattern. Again, this doesn’t need to be perfect.
I know it is silly, but this is my favorite part of this craft, making that curly cue hanger. Ha!
The pattern shows how the two extra end pieces of wire overlap. This is where you will start wrapping the smaller wire in a bit. That will hold the star together. But before that, there are beads to string!!
String the beads
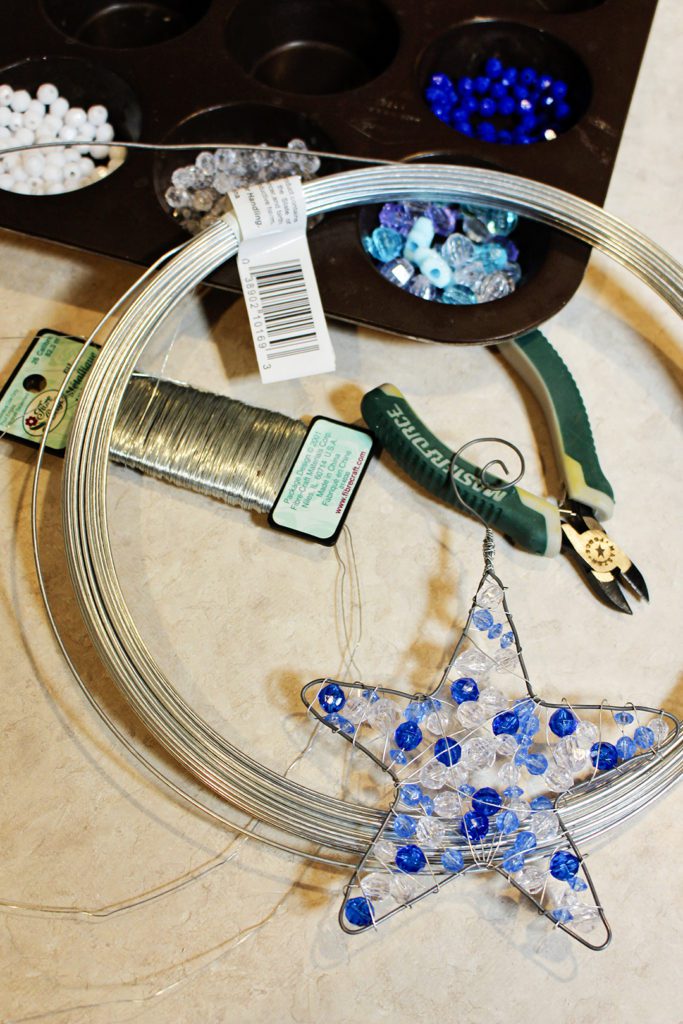
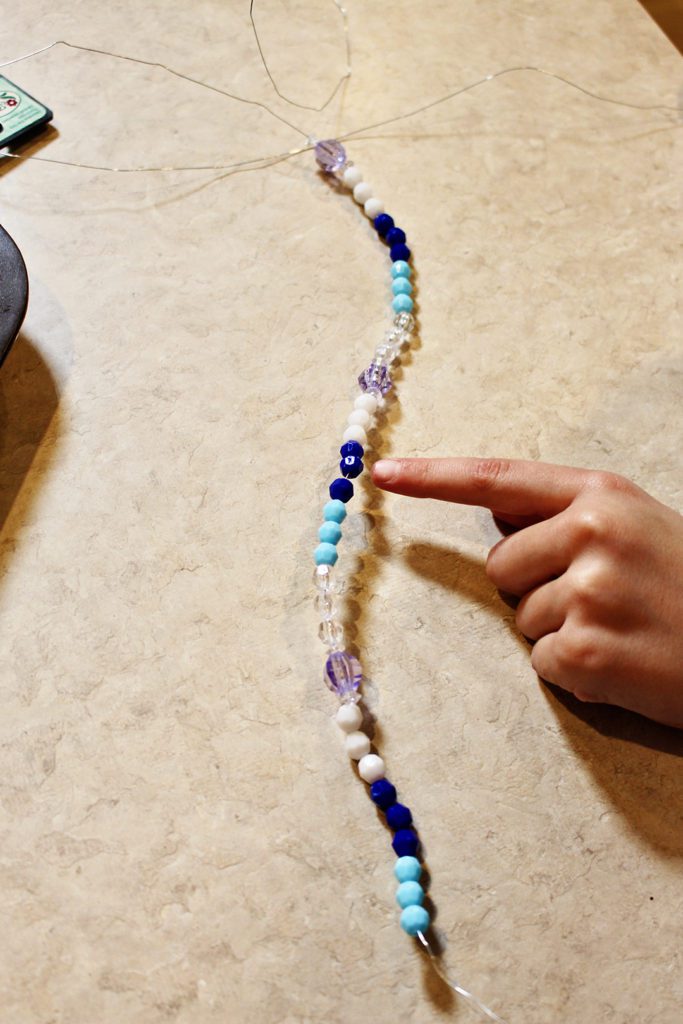
Cut off about a 9 feet piece of the 24 gauge wire. String an assortment of beads on the wire in whatever order you would like.
Tip: These beads will be wrapped randomly around the ornament. It doesn’t work well to try to make a bead pattern in my experience.
Tip two: Let the first bead you string slip to the other end of the wire. Wrap the wire around this bead so the rest of the beads you string don’t slip off the other end of the wire as you string them.
String about 40 beads or so.
Connect the star frame
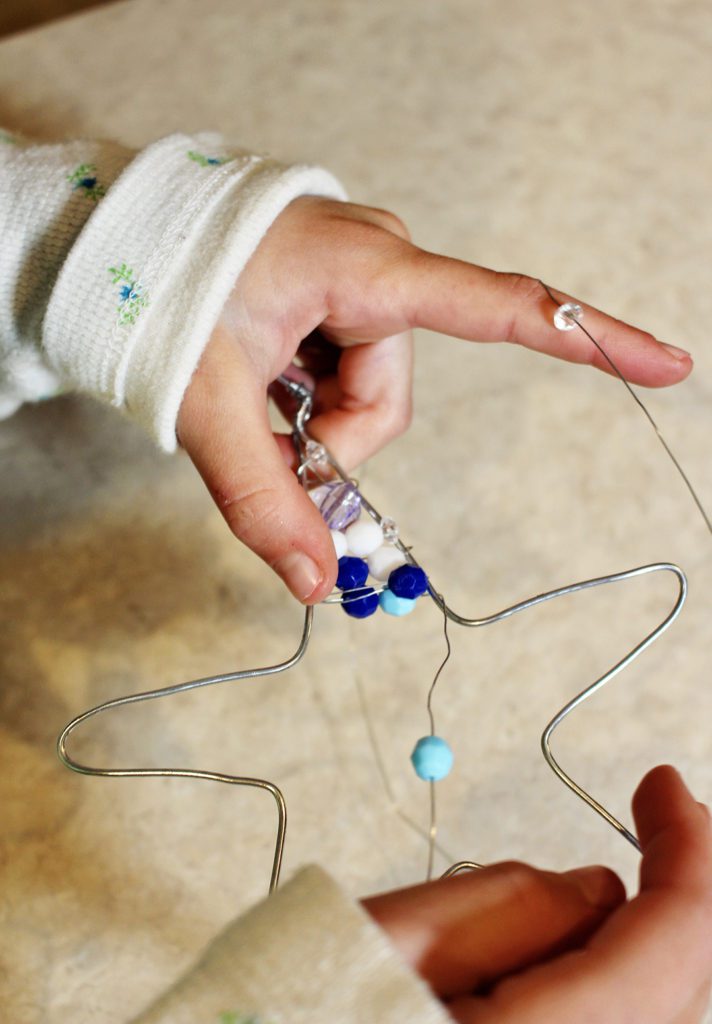
Then use that same end of the 24 gauge wire and securely wrap the two overlapping ends of the clothes line wire on the star frame. This will hold them together.
Wrap and wrap
Begin wrapping the closest point of the star with the 24 gauge wire, placing beads on the inside of the star as you wrap. Wrap across the center or the star and around the other points of the star, all the while sliding beads up the wire and placing the beads on the inside of the star frame. Wrap the wire until it is gone or until you like how it looks. Then securely tie the wire off on the frame of the star.
Don’t worry about using all the beads or if you need more beads just add them as you go.
This really doesn’t take a long time so my grandkids immediately wanted to make a second one! Be sure to try one yourself, you know you want to.
Making Christmas Ornament Stars for gifts
Wouldn’t the DIY Sparkling Wire & Bead Ornament Stars make wonderful gifts for teachers, neighbors and friends? And don’t forget Nana, of course! 😉
Please send me some pictures of your creations. I can’t wait to see them.
Again, here is the link to the free DIY Sparkling Wire & Bead Ornament Stars Pattern.
More Christmas Crafts for Kids
I’m hoping that your crafting times together with your kids bring great joy in your holiday season.
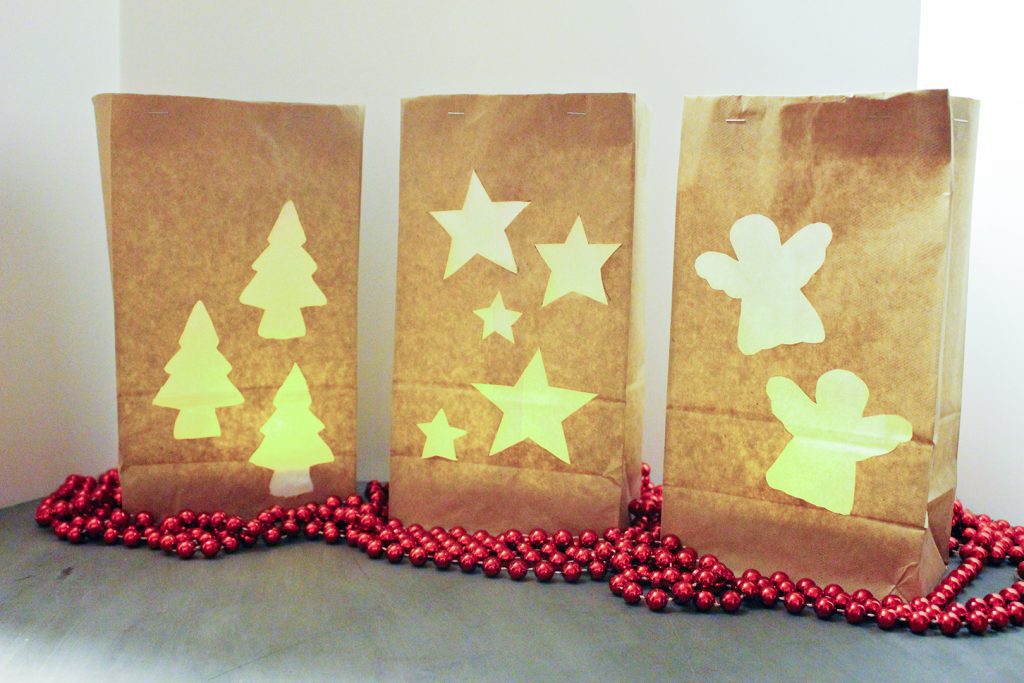
Check out other WTN Christmas craft ideas like the Glowing Paper Bag Luminaries. Simple beauty coming from simple crafting. What could be better than that?
If you are getting a kick out making your own Christmas ornaments, go ahead and give these a try too!
Easy Glass Pebble Christmas Ornaments
DIY Sparkling Wire & Bead Ornaments
Salt Dough Christmas Ornaments
Supplies for DIY Sparkling Wire & Bead Ornament Stars
- Clothesline wire (Solid utility wire, Silver
 )
) - 24 Gauge Wire-Silver (beading wire, silver color)
- Several colors/types of smaller plastic/sparkly beads (holes must be large enough for wire to go through them)
- Wire Cutters
- Needlenose Plier or jewelry pliers to bend the wire
- Board and 10 larger nails and hammer
- OR Star Cookie Cutter (about 4 inches across)
Enjoy!
If you try this craft, let me know! Go ahead and leave a comment, rate it, and tag a photo with #WelcometoNanas wherever you post.

Leave a Reply