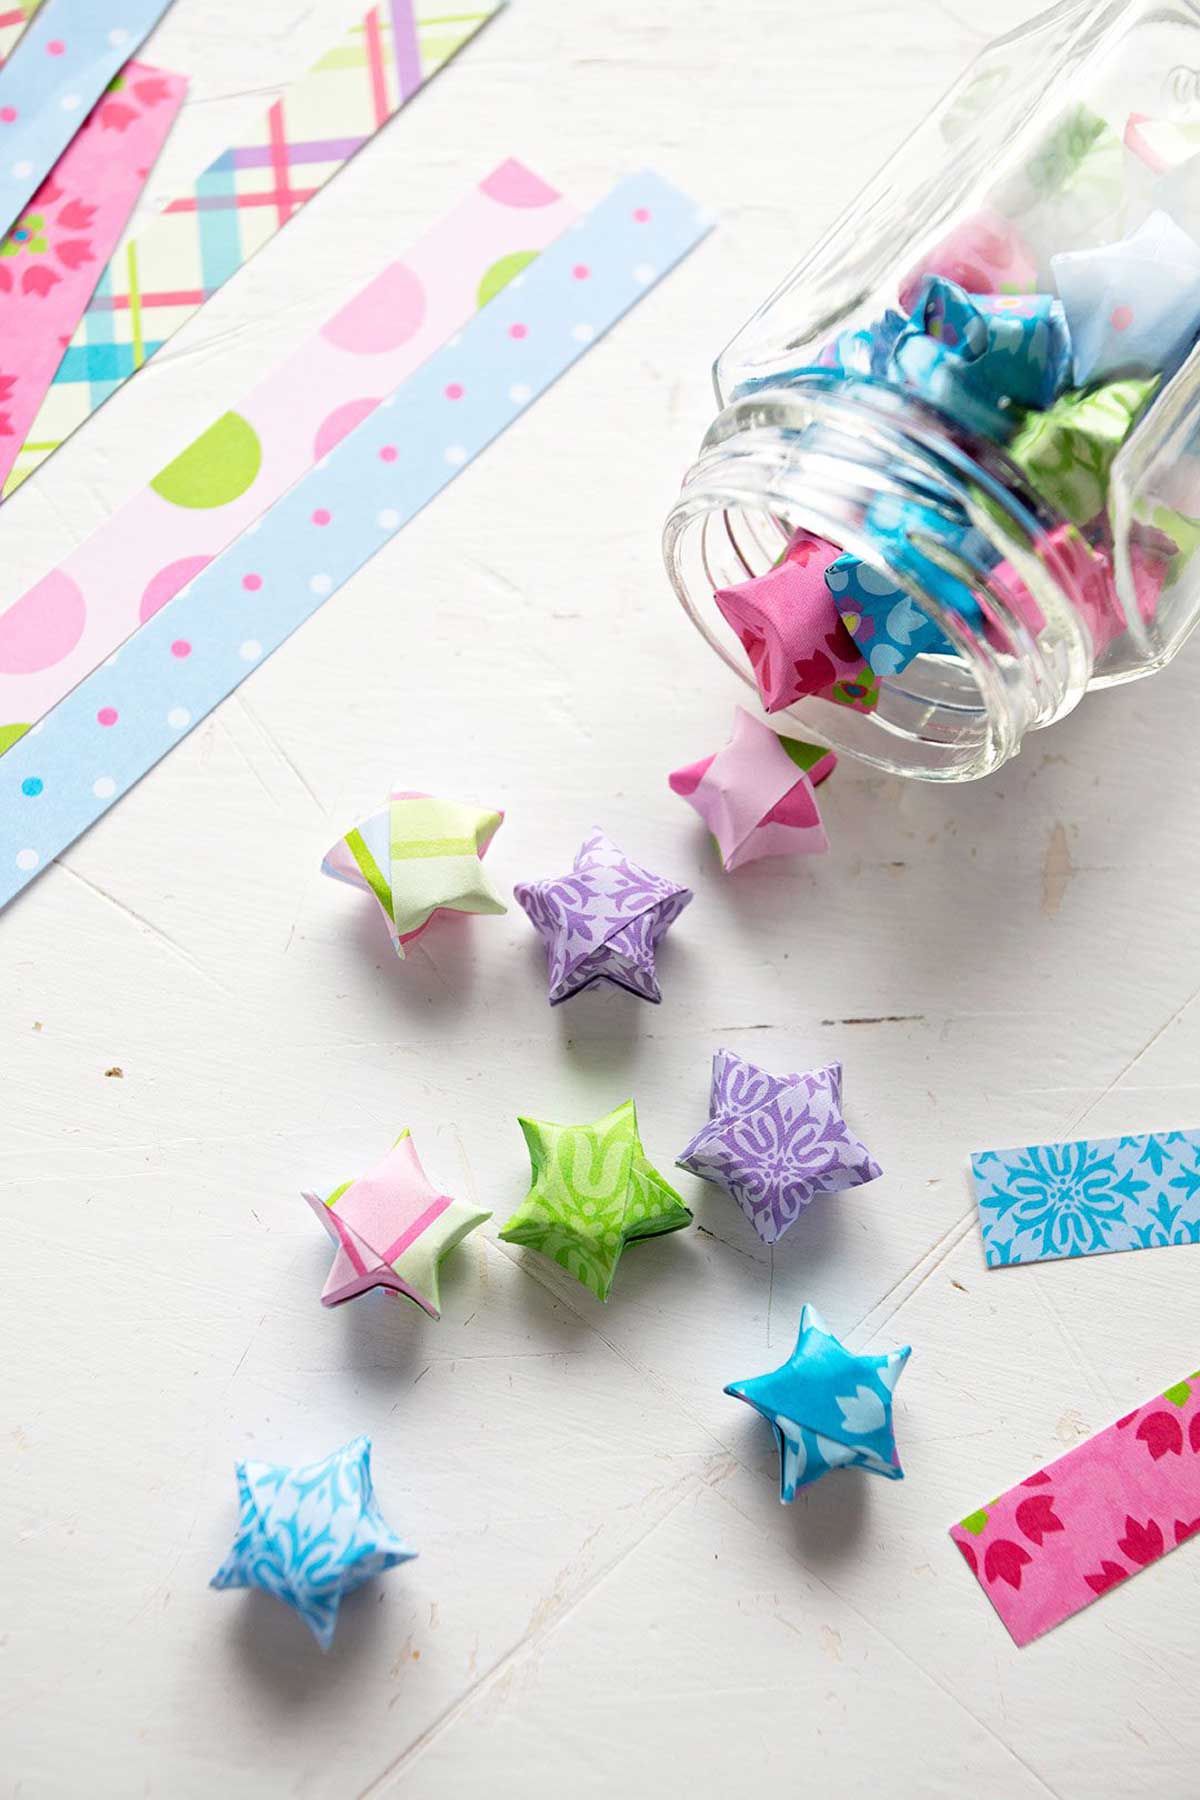
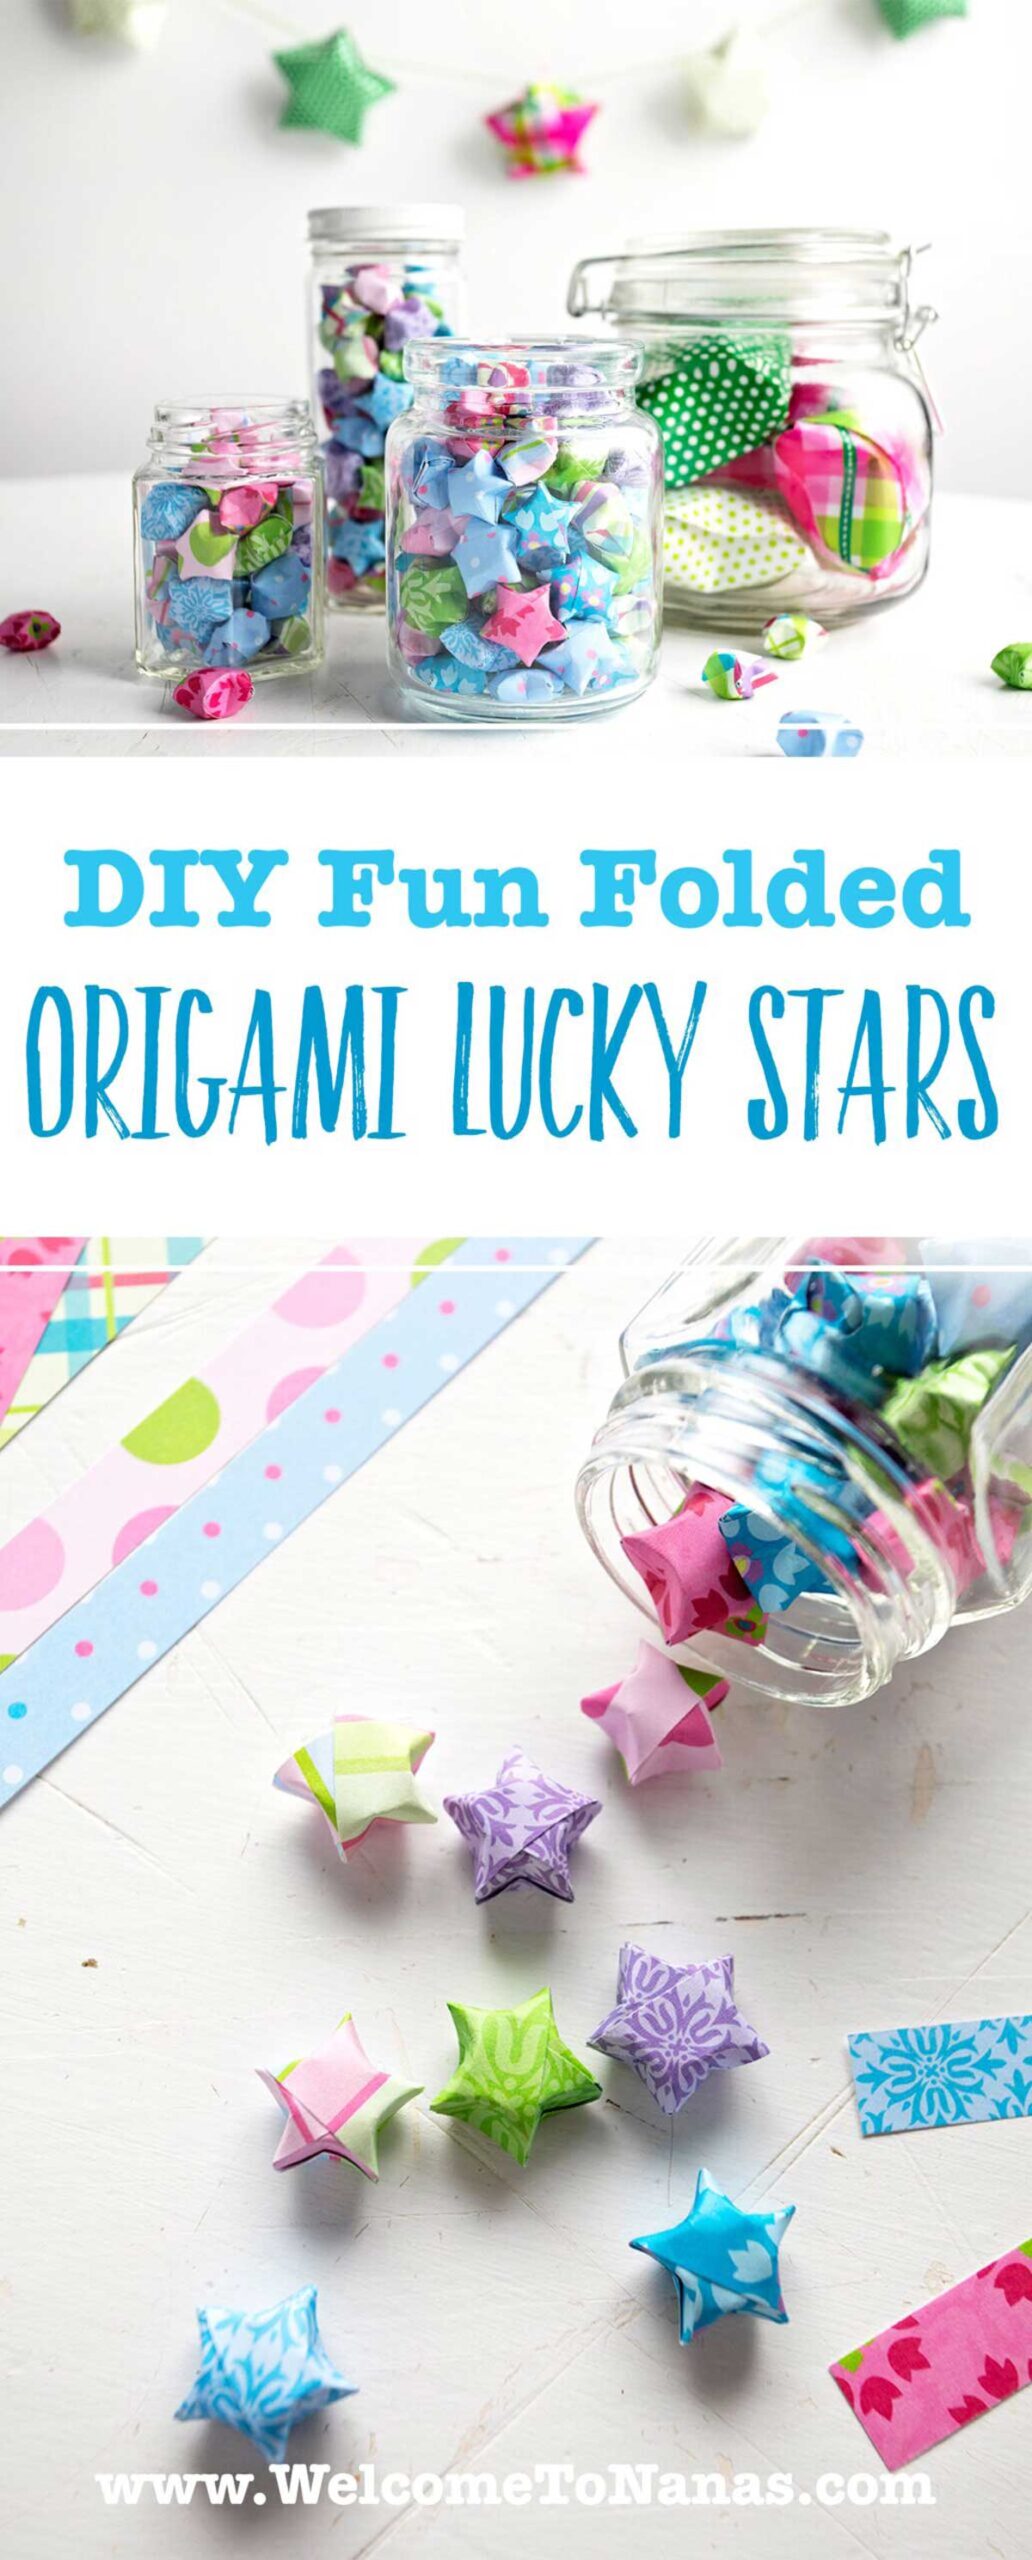
After crafting all kinds of projects for 60+ years, these Folded Origami Lucky Paper Stars are officially one of my favorite paper crafts! Follow this step-by-step tutorial for all my tricks to make a simple strip of paper turn into a tiny paper star in just a few folds.

It’s no exaggeration that my kids have made thousands of these little stars over the years. They take a little patience at the start, but with my tips, kids will get the hang of them in no time. Once they get started, they may just want to make 100 and give them as a gift of good luck!
Jump to:
- What do Origami Stars Mean?
- Supplies Needed for Lucky Paper Stars
- How to Make Origami Stars
- How to Make a Garland of Paper Stars
- Tips for Origami Stars
- Fun Paper Stars Variations
- Origami Lucky Star FAQ's
- More Easy Origami Paper Crafts for Kids
- Come Join the Fun!
- Crafts, Crafts, & More Crafts!
- How to Fold Paper Stars
What do Origami Stars Mean?
The story behind the folded lucky origami paper stars is from Japan. It is said that a girl named Hoshi was sad when she saw stars falling from the night sky. She went home and folded origami stars to take their place, finding friends to help her. The children put the stars in jars in their home. They found there were more stars in the sky as a result.
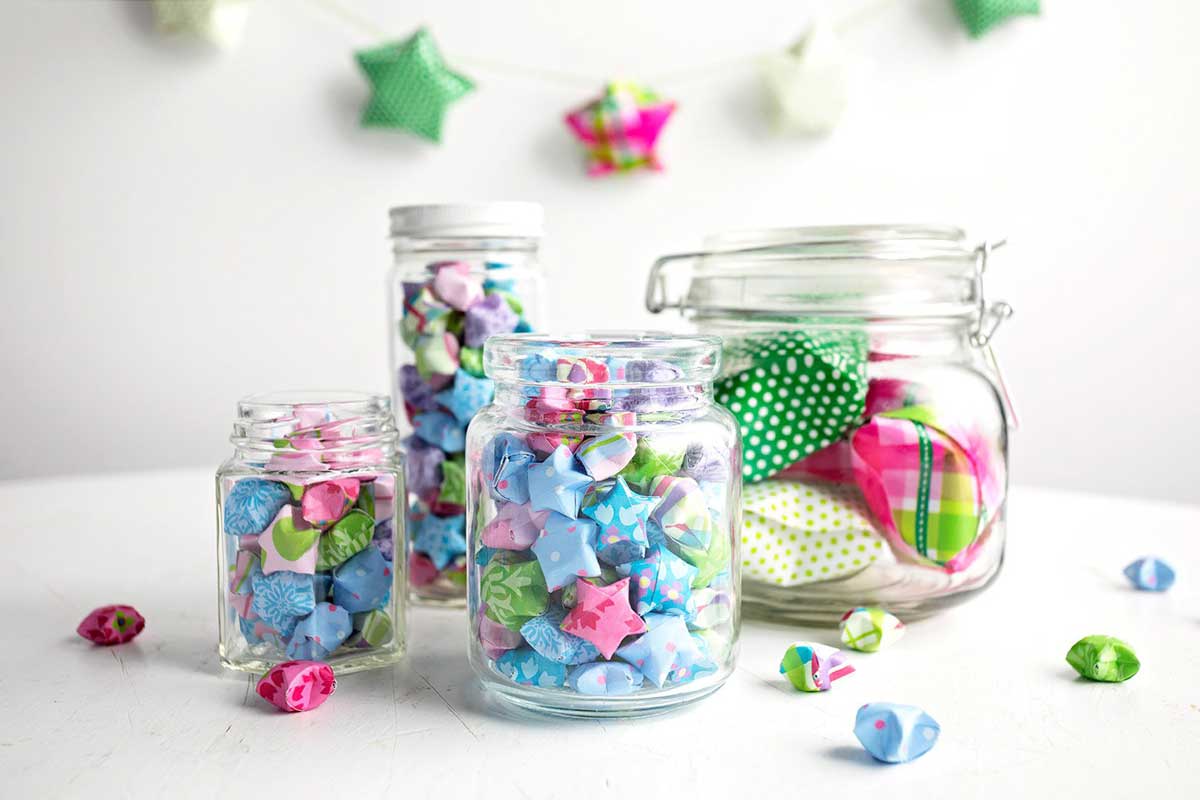
So folded paper stars became a symbol of good luck and prosperity. The story goes that if you give someone 100 folded origami lucky stars then the recipient can make a wish!
Supplies Needed for Lucky Paper Stars
You don't need much to make stars using paper:
- Thin Paper: like origami, scrapbooking, or wrapping paper. Cut into strips (½ inch or 2 inch).
- OR Precut Paper: I love this Origami Lucky Stars Paper, and this Outer Space Design Origami Stars Paper
The Best Paper for Origami Stars
The best size and type of paper for origami stars depends on the size of star you'd like to create. You can use whatever paper you would like, but it is best to use lightweight paper and not something thick, like cardstock.
Create small paper stars like the ones in the video with ½ inch strips, cut from 12x12 inch scrapbooking paper. Origami paper, printer paper, and wrapping paper all work great! Cut into strips with a pair of scissors.
If you don't want to cut your own strips, you can actually purchase paper star strips, precut for easy use! You'll find all kinds of colorful designs and paper variations.
Create larger paper stars like the ones in the video using 2 inch strips cut from wrapping paper. Some wrapping paper even has grid markings on the back, making it easy to cut into strips. I found some at Hobby Lobby.
How to Make Origami Stars
Ready to make some paper stars? Follow the step-by-step written directions below!
Want to see the process instead? Watch how paper stars are made with this YouTube video tutorial! While you are there, follow my YouTube channel for new craft tutorials every week.
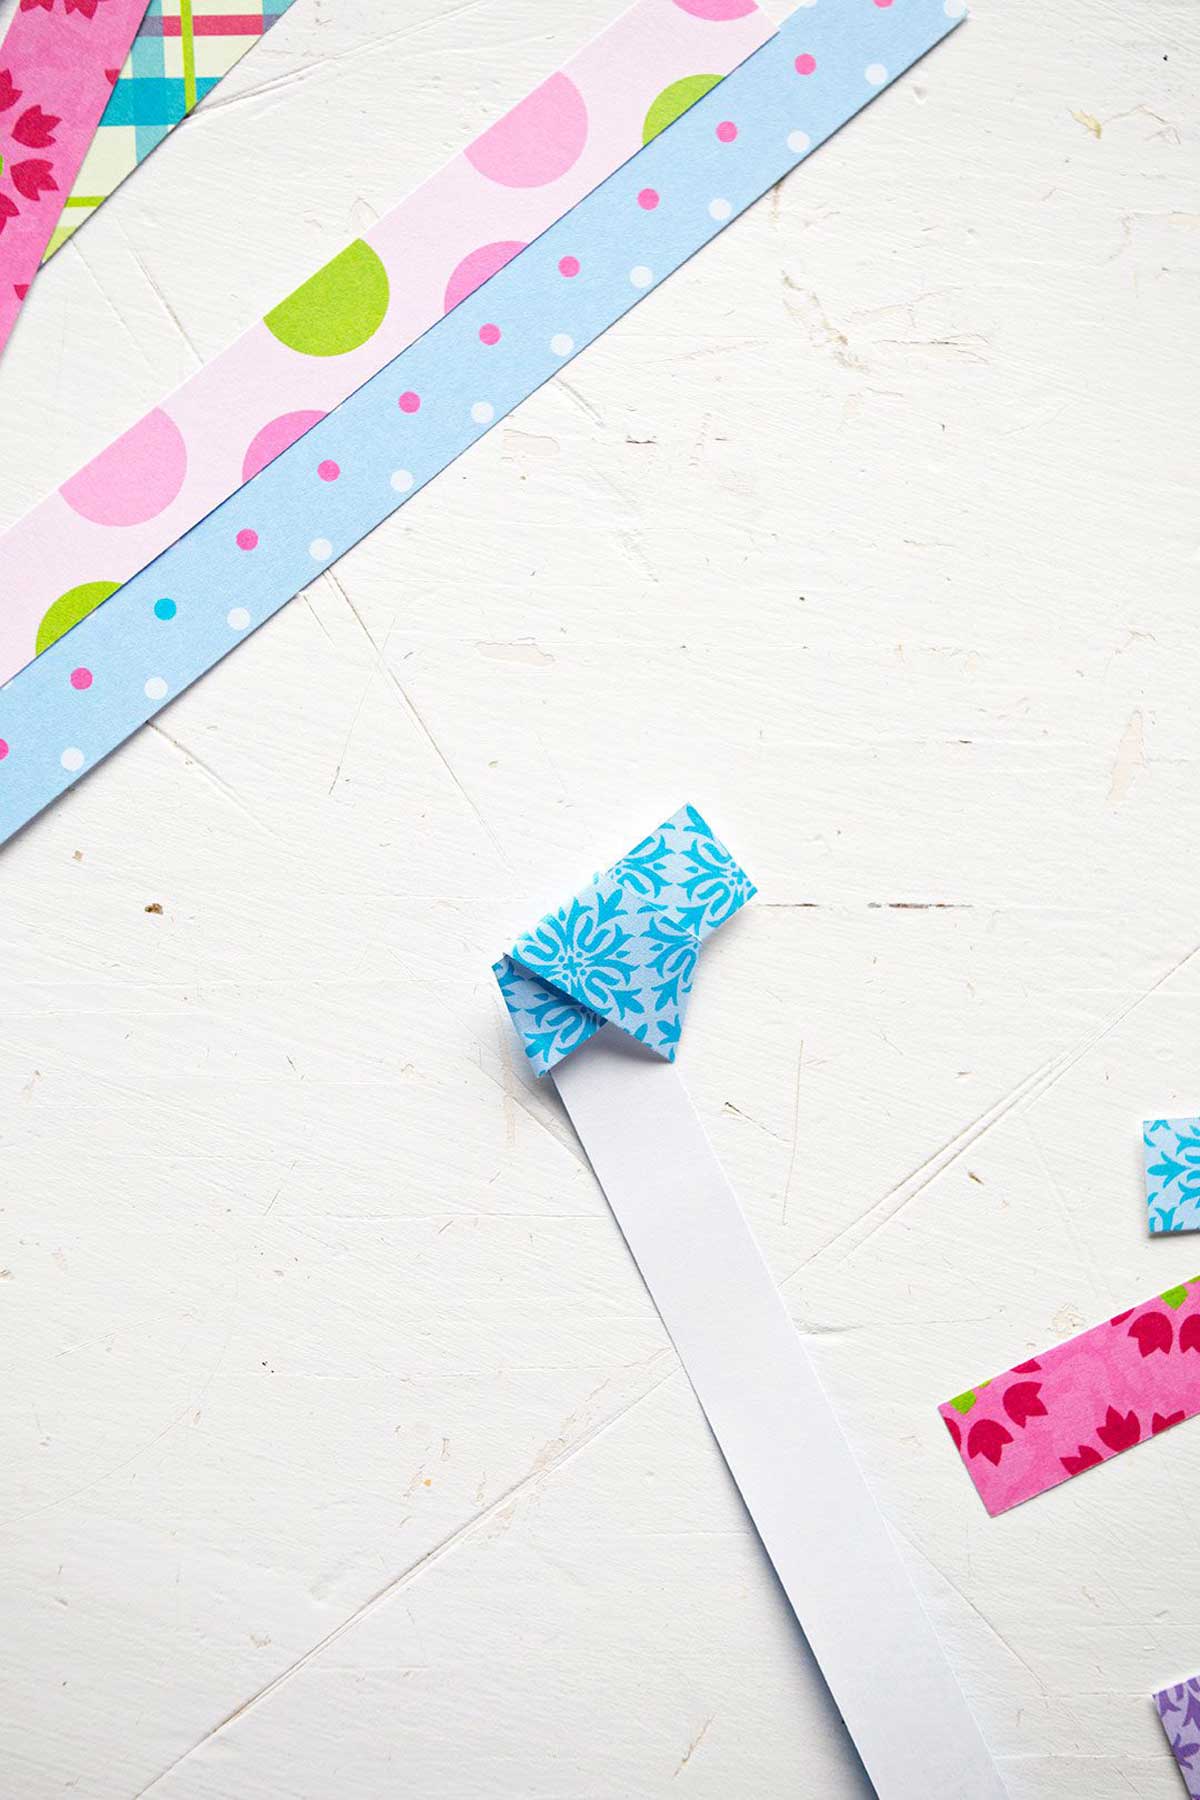
1. Tie a knot in the paper
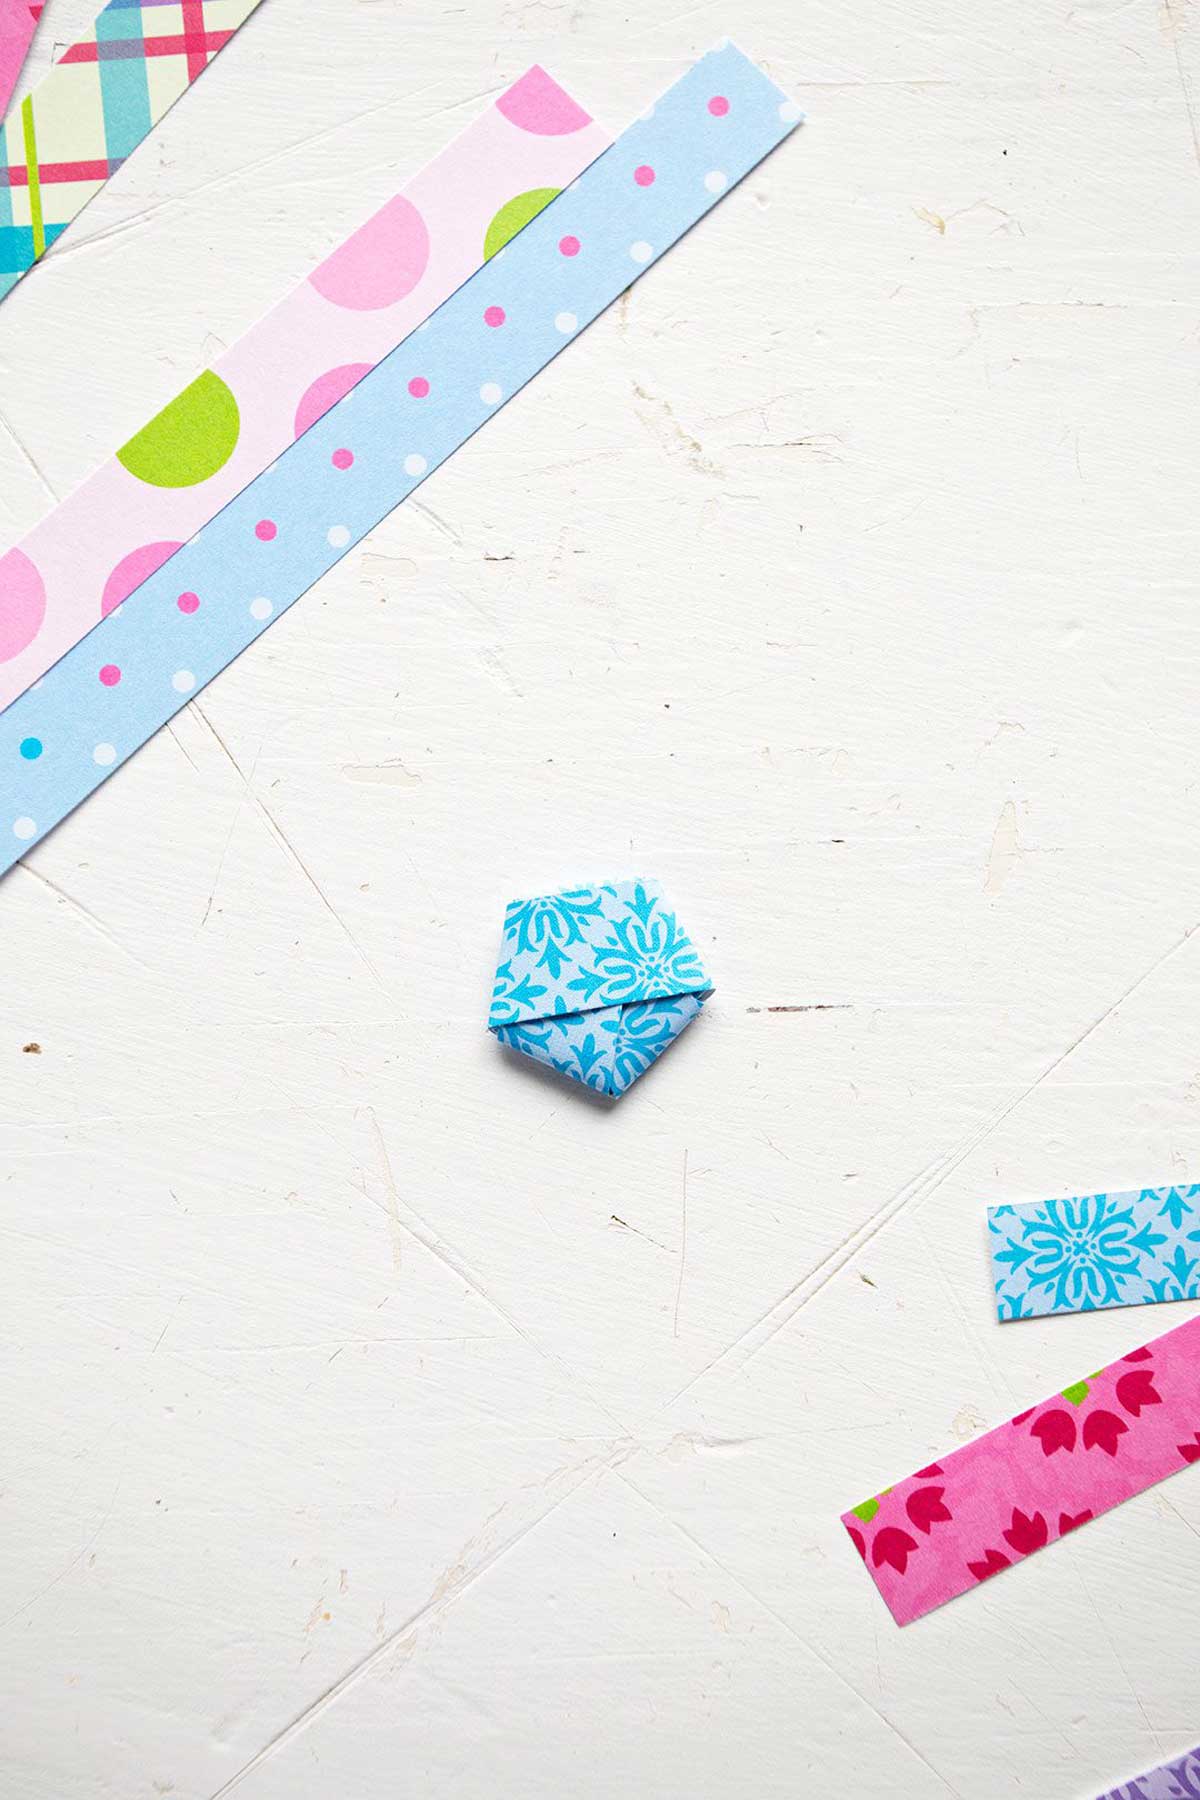
Tie a single knot in one end of your paper strip so that the print is showing on the knot. Gently pull the paper until you end up with a pentagon, five sided knot shape.
A little end will be showing. Tuck this end behind the knot.
Be careful NOT to hard fold and flatten this little knot! If you crease the edges of the pentagon, it will not open easily into a star.
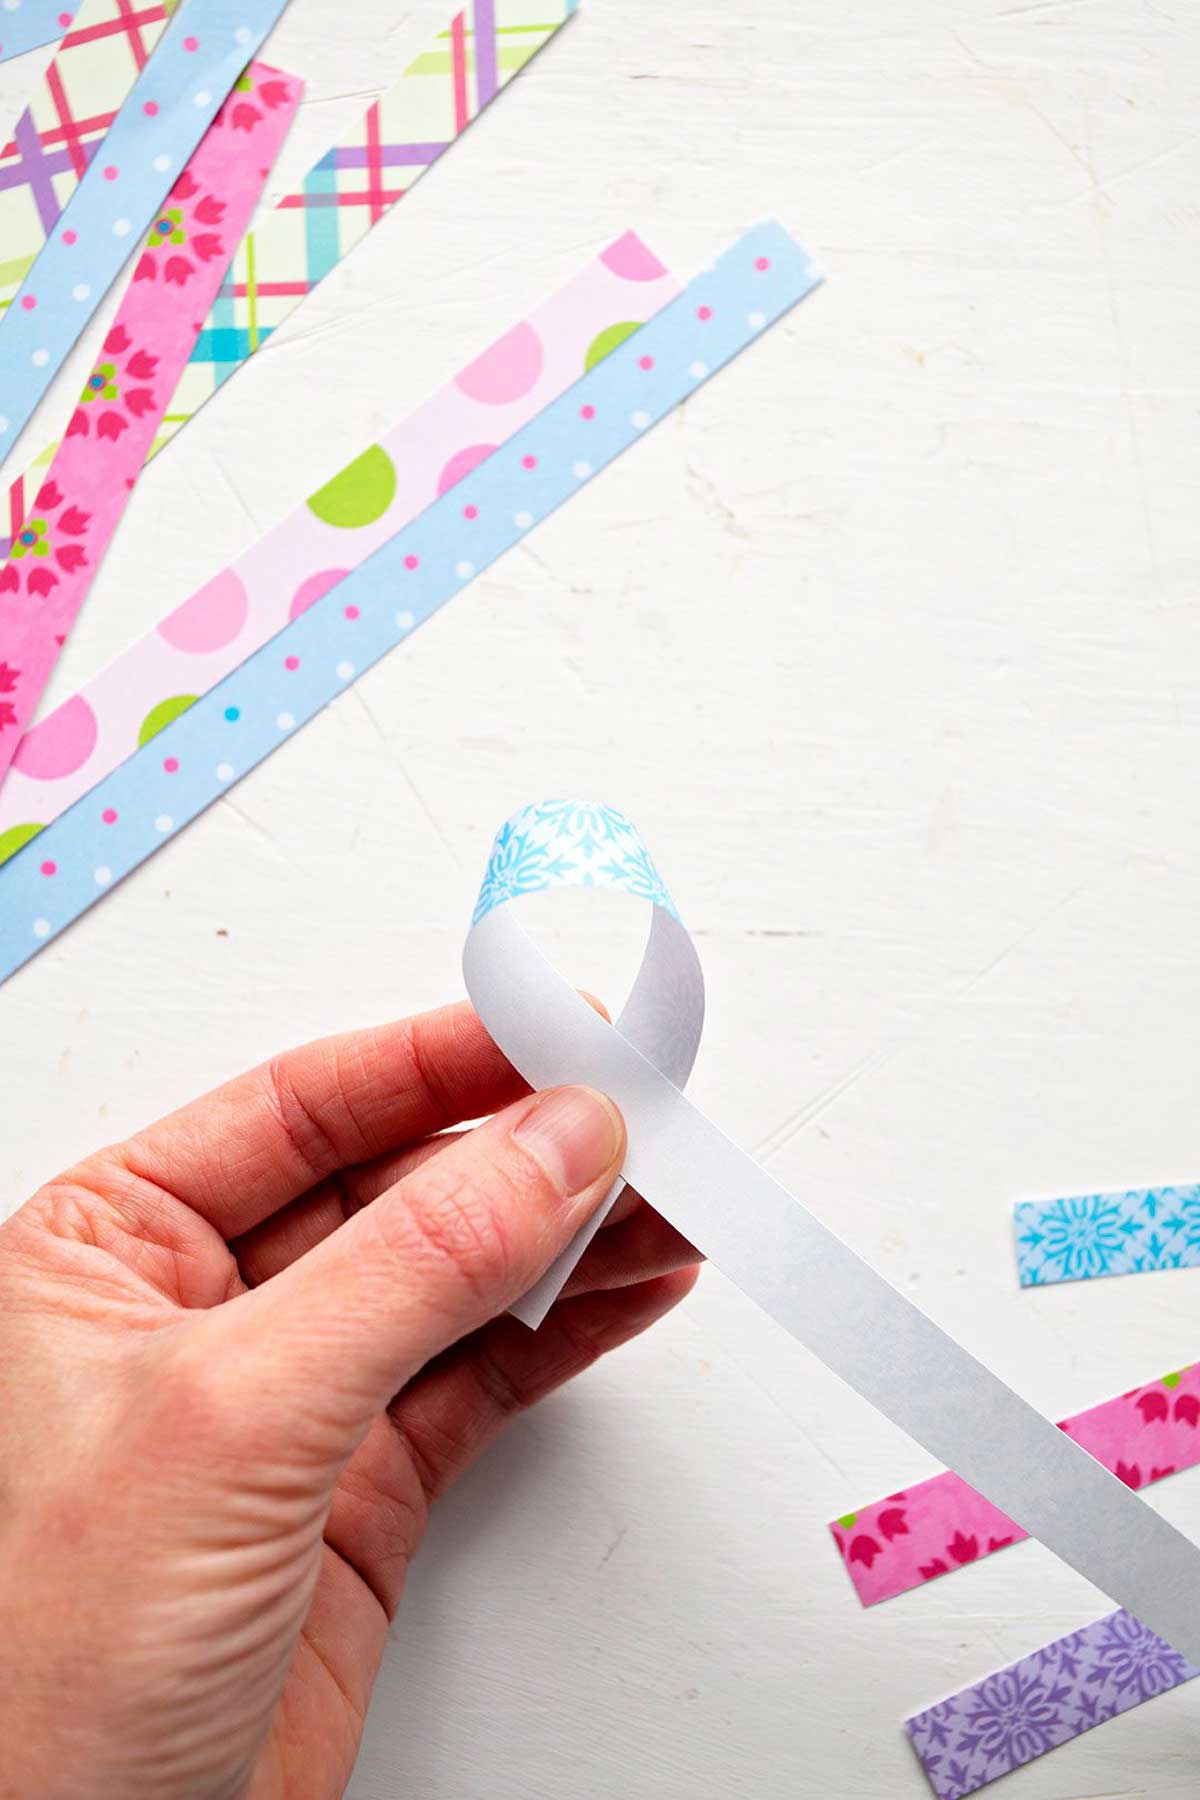
2. Wrap the paper around the knot
Now wrap the long strip of paper around the pentagon knot. Continue wrapping around and around so that the print side of the paper is to the outside and showing. Pull the strip firmly but do not hard fold.
If the pentagon sides were numbered from 1 to 5 from the front, the paper would wind like this: side 1 and 4, 2 and 5, 3 and 1, 4 and 2, then 5 and 3.
This pattern will repeat if your paper is that long (mine was not). Tuck the end of the strip inside the last loop of paper when it is too short to make another loop around the star.
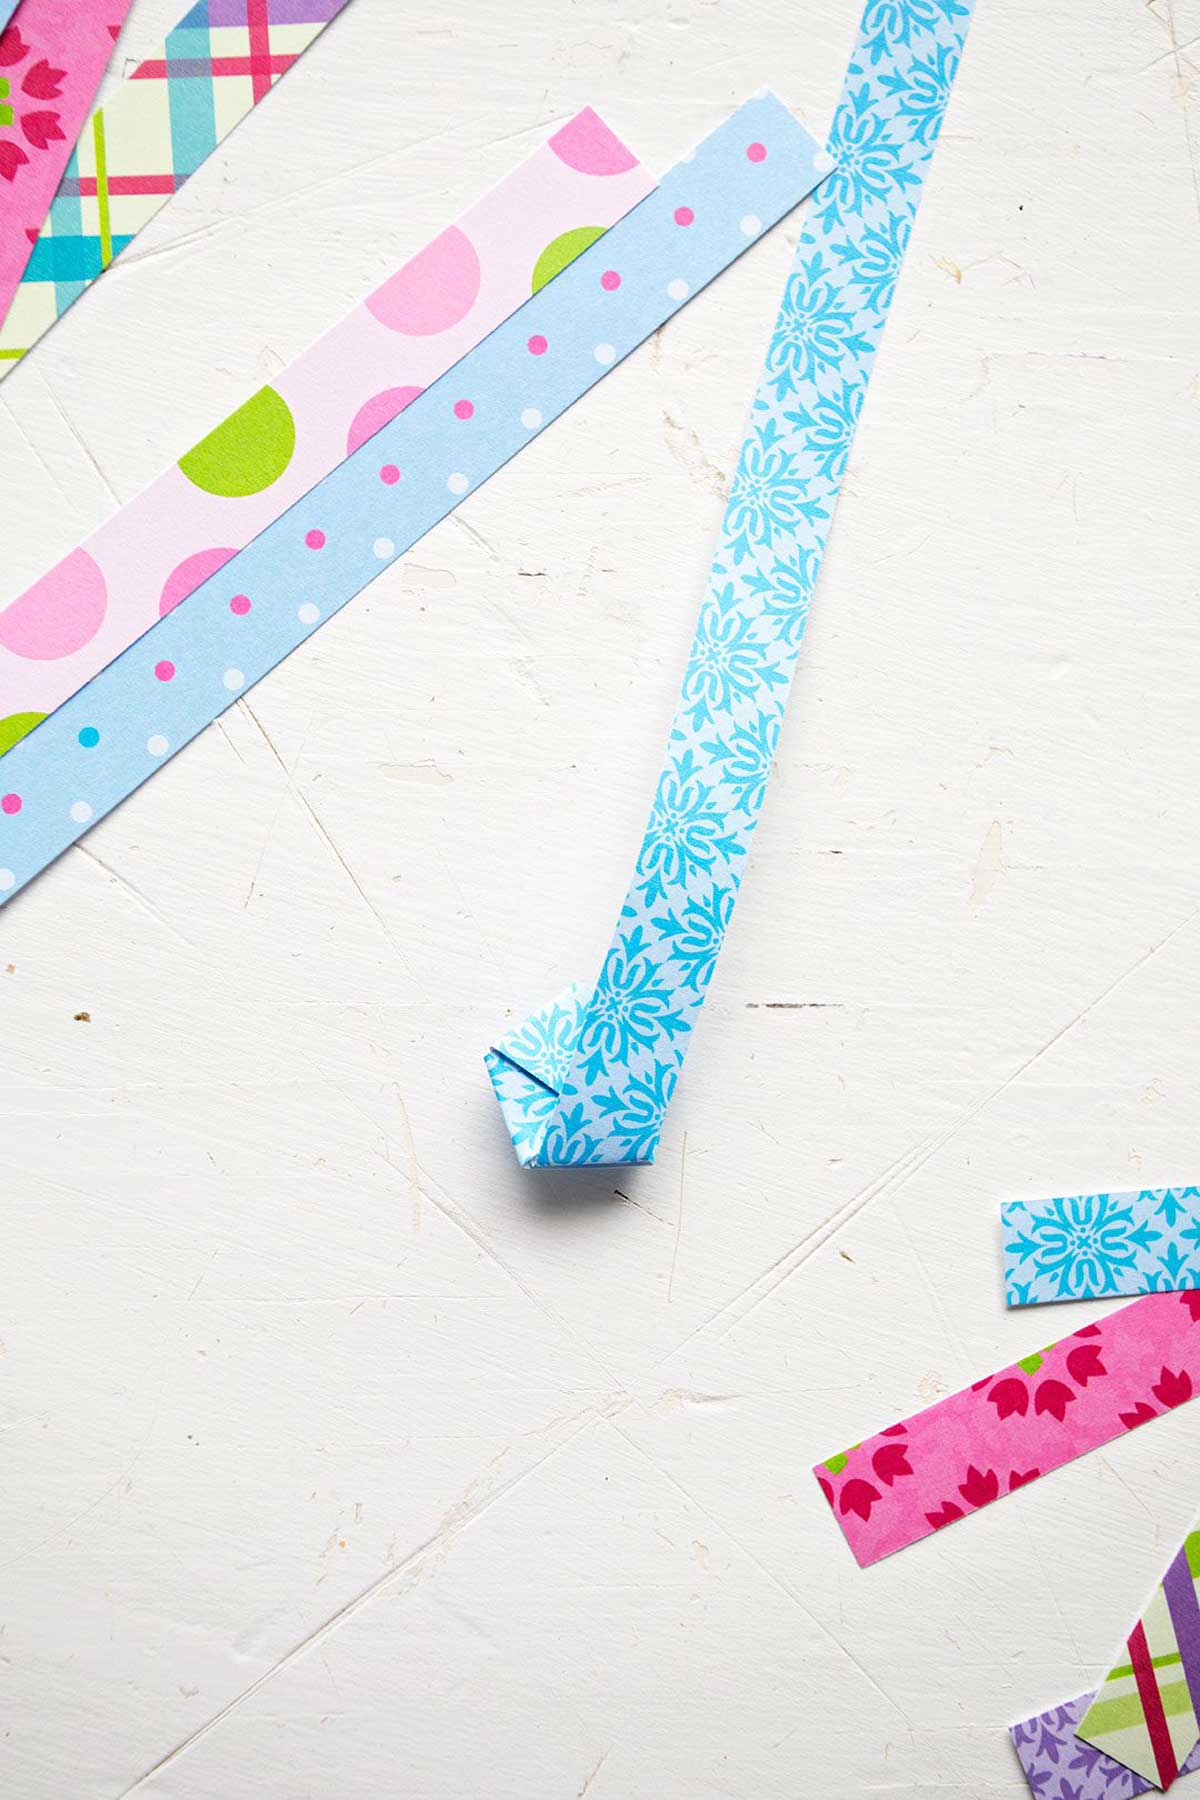
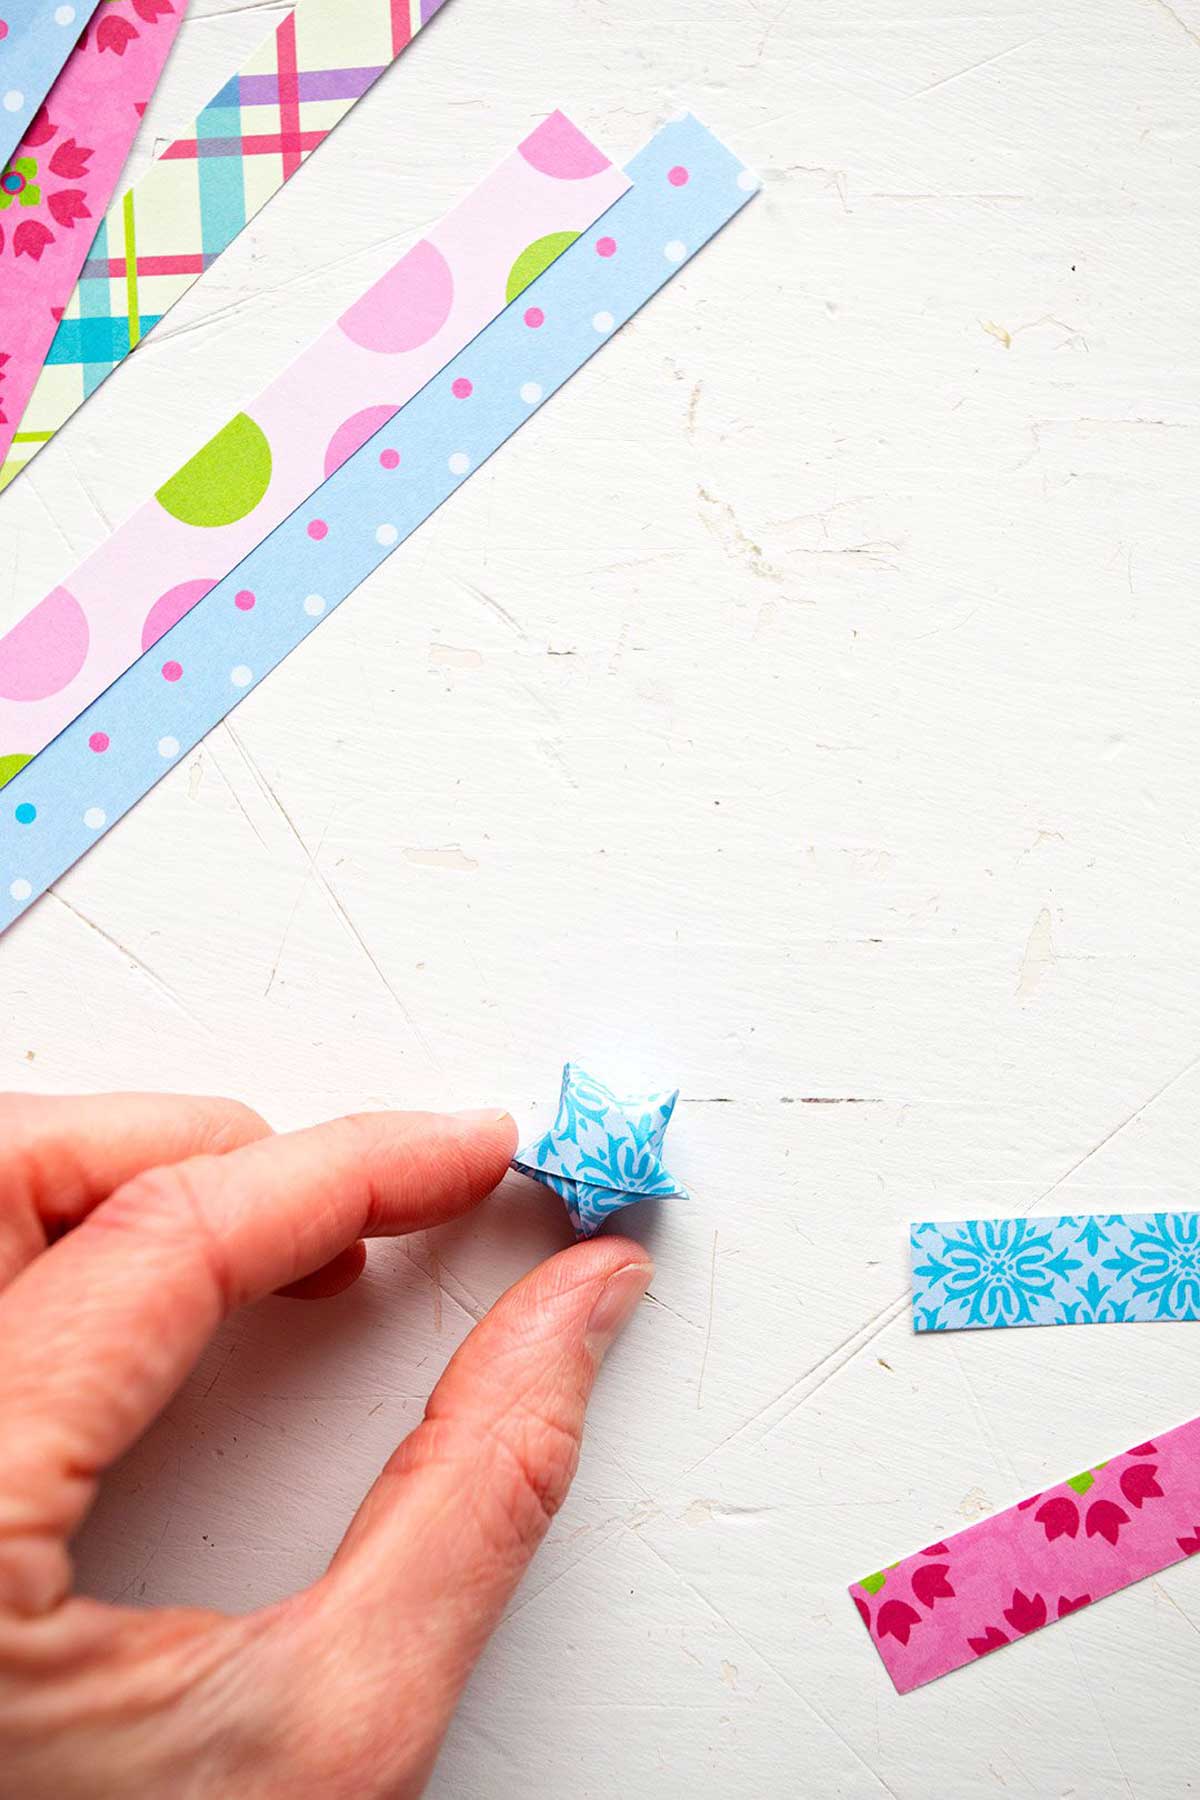
3. Press in the sides of the pentagon
Finally, firmly hold the pentagon shape with four finger tips on four sides of the shape. Press gently with your thumb and forefinger to "pinch" one point of the star. Gently crease with the thumbnail as the star sides gently cave inwards and "puff up" the paper star.
Repeat this motion on each of the other 4 sides of the pentagon to create each point of the star. Go back around the star and gently press and shape the star as needed to be in a symmetric shape.
Now repeat these steps 99 more times to create all 100 stars for a friend!
How to Make a Garland of Paper Stars
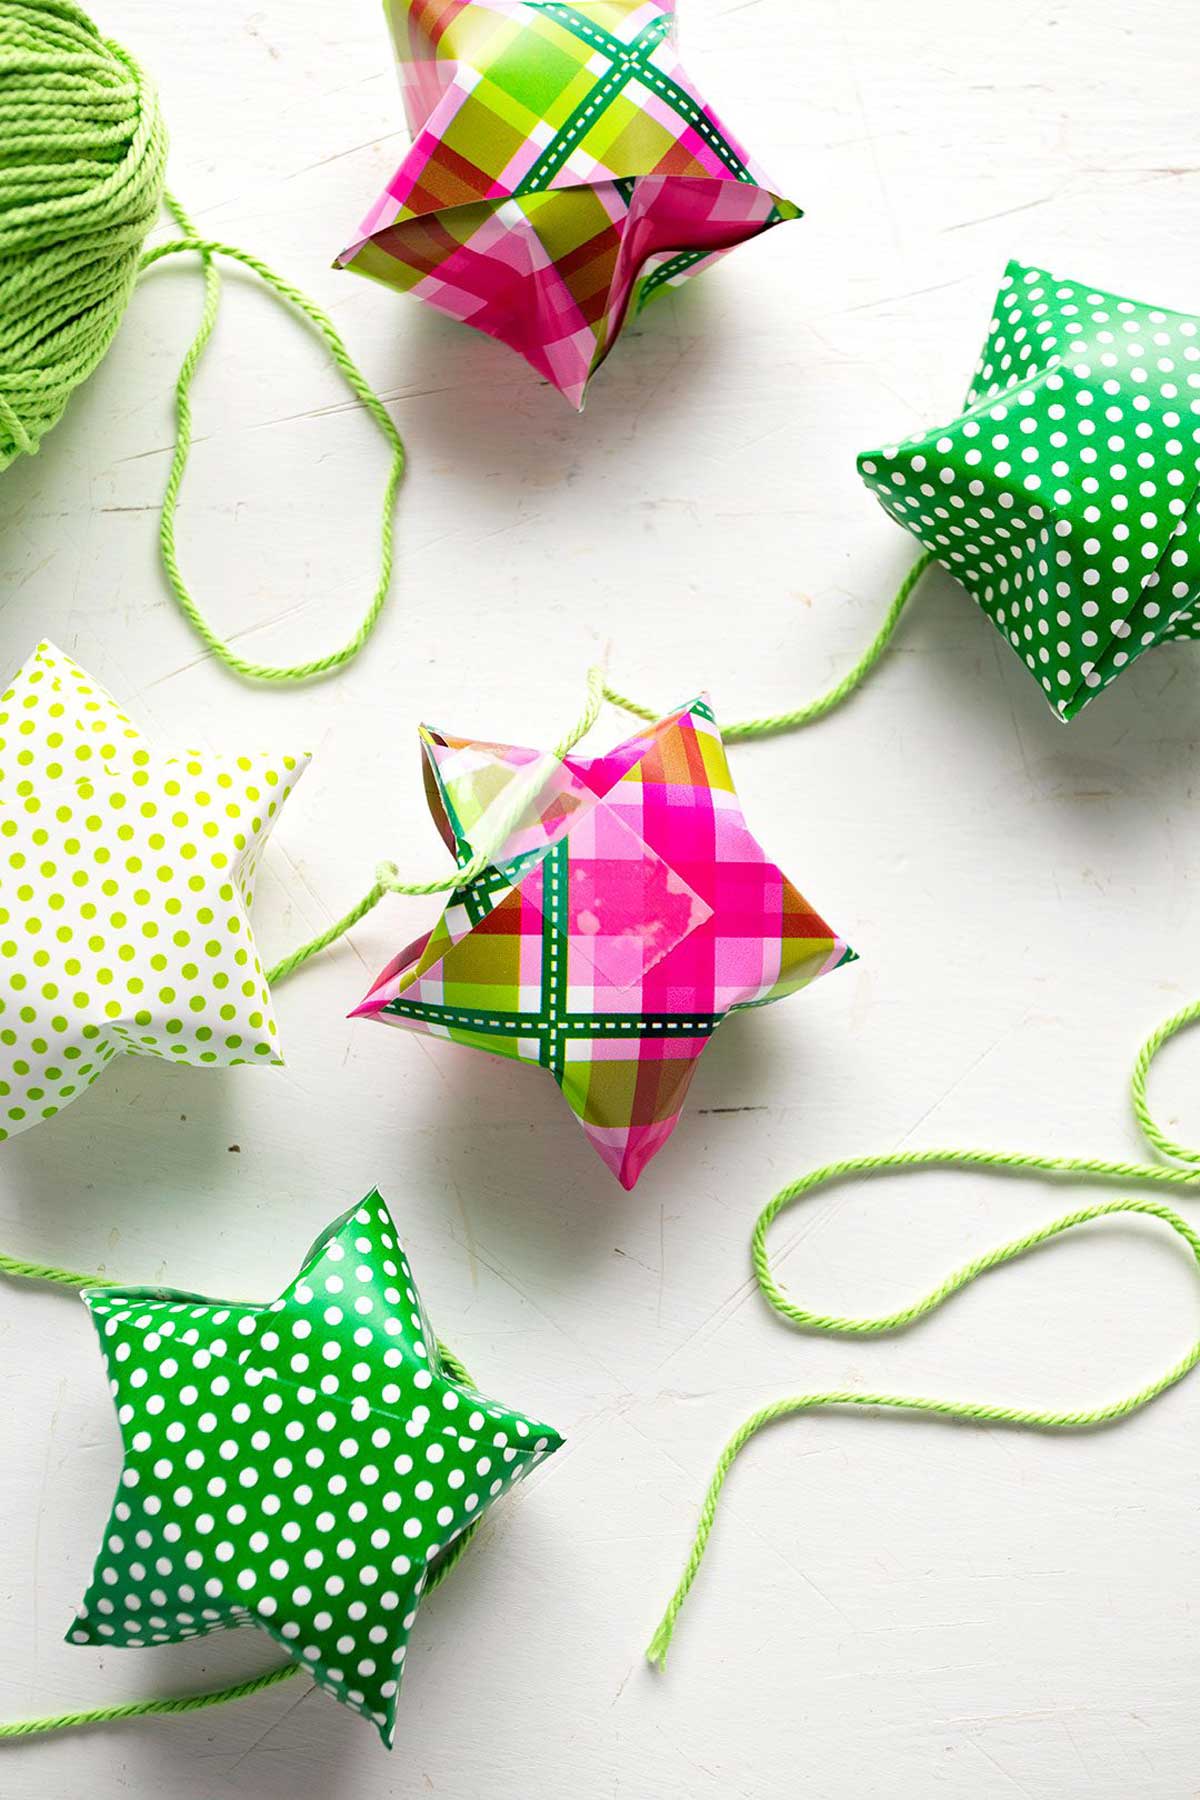
As you'll see in the video, the large paper stars look cute as a garland! The garland is easy to make and creates a fun DIY decoration in no time.
Simply tape large origami lucky stars onto a string in an evenly spaced pattern. Hang the string as a decorative garland by tying the edges of the string, or securing with tape.
You can make other folded paper items into a garland as well. How about a string of pretty origami butterflies?
Tips for Origami Stars
- Change the Size: Make the paper strips smaller, i.e. ¼ inch wide or width in between if you want. The larger the star you make, the longer the paper needs to be as well.
- Purchase Precut Strips: You can purchase the Origami Lucky Star paper strips already cut. That makes this easy craft that much easier!
- Cut More with a Paper Cutter: I cut my scrapbook paper on a paper cutter and cut a couple sheets of paper at a time. It went quickly and kept its shape uniform.
Fun Paper Stars Variations
Want to mix it up? Give some of these variations a try:
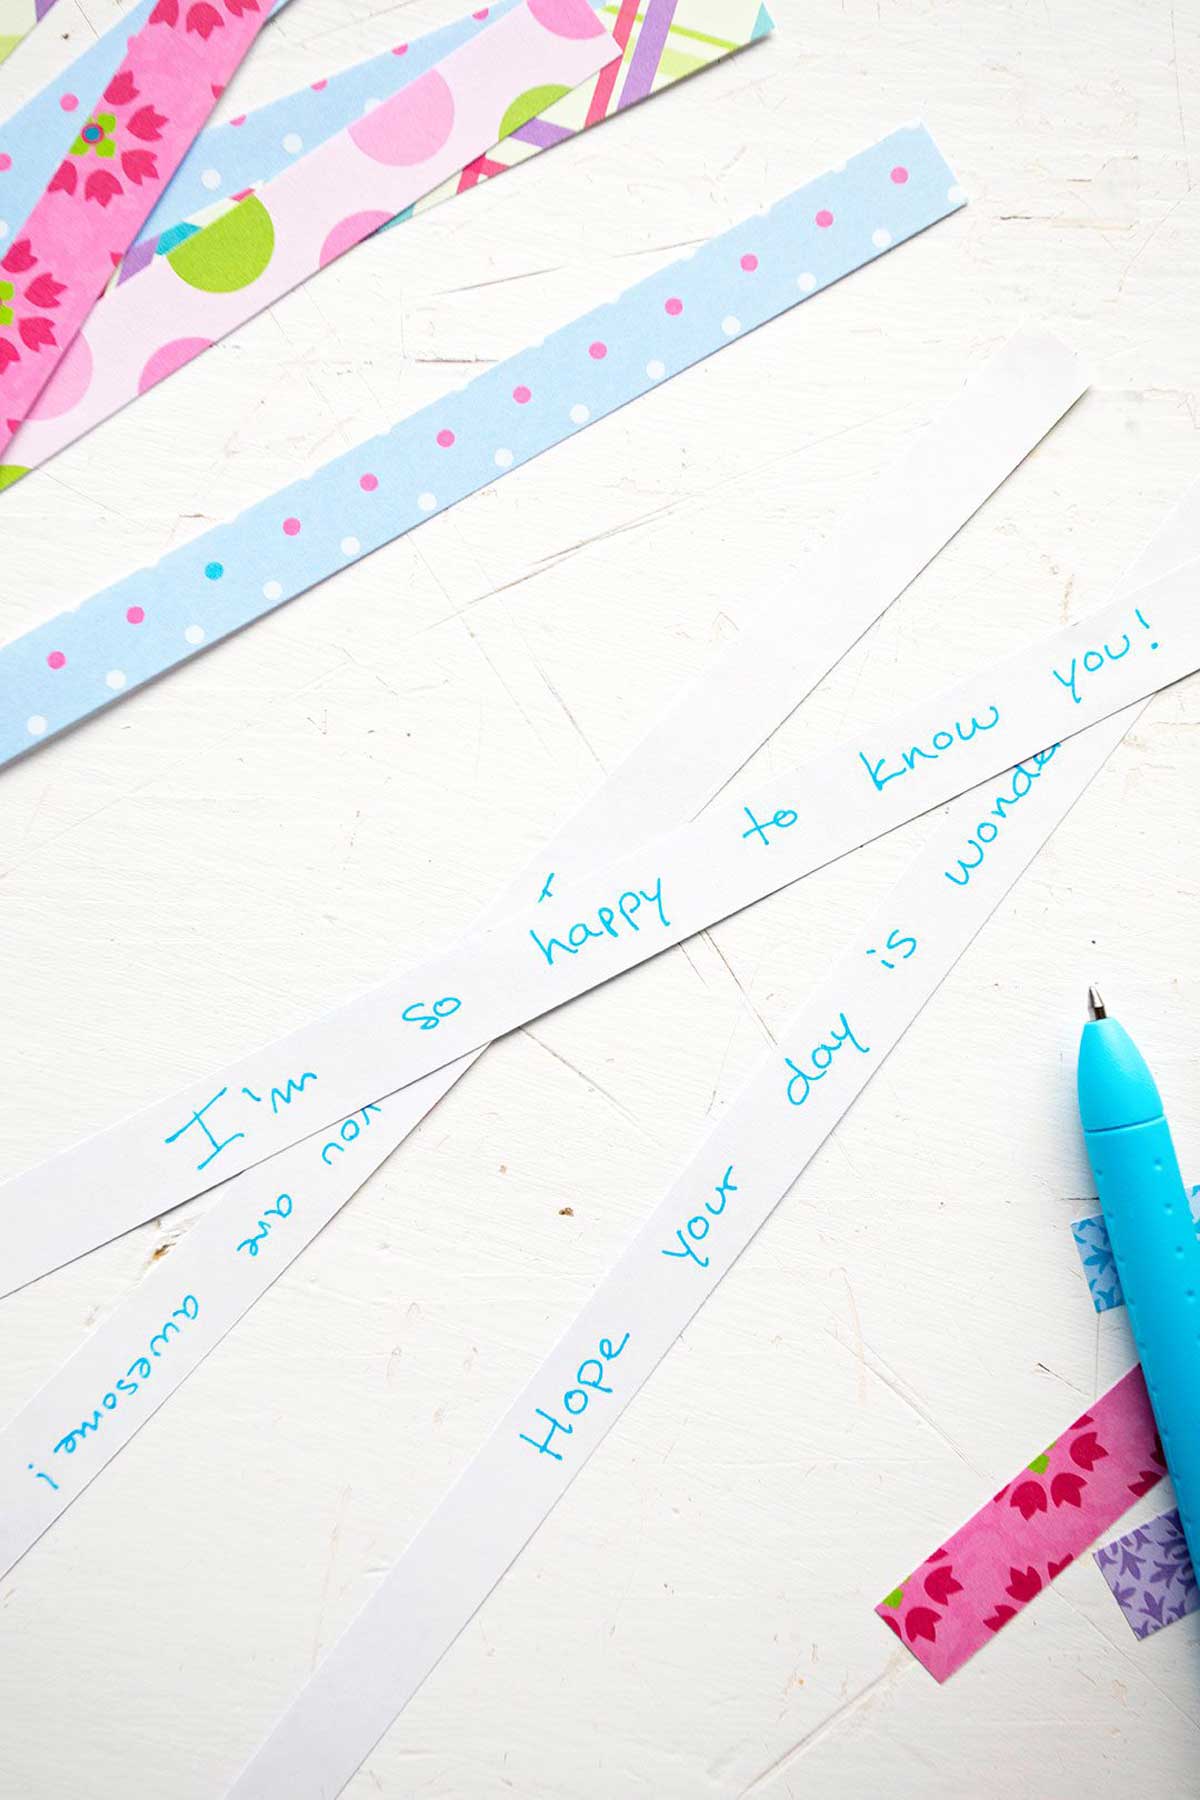
- Write a Message: If you would like, write a message on the strip of paper before folding it. That makes each folded origami lucky star an extra gift. The recipient can unfold the stars, one by one, and read your messages. Just be sure to not use a pen that soaks through the paper!
- Use Different Paper: Try fun patterned paper to make your stars bright and beautiful! Or branch out with unique paper like sheet music to give to a music-loving friend.
- Christmas Tree Decoration: How about making stars from metallic wrapping paper and hanging on a Christmas tree?
- Add to a Jar: Fill a little jar with the 100 small folded origami lucky stars. Put a tag on it with the meaning of the stars and give as a birthday gift to bring encouragement and cheer.
Origami Lucky Star FAQ's
Folded paper stars are a symbol of luck and prosperity. They are lucky to make and even more lucky to give away! If you give someone 100 folded origami lucky stars then the recipient can make a wish.
A folded paper star only requires a few simple folds to create. First, tie a knot in a strip of paper, then fold the paper strip around the knot. Tuck the end into the folds, then gently press the edges to puff up into a little star!
The best paper to use to fold paper origami stars is origami, scrapbook or another thin kind of paper. You can also use wrapping paper or printer paper, as long as it is thin and flexible to make folding easier.
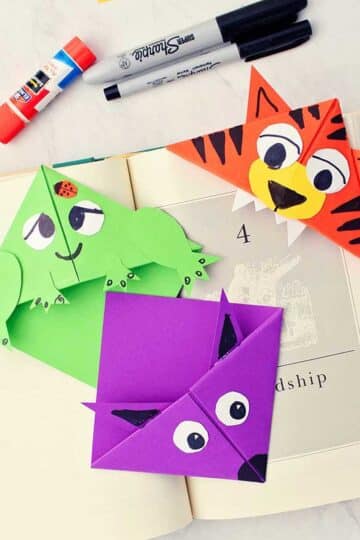
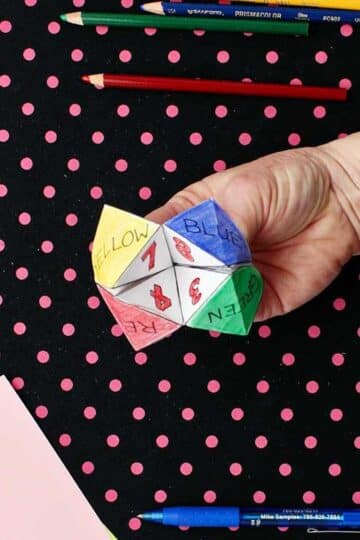
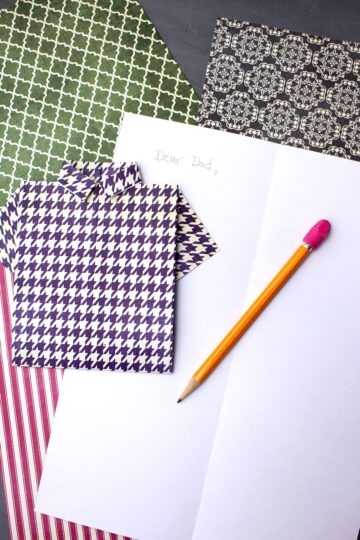
More Easy Origami Paper Crafts for Kids
Looking for more fun origami ideas for kids? Check out these great folded paper crafts from around the blog:


Come Join the Fun!
Try this craft, leave a comment, rate it, and tag a photo with #WelcometoNanas wherever you post.
Crafts, Crafts, & More Crafts!
Love getting crafts straight to your inbox? Sign up to receive a weekly email and get a free gift!

How to Fold Paper Stars
Equipment
- Pen for writing messages (optional)
- Jar (optional)
- Tag for jar (optional)
- String (optional)
- Scotch tape (optional)
Items Required
- Thin Paper Cut into strips (½ inch or 2 inch)
Instructions
- Tie a single knot in one end of the paper strip so that the print is showing on the knot. Gently pull the paper until you end up with a pentagon, five sided knot shape.
- A little end will be showing. Tuck this end behind the knot.
- Wrap the long strip of paper around the pentagon knot. Continue wrapping around and around so that the print side of the paper is to the outside and showing. Pull the strip firmly but do not hard fold.
- If the pentagon sides were numbered from 1 to 5 from the front, the paper would wind like this: side 1 and 4, 2 and 5, 3 and 1, 4 and 2, then 5 and 3.
- Tuck the end of the strip inside the last loop of paper when it is too short to make another loop around the star.
- Firmly hold the pentagon shape with four finger tips on four sides of the shape. Press gently with your thumb and forefinger to "pinch" one point of the star. Gently crease with the thumbnail as the star sides gently cave inwards and "puff up" the paper star.
- Repeat this motion on each of the other 4 sides of the pentagon to create each point of the star. Go back around the star and gently press and shape the star as needed to be in a symmetric shape.
- Optional: Add 100 stars to a jar to give to a friend for good luck!
- Optional: Tape large origami lucky stars onto a string in an evenly spaced pattern. Hang the string as a decorative garland by tying the edges of the string, or securing with tape.
Video
This post was originally published in July 2020 and has been updated to add more relevant and detailed content.


Luceli says
Muy buena manualidad, me encantó.
Shelly says
I got your comment translated and say, Thank you! I hope you can make them and enjoy the craft!
Laura says
I've made SO many of these over the years 🙂 Still love it!