"I scream, you scream, we all scream for ice cream!"
Home-made ice cream was special when I was growing up. With ice cream in a bag, each child gets to make their own serving of home-made ice cream. They can watch it freeze before their very own eyes! This is a hit for any age, young to the not-so-young!
If you haven’t done this before you are in for a treat, literally! Be sure to make one for yourself.
Making Ice Cream in a Bag using Salt?
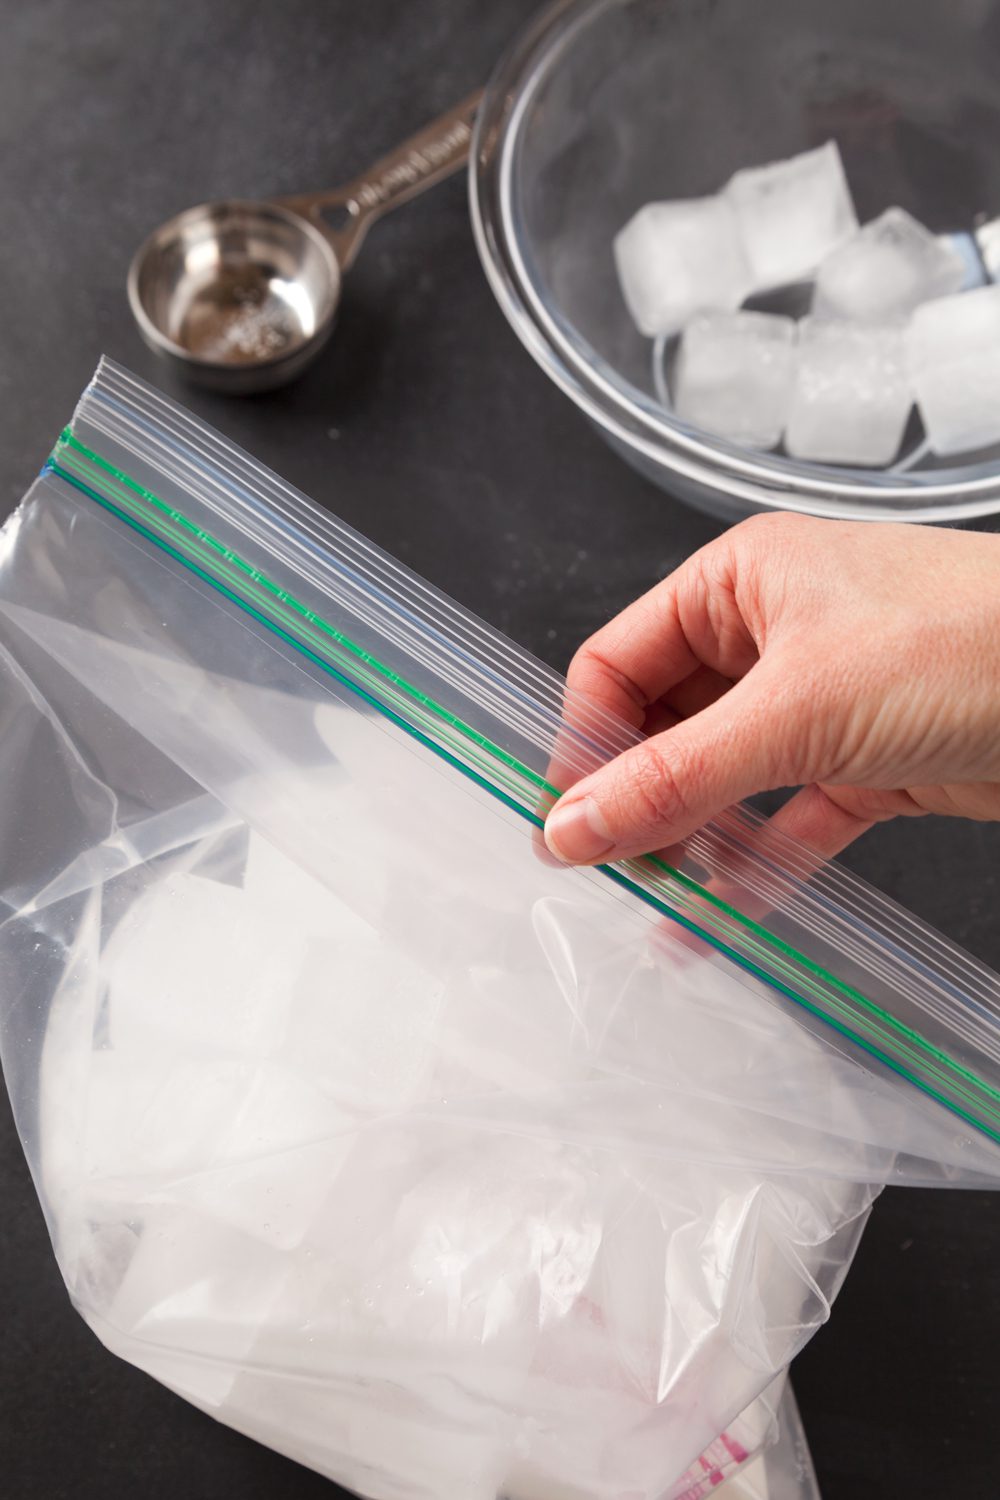
The large gallon sized freezer bag holds the ice and the salt, like the outside drum of the home-made ice cream freezer. The smaller quart sized freezer bag holds the ice cream ingredients and acts like the inner container of the home-made ice cream freezer.
It is helpful to use freezer bags as they are stronger and not as likely to break with a bit of rough handling.
Ingredients for Homemade Ice Cream
One of my favorite things about this recipe is that the actual ice cream only requires three ingredients! I like to use whole milk, but I have seen other people try half and half. If you are allergic to milk, it would be interesting to use alternate milks as well, like almond or coconut milk, though I have not tried it myself.
In addition to the milk, all you'll need is some sugar to sweeten and vanilla to add flavor. Don't worry, you can add all the toppings you'd like as well! More on that in just a bit.
Ice Cream in a Bag Recipe Tips and Tricks
If you want to have some extra fun, you can add some chocolate syrup, strawberries, nuts, mini chocolate chips, toffee bits or any extra ingredients you want to make your own custom flavors.
Be SURE to get the bags well closed. There is nothing more disappointing then having salty ice cream when you are done!
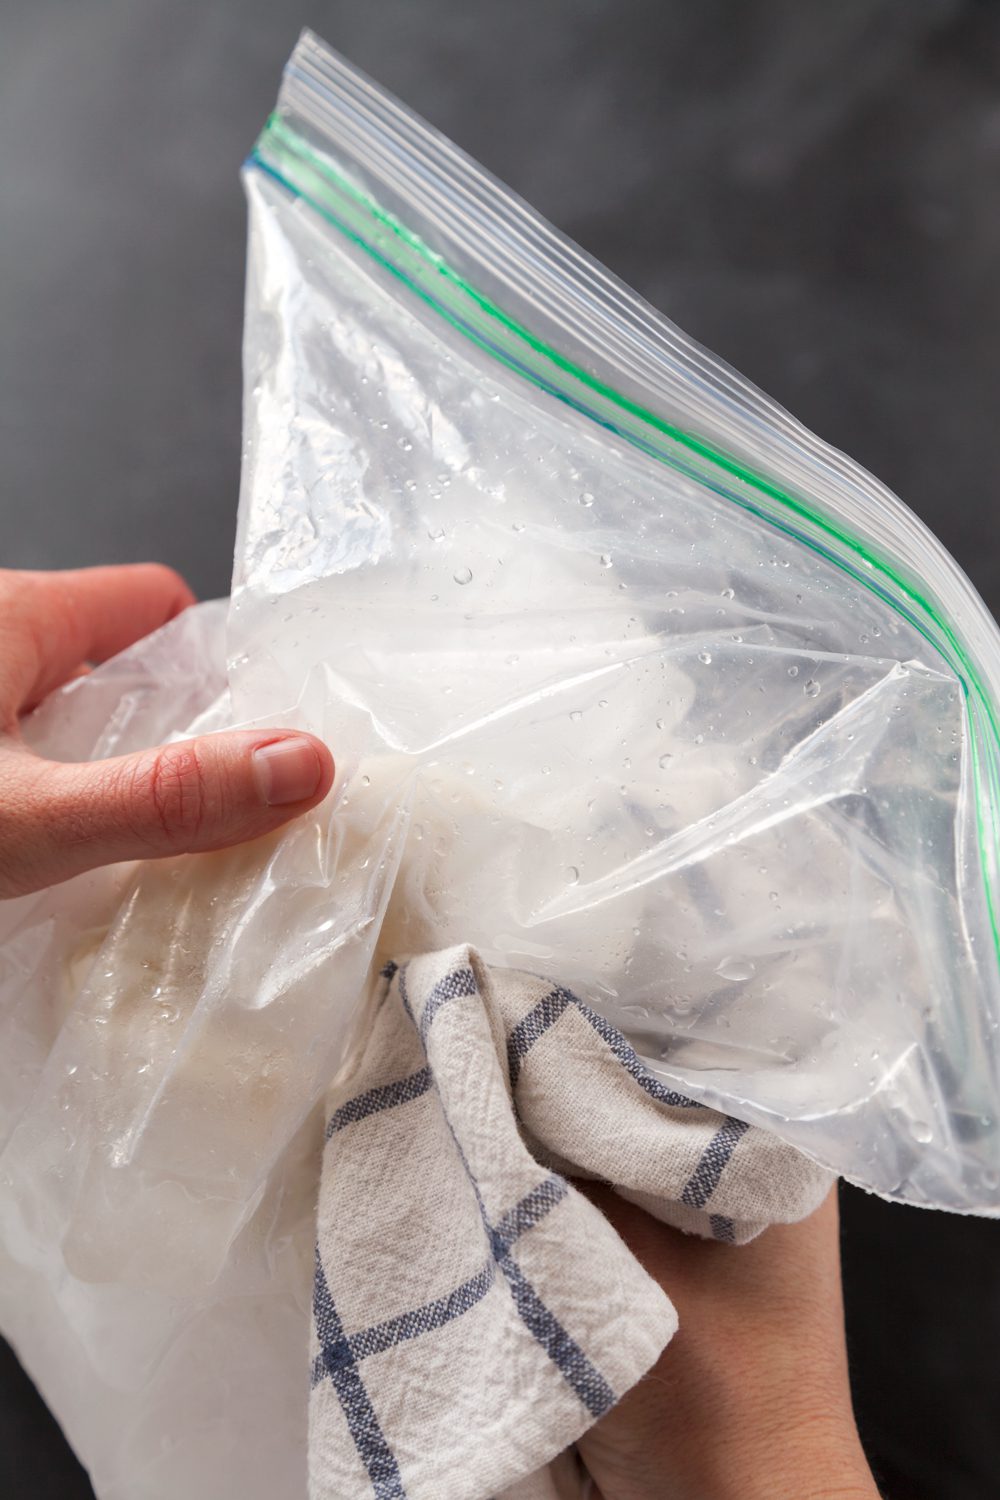
This gets really, really cold during the mixing process so I have some hand towels handy to put around the bags so there’s no summer time frost bite on little fingers!
It may be best to be outside or over a sink as sometimes the bags break if someone gets too rowdy! Salt water on the kitchen floor is not fun to clean up.
Toppings for Nana's Ice Cream
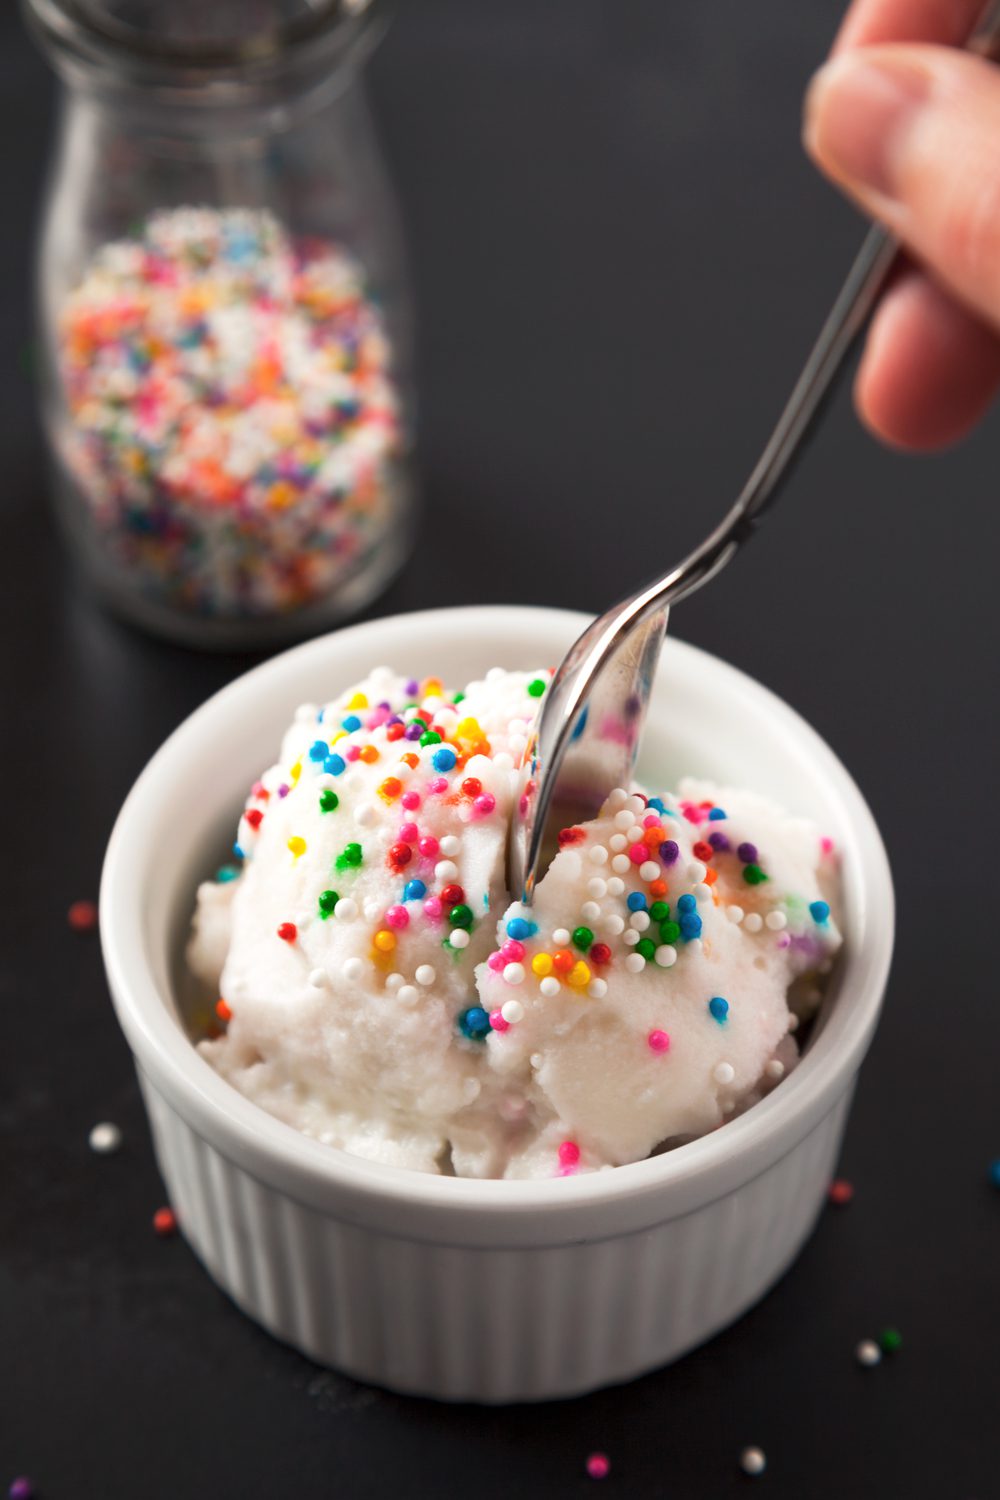
Once you are finished, you can eat your home-made ice cream right out of the bag - I wouldn't judge you, it's delicious! Or I suppose you can scoop it into a bowl, and be sure to have some fun with extra toppings!
What's your favorite flavor? I'd recommend some colorful sprinkles, fresh sliced fruit like strawberries, or some chocolate or caramel syrup. If you'd like, you could toss some chocolate chips in before you scoop and make your very own chocolate chip ice cream!
Ice Cream Science
This is actually a great science experiment. Have the grands guess why ice cream freezes, then go online and see what the salt does to the ice water solution to make it so cold.
I love experiments I can eat, and I have a suspicion that your kiddos will too.
More Easy Dessert Recipes for Kids!
Looking for more fun sweet treats the kids can help make? Check out some of these:
- Delicious Old Fashioned Root Beer Floats
- Easy Peanut Butter Cookies
- Simple Graham Cracker and Frosting Sandwich Cookies
- Make Your Own Marshmallows
- Butterfly Pretzel Cookies
- Yummy Caramel Apple Slices on a Stick
Enjoy!
If you try this craft, let me know! Go ahead and leave a comment, rate it, and tag a photo with #WelcometoNanas wherever you post.
Come join the fun at www.WelcomeToNanas.com

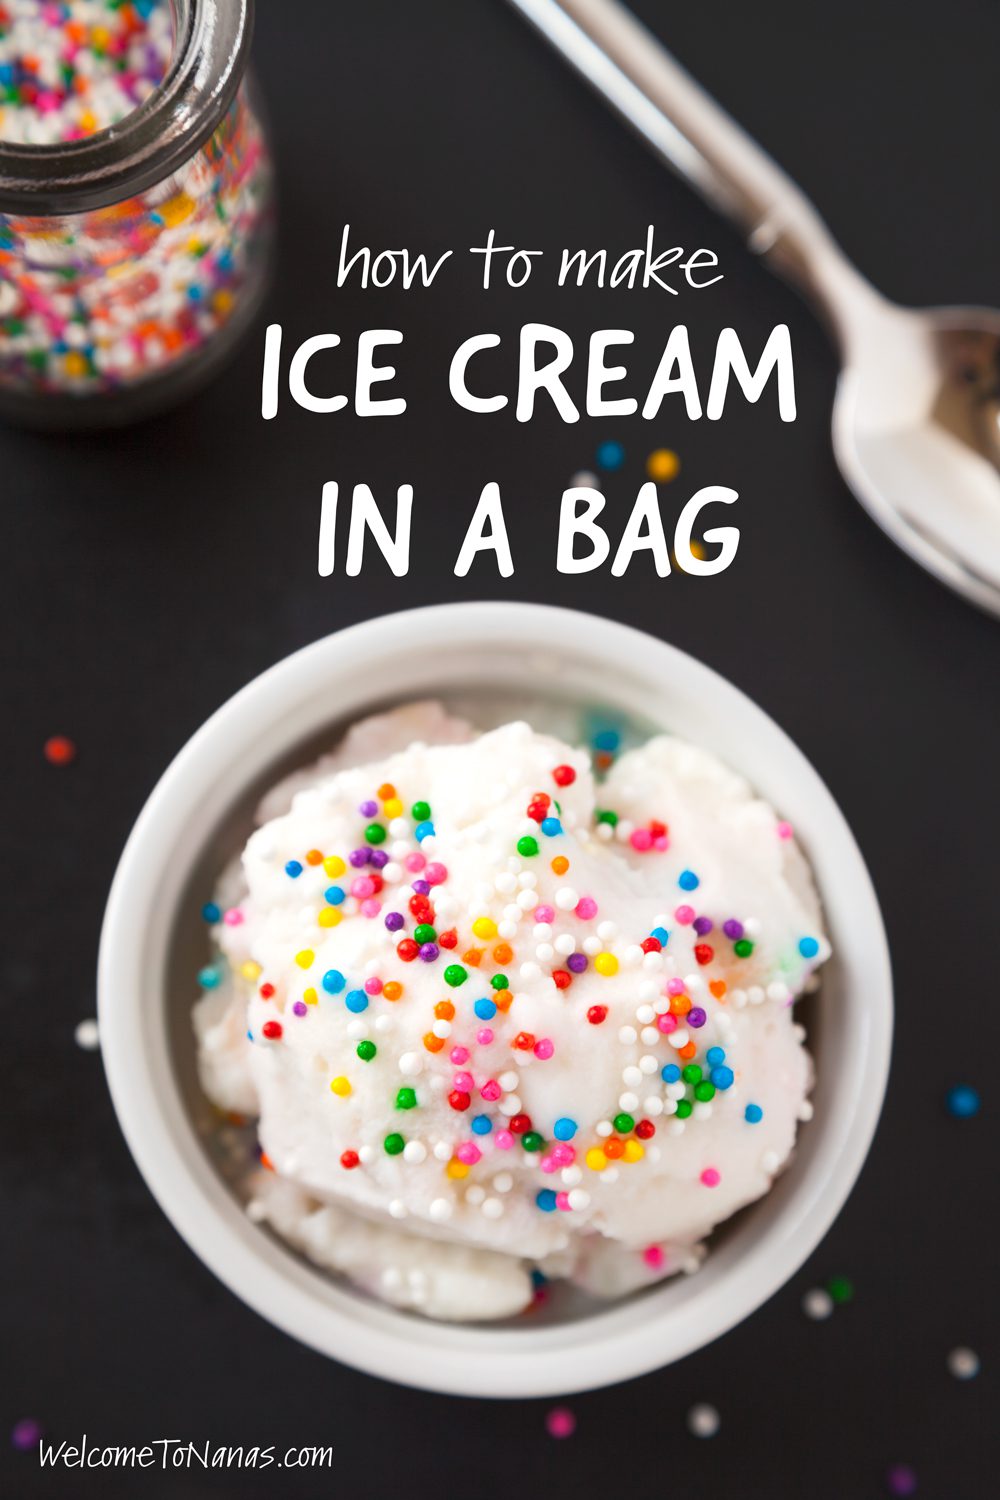
Make Your Own Ice Cream in a Bag
Equipment
- Measuring cups
- Measuring spoons
Ingredients
- 1 Gallon sized Ziplock Freezer Bag
- 1 Quart sized Ziplock Freezer Bag
- 4 cups ice
- ¼ cup salt
- 1 cup whole milk
- 1 teaspoon vanilla
- 2 Tablespoons sugar
Instructions
- Place the ice and salt in the Gallon sized Ziplock Freezer bag. Set this in the sink.
- Pour the milk, vanilla and sugar in the Quart sized Ziplock Freezer Bag and seal the bag. Make sure this bag is well sealed and there is very little air inside.
- Place the quart sized bag into the gallon sized bag with ice and seal the larger bag.
- Shake the bag for 5-10 minutes. You can wrap the bag in a towel if it gets too cold to handle. Don’t open the gallon bag until the process is finished. You can feel the ice cream harden through the bag.
- Open both bags taking care to wipe off the quart bag of ice cream so salt doesn’t get into the ice cream.
- Spoon the ice cream into a cup or bowl or eat it right out of the bag!!


Shelly says
Kids (and adults) love making this treat!